
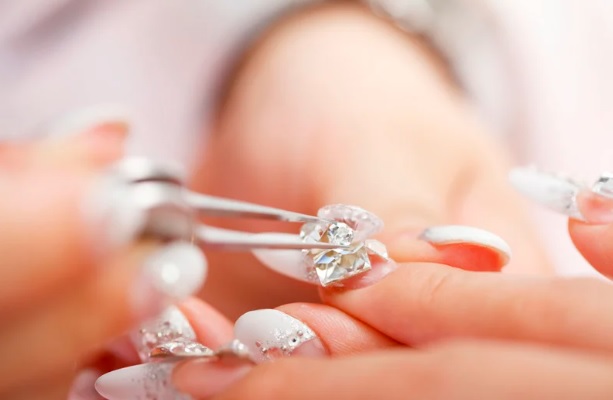
Looking for a manicure that really stands out? 3D nail art is one of the most creative nail trends, turning nails into tiny works of art with sculpted details, textures and layers you can actually feel. From delicate flowers to bold geometric shapes, it’s a style that can elevate your look and wow clients or friends.
In this guide, you’ll learn what 3D nail art is, the tools and products you need, a step by step process to create it, design ideas you’ll love, and tips to maintain and safely remove it.
What is 3D nail art and why it’s trending
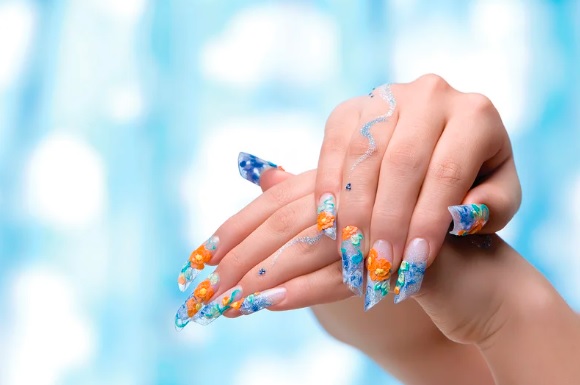
Unlike classic flat nail art, 3D designs are built in relief using sculpting gel, acrylic or special decorations like beads, pearls and crystals. The result is a manicure with depth and dimension that can be as subtle or as bold as you want.
This is why the trend is everywhere: it allows for unlimited creativity. You can keep it minimal with a single sculpted flower on a nude base, or go dramatic with long nails covered in glitter and sculpted swirls. It works on natural nails, gel polish or acrylic extensions, depending on the style and durability you’re aiming for.
Tools and products you need for 3D nail designs
To create 3D nails, you don’t need an endless range of products, but quality tools make a big difference.
- Base coat and top coat: protect the natural nail and seal the design.
- Sculpting gel or acrylic powder: the main products used to build 3D shapes.
- Brushes: fine detail brushes or sculpting brushes help create precise designs.
- Lamp: essential if you’re working with gel to cure each layer.
- Nail file and buffer: to shape the nails and smooth the surface before applying.
- Cotton swabs and acetone: for cleaning skin and cuticles from excess polish.
- Glitter, beads, crystals: optional extras to enhance the final look.
Pro tip: always select quality products. Using cheap gels or weak topcoats can make your 3D art break or fall off too quickly. When working with sculpting gel or acrylic, always cure thin layers one at a time. It might feel slower, but it improves durability and prevents the design from lifting.
How to create 3D nail art step by step
Here’s an easy process to follow at home or in a nail studio:
- Prep your nails: file into the desired shape, push back cuticles, clean the skin, and apply a thin base coat.
- Apply base colour: use two thin coats of polish (nude, pink or any shade you love). Cure if using gel.
- Build the 3D design: with a brush or toothpick, apply sculpting gel or acrylic in small layers, curing each one.
- Add details: place glitter, crystals or metallic accents while the product is still tacky.
- Seal the look: apply a top coat to protect the design without drowning the raised details.
Popular 3D nail art styles and design ideas
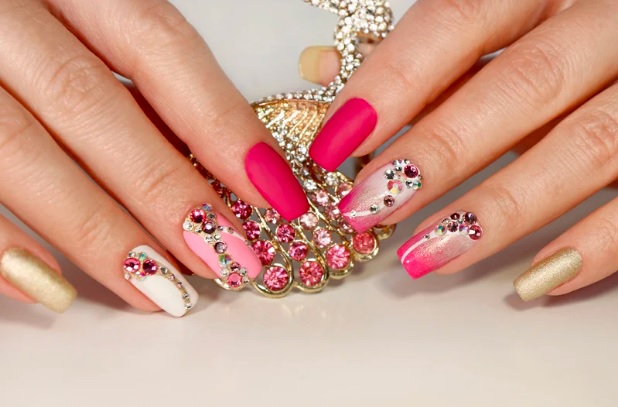
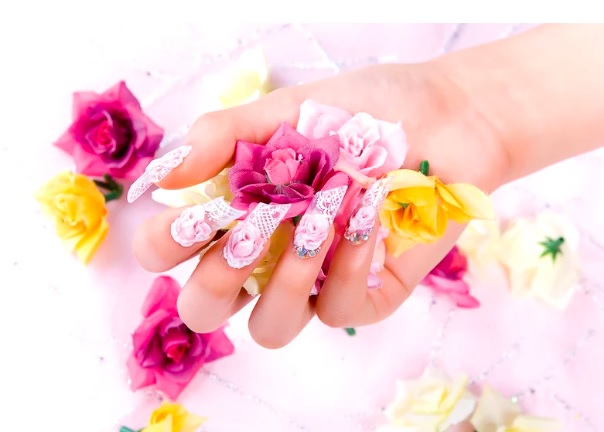
3D nail art offers an endless variety of styles. Floral details are always a favourite, from tiny daisies to sculpted roses that look fresh and delicate.
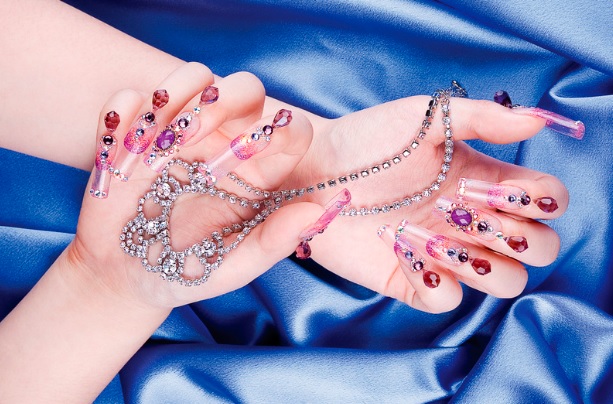
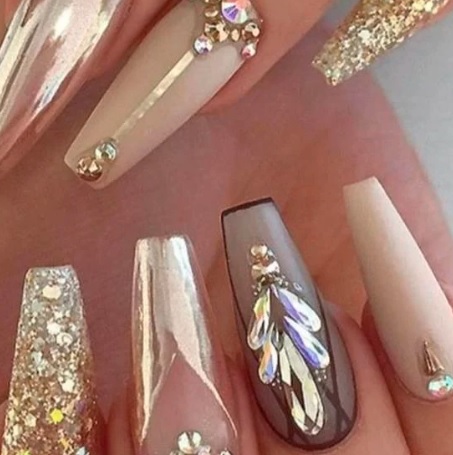
Pearls and crystals are another classic, especially for weddings or special occasions. If you love bold styles, geometric sculpting with straight lines or triangles can create a striking modern look, while glitter accents instantly elevate the design.
For something truly unique, try mixing techniques: marble nails with one 3D accent, French tips combined with a raised flower, or nude bases with golden swirls. The key is balance, sometimes just one 3D accent finger per hand makes more impact than decorating them all.
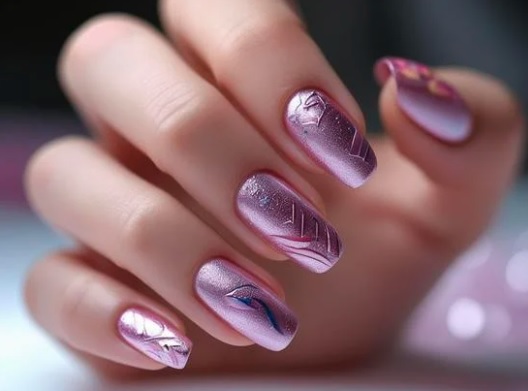
Trending now: 3D chrome drops are one of the most shared nail designs on Instagram. They create a futuristic, liquid-metal effect that looks striking over pastel bases or bold colours like black and navy. It’s a fresh way to elevate your manicure while keeping it modern and eye-catching.
Did you know?
Many nail studios use 3D nail art as their Instagram showcase because bold textures and glitter accents photograph beautifully. Sharing your work online isn’t just fun, it’s also a great way to attract new clients.
On Instagram and TikTok, 3D nails are trending with hashtags like #3Dnails and #nailartdesigns, making them one of the most shared styles in the beauty community.
Tips to enhance and maintain 3D nail art
Patience is everything. Always work in thin layers, curing as you go, rather than applying one thick coat. This makes the design stronger and less likely to lift.
Don’t over file before starting, as it can weaken the nail and affect durability. And once your masterpiece is finished, protect it with a good top coat and regular cuticle oil to keep the skin around the nails healthy.
When it comes to daily life, remember that nails aren’t tools. Clients love 3D nails that look beautiful but remain comfortable, so aim for designs that are wearable as well as eye-catching.
Common mistake
Beginners often apply too much product in one go, making the design heavy and uncomfortable. Remember: less is more. Build your art gradually, and your nails will look fresh and feel comfortable.
3D nail art for different occasions
The versatility of 3D nail art means you can adapt it to almost any occasion. Soft pink bases with tiny sculpted flowers are perfect for brides or wedding guests.
Bright neon colours with bold 3D shapes make a statement at festivals. For work or daily wear, a nude manicure with one subtle raised detail keeps things elegant but practical. And if you want to impress at an evening event, nothing beats black gel nails with gold 3D accents.
How to remove 3D designs safely
Maintenance matters as much as creation. To remove 3D nail art, never peel it off, that damages the nail. Instead, soak the nails in acetone for 10–15 minutes, then gently file away the softened product.
For gels, cure removal is the safest route, while for acrylics patience with acetone soak is key. Always finish by applying a nourishing oil to restore hydration to the nails and cuticles.
FAQ
How long do 3D nails last?
On gel or acrylic, they usually last 2–3 weeks. On natural nails with polish, about a week.
Can I do 3D nail art on natural nails?
Yes, but it’s more durable on gel or acrylic. Keep the designs light if working on natural nails.
What products do I need to start?
Sculpting gel or acrylic, brushes, a curing lamp, base coat, top coat and a few decorative elements like glitter or beads.
Is 3D nail art beginner-friendly?
Definitely. Start small with one accent nail before trying more complex designs.
Can I mix 3D with other nail art?
Yes 3D accents pair beautifully with French tips, marble nails or glitter.
Final thoughts
3D nail art proves that manicures can be more than colour…they can be art. With the right products, tools and a bit of creativity, you can create nails that clients, friends or followers will love. From subtle details to bold sculpted looks, it’s a style that never goes unnoticed.
And if you want to take your skills further, remember that passion can turn into a career. At BeautyLearn, our certified courses give you the training to move beyond DIY and step into the beauty industry with confidence.
With expert guidance and recognised certificates, you’ll be ready to create professional nail designs and build a career you truly love.