
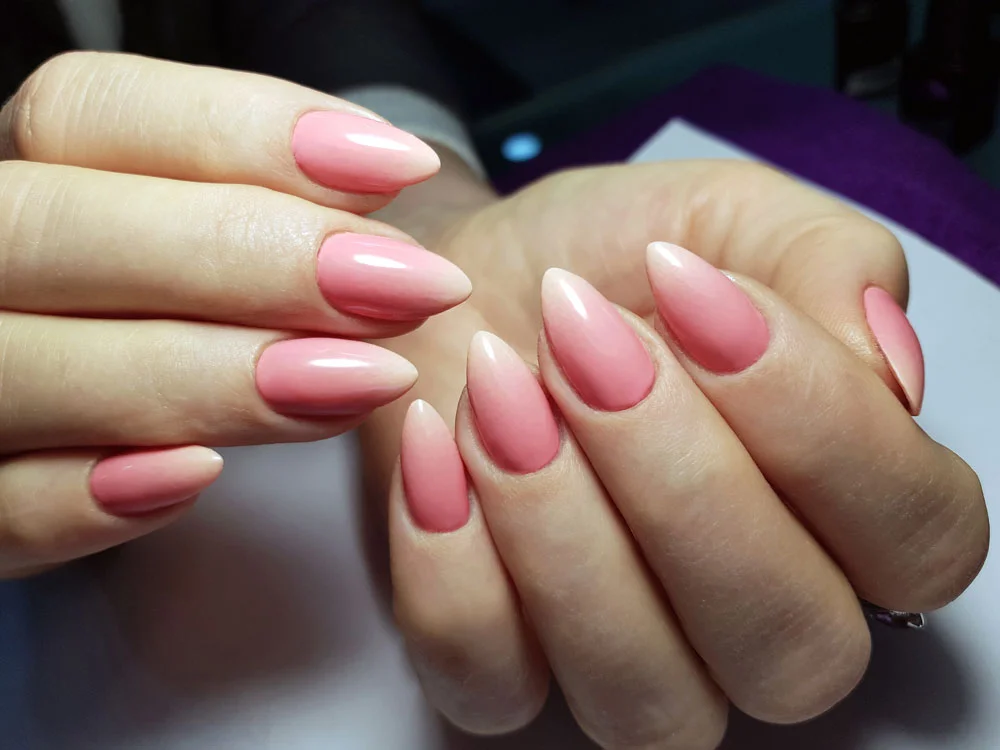
Almond-shaped nails are elegant and perfect for any occasion. This classic shape can be achieved through both gel and acrylic extensions or simply through a well-executed manicure.
When it comes to nail care and design, choosing the right nail shape is essential. Depending on personal style and the natural shape of the hands, popular options include square, stiletto, oval and, of course, the timeless almond shape.
A brief history of almond nails
The iconic almond nail shape has been a favourite since the 1920s, coinciding with the invention of the first nail polish, which was adapted from automotive paints.
Before this era, women kept their nails short and natural, but the introduction of vibrant colours brought a new focus to nail aesthetics. The elongated, rounded shape quickly became synonymous with femininity, often paired with bold reds and a silvery tip – an early version of the French manicure.
This trend gained even more prominence in the mid-20th century. Since then, this elegant shape has remained timeless and ever-popular.
Techniques to achieve almond nails: gel vs acrylic
Almond nails can be created with two primary techniques: gel extensions or acrylic reconstruction. Here’s a quick breakdown:
1. Gel extensions
Gel extensions allow you to build durable, beautiful nails while either enhancing the natural nail or extending its length with tips or forms:
- Start by cleaning, filing, and prepping the nails to remove oils.
- Using forms or tips as a guide, apply gel to create the desired almond shape.
- Once the structure is complete, cure the gel under a UV or LED lamp, file to refine the shape, and finish with polish or nail art.
2. Acrylic reconstruction
Acrylic nails are ideal for creating a sturdy surface that lasts up to 3-4 weeks. Unlike gel, acrylic doesn’t cure under a lamp but hardens naturally:
- Begin by prepping the nails (clean, file, and prime).
- Mix the acrylic powder and liquid, then carefully apply the product to the nails, sculpting it into an almond shape.
- Once hardened, refine the shape with a file and seal with a top coat.
Tips: the almond shape looks best on medium to long nails, but it can also be adapted for shorter lengths to suit clients who prefer more subtle styles.

How to file almond nails perfectly
Filing almond-shaped nails requires precision:
- Find the center: identify the center point at the tip of the nail.
- Shape the sides: gradually file the sides at a slight angle, tapering towards the center.
- Balance the tip: round off the tip to achieve that signature almond curve.
There are two main almond styles:
- Soft almond: a gentle curve at the tip, creating a slightly rounded shape.
- Tapered almond: more pointed, with sharply filed sides for an elongated look.
Remember to file gently and choose the appropriate file for the material (natural nail, gel, or acrylic) to avoid damaging the structure.
Achieving balance and durability
The secret to long-lasting almond nails lies in the balance point, also known as the apex. This is the highest part of the nail structure, positioned slightly behind the center of the nail (around one-third of the nail bed).
A proper apex creates a natural curve, reinforcing the nail’s stress point where it meets the skin. This ensures the structure remains durable and resistant to breakage.
Who do almond nails suit?
Almond-shaped nails are incredibly versatile and complement virtually all hand shapes. Their elongated design makes fingers appear more slender and tapered, which is why brides and those attending formal events often favor this style.
For those with shorter or wider fingers, a longer almond shape helps create the illusion of length. For naturally long fingers, a shorter almond shape maintains balance without looking overly pointed or dramatic.

Color & nail art for almond nails
The almond shape provides the perfect canvas for elegant and creative nail art. Here are some top styling ideas:
- Classic French manicure: a timeless choice that enhances the almond silhouette.
- Soft shades: pale pinks, milky whites and nude tones for a delicate, refined look.
- Bold colors: burgundy, deep reds and rich browns for a more dramatic and sophisticated style.
- Baby boomer nails: a modern twist on the French manicure, blending pink and white for a soft gradient effect.
How to create the baby boomer look:
- Start with a dry manicure for a flawless base.
- Apply a white builder gel to the nail tip.
- Blend a pink cover gel over the nail bed and cure.
- Refine the shape with a file, seal with a top coat, and finish with cuticle oil.
Avoid these common mistakes
Creating perfect almond nails requires attention to detail. Avoid these common pitfalls:
- Misplaced apex: the balance point must be correctly positioned to ensure strength and durability.
- Over-filing: excessive filing weakens the structure, making the nails prone to breakage.
- Uneven sides: ensure symmetry by filing slowly and checking as you go.
Final thoughts
Almond-shaped nails are a timeless choice, combining elegance with versatility. Whether you opt for a simple nude polish, intricate nail art, or bold colors, this shape is sure to elevate your look.
With proper techniques and attention to detail, you can achieve salon-quality almond nails that are as strong as they are beautiful.
Ready to master almond-shaped nails?
If you want to perfect your nail shaping techniques join our certified courses at Beutylearn. Learn from top professionals, master gel and acrylic techniques, and take your skills to the next level.
Enroll in courses and perfect your techniques!