Oval nails are a true classic in the world of manicures. Loved for their elegance, versatility, and femininity, they’re perfect for every occasion: whether it’s a formal event or just your everyday look.
This timeless shape works beautifully on any hand, and while it can be done on natural nails, its full potential shines through professional nail reconstruction.
The history of oval nails: a timeless style
The popularity of oval nails dates back to the 1920s and 1930s when Hollywood icons made them a symbol of elegance and femininity.
Paired with glossy red polish, this shape became a hallmark of the golden age of cinema. Today, oval nails continue to exude timeless sophistication, proving their enduring appeal.

Why choose oval nails?
Choosing an oval nail shape means opting for a style that combines beauty and practicality. Here’s why oval nails are so popular:
1. A natural, elegant look
Oval nails follow the natural shape of your fingers, giving you a clean, sophisticated style that complements any personal aesthetic.
It’s the perfect choice if you’re looking for a polished manicure without going over the top.
2. Strength you can rely on
Thanks to their rounded edges, oval nails are less likely to chip or break. This makes them a fantastic option for anyone with a busy or active lifestyle, or for those who work with their hands.
3. Flattering for every hand
Whether you have wider hands or slender fingers, oval nails enhance their natural beauty. They make stubby fingers look longer and more elegant while keeping tapered hands looking balanced. They also avoid the overly dramatic look of shapes like stilettos.
4. Great for different lengths
Oval nails are ideal for medium or long lengths, always creating a harmonious and polished appearance. Just avoid this shape on very short nails: they’ll end up looking more round than oval!

Step-by-step guide to creating stunning oval nails
Creating perfect oval nails requires precision and a few key steps. Whether you’re working with gel, acrylic, or natural nails, this guide has you covered.
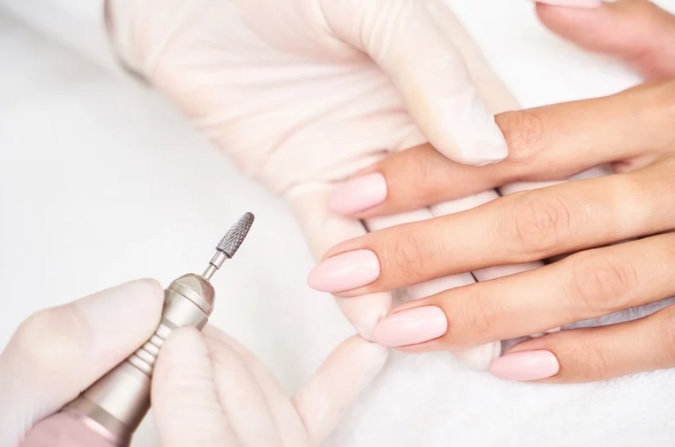
1.The manicure: the starting point
A well-executed manicure is essential for ensuring the durability of your nail design and achieving a flawless finish.
We recommend using the dry manicure technique, an advanced method that allows you to work precisely on cuticles and nail plates without using water. This improves product adhesion and reduces working time.
Steps for a perfect manicure:
- Gently remove cuticles using a cuticle pusher or tool.
- Prep the nail plate with a buffer to remove natural shine.
- Define the free edge, already shaping it slightly for the oval look.
Pro tip: a clean and well-prepped base is the secret to long-lasting results!
2. Gel reconstruction
Gel is one of the most popular material for nail reconstruction because it’s versatile, durable, and creates a polished finish that lasts 3–4 weeks. Here’s how to create oval nails with gel:
- Preparation: clean and degrease the nail plate thoroughly with a cleanser. Apply a primer or bonder to ensure maximum product adhesion.
- Form extension: place a nail form under the natural nail, making sure it aligns perfectly with the nail bed.
- Shaping the gel: apply the gel in even layers, building the desired length and oval curvature. Cure the gel under a UV/LED lamp.
- Filing and refining: after curing, refine the shape with a file, working on the sides and tip to create a smooth, symmetrical oval.
Always check symmetry as you file to avoid uneven shapes!

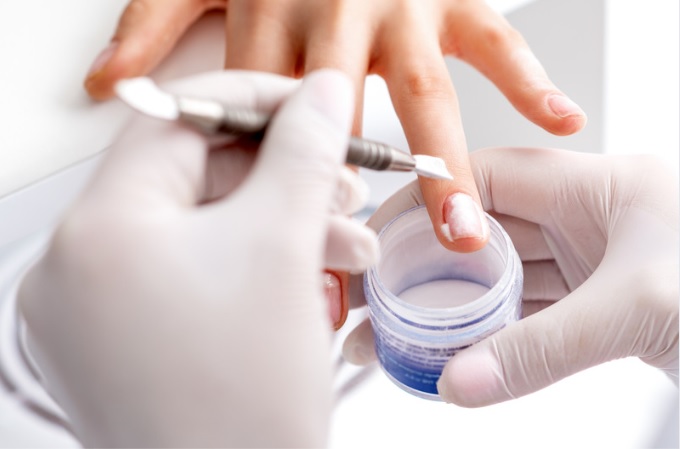
3. Acrylic reconstruction
Acrylic is another fantastic option for creating strong, long-lasting nails. Unlike gel, acrylic requires more precise manual work but offers greater customization of the shape.
Steps for acrylic reconstruction:
- Prepare the nail plate: clean, degrease, and apply a primer to the natural nail.
- Apply acrylic: mix the monomer with acrylic powder to create a workable consistency. Carefully model the product directly onto the nail form, shaping it into an oval.
- Refining and finishing: After the acrylic hardens, use a file to perfect the shape. Finish with a glossy or matte top coat for added protection and shine.
Filing: a crucial step
The filing process is essential for achieving a flawless oval shape. Here’s how to get it just right:
- Lateral definition: file the sides of the nail straight until you reach the rounding point.
- Tip harmony: round the tip evenly on both sides, ensuring a balanced, symmetrical oval.
- Curve C: build a slight curve (bombing) or balance point to reinforce the nail’s structure and prevent breakage.
Take your time during this step: it’s what gives your nails their perfect finish!

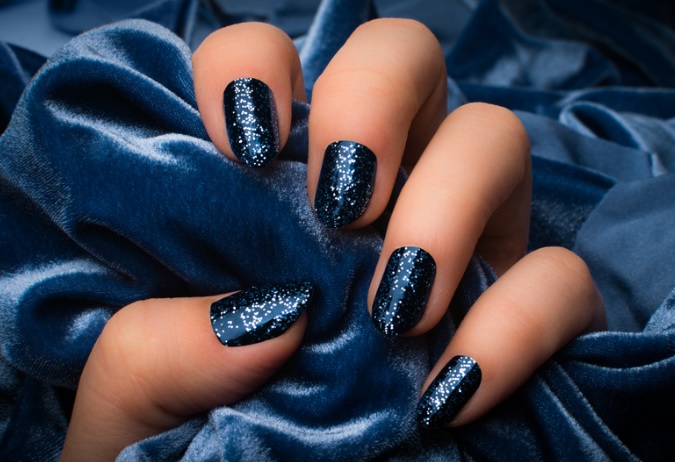
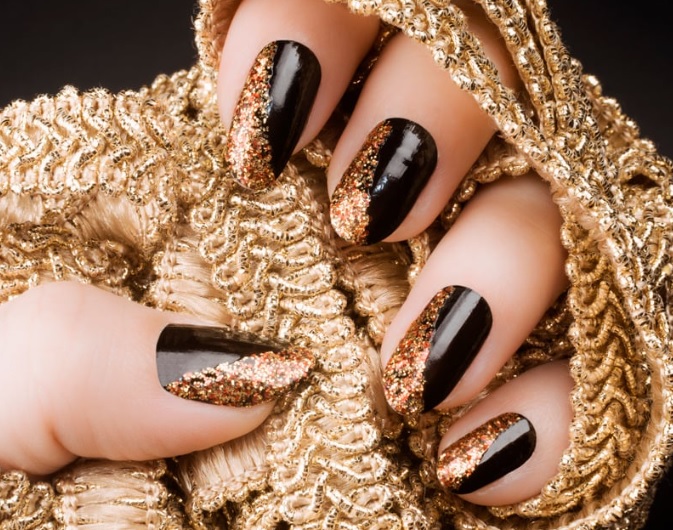
Nail art for oval nails: ideas and inspiration
Oval nails provide the perfect canvas for a wide range of nail art designs. Here are some ideas to inspire your creativity:
Baby boomer
This soft gradient effect, named baby boomer, blending white and pink, is one of the most popular nail art styles for oval nails. The gentle curves of the oval shape enhance the subtlety of the gradient, making it look effortlessly elegant. Add a touch of glitter for a modern twist!
French manicure and variants
The classic French manicure, with its white tips, is a timeless choice for oval nails. You can also experiment with variations like reverse French, coloured French, or even structural French designs.
Micropainting and bold colors
Thanks to their smooth and regular surface, oval nails are ideal for intricate micropainting. Whether you opt for delicate floral patterns or bold abstract designs, the oval shape enhances every detail.
Color-wise, anything goes: nudes and pastels for a soft look, or bold shades like red or burgundy for a statement style.


Final thoughts
Oval nails are the perfect blend of elegance, practicality, and versatility. Whether you’re looking for a chic everyday manicure or a glamorous look for a special occasion, this shape has you covered.
With a little practice and the right techniques, you can create stunning oval nails on natural nails or with gel and acrylic reconstruction.
Transform your passion into a profession with BeautyLearn!
Ready to take your nail art skills to the next level? Join the certified online courses at BeautyLearn, the leading school in the nail industry.
Learn all the secrets of creating flawless oval nails and master advanced nail art and reconstruction techniques.
Discover how to turn your passion into a successful career! Sign up now!