We use necessary cookies and the Meta Pixel to measure campaigns and improve our offers. You can change your optional-cookie preferences at any time. Read our Terms and conditions.
Lash mapping: eye shape, symmetry, and lash styles
Silvana DebiasiSeptember 1, 2026Updated on October 21, 2026 13 min read
Lash mapping is the plan for distributing extension lengths, curls, and directions along the lash line. The position of the most prominent tips changes the silhouette: they can emphasize the center, extend the outer section, or create a high point before a shorter tail. The plan also includes transitions between zones and any longer points, or spikes, used for a wispy finish.
A useful map starts with the client’s preferred effect and an observation of both eyes. Eye shape, eyelid position, and natural lash direction are different things: an elongated eye can still have downward-growing outer lashes. Recording those differences helps you decide where to build emphasis and where to shorten the design.
At a glance: observe the seated client with a neutral head position and eyes open. Record the corners, pupil reference, and differences between sides on a drawing or a photo taken with permission. Choose the high point and zones, then transfer the notes to the pads in the treatment position with eyes closed. Keep the eyes closed throughout application. Complete the final checks and follow the adhesive system’s instructions before the client reopens their eyes; then compare the tips from the front and side. Adapt the planned lengths to each suitable natural lash.
Begin with the client seated, head neutral and gaze relaxed. Look straight on and slightly from each side, then examine each eye separately. Ask for a visible goal, such as more length toward the temple or more prominent tips in the center. A reference photo helps describe that preference, but a different natural lash line will not produce an exact copy of the pictured set.
Observation
What to record
How it informs the map
Eye shape
Corner positions, visible opening, and pupil position with the client looking straight ahead
Place the high point relative to the open eye
Eyelid
Fold and the part of the lashes visible from the front
Check where tips will show or remain hidden
Natural lashes
Direction, length, density, layers, and gaps in each zone
Choose extensions and directions that suit the available natural lashes
Eye shape
What to record
Corner positions, visible opening, and pupil position with the client looking straight ahead
How it informs the map
Place the high point relative to the open eye
Eyelid
What to record
Fold and the part of the lashes visible from the front
How it informs the map
Check where tips will show or remain hidden
Natural lashes
What to record
Direction, length, density, layers, and gaps in each zone
How it informs the map
Choose extensions and directions that suit the available natural lashes
Labels such as round or hooded describe only part of what you see. A client who likes a rounded look may want central emphasis; someone seeking lateral elongation may prefer a different plan. Normal facial features do not need an automatic correction.
Postpone treatment if there is an eye infection or inflamed skin around the eye. Stop using a product that causes irritation; persistent irritation needs medical advice, as explained in the FDA’s eye cosmetic safety guidance. Pain, swelling, discharge, or vision changes also call for stopping and obtaining appropriate healthcare advice before proceeding. Use the pre-treatment lash consultation to gather relevant history and symptoms without trying to diagnose them.
Transfer open-eye references to the pads
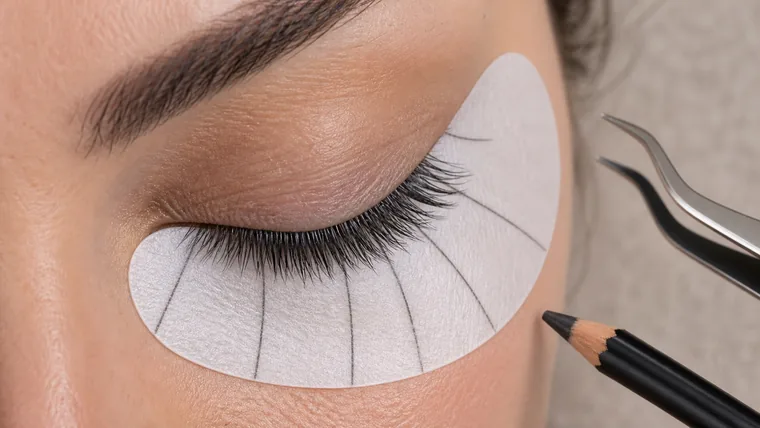
Record the pupil and corner positions before bringing tools or adhesive near the eye. Use a drawing or annotate a photo taken with permission. You do not need to touch the eye, pull the eyelid, or mark near the lash line with a pen to collect these references.
With the client in the treatment position, eyes closed and lower lashes appropriately protected, transfer the recorded references to the pad. Mark the intended working area, high point, and zone boundaries. Write the lengths away from the area where lashes contact the pad. If a pad moves, recheck its position and the references before continuing.
Pad markings help you locate zones; check direction on the lashes themselves.
For an initial practice exercise, use seven zones from A at the inner corner to G at the outer corner. Add detail where you need a transition and keep a uniform section wider. On a client, zone widths and the high point follow the observed references; seven equal segments are not a requirement.
Cat eye, doll eye, and squirrel: compare the high points
Look at where the tip line rises, reaches its high point, and falls. Here, high point means the apex of the visible silhouette. The zone with the longest labeled length helps create it, but curl and natural lash direction can shift where that apex appears.
Cat eye: emphasis toward the outside
A cat eye develops length toward the outer section. If the tail looks lower than intended, extending the last tips further can exaggerate that result. Consider moving the longest zone inward and shortening the final section, then check the profile from the front and side. A shorter tail can preserve the elongation created just before it.
Front-view silhouettes
Three contours on the same eye
Cat eye
Emphasis extends toward the outer corner.
Doll / open eye
The high point sits in the central section.
Squirrel
The high point comes before a shorter tail.
Qualitative drawings with the same eye shape, lash count, and directions. The dashed line follows the changing tip contour. These panels do not specify lengths in millimeters.
Doll eye and open eye: central emphasis
These names commonly describe more prominent central tips with lengths decreasing toward both corners. Schools and artists use the terms differently. Point to the intended high point on the reference photo: near the pupil, or slightly offset from it. The name alone does not explain how wide the central section should be or how round the finished contour will look.
Squirrel: a peak before the outer corner
A squirrel map reaches its high point in the outer half, before a more noticeable reduction into the tail. It can suit a request for lateral emphasis with shorter final lashes. Plan both the rise and fall; placing the whole reduction at one boundary can create a step. London Lash’s squirrel map illustrates this progression, which still needs to fit the observed eye and available natural lashes.
Wispy mapping: add spikes over a clear base
Wispy describes texture: longer points rise above a base line. You can add that texture to a central, lateral, or squirrel silhouette. Draw the base first, then mark the spikes separately. Changing both at once makes it harder to identify which choice altered the result.
For a drawing exercise, keep the same central silhouette and add three spaced spikes, one in the center and one on either side. Compare the smooth and wispy versions. The spaces should leave the base visible. Three is the number used in this illustration; it is not an application rule or a universal number of spikes.
Record each spike’s zone, length, curl, and construction. A classic extension and a narrow or closed fan create different definition. The guide to volume and hybrid lashes explains fan construction and load. When a spike sheds, inspect the neighboring points at the fill before rebuilding the intended pattern.
Base and texture
What changes when you add spikes
Central base
A continuous tip line without spikes.
Same base, three spikes
Three points rise above the same dashed base line.
The eye, base, and directions stay the same. Green marks the three added spikes in this example; the dashed line still follows the base. Three is an illustration choice, not an application rule.Use practice strips to compare the continuity of the base and the visibility of longer tips.
Practice a seven-zone map with five lengths
Prepare a practice support with a training lash strip and five consecutive lengths from the same product line, curl, and diameter: 8, 9, 10, 11, and 12 mm. One available example is London Lash Classic Mayfair 0.15, C curl, Mix 8 to 13 mm. The 0.15 mm diameter is a choice for this practice support, not a safe limit for every natural lash.
Divide the drawing into seven zones. From inner to outer, assign A 8 mm, B 9 mm, C 10 mm, D 11 mm, E 12 mm, F 11 mm, and G 10 mm. E holds the longest length; F and G shorten the tail. Keep the curl consistent and the directions orderly on the support so you can study the progression without changing several variables together.
Nominal length is the measurement printed on the tray. Projection is how far the tip extends in the view you are checking. The numerical diagram shows the assigned progression; it does not predict the visible height of tips on a real eye or the load a natural lash can carry.
Practice support
Seven zones: rise to E, then shorten the tail
Green arrows show the planned directions.
Letters and numbers match the assigned zones. The strokes show the length progression, not measured projection on an eye. These lengths are an exercise for a practice support.
Photograph the practice support from the front and above. If you see a step between E and F, first check whether one tip points away from its neighbors or whether the length change causes the jump. On the support, reposition a misplaced fiber to match the nearby directions. For a length step, try a short transition that alternates the two adjacent lengths. Compare the tip line again and record which change reduced the step.
On a person, assess each natural lash before selecting an extension. The guide to curls, lengths, diameters, and weight explains why a sequence of lengths cannot establish a suitable load. Adjust the map when a natural lash needs a different fiber or should be left untreated.
Check directions and transitions during application
Check direction at the attachment and at the tip. An extension aimed toward the temple may fit a cat-eye outline while its base fails to follow the natural lash. Inspect the contact first, then compare the tip with its neighbors. Never twist a natural lash to make it follow an arrow on the pad. The classic one-to-one technique guide covers isolation and attachment.
Keep the client’s eyes closed during application and alternate checks between corresponding zones on both sides. Compare the inner sections, high points, and outer endings before filling the remaining suitable lashes. From above, look for crossed tips and changes in orientation. From the side, check for a tip that drops or bends differently from the others. Direction checks do not replace isolation checks or inspection for stickies, which are lashes unintentionally bonded together.
At the corners, look for a single tip that stands apart from its neighbors and decide whether that contrast was planned. When changing curls, compare the visible height in the adjoining zones. Keeping the same number of millimeters does not guarantee a smooth transition.
Balance two eyes with separate maps
Two eyes are not mirror copies. They can differ in opening, fold, corner position, lash direction, and density. Start with separate drawings labeled “client’s right” and “client’s left.” In a straight-on, unmirrored photograph, the client’s right appears on the viewer’s left.
Mark the inner corner, pupil reference, desired high point, and outer corner on each drawing. Compare those references within each eye, rather than measuring only from the edge of the pad. If one side has fewer suitable lashes near the planned apex, do not fill the gap with extra length or thickness. Consider shifting the emphasis across nearby suitable lashes and record the change.
If the outer lashes point down more on one side, copying the same sequence may leave a lower-looking tail. Reconsider the final length and high-point position on that side. Any curl change also needs compatible base contact. Compare front and side views after the service; a change that balances one view can become too obvious in another.
Compare and adapt
Two eyes, two plans to check
1. Client’s right: reference
The high point is in the outer half.
2. Client’s left: copied map
The tail sits lower. Check that section before adapting it.
3. Client’s left: adapted map
The high point moves toward the center and the tail shortens. The eye shape stays the same.
For comparison, each eye runs from inner on the left to outer on the right, rather than showing a face-on pair. The vertical line marks the pupil reference. The left eye keeps its shape and directions while the plan changes its high point and tail. This is a design illustration, not a measured client result.
Complete the final technical checks and follow the adhesive system’s instructions before the client reopens their eyes. Do not ask them to open during application to check the map. Then seat the client with the head neutral and compare the high points, tip continuity, and tail endings while allowing for natural differences between sides.
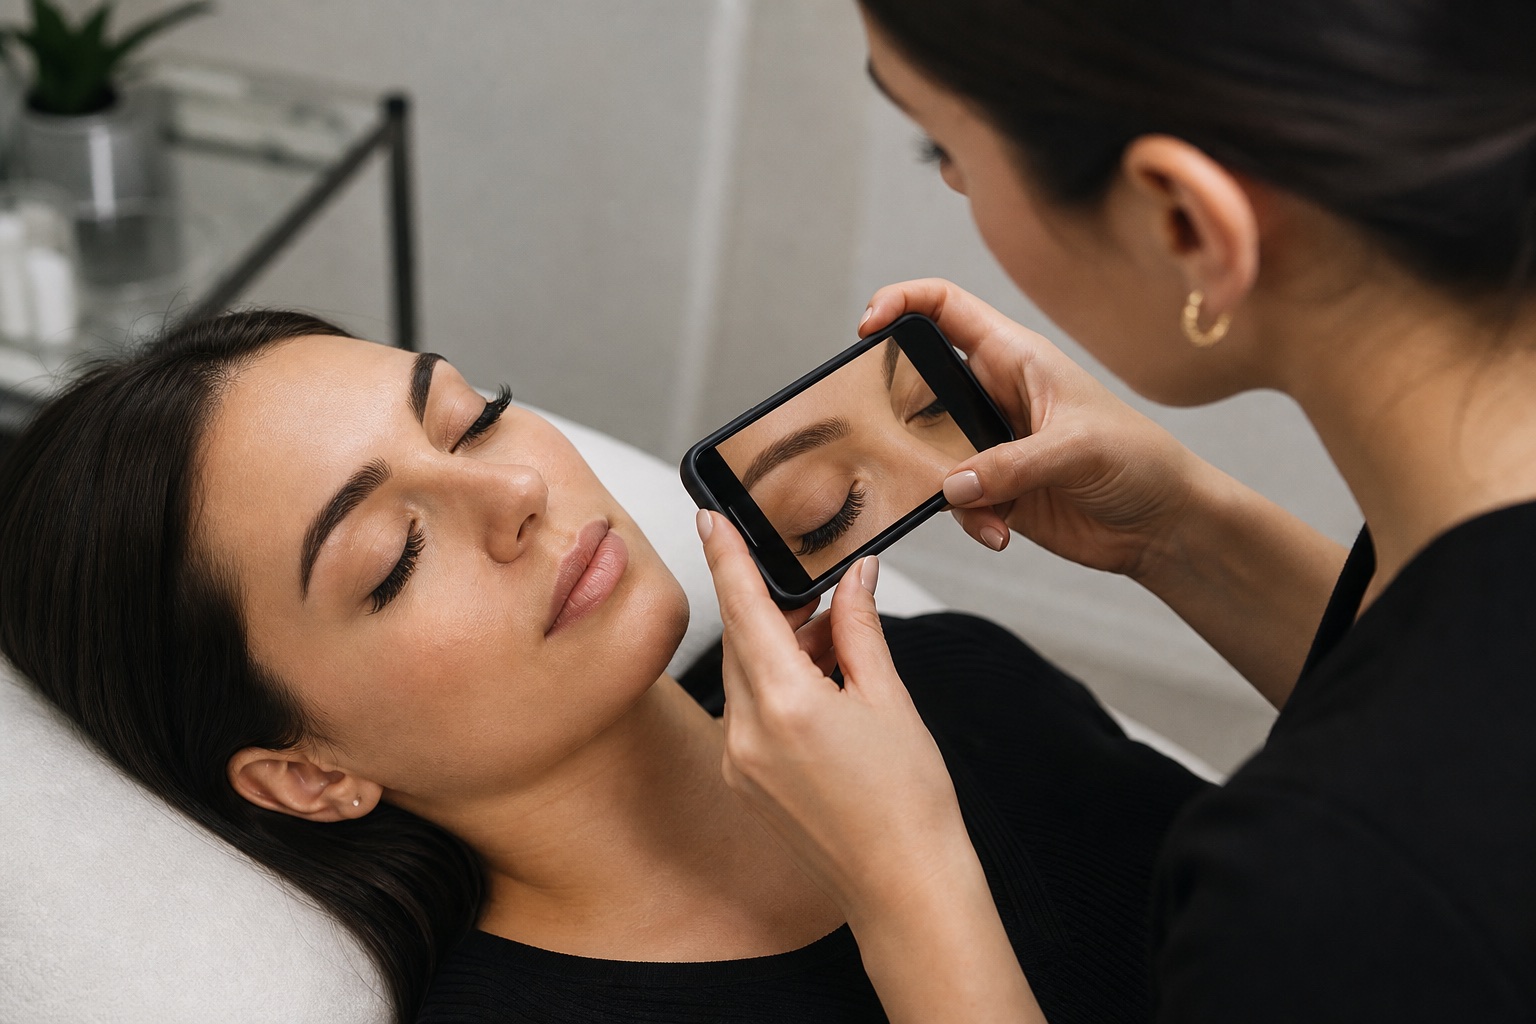
Keep comparison photos consistent in lighting, distance, camera height, expression, and head position. A tilted head or angled camera can distort the apparent balance. Save both maps, adjustments, and authorized photos in the client record. Permission to document a service does not automatically include permission to post the images on social media.
Troubleshoot tails, steps, and misplaced spikes
What you see
Check first
Adjustment to consider
The tail drops more than intended
Outer lash direction and the position of the longest zone
Move the high point inward and shorten the last zones, then check the side view
A step between two zones
Lengths, curls, and tip directions on both sides of the boundary
Address the misplaced tip or make the length transition more gradual
One eye looks fuller
Natural density, fan width, and texture distribution
Reduce fullness on the denser side if needed, without adding load to sparse lashes
Spikes disappear into the base
Visible projection, spacing, and spike direction
Redistribute the points or shorten the base where appropriate instead of automatically lengthening spikes
The tail drops more than intended
Check first
Outer lash direction and the position of the longest zone
Adjustment to consider
Move the high point inward and shorten the last zones, then check the side view
A step between two zones
Check first
Lengths, curls, and tip directions on both sides of the boundary
Adjustment to consider
Address the misplaced tip or make the length transition more gradual
One eye looks fuller
Check first
Natural density, fan width, and texture distribution
Adjustment to consider
Reduce fullness on the denser side if needed, without adding load to sparse lashes
Spikes disappear into the base
Check first
Visible projection, spacing, and spike direction
Adjustment to consider
Redistribute the points or shorten the base where appropriate instead of automatically lengthening spikes
Change one variable at a time on the practice support and photograph both attempts. On an applied set, an extension that needs repositioning requires the appropriate professional removal and replacement technique. Do not pull or bend it into a new direction.
Reassess the map at a fill
Growth moves attachments, and shedding changes the spaces between extensions. Before adding fibers, compare the set with the original maps and photographs. Mark missing spikes, breaks in the tail, and extensions that have grown out or rotated. Use the appropriate professional technique to remove extensions that need replacement before rebuilding the line.
If the client wants a different effect, redraw the high point and transitions. When moving from classic to hybrid or volume, also record where density and fan width change. The old millimeter sequence alone cannot describe the new construction. The guide to retention, fills, and replacement explains how to assess whether a fill or a new set is appropriate.
Frequently asked questions
What do I need to practice lash mapping?
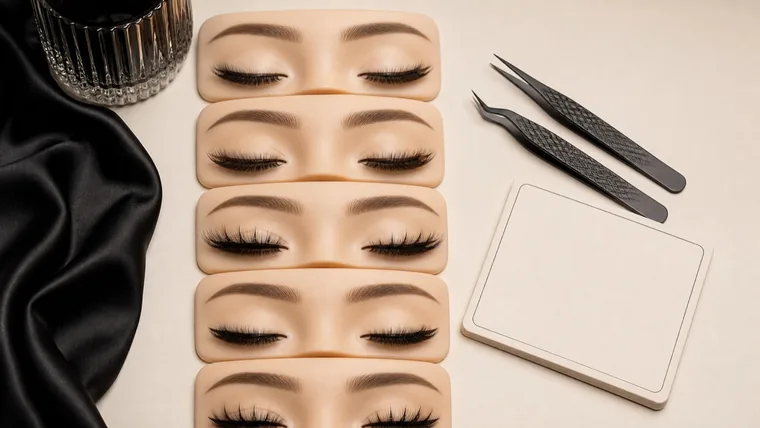
Use an eye drawing labeled inner and outer, a support with training lashes, pads, a mapping pen, and consecutive lengths from one product line. The A through G exercise uses five lengths from 8 to 12 mm. Compare the drawings first, then build the map on the support and photograph the tips. Move to work on people through supervised practical training within the applicable state requirements.
How many zones should I use on a small eye?
Start with the exercise’s seven-zone drawing and simplify sections where the length stays the same. Keep the inner corner, high point, and tail ending easy to locate. If two segments are too narrow to distinguish while working, combine them and note the length transition within the wider zone.
How do I map lashes when the eyelid hides some of the tips?
Observe which tips remain visible with eyes open and where they disappear under the fold. Mark that area on the plan, then assess the fiber profile and direction against the natural lashes. Extra length can remain hidden too. Before increasing it, check whether a compatible curl lets the tips show while maintaining appropriate contact.
How do I avoid mixing up right and left in photos?
Label the client’s side on the record and check whether the phone saves a mirrored image. A straight-on image from the rear camera is a useful starting point. Match each annotation to recognizable references on that eye before transferring it to the pad.
Can I keep the same map when changing brands?
Keep the zone plan, but compare the new fibers on a practice support first. Matching curl letters and millimeters can still produce different profiles and projection. Photograph the tips from the same view and adjust any lengths that interrupt the transition. Record the new product line so the next fill does not mix two versions of the design.
What should I show an instructor when a map looks wrong?
Bring the drawing, product specifications, and photos from the front, above, and side. Identify the exact problem, such as a step between E and F or a lower-looking left tail. Ask the instructor to distinguish a design issue from an attachment or direction issue, then repeat the correction on the practice support.
Sources and further reading
London Lash’s guide to mapping styles shows central, cat-eye, and squirrel outlines. Its additional lash maps include textured designs. These are professional styling conventions; they do not establish a universal map or safe load for an individual natural lash.