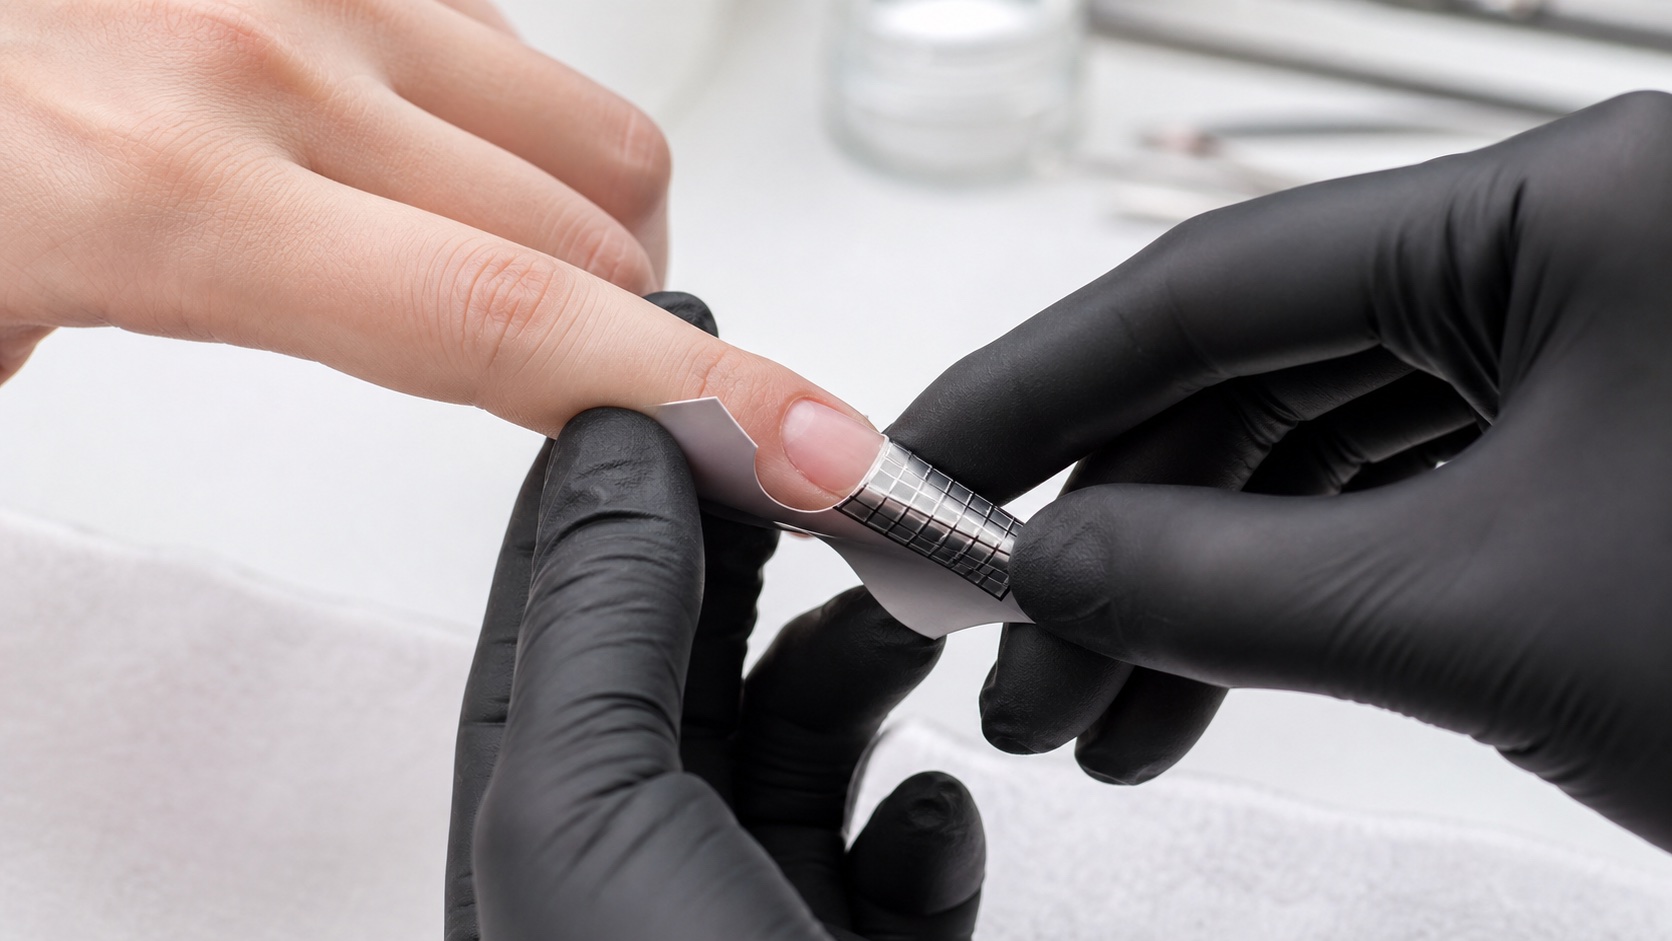
The C-curve is the transverse curve seen when an artificial nail is viewed from the free edge. It contributes to the lower arch, sidewall relationship and visual balance of an extension, but it is only one part of structure. A tighter curve is not automatically stronger or more professional, and pinching is not a compulsory step for every product, length, form or natural nail.
Short answer: design a C-curve that suits the natural nail, intended shape, length, sidewalls and complete architecture. Use pinching only when the product system, support and trained procedure explicitly allow controlled shaping within a documented working stage. Never pinch the natural nail or ask a client to tolerate pain, throbbing, blanching or tissue pressure.
This guide owns transverse C-curve analysis and the limits of pinching. The nail architecture guide owns the whole structure; the nail apex guide owns longitudinal support. Keeping those intents separate prevents a front-view curve from being mistaken for proof that the complete extension is balanced.
What the C-curve is in a nail extension
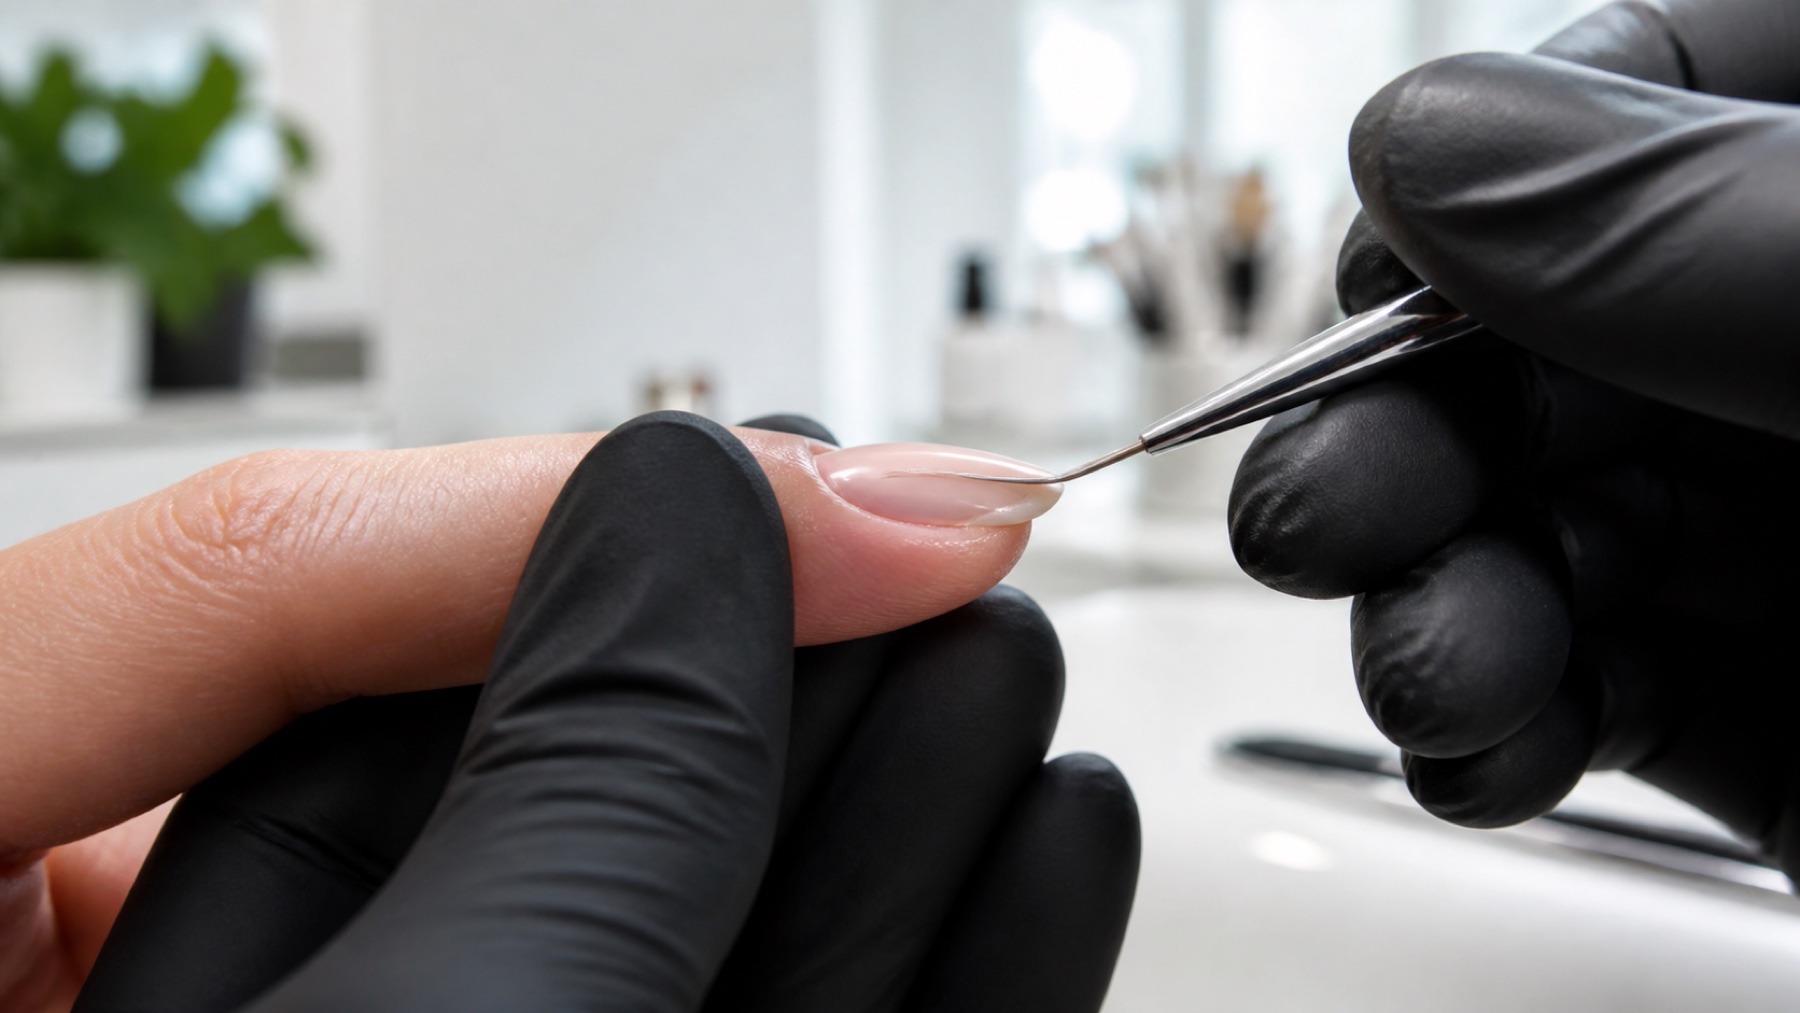
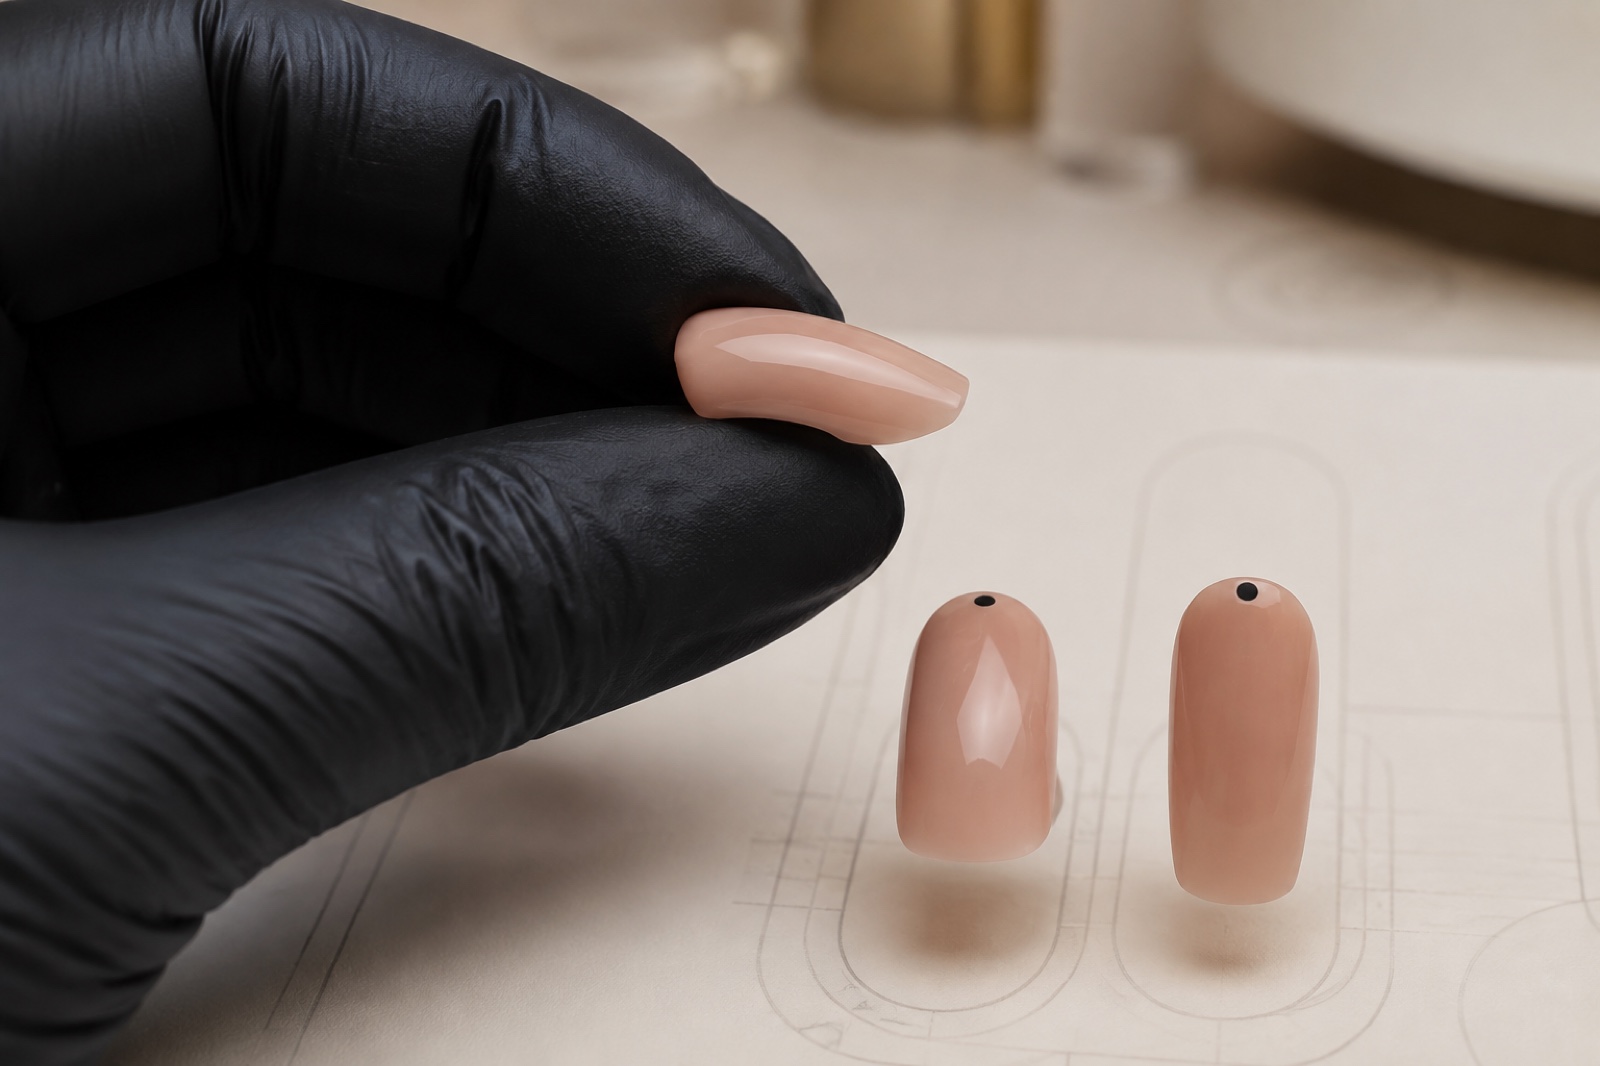
From the front, the lower surface of an extension forms an arc between its sidewalls. That transverse geometry is commonly called the C-curve. It may be naturally shallow, moderately curved or more closed according to the plate, support, product and design. The target is a centred, intentional curve with adequate sidewall support and no pressure on the natural nail or surrounding tissue.
The curve should be read together with thickness distribution and lower-arch continuity. A visually narrow opening can hide excessive product, asymmetry or a twisted axis. A wider curve can still be structurally appropriate on a short natural overlay. There is no evidence-based universal percentage that suits every client and service.
C-curve, apex and tunnel are not the same
Each structural term belongs to a different view
A front-view curve cannot prove the whole architecture
C-curve
Front-view transverse arc
Apex
Longitudinal support position
Tunnel
Underside closure and space
Upper arch
Side-profile transition
Term | Best viewing direction | What it describes |
|---|---|---|
C-curve | Front or barrel view | Transverse arc between the sidewalls |
Apex | Side and top views | Longitudinal mass and support position |
Tunnel | Front and underside views | Space and closure beneath a sculpted free edge |
Upper arch | Side profile | Surface transition from proximal area to free edge |
A technically persuasive photograph therefore needs more than a front view. Use top and side views to check axis, apex, upper arch and lower-line continuity, then use the barrel view for curve, sidewalls and free-edge thickness. One view cannot certify the others.
What a balanced C-curve contributes
Balance is proportion, not maximum closure
Curve, sidewalls and thickness must agree
Centred
Aligned with the planned axis
Supported
Sidewalls keep useful thickness
Proportional
Matches length and shape
Comfortable
No plate or tissue pressure
Supports a centred lower arch without thinning the sidewalls.
Helps the chosen shape remain symmetrical from the fingertip view.
Distributes transverse material intentionally rather than leaving a flat, bulky plate.
Provides a repeatable reference for paired nails and maintenance.
Allows an elegant silhouette without compressing the natural nail.
These benefits come from proportion, not maximum closure. Strength also depends on adhesion, length, product properties, cure or set, apex, stress area, sidewalls and client use. Closing the curve while leaving weak laterals or misplaced mass can make the extension harder to maintain without improving its performance.
Length and shape alter what the same curve looks like. A short square, medium almond and long competition structure cannot be judged from one reusable front-view template. Compare the curve with the planned lower lines and load path, then document the result at a level camera angle. A dramatic photograph from below may exaggerate closure and hide uneven thickness.
Natural curve, built curve and pincer nail
A natural nail plate has its own transverse curvature, which varies across fingers and people. A built C-curve is the designed geometry of an artificial extension. A pincer nail is a medical nail deformity involving excessive transverse curvature and may be painful or associated with inflammation. Similar front-view appearance does not make these the same condition.
Nail technicians do not diagnose pincer nails or attempt to ‘correct’ a suspected deformity by applying more artificial pressure. Stop when the natural nail is painful, deeply curved, inflamed or difficult to assess, and recommend evaluation by an appropriate healthcare professional. Cosmetic camouflage should never replace assessment of a symptomatic change.
What pinching means in nail construction
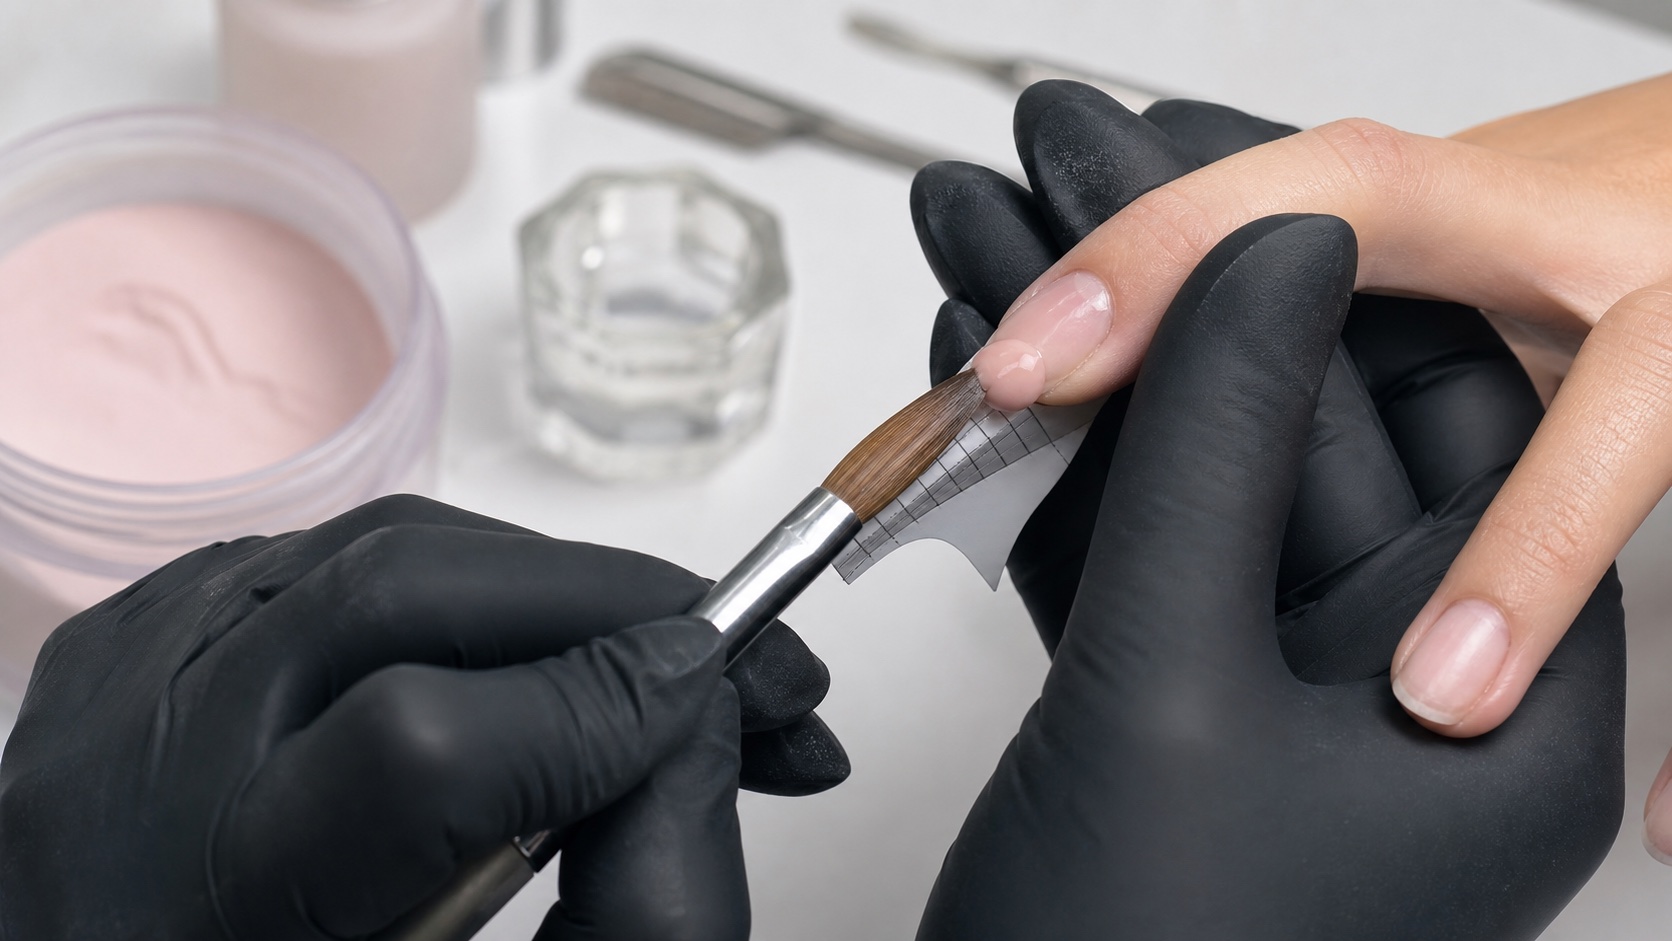
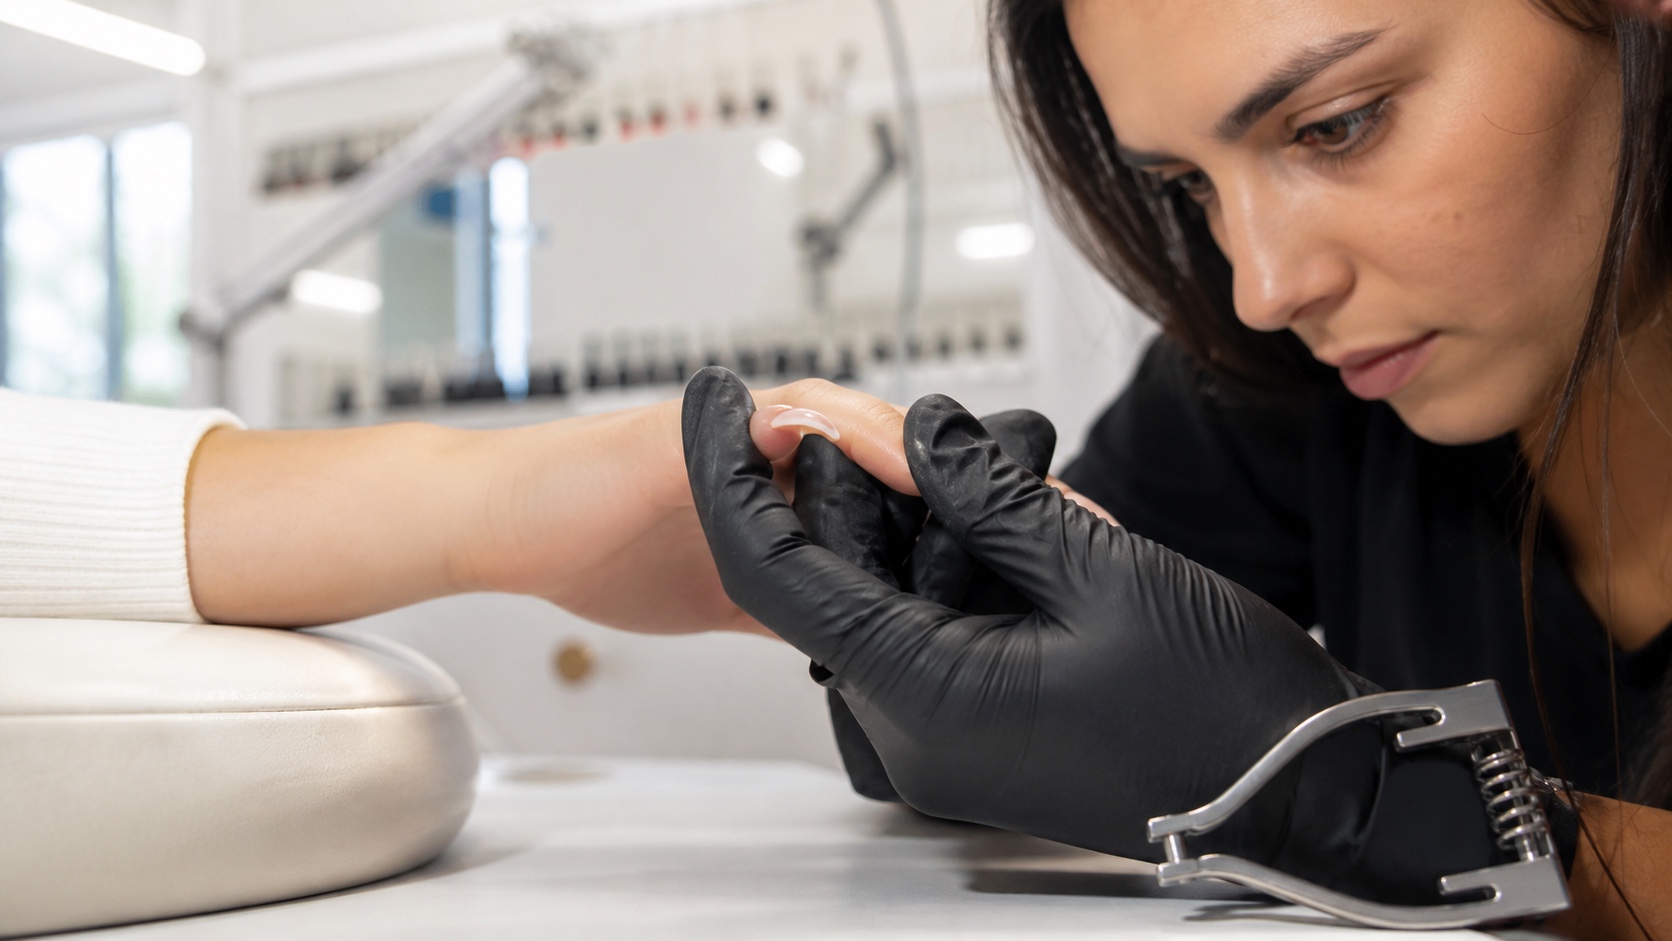
Pinching is controlled shaping of compatible artificial product and its temporary support during a product-specific working stage. It may use a dedicated clamp, pinching tool or manual technique, depending on the documented system. The intention is to refine the artificial extension's transverse curve—not to squeeze the client's natural plate or living lateral tissue.
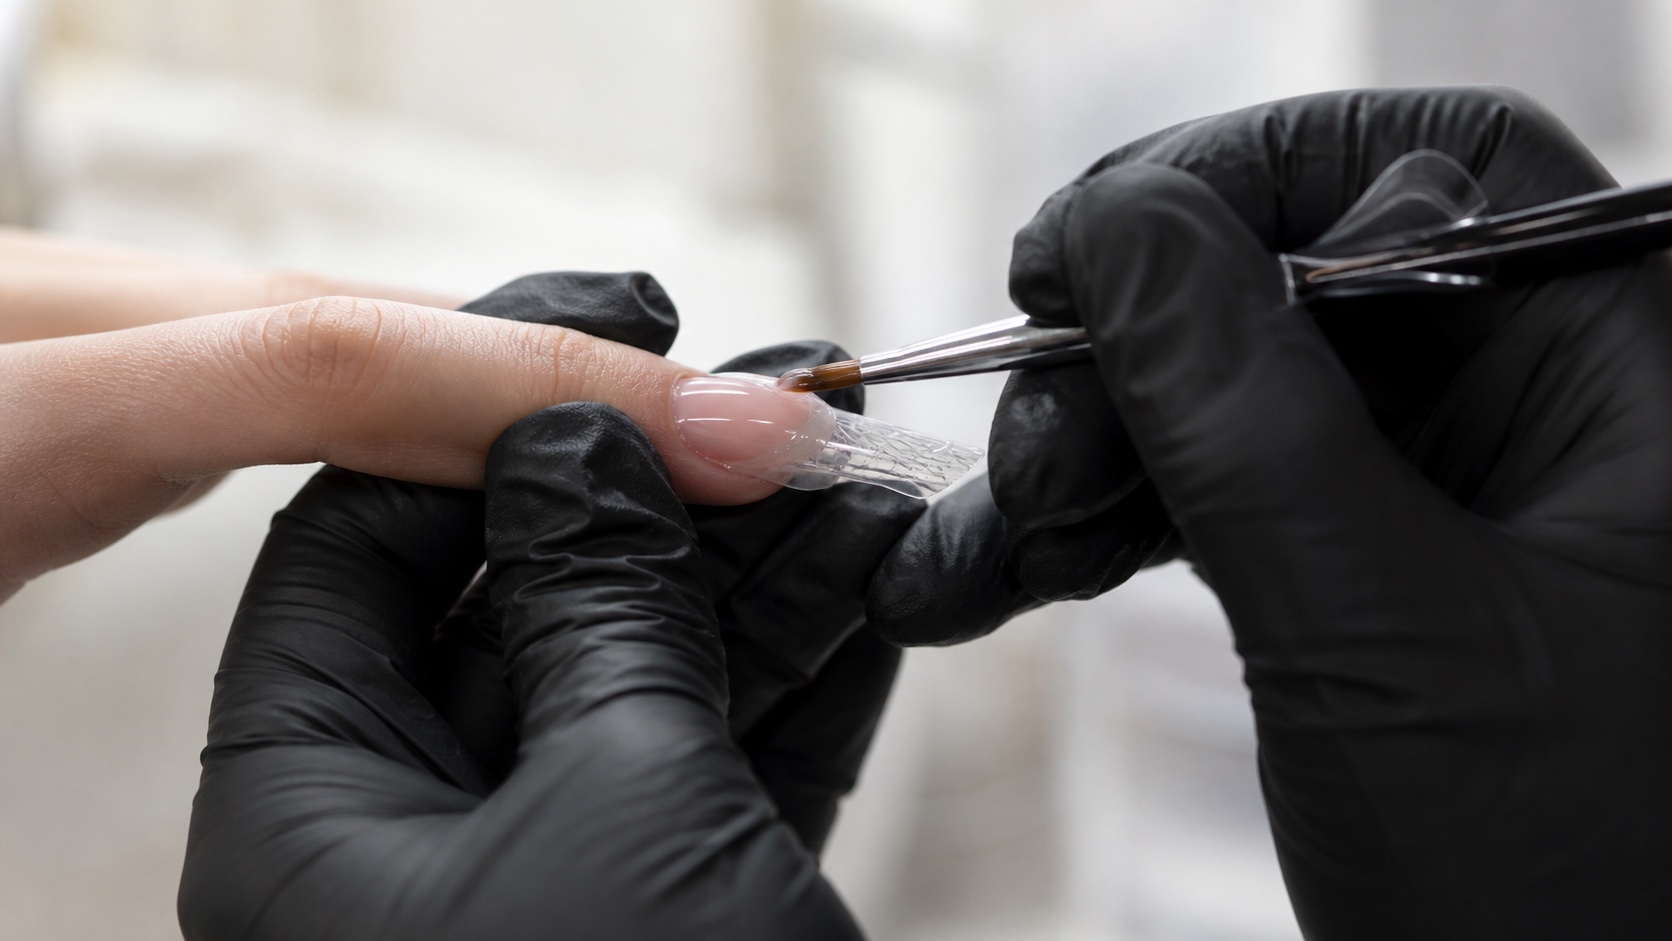
Good pinching starts with the form and product placement. If the adhesive nail form is twisted, too open or incorrectly inclined, equal pressure can preserve the error or make it more visible. Correct fit before construction rather than asking a clamp to redesign a finished mistake.
Pinching timing is system-specific
The working window comes from the documented system
Clock time alone cannot define safe shaping
Too early
Product moves or creases
Working stage
Controlled artificial shaping
Too late
Cracks or transmits force
Complete
Finish documented cure or set
There is no universal number of seconds or lamp flash that creates a safe pinching window. Gel behaviour depends on formula, layer, pigmentation, lamp compatibility, irradiance, position and temperature. Acrylic depends on bead ratio, ambient conditions, product and elapsed set. Acrygel working and cure behaviour depend on its own instructions.
Apply shaping only in the stage validated by the manufacturer and taught for that system. Too early, the material can move, crease or detach; too late, force may crack a set structure or transmit pressure. A partial light exposure used to hold shape never replaces the complete specified cure. After temporary shaping, the full cure or set must still be completed exactly as specified for the system.
Controlled sequence before, during and after pinching
Assess natural curvature, plate condition, sidewalls, growth direction and whether the technique is appropriate.
Fit and align the support, then define the intended front-view curve and complete architecture.
Place compatible product evenly enough to preserve sidewall and free-edge thickness after shaping.
Reach only the system-defined working stage and verify that the product can be shaped without displacement or fracture.
Position the tool on artificial structure, clear of natural plate and living tissue, with symmetrical light pressure.
Ask about comfort and observe colour, alignment, product movement and support stability continuously.
Remove the tool at the specified stage, complete cure or set, and inspect front, top, side and underside.
Refine only within safe thickness; rebuild a distorted structure rather than forcing it further.
How gel, acrylic and acrygel differ
System | Timing evidence | Common error to avoid |
|---|---|---|
Gel | Manufacturer's compatible lamp and staged procedure | Treating a flash cure as complete cure |
Acrylic | Observed set within documented liquid-powder system | Using clock time without bead and room context |
Acrygel | Brand-specific working and light-cure instructions | Assuming every hybrid behaves like builder gel |
The technique may not be required at all. Some modern gels, pre-shaped tips and dual forms already establish a transverse curve. Forcing a compatible-looking tool over a rigid tip can create tension, lifting or an incorrect fit to the natural nail.
Review the full gel extension sequence or the acrylic liquid-powder sequence before inserting pinching into either workflow. A product category does not establish the timing window.
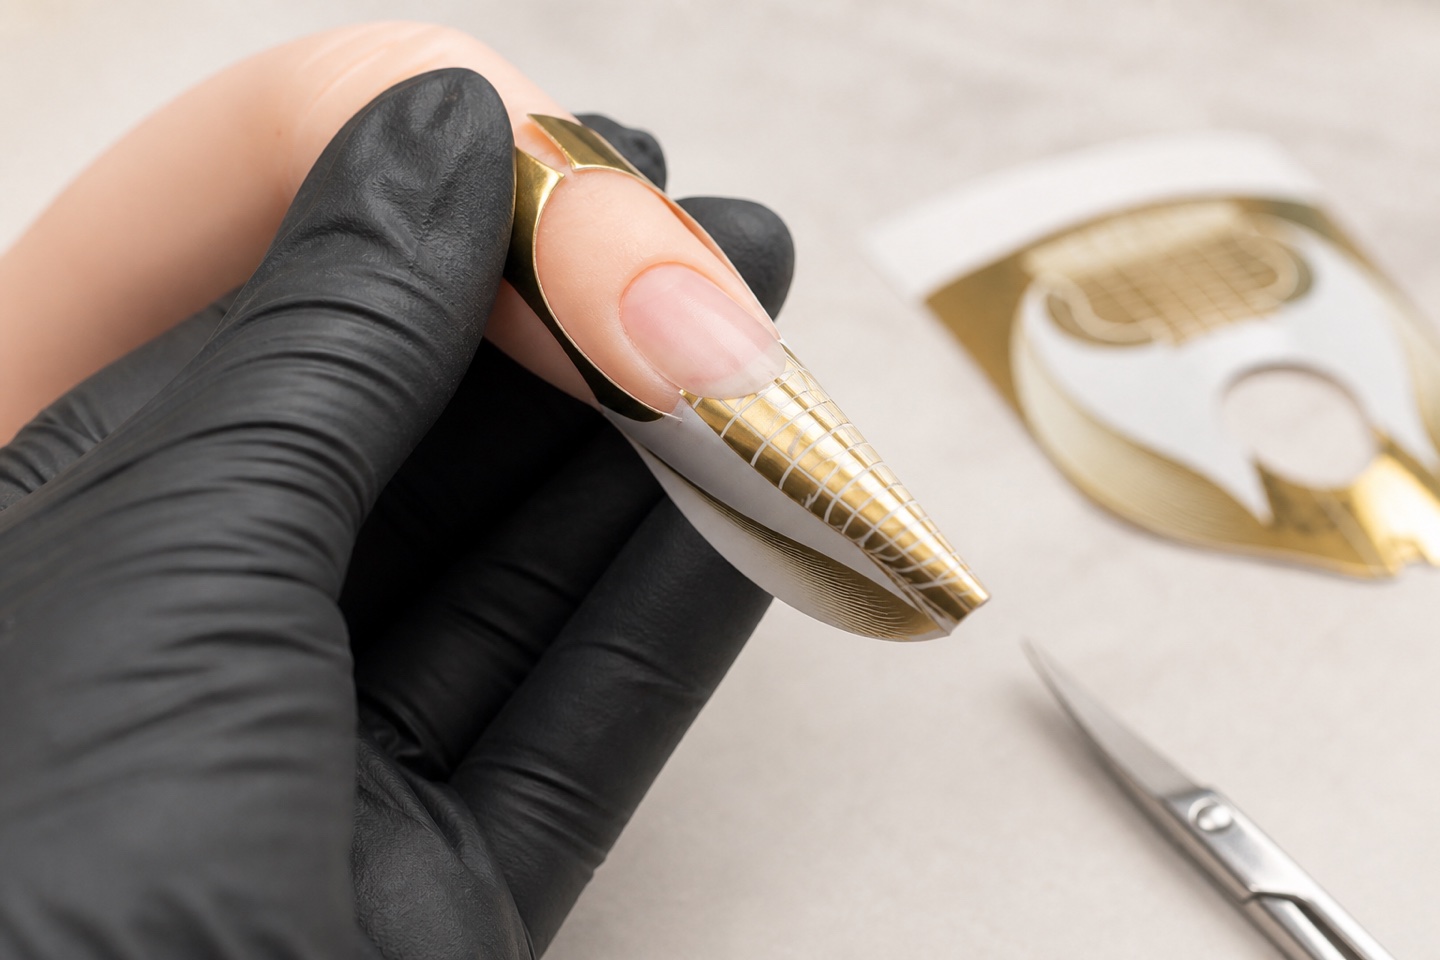
Quality checks from the front view
The curve is centred on the intended nail axis rather than pulled to one side.
Left and right sidewalls retain adequate, comparable support.
Free-edge thickness is appropriate and not hidden by an excessively closed tunnel.
The lower arch is continuous without a shelf, product ridge or open form seam.
The natural nail and surrounding tissue remain comfortable and normal in colour.
Pinching risks and stop signals
A timer never overrides a stop signal
Remove the tool before analysing the cause
Pain
Stop; never ask for tolerance
Colour
Watch blanching or redness
Structure
Crack, twist or displacement
Next
Reassess fit, timing and method
Remove the tool immediately for pain, throbbing, blanching, redness, altered sensation, pressure at the lateral folds, plate movement, support displacement, product cracking or growing asymmetry. Do not wait for a timer to expire. Client comfort is not evidence that the product itself has reached a safe cure; tissue comfort and chemical cure require separate checks.
Excessive closure can thin sidewalls, create product ridges, trap the form, distort the axis or make future infill difficult. Pressure transmitted through a rigid enhancement can also make the natural nail painful. If the design requires force to look correct, reassess form, shape, product quantity and technique rather than increasing pressure.
Common C-curve and pinching errors
Chasing a fixed curve percentage on every nail and length.
Pinching the natural plate or lateral tissue instead of artificial product.
Using unequal pressure to compensate for a form that was already twisted.
Pinching too early and displacing wet product or too late and cracking set material.
Completing a flash exposure but omitting the full system-defined cure.
Filing one side aggressively until a crooked front view appears centred.
Alternatives when pinching is unnecessary
Choose a form whose natural closure already matches the planned curve, pre-shape the support as permitted, refine product distribution, shorten the extension or select a tip or dual form that fits without force. A balanced wider curve is preferable to a fashionable narrow tunnel that compromises fit, sidewalls or comfort.
Train C-curve reading on photographed and practice structures before applying pressure to a client service. Compare top, side and front views, record product and timing, and ask a qualified educator to assess symmetry and thickness. A useful practice log records the natural curvature, extension length, support type, product batch, room conditions, working-stage observation and outcome from every angle. That evidence makes technique adjustments traceable and discourages copying an isolated time or curve from social media. BeautyLearn's online nail courses and English nail guide library connect this advanced decision to form fitting, product systems and full architecture.
Frequently asked questions
Does a nail C-curve need an exact percentage?
No universal percentage fits every natural nail, shape, length and system. Assess symmetry, sidewalls, thickness, complete architecture and comfort together.
Is pinching compulsory for nail extensions?
No. Many structures can be built with suitable forms, product placement, tips or dual forms without a separate pinching step.
Can the natural nail be pinched?
No. Pinching is controlled shaping of compatible artificial structure. Do not compress the natural plate, lateral folds or living tissue.
When should a clamp be applied to gel?
Only at the working stage specified for the exact gel, lamp and procedure. There is no universal flash time, and full cure must still be completed.
Why does pinching hurt?
Pressure may be reaching the natural nail or tissue, or the support and structure may be unsuitable. Remove the tool immediately and reassess; do not ask the client to endure it.
Is a tighter C-curve always stronger?
No. Strength depends on complete design, material, cure, adhesion, length and use. Excess closure can add pressure or weaken sidewalls without improving balance.
How is a crooked C-curve corrected?
Find the cause: form angle, product distribution, axis, uneven pressure or filing. Minor surface imbalance may be refined; a twisted or compressed structure should be rebuilt.
Can tips or dual forms be pinched?
Only if the specific system validates it. Pre-shaped supports already carry curvature, and forcing them can create tension, lifting or poor natural-nail fit.
Is a narrow C-curve the same as pincer nail?
No. One describes built transverse geometry; pincer nail is a natural-plate deformity that may be painful and requires healthcare assessment rather than cosmetic diagnosis.
Can pinching replace correct nail-form fitting?
No. Pressure cannot reliably correct a twisted axis, open seam or poor sidewall support. Refit the form before applying product.
What if the product cracks during pinching?
Stop and remove the tool. Reassess timing, cure or set, thickness, product compatibility and the integrity of the whole structure before deciding whether to rebuild.
How should C-curve quality be photographed?
Use a level front or barrel view for transverse symmetry, plus top and side views for axis, apex, lower line and thickness. Avoid a flattering angle that hides one sidewall.
Sources and scope
Product safety: FDA nail care products. Dermatology guidance: AAD artificial-nail damage reduction. Clinical distinction: Pincer Nail Deformity review on PubMed Central. Apply current system instructions and local professional limits.
Editorial boundary: this page owns C-curve reading and system-limited pinching. Whole-nail architecture, apex positioning, form fitting, product application and medical nail conditions remain separate intents.