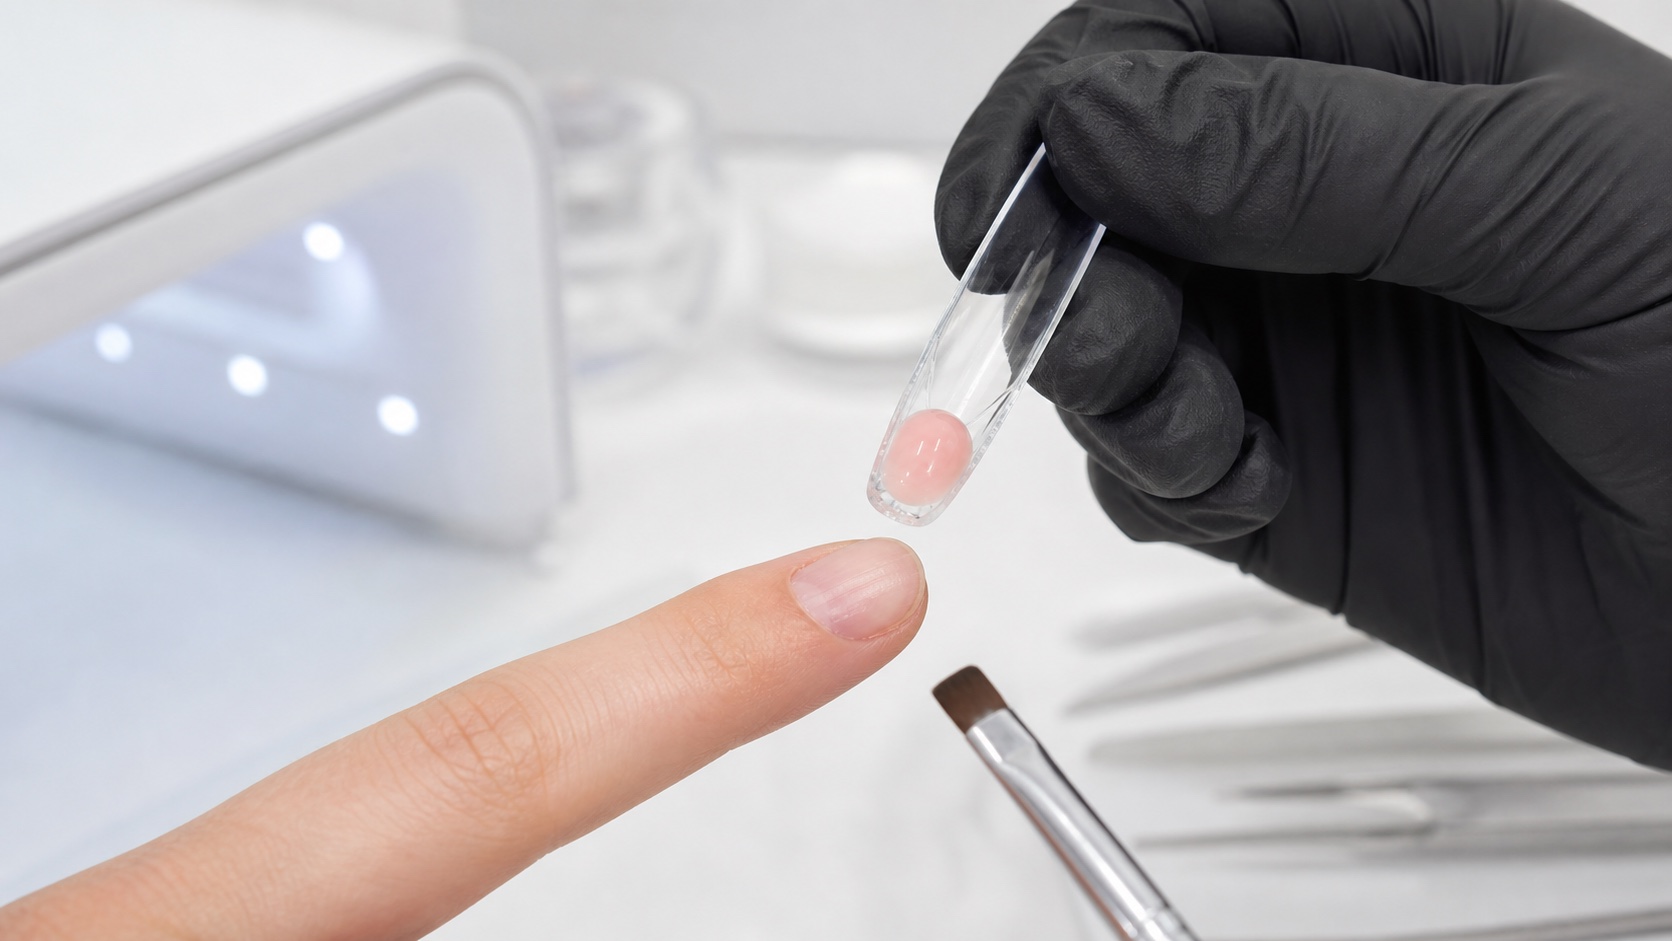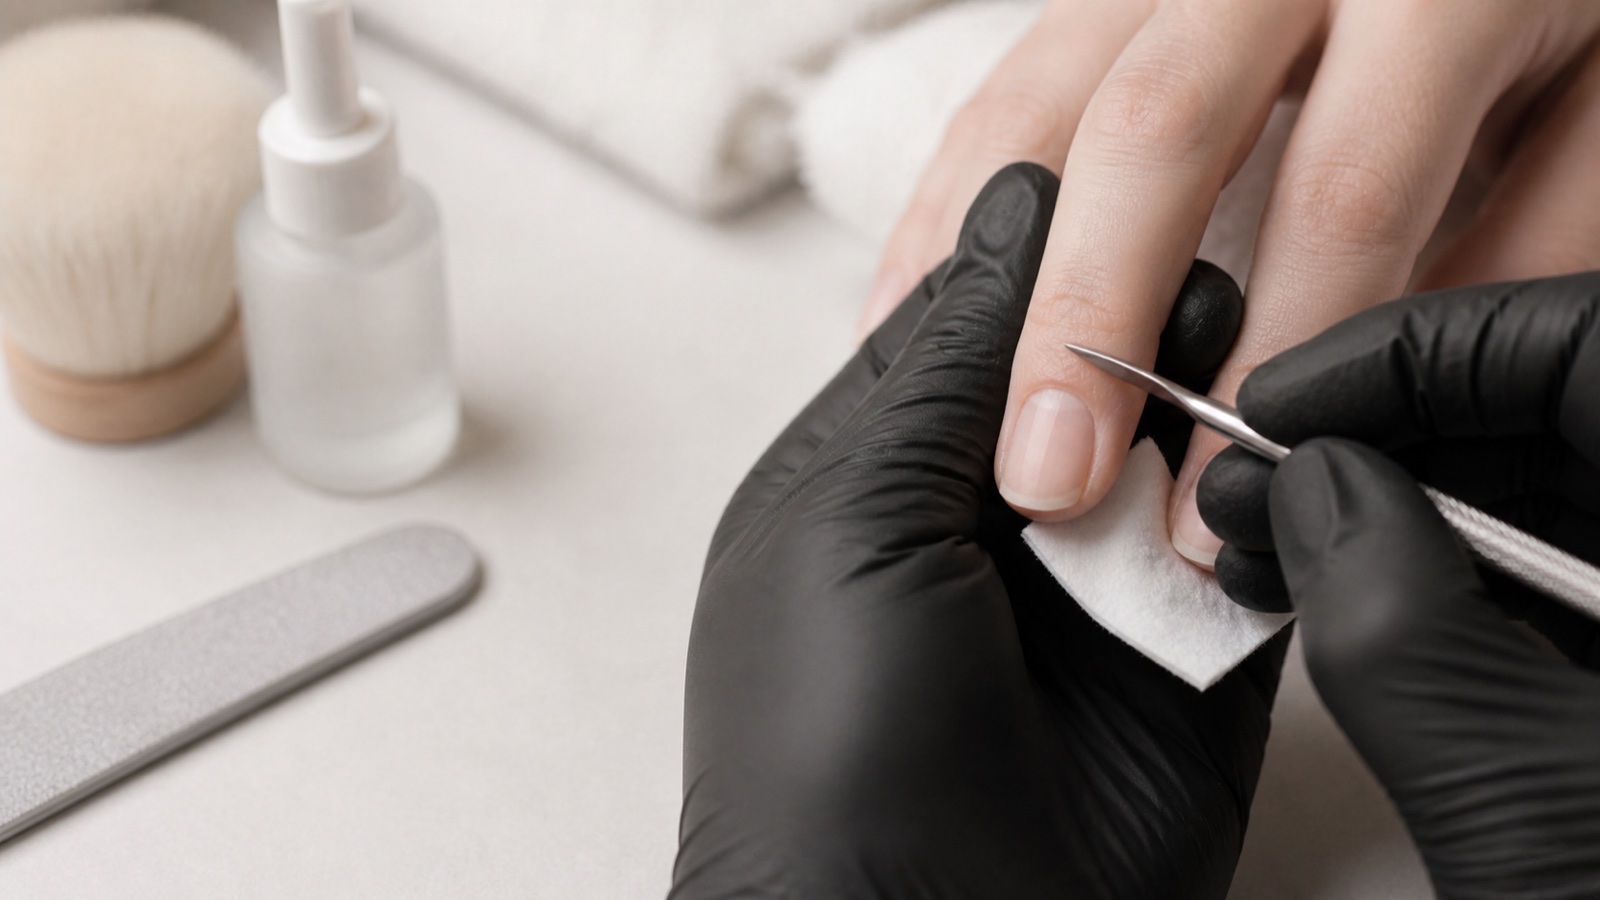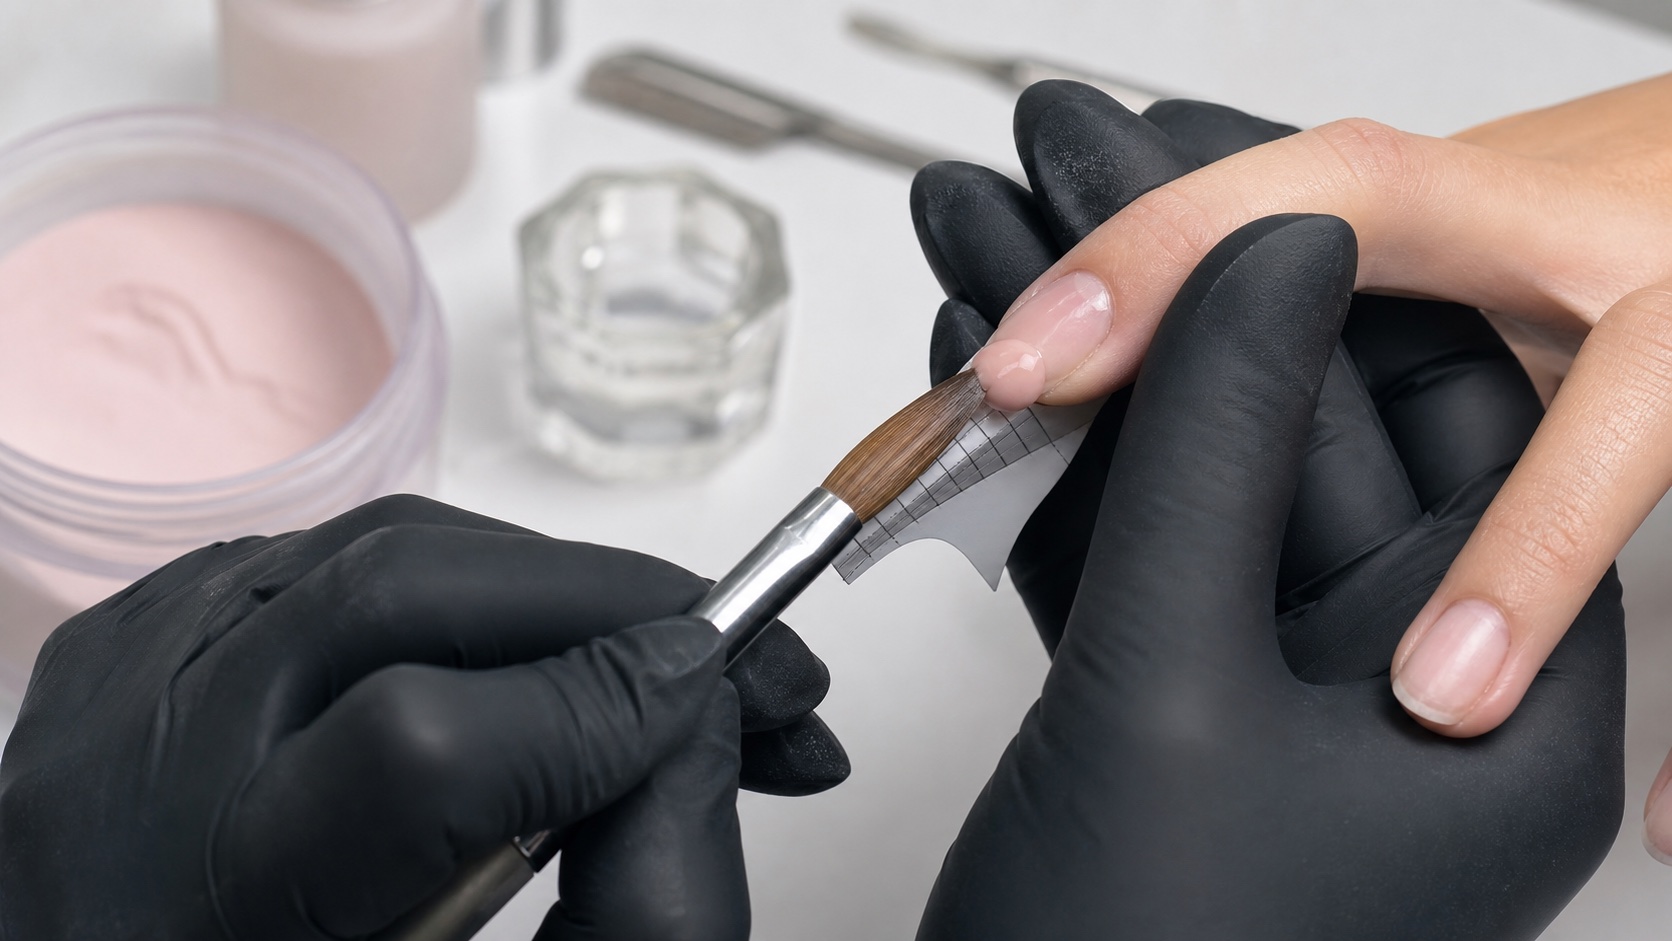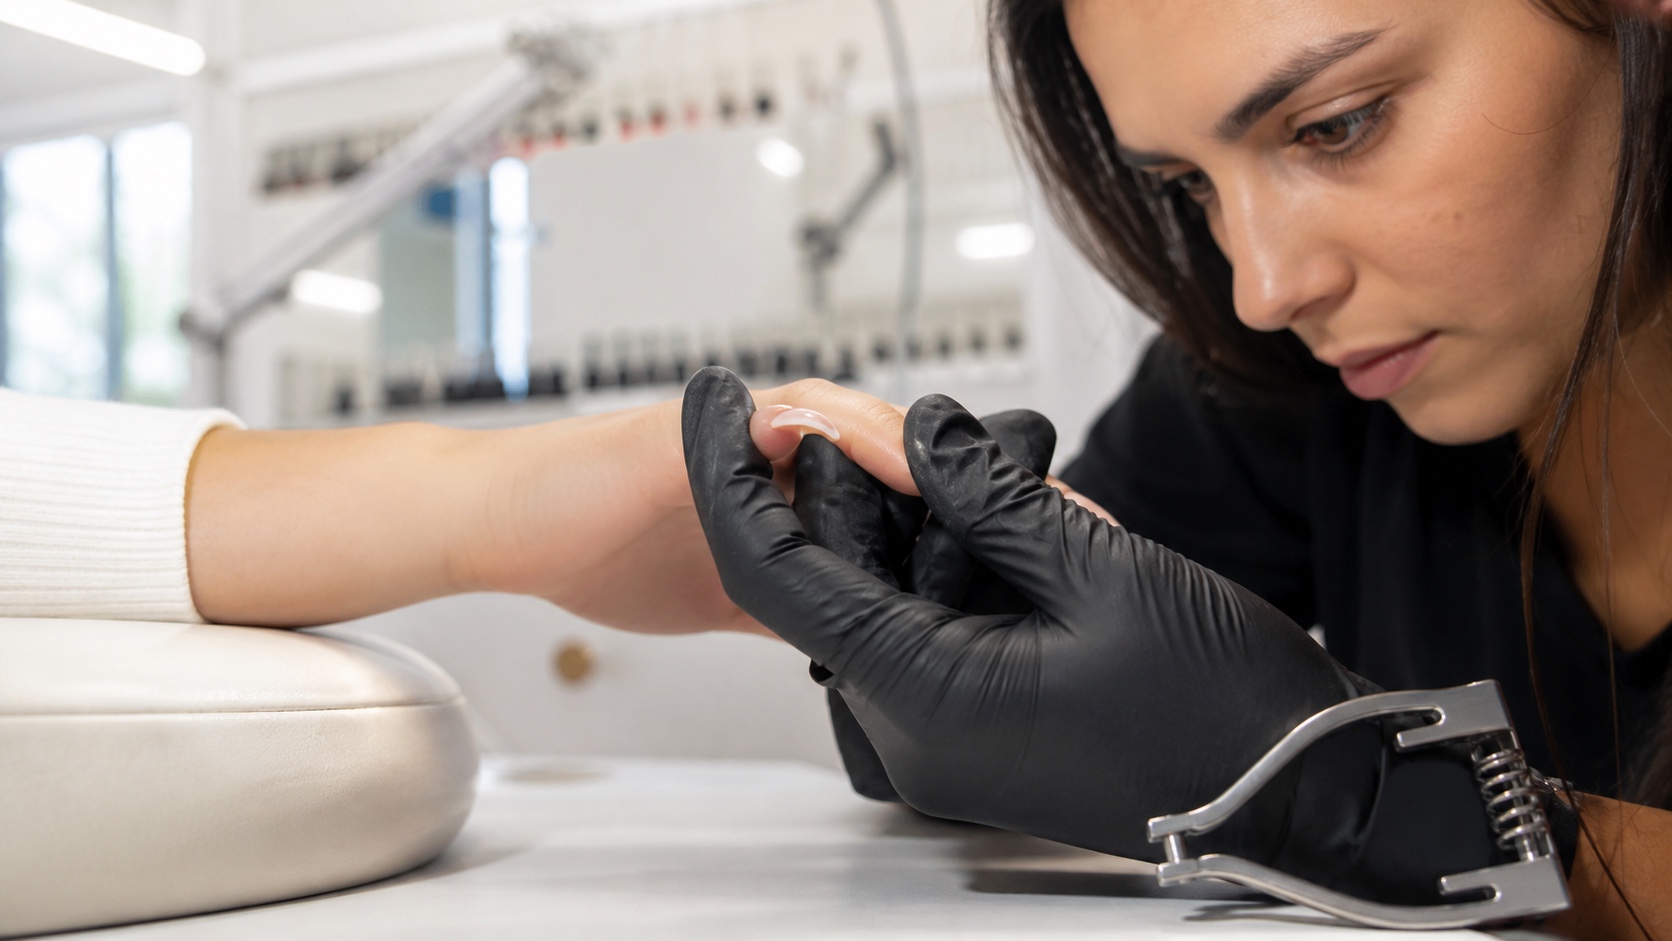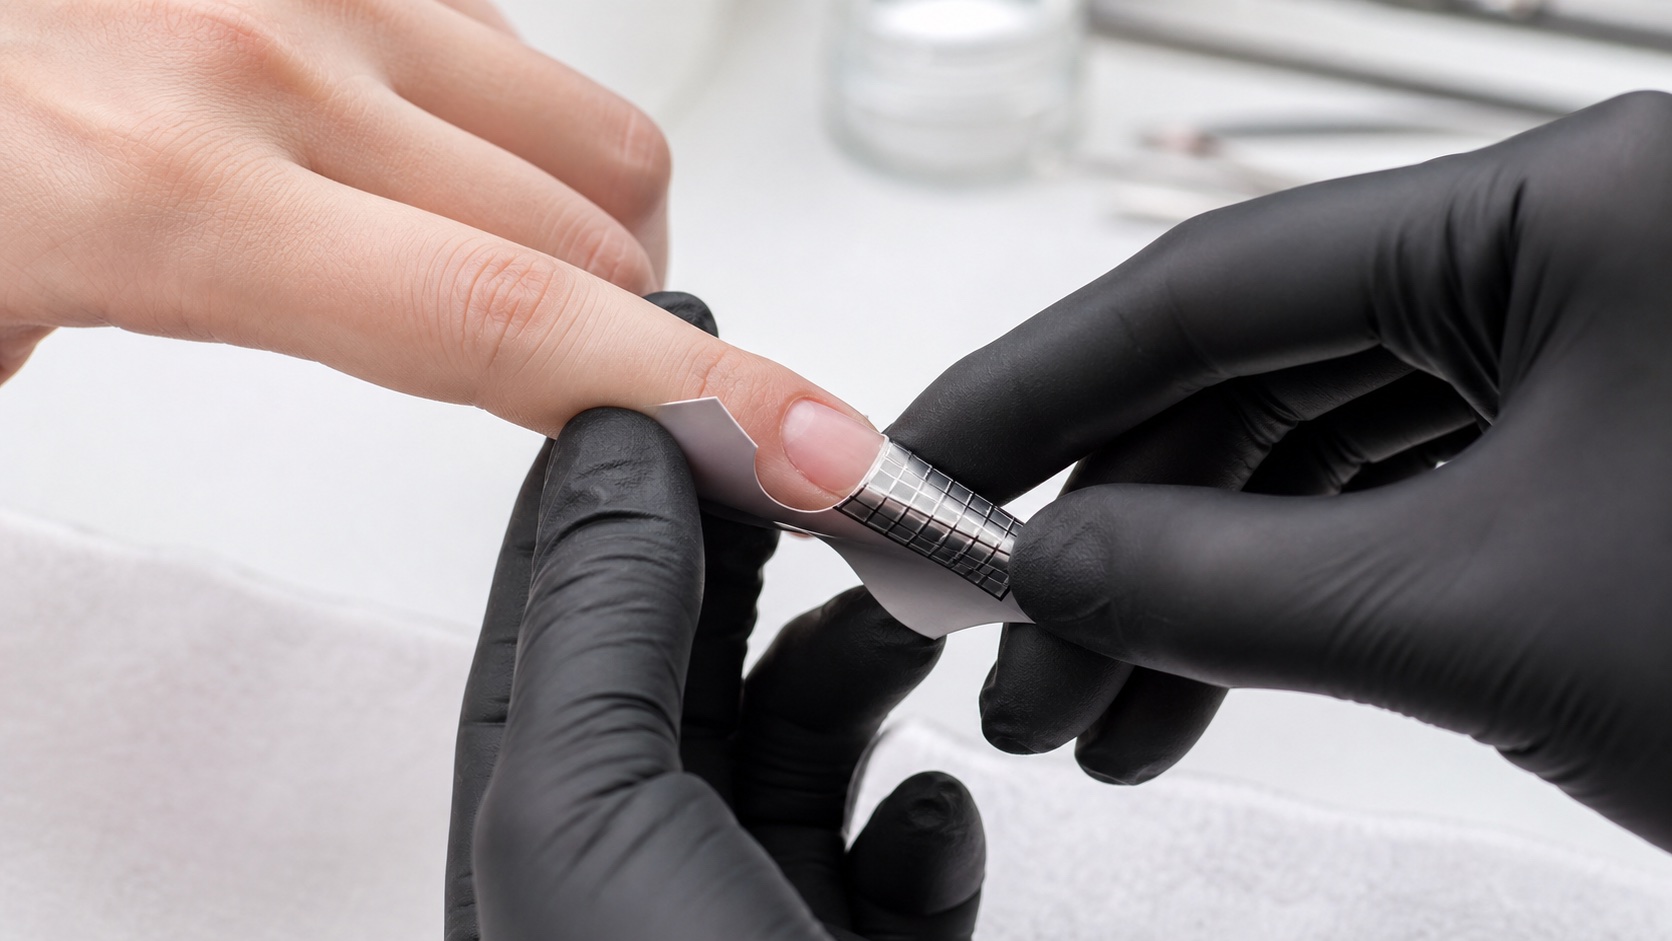
A nail form is a temporary support placed beneath the natural free edge so gel, acrylic or acrygel can be built into an extension. The printed grid helps repeat length and direction, but it cannot decide the axis or compensate for a poor fit. A professional result begins by adapting the form to the individual nail, closing gaps and checking alignment before any product is placed.
Short answer: inspect the nail from above, the side and the front; test the form without forcing it; mark and cut only where anatomy requires relief; reseal the form around the finger; then confirm central axis, sidewall continuity, intended inclination and a gap-free underside. If alignment changes when you release your grip, refit it before building.
This guide owns adhesive sculpting-form selection, custom trimming and placement. The dual-form guide owns reusable upper-form sizing and product distribution; the nail morphology guide owns shape choice for the hand. These systems solve different problems and should not be treated as synonyms.
What nail forms do during an extension
The form is a temporary construction map
Support comes first; product creates the final structure
Fit
Close the underside gap
Align
Set axis and lower line
Build
Place compatible product
Release
Remove without distortion
The form creates the temporary underside and visual map on which the free edge is built. It helps the technician establish length, lower-line direction, sidewall continuation and symmetry before the artificial structure can support itself. Once the product has polymerised or set sufficiently under its system instructions, the form is removed; it must release without pulling, twisting or breaking the extension.
A form is not a corrective force for the natural nail and should not be wedged into sensitive tissue. It does not make a weak structure strong by itself. Final stability still depends on product compatibility, correct polymerisation, apex and stress-area design. Review the nail architecture guide before using grid lines as a substitute for structural planning.
How to choose a professional nail form
Feature | What to check | Why it matters |
|---|---|---|
Adhesive | Secure closure through the working time | Prevents the wings opening and changing alignment |
Rigidity | Enough support without resisting custom shaping | Maintains the planned curve and lower line |
Grid | Readable centre, length and lateral references | Supports repeatability across fingers |
Opening | Compatible starting curve with room to customise | Reduces excessive cuts and underside gaps |
Surface | Releases from the specified product after curing | Allows controlled removal without distortion |
A premium-looking foil does not guarantee fit. Test a small batch with the product systems and service lengths you actually use. Store forms flat, dry and protected from heat or pressure that can distort the roll or weaken adhesive. If the backing, print or glue changes between batches, repeat the fit check instead of relying on the old setup.
Read the natural nail before trimming the form
Five observations determine the fit
The printed opening cannot read individual anatomy
Contour
Shape of the free edge
Sides
Left and right depth
Axis
Natural growth direction
Boundary
Tissue and intended shape
Observe the free-edge shape, sidewall depth, hyponychium position, central axis and growth direction. Look from the fingertip, not only from above. One side may be higher, the plate may rotate slightly, the free edge may be absent in one area or the hyponychium may extend forward. The form opening must respect living tissue and support the planned extension without pressure.
Free-edge contour: round, square, asymmetrical, very short or locally missing.
Lateral depth: equal on both sides or requiring different relief cuts.
Growth axis: straight, downward, upward or laterally deviated.
Underside tissue: location and comfort boundary that the form must not compress.
Planned shape and length: the destination determines alignment and closure.
How to trim a nail form without leaving gaps
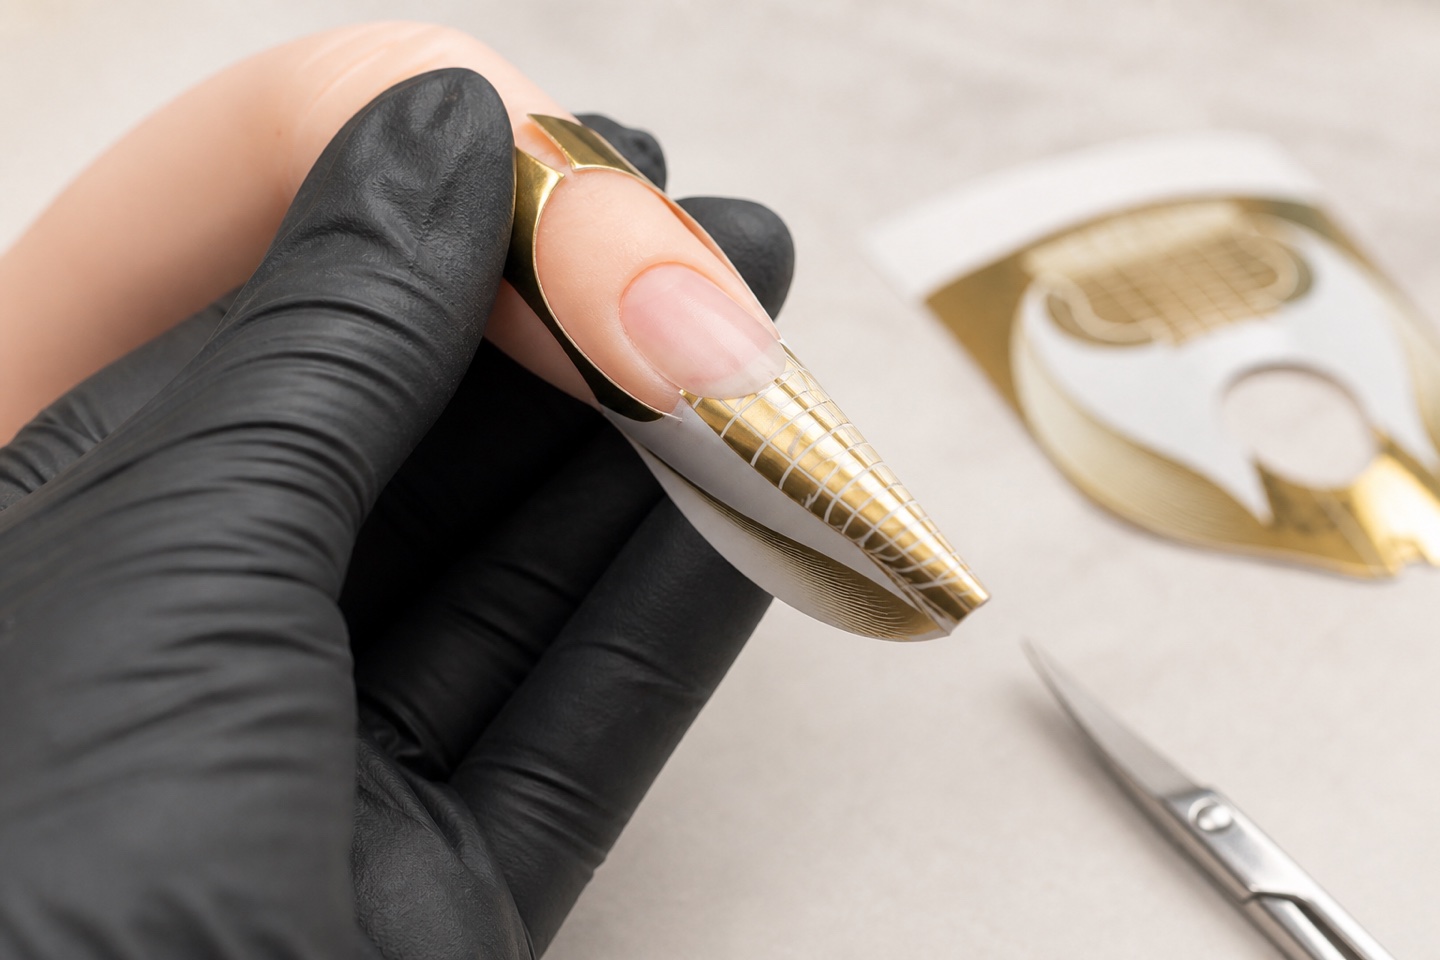
Test, mark, trim and retest
Small evidence-led cuts preserve structural support
Test without forcing
Mark the contact points
Cut only the required relief
Refit from three views
Test the uncut form beneath the free edge without closing the rear wings completely.
Mark the exact points where paper contacts a sidewall or where the opening fails to follow the free-edge curve.
Remove the form and make small symmetrical or deliberately asymmetrical relief cuts according to those marks.
Round sharp cut corners so they do not split further or press against tissue.
Refit and inspect for light gaps from the top, side and front before cutting more.
Close the form only after the opening seats comfortably and the grid can be aligned to the planned axis.
Cut incrementally. A cut that is too deep weakens the side support and creates a gap through which product can leak. Copying a standard V-cut without first locating the client's lateral folds often removes material in the wrong place. Different cuts on the two sides are acceptable when anatomy is asymmetrical and the final axis remains intentional.
Fit and close the form without forcing the finger
Roll or pre-shape the form gently if the product design permits it. Slide the opening beneath the free edge while keeping the centre line visible. Join the underside wings to create the planned tunnel; then close the finger wings securely without pinching circulation or pulling the form off axis. The client should not feel sharp pressure at the sidewalls or hyponychium.
Release your supporting grip for a moment and recheck. Adhesive tension can rotate the form after closure, especially on tapered or wide fingertips. If the centre line moves, the underside opens or one wing lifts, remove and refit a fresh form rather than adding product to stabilise a bad position.
Check nail-form alignment from three views
One fit must pass three views
Top, side and front reveal different placement errors
Top
Axis and lateral continuation
Side
Inclination and lower line
Front
Tunnel and symmetry
Release
Confirm it stays stable
Top view: central axis and sidewall continuation
Align the printed centre with the intended visual axis, not automatically with a finger that rotates. Side references should continue the natural sidewalls into the chosen shape without flaring or converging too early. Compare paired fingers and both hands, but do not sacrifice an individual nail's anatomy to make every grid number identical.
Side view: lower line and intended inclination
The form should continue the lower-line plan without an unintended step. A form pointing down can create a hooked extension; one lifted indiscriminately can create a ski-jump result or reduce structural space. Correcting a growth direction requires a deliberate design within professional limits, not simply forcing the paper against the plate.
Front view: tunnel, closure and symmetry
From the fingertip, check that the underside is centred, the wings meet as planned and the form is not twisted. The curve must suit the product and intended shape without squeezing the natural nail. Compare left and right support; a hidden open seam can create leakage, excess underside product and an uneven lower arch.
Adapt alignment for square, almond and oval shapes
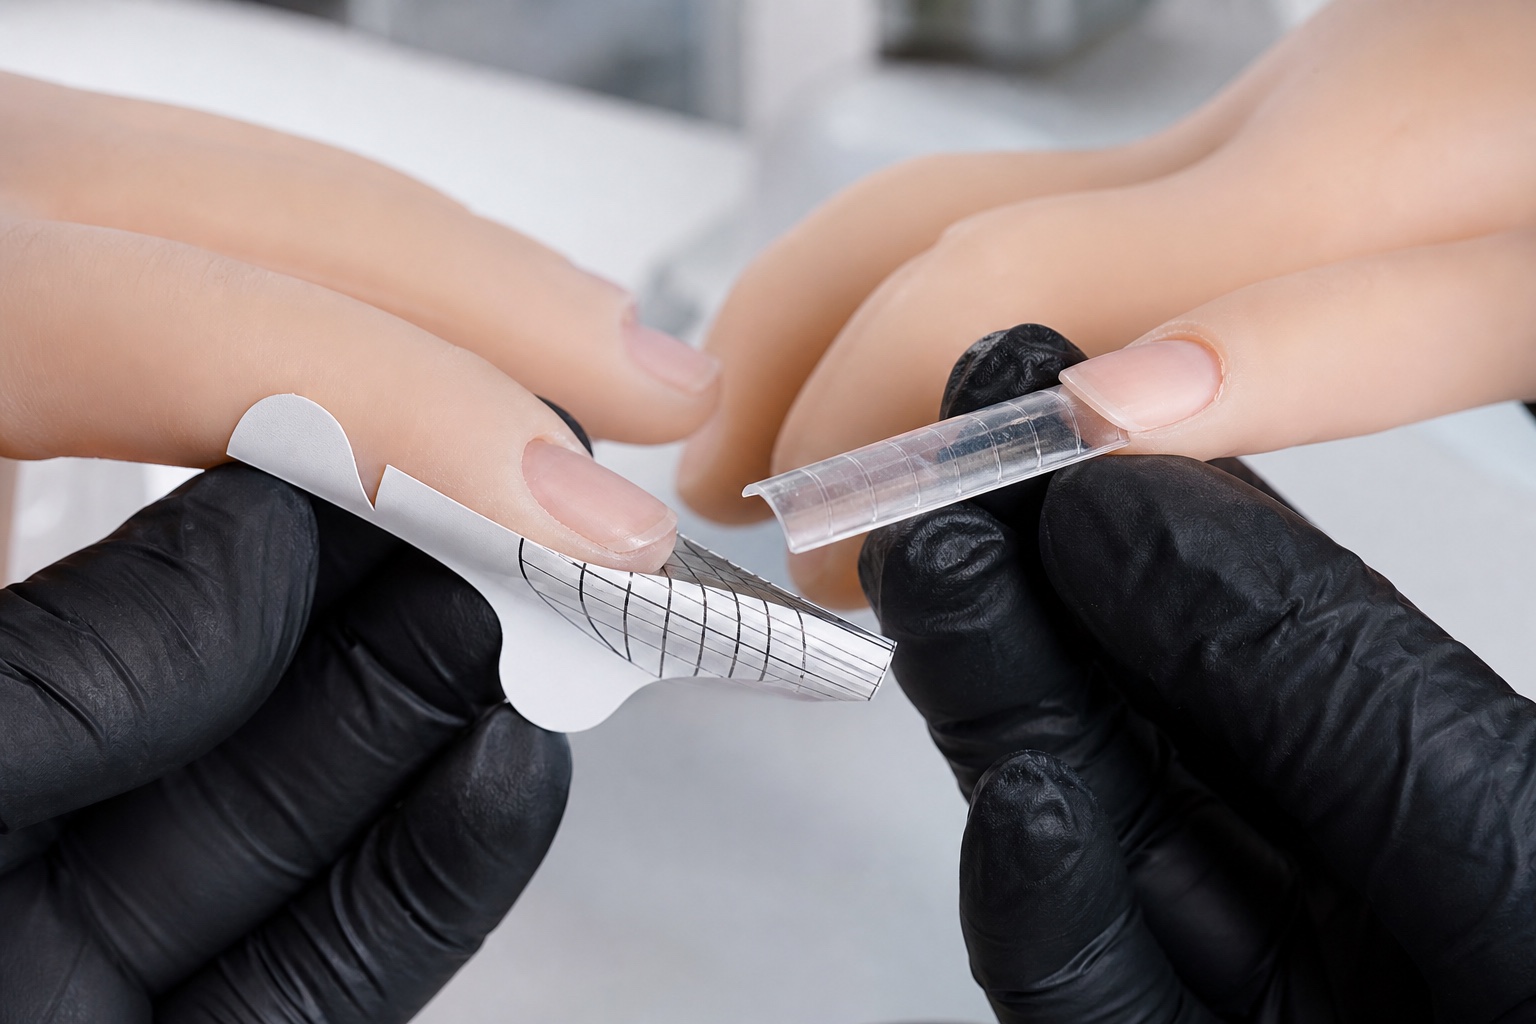
A square extension needs lateral lines that remain parallel for the planned length before the free edge closes. An almond tapers progressively from structurally supported sidewalls; closing the paper too early narrows the stress area and encourages product to pinch beneath. Oval shapes soften the free-edge transition without losing the central axis. Stiletto and advanced lengths demand specific training and are not produced by merely following a printed point.
The form supports the silhouette, while product placement creates the structure. The gel extension guide and acrylic extension guide explain material-specific working and maintenance after the support has been positioned.
Does gel, acrylic or acrygel require a different form?
The anatomical fit and planned axis do not change because the product label changes. However, stiffness, adhesive performance, surface coating, product viscosity, working pressure and polymerisation sequence can affect handling. The chosen form must be compatible with the manufacturer's system and stable for the whole working period.
A very flexible form may collapse under product pressure; an excessively rigid one may resist a narrow custom closure. Acrylic is shaped while it sets, whereas light-cured gel and acrygel remain dependent on their documented cure. Never use the form to shield product from the required lamp exposure or to hold uncured product against skin.
Common nail-form mistakes and what to recheck
Visible result | Possible form cause | Recheck before rebuilding |
|---|---|---|
Extension flares | Side lines opened or closure too wide | Top axis and lateral continuation |
Hooked profile | Form points down or gap allows product sag | Side view and free-edge contact |
Twisted free edge | Wings closed unevenly or form rotated | Front view after releasing support |
Product underneath | Opening or seam leaves a visible gap | Fit test, cuts and underside closure |
Form opens during work | Weak adhesive, dust, tension or poor closure | Storage, batch and finger-wing contact |
Very short, bitten or asymmetric nails
A short free edge may leave little stable contact and a bitten nail can include altered surrounding tissue. Do not bridge product across skin to create an improvised platform or force paper under attached tissue. Assess whether a form service is appropriate, shorten the planned extension and work only within training and manufacturer instructions. The nail-biting guide explains professional limits and referral signs.
For asymmetry, mark each side independently and verify the intended visual axis from a normal viewing position. Customisation should reduce gaps without cutting away the support required for structure. If the anatomy cannot be fitted comfortably and predictably, choose a different professional method or postpone rather than treating persistence as skill.
Removal, hygiene and single use
After the product reaches the system-defined stage, release the adhesive wings and open the form gently before sliding it away from the extension. Do not twist against an incompletely cured structure. Inspect the underside and sidewalls immediately; correct a structural fault before finishing rather than hiding it with colour.
Adhesive paper or foil forms are single-use. Do not transfer a tested form between clients or return a contaminated form to the roll. Use clean scissors reserved and processed for the task, protect the roll from dust and aerosols, and follow local infection-control and waste requirements.
A 30-second checklist before applying product
No pressure on living tissue and no visible opening beneath the free edge.
Centre line follows the intended axis when the finger rests naturally.
Side references continue the natural sidewalls for the chosen shape.
Side-view inclination and lower line are deliberate, not accidental.
Underside closure is centred and the form remains stable without your grip.
Length and product plan remain within the trained service and compatible system.
Practise fit and alignment without product until the three-view check is repeatable. Compare BeautyLearn's online nail courses and continue through the English nail guide library for preparation, structure and product-specific sequences.
Frequently asked questions
What are nail forms used for?
They provide temporary support beneath the free edge while gel, acrylic or acrygel is sculpted into an extension, then are removed after the system-defined setting stage.
Does one nail form fit every nail?
No. Opening shape, lateral depth, growth direction, hyponychium and planned extension differ, so each form must be tested and customised where necessary.
Why is there a gap beneath the free edge?
The opening may not match the free-edge contour, relief cuts may be misplaced, or closure may pull the form away. Remove, mark, trim and retest.
How much should I trim a nail form?
Only enough to relieve the observed contact and close the visible gap while preserving lateral support. Small test cuts are safer than one standard deep cut.
Should a form point upward or downward?
Its inclination should follow the planned shape, growth direction and structural design. Neither upward nor downward placement is universally correct.
Can the same forms be used for gel, acrylic and acrygel?
Possibly, when fit, stability, surface and release are compatible with each documented system. Test rather than assuming the material label alone decides.
Why does a sculpted extension flare at the tip?
The form may open too widely, side references may diverge or product may be placed outside the planned silhouette. Recheck the top view before building.
Can I reuse adhesive nail forms?
No. Paper or foil adhesive forms are single-use and lose clean geometry and hygiene integrity after fitting and removal.
Are reusable metal forms better?
They are a different tool with specific fit and validated processing requirements, not automatically a better or universal replacement for disposable forms.
Can I use a form on a bitten nail?
Only when anatomy is intact, the method is appropriate and the technician has relevant training. Never bridge uncured product across skin or compress altered tissue.
Why does the form twist after I close it?
Uneven wing tension, mismatched cuts, fingertip shape or weak adhesive can rotate it. Release and refit rather than holding it manually during application.
When should I discard a fitted form and start again?
Replace it when cuts are excessive, adhesive fails, the opening remains gapped, tissue is compressed or alignment changes after you release support.
Editorial scope
This page owns selection, trimming, closure and three-view alignment of disposable adhesive nail forms. Dual forms, complete product application, architecture and morphology remain separate search intents so each subject can be taught without repetition.