The nail apex is the highest point of an enhancement when its longitudinal profile is viewed from the side. It is not a decorative bump and it does not belong at one fixed percentage on every nail. Its useful position emerges from the natural nail bed, extension length, chosen shape, growth direction, stress area and material. A well-placed apex connects smooth transitions; a misplaced one can make an otherwise neat set heavy, flat, hooked or visually twisted.
Quick answer: place the apex within the structural region that needs to manage the lever created by the free edge. A short overlay needs subtle reinforcement; a medium salon extension needs a clearer but proportionate peak; a long or corrective form requires advanced redesign, not simply more height. Confirm position from side, top and front before deciding it is correct.
This guide owns detailed apex placement, inspection and correction. The broader nail-architecture pillar explains side lines, transverse balance, lower support and the complete structure. Use both with the professional hand-filing guide and the BeautyLearn English nail guide library.
Apex, stress area and upper contour: keep the terms separate
Term | What it describes | What it is not |
|---|---|---|
Apex | The highest point in longitudinal side profile | The complete architecture |
Stress area | The region that manages bending and leverage | One universal printed line |
Upper contour | The continuous rise and fall of the product | Two slopes meeting in a sharp hill |
Transverse curve | Front-view product distribution across the width | Proof that the side-view apex is centred |
The apex cannot be evaluated as an isolated dot. Product should rise from a thin proximal transition, reach its highest region without an abrupt step and descend toward a proportionate free edge. A profile can have the apex in a plausible front-to-back position while still being unsafe or visually unbalanced because one side is hollow, the lower line hooks down or the product is incompletely cured.
Why there is no universal one-third rule
A reference point is not a universal formula
Place volume for the nail in front of you
Length
Changes free-edge leverage
Shape
Changes side support and axis
Growth
Changes form and lower direction
System
Changes placement and cure control
“One third from the cuticle” can help a beginner read a simple training diagram, but it is not a law of nail mechanics. The measured result changes depending on whether the length includes only the nail bed, the entire enhancement or the free edge; the ratio of bed to extension also changes from one person to another.
Before product, assess final length, shape, natural curve, growth direction, side boundaries, material, maintenance interval and expected use. A short square overlay, a medium almond extension and a corrected downward-growing nail cannot receive the same product map simply because their cuticles begin at zero.
Length: more free-edge lever usually requires more deliberate distribution, not uniform thickness.
Shape: square corners, tapered side lines and oval transitions carry different visual and structural demands.
Growth direction: downward, upward or lateral deviation changes the axis and form placement strategy.
Material: self-levelling gel, acrygel and acrylic reach the planned volume through different working methods.
Maintenance: growth carries the old high point forward and changes the lever even without lifting.
Apex position by nail length
More length needs redistribution, not a taller bump
Read the entire upper contour
Short
Subtle reinforcement
Medium
Visible, proportionate high region
Long
Advanced structural redesign
Short overlay or natural-length reinforcement
A short overlay needs controlled distribution but rarely a tall visible hill. The proximal transition stays thin, the structural region receives subtle reinforcement and the contour descends smoothly to the natural free edge. Adding obvious height to a minimal length creates bulk, an early grow-out ledge and extra filing without automatically improving wear.
Medium salon extension
With a medium extension, the high region becomes easier to see. It commonly sits behind the geometric centre of the entire enhancement because the natural bed and added free edge do different work. The exact placement still changes with their proportions. The rise from the cuticle should be gradual, and the descent toward the tip usually extends over a longer visual distance.
Long or extreme length
Long lengths need advanced control of axis, lower line, transverse curve, side support and material thickness. Increasing only apex height makes a heavy mountain while leaving another zone weak. Practise medium lengths first and follow the trained method for the exact shape; extreme structures are outside a generic placement formula.
How nail shape and growth direction change placement
A square shape needs supported parallel side lines and corners; filing them hollow to appear slim can leave the high point sitting on an unsupported centre. Almond and other tapered shapes depend on a central axis and symmetrical convergence: an apex shifted sideways makes the form look twisted even when the tip appears centred. Oval structure needs a continuous soft transition without empty lateral zones.
A downward-growing nail requires a sustainable correction of the visual and structural axis. Stacking gel on top without changing the lower direction can exaggerate a hook. An upturned or laterally deviated base also needs form or tip adaptation; the apex cannot straighten an extension whose support was positioned incorrectly.
Design | Placement priority | Common trap |
|---|---|---|
Short overlay | Subtle reinforcement and continuous transition | Tall hump copied from a long nail |
Medium square | Balanced high region with supported side lines | Heavy tip and hollow corners |
Medium almond | High region centred on the taper axis | Off-centre volume hidden by the top view |
Downward growth | Correct support and lower direction before volume | More product exaggerates the hook |
Inspect the apex from side, top and front
One view cannot validate the apex
Rotate before adding or filing
Side
Position, height and slopes
Top
Axis and left-right volume
Front
Curve and lateral thickness
Underside
Support, steps and overflow
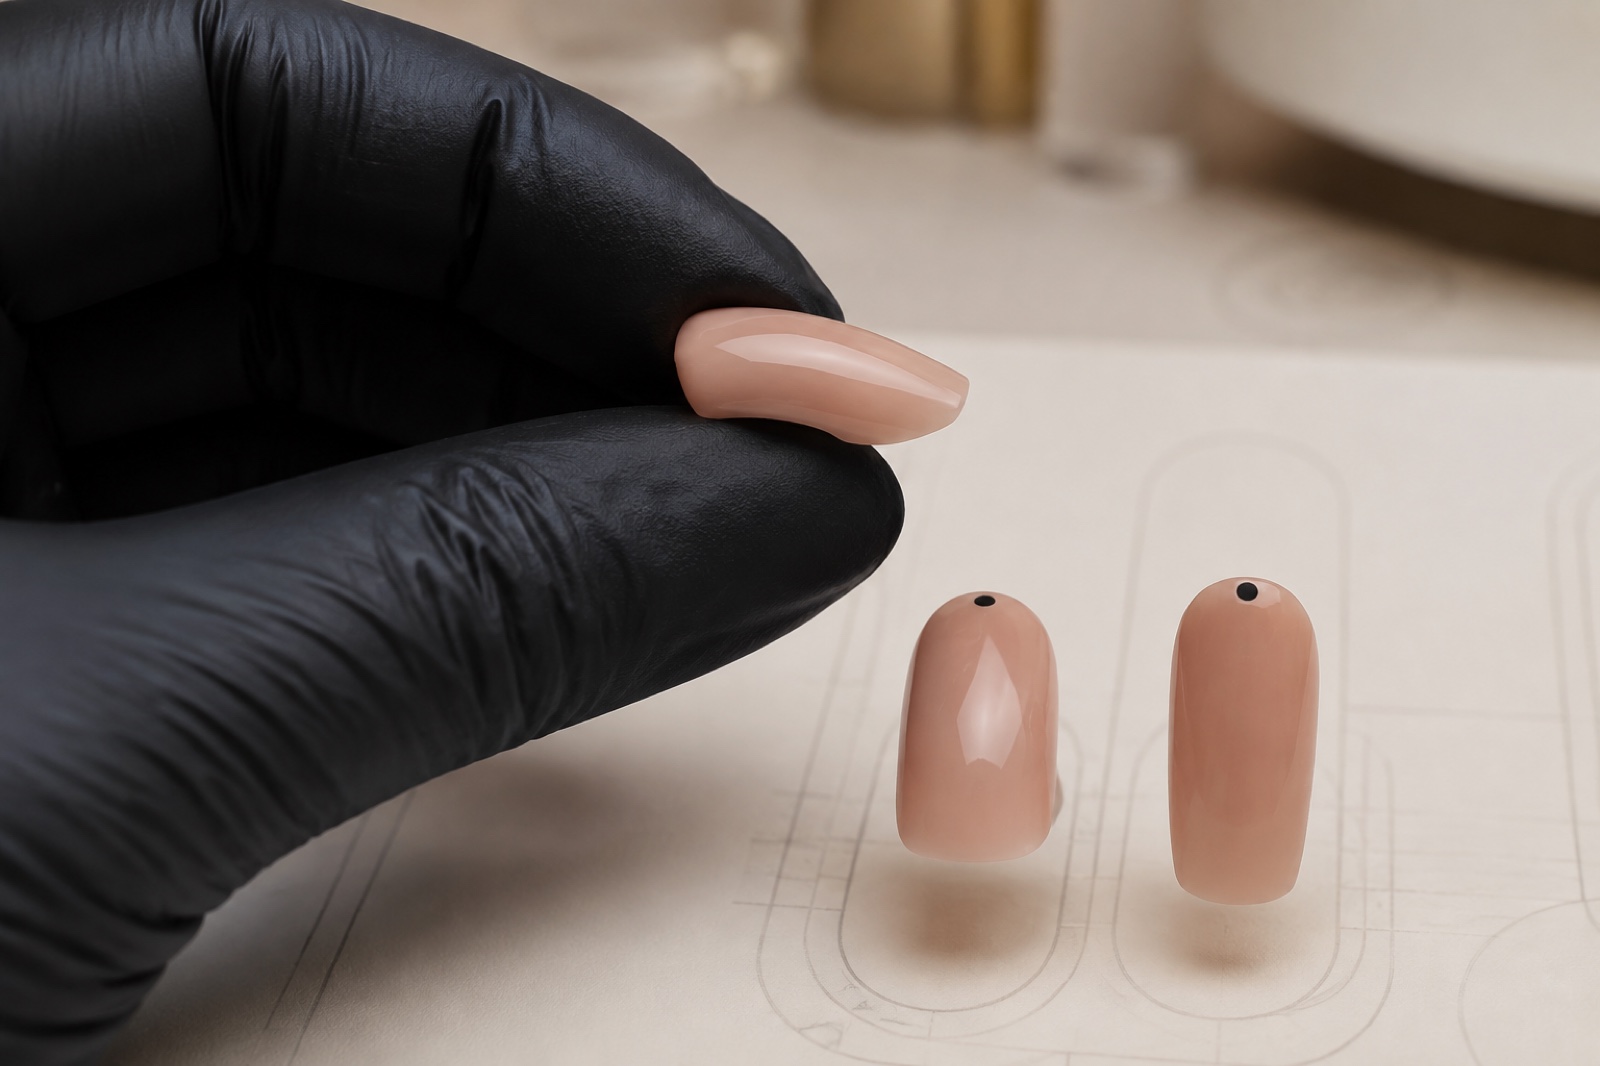
Side view: position, height and transition
Bring the finger to eye level and keep its central axis parallel to the viewing plane. Find the highest region, then follow both slopes. Look for a thin proximal entry, a smooth rise, no abrupt hill and a controlled descent that does not leave the tip heavy. A camera held above or below the profile changes perceived height and position.
Top view: axis and left-right distribution
Check whether the volume remains centred along the intended axis. Compare side lines and the light reflection without treating the reflection as a mechanical test. One full shoulder and one hollow side show that the apex region is laterally displaced even if its front-to-back position looks correct from the side.
Front view: transverse balance and free-edge thickness
Inspect the lower arch, lateral thickness and centre. A tilted transverse curve or one heavy side confirms unequal distribution. Front-view balance matters because a point can be high in profile yet unsupported across the width. The underside can reveal overflow, steps or a weak corner hidden from all three upper views.
Photograph practice nails at the same distance, angle and light. Comparison is useful only when the camera does not move the apparent apex for you.
Five misplaced-apex patterns
Apex too far forward
The high volume sits toward the tip, making the free edge look heavy and leaving the rear structural region flatter. Self-levelling gel can migrate forward when the finger points down. At refill, normal growth also carries the old apex toward the free edge.
Apex too far back
The peak crowds the proximal area and can form a visible cuticle-side hump while the working region remains flat. It often follows an attempt to “add an apex” as a single drop rather than build a connected contour.
Apex too high and narrow
A steep hill is not automatically stronger. Concentrated height can create awkward transitions, require excessive filing and coexist with weak side support or a heavy free edge. Strength comes from appropriate distribution within the material’s supported design.
Apex too low or structure completely flat
The product may have been brushed like colour, allowed to self-level away from the stress region or filed until every zone became equally thin. A flat surface can look neat from above while lacking useful reinforcement in profile.
Apex shifted to one side
Lateral displacement may come from finger posture, natural asymmetry, uneven brush pressure or filing one side more aggressively. It must be corrected through top and front views; the side view alone cannot reveal which shoulder is carrying the mass.
Correcting the apex before curing or setting
Move existing volume before adding more
Correct the cause, then verify every view
Stop uncontrolled movement
Inspect three views
Redistribute controlled volume
Keep skin clear and cure exactly
Return the finger to a stable horizontal position and stop uncontrolled self-levelling.
Inspect side, top and front before adding more material.
Guide existing product from an overloaded area toward the missing zone with the tip of the brush.
Invert briefly only when the gel behaviour, training and manufacturer instructions support it; maintain skin clearance.
Flash cure only if the documented system includes it, then complete the full exposure in the specified lamp.
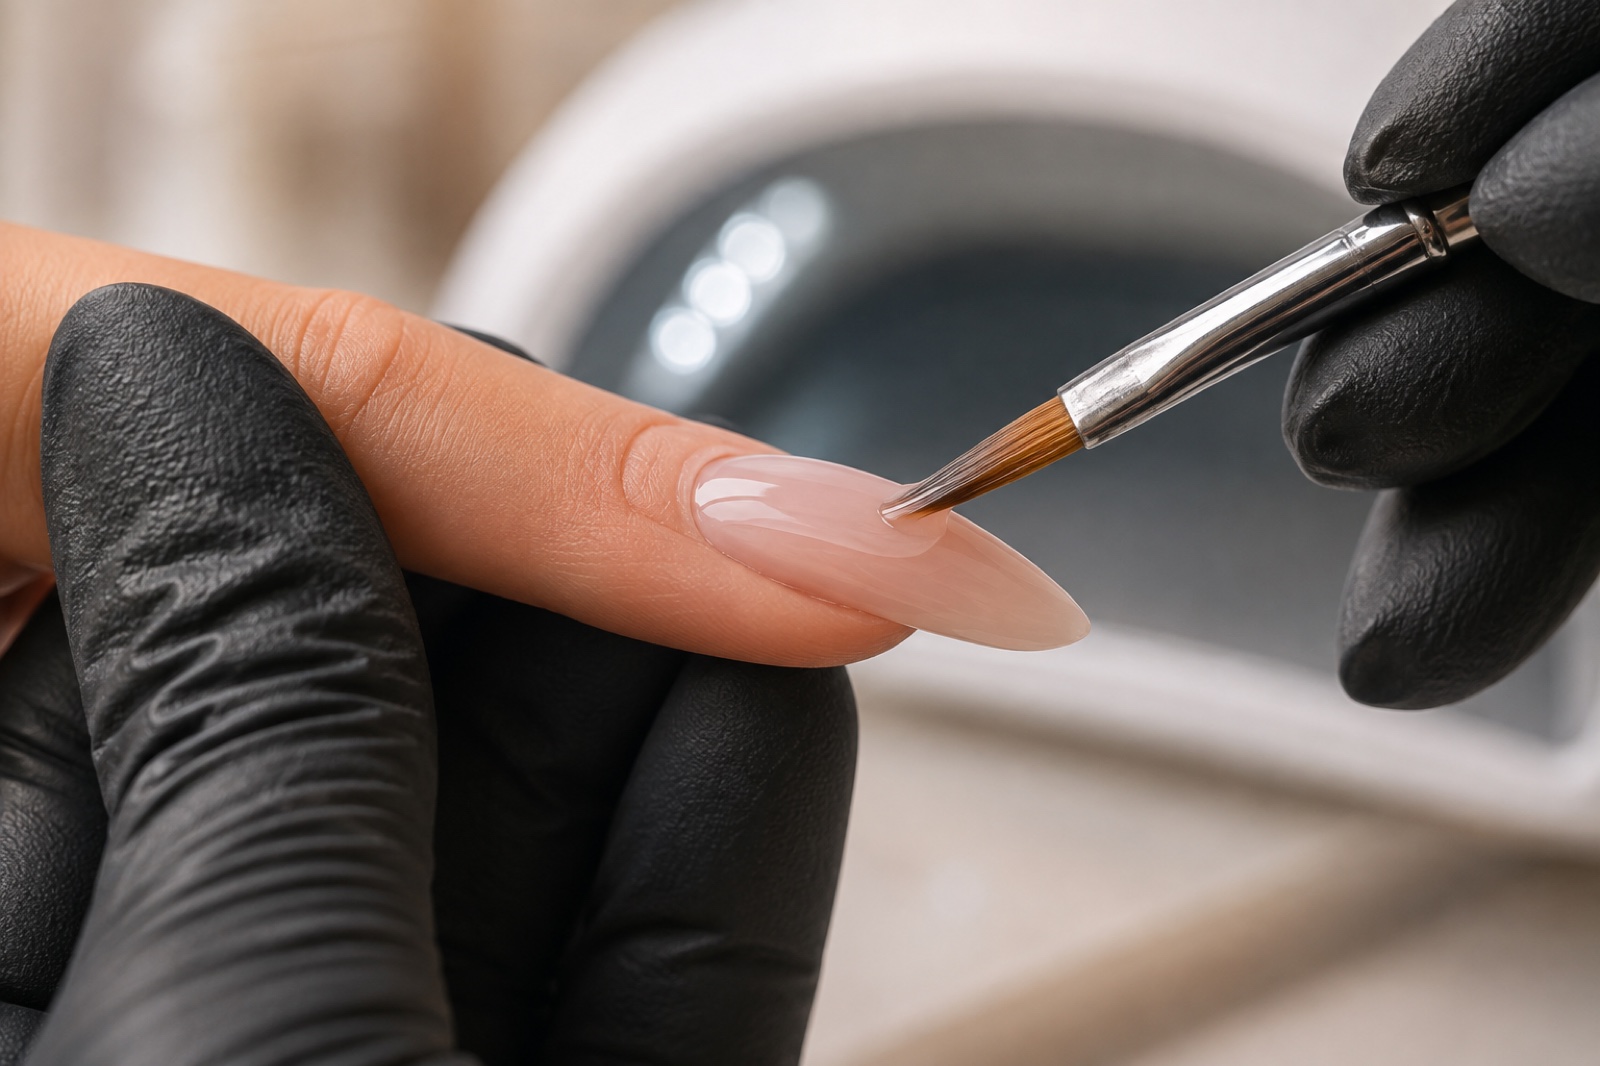
Do not make inversion automatic: a fluid gel can reach sidewalls quickly. If uncured product touches skin, stop and remove it according to the system before curing. Never shorten exposure or substitute an unknown lamp to freeze a moving shape.
Correcting the apex after curing or setting
When volume is excessive, mark the intended shape mentally or on a practice tip, reduce the overloaded zone with progressive passes and rotate through the views. Long filing strokes directly across the peak can flatten it; aggressive side filing can move it laterally. If volume is missing, prepare the cured surface exactly as the system requires and add product only to the deficient structural region, blending a new transition rather than coating the entire nail twice.
Remove and rebuild when there is extensive lifting, a crack through the structural area, contaminated product, severe axis error or insufficient safe material for correction. Pain, broken or inflamed skin, natural-nail separation or unexplained colour requires postponement rather than structural cover. Use the nail-lifting guide to read separation by location and timing.
Material-specific correction: gel, acrygel and acrylic
Self-levelling gel: manage time and gravity; reassess before the material migrates toward skin or tip.
Thixotropic gel: retain the placed volume but still connect smooth transitions and cure at a supported thickness.
Acrygel: distribute paste with the compatible shaping liquid without pressing the stress region flat or flooding the margin.
Acrylic: plan bead size, ratio and placement across its working stages; a dry or misplaced bead cannot be rescued by excessive filing alone.
The gel nail extensions guide and acrylic nail extensions guide own the complete workflows. Apex goals may relate, but the working method and cure or set behaviour do not.
Repositioning the apex during a refill
As the natural nail grows, the original high region moves forward. Refill is not simply filling the gap at the cuticle. Inspect integrity and growth direction, remove all unstable material, reduce the old forward apex and excessive free-edge weight, then rebuild the structural zone for the new length.
Assess regrowth, lifting, cracks, axis and natural-nail change before filing.
Remove lifted product completely without chasing it into the plate.
Reduce the old high point and rebalance free-edge thickness.
Place new volume in the current structural region and blend both transitions.
Verify side, top, front and underside before colour hides the evidence.
A practical apex-position exercise
Prepare five tips in the same medium length and simple shape. Make one balanced reference and intentionally create four readable errors: forward, rear, high-narrow and laterally shifted. Photograph side, top and front at a fixed angle. Name the excessive and deficient zones before filing, correct each result and photograph it again. The exercise trains visual diagnosis without risking a natural nail.
For guided structure and correction practice, compare the current BeautyLearn online nail courses by curriculum and level. A course should teach why the volume moves, not merely where to place one memorised bead.
Frequently asked questions about the nail apex
How high should a nail apex be?
There is no universal millimetre height. It must be proportionate to length, shape, material, natural base, side support and free edge.
Should the apex always sit one third from the cuticle?
No. A one-third diagram is a starting reference, not a universal rule. Nail-bed and extension proportions change the useful position.
Do short nails need an apex?
They need controlled product distribution, but the highest point is usually subtle. Avoid both a flat coating and a disproportionate hump.
Can I create the apex by filing?
Filing can refine and redistribute visible volume, but it cannot create material where none exists. Accurate application reduces dust and correction.
Why does the apex disappear during filing?
Common causes are too little initial product, repeated pressure over the peak or trying to make every zone equally thin. Rotate views frequently.
How do I fix an apex that is too far forward?
Before curing, move volume back if the gel and system allow. After curing, reduce forward bulk and rebuild the missing structural transition.
Can a high apex still be weak?
Yes. Height concentrated in one spot may coexist with hollow side lines, a flat stress region, heavy tip or incomplete cure.
Does the apex prevent lifting?
No. It manages structure, while lifting can involve preparation, skin contact, contamination, product compatibility, curing, impact and maintenance.
Why must the apex move at refill?
Growth carries the original reinforcement forward. Maintenance removes excess old volume and rebuilds balance for the current length.
Is the apex different for gel and acrylic?
Structural goals are related, but supported thickness, product movement, cure or setting and placement technique vary with the system.
Can I invert the finger to build the apex?
Only when the gel behaviour, manufacturer protocol and your training support it. Maintain control and keep uncured product away from skin.
When should I remove and rebuild instead of correcting?
Rebuild for extensive lifting, structural cracks, contamination, severe axis error or insufficient safe material. Postpone for pain or unexplained nail change.
Sources and editorial review
Editorial review: 5 September 2026. Apex placement is a professional design decision, not a universal medical or engineering formula. Follow the trained method and exact product instructions.
This page owns apex placement and correction by length, shape and growth direction. Complete architecture, individual product systems, filing and lifting remain with their dedicated English guides to prevent overlap.