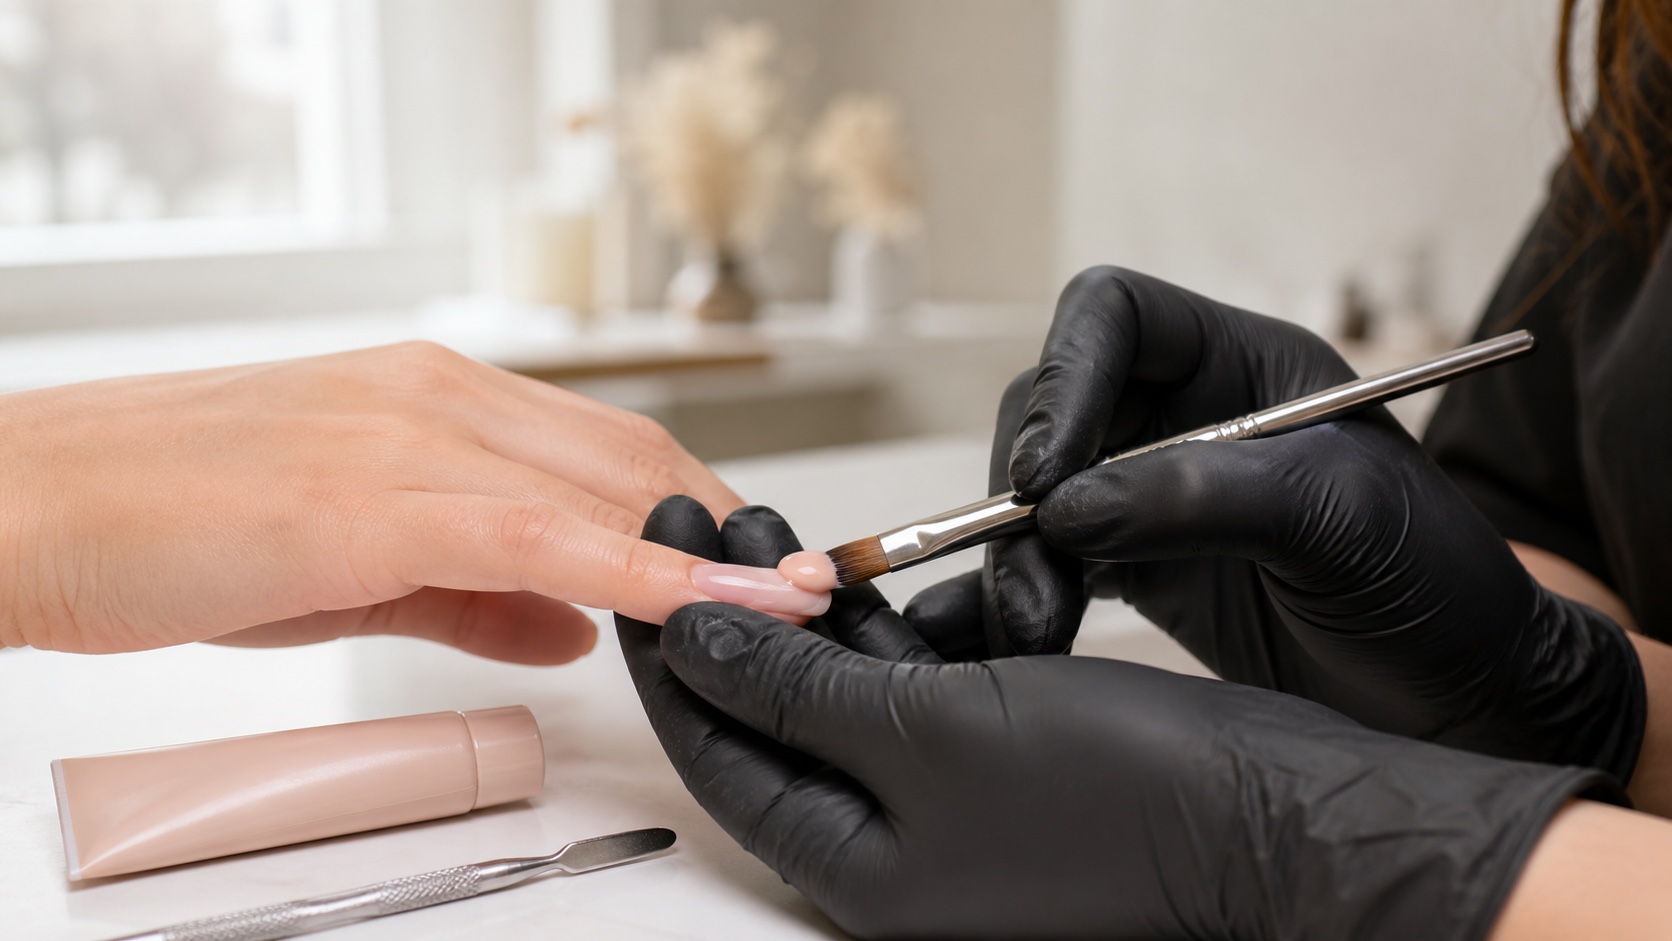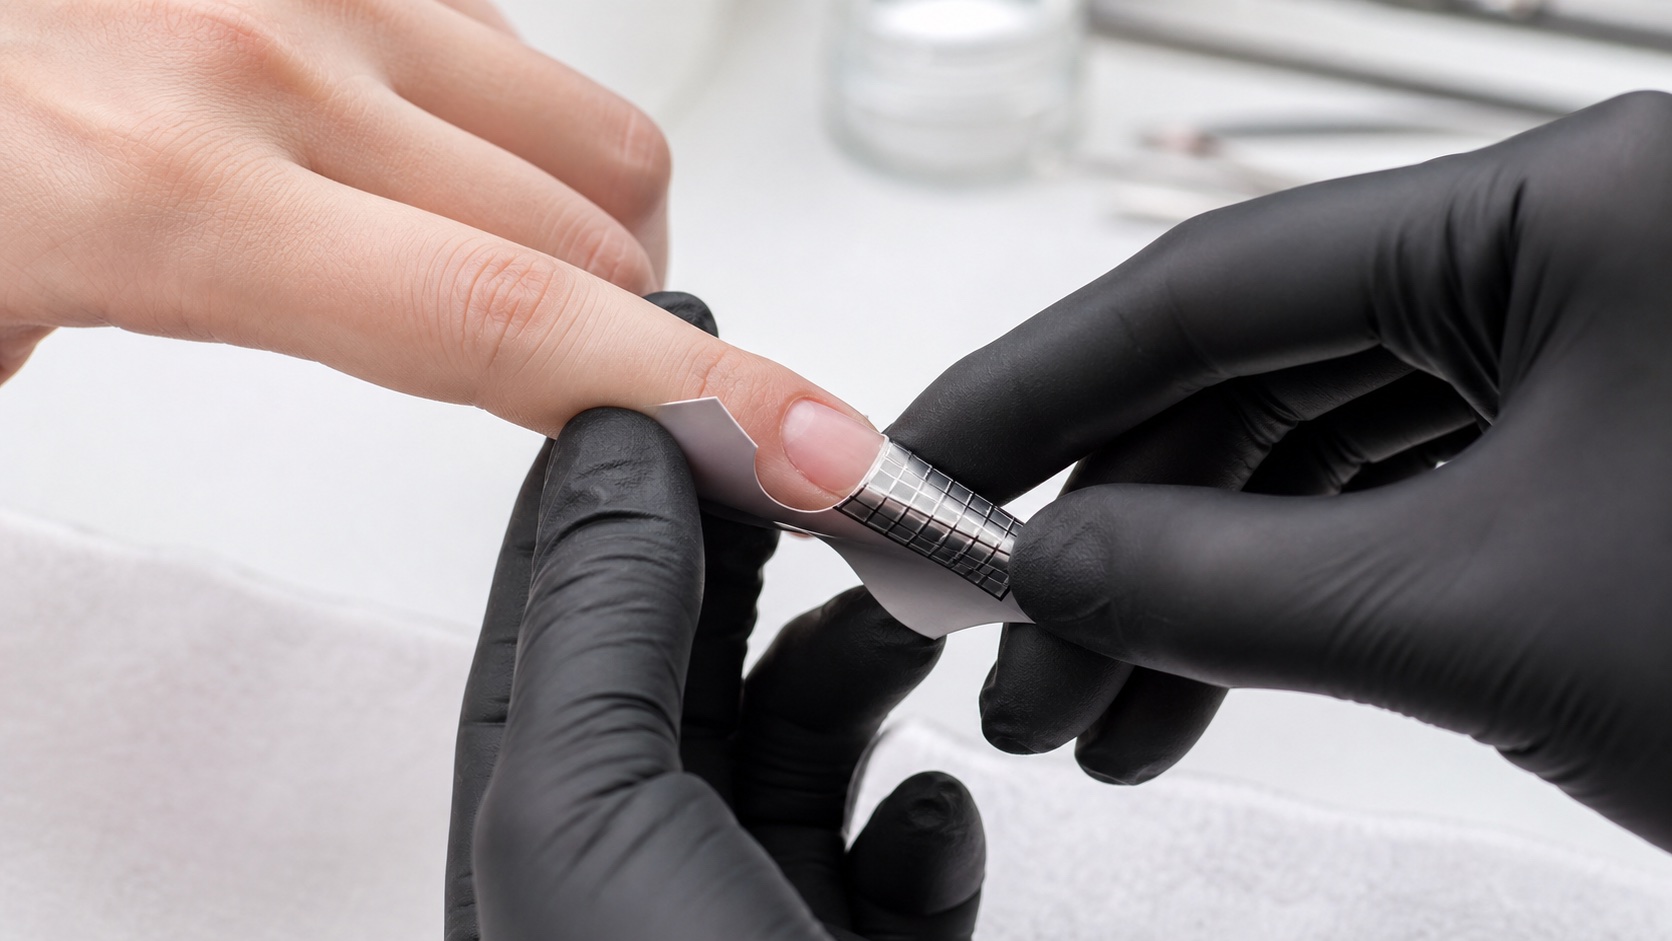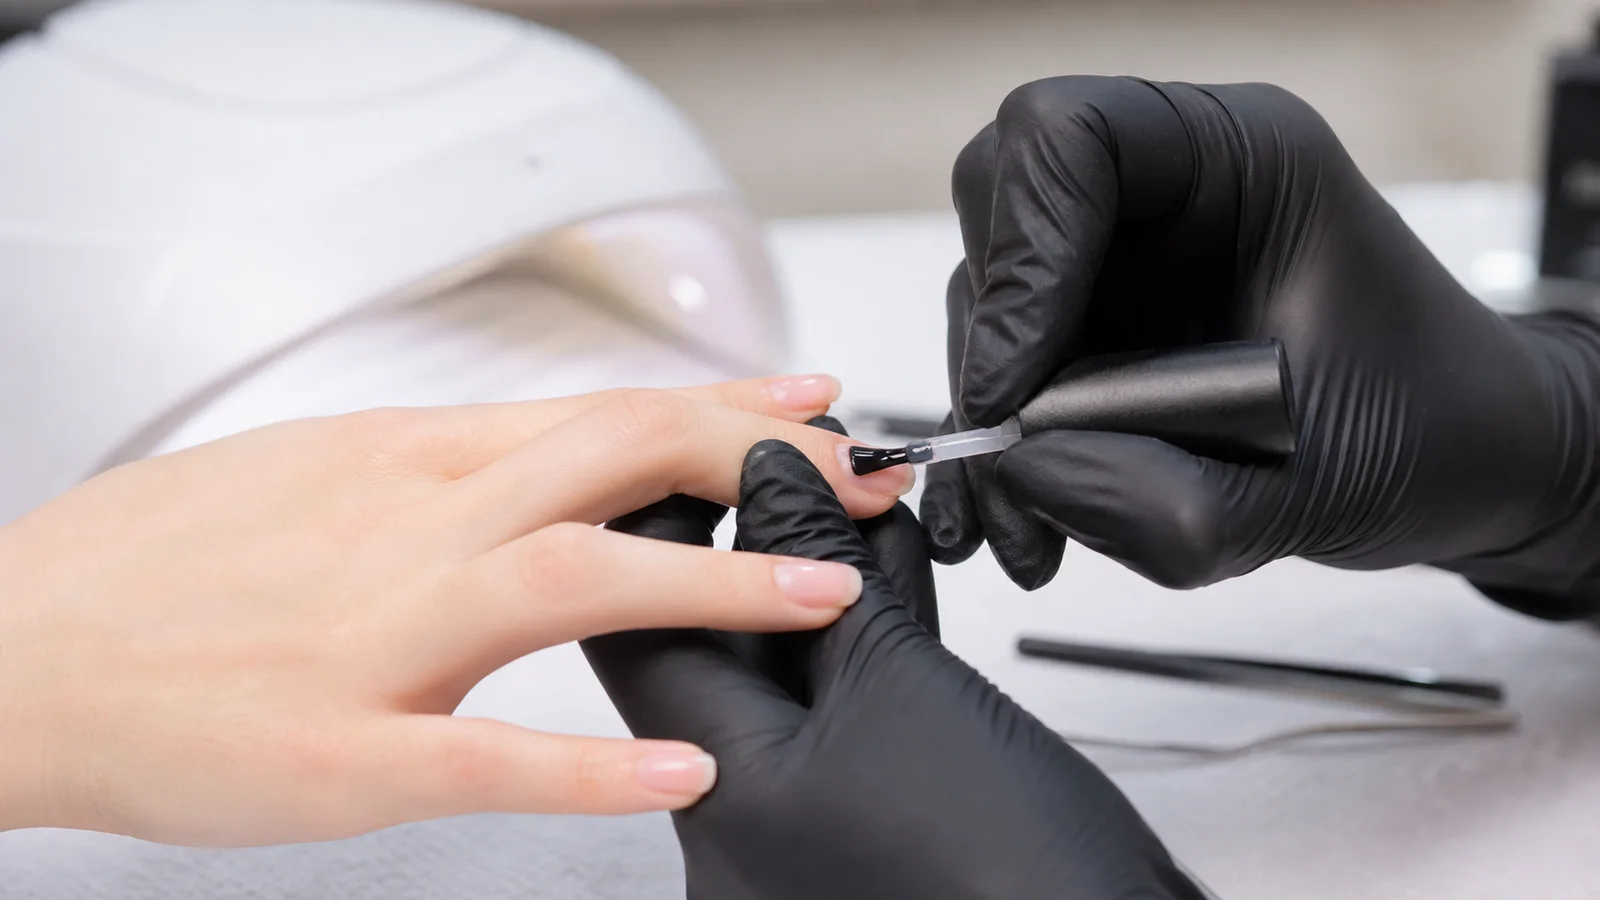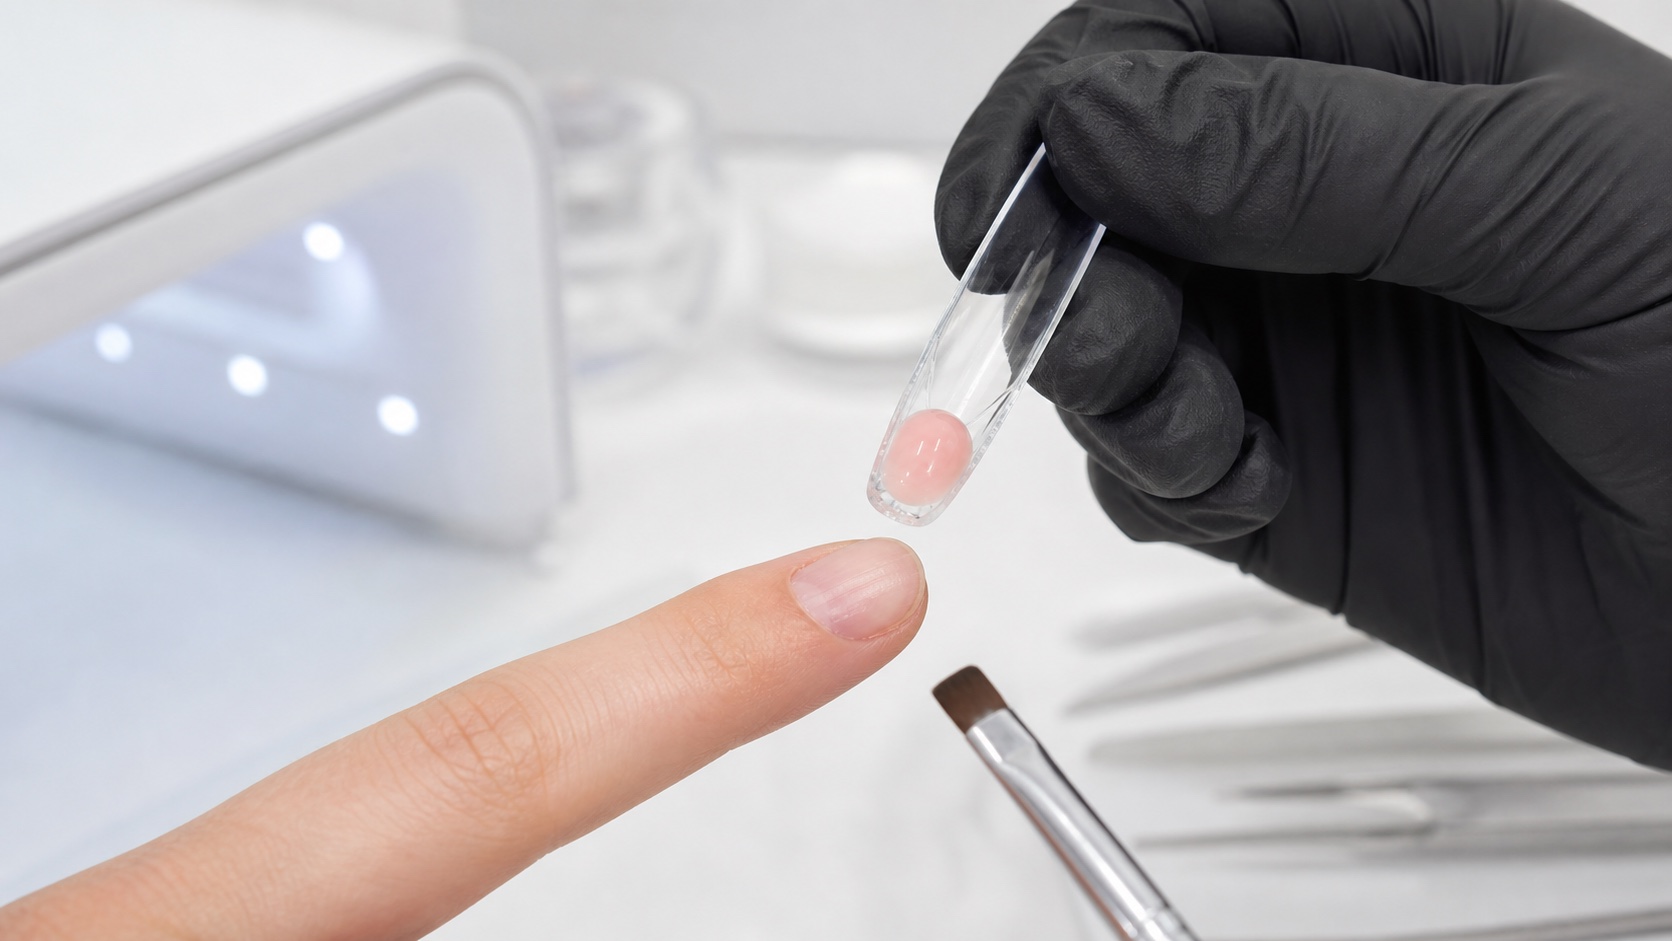
A dual form is a removable upper mould used to carry and shape enhancement product before it is placed on the natural nail. The product cures inside the transparent form; the support is then released, leaving the enhancement behind. This can make the upper surface and repeated salon lengths more predictable, but the mould does not assess the nail, choose the architecture or guarantee complete cure.
Quick answer: dry-fit the empty dual form from top, side and front; choose one that reaches both lateral boundaries without pressure; distribute a compatible product by structural zone; lower the form without trapping air or flooding skin; cure with the matched lamp and exposure; remove, inspect and refine. If the mould dictates the wrong curve or axis, use another size, modify only where the system permits, or choose a sculpting form instead.
This page owns the technical ‘how to use dual forms’ intent in the BeautyLearn professional nail guide library. Start with nail-matrix anatomy and professional limits, compare gel, acrylic and acrygel working behaviour separately, and use the hand-filing guide for final refinement. For structured practice, review the Dual Form Nail Course and the full online nail course catalogue. English courses and teachers remain separate market records from the Italian catalogue.
Dual form, full-cover tip and sculpting form are different systems
Three supports, three different roles
Do not transfer one method’s instructions to another
Dual form
Upper mould · removed
Full-cover tip
Attached · remains
Sculpting form
Lower support · removed
Support | Where product is shaped | What remains | Main control |
|---|---|---|---|
Dual form | Inside a rigid upper mould | Only the cured product | Fit, volume, lowering angle and cure |
Full-cover tip | Preformed tip is attached as specified | The tip remains in the service | Contact area, adhesive and alignment |
Sculpting form | Above a lower disposable support | Only the cured product | Cutting, fit, axis and freehand architecture |
The names describe application routes, not interchangeable shortcuts. A dual form is removed after cure. A full-cover tip is intentionally retained. A sculpting form supports product from below while the technician creates the upper surface. Using the wrong instruction set can produce poor contact, unplanned thickness or incomplete cure.
When a dual form is a good fit—and when it is not
Dual forms can suit salon extensions, short corrections and acrygel services when the available mould closely matches the transverse curve, side boundaries and intended axis. They are useful for technicians who can already read apex position and product thickness, because a smooth released surface can reduce—not eliminate—finishing.
Choose another method when every form pinches the sidewalls, bridges a flat plate, leaves a large central void, forces an upward or downward axis, or cannot accommodate the intended correction. A very wide, narrow, asymmetric, hooked, ski-jump or damaged nail may need custom sculpting or a shorter conservative service. Never compress the natural nail to make it fit a mould.
How to choose size, curve and length
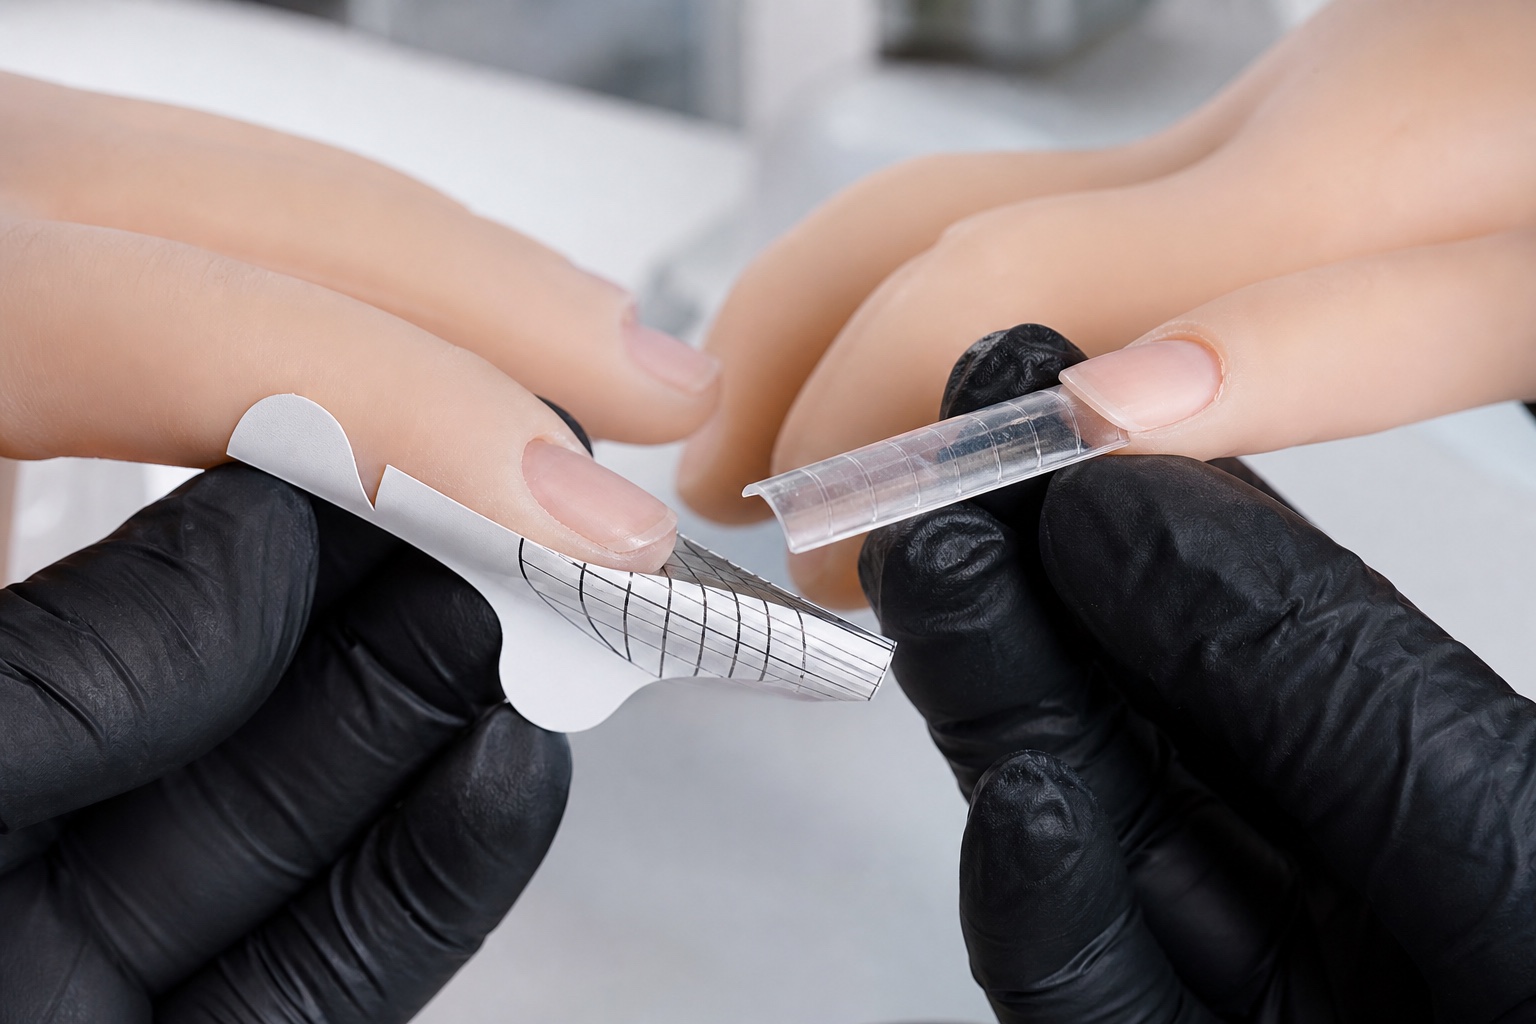
Dry-fit in three views
Width alone cannot prove compatibility
Top
Width, side boundaries and axis
Front
Transverse curve and gaps
Side
Extension direction and length
Pressure
Never use it to force fit
Test the empty form before preparation products or enhancement material. From above, it should span both side boundaries and align with the finger. From the front, its transverse curve should meet the nail without squeezing or floating over a wide central gap. From the side, the mould must support the intended extension direction rather than reproducing or exaggerating a growth deviation.
The printed number is only a reference within one set. Two fingers of similar width can need different curves, and sizes are not standardised between brands. If the form sits between two sizes, a slightly wider mould may sometimes be refined where its manufacturer permits, while a narrow one cannot be forced without pressure. Replace scratched, cloudy, cracked or deformed forms because they obstruct inspection and reliable release.
Product compatibility and distribution inside the form
Use only an enhancement product intended for the dual-form method, at a thickness the system can cure. Dense acrygel is common because it stays where placed; a stable builder gel may also be specified. Acrylic demands ratio and timing control as the bead continues to set. The mould does not make an arbitrary product compatible, and a clear support does not compensate for the wrong lamp or excessive bulk.
Think in zones. Keep the cuticle transition controlled, add the planned structural volume around the stress area, taper the lateral areas and preserve an appropriate free edge. Product must reach the edges without leaving channels, yet remain far enough from the mould’s perimeter to avoid overflow when pressure is applied. Work without whipping air into the material; inspect through the form before it reaches the nail.
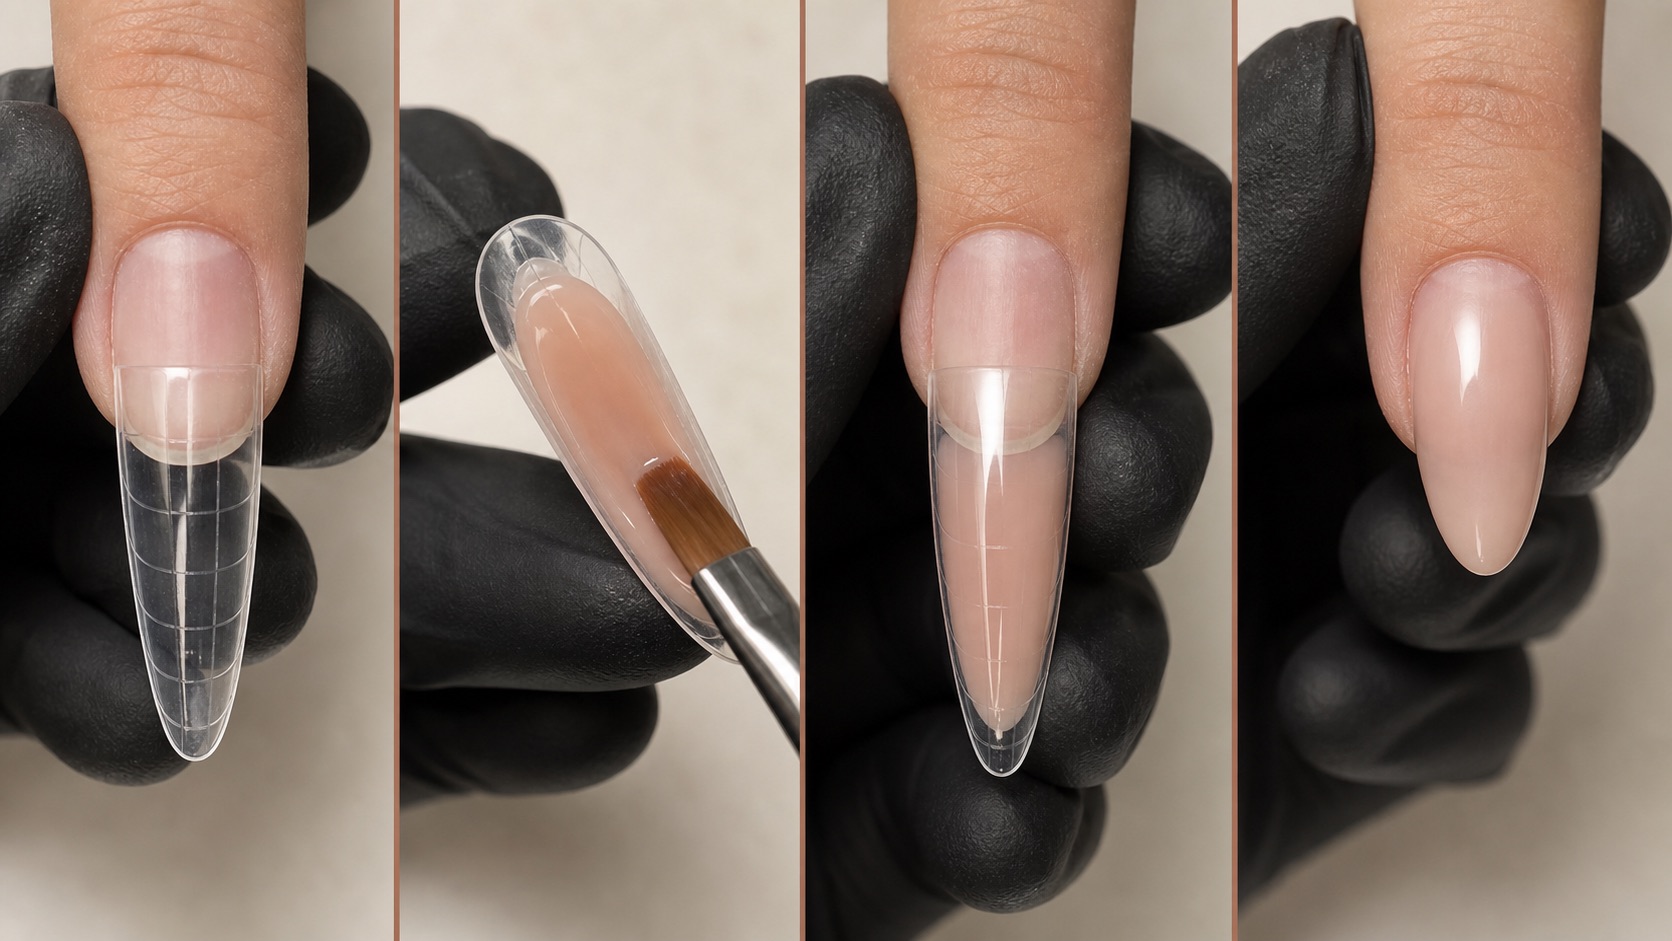
Dual-form application sequence
Fit, fill, lower, cure, inspect
One controlled placement protects alignment
Assess and dry-fit
Map product by zone
Lower once and align
Clean contact and cure
Release, inspect, refine
Assess the nail and surrounding skin. Record shape, growth direction, existing product, symptoms and any reason to postpone or refer.
Select and dry-fit every form. Check width, curve, length, axis and release condition from three views.
Prepare the natural nail and apply only the adhesion products required by the chosen system, avoiding skin contact.
Portion and distribute product inside the mould according to the mapped structural zones and supported thickness.
Lower the form with one controlled movement, watching the contact advance so that air escapes rather than becoming trapped.
Remove every trace of overflow from skin and underside before cure. Recheck axis; do not use pressure to hold an incompatible mould.
Cure in the specified lamp, position and exposure. Support only as the method permits, without blocking light or disturbing alignment.
Release the mould as instructed, inspect all surfaces and refine side lines, transition, underside, free edge and architecture.
Apex, side lines, underside and free edge
A glossy upper surface is not proof of sound structure. View the released nail from above for alignment and parallel side lines, from the side for apex position and upper contour, from the front for transverse balance and thickness, and from below for overflow or an uncontrolled step. The structure must respond to the real length, shape and client use.
If the apex is in the wrong place, do not file the whole nail thin and rebuild by habit. Identify whether the error came from product distribution, mould geometry, lowering angle or movement during cure. Correct only where enough sound material remains. Remove and restart when voids, widespread skin contact, incomplete cure or severe axis error make the result unreliable.
Bubbles, overflow, crooked extensions and other common mistakes
Read the error before correcting it
The location points back to the process
Bubble
Distribution or repeated placement
Overflow
Dose, size or pressure
Wrong axis
Fit or lowering angle
Poor release
Cure, product or damaged mould
Visible problem | Likely process area | Better response |
|---|---|---|
Central bubble or channel | Discontinuous distribution or repeated lifting | Redistribute before placement; lower once and inspect |
Product floods the skin | Excess volume, narrow mould or heavy pressure | Remove fully; change dose, size or placement |
Extension points up or down | Mould axis or lowering angle | Dry-fit in side view; choose a different form or method |
Thick free edge or underside step | Unmapped product or mould lifted at the tip | Control distribution and support without squeezing |
Form will not release | Incomplete cure, unsuitable product or damaged mould | Stop; verify system, exposure and form condition |
Curing, skin contact, ventilation and professional limits
Gel and acrygel require the lamp, hand position and full exposure validated for the exact product. Transparent plastic can help inspection, but cure still depends on spectrum, output, geometry, pigment, thickness and placement. Never treat a hard surface as proof of complete polymerisation. If the client reports heat or pain, follow the trained system response and correct the cause rather than asking them to tolerate it.
The FDA overview of nail-care products stresses labelled directions, warnings and avoidance of skin contact with reactive nail products. The NIOSH nail-technician guidance explains that workers can inhale dusts or vapours and highlights general and local exhaust ventilation. These US sources inform risk control, but local law, product safety information and manufacturer directions govern the service market.
Do not cover broken skin, painful nails, active inflammation, unexplained colour or structural change, or a nail that requires healthcare assessment. A nail technician documents visible facts and stops within professional scope; a dual form is not a diagnostic or corrective device for disease. Record product line, batch, lamp, forms, preparation, cure and any unexpected response.
Refill, removal and reusing the mould
The maintenance route follows the cured product and remaining structure, not the fact that a dual form was used. Inspect regrowth, balance, lifting, cracks and underside before deciding whether to rebalance, reduce or remove. Some products soak off; others are file-off. Never prise the enhancement from the natural plate.
Some dual forms are reusable, others are not. Follow their documented cleaning and disinfection compatibility and the rules that apply to your setting. A mould that remains scratched, opaque, warped or contaminated is no longer a reliable transparent measuring tool. Do not assume a reusable object is automatically safe to use on another client.
Frequently asked questions about dual forms
Are dual forms suitable for complete beginners?
They can be learned by beginners, but not as a substitute for preparation, anatomy, product control, curing and structure. Practise sizing and placement on training supports before client work.
Are dual forms the same as reverse tips?
The terms are often used for the same removable upper-mould method, but commercial sets differ. Confirm whether the support is removed or retained and follow that system’s instructions.
Which product is easiest in a dual form?
Dense acrygel is often controllable because it stays in place, but ease depends on the exact formula, compatible liquid, portioning, lamp and trained method. There is no universal beginner product.
Can I use any builder gel in a dual form?
Only if its manufacturer supports the technique, thickness and cure route. A gel that moves quickly or is not validated through the mould can give unreliable structure or cure.
Why does product squeeze out at the cuticle and sides?
Common causes are excess volume, a narrow or incompatible form, steep lowering or too much pressure. Remove all contact before cure and correct the fit or portion.
Why are there bubbles under a dual-form enhancement?
Air may enter during product handling, discontinuous distribution or repeated lifting and replacing. Inspect the filled mould, lower it once and restart if a significant void remains.
Should I choose a larger or smaller dual form?
Choose a curve and size that reach both lateral boundaries without force. A slightly wider form may be adjustable only where permitted; a small mould must not compress the nail.
Do dual forms eliminate filing?
No. They may reduce upper-surface refinement, but transition, side lines, underside, free edge, axis and structural balance still require inspection and often controlled filing.
Can a dual form correct a hooked or ski-jump nail?
Only when the selected mould and method create a planned sustainable axis without pressure or unsafe thickness. Significant growth deviations often need custom sculpting, shorter length or another approach.
Why does the cured form point upwards or downwards?
The dry fit, mould curve or lowering angle likely dictated the wrong axis, or the support moved during cure. Check the side view before product and again before the lamp.
Can dual forms be reused between clients?
Only if the manufacturer permits reuse and an applicable validated cleaning and disinfection process is compatible with the plastic and local rules. Damaged or contaminated forms are discarded.
How long do nails made with dual forms last?
The mould does not set a duration. Retention depends on assessment, preparation, product, cure, architecture, length, wear and maintenance timing. Early lifting requires investigation, not concealment.
Editorial review: 5 September 2026. This professional education does not replace the current product manual, local regulation, supervised practical training or healthcare assessment. It owns dual-form sizing and application; full-cover tips, sculpting forms and individual material systems remain separate search intents.
If the released enhancement later separates, use the nail-lifting troubleshooting guide to map the first location, remove unstable material and decide whether the nail remains suitable for cosmetic work.