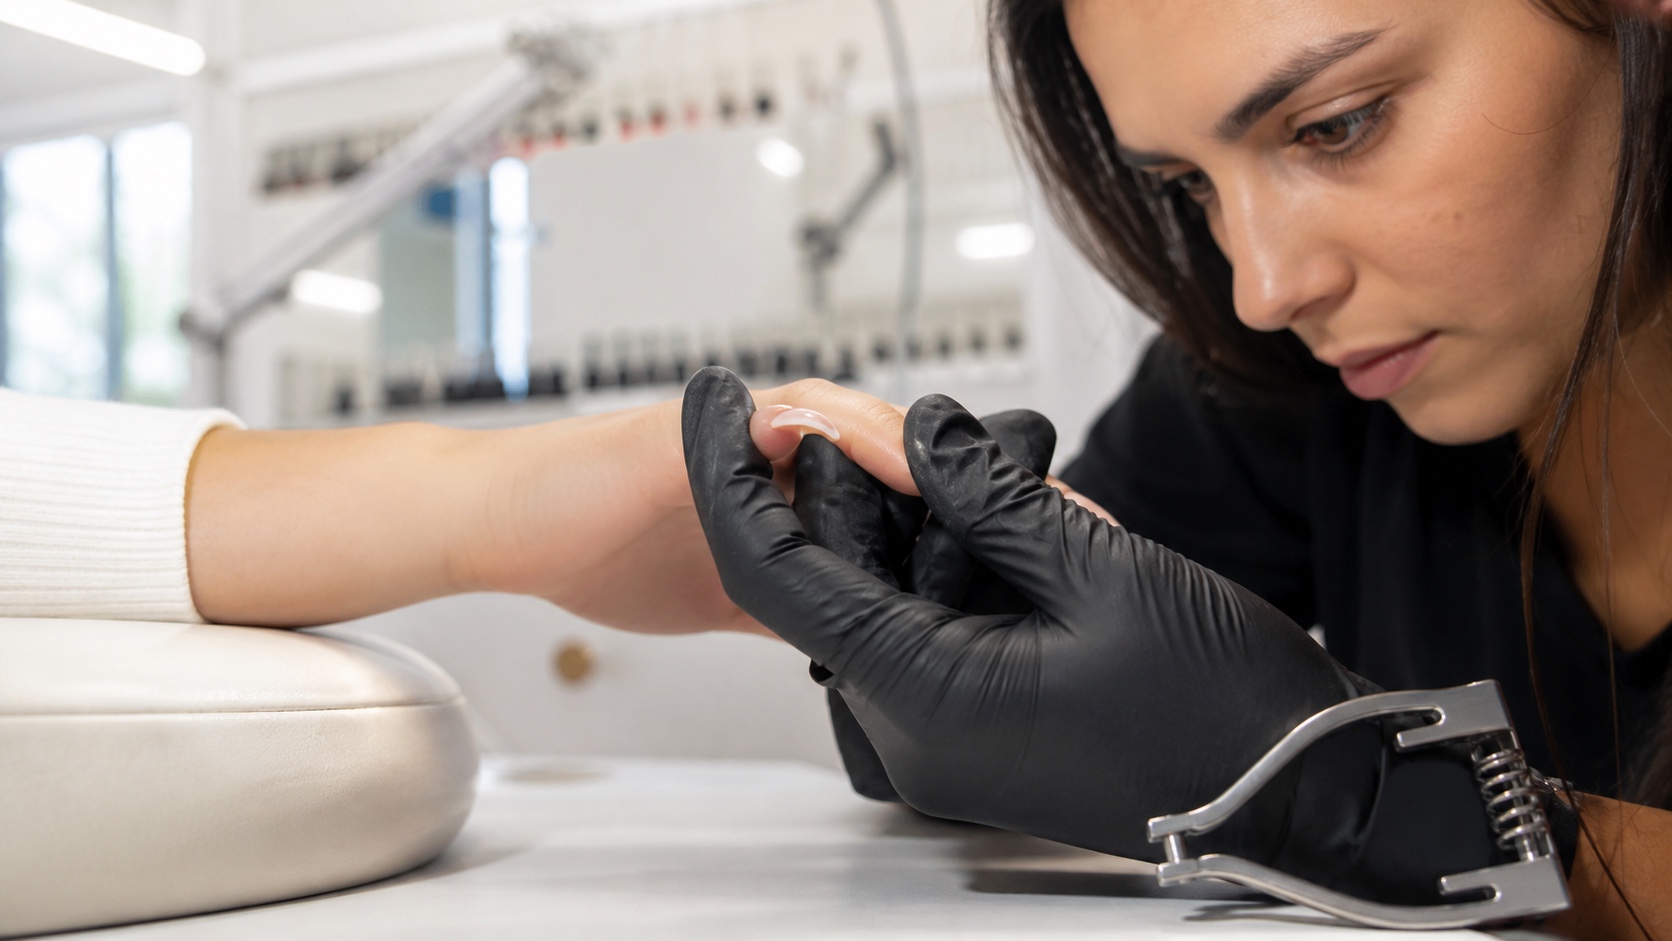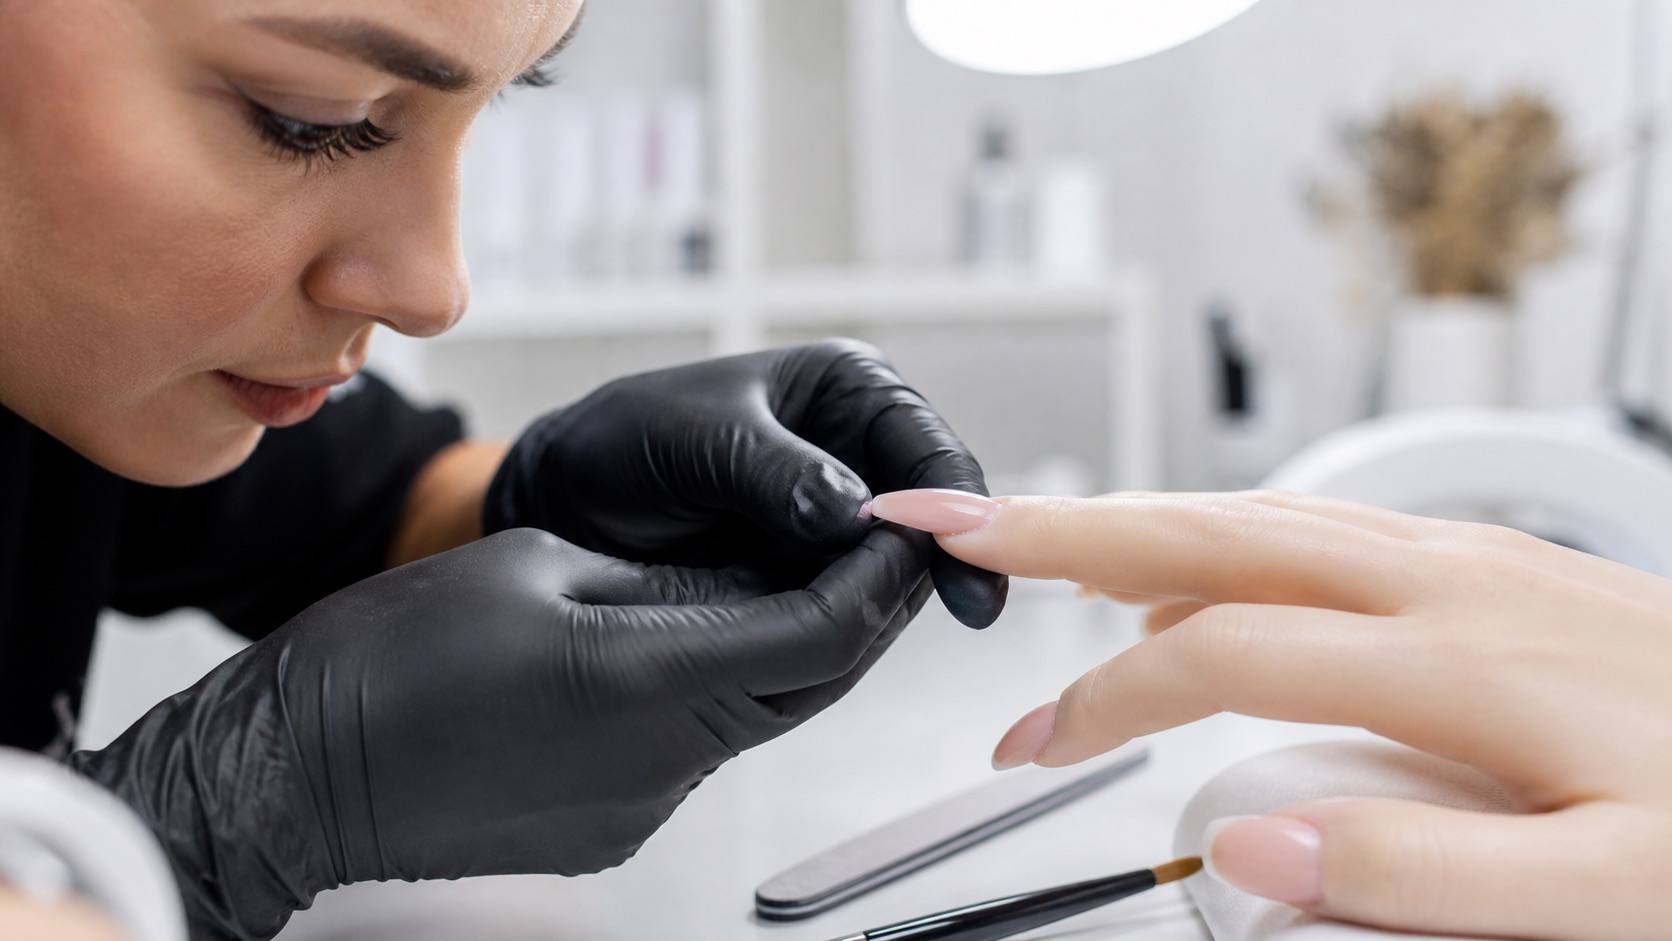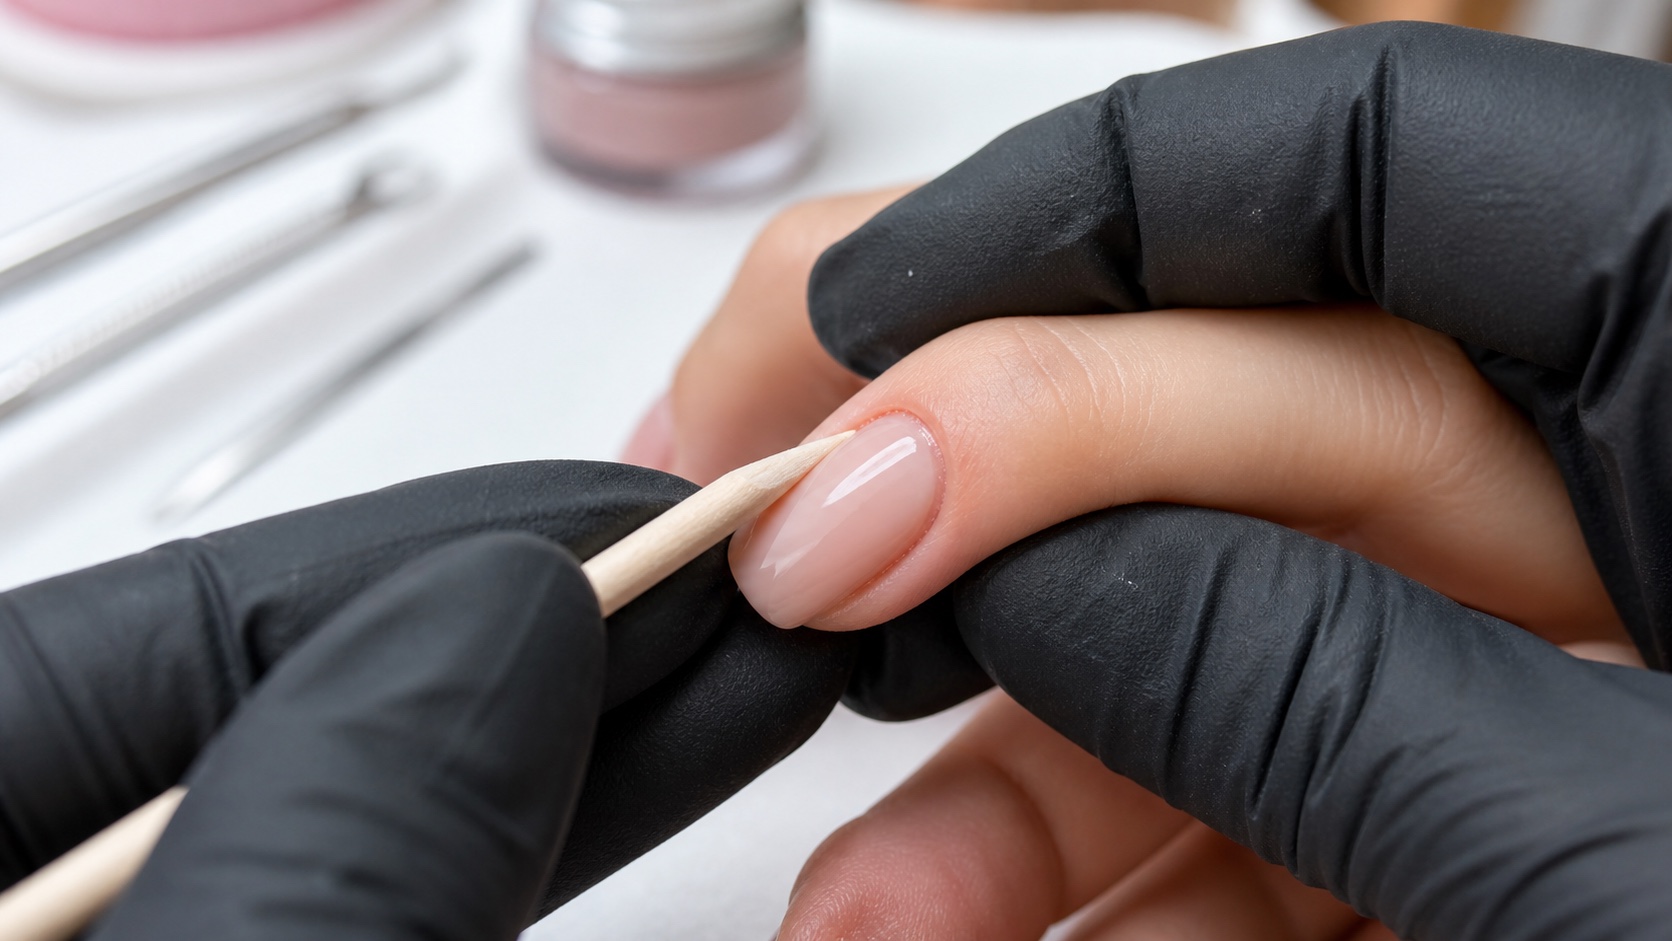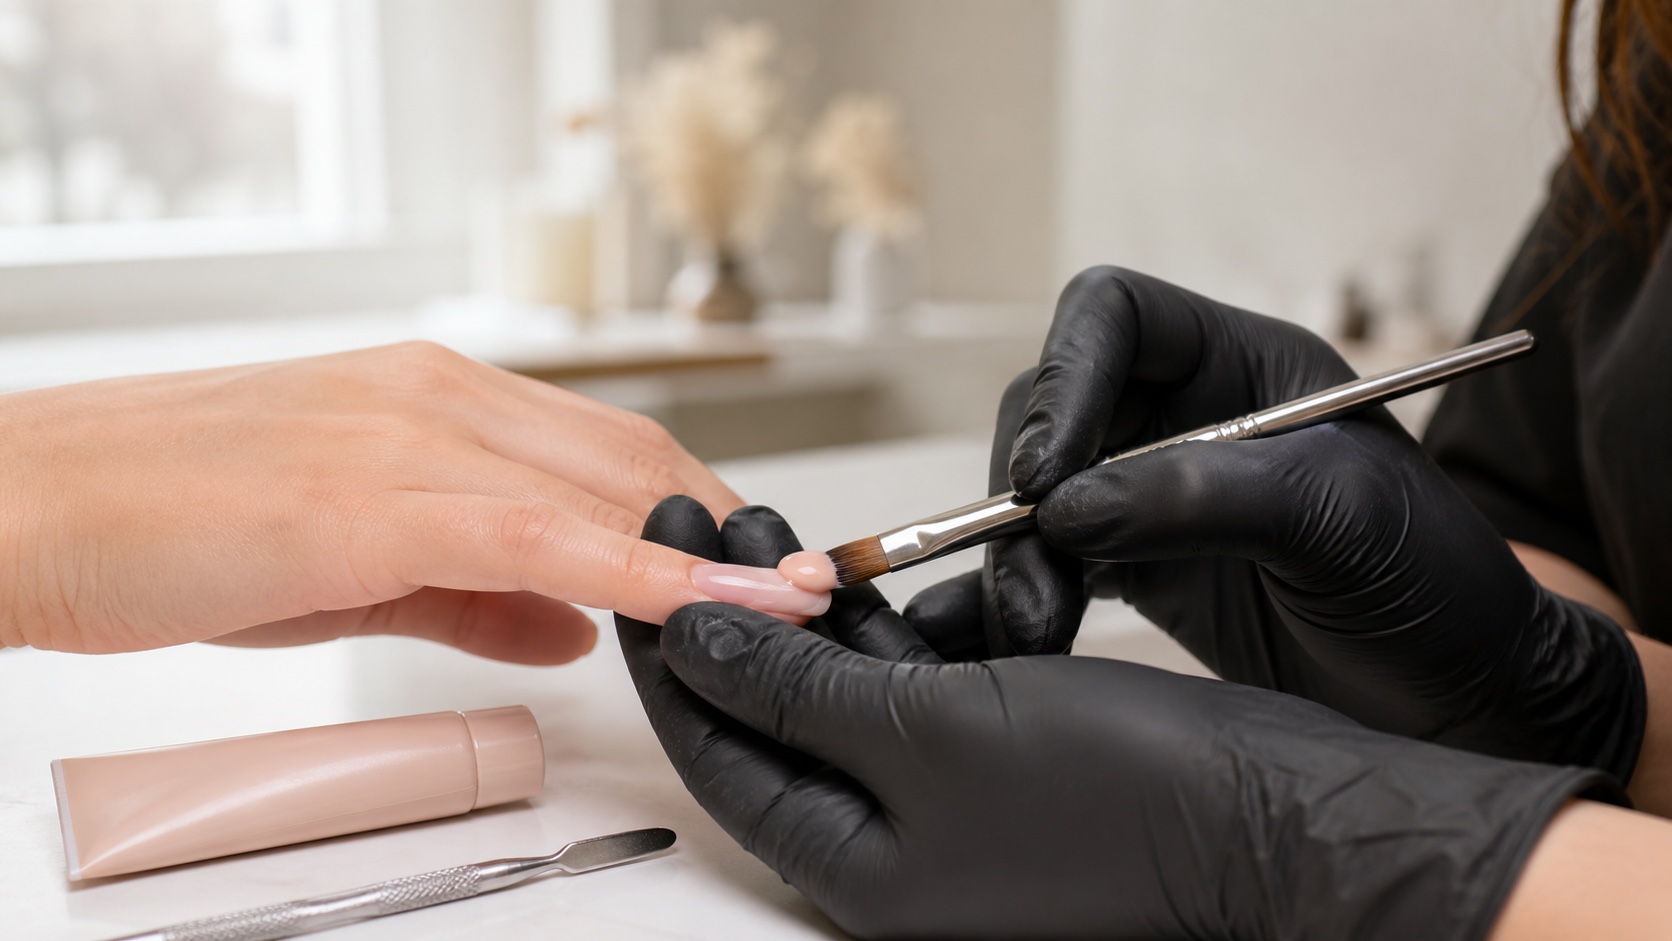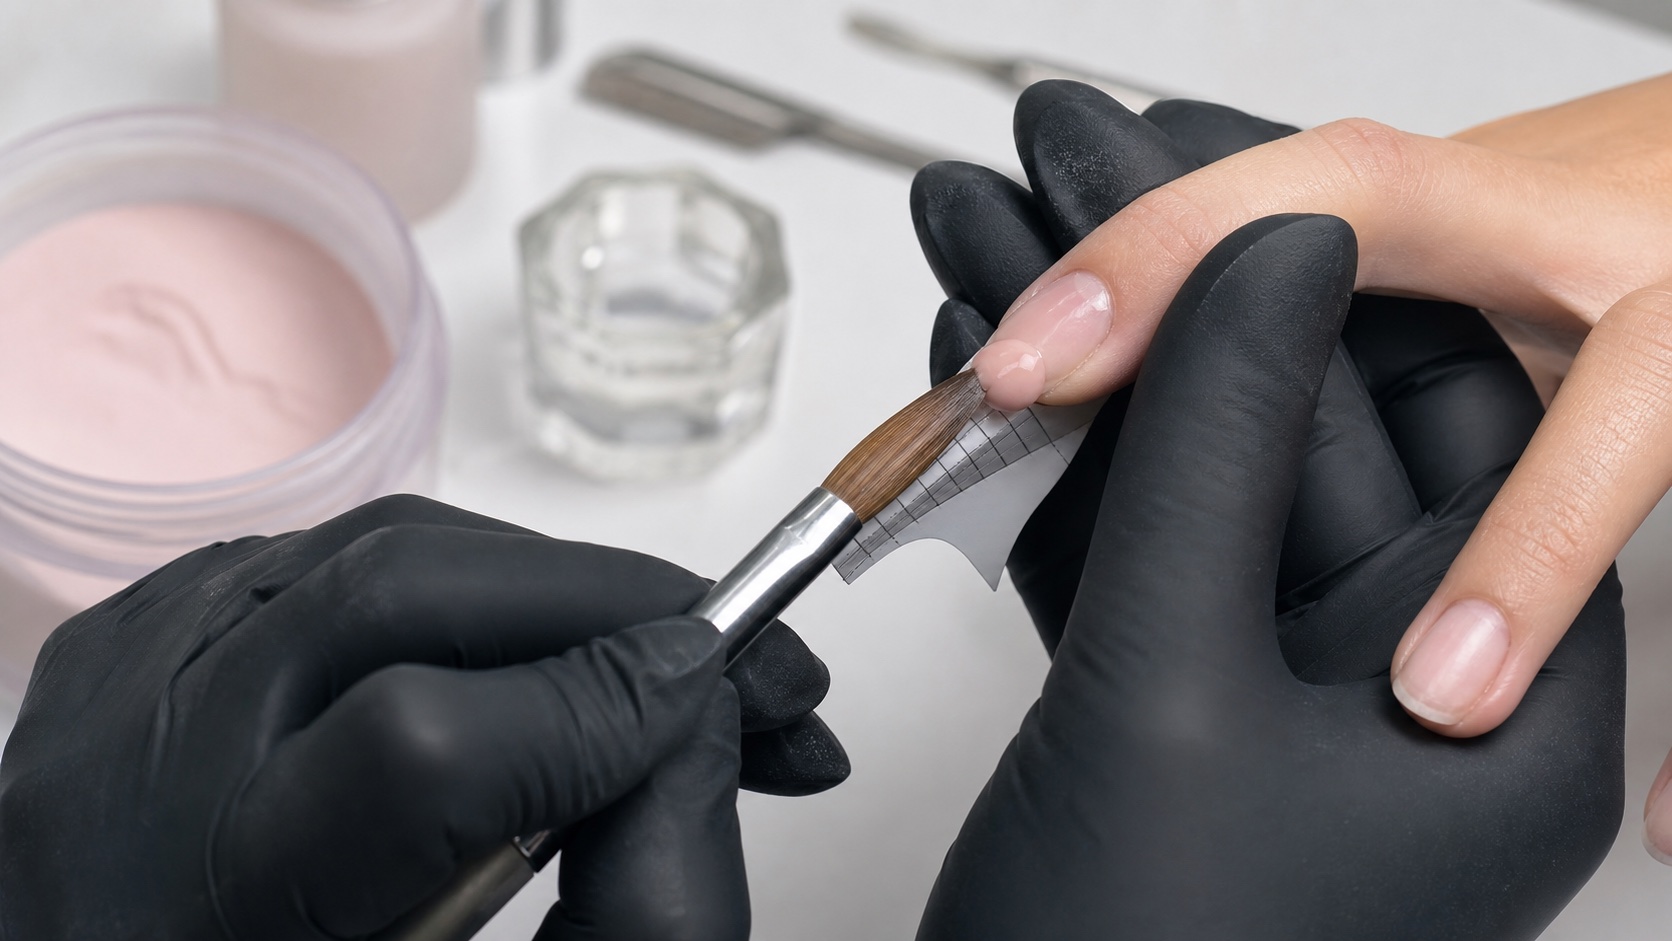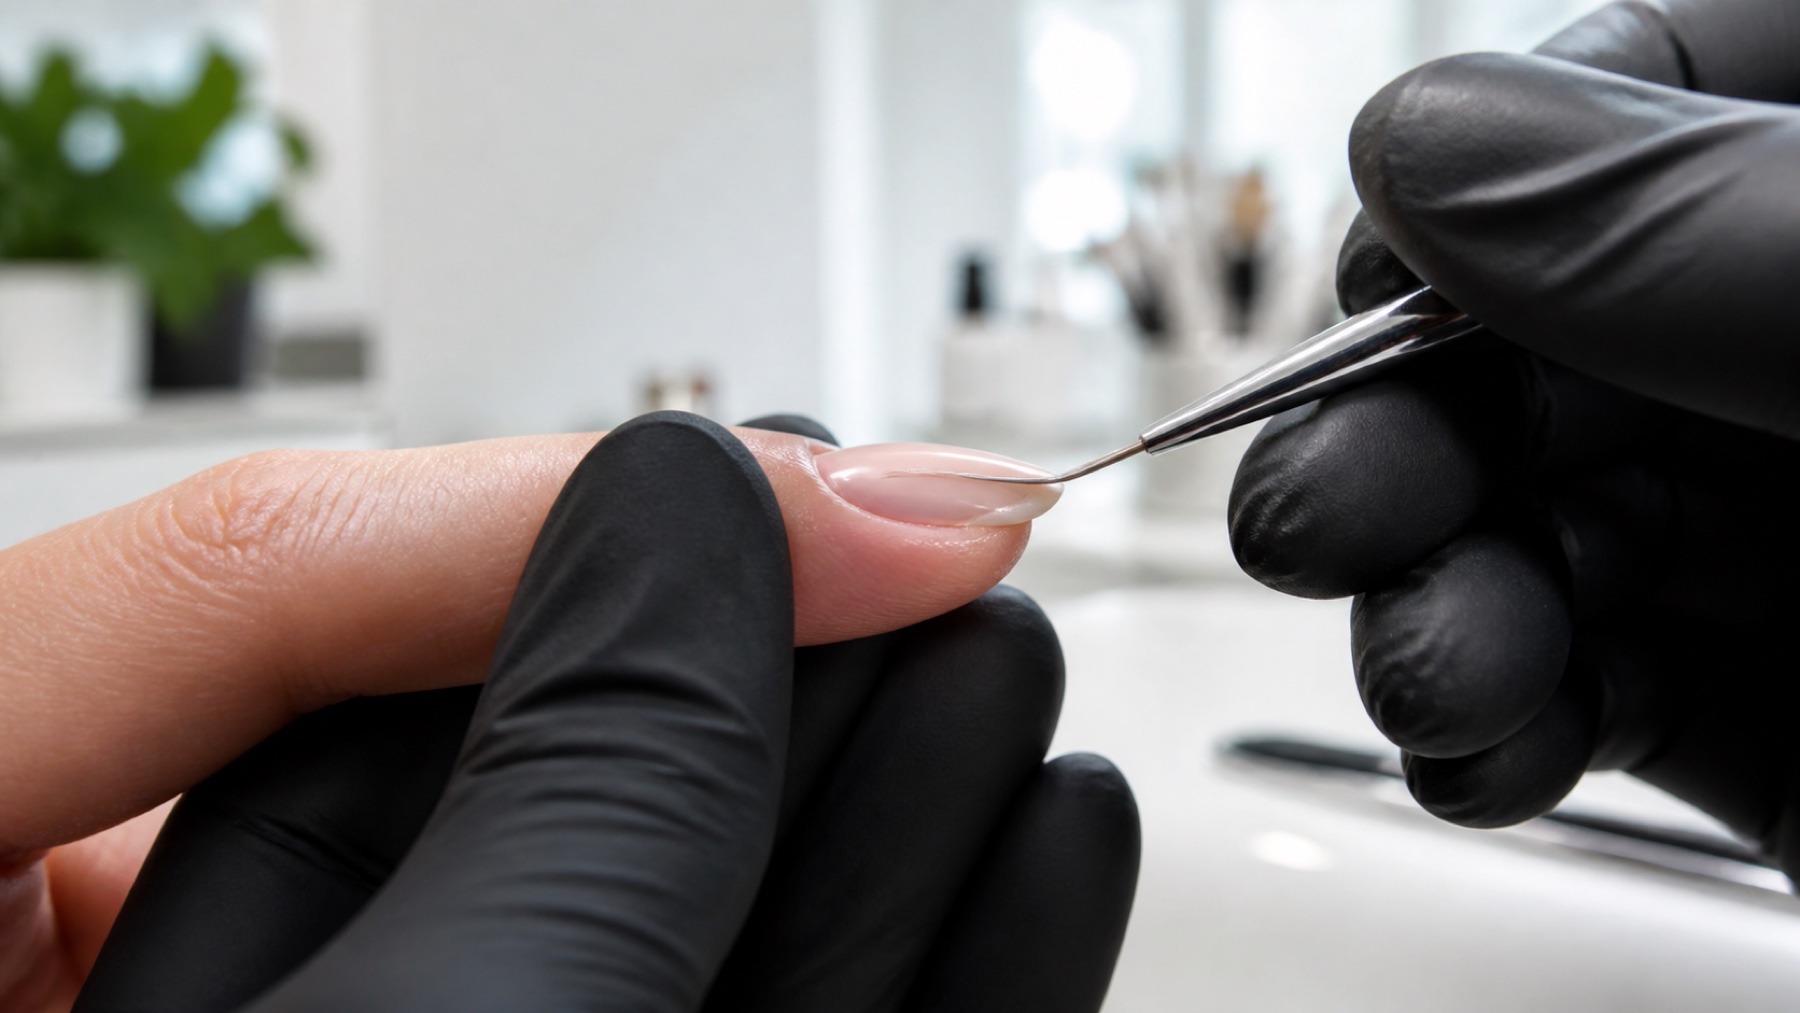
Nail architecture is the three-dimensional distribution of enhancement product that supports a chosen length and shape. A balanced structure is thinner at controlled transitions, reinforced where load is expected and continuous through the side lines and free edge. It is not a decorative hump, one fixed millimetre measurement or a thick layer applied equally across the nail.
Quick answer: inspect every enhancement from the side, top and front. The side view shows apex position, upper contour and free-edge direction; the top view shows axis, side-line continuity and symmetry; the front view shows transverse balance and thickness. No single view, reflection line or universal ratio can prove that the structure is suitable for every nail, length and material.
This guide owns the broad nail-architecture intent in the BeautyLearn professional nail guide library. Review nail-matrix anatomy and professional limits first, then connect material behaviour through the gel, acrylic and acrygel comparison and finishing through professional hand filing. The separate apex guide will own detailed placement changes by length and shape; this page explains the complete structure. For guided practice, compare the Gel Nails Course — Level 2, the Complete Nail Technician Course and all online nail courses. English course and teacher records remain market-scoped.
Architecture, apex, stress area and balance point
Four terms, one connected structure
Vocabulary is useful only when it improves the build
Architecture
Complete three-dimensional distribution
Apex
Highest point in side profile
Stress area
Region managing bending and leverage
Balance point
Teaching term—definition varies
Term | Practical meaning | Common misunderstanding |
|---|---|---|
Architecture | The complete three-dimensional product distribution | Only the visible side profile |
Apex | The highest point seen in longitudinal profile | A fixed dot in the same place on every nail |
Stress area | The region that must manage bending and leverage | One visible line or identical anatomical point |
Balance point | A teaching term for structural equilibrium | A universal alternative formula to the apex |
Schools and brands may use these terms differently. Some use balance point for a more linear salon profile; others mean the effective equilibrium of the whole enhancement. The vocabulary is less important than measurable continuity: aligned axis, supported sides, appropriate apex position, controlled transitions and no unexplained pressure or pain.
Why a three-view inspection is essential
One nail, three structural questions
A polished reflection cannot replace rotation
Side
Apex, contour and free-edge direction
Top
Axis, width and side lines
Front
Curve, thickness and symmetry
Underside
Support, steps and overflow
A nail can look slim from above while hiding a heavy free edge, uneven lower arch or downward axis. It can show a smooth side profile while the apex is off-centre and one side line has been filed away. Rotate the finger, not the conclusion: every view answers a different structural question, and the lighting and camera angle must remain consistent when you document progress.
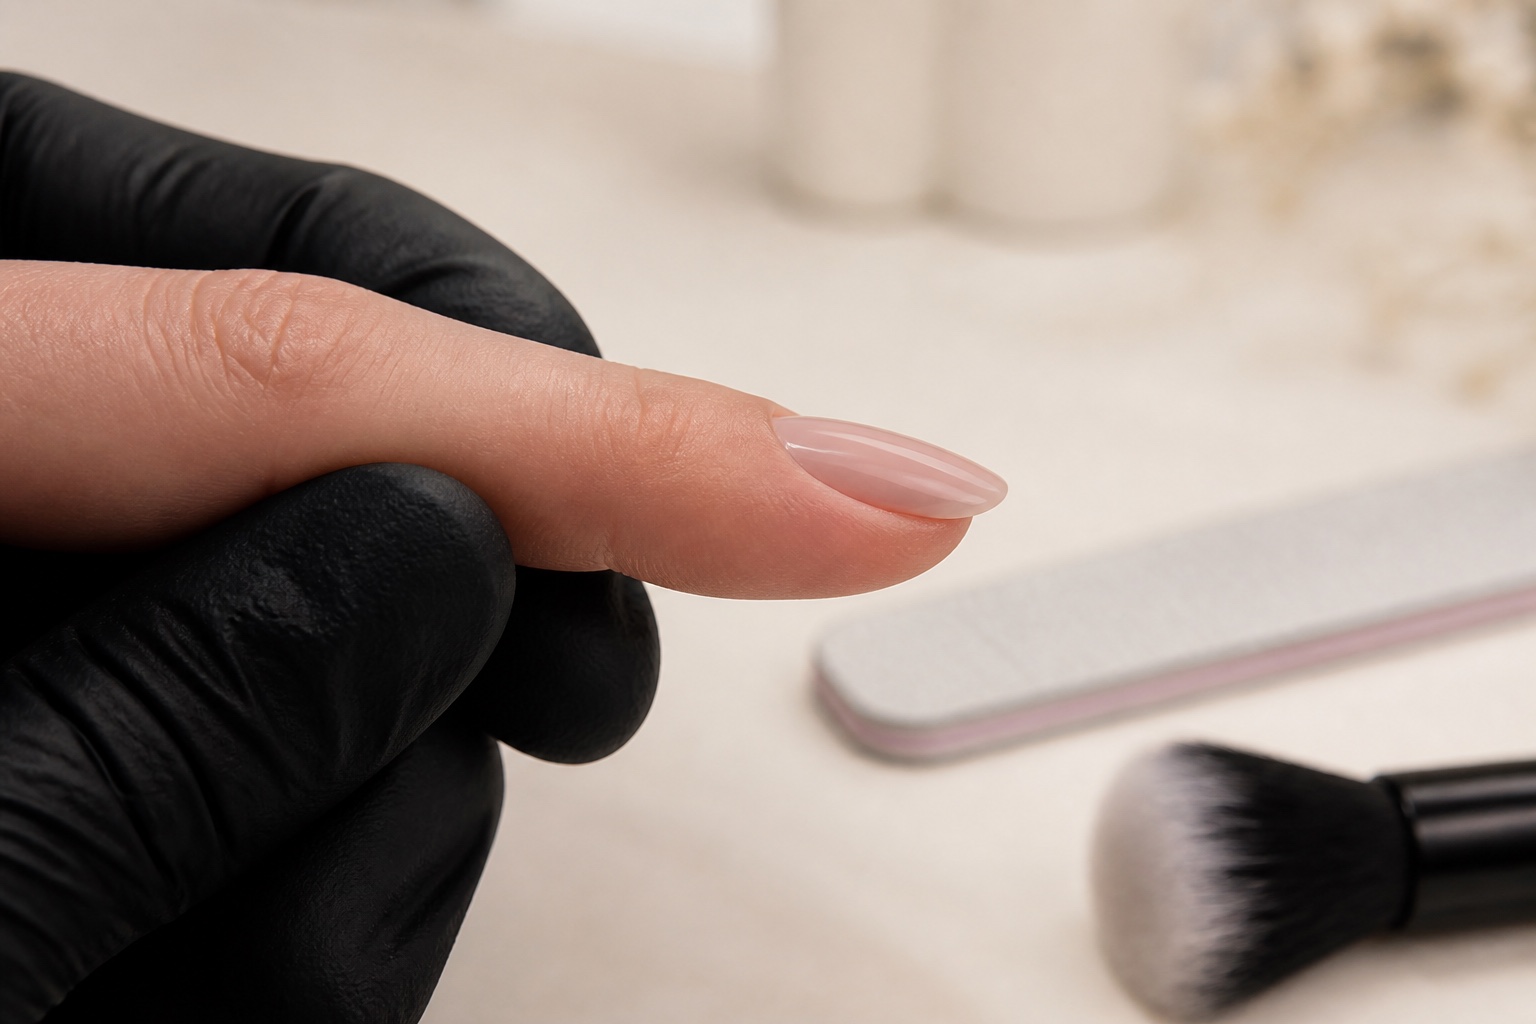
Side view: apex position and height, upper contour, cuticle transition, lower line and free-edge direction.
Top view: central axis, side-line continuity, width, taper and left-right symmetry.
Front view: transverse curve, product distribution, lateral thickness and free-edge balance.
Underside view: support, steps, overflow, free-edge thickness and lower-contour cleanliness.
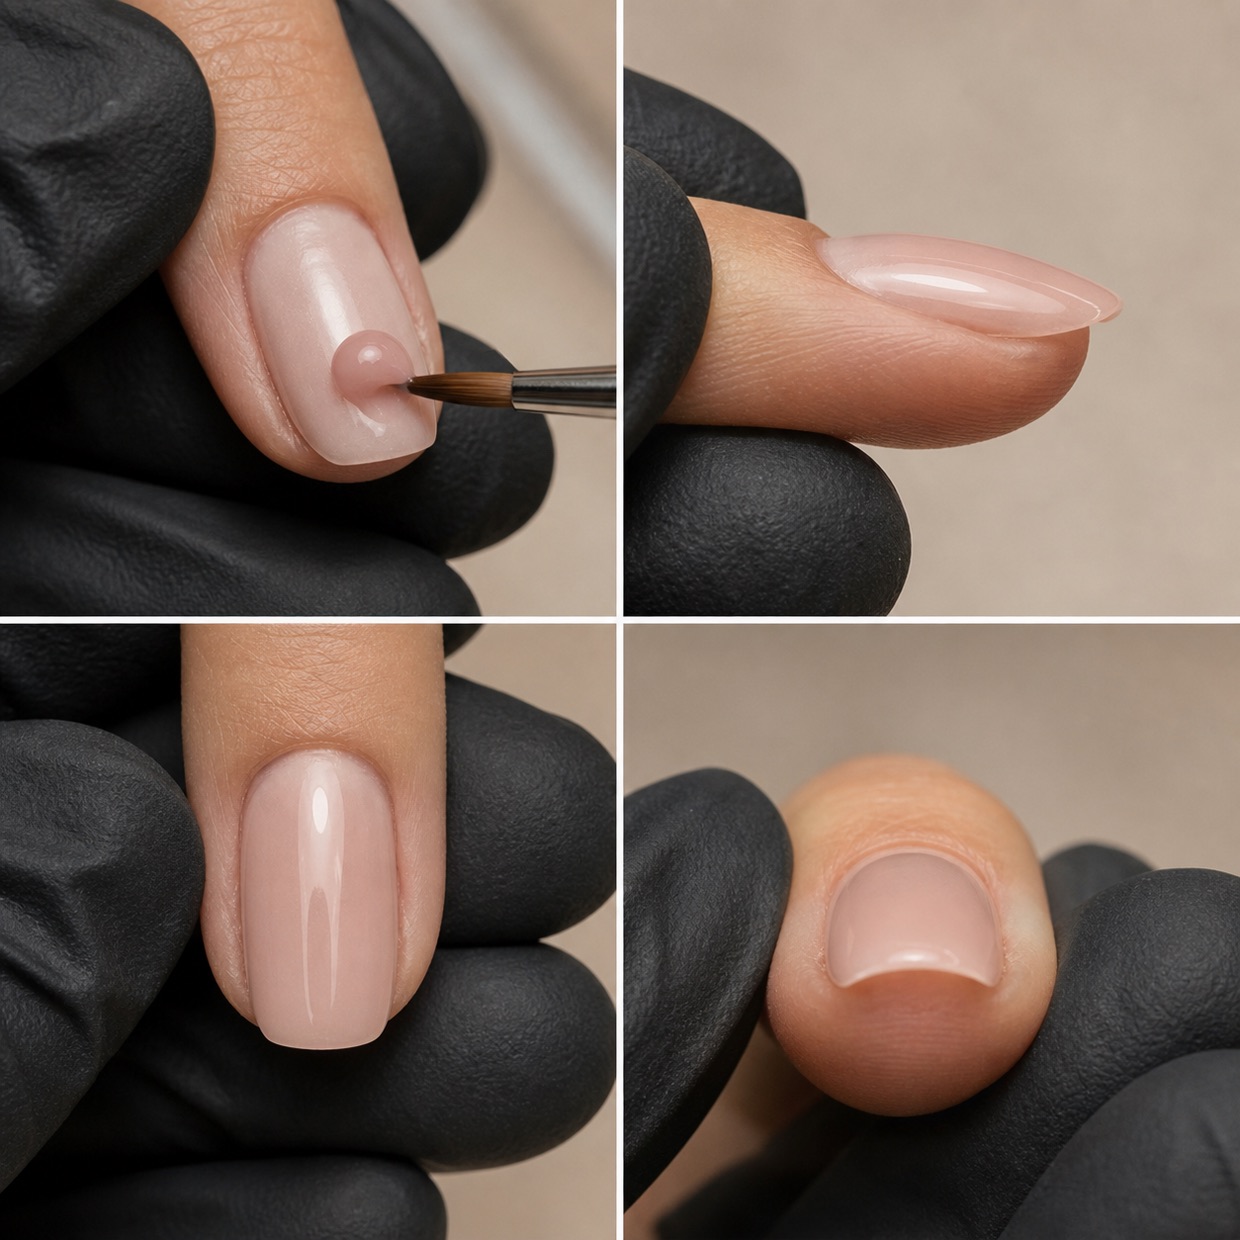
Longitudinal zones: from cuticle transition to free edge
Near the cuticle, product transitions smoothly without touching skin or creating a ledge that can lift. The upper line then rises gradually into the structural region rather than forming an abrupt hill. After the apex, it descends in a controlled line toward the free edge. The lowest and highest points are connected, not designed as isolated measurements.
The free edge must feel visually light while retaining the thickness required by the material, length and shape. Filing it thin to imitate a natural plate can remove support; leaving it uniformly bulky shifts weight forward. Profile and lower line should work together so the finished nail does not point up, hook down or carry an unnecessary step underneath.
Transverse structure, side lines and lower arch
The front view reveals distribution that the side view cannot. Product should transition across the width without one heavy shoulder, an off-centre peak or weakened side. The natural transverse curve is a starting observation, not a mould that every enhancement must exaggerate. Pinching or forcing curvature beyond the system and trained method can create pressure and damage.
Side lines connect the nail bed to the extension and help resist lateral force. Removing them to make a square nail appear narrow can create a fragile silhouette. On tapered shapes they converge according to the design but still remain continuous and symmetrical. Inspect the lower arch and underside for excess product, voids or an unsupported corner before colour hides useful evidence.
Where should the apex be?
There is no universal percentage or fixed millimetre height. Apex position responds to the length of the natural bed and extension, chosen shape, direction of growth, structural method, material properties and the forces expected in wear. A short overlay may need a subtle transition; a longer extension moves the design problem and generally needs more deliberate reinforcement.
Too far forward can make the free edge heavy and leave the proximal structure unsupported; too far back can create a cuticle-side hump and fail to manage the working lever. Too high can increase bulk without useful distribution; too flat can leave the stress area thin. The future dedicated apex guide will compare placement patterns by length and form without repeating the rest of this architecture workflow.
Material behaviour changes the building method
Self-levelling gel continues to move after placement. It can create a smooth surface but may run into sidewalls or flatten the intended volume if the technician waits too long. Thixotropic or non-levelling gels hold position more deliberately. Acrygel stays where it is guided, while acrylic beads progress through working stages as liquid and powder react. The final architecture can be similar, but the route is not.
Work within the product’s supported thickness, lamp or setting conditions and intended service. A dense product is not automatically stronger, and a thin product is not automatically under-built. Cure and mechanical performance depend on the complete system. Use the exact manufacturer’s instructions and never make structural bulk so great that light-curable product cannot receive the specified exposure.
A repeatable construction sequence
Design before product
Map the structure, then verify every view
Assess nail, growth and use
Choose length and shape
Map zones and apex
Build within the system
Refine and verify three views
Assess the natural nail, growth direction, side boundaries, skin, existing product, lifestyle and intended maintenance.
Choose a sustainable length and shape before placing a form, tip or enhancement material.
Map cuticle transition, structural zone, apex, side lines and free-edge thickness for that design.
Apply compatible product in controlled zones, preventing skin contact and respecting the working time.
Check axis, distribution and lower support before full cure or set whenever the method allows.
Complete the documented lamp exposure or setting stage without relying on surface feel.
Refine by zones and verify side, top, front and underside after dust removal.
Photograph consistent views and record material, length and correction for the next maintenance visit.
Filing should reveal the planned structure, not invent it
A clean application reduces filing, but every result still needs inspection. Establish length and free-edge shape, correct side lines, refine the upper surface around the apex and check the front view before polishing. Long repetitive passes through the highest point can erase the intended reinforcement; aggressive side filing can produce a narrow but weak structure.
If a large mass must be carved into shape, audit product placement rather than celebrating speed. Use hand file or e-file according to zone and competence, preserving enough material for correction. Stop for heat, pain, vibration, skin contact or uncertainty about the natural-nail boundary. The final light reflection is a surface check, not proof of internal cure or mechanical balance.
How length and common salon shapes change the design
Design variable | Structural implication | Common error |
|---|---|---|
Short overlay | Subtle reinforcement follows natural length | Adding a tall hump by habit |
Long extension | Greater lever needs deliberate distribution | Thin stress area and heavy tip |
Square | Parallel support continues to corners | Hollowing side lines to look slimmer |
Almond or tapered | Symmetrical convergence follows the axis | Twisted taper or off-centre apex |
Hooked or upturned growth | Method and length must correct axis sustainably | Copying the natural deviation into the extension |
Refill means rebalancing the architecture
As the nail grows, the original apex and reinforced zone move toward the free edge. Even fully adhered product can become mechanically unbalanced. At maintenance, inspect lifting, cracks, thickness, axis and natural-nail change; remove unstable material, reduce excess forward volume and rebuild the structural zone for the new length.
Do not place a new apex on top of the old one without reduction. That creates stacked bulk and can leave a weak transition behind it. The maintenance interval depends on growth, length, product, use and condition. Structure should be reviewed before visible failure becomes the appointment trigger.
Common architecture errors and how to read them
More volume is not always more support
Error location reveals the missing relationship
High hump
Volume is too concentrated
Flat centre
Stress area lacks definition
Heavy tip
Weight is shifted forward
Hollow sides
Continuity was filed away
A narrow high hump: volume is concentrated instead of distributed through the structural zone.
A flat centre with heavy free edge: leverage increases while useful reinforcement remains unclear.
One heavy side: the apex or product distribution is off-axis and front-view balance is lost.
Cuticle ledge: transition is too thick or product touched skin, increasing lifting risk.
Hollowed side lines: top-view slimness was created by removing structural continuity.
Different result in each photograph: finger and camera angle changed, so comparison is unreliable.
Safety and professional limits
Architecture does not make an unsuitable nail safe to cover. Postpone cosmetic enhancement for pain, injury, broken or inflamed skin, natural-nail separation or unexplained changes in colour, texture or shape. The American Academy of Dermatology’s nail-change guidance explains why several changes need clinical examination rather than cosmetic concealment.
Follow the exact product system. The FDA nail-care overview emphasises labelled directions, warnings and avoidance of skin contact. Cure, set, remove and maintain according to current documentation and local rules. A visually elegant shape cannot prove complete cure or rule out an adverse reaction.
Frequently asked questions about nail architecture
Is the apex the same as nail architecture?
No. The apex is the highest point in side profile. Architecture includes the complete three-dimensional distribution, side lines, transitions, lower support and free edge.
How high should the apex be?
There is no universal millimetre value. Height must be read with length, shape, natural curve, material, apex position, side support and free-edge thickness.
Where should the apex sit?
Its useful position changes with natural-bed length, extension, shape, growth direction and method. It must support the stress area without creating a proximal hump or heavy tip.
Does a short overlay need an apex?
It still needs balanced product distribution, but the highest point may be subtle. A short service should not receive a tall apex copied from a long extension.
Can a nail be too thin even if it has an apex?
Yes. A visible peak does not guarantee supported side lines, transverse balance, suitable thickness or a sound free edge. Inspect all views.
Can a thick nail still break?
Yes. Bulk in the wrong place can leave the stress area weak, add forward weight or hide under-cure. Distribution and material suitability matter more than uniform thickness.
What is the stress area of an enhancement?
It is the region that manages forces from bending, impact and leverage. Its exact expression depends on the nail and service rather than one printed line.
Is balance point another name for apex?
Not always. Education systems use balance point differently. Ask what structural relationship the term describes and verify the full three-view result.
Which view is most important for checking structure?
No single view is sufficient. Side, top and front reveal different errors; the underside adds support and overflow information.
Can filing move the apex?
Filing changes visible product distribution. Repeated passes over the peak can flatten or shift it, while excessive side filing can unbalance the whole structure.
Why is the apex moved during a refill?
Growth carries the original reinforcement forward. Maintenance reduces excess old volume and rebuilds balance for the nail’s new length and stress pattern.
Does every material use the same architecture?
The structural goals are related, but supported thickness, rigidity, working behaviour, curing and intended services vary. Follow the exact system and trained method.
Editorial review: 5 September 2026. This guide provides professional education, not one universal structural formula. It does not replace product instructions, supervised practice, local regulation or healthcare assessment. It owns complete nail architecture; detailed apex placement remains a separate intent.
Apply the architecture through a complete material workflow in the gel nail extensions guide, which connects assessment, preparation, support choice, lamp cure, filing and maintenance.