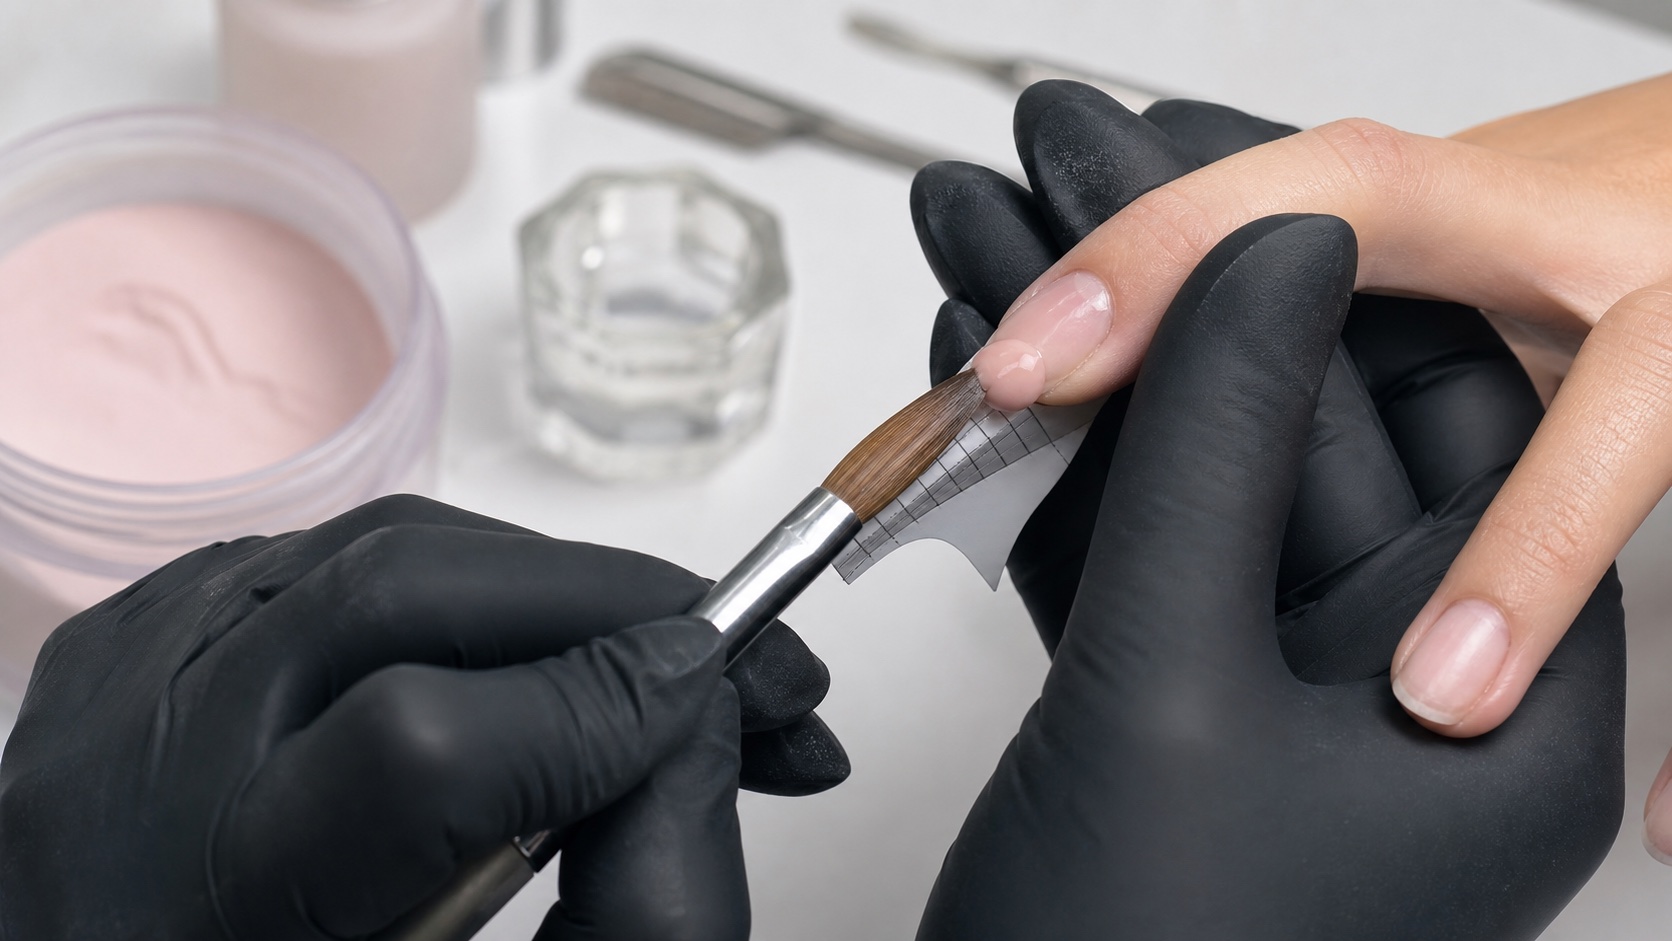
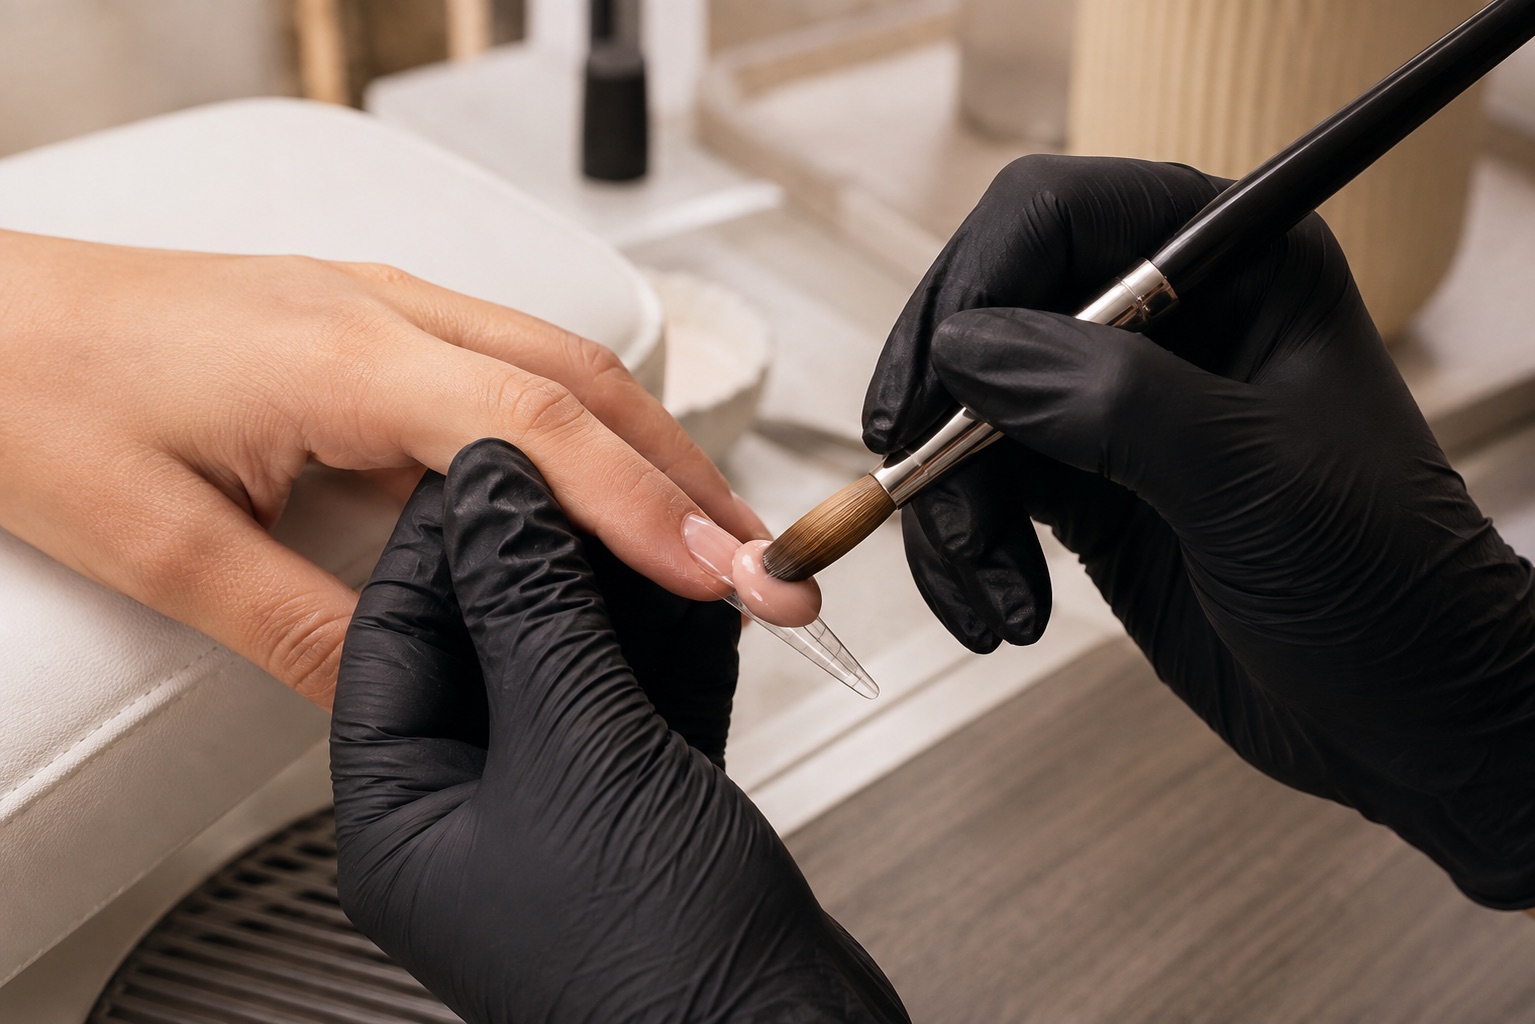
Acrylic nail extensions are created when a professional brush combines liquid monomer with polymer powder to form a workable bead. The material begins setting as soon as liquid and powder meet, so the technician controls consistency, placement and architecture inside a moving working window rather than curing each layer in a lamp. Reliable acrylic work depends on one documented product system, repeatable brush loading, controlled exposure, balanced structure and timely maintenance—not on a universal ratio copied from another brand.
Quick answer: use a compatible liquid-and-powder system, learn the visual and tactile stages of its bead, keep uncured material off skin, build a sustainable extension in zones, allow it to set as directed, file only after it is ready and rebalance it before growth shifts the stress area forward. A bead that floods, crystallises or tears is process evidence, not something to conceal with more product.
This guide owns the complete liquid-and-powder acrylic-extension process in the BeautyLearn professional nail guide library. Use gel vs acrylic vs acrygel for the broad material comparison, the nail-architecture guide for structural planning, professional hand filing for refinement and the nail-lifting guide for adhesion troubleshooting. Practical learning paths include Beginner Acrylic Nails — Level 1, Acrylic Nails — Level 2 and the complete online nail-course catalogue. English courses and teachers are separate market records.
What acrylic liquid and powder become
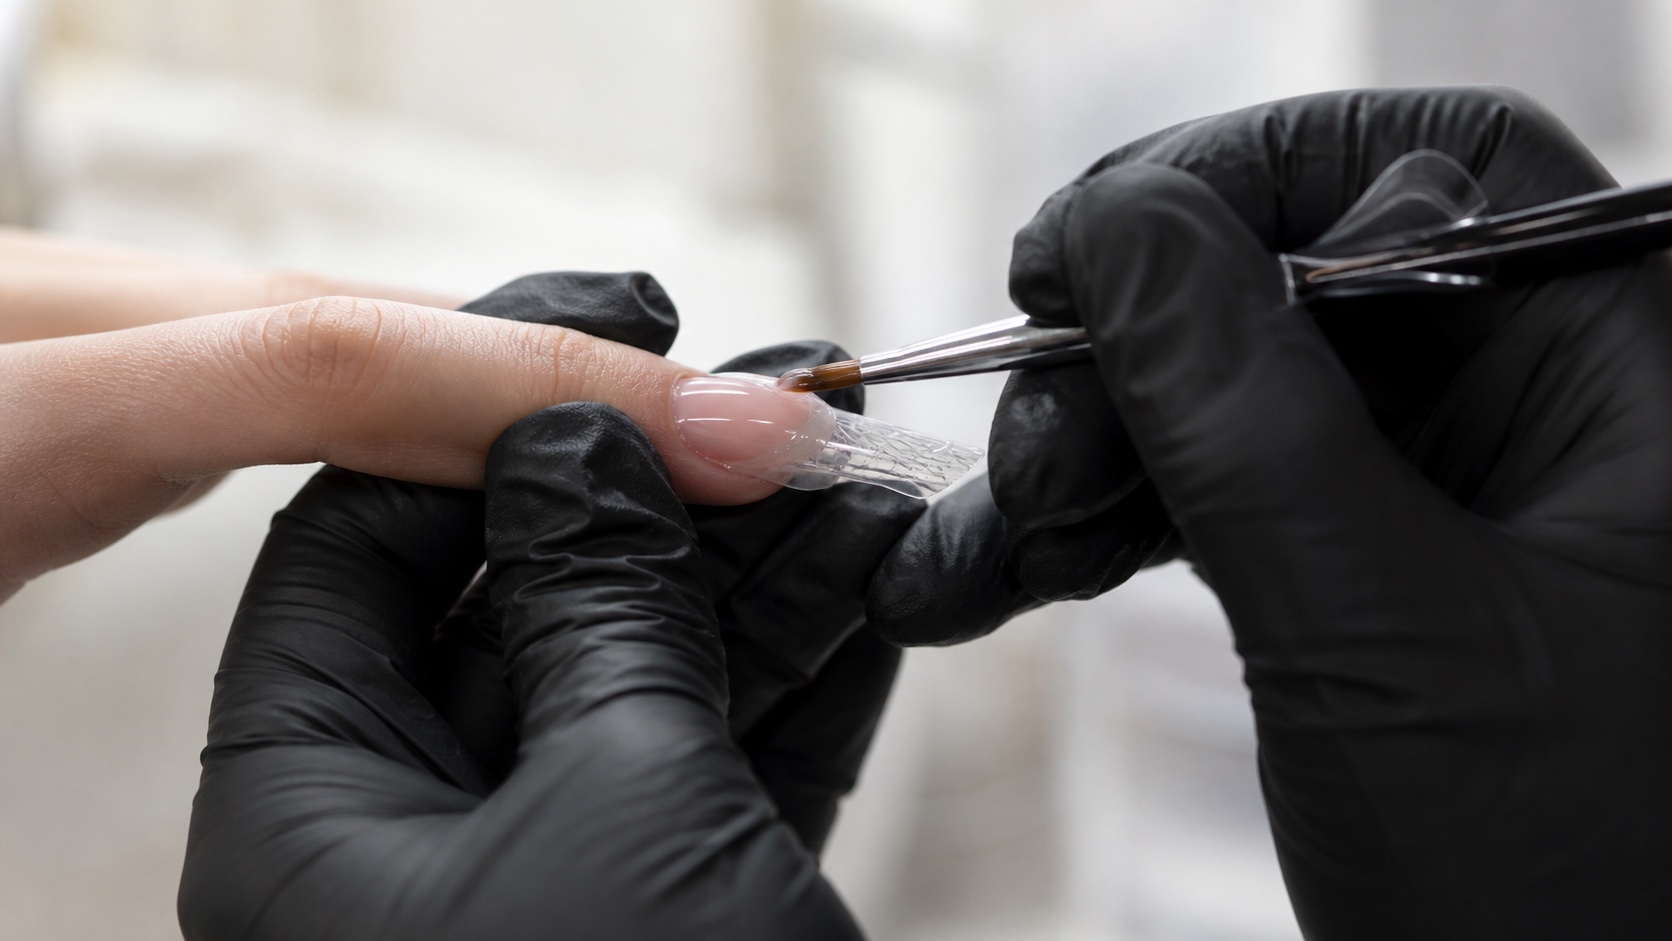
The brush carries a controlled quantity of monomer into polymer powder. The collected bead wets through, becomes mouldable and then progressively loses movement as polymerisation continues. Unlike a light-cured gel, traditional liquid-and-powder acrylic does not wait indefinitely for the technician and does not require a nail lamp to set. That difference shapes the entire service: preparation must be complete, supports must already fit and each bead needs a clear destination.
‘Acrylic’ describes a family rather than one interchangeable recipe. Monomer composition, polymer particle size, pigments, initiators, ambient conditions and the manufacturer’s intended method affect pickup, levelling, colour stability and set. Dip systems may also use powder, but normally pair it with cyanoacrylate-based resins and a different sequence; they are not the brush-applied liquid-and-powder method covered here.
Liquid, powder, brush and environment form one system
The bead starts before it reaches the nail
Material, brush and room conditions interact
Liquid + powder
Compatible reaction system
Brush
Liquid capacity and bead release
Environment
Temperature and airflow
Rhythm
Placement inside the working stage
Variable | What it changes | Control question |
|---|---|---|
Monomer and polymer | Reaction, colour, working behaviour and final properties | Are they approved as one compatible system? |
Brush | Liquid capacity, bead size, pressure and surface control | Can it release a repeatable bead without flooding? |
Temperature and airflow | Evaporation and perceived working window | Are conditions within the system guidance? |
Bead size and wetness | Movement, opacity, shaping time and surface | Does this bead suit this construction zone? |
Technician rhythm | Placement timing and number of corrections | Can each action finish before the material resists? |
Do not mix a convenient liquid with an unrelated powder or transfer a familiar ratio from a different line. Keep original labels, safety information, batch numbers and opening dates. Dispense only the amount needed into a stable dappen dish, keep stock containers closed and dispose of remaining working liquid according to the product and local waste instructions rather than pouring it back.
Wet, workable and dry beads: read behaviour, not a magic ratio
Read the bead before you move it
Wet, workable and dry are behaviours—not universal numbers
Too wet
Runs and spreads quickly
Workable
Holds, then responds to the brush
Too dry
Granular, dragging or torn
Correction
Reset pickup at source
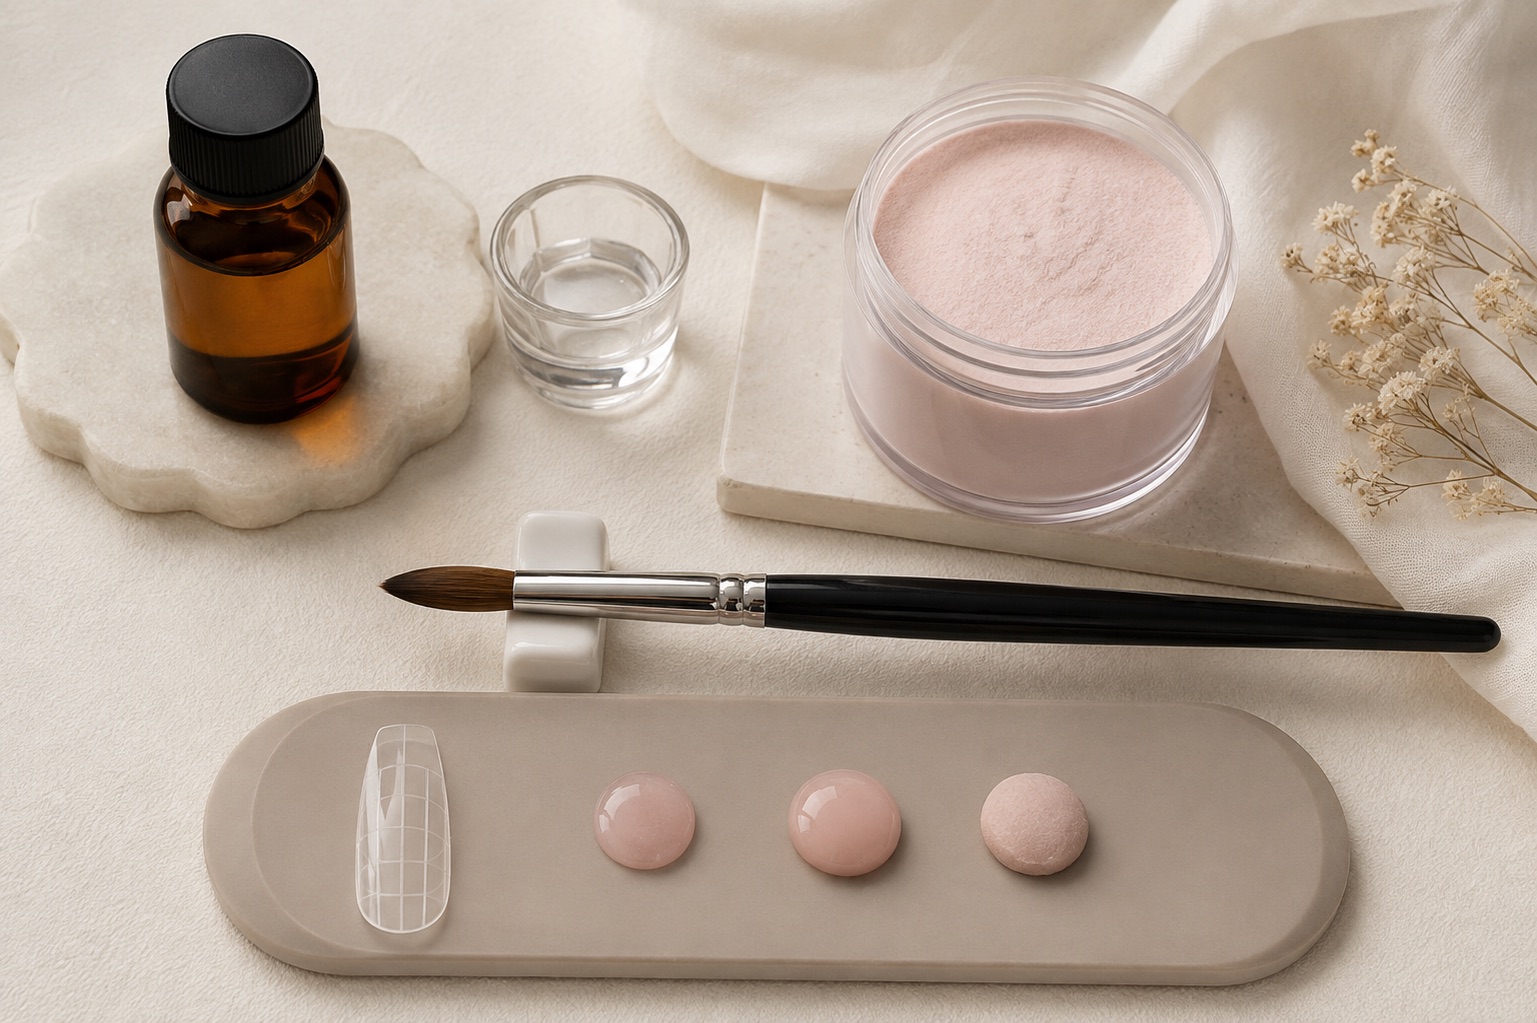
A wet bead looks very glossy, spreads quickly and may run toward lateral folds before it can be directed. A dry bead may remain granular, drag under the brush, tear at its edges or fail to merge smoothly. A workable bead absorbs its powder, holds long enough for accurate placement and then responds to deliberate pressing and guiding. These are working observations—not a licence to improvise outside product instructions.
The useful consistency can also change by zone. A controlled extension edge, body bead and small cuticle transition do not necessarily require identical size or handling. Practise on a neutral training surface: collect repeated beads, time their visible stages, press each with the same stroke and compare spread, edge integrity and residue. Record room conditions and the exact system so the exercise produces transferable evidence.
Trying to rescue a flooded bead by chasing it around the nail increases skin-contact risk. Adding liquid over a chalky mass does not reliably restore the intended reaction. Remove an unsuitable practice bead and correct brush saturation, powder pickup or timing at source. On a client, stop and clean any accidental skin contact promptly using the documented procedure.
Assessment and reasons to postpone
Inspect all nails and surrounding skin in good neutral light. Record existing product, natural-nail flexibility, growth direction, side boundaries, recent trauma, lifting, sensitivity, daily tasks and the requested length. Discuss maintenance and removal before application. A long, narrow design on a short or compromised base may create a lever the client cannot maintain safely.
Postpone for pain, bleeding, broken or inflamed skin, discharge, major natural-nail separation, recent unresolved injury or an unexplained change in colour, texture or shape. Do not diagnose or cover the sign with opaque acrylic. Burning, itching, swelling, blistering or breathing symptoms during a service require an immediate stop and appropriate medical advice or emergency action according to severity.
Preparation without thinning the natural nail
Clean hands, prepare the workstation and manage only non-living tissue within training and local scope. Refine the free edge, remove surface contamination and abrade only as the acrylic system directs. The natural plate should not become grooved, hot, painful or visibly thin. Adhesion should come from a clean, compatible interface, not intentional damage.
Avoid touching the plate after preparation. Dehydrator, primer or adhesion promoter is not automatically required in every combination: use the system-specific product, quantity and drying instructions. More primer is not more retention, and contact with skin is not acceptable. If contamination occurs, correct that stage rather than trapping it under acrylic.
Support choice and extension planning
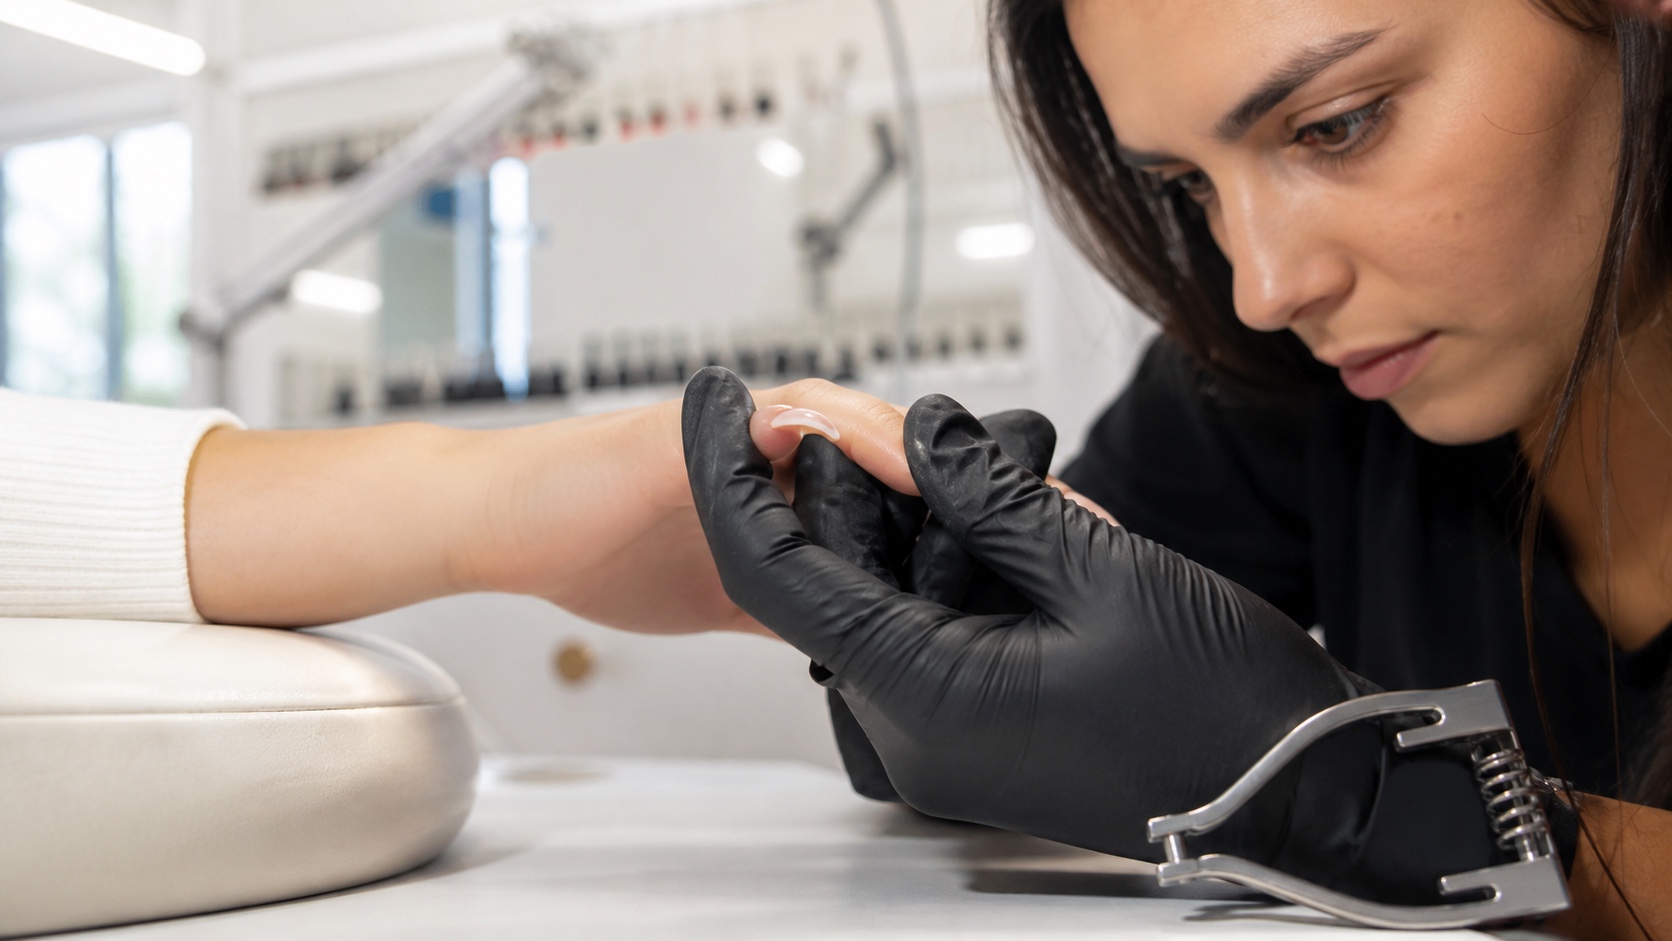
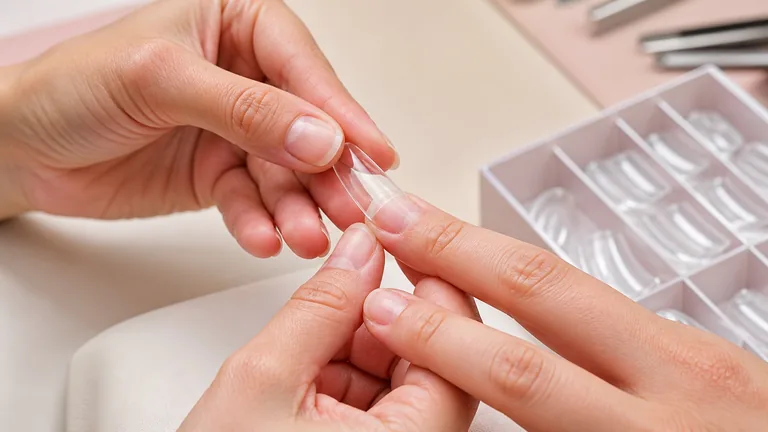
A sculpting form should meet the free edge without a gap, respect the hyponychium and follow the intended axis. A tip needs correct side-to-side fit and a compatible attachment method without forced curvature or pressure. Choose length and shape before placing product, because the support establishes the lower line and much of the correction strategy.
Templates and shortcuts cannot replace a three-view check. Look from above for axis and side lines, from the side for lower line and apex relationship, and from the front for symmetry and free-edge thickness. If the support twists, opens or points away from the plan, refit it before the first bead rather than filing away the consequences later.
Professional acrylic extension sequence
Plan first, then work inside the setting window
Every bead needs a destination
Assess and prepare
Fit support and plan zones
Pick up and place beads
Set, file and verify
Document and maintain
Assess the natural nail, skin, previous product, requested result and maintenance commitment.
Prepare hygienically and conservatively, then apply only the system-specified preparation products.
Fit and align the sculpting form or tip for the intended shape, length and growth direction.
Dispense fresh working liquid, condition the brush and collect a bead suited to the first zone.
Build the extension edge and side boundaries without crushing the product or touching skin.
Add the body and structural zone, joining beads while their stages remain compatible.
Create a thin controlled cuticle transition and inspect every margin before the material sets.
Allow the material to complete the documented set; do not file a soft or uncertain structure.
Remove the support where applicable, file in a planned sequence and verify all three views.
Finish, photograph, record products and batch details, explain aftercare and schedule review.
Architecture: use beads to build zones, not bulk
The cuticle transition should be thin and sealed without touching skin; the stress area needs planned support; side lines must remain continuous; and the free edge should be proportionate to length and shape. The apex is a relationship between zones viewed in profile, not one large bead dropped at a fixed distance on every nail.
Place each bead where its mass is needed, let it settle briefly according to the system, then guide with the body and point of the brush. Avoid repetitive tapping that roughens the surface or pushes liquid toward skin. Joining beads requires compatible stages: a fresh bead applied onto material already too firm can create visible steps and excessive filing, while uncontrolled wet joins can flatten the plan.
Setting, pinch timing and readiness to file
There is no universal set time, tap sound or pinch moment. Product chemistry, bead size, room conditions and technique change the window. Follow the manufacturer’s education and use only a pinching method that the system supports, on an appropriate structure, without pain or pressure on the natural nail. Never use a clamp simply because the clock reached a number seen online.
File only when the structure is ready throughout. A firm surface alone does not prove that a thick or wet area has reached the intended state. Premature filing can pull, tear or deform material; aggressive pressure also generates avoidable dust and heat. If readiness is uncertain, use the documented test and wait rather than compensating with force.
Filing and final quality control
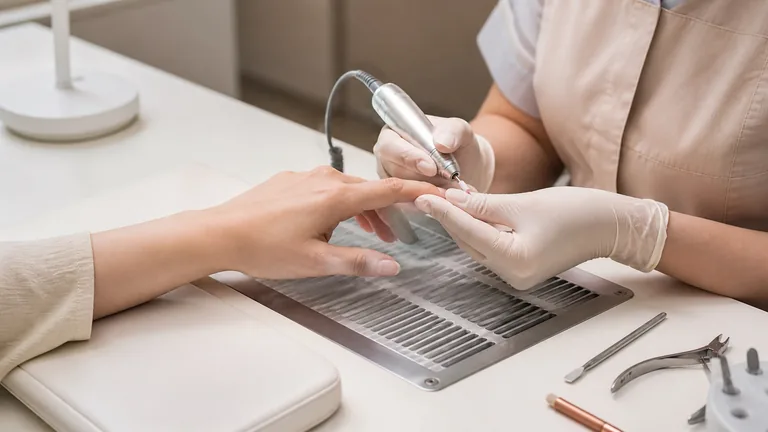
Begin with a structure that is already close to the design. Establish free-edge length and shape, restore side-line continuity, refine the upper contour and inspect the underside. Use the abrasive and pressure appropriate to the material and zone. The electric nail file guide explains machine control; it does not make unnecessary bulk acceptable.
Before finishing, check symmetry, axis, apex, front thickness, underside, skin contact, cracks and any lifting. The client should not feel pressure, burning or sharp edges. Photograph consistent top, side and front views. A glossy surface can hide a heavy cuticle zone, a downward free edge or side walls weakened for a slimmer picture.
Common acrylic failures and what to check first
Observation | First variables to review | Unsafe shortcut |
|---|---|---|
Flooded cuticle margin | Bead wetness, size, placement and brush control | Leave product on skin until it sets |
Grainy or porous surface | Brush saturation, pickup and joining stage | Brush liquid over a compromised mass |
Cuticle lifting | Tissue, contamination, contact and transition | Seal the pocket with fresh acrylic |
Stress crack or break | Length, architecture, side lines and impact | Patch moving material without assessment |
Bulky, uneven finish | Bead zoning, working stage and filing plan | Thin only the tip and leave imbalance |
Ventilation, vapour, dust and skin exposure
Control exposure at the source
Vapour, dust and uncured material need different controls
Vapour
Local exhaust near open liquid
Dust
Capture where filing occurs
Skin
Prevent and clean contact
Records
Keep product and batch traceability
The US FDA’s nail-care product guidance explains that artificial-nail systems use reactive acrylic monomers and that residual monomers can cause reactions in sensitised people. Avoid skin contact, follow warnings and do not identify a product as safe or unsafe from odour alone. Use traceable professional products and keep the safety documentation available.
CDC/NIOSH guidance for nail technicians recognises inhalation of vapours and dust among workplace exposures. General room ventilation is useful but source control matters: keep containers closed, minimise open liquid, use local exhaust close to the work and capture filing dust where it is generated. The NIOSH ventilated-table control description documents reduced ethyl methacrylate exposure with local exhaust.
Ventilation should draw contaminants away from both breathing zones without creating uncontrolled airflow that disrupts product handling. Keep food and drink outside the work area, clean surfaces and tools through the documented hygiene process, manage contaminated disposables and use task-appropriate personal protective equipment based on the workplace risk assessment. Requirements differ by country and can change.
Refill, rebalance and safe removal
At maintenance, inspect the natural nail, skin and every previous product margin before shortening or filing. Growth moves the original structure forward, so remove all lifting, reduce displaced bulk and rebuild the stress area. A refill is not fresh colour over regrowth. Appointment timing depends on growth, chosen length, daily use, retention and condition rather than a universal number of weeks.
Traditional acrylic is usually reduced mechanically and may be softened only when the exact system supports a documented solvent method. Decorative layers, adhesives and mixed products alter removal. Never peel, prise or force product from the plate. Stop when the remaining layer is stable and safely manageable; chasing a perfectly bare appearance can remove natural nail.
How to practise acrylic control
Start with one known system and a controlled room setup. Practise brush conditioning, small repeated pickups, bead placement and three consistencies before attempting length. Then build short extensions on tips or a training hand, isolating one objective per session: form fit, lower line, body placement, cuticle transition, three-view architecture or filing sequence.
Use photographs and a defect log to compare results. Record system, room conditions, bead behaviour, number of strokes, set readiness and filing time. Change one variable at a time. Speed should emerge from predictable pickup and placement; it should never come from larger wet beads, skin contact, skipped inspection or filing material before it is ready.
Frequently asked questions about acrylic nail extensions
Do acrylic nails need a UV or LED lamp?
Traditional liquid-and-powder acrylic chemically sets after the components meet and does not need a nail lamp. Any colour or top product applied over it may have its own cure requirements.
What is the correct liquid-to-powder ratio?
There is no universal numeric ratio for every brand, brush and condition. Learn the manufacturer’s target bead behaviour and practise repeatable loading with that complete system.
Why is my acrylic bead running?
It may be too wet or large for the zone, placed too late or affected by conditions. Remove unsafe contact and correct brush saturation and pickup rather than chasing it around skin.
Why does acrylic look dry or grainy?
The bead may have insufficient liquid, incomplete wetting or be worked after its useful stage. Revisit pickup and timing; adding liquid over a compromised mass is not a universal repair.
Can I mix monomer and powder from different brands?
Only when compatibility is explicitly supported. Similar labels do not prove that reaction, colour, strength, set or safety documentation remain valid when products are mixed.
Is strong smell proof that acrylic is dangerous?
No. Odour alone cannot identify composition or risk. Use labelled, traceable products, read safety information and control vapour and dust exposure regardless of how noticeable the smell is.
How long does acrylic take to set?
Set time varies with system, bead, temperature, airflow and technique. Use the documented readiness check and do not begin filing or pinching from a universal timer.
Why do acrylic nails lift?
Read the location and timing. Residual tissue, contamination, skin contact, unsuitable preparation, thick transitions, structural stress and client wear require different corrections.
Are acrylic nails stronger than gel nails?
Neither material is universally better. Formula, natural nail, length, architecture, application, cure or set, maintenance and removal determine whether a service is appropriate.
How often do acrylic extensions need a refill?
Review them before growth makes the structure unbalanced. Growth rate, length, lifestyle and retention vary; lifting, cracks, pain or impact need earlier assessment.
Can acrylic be soaked off?
Some systems can be reduced and softened with their documented solvent process; others or mixed layers behave differently. Confirm the exact product and never force removal.
Can I learn acrylic nail extensions online?
Online theory and demonstrations can structure practice, but client work requires supervised feedback, one-system competence, hygiene, exposure control, stop criteria and compliance with local rules.
Editorial review: 5 September 2026. This guide provides professional education and does not replace current manufacturer instructions, supervised practical training, workplace controls, local law or medical advice. It owns the complete liquid-and-powder acrylic process; broad material comparison, architecture, lifting and filing remain separate intents.