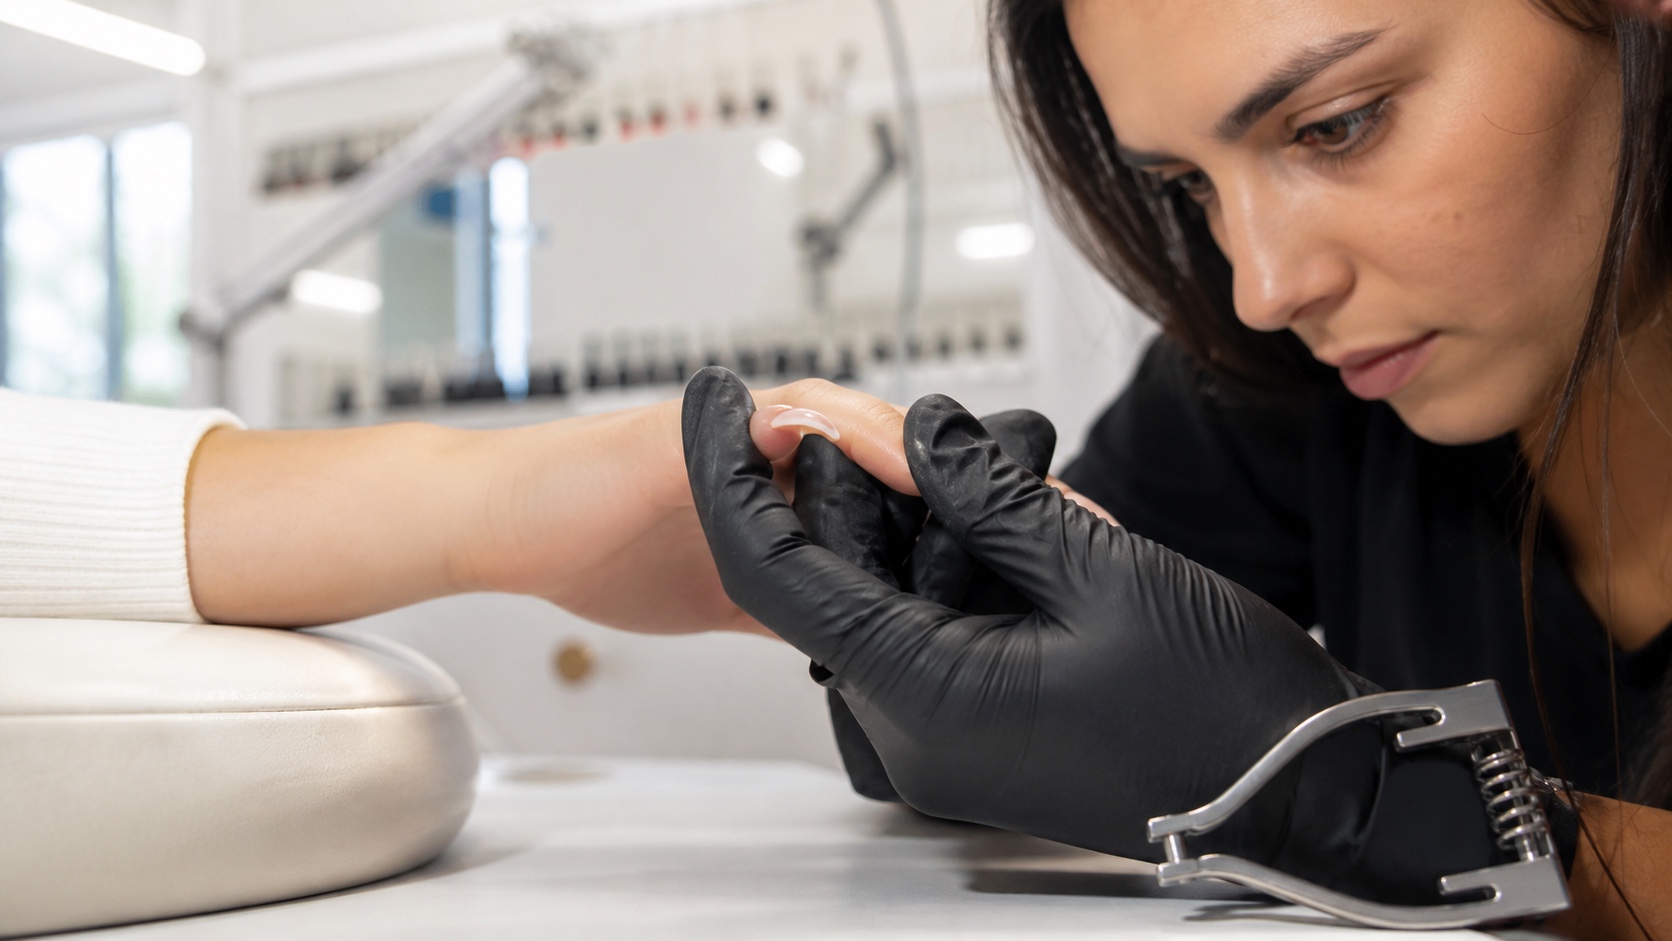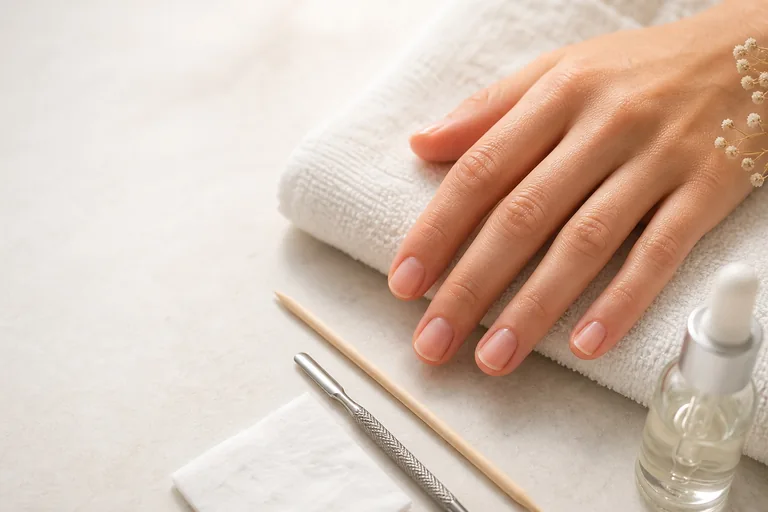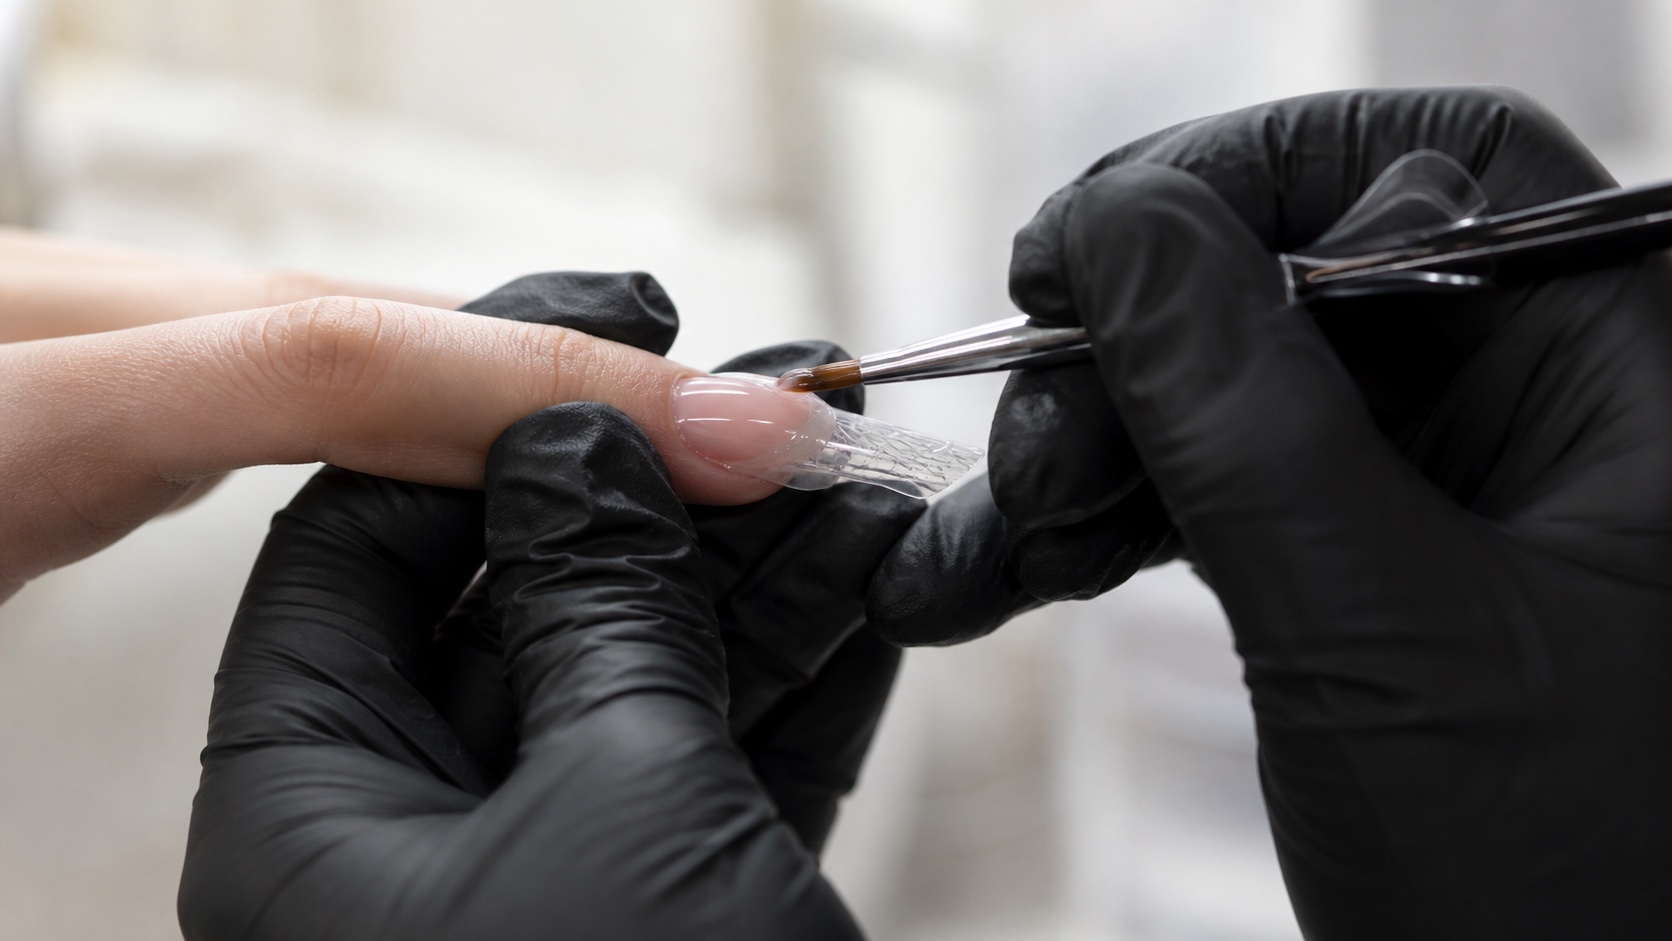
Gel nail enhancement uses light-curable cosmetic products to overlay, reinforce or extend a natural nail. A professional result comes from one connected system: client and nail assessment, product-specific preparation, an appropriate extension support, controlled builder placement, compatible lamp exposure, balanced architecture, finishing and planned maintenance. A premium gel cannot compensate for a missing step.
Quick answer: assess an intact natural nail, select one complete gel system and a sustainable service, prepare without over-filing, build the extension and apex for the chosen length, remove all skin contact, cure with the specified lamp and exposure, refine from three views and schedule maintenance before growth unbalances the structure. Gel should not be uniformly thick, painful or used to conceal an unexplained nail change.
This pillar owns the complete gel-overlay and gel-extension process in the BeautyLearn professional nail guide library. Compare product families in gel vs acrylic vs acrygel, plan volume through the nail-architecture guide, use professional hand filing for refinement and diagnose adhesion separately in the nail-lifting guide. For training, review the Beginner Gel Nails Course — Level 1, Gel Nails Course — Level 2 and the full online nail course catalogue. English courses and teachers are separate market records.
Gel overlay, reinforcement and extension: define the service first
Choose the service before the product
Overlay, reinforcement and extension solve different design problems
Overlay
Covers the existing natural length
Reinforcement
Adds controlled structural support
Extension
Creates length beyond the edge
Correction
Rebalances a suitable growth direction
Service | What changes | Main planning question |
|---|---|---|
Overlay | Gel covers the existing natural length | How much reinforcement suits the plate and wear? |
Reinforcement | Structure is added to support a short natural nail | Is the chosen builder intended for this flexibility? |
Extension | Length is created beyond the free edge | Which support, architecture and length are sustainable? |
Correction | Growth direction or shape is optically rebalanced | Can the method correct without pressure or unsafe thickness? |
Gel polish is not automatically a structural builder, and builder gel is not one universal formula. Read intended uses, maximum supported length, base requirements, layer thickness, lamp, cure schedule and removal route. Decide the service before opening product; otherwise the available pot begins to dictate an unsuitable result.
Assessment and reasons to postpone
Observe all ten nails and surrounding skin in neutral light. Record natural length, flexibility, growth direction, transverse curve, side boundaries, previous product, lifting, sensitivity, recent trauma and the client’s daily work. Discuss the requested shape, length, maintenance commitment and whether the person can protect a longer lever between appointments.
Postpone gel for pain, bleeding, broken or inflamed skin, natural-nail separation, recent unresolved injury, discharge or unexplained changes in colour, texture or shape. Do not diagnose infection, allergy or disease and do not hide the evidence with camouflage gel. A cosmetic service begins only when the surface is intact and the work remains within professional scope.
Choose one compatible gel system
A gel service may use dehydrator, primer, base, builder, colour and top, but not every line requires every stage. Some builders need a separate base; some are marketed as single-phase systems; some soak off and others require mechanical reduction. Commercial words such as hard, builder, rubber, fibre, self-levelling or thixotropic describe different dimensions, not a universal quality ranking.
Keep product line, batch, opening date, lamp model and documented cure together. Same-brand products are not automatically interchangeable across every collection, and products from different brands should not be layered unless compatibility is expressly supported. If a system changes, repeat the relevant education and do not carry over thickness or lamp assumptions from the old one.
Natural-nail preparation without over-filing
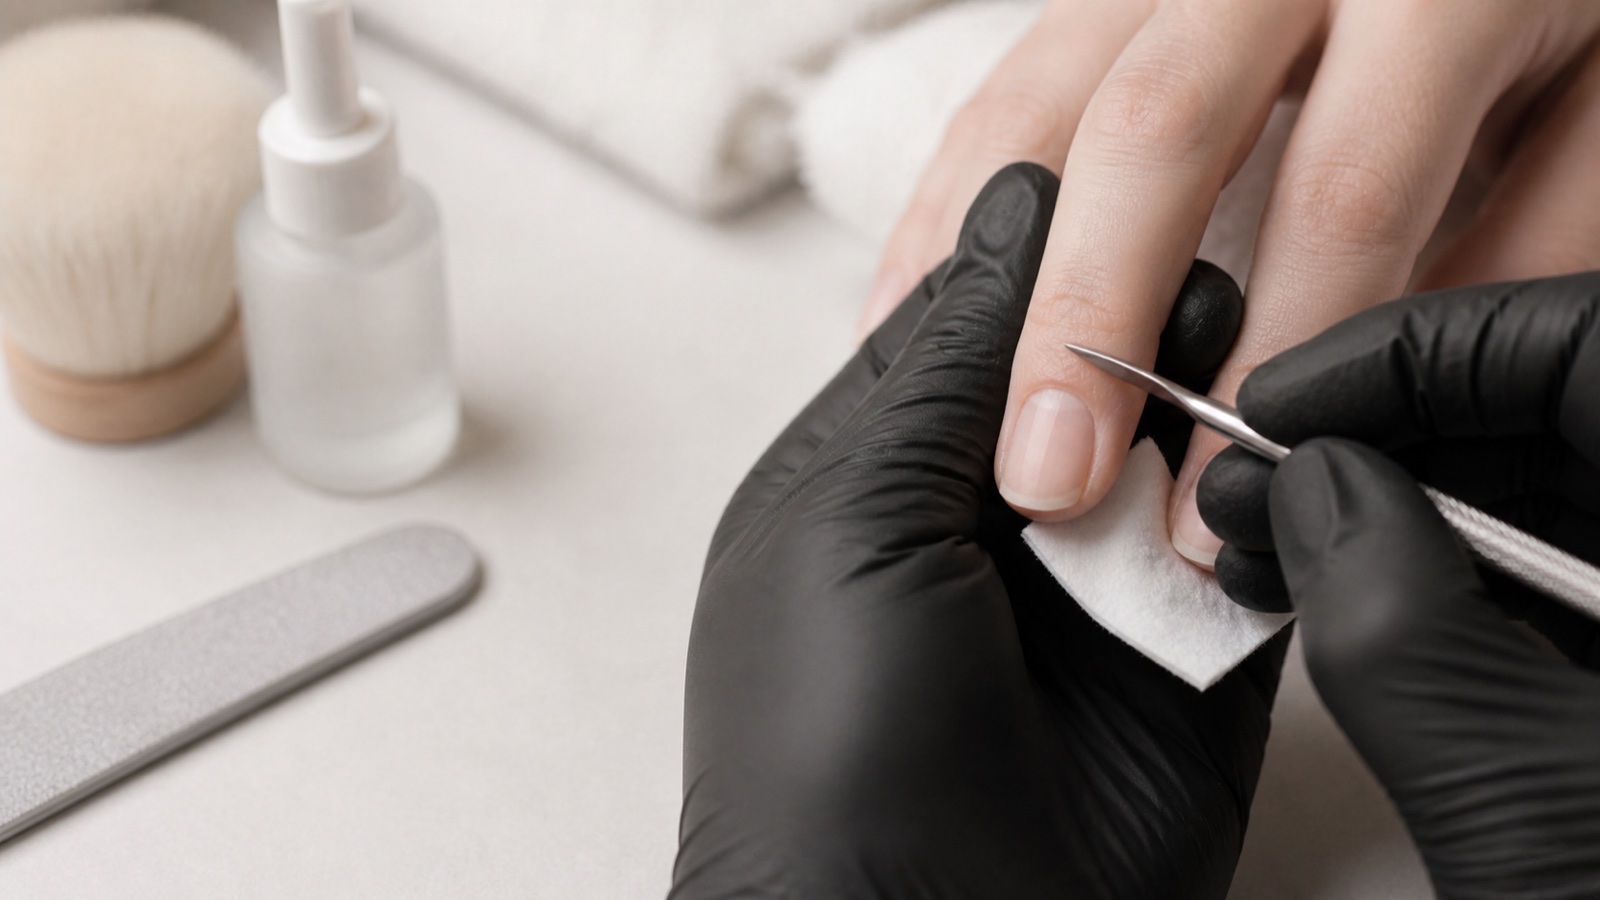
Clean hands and establish the local hygiene protocol. Adjust free-edge length, manage only non-living tissue within trained scope and remove dust and surface contamination as the system instructs. The plate should not be filed until it is visibly grooved, thin, hot or painful. Adhesion should come from a correct interface, not damage.
After preparation, avoid touching the plate. Apply dehydrator, primer or base only when specified and in the documented amount. Keep every reactive product away from skin and lateral folds. An excess of primer or a flooded base can reduce control rather than increase retention. Correct contamination instead of covering it with another layer.
Choose the extension support: sculpting form, dual form or full-cover tip
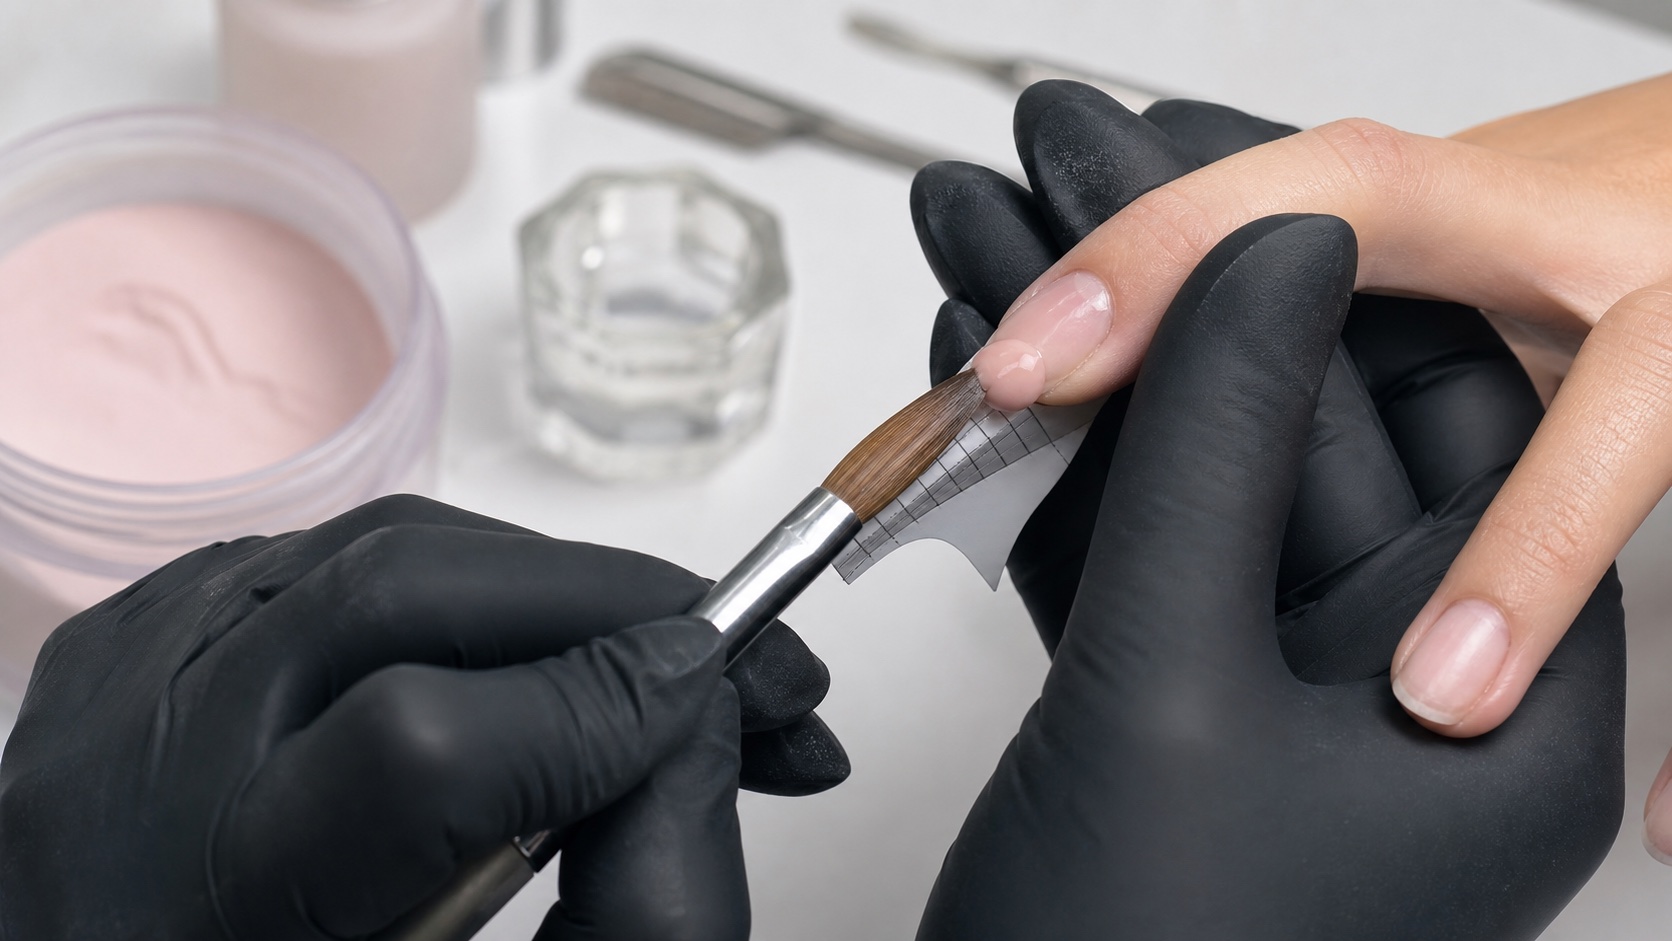
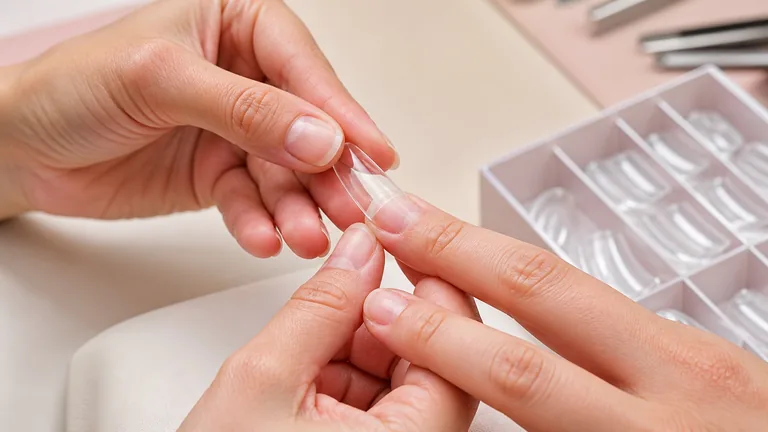
A sculpting form sits beneath the free edge while gel is built above it; it allows detailed adaptation to growth direction but demands freehand control. A dual form is a removable upper mould filled before placement; review the dedicated dual-form sizing and application guide. A full-cover tip remains in the finished service and uses its own contact and attachment system.
The support must fit the natural nail and intended axis without pinching, floating, twisting or forcing curvature. Choose a method that leaves the working area visible and allows the specified lamp exposure. A preformed support can speed repetition, but it cannot correct anatomy that does not match its curve.
Professional gel extension sequence
One system, one connected workflow
Assessment and maintenance belong to the application
Assess and choose the service
Prepare and fit support
Build product by zone
Cure in the matched system
File, verify and document
Assess the natural nail, skin, existing product, requested result and maintenance plan.
Prepare according to the exact system without excessive abrasion or contamination.
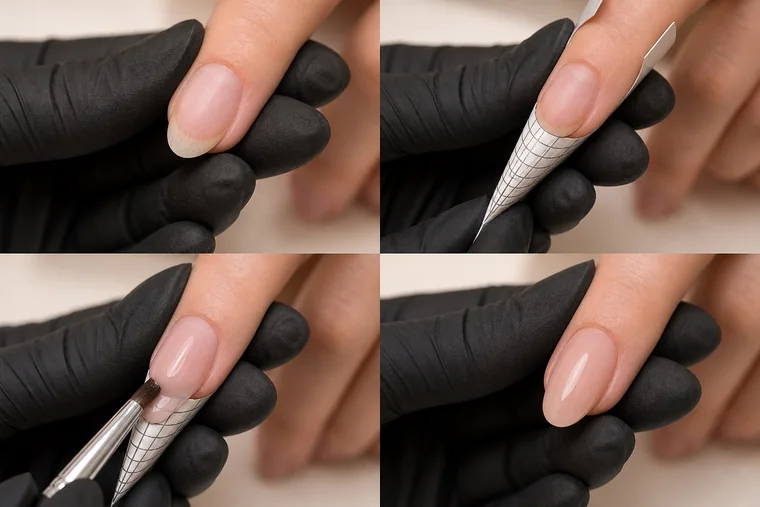
Fit and align the chosen sculpting form, dual form or full-cover system before builder placement.
Create the free edge and initial length within the builder’s intended use, then cure as documented.
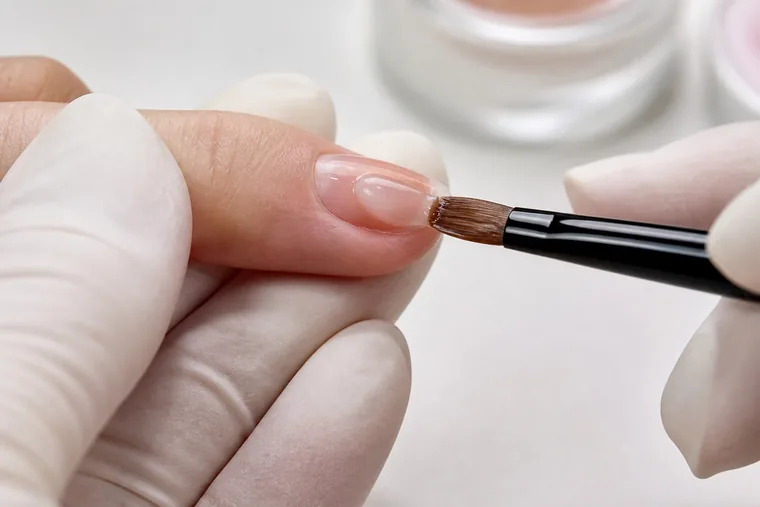
Build the overlay and apex by zones, keeping transitions controlled and product off skin.
Position the hand correctly and complete the matched lamp exposure for each required stage.
Remove support where applicable, cleanse only as instructed and inspect cure, axis and underside.
File length, side lines, upper contour and free edge in a planned sequence, then dust and recheck three views.
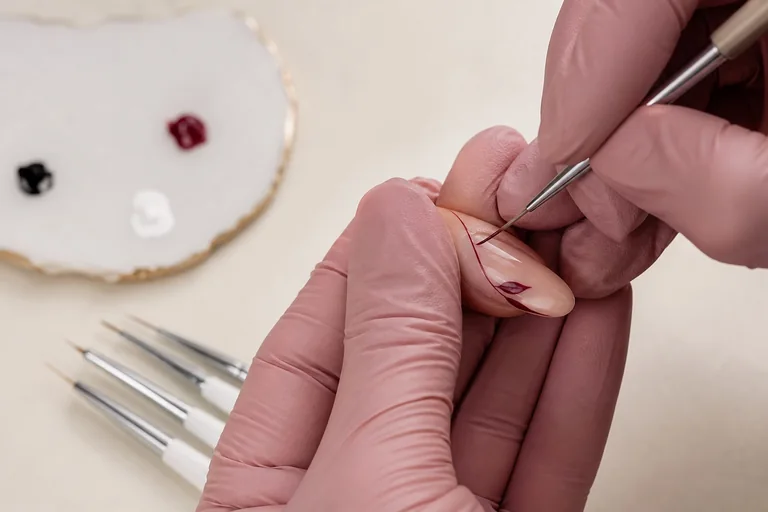
Apply colour and top without flooding, complete final cure, photograph and record the service.
Builder placement and balanced architecture
Keep the cuticle transition thin and smooth, reinforce the stress area, maintain continuous side lines and make the free edge proportionate to the length and material. The apex is the highest point in side profile, not a bead that is deposited in the same place on every nail. Check axis and volume from top, side, front and underside before filing.
Self-levelling gel moves with gravity and time; turn or flash-cure only within the trained system method. A controlled gel stays where guided but can still be placed too thickly. Do not assume more product creates more strength. A narrow hump, heavy tip or hollow side line can remain structurally poor despite visible bulk.
Lamp compatibility, curing and heat spikes
Cure depends on more than minutes
Product, lamp, thickness and hand position interact
Formula
Photoinitiators and pigmentation
Lamp
Spectrum, output and geometry
Layer
Supported thickness and opacity
Hand
Full position and exposure
Gel requires the lamp spectrum, output, geometry and exposure schedule validated for the exact product. ‘UV/LED’ on both labels does not prove compatibility. Position every finger inside the effective zone, place thumbs as directed, keep sensors and reflectors clean and follow maintenance requirements. Dark pigment, opaque builder, excess thickness and incorrect hand placement can affect cure.
A hard surface or dry inhibition layer cannot prove complete conversion. Heat can rise during rapid polymerisation, especially with thick portions or a sensitive plate. Never ask a client to endure burning. Follow the system’s trained heat-management protocol, reduce inappropriate bulk and stop if pain persists. Extending time randomly is not a substitute for compatible equipment and thickness.
Filing and final quality control
File a structure that is already close to the plan. Set free-edge length and shape, restore side-line continuity, refine the upper contour around the apex and check underside and front thickness. Change abrasive or tool by zone. Excessive passes at the highest point flatten the architecture; filing side lines to create a slim photograph can weaken the service.
Before colour, dust completely and inspect symmetry, lifting, cracks, unsupported corners, skin contact and comfort. After top coat, check that gloss has not hidden a bulky cuticle margin or heavy free edge. Photograph the same views and lighting at each appointment so retention and correction can be compared rather than remembered.
Common gel-extension failures and the first variable to check
The defect location points back to the process
Do not hide evidence under more product
Cuticle lift
Prep, contact, transition, cure
Stress crack
Length, architecture, material, impact
Soft / wrinkled
Thickness, lamp and exposure
Crooked axis
Support fit and alignment
Failure | Check first | Do not do |
|---|---|---|
Cuticle lifting | Tissue, dust, product contact, transition and cure | Add more primer over the pocket |
Crack in stress area | Length, apex, sides, material and impact | Patch moving material without assessment |
Wrinkled or soft gel | Thickness, lamp, pigment and exposure | File and top-coat uncertain cure |
Crooked extension | Support alignment, growth direction and view | Correct a major axis error with colour |
Heavy, thick result | Portioning, zone map and filing plan | Thin only the free edge and leave imbalance |
Refill, rebalance and removal
At maintenance, growth has moved the original apex toward the free edge. Inspect the nail and skin, remove all lifting and unreliable product, shorten if needed, reduce forward bulk and rebuild the structural zone. A refill is not colour over regrowth. Its timing depends on growth, length, lifestyle, product and condition rather than one universal week.
Removal depends on the actual gel. A soak-off builder may soften with the documented solvent method; hard gel is reduced mechanically. Decorative layers and mixed systems change the route. Never peel, prise or scrape product from the plate. Leaving a thin stable layer may be more conservative than chasing complete visual removal when the next compatible service allows it.
Methacrylate exposure, skin contact and professional safeguards
The European Commission SCCS opinion on HEMA and Di-HEMA TMHDC identifies sensitisation risk from misuse, inappropriate application and accidental skin contamination, and notes professional respiratory exposure to filing dust without appropriate controls. EU Regulation 2020/1682 restricts nail products containing these ingredients to professional use and requires allergy warnings; requirements differ by market and can change.
‘HEMA-free’ does not mean acrylate-free, allergy-proof or safe for skin contact. Use gloves compatible with the task, clean spills, control dust with local extraction, keep containers closed and record products and batches. Stop for burning, swelling, itching, rash, blistering or nail change and refer for medical advice. Do not patch-test reactive gel on skin as a salon experiment.
How to learn gel extensions without skipping foundations
Begin on training tips or a practice hand with one known system, one short shape and consistent photographs. Separate exercises for support fit, product control, apex placement, side-line filing and full sequence. Change one variable at a time and keep a defect log. Speed comes after the result can be repeated without skin contact, heat, excess filing or hidden under-cure.
Before working on clients, you should be able to explain the product system, identify stop conditions, position the hand in the lamp, remove lifting without entering the pocket, document batches and give aftercare. Supervised feedback matters because a smooth image cannot reveal pressure, pain, incomplete cure or unnecessary natural-nail removal.
Frequently asked questions about gel nail extensions
What is the difference between gel polish and builder gel?
Gel polish primarily provides colour, while builder gel is intended to create reinforcement or structure. Exact capabilities, thickness and removal still depend on the product.
Can builder gel extend the natural nail?
Only when the manufacturer supports extension at the planned length and method. Use a compatible support, lamp, thickness and architecture.
Does every gel need a base and primer?
No. Preparation products are system-specific. Use only those required, in the correct amount and drying or curing sequence.
Can I cure gel in any UV/LED lamp?
No. Shared marketing words do not prove spectrum, output or geometry compatibility. Use the lamp and exposure validated for the exact formula.
Why does gel burn in the lamp?
Rapid polymerisation, thick portions and a sensitive or thinned plate can increase heat sensation. Stop, follow the trained system response and correct the cause.
Why does gel lift at the cuticle?
Check residual tissue, contamination, skin contact, thick transition, preparation products and cure. Remove unstable material; never seal over it.
How thick should a gel extension be?
There is no universal number. Thickness must stay within product limits and be distributed for the natural nail, shape, length and expected forces.
How often does a gel extension need a refill?
Schedule review before growth unbalances the structure. Timing varies with growth, length, wear and condition; lifting or cracks require earlier inspection.
Can hard gel be soaked off?
Usually hard gel is file-off, but removal is formula-specific. Confirm the exact product rather than testing aggressively with solvent or scraping.
Do gel extensions damage natural nails?
Damage is not an acceptable goal, but over-filing, skin contact, improper cure, picking and traumatic removal can harm nails or skin. Technique and maintenance matter.
Is HEMA-free gel hypoallergenic?
No. Other reactive acrylates may be present and any product can be misused. Avoid skin contact, cure correctly and stop suspected reactions.
Can I learn gel nail extensions at home?
Theory and practice supports can begin at home, but client work requires supervised feedback, product-system competence, hygiene, stop criteria and compliance with local rules.
Editorial review: 5 September 2026. This guide provides professional education and does not replace the current manufacturer instructions, supervised practical training, local law or medical advice. It owns the complete gel extension process; material comparison, architecture, lifting and removal remain separate intents.