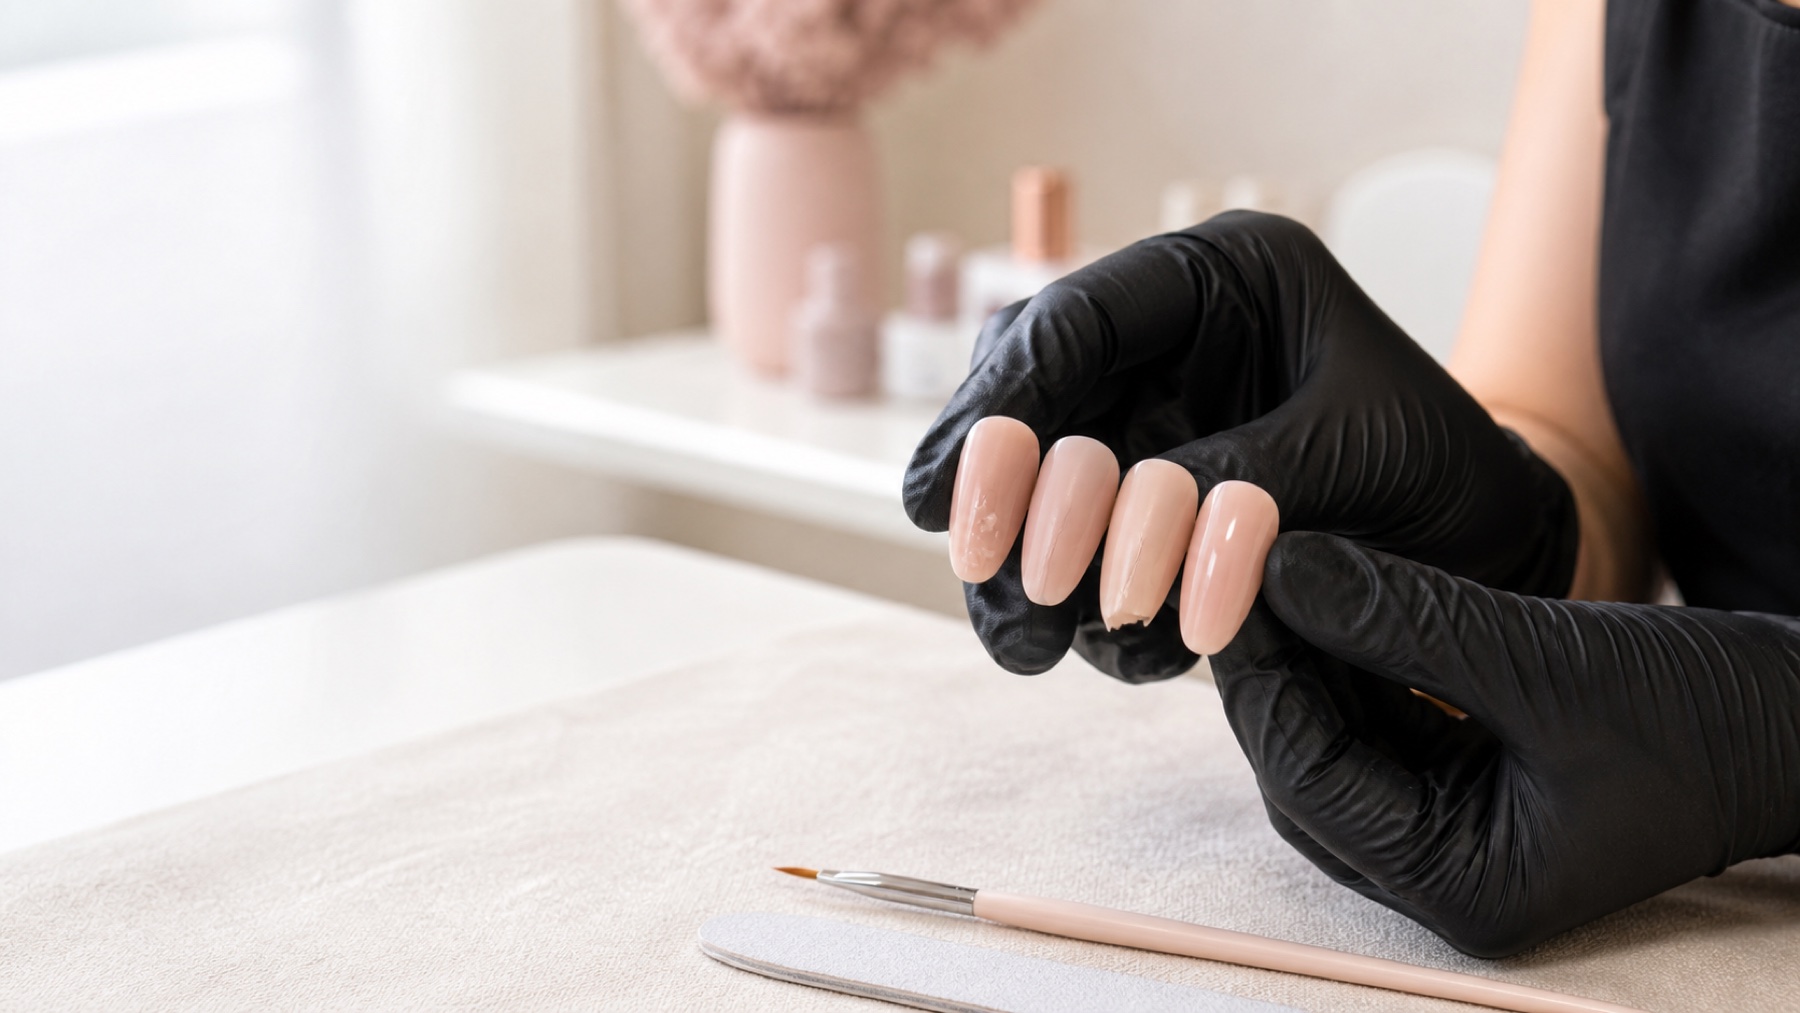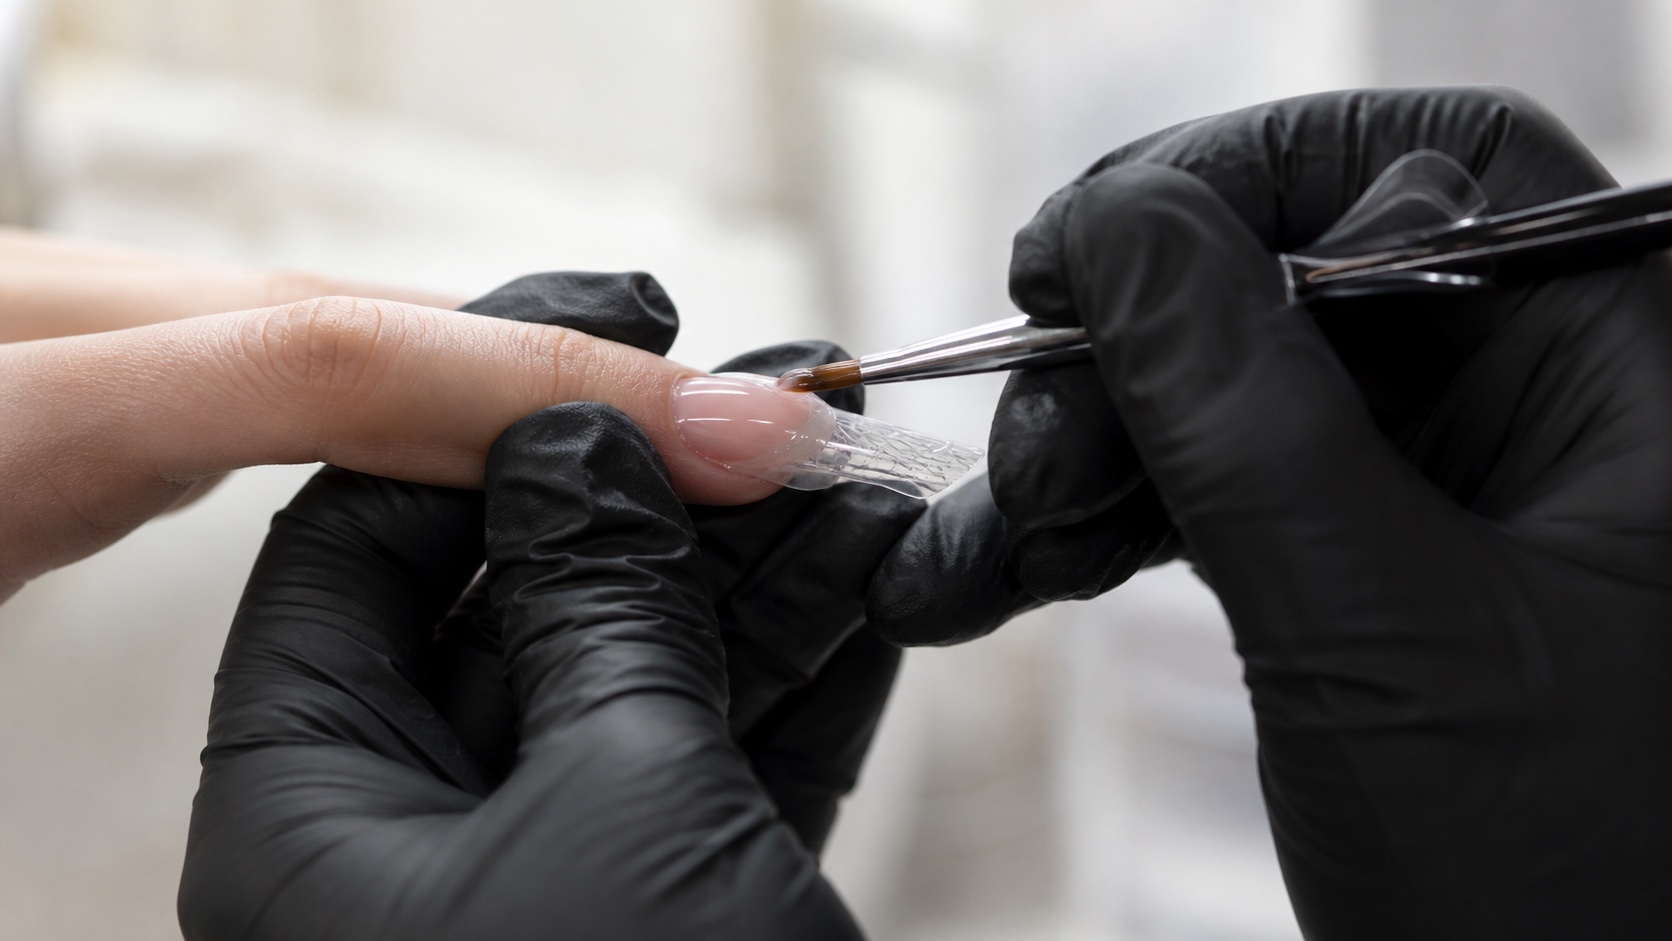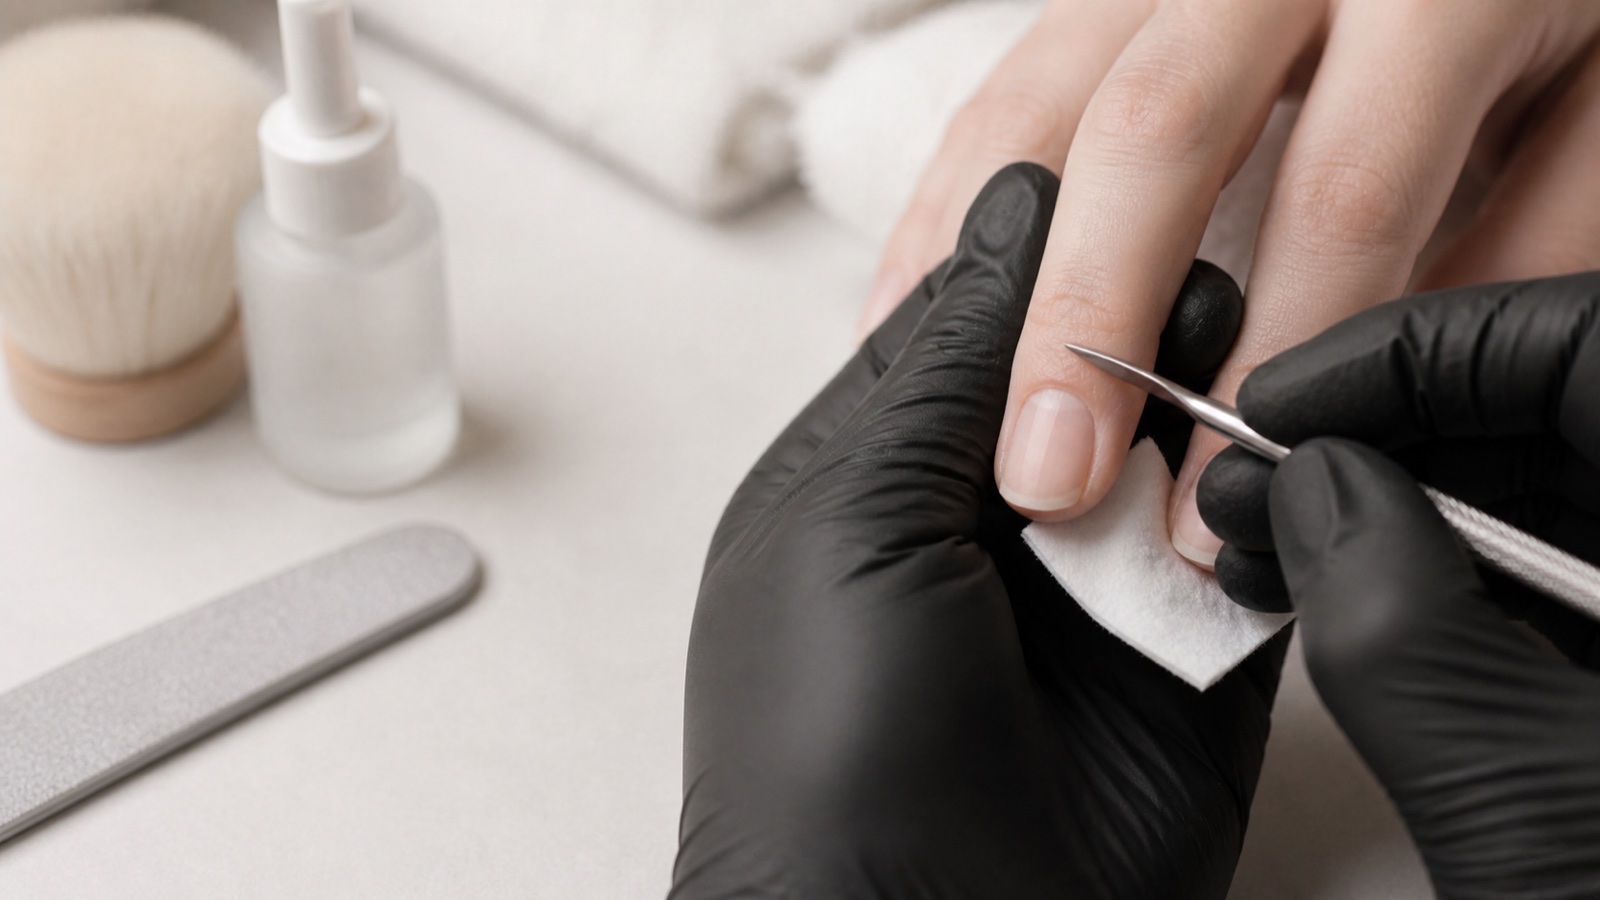
Nail prep is the controlled preparation of the natural nail before gel polish, builder gel, acrygel or acrylic. Its purpose is not to make the nail plate as rough as possible. The goal is to assess a suitable base, remove contamination and non-adherent residue, stabilise the free edge and create only the surface condition required by the chosen product system while preserving the natural plate.
Essential rule: more aggressive preparation does not guarantee better adhesion. Grooves, heat, chalky patches and sensitivity show that the plate has been overworked. The product manufacturer’s directions for abrasives, preparation liquids and order take priority over generic routines.
Good prep removes technical variables, but it cannot compensate for product on skin, incompatible primer and base, unsupported structure, the wrong lamp or incomplete cure. This guide owns the preparation sequence. Read the separate primer guide for adhesion-promoter chemistry and the curing guide for product–lamp compatibility.
What nail prep means—and what it does not do
The procedure is bigger than the bottle
Name each step by its actual role
Procedure
Complete controlled preparation
Dehydrator
Temporary surface moisture control
Primer
System-specific adhesion promoter
Base
Compatible curable coating
Professionals use ‘nail prep’ for both the complete preparation stage and a volatile liquid sold as dehydrator, pH prep or nail preparator. They are not equivalent. The procedure includes assessment, hygiene, careful work around the nail folds, free-edge shaping, surface refinement when required and dust removal. A liquid is only one optional system step.
Preparation creates a clean, repeatable interface. It does not sterilise the nail, cure a condition or turn a damaged plate into a healthy base. Postpone for pain, open or inflamed skin, swelling, discharge, unusual odour, major separation, green or unexplained colour and significant changes in texture or thickness. Describe and refer; do not diagnose or hide the sign beneath product.
Term | Role | Common confusion |
|---|---|---|
Manicure | Cosmetic care of nail and surrounding area | Not every manicure prepares for enhancement |
Nonliving cuticle | Thin tissue adhering to the plate near the proximal fold | Not the living proximal nail fold |
Dehydrator | Temporarily reduces surface moisture and residue | Not automatically an adhesion promoter |
Primer or bonder | System-specific adhesion step | Not universal and not a substitute for base |
Base | Curable coating with adhesive, flexible or structural role | Not another name for primer |
Assess the natural nail before using an abrasive
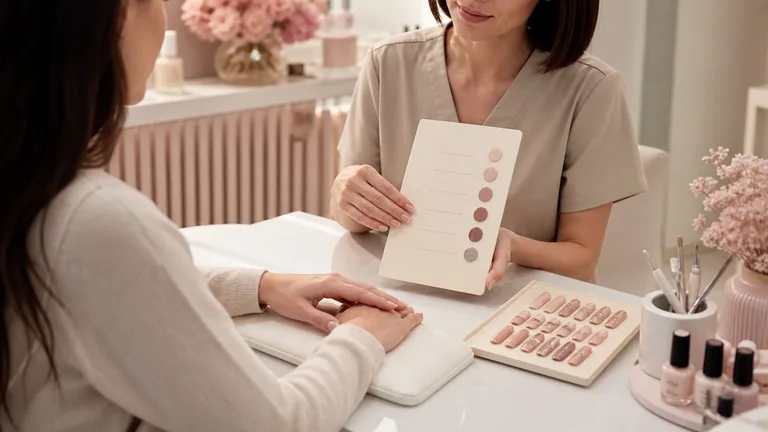
Inspect all ten nails in even light before liquids change their appearance. Ask what service is present, when it was applied, how it was removed, where lifting started and whether burning, itching or a reaction occurred. Record known product systems. This is not medical history-taking; it prevents repeating an irritating process or covering evidence.
Proceed only on intact, comfortable skin and nail plate suitable for the planned cosmetic service.
Postpone for wounds, inflammation, pus, unusual odour, green colour, extensive separation, friable thickening or suspected allergy.
Do not cover grooves, visibly thinned areas or a painful plate; document and allow appropriate assessment or recovery.
Review the nail-matrix guide for living boundaries and the cautious guide to yellow nails and warning signs before working over an unexplained change.
Cuticle is not the same as the living proximal nail fold
Everyday salon language often calls all skin at the nail base ‘cuticle’, but the preparation decision needs more precision. Nonliving cuticle can adhere as a thin film to the plate and interfere with a clean product margin. The proximal nail fold is living protective tissue. It should not be cut, drilled or opened to manufacture a deeper pocket for colour.
Soften or lift only according to the chosen manicure protocol, use a controlled view and stop if the client feels sharp pain or the tissue becomes pink, split or bleeds. A product line photographed extremely close to the fold is not proof of a better service. Product must remain on the nail plate with a clean, visible safety margin appropriate to its viscosity and application method.
When attached residue is difficult to distinguish, change light and angle before increasing pressure. Dust can hide the surface and make the same zone receive repeated passes. Clean, reassess and use the least invasive effective action. Trauma creates a new safety problem; it is not a successful way to remove an adhesion variable.
Nail prep step by step: the professional sequence
Choose the system before the abrasive
Eight stages, one controlled interface
Assess and clean
Fold and free-edge control
Minimal refinement and dust
Compatible liquids and base
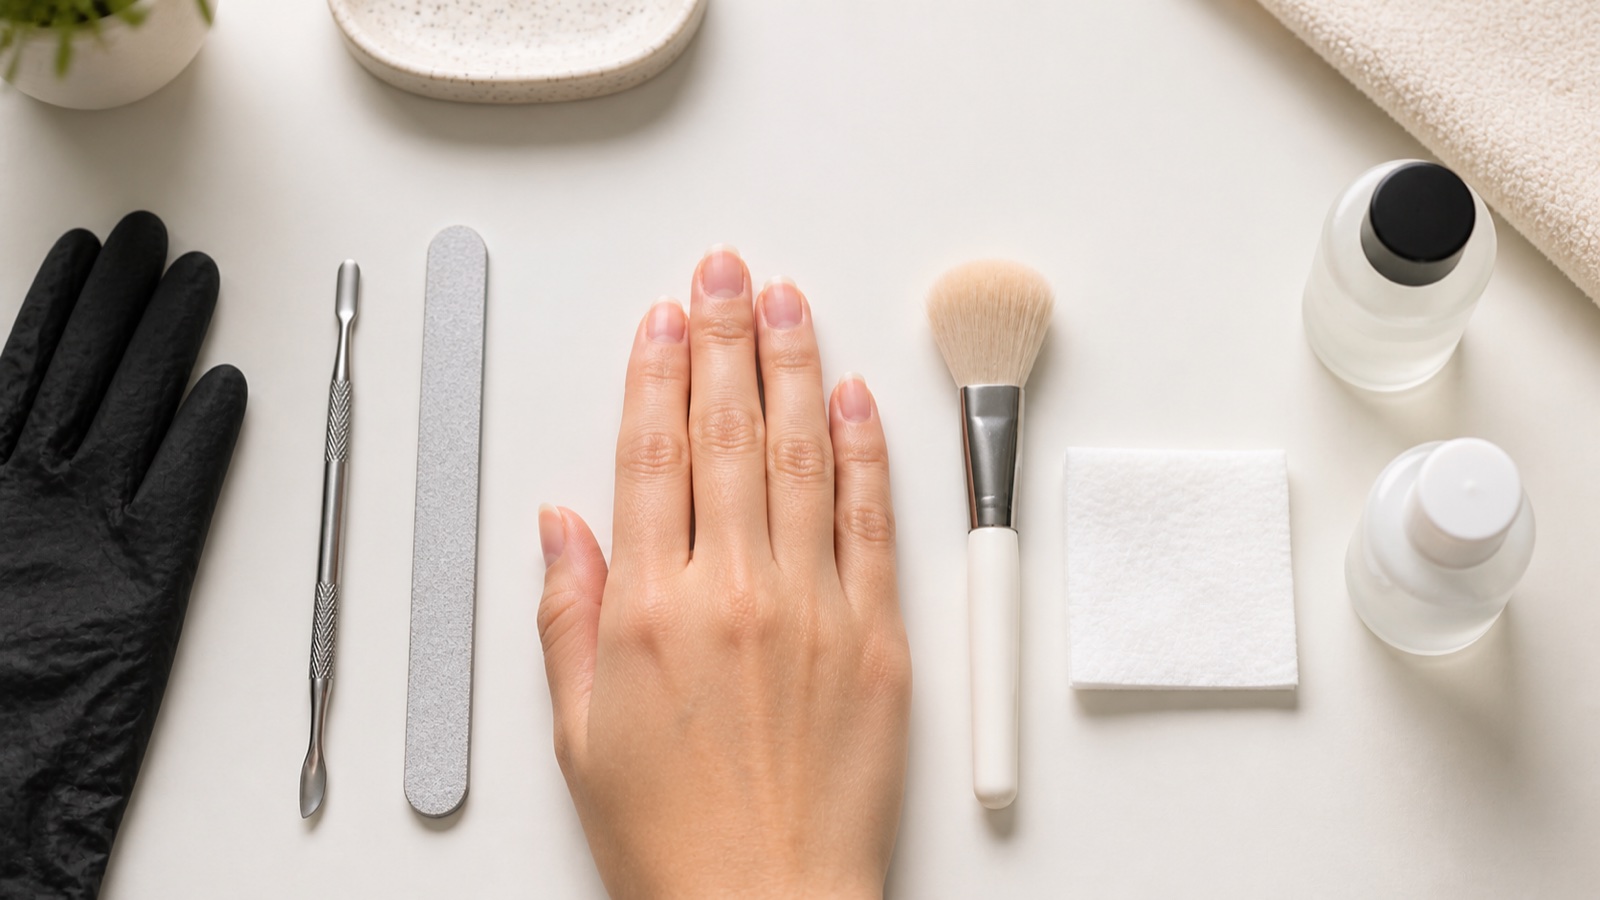
Assess the plate, skin, length and previous service. Choose the complete product system before selecting files or liquids.
Clean hands, workstation and tools using the applicable professional hygiene protocol; use single-use items where required.
Work around the folds gently and remove only nonliving cuticle attached to the plate. Do not abrade or cut living proximal-fold tissue.
Shape and stabilise the free edge for the chosen service without filing lateral support away.
Remove surface shine only if and to the degree required. Use minimal pressure, continuous movement and no heat.
Control and remove dust using local extraction and a clean brush. Do not touch the plate afterwards.
Apply cleaner, dehydrator, primer or bonder only in the named order and quantity, keeping every liquid off skin.
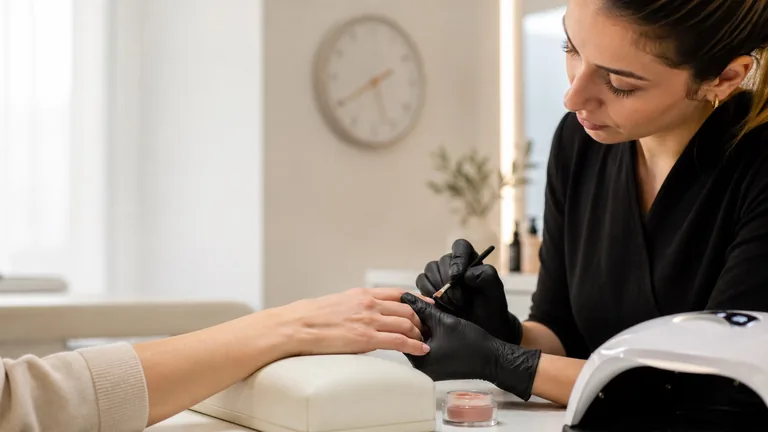
Apply the compatible base or material with a clean margin and complete the documented cure or setting process.
How prep changes for gel polish, builder gel, acrygel and acrylic
System | Prep objective | Main control |
|---|---|---|
Gel polish | Preserve the plate and create an even base interface | Do not add abrasion or primer that makes later removal more aggressive |
Rubber base or reinforcement | Prepare for a flexible or lightly structured base | Compatibility between prep, base and lamp |
Builder gel or acrygel | Create the system’s required interface before structure | Prep cannot compensate for architecture or cure errors |
Acrylic | Prepare for the liquid-and-powder system and its primer | Acid primer is not automatic; follow the exact system |
These are differences in objective, not universal recipes. Abrasive type, number of passes, liquids and cure must come from the system documentation. Compare material behaviour in gel vs acrylic vs acrygel before adapting one prep routine to every product.
Preparation after removal and during a refill
Separate stable product, lifting and new growth
A refill is not a full aggressive re-prep
Inspect
Identify surface and previous wear
Retain
Stable correctly cured product
Remove
Every unstable lifted pocket
Prepare
Only suitable exposed growth
A fresh natural nail, a plate after soak-off and a refill are not the same surface. After removal, check whether white patches are loose residue, superficial dehydration or areas that have been mechanically thinned; do not immediately buff every visible mark away. If the plate feels unusually flexible, sore or hot, postpone new product rather than hiding the evidence.
During a refill, identify stable attached material, true lifting and new natural-nail growth. Reduce the old structure in a controlled way, remove every unstable pocket without chasing it into the plate and prepare only the exposed growth according to the system. Sealing over a lifted area traps uncertainty below the next layer and removes the opportunity to inspect what caused the separation.
Photograph recurring problems from the same angle and record removal method, time since application, first lifting location and products used. If one zone repeatedly fails, study that zone’s margin, direction and client use. Reworking the entire nail more aggressively creates plate damage while erasing the evidence needed for a useful correction.
Which file or buffer should touch the natural nail?
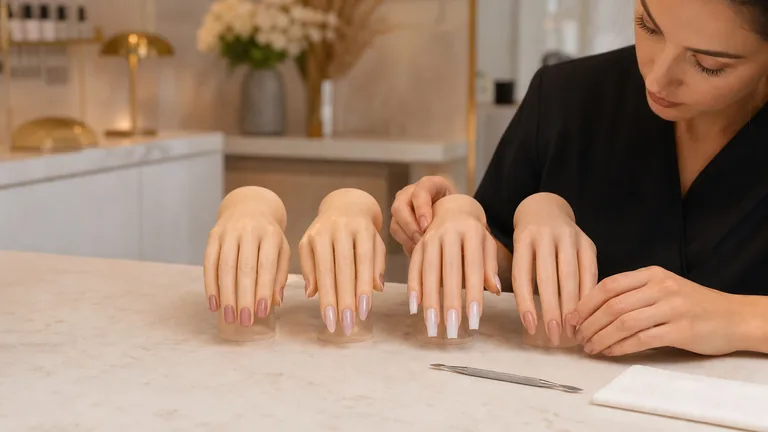
Grit numbers describe abrasive density, but backing, grain quality, pressure and wear vary between tools. There is no single safe number for every plate and product system. Use an abrasive explicitly suitable for natural nails, manage it as single-use or disinfectable equipment according to its design, and practise pressure on a tip before a person.
An electric file on natural nail requires specific training, a suitable bit, stable speed, correct angle and minimal pressure. It is not a shortcut for an unmastered process. Read the electric nail file guide and the professional hand-filing guide; use the method that provides the more controlled action for the defined surface.
Under-prepped, controlled or over-prepped nails
Uniform and clean does not mean deeply scratched
Read the surface before repeating a pass
Under-prepped
Residue, dust or isolated shine
Controlled
Even surface, intact plate, no heat
Over-prepped
Grooves, white patches or pain
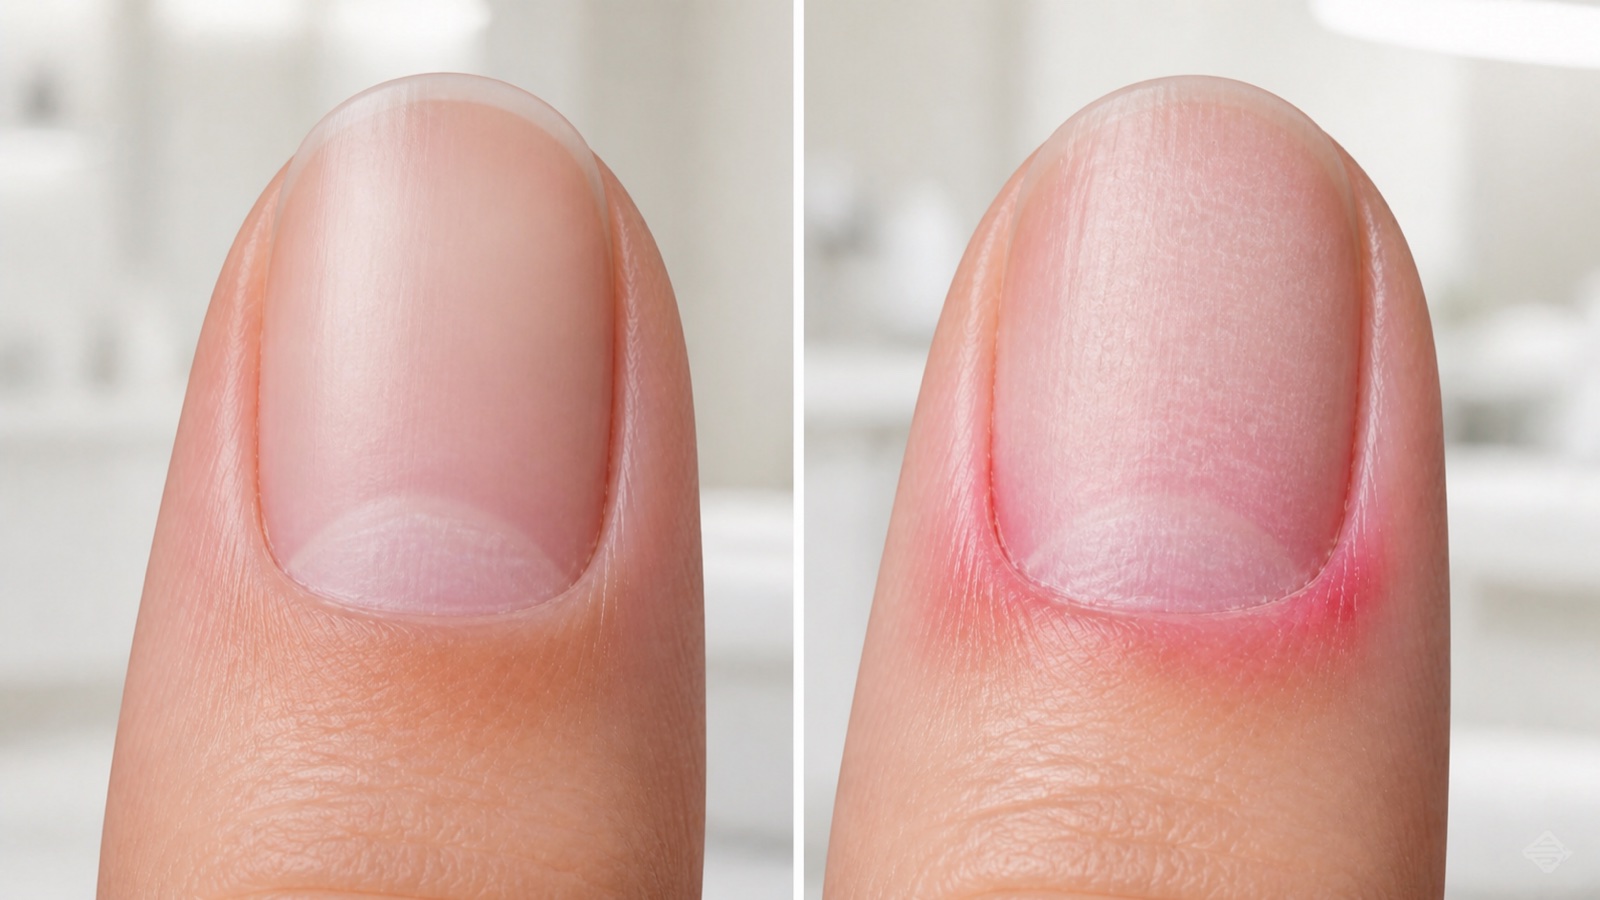
A correctly prepared plate looks even and free from residue without deep scratches, isolated glossy pockets, heat or sensitivity. An under-prepared margin may retain attached tissue or dust; an over-prepared nail may show grooves, pink or white patches and discomfort. If product lifts, do not automatically increase abrasion at the next appointment.
Why product can lift after apparently careful prep
Proximal lifting: attached residue, dust, product on skin or an uncontrolled margin may be involved.
Sheet-like separation: contamination, incompatible base, preparation liquids or insufficient cure may contribute.
White patches and grooves: excessive pressure, abrasive or repeated passes point to plate damage, not better adhesion.
Side breakage: length, outline, architecture or removed side support can matter more than primer.
Record first location and timing, then use the full nail-lifting diagnostic framework. Correct the most plausible variable without thinning the entire plate again.
Nail prep on damp or very sweaty hands
Moisture that returns during the service needs organisation, not greater abrasion. Work one hand or a few nails at a time, use fresh lint-free wipes and minimise the delay between surface preparation and base. Never multiply dehydrator or primer coats without system instructions.
For sustained palmar sweating, use the separate sweaty-hands salon protocol, which owns proceed, simplify and postpone decisions.
Dust control, hygiene and skin exposure
Control filing dust with local extraction, appropriate cleaning and protective measures selected through the workplace risk assessment. Ventilation does not authorise product on skin. Preparation liquids, uncured gels and reactive acrylic material belong on the suitable nail plate only; repeated skin exposure can contribute to irritation and sensitisation.
Do not perform a homemade patch test by placing primer, gel or gel polish on skin. Suspected allergy needs clinical assessment and, when appropriate, patch testing by qualified healthcare professionals.
Professional checklist before the base coat
Skin and nail are intact, comfortable and suitable for the cosmetic service.
The free edge is stable and its shape retains side support.
No attached cuticle, dust, isolated shine or previous material remains where adhesion is required.
There are no new grooves, heat, pain or over-filed areas from preparation.
Dehydrator, primer, base, structure product and lamp belong to a compatible protocol.
Nothing has touched the plate after final dust control.
For guided preparation and complete service practice, compare the current BeautyLearn online nail courses by curriculum and level, then browse the English nail guide library. English courses and teachers remain separate market records.
Frequently asked questions about nail prep
Is nail prep always necessary?
Assessment, hygiene and controlled cleaning are always needed. Buffing, dehydrator and primer depend on the exact system and nail condition.
How long should nail preparation take?
There is no universal time. Previous service, folds, length and number of nails change it; quality is measured by a controlled result, not speed alone.
Should all cuticle be removed?
Remove nonliving cuticle attached to the plate when it interferes with adhesion. Do not cut or abrade living proximal-fold skin.
Must dehydrator and primer be used together?
No. Some systems use both, one or neither. Verify purpose, drying or curing method and the next compatible product.
Can hands be washed immediately before prep?
Follow salon hygiene and dry thoroughly. Avoid prolonged soaking, oils and creams before adhesion; dehydrator does not replace hygiene.
How do I know the natural nail was over-filed?
Grooves, chalky or pink patches, heat, burning, touch pain and unusual flexibility are warnings. Stop, do not cover pain and allow assessment or regrowth.
Why does gel polish lift even after primer?
Primer cannot fix residue, contamination, product on skin, incompatible base, excess thickness, wrong lamp or incomplete cure. Inspect location and timing.
Is refill prep the same as a new set?
No. Refill separates stable product, lifting and new growth. Remove unstable material safely, then prepare only the exposed growth by the system protocol.
Are nail prep and dry manicure the same?
No. Dry manicure describes working around the nail without soaking; nail prep is the complete preparation of the adhesion surface.
Can an e-file make prep faster?
Only with specific training, a suitable bit and controlled pressure. Speed never justifies heat, grooves or work on living tissue.
Should natural nails look deeply scratched before gel?
No. Follow the system’s surface requirement. Deep scratches signal excessive abrasion and are not an adhesion goal.
Can I apply gel after a client reports previous itching?
Do not repeat suspected exposure or perform a salon patch test. Postpone and recommend appropriate clinical assessment.
Sources and editorial review
Editorial review: 5 September 2026. Exact abrasive, preparation liquid, application and cure instructions must come from the current product system.
This page owns natural-nail preparation before product. Primer chemistry, curing, lifting diagnosis, electric-file control and complete product workflows remain separate intents.