A strong nail technician portfolio is not an endless feed of pretty colours. It is organised evidence of the services you can perform, the problems you can assess, the quality you can repeat and the client you want to attract. Useful photographs make shape, sidewalls, apex, thickness, product margin, colour and finish readable without filters that change the work.
Short answer: choose a repeatable background and soft light, capture at least three technical views, make before-and-after conditions comparable, obtain an appropriate publication permission, write a concise case caption and lead the viewer to one relevant service or booking action. Fewer recent, well-evidenced cases are stronger than hundreds of near-duplicates.
This guide owns portfolio strategy, evidence and conversion. It includes enough photography method to make cases comparable, but it is not a camera-specification article. Technical accuracy comes from the linked nail guides; the portfolio shows how consistently that knowledge becomes finished work.
What a professional nail portfolio should prove
A portfolio is evidence, not decoration
Each image should prove a commercially relevant capability
Precision
Margin, sidewalls and surface
Structure
Apex, lower arch and thickness
Decision
Starting point and correction
Consistency
Repeatable work across cases
Proof | What the viewer needs to see | Useful evidence |
|---|---|---|
Precision | Clean margin, controlled sidewalls and even surface | Close view without skin smoothing |
Structure | Apex, lower arch, length and thickness | Top, side and free-edge views |
Problem-solving | Starting condition, decision and realistic correction | Comparable before and after plus caption |
Consistency | A repeatable standard across people and dates | Several recent cases, not one hero image |
Versatility does not mean one example of every trend. It means enough variation to support the services you sell: natural overlays, short and longer shapes, infills, repairs, corrections, different nail plates and the nail-art level you actually offer. If your desired client wants short durable salon nails, a page dominated by extreme competition lengths sends the wrong commercial signal even when the work is technically impressive.
Define the client and service before selecting images
Write one sentence naming the portfolio’s purpose: for example, ‘book local clients for structured gel overlays and clean short extensions’ or ‘apply for a salon role requiring gel, infill and hand-painted nail art’. That sentence becomes the selection filter. A prospective client, salon owner and educator look for different evidence.
Client portfolio: service outcome, wear expectations, location, price context and booking path.
Employment portfolio: technique range, hygiene-aware practice, consistent finish and ability to follow systems.
Training portfolio: progression, corrections, tutor feedback and reflection, including imperfect practice evidence.
Editorial or competition portfolio: concept, originality and high-level execution with its own rules.
Create a repeatable nail-photography station
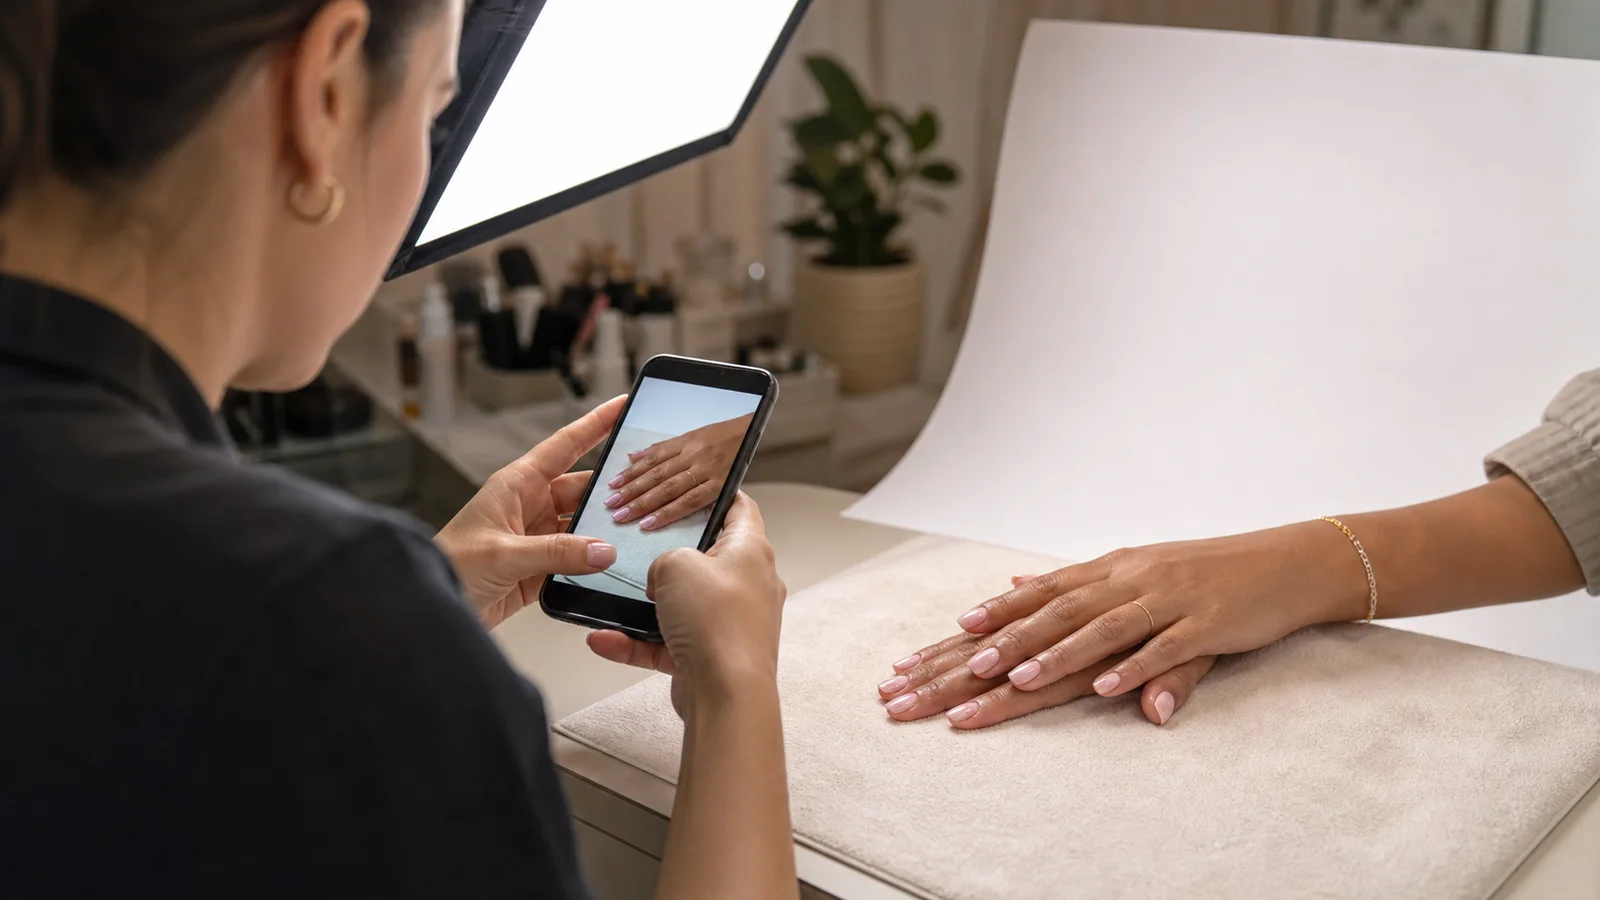
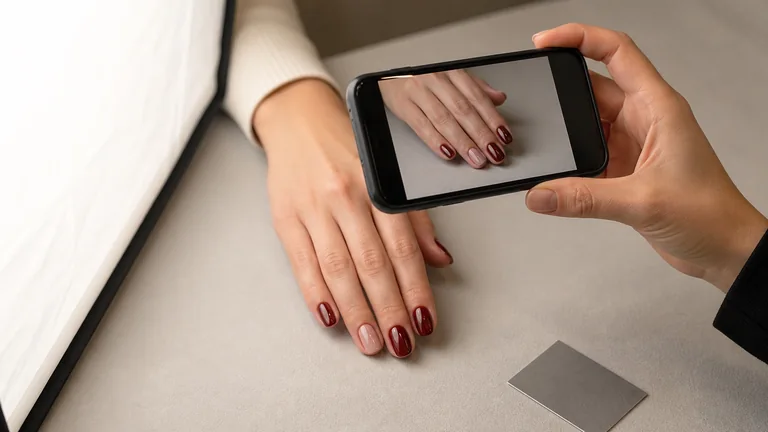
A fixed section of the desk, matte neutral board, clean lens and one diffused light source are enough to build consistency. Remove random bottles, files, cables and wrinkled towels. Keep the background far enough from the hand to avoid hard distracting shadows. Use the same side of the table and mark approximate phone and hand positions when repeated comparisons matter.
Window light can work when it is indirect and stable. A diffused continuous light is more predictable across appointments. Avoid mixing a warm ceiling lamp with a cool desk lamp. Lock focus and exposure where possible and set a consistent white balance. Use a neutral grey reference for difficult colours, especially reds, neons and pale nudes.
The three technical views every structured set needs
Three views answer three different questions
A beauty pose cannot replace structural evidence
Top
Outline, margin and symmetry
Side
Apex, lower line and thickness
Barrel
Lower arch and sidewalls
Detail
Only for a specific claim
Top view: show outline symmetry, proximal margin, colour consistency and relationship between fingers without compressing the hand.
Side view: reveal apex, upper arch, lower line, free-edge thickness and growth direction at a true level rather than a flattering high angle.
Front or barrel view: show lower arch, sidewalls, material distribution and whether the shape is balanced from the free edge.
Add a close detail only when it proves something the three views cannot: hand-painted lines, a local correction or a repaired sidewall. Aesthetic poses are useful as a cover, but they should not replace the views that let a trained viewer assess the structure. Review the nail architecture guide to decide which angle demonstrates each structural claim.
Hand posing without hiding the work
Keep fingers relaxed and separated enough to show every main nail. Avoid squeezing fingertips together, bending fingers sharply or rotating the wrist until the perspective narrows sidewalls. Give the client one instruction at a time and support the hand when needed. The camera should adapt to the evidence; the hand should not be distorted to make the nail appear slimmer.
A recent smartphone is sufficient when the lens is clean, light is stable and the correct camera is used. Move closer within the lens’s focusing distance rather than relying on extreme digital zoom. Check the largest nail, proximal margin and reflective highlight at full size before the client leaves.
Credible before-and-after photography
Comparison requires controlled conditions
Change the service, not the photographic advantage
Match
Hand, pose and camera
Control
Light, distance and crop
Preserve
Texture, shape and colour
Explain
Decision and maintenance
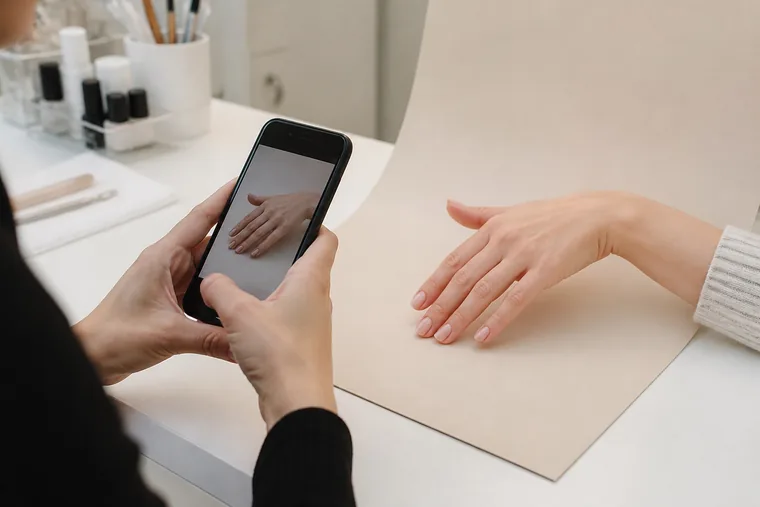
A comparison is evidence only when conditions are comparable. Use the same hand, pose, distance, lens, camera height, light direction and crop. Photograph the starting point after basic hand cleaning but before preparation changes it. Record the service date and explain what was corrected: length, outline, growth direction, previous bulk, breakage or product margin.
Do not make the ‘before’ darker, closer or less carefully posed to exaggerate improvement.
Do not smooth cuticles, skin texture, bubbles, dust or surface defects digitally.
Do not reshape nails with liquify, perspective or generative tools.
Keep original files and make only moderate global exposure and white-balance corrections that restore the real appearance.
Write captions that explain professional decisions
A caption should answer what the photograph cannot. Use a repeatable four-part structure: starting condition, agreed objective, service and key decision, then result and maintenance. Avoid health diagnoses and unexplained product claims. ‘Builder gel correction’ is weaker than ‘short almond rebalance on downward growth; length reduced and apex repositioned; review in three weeks’.
Caption part | Include | Avoid |
|---|---|---|
Starting point | Visible shape, length and technical issue | Diagnosis or personal detail |
Service | Overlay, extension, infill, repair or art | Vague ‘transformation’ wording |
Decision | One meaningful design or correction choice | A universal tutorial in the caption |
Next step | Aftercare, review or booking relevance | Guaranteed wear or result |
Client consent, privacy and image records
Hands can still reveal identity through tattoos, jewellery, scars, distinctive nail conditions, location context or linked appointment data. Determine the applicable lawful basis and provide clear information about purpose, channels, retention and rights. When relying on consent, it should be specific, informed, freely given and as easy to withdraw as to give. Refusing publication should not reduce the quality of the paid service.
Separate treatment documentation from marketing permission. A client may agree to an image in a private service record but not on social media, a website, paid advertising or teaching material. Record each channel, avoid publishing names unless separately appropriate, remove unnecessary metadata and protect original files. Obtain qualified advice for the jurisdiction and business model rather than copying a generic form.
Select cases in an order that earns trust
Lead with relevance, then prove depth
A clear sequence helps the right viewer make a decision
Strongest relevant case
Comparable recent work
Correction and versatility
One clear next step
Open with six to ten current cases that match the service for which you want enquiries.
Group by client task—overlays, extensions, infills, corrections and nail art—rather than posting chronology alone.
Use different nail plates, shapes and difficulties; do not mistake ten colours on one architecture for range.
Include at least one transparent correction case and one maintenance result where relevant.
Remove older images that no longer represent your safety, finish or photography standard.
End each collection with service area, next step and one clear booking or contact action.
Website, social profile, PDF and Business Profile
Your website is the durable home: create a focused service page, add selected cases, descriptive file names, useful alt text and a booking path. Google explains that alt text and page context help it understand images; write what the image demonstrates rather than stuffing location and service keywords. A gallery without explanatory text is weaker for both users and search.
Use social channels for continuity and conversation, with pinned collections for core services. Keep a lightweight dated PDF for applications or partnerships, linking back to the current website. Google Business Profile recommends in-focus, well-lit images with no significant alteration or excessive filtering; publish representative work and follow its current content rules.
A 30-day nail portfolio plan
Week one: define audience and service, prepare consent information, background, light, phone position and shot checklist.
Week two: document at least three suitable cases with top, side, front and comparable before-and-after views.
Week three: select ruthlessly, write case captions and ask a trained reviewer whether the claimed evidence is visible.
Week four: publish a focused page, connect booking, measure relevant enquiries and schedule one monthly replacement or addition.
Connect portfolio quality to learning and pricing
A portfolio supports price by showing specialisation, method and consistency; it does not calculate profitability. Time, materials, overhead, taxes, fees and margin remain a separate commercial calculation. Case captions can explain why a correction, infill or detailed design takes more time without making unsupported health or durability claims.
Build stronger evidence through guided practice in the BeautyLearn online nail courses and use the English nail guide library to check the technical language behind each claim. The nail-shape morphology guide helps captions explain proportion without making universal claims. For maintenance cases, the nail infill guide provides the assessment and rebalancing framework a caption can document. If the portfolio supports an employment or freelance plan, verify the distinction between a course certificate, qualification and local licence before describing credentials.
Frequently asked questions
How many photos should a nail portfolio contain?
There is no fixed number. Twelve to twenty-five strong recent cases can be more useful than hundreds of repetitive images; relevance and evidence matter most.
Do I need a professional camera?
No. A recent smartphone, clean lens, stable soft light, correct focus and repeatable positions can produce credible technical evidence.
Can I use filters to make nail photos consistent?
Avoid filters that change skin, colour, shape or defects. Moderate global exposure and white-balance corrections are acceptable when they restore the real appearance.
Which nail view should be the cover image?
Choose a clean appealing top or three-quarter view, then include side and front evidence inside the case whenever structure is being claimed.
Do I need permission to post photos of hands?
Hands can identify a person through distinctive features or linked data. Apply the relevant privacy rules and obtain channel-specific permission where consent is your basis.
Should I show imperfect practice work?
Keep it in a learning portfolio with reflection and correction. A client-facing portfolio should show the standard you currently sell, not conceal your development record.
Are before-and-after pictures necessary?
They are valuable for correction and maintenance cases but not mandatory for every colour set. Use them only when conditions can be made genuinely comparable.
Should product brands be named in captions?
Name them when relevant to traceability, partnership or technique and permitted by policy. The client benefit and professional decision should remain understandable without brand promotion.
How often should a nail portfolio be updated?
Review monthly and perform a deeper edit quarterly. Replace work when technique, photography or the services you want to sell have changed.
Can student practice be included?
Yes, label the context honestly and secure permission for any model image. Do not present supervised practice as independent paid-client experience.
What should every case caption include?
Include the starting condition, agreed objective, service, one key decision, result or limitation and the relevant maintenance step—without personal data or diagnosis.
How does a portfolio generate more relevant enquiries?
Show the exact services and clients you want, explain outcomes clearly, state your service area and finish each focused collection with one easy booking action.
Official sources and editorial review
Editorial and source review: 5 September 2026. Privacy and consent information is general and must be adapted to the applicable jurisdiction, channels and business records.
European Data Protection Board: Guidelines 05/2020 on consent under Regulation 2016/679
Google Business Profile Help: tips for business-specific photos
This page owns portfolio selection, honest visual evidence, case captions and enquiry paths. Technical nail procedures, pricing calculations and platform-specific marketing campaigns remain separate intents.