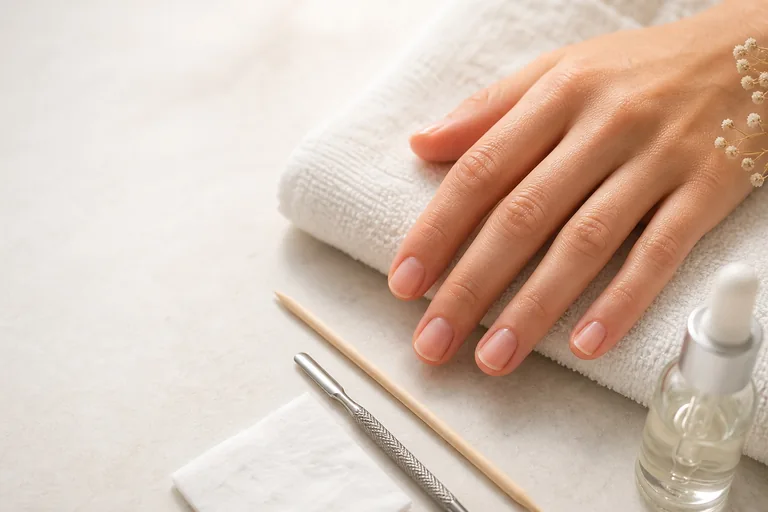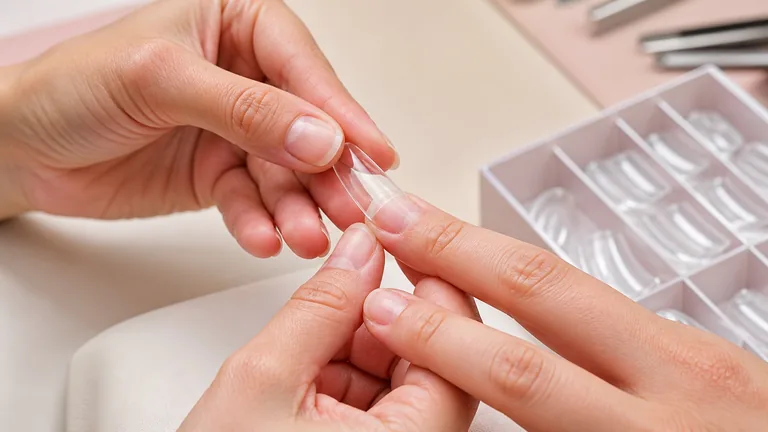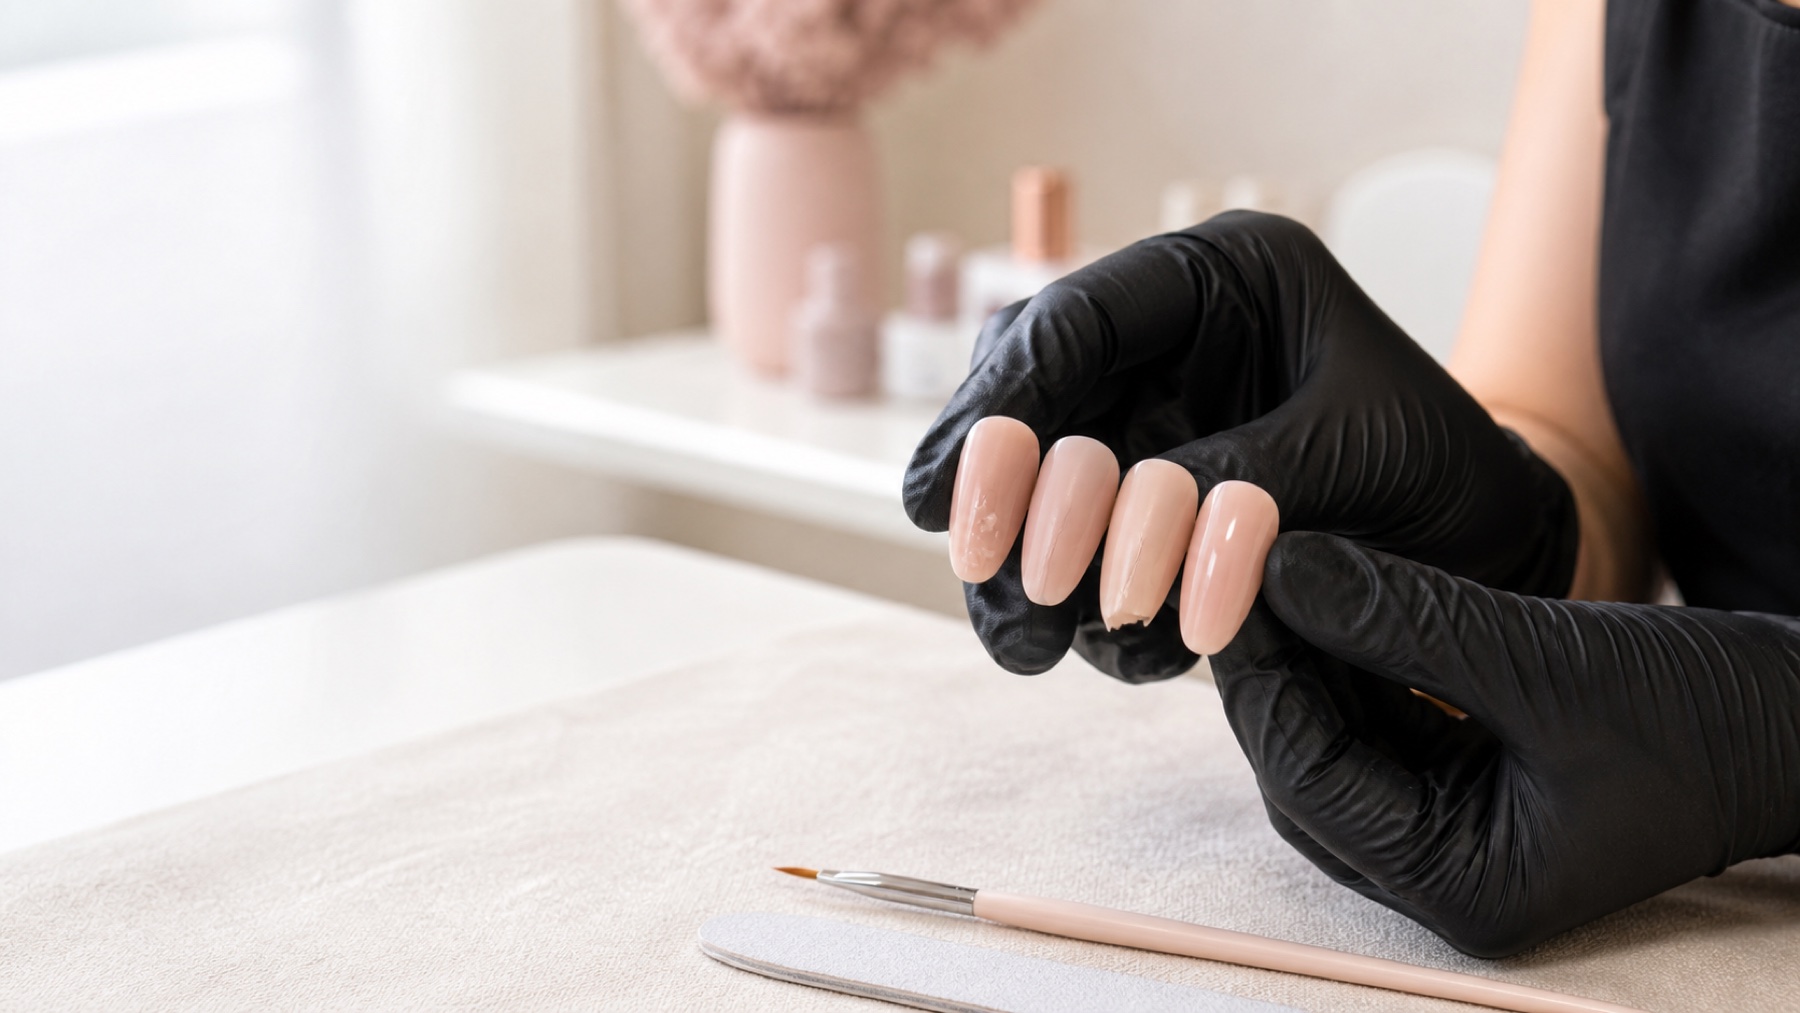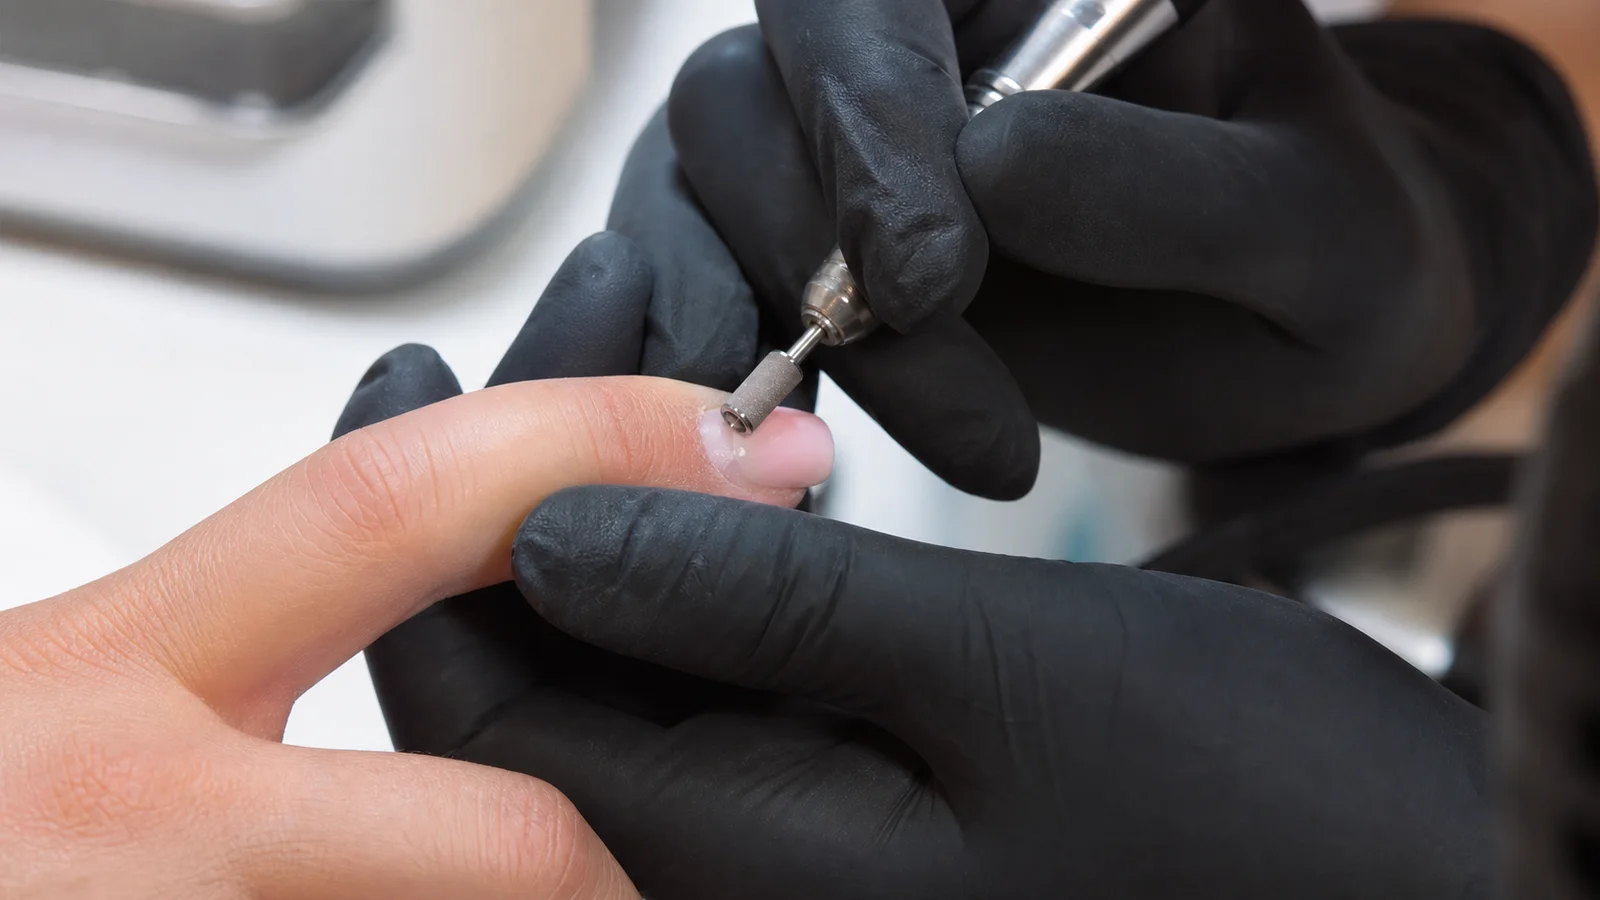
A nail infill—also called a fill or refill—is not simply product placed into the visible gap near the proximal fold. It is structural maintenance. The technician assesses the natural nail and existing enhancement, removes every unstable area, reduces excess length and thickness, prepares only suitable new growth, then restores the apex, sidewalls, surface and free edge for the current length.
Short answer: an interval of roughly two to four weeks is common, but the calendar does not decide by itself. Infill only when the remaining system is known, compatible, properly cured and stable. Choose full removal when widespread lifting, cracks, trapped contamination, unexplained colour, unknown product or an uncorrectable structure prevents a reliable maintenance service.
This guide owns the maintenance decision and rebalancing workflow. The separate nail-lifting guide diagnoses separation by location and timing; the nail-apex guide explains placement and correction in depth. An infill connects those decisions without absorbing either intent.
What changes as an enhancement grows out
Growth moves the entire structure forward
The visible gap is only one part of maintenance
Growth
Proximal gap increases
Migration
Apex moves forward
Leverage
Tip becomes mechanically heavier
Rebalance
Reduce, then rebuild support
The natural nail moves the entire structure forward. The apex and reinforced stress area that were correctly positioned at application migrate towards the free edge. The visible proximal gap grows, but that is only the most obvious change. The tip can become heavy, the stress area may lose support, sidewalls can distort and leverage on the natural nail increases, especially on long or tapered shapes.
Maintenance therefore has three simultaneous goals: remove instability, reduce the old structure where it no longer belongs and build support where the new geometry requires it. Covering regrowth without redistributing mass creates a thicker nail with the same displaced architecture.
Infill, repair or full removal: choose the correct service
Retain only what is stable and identifiable
The service follows the evidence below the colour
Infill
Stable known product
Repair
Small visible local break
Remove
Unknown or widespread instability
Refer
Pain or unexplained warning sign
Service | Appropriate when | Not appropriate when |
|---|---|---|
Infill or rebalance | Most product is stable and structure can be corrected | Instability or unknown layers remain |
Local repair | A small isolated break is fully visible and repairable | A deep crack crosses the stress area or causes pain |
Full removal and new set | The old system or structure cannot be verified or retained | Removal would worsen a painful or damaged nail without assessment |
Removal and referral | An unexplained health-related warning sign is visible | A cosmetic cover is requested to hide the sign |
When a nail infill is reasonable
The existing product and its removal and curing method are known.
Most material is firmly attached, stable and comfortable.
Any small lift is visible and can be removed completely without chasing it into the natural plate.
There is no unexplained colour, odour, moisture, pain, major separation or deep crack.
The current length and shape can be corrected without retaining weak sidewalls or extreme thickness.
When full removal is the more reliable choice
Remove the coating when lifts are extensive or distributed, a pocket cannot be reached completely, cracks cross a critical area, repeated uncontrolled repairs hide the original structure, or the product applied elsewhere cannot be identified. Unknown material makes compatibility, cure state, flexibility and future removal difficult to predict.
Full removal does not mean aggressive removal. Select soak-off, file-off or a supported combination for the known system. If pain, green colour, unusual odour, discharge, extensive nail separation or a significant unexplained change appears, stop after making the area safely visible and recommend appropriate assessment. Do not immediately apply a new opaque set.
Nail infill step by step
Eight stages restore a current structure
Do not fill the gap before planning the finish
Inspect and plan
Reduce and remove lifts
Prepare and rebuild
Refine, cure and record
Consult and inspect: ask about impact, lifting, home repairs, pain and wear; view every nail from above, both sides, front and through the free edge.
Plan the finished length and shape before reduction so the retained structure matches the new design.
Remove colour and reduce displaced bulk with controlled direction, pressure and dust visibility.
Remove every lifted or cracked pocket back to stable material without thinning the underlying natural plate.
Prepare only the suitable regrowth and exposed plate according to the retained product system.
Apply compatible material, integrate old and new areas and rebuild the apex and stress support for the current length.
Refine surface, sidewalls, lower arch and free edge; compare all nails rather than copying one isolated profile.
Complete the supported cure and finish, check comfort and document product, lamp, repairs and next review.
How to remove lifting without making it travel
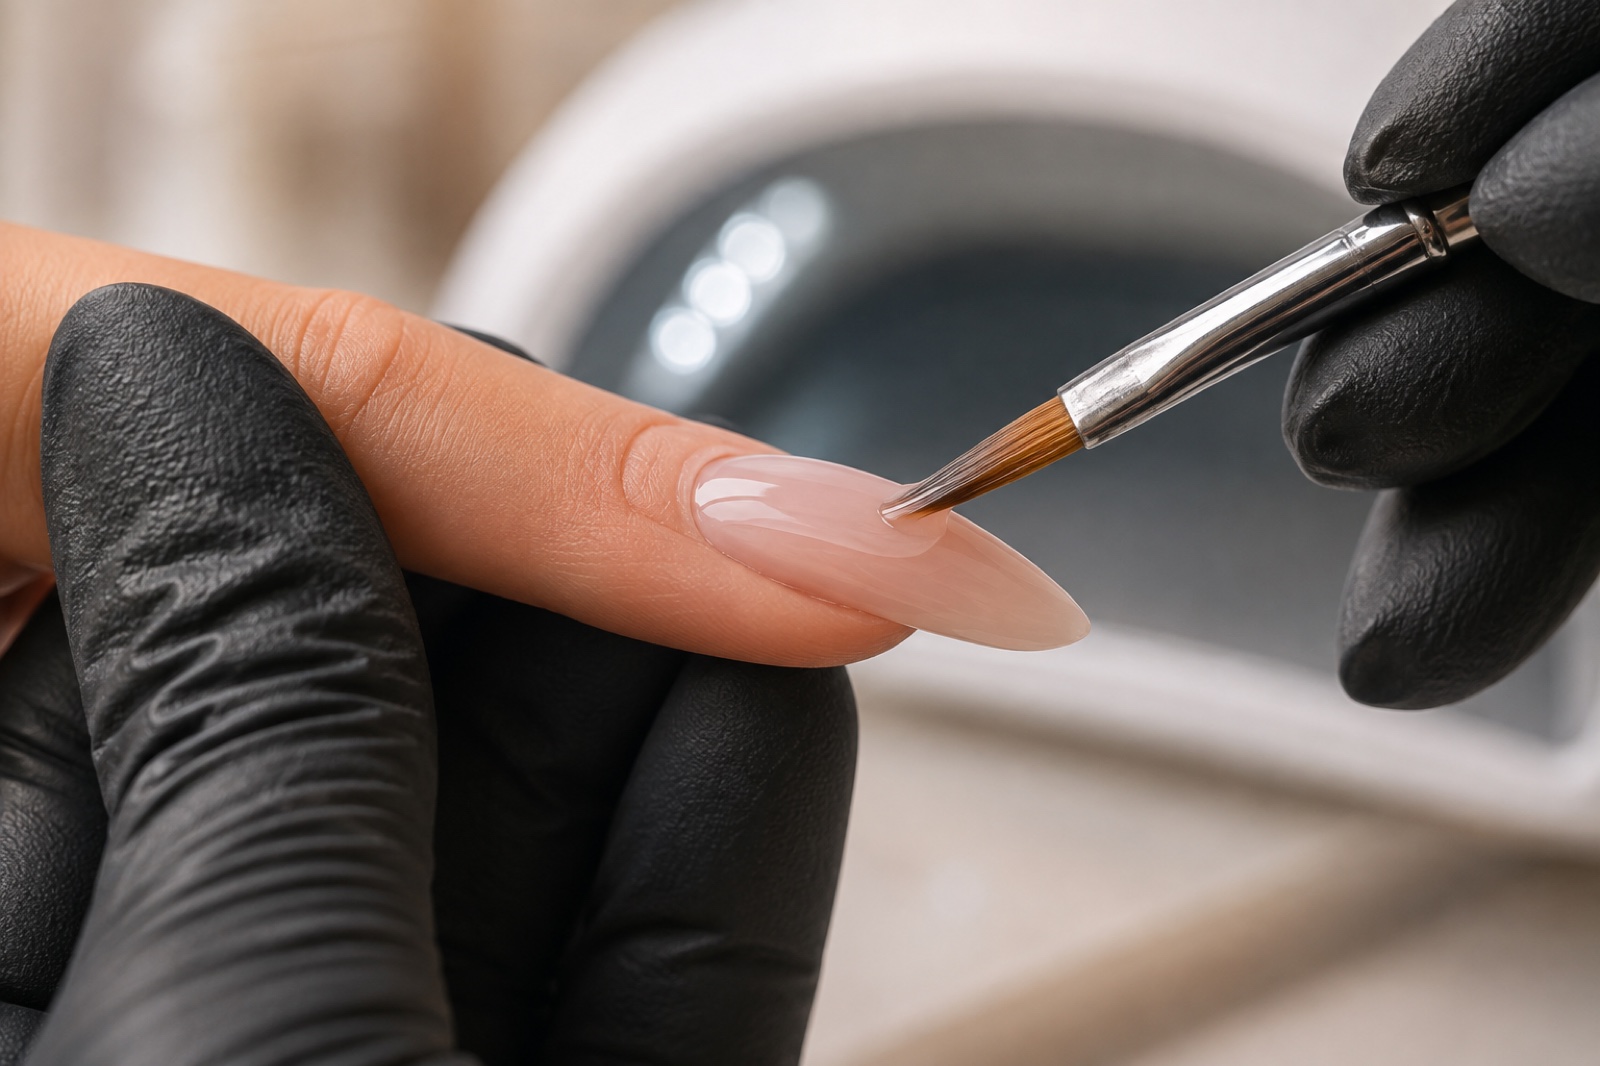
A lift is a moving boundary between attached and detached product. Keep the field clean and work from known stable material towards the unstable area, using a suitable file or bit with stable support. Direct pressure inside the pocket can flex the detached layer, advance separation or cut the plate below. Remove dust frequently so a white edge is not mistaken for stable product.
Once every pocket is gone, ask why it started. Product on skin, incomplete preparation, incompatible primer, incorrect cure, impact, excessive length or displaced architecture require different corrections. An infill that hides the evidence guarantees neither safety nor retention.
Prepare the regrowth without re-filing the whole natural nail
After the old coating has been reduced and instability removed, distinguish exposed new growth from retained product and previously exposed plate. The fresh proximal area needs the preparation required by the system; the same natural-nail zone should not be repeatedly abraded each time it remains visible through transparent material. Use clean light, control dust and change angle before deciding that another pass is needed.
Work around the folds without damaging living tissue, refine only the supported surface and keep liquids on the nail. Cleaner, dehydrator and primer are not interchangeable, and an infill is not a reason to add every preparation product. Follow the full natural-nail prep sequence for cuticle boundaries, selective abrasion, dust control and system-specific preparation.
If the exposed plate shows grooves, chalky patches, unusual flexibility, heat sensitivity or pain from previous reduction, do not hide it under a new structure. Shorten or postpone according to the condition and recommend appropriate assessment where needed. Preserving the base of the next refill is more valuable than producing a perfectly bare transition at this visit.
Rebalancing the apex, stress area and free edge
A new bump is not a rebalance
Redistribute mass for the current length and shape
Proximal
Thin controlled transition
Apex
Moved to current support zone
Sidewalls
Continuous and balanced
Free edge
Refined, not tip-heavy
After reduction, mark the new stress area mentally from current length and shape. The reinforcement should transition smoothly from a thin controlled proximal margin through support and into an appropriately refined free edge. It should not remain as the old apex plus a new bump over regrowth. Inspect the highlight from above and the silhouette from both sides; then verify sidewall continuity and lower-arch symmetry from the front.
Long, tapered and downward-growing nails may require a greater design correction or length reduction than short balanced nails. Read the full nail architecture guide before treating apex placement as a fixed dot or percentage.
Correcting growth direction during maintenance
A nail that grows downward, twists or loses one sidewall cannot always be corrected by adding material above it. Inspect the lower arch and axis before deciding how much of the old free edge to retain. Shortening, controlled underside reduction, rebuilding a missing side or choosing a different shape may restore visual and mechanical balance. The exact action depends on the natural nail, product system and technician’s competence.
Do not force every nail into the same length when the remaining supports differ. Compare the hand as a set, then make each individual structure sustainable. If correcting the direction would leave a thin natural sidewall, uncertain attachment or excessive underside filing, full removal and a newly planned structure can be the safer and more predictable choice.
Compatibility between old and new material
Products that appear to stick are not necessarily a validated system. Primer, base, builder, colour and lamp need supported compatibility. Hard and flexible materials distribute forces differently; placing a flexible product over a rigid unverified base, or the reverse, can create a transition that fails even when application looks neat.
When the system is known, follow its infill instructions and cure. When it is unknown, full controlled removal is easier to justify than a promise based on visual similarity. Compare material behaviour in gel vs acrylic vs acrygel rather than mixing technologies by habit.
How often should nail infills be booked?
Two to four weeks is a common planning range, not a guarantee or rule. Growth rate, length, shape, natural-nail direction, manual work, habits, material and first signs of lifting change the safe review point. A short overlay and a long tapered extension do not carry the same leverage as they grow.
Book before the architecture becomes visibly displaced and ask the client to report lifting, cracks or pain rather than waiting for the calendar date. Repeatedly extending an interval to prove retention can turn an otherwise maintainable structure into a repair or full-removal appointment.
Common infill errors
Filling only the proximal gap and leaving the old apex and tip bulk in place.
Sealing over a lift, crack or coloured pocket rather than removing uncertainty.
Filing all the way to natural nail on every visit and progressively thinning the plate.
Adding material at every maintenance without reducing displaced or excessive thickness.
Retaining unknown product or mixing systems without manufacturer support.
Copying the original length even when growth direction, lifestyle or damage calls for shortening.
Final infill checklist
Check | Pass condition | If it fails |
|---|---|---|
Stability | No lift, crack or pocket remains | Remove instability; reconsider full removal |
Architecture | Apex, sides and free edge suit current length | Reduce and rebalance before colour |
Surface | Smooth transition without a proximal ridge | Refine without thinning natural growth |
Comfort | No pressure, persistent heat or pain | Stop and inspect; do not conceal |
For guided practice in reduction, lifting removal and structural rebalancing, compare the current BeautyLearn online nail courses by level and curriculum. Continue through the English nail guide library for preparation, filing and product-system decisions.
Frequently asked questions about nail infills
Are nail infill, fill and refill the same?
They are common regional terms for maintenance of regrowth and existing structure. The actual service should include assessment, reduction, stability and rebalancing.
How often should I get a nail infill?
Roughly two to four weeks is common, but growth, length, shape, lifestyle and wear determine the review point. Return sooner for lifting, cracks or pain.
Can another technician infill someone else’s work?
Only after assessment. Unknown product, cure, adhesion or hidden layers can make full removal more transparent and controllable than mixing systems.
How many infills can be performed?
There is no universal number. Continue while retained product and natural nail remain identifiable, stable and safely maintainable; remove fully when the assessment changes.
Does an infill damage natural nails?
The concept should not. Repeated over-filing, picking, ignored lifts, heat and uncontrolled removal are more likely routes to damage.
Can lifting be filled over?
No. Every unstable pocket must be removed to stable material. Sealing it hides contamination and preserves a mechanical discontinuity.
Should the old apex be left in place?
Not as a fixed bump. Growth moves it forward, so displaced bulk is reduced and support is rebuilt for the current length and shape.
Can gel be infilled over acrylic or acrygel?
Only when manufacturer compatibility and the condition of the retained system are known. Apparent adhesion is not proof of a validated combination.
Is full removal required at every third appointment?
No universal schedule applies. The decision should come from stability, visibility, product knowledge, natural-nail condition and whether architecture remains correctable.
Why do nails become thick after several refills?
Material may have been added without enough reduction of the displaced apex, tip and previous corrections. Each infill should redistribute, not only add.
Can a cracked nail be repaired during an infill?
A small fully visible cosmetic break may be repairable. Stop for pain, a deep stress-area crack, bleeding or uncertainty about the natural nail below.
What should clients report before the appointment?
Report impacts, lifts, cracks, pain, itching, home glue or repairs and any colour or odour change so the technician can plan the correct service.
Sources and editorial review
Editorial review: 5 September 2026. Exact reduction, preparation, product compatibility and curing must follow the current system and tool manufacturer instructions.
This page owns infill timing, retained-product assessment and structural rebalancing. Lifting diagnosis, apex theory and full removal technique remain separate intents.