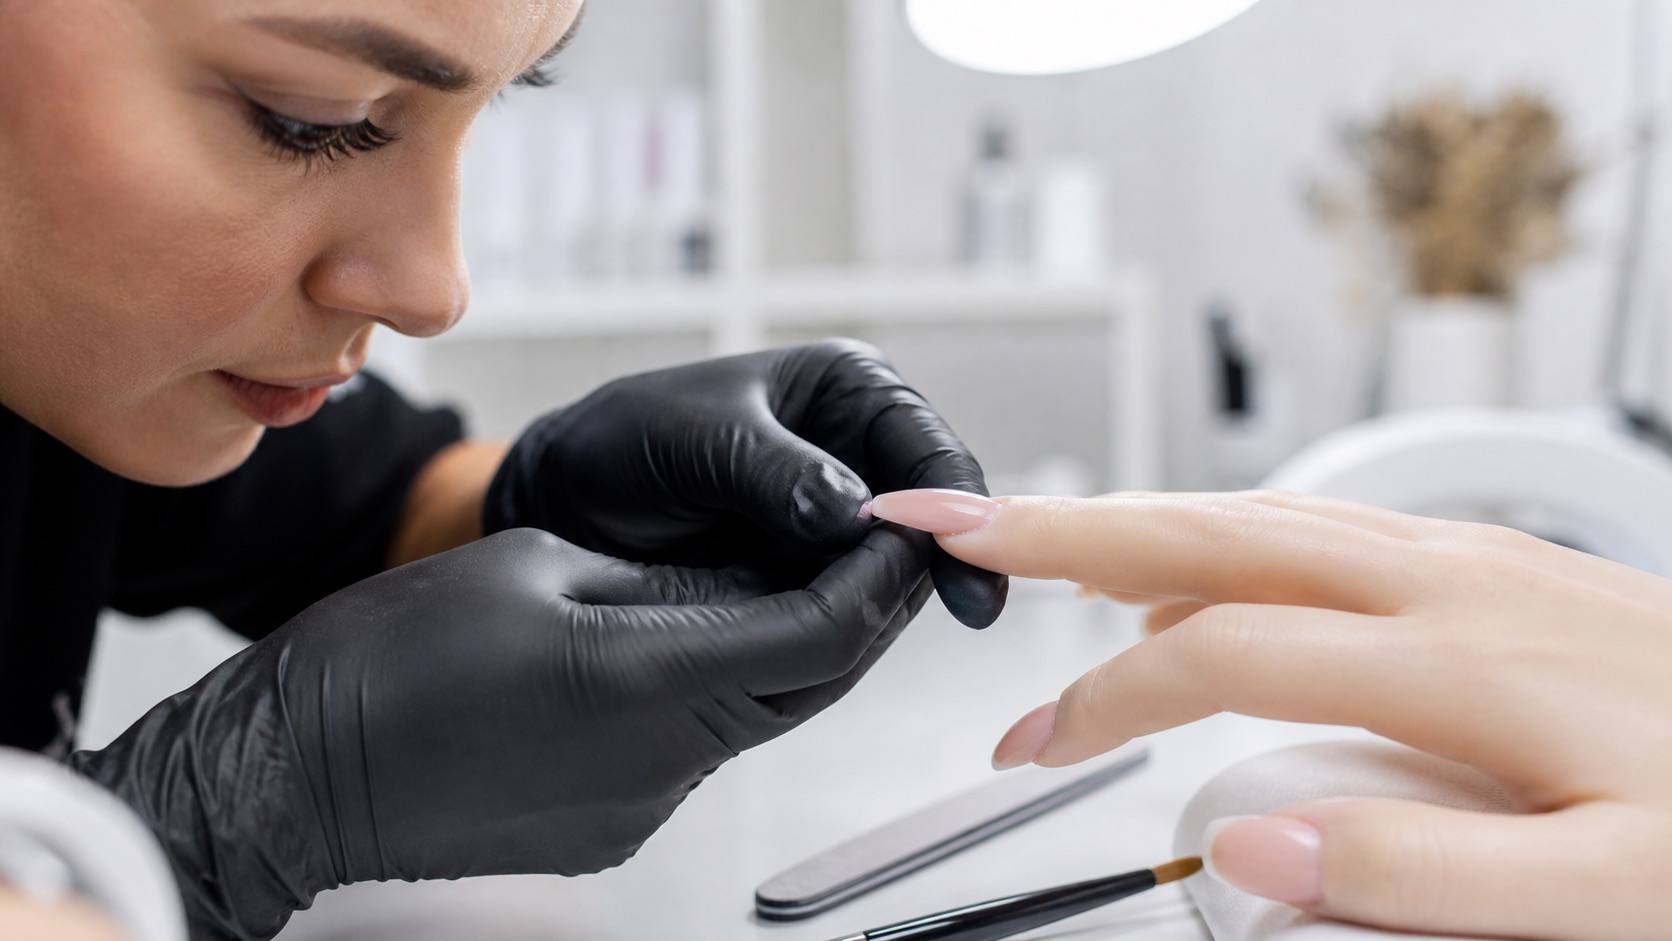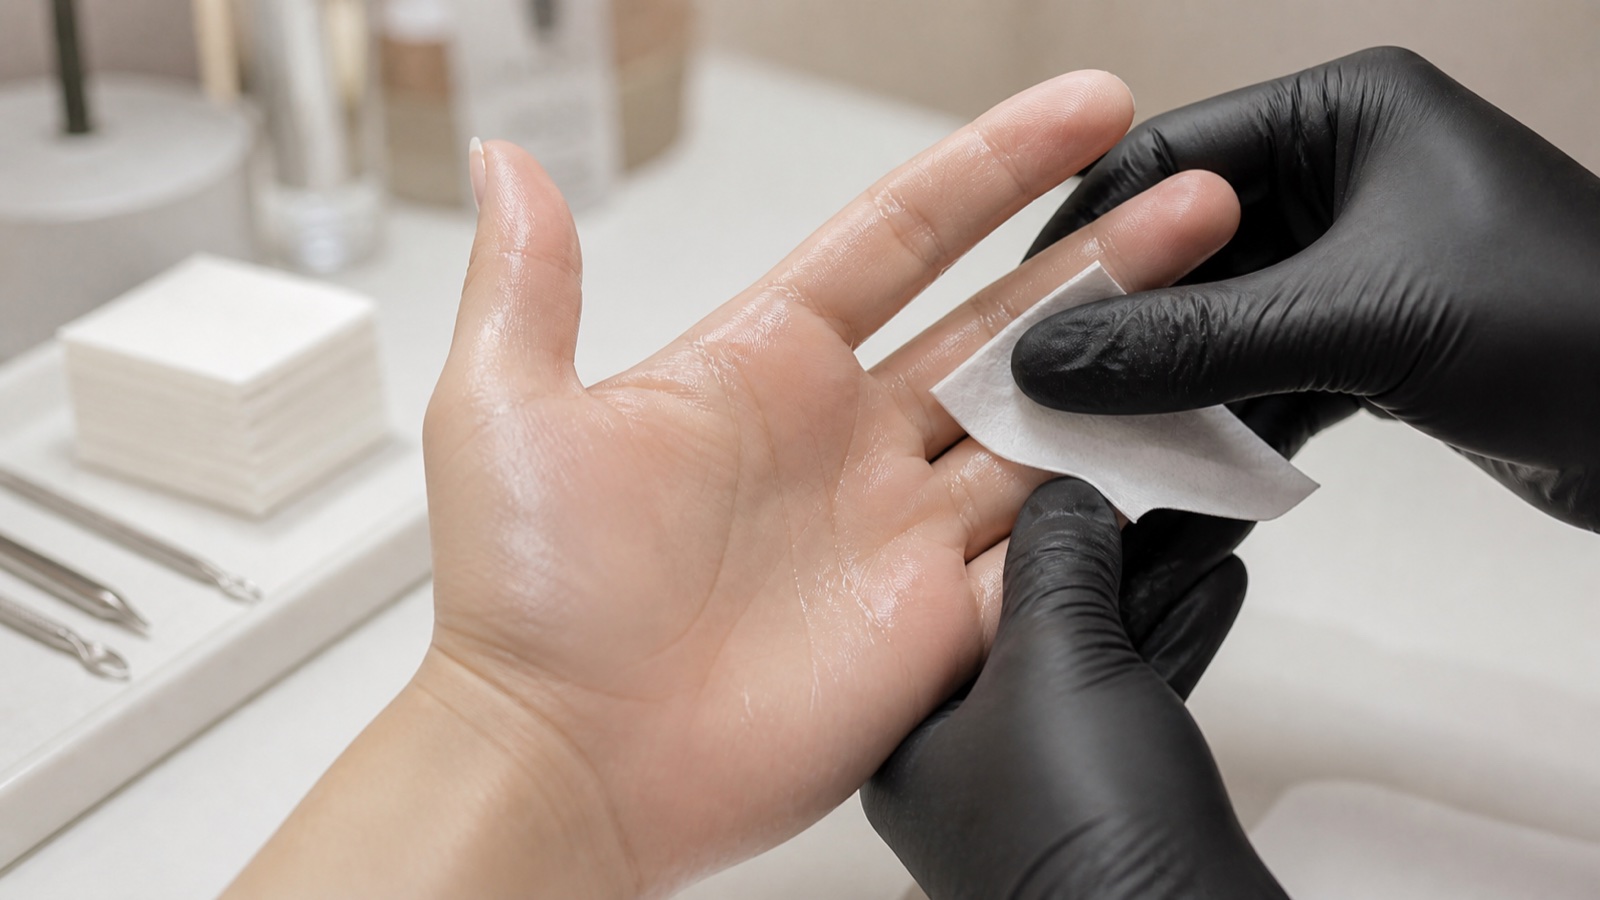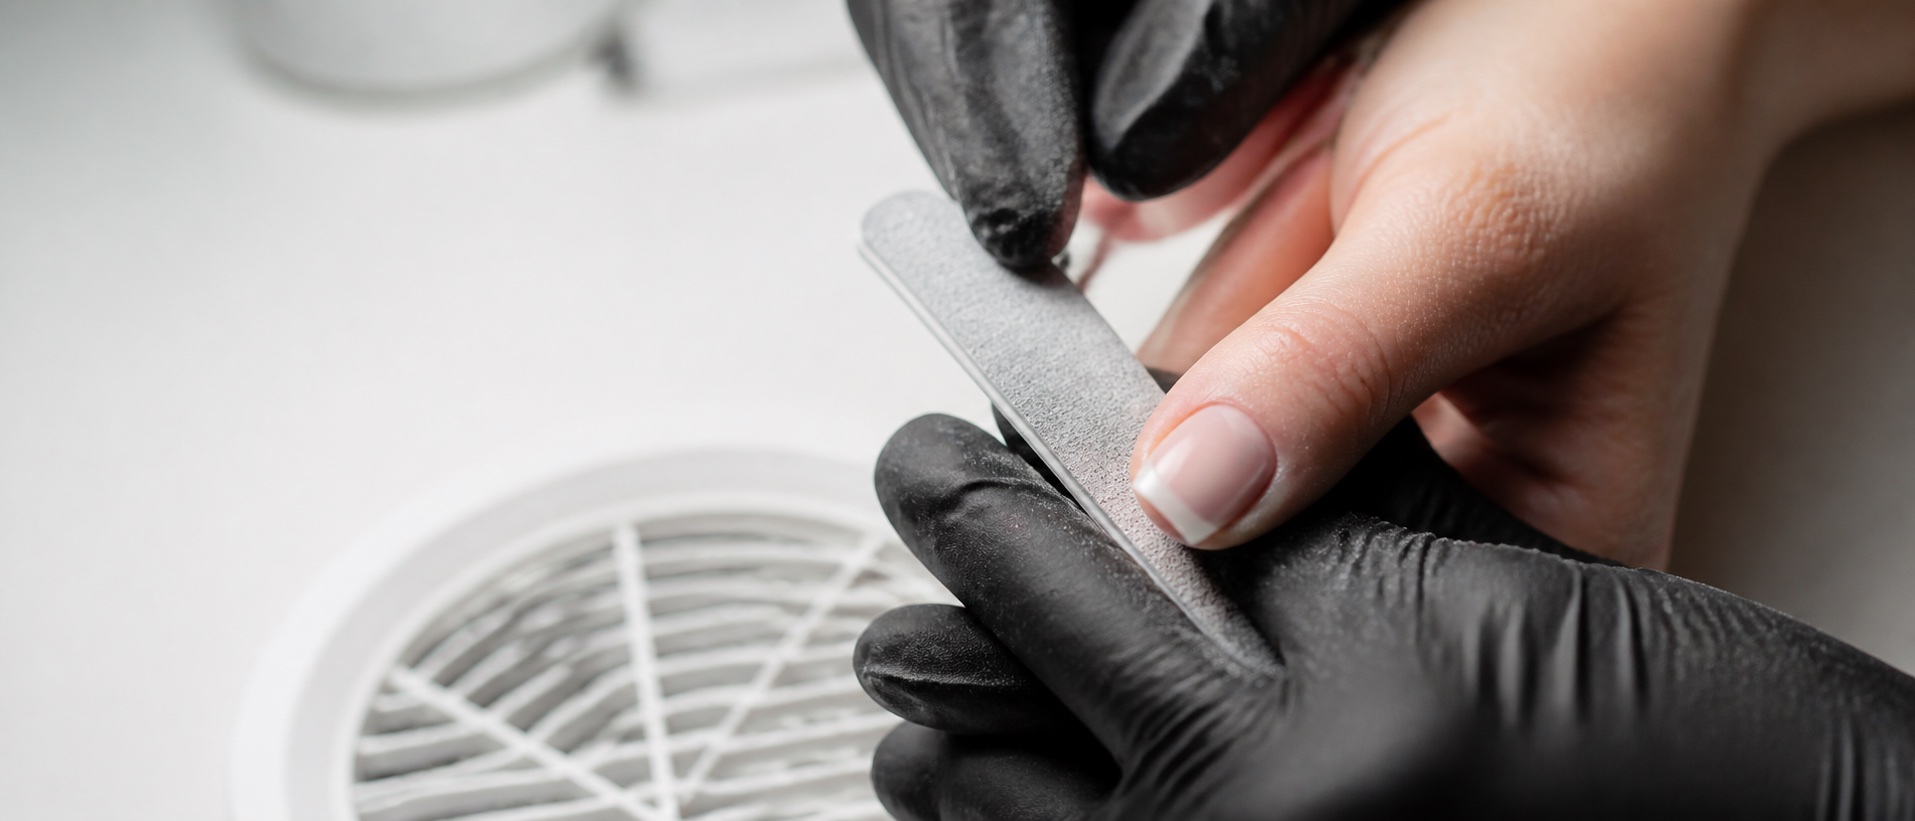
Professional nail filing is controlled material removal. The file, grit, pressure, angle and number of passes must match the surface and the purpose: shaping a natural free edge is not the same task as reducing cured enhancement product or refining a sidewall. A good sequence removes only what is necessary, preserves the intended structure and makes the result easier to check from above, from the side and from the front.
Quick answer: identify the material, select the least aggressive file that can complete the task efficiently, stabilise the finger, work in planned zones, clear dust between checks and stop for heat, pain, excessive flex, a thinning natural plate or loss of structural landmarks. Speed is the result of a repeatable sequence—not harder pressure.
This guide belongs to the BeautyLearn professional nail guide library and owns the hand-filing intent. Electric file choice, bit geometry and machine control will have a separate technical guide. Begin with nail-matrix anatomy and professional limits before practising reduction near the proximal area. For structured demonstrations, compare the English-market online nail courses and the dedicated professional nail filing course. English course records and instructors are managed independently from the Italian catalogue.
What grit numbers actually mean
Grit is only one part of cutting behaviour
Match abrasive, material and task
80–100
Coarse enhancement reduction only
150–180
Enhancement shaping and refinement
180–240
Finer controlled work
Buffer
Flexible surface finishing
Abrasive grit describes the relative coarseness of the surface. Within a comparable abrasive system, a lower number generally means larger, more aggressive particles; a higher number means a finer surface. The number is not a universal promise of identical behaviour across brands. Backing stiffness, mineral, coating density, wear, clogging, edge finish and applied pressure all change how a file works.
Typical range | Possible use | Main caution |
|---|---|---|
80–100 | Bulk reduction of suitable hard enhancement material | Not for the natural plate; pressure can create heat and deep scratches |
150–180 | Refining cured gel, acrylic or acrygel and shaping an enhancement | Use only where the product and task permit; keep landmarks visible |
180–240 | Fine refinement or natural free-edge shaping when appropriate | Fine does not mean harmless; repeated passes still remove material |
Buffer surfaces | Smoothing declared compatible surfaces | Soft backing can round edges and conceal uneven pressure |
Treat these ranges as orientation, then follow the file and product manufacturer’s instructions. A fresh 180-grit file may remove more efficiently than a worn 150; compensating for wear with force makes the result less predictable. Label professional files by grit, task and status so that selection does not depend on colour or memory.
File shape, backing and edge preparation
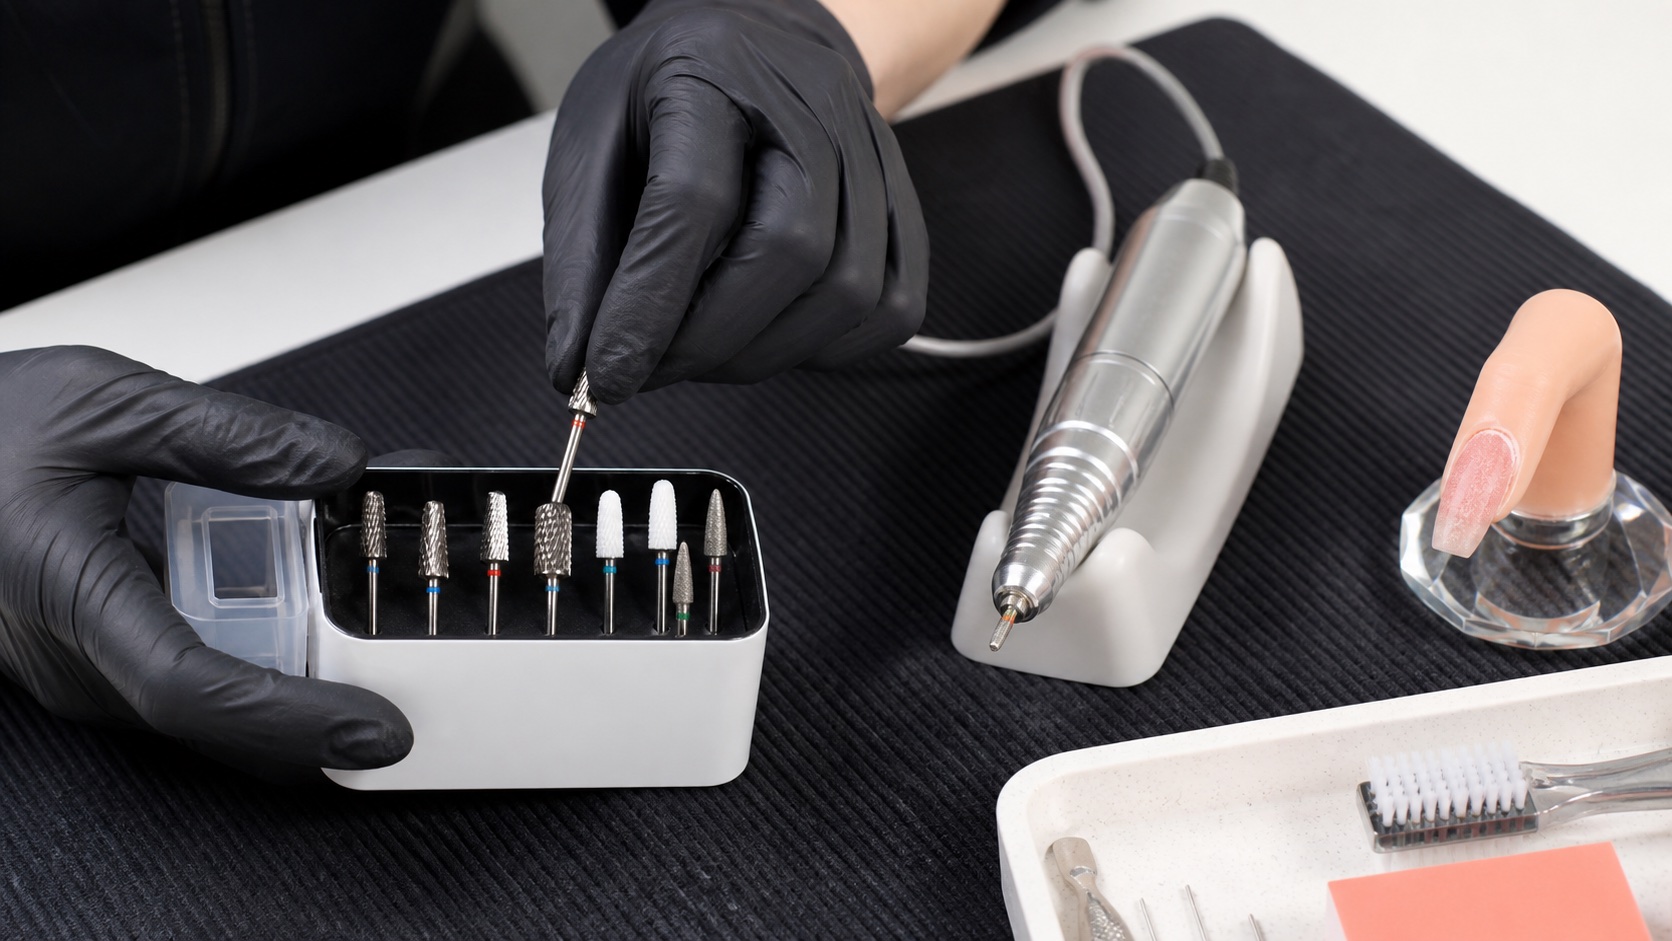
Straight files help establish free edges and side lines; curved or half-moon profiles can follow broader surface zones; buffers flex around contours. The shape does not decide the technique by itself. Choose it for access, support and the amount of surface that should contact the product. A wide flexible file placed carelessly near the skin can touch more tissue than intended.
Inspect new files before use. An unfinished sharp edge can scratch the proximal or lateral fold even when the abrasive face is appropriate. Follow the manufacturer’s method for preparing or discarding unsafe edges. Single-use and reusable classifications, cleaning compatibility and local hygiene requirements must be respected; a porous disposable file should not be improvised into reusable equipment.
The professional filing sequence
Sequence creates speed
File by zones, then verify
Length and free edge
Side lines
Upper surface and apex
Front and underside
Dust, check, correct
A fixed sequence prevents random correction. First agree the target length and shape, then identify what product is present and where excess lies. Stabilise the client’s finger without twisting the joint. Use the file’s working area deliberately, keep the wrist as neutral as possible and let the abrasive move rather than increasing force.
Set length and free-edge direction, comparing neighbouring nails rather than perfecting one in isolation.
Define side lines without cutting into the natural growth line or creating a weak notch at the stress area.
Refine the upper surface in zones, preserving the planned apex and smooth transitions instead of flattening everything.
Check the underside and front view only with suitable access and without filing living hyponychial tissue.
Remove dust, view the nail from above, side and front, then make only the correction identified by that view.
Finish with the surface and cleansing step required by the product system; do not polish away evidence of a structural error.
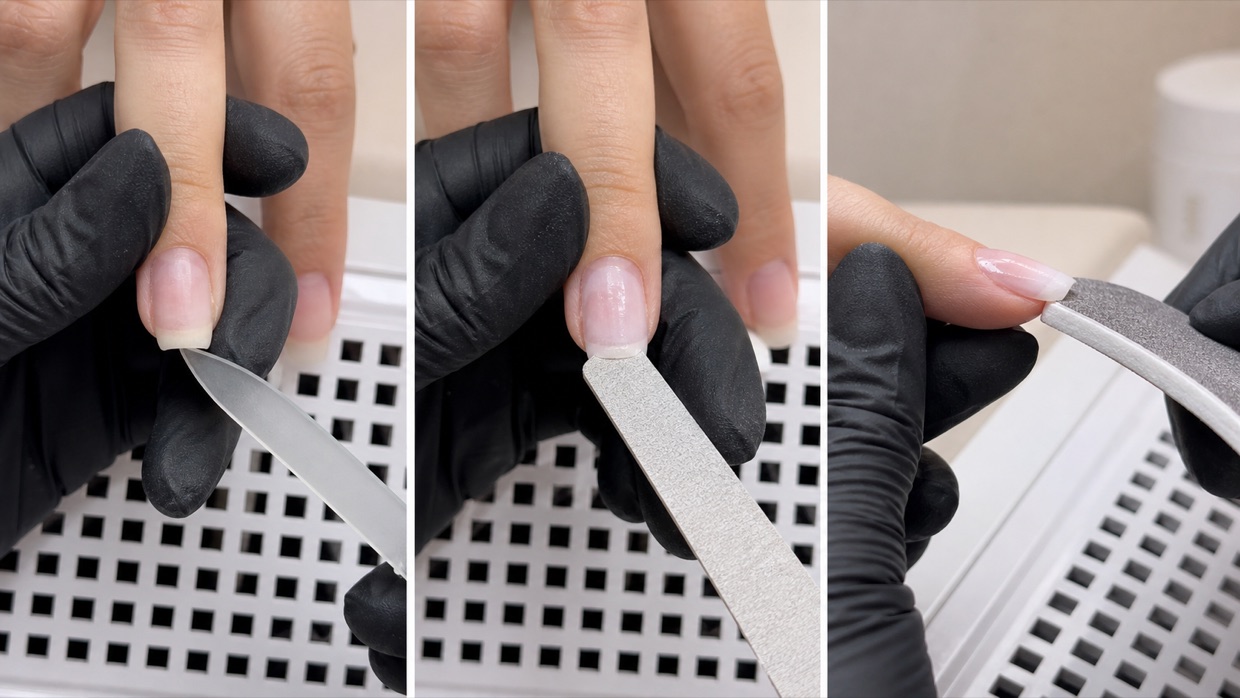
Check the nail from three views
One nail, three different questions
Top, side and front prevent blind correction
Top
Outline, side lines and symmetry
Side
Apex, upper line and free edge
Front
Thickness and transverse balance
All three
One coherent structure
The top view shows outline, symmetry, side-line direction and relationship with the other nails. The side view shows upper and lower line, apex position, free-edge thickness and whether the structure rises or drops. The front view shows transverse balance, lateral thickness and whether one side has been removed more than the other. Rotating the finger is a measurement habit, not a final reveal.
Use reflected light to read surface continuity. A highlight that breaks abruptly may reveal a ridge or hollow, but glare can also hide form. Move the hand and light rather than chasing every reflection with more filing. Compare the result with the intended salon shape and the natural growth direction, not with an abstract template that ignores the finger.
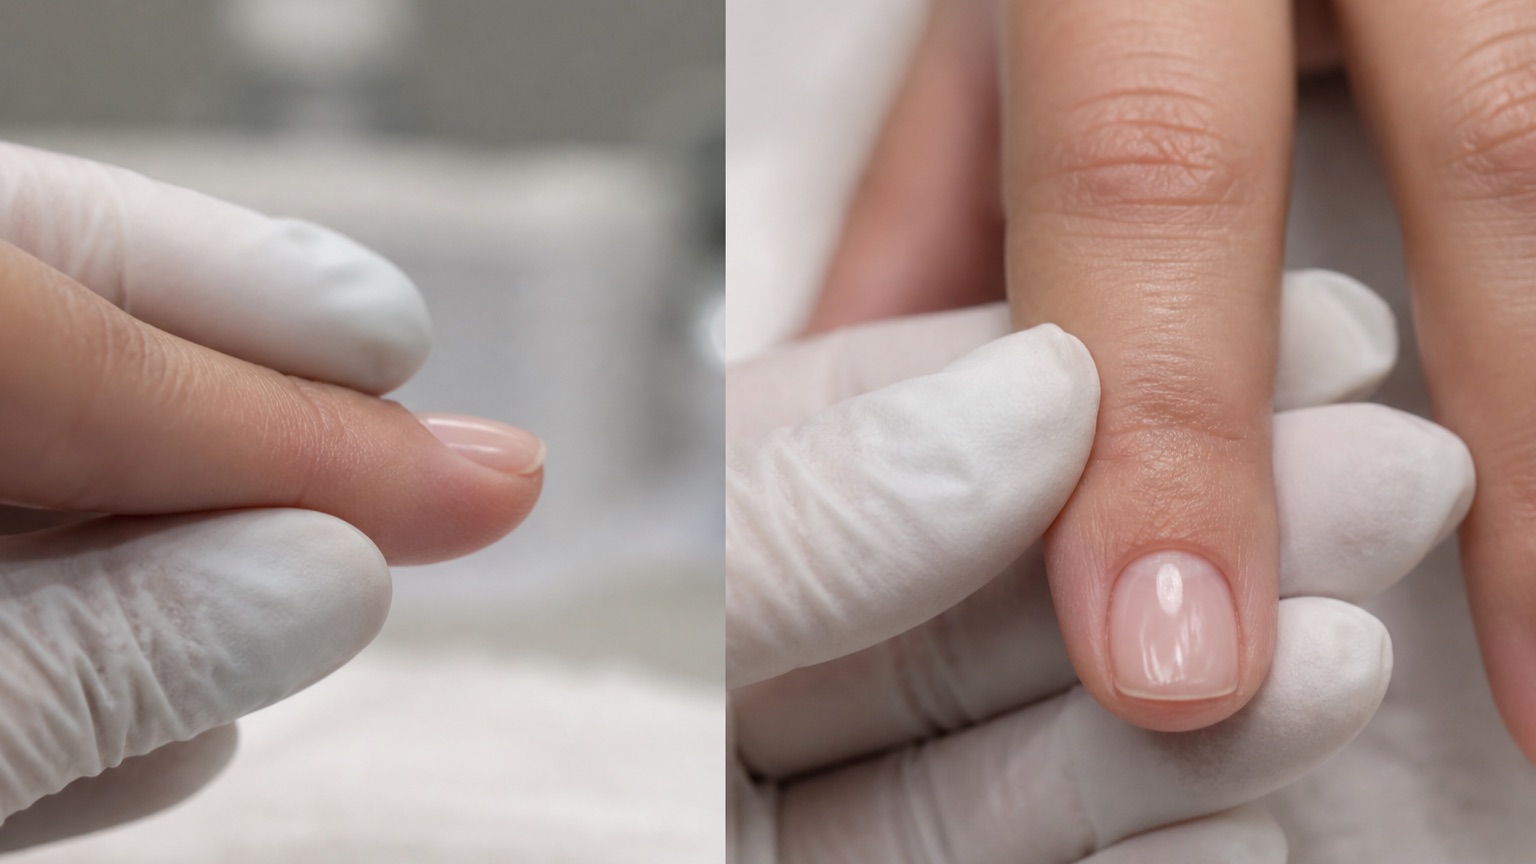
Natural nail versus enhancement product
The natural plate is not spare material. Filing it repeatedly to make product adhere, to erase ridges or to remove every trace of enhancement can thin the surface and increase sensitivity and flex. Preparation should follow the product system and remove only what the protocol actually requires. Never use a coarse enhancement file on the natural plate simply because it completes the step faster.
Cured enhancement products vary in hardness and flexibility. A file that cuts one gel cleanly may skid, clog or create heat on another. Identify the material and whether removal, rebalance or surface refinement is intended. During infill, preserve sound product when the system permits; repeated complete reduction creates more dust and more opportunities to touch the plate.
Pressure, heat and stop signals
Pain is information, not resistance
Correct the cause before continuing
Pressure
Reduce force
Repetition
Change zone and check
Abrasive
Replace worn or clogged file
Pain / skin
Stop immediately
Heat is generated by friction and concentrated repetition. Reduce pressure, shorten contact, change zone, clear clogged abrasive and reassess the grit. Do not teach a client to tolerate burning. Sharp pain, increasing heat, visible redness, a new split, plate flex that has changed during filing or contact with living tissue requires an immediate stop.
A file should not saw across skin, force open a lateral groove or remove attached tissue to create a narrower shape. If the desired silhouette requires eliminating structural support or living anatomy, change the design. Product can be added where the system allows; natural nail and skin cannot be replaced after over-filing.
Dust, ventilation and workstation control
Filing produces particulate from natural keratin, coatings and enhancement materials. Dust should not be brushed into the room, clothing or face. The CDC/NIOSH nail-technician guidance identifies dust, chemical exposure, awkward posture and repetitive filing as occupational concerns and recommends general ventilation, local exhaust controls, suitable protective equipment and ergonomic measures.
Position source capture close enough to the work to collect dust before it crosses the breathing zone, maintain it according to its tested instructions and verify airflow rather than assuming noise equals capture. Clean surfaces with a method that contains particulate; do not dry-sweep or use an uncontrolled fan. Keep food, drinks and personal items away from the working zone.
The US FDA nail-product overview emphasises labelled directions, warnings, ventilation and avoiding skin contact where relevant. Local law and the current product documentation for the market where the service is performed take precedence.
Common filing mistakes and the better correction
Mistake | What it causes | Better decision |
|---|---|---|
Random filing order | Over-correction and inconsistent nails | Use the same zones and checkpoints on every nail |
Hard pressure with a worn file | Heat, fatigue and poor control | Replace the abrasive and let it cut |
Viewing only from above | Hidden thickness, tilt and asymmetry | Check top, side and front between stages |
Thinning the apex to smooth the surface | Loss of structural balance | Identify the high or low zone before removing product |
Filing the natural plate until every mark disappears | Avoidable thinning and sensitivity | Stop at the system’s preparation or removal limit |
How to practise filing without chasing speed
Practise one variable at a time on suitable training tips or models under competent supervision. One session can focus on free-edge direction, another on side lines and another on smooth upper-surface transitions. Photograph the same views before and after, count unnecessary passes and mark where symmetry first began to drift. A timed result is useful only after the file remains off the skin, the natural plate is protected and the planned structure survives every angle.
Use a simple review record: material, starting structure, file shape and grit, sequence, time, heat or comfort report, top-side-front photographs, identified error and one change for the next attempt. Do not change grit, pressure, grip and sequence simultaneously; improvement becomes impossible to attribute. Replace practice tools when their cutting behaviour changes, because learning with a worn abrasive can teach excessive force.
Efficiency should be measured as fewer corrective loops, not merely fewer minutes. The strongest evidence of progress is a repeatable result across different fingers and appropriate shapes while preserving safety, comfort and surface control. Once quality is stable, organise hand position and tool placement to reduce reaching and add short recovery pauses for the wrist, shoulder and eyes.
Frequently asked questions about professional nail filing
What grit file should be used on natural nails?
Use only a manufacturer-declared file and grit suitable for the specific natural-nail task, commonly a fine abrasive for free-edge shaping. Preparation does not justify aggressive thinning of the plate.
Is 180 grit always safe on a natural nail?
No. Grit number, backing, pressure, wear, task and plate condition all matter. A file can still remove too much through repeated or forceful passes.
Should a natural nail be filed in one direction?
Direction matters less than control, support, suitable grit and avoiding splitting or uncontrolled sawing. Use a stable technique appropriate to the edge and condition.
Why does filing feel hot?
Friction, concentrated repetition, excess pressure, clogged abrasive or unsuitable grit can create heat. Stop, cool the area naturally and correct the cause before continuing.
Can a file damage the nail matrix?
The matrix is largely protected under the proximal fold, but forceful invasive work can injure surrounding living tissue and deeper structures. Never file beneath living skin.
How do I stop nails becoming uneven?
Set shared length and direction first, repeat one sequence, compare neighbouring nails and check each from top, side and front before final refinement.
How often should a nail file be replaced?
Follow its single-use or reuse classification and replace it when worn, clogged, damaged, contaminated or no longer controllable. Do not compensate with pressure.
Can disposable files be disinfected and reused?
Only equipment explicitly designed and documented for the required decontamination process should be reused. Porous disposable abrasives are not converted into reusable tools by spraying them.
Hand file or electric file: which is better?
They are different tools. Choice depends on material, task, access, competence and control. An e-file is not automatically faster or safer, and hand filing is not automatically gentle.
Should every ridge be buffed away?
No. Ridges can be normal or have multiple causes. Removing plate thickness to create a temporarily flat appearance may cause more harm than the cosmetic concern.
What should I do if the client feels pain?
Stop immediately, remove pressure and inspect externally. Do not continue to finish the shape. Injury, persistent pain or an unexplained sign requires appropriate referral.
Does a dust collector replace room ventilation?
No. Source capture is one control within a wider plan that includes general ventilation, maintenance, work practices, cleaning and suitable protective equipment.
Last reviewed: 5 September 2026. This educational guide supports professional training and does not replace product instructions, workplace risk assessment, local hygiene rules or medical evaluation.
Compare materials next: the gel, acrylic and acrygel guide separates product behaviour from the filing sequence and explains why no system is universally best.