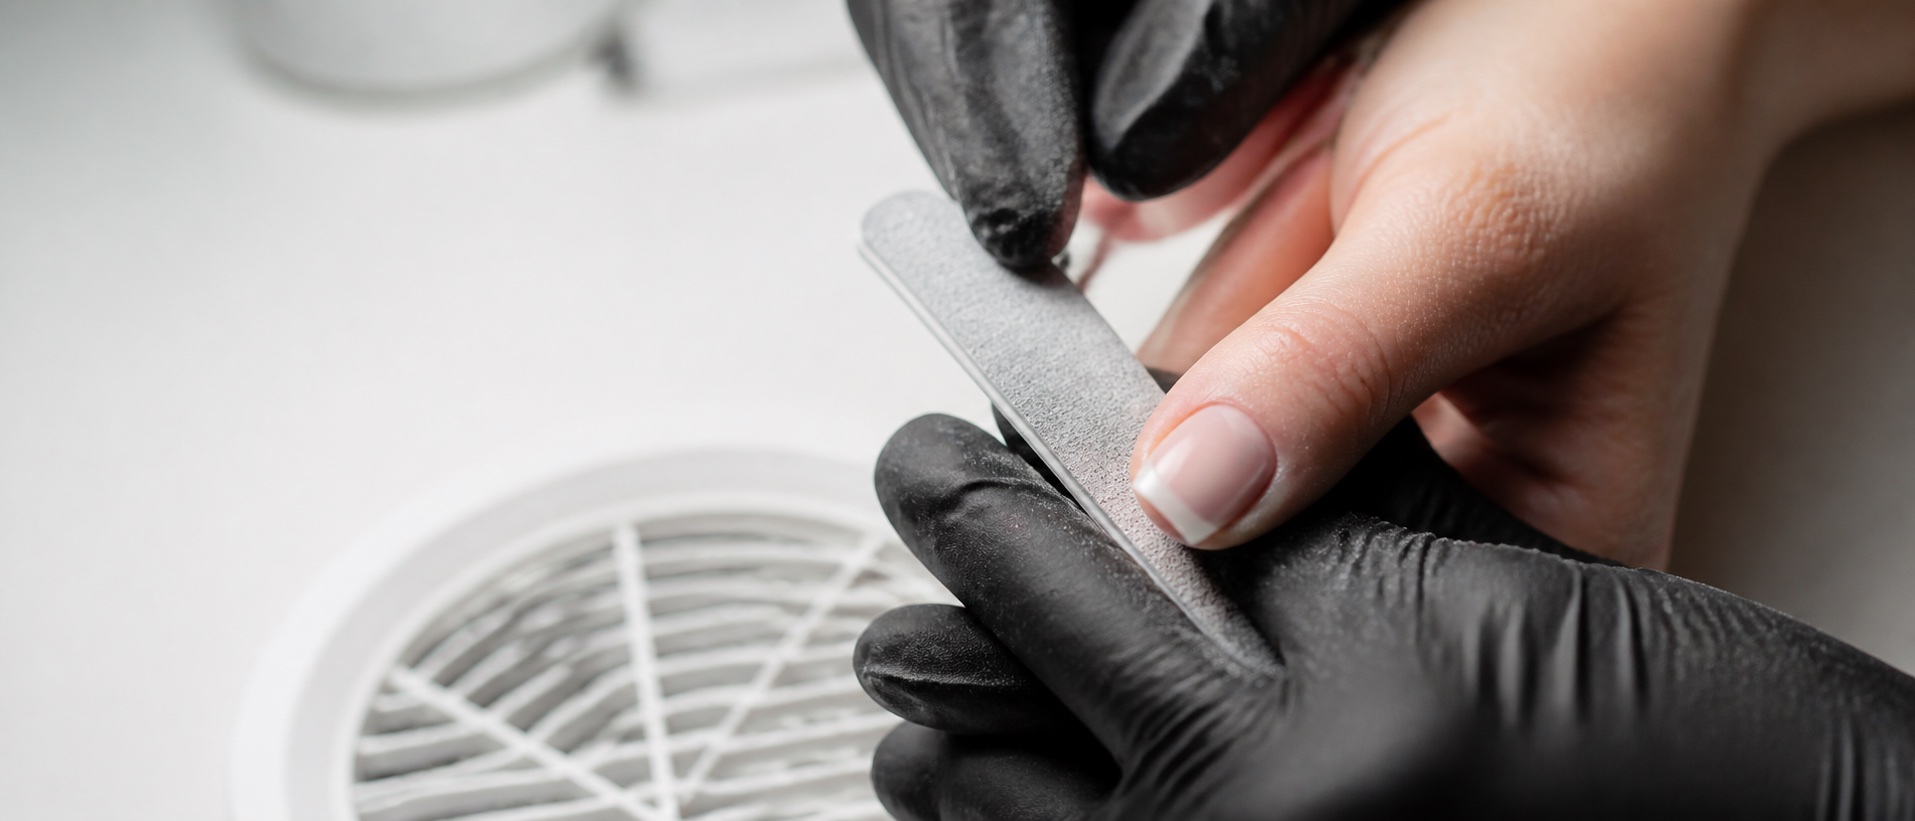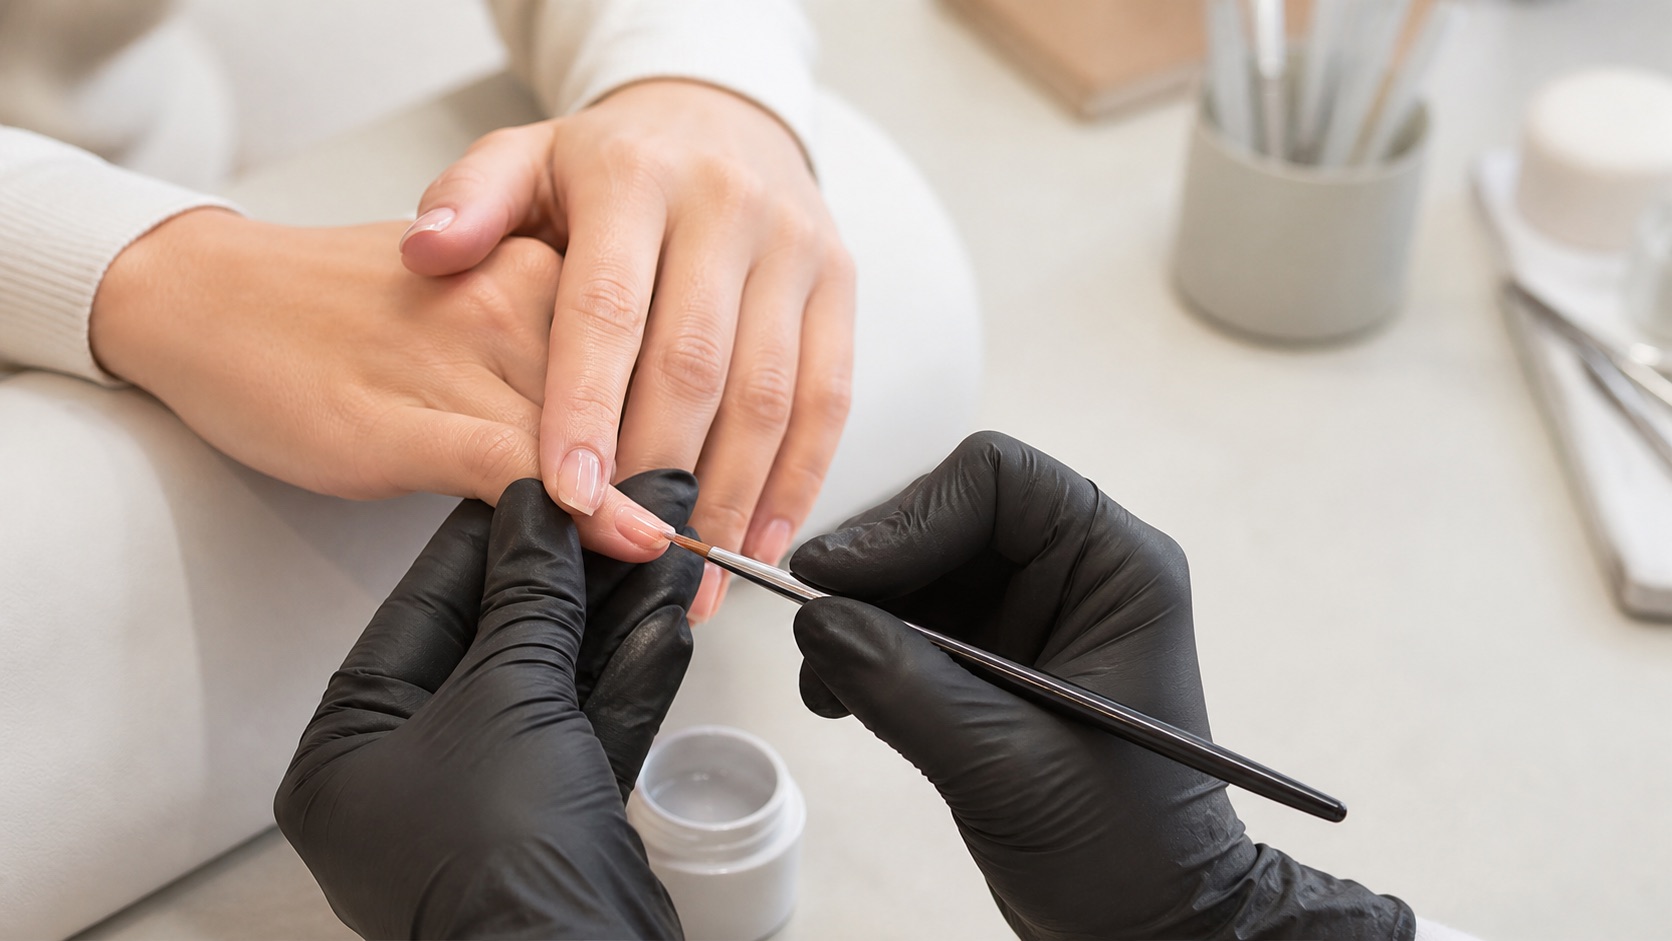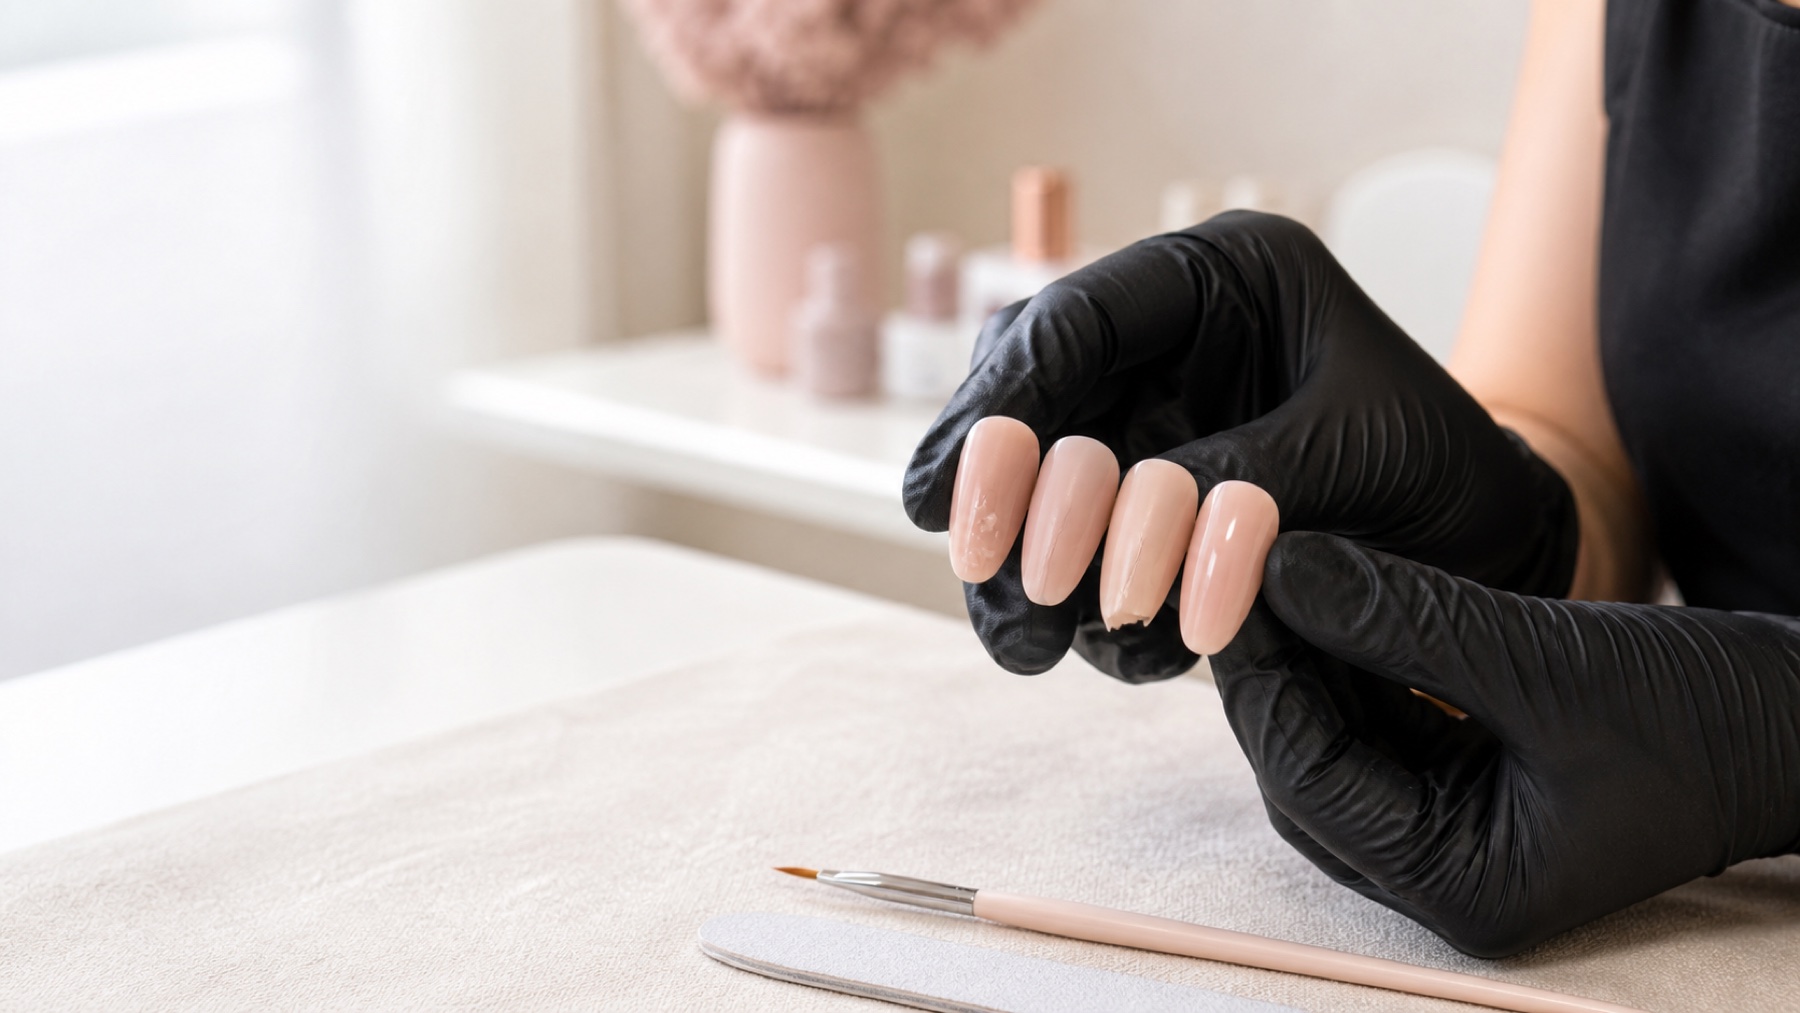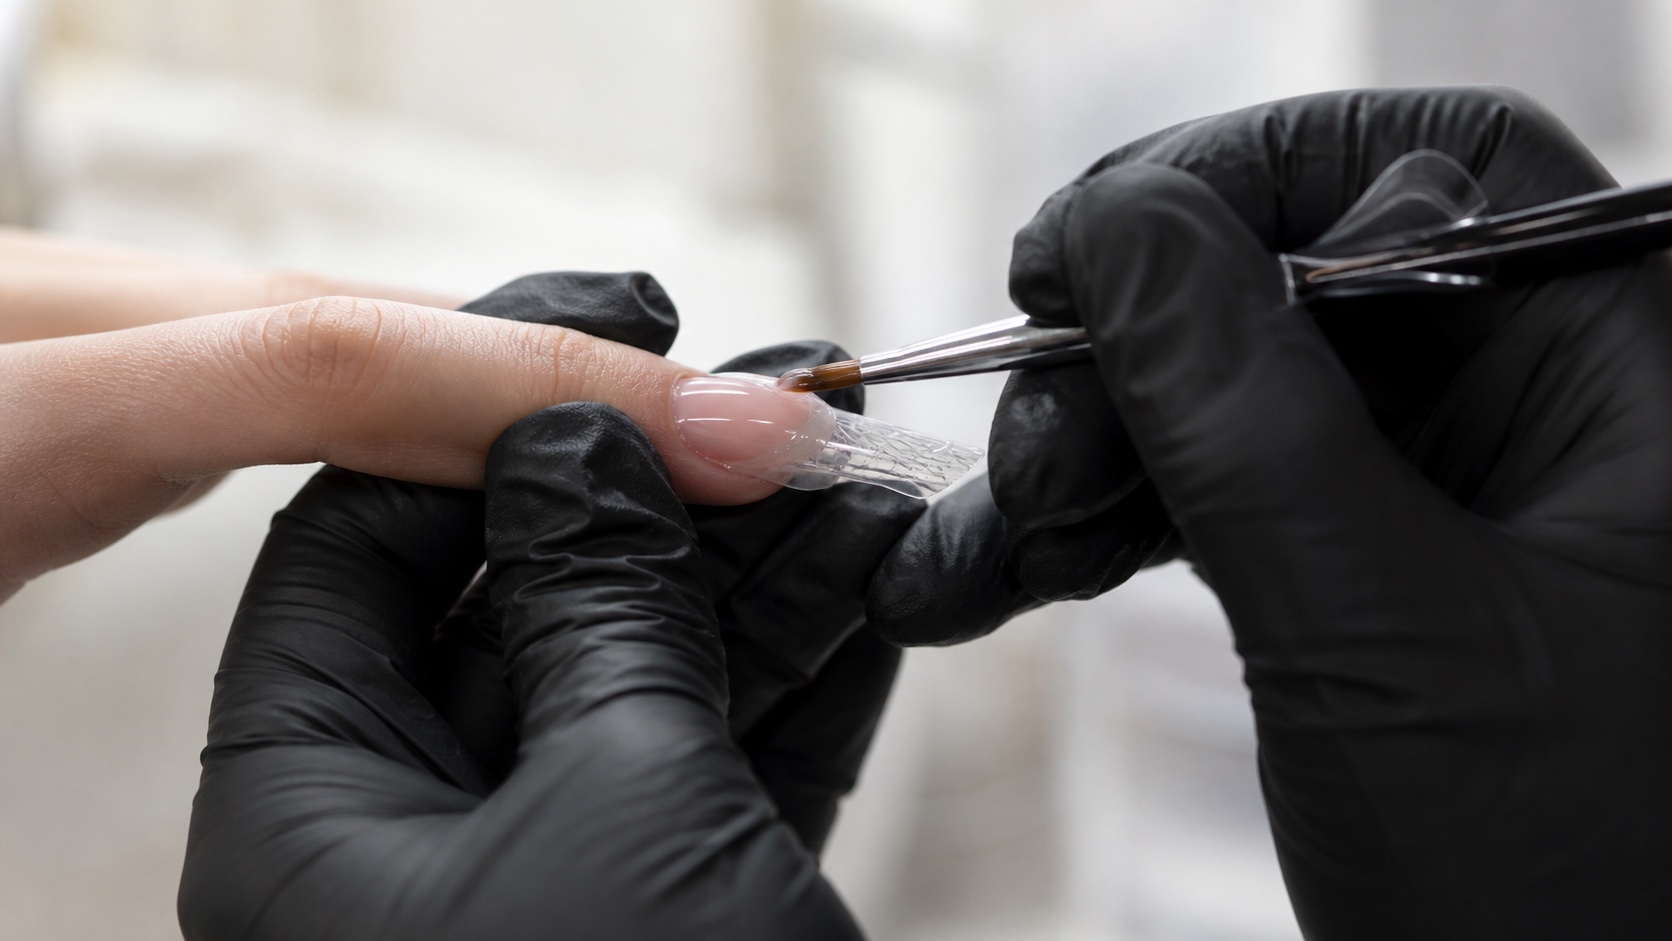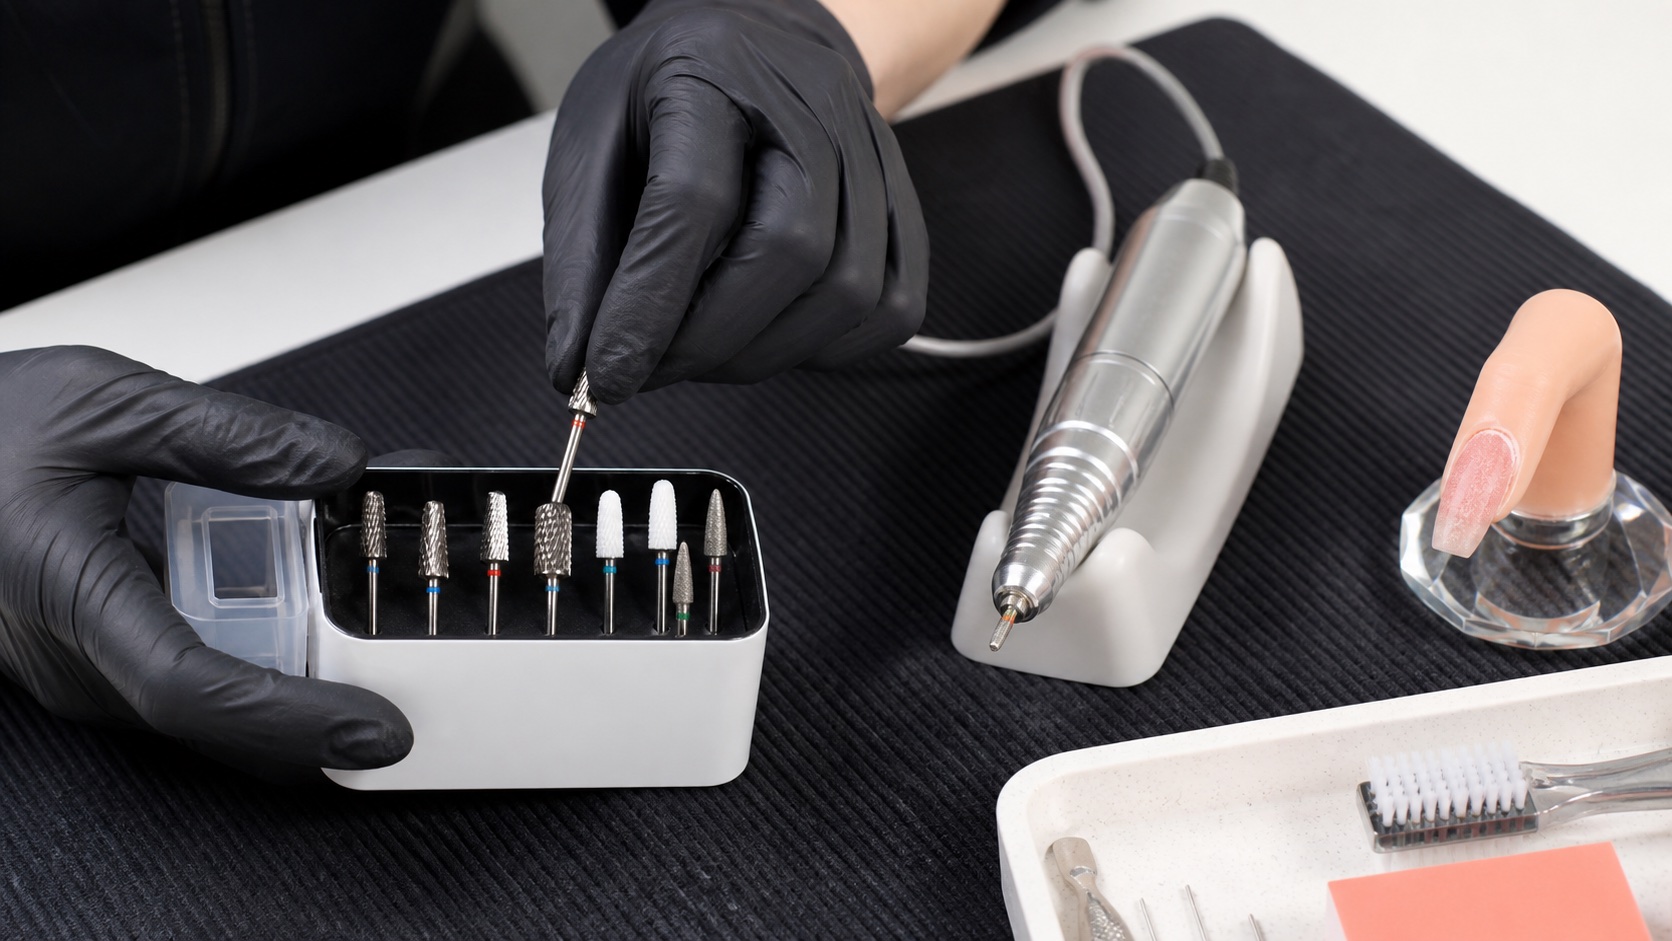
The correct nail drill bit for removing gel is selected by the artificial product, the amount and location to reduce, the finish required, the e-file and the technician's trained control. Carbide and ceramic removal bits are common for reducing hard gel, acrygel and acrylic bulk. Diamond bits are generally used for more precise abrasive work rather than rapidly cutting down a complete enhancement.
Short answer: use a clean, undamaged removal bit whose material, cut, shape, rotation and permitted operating range match both the artificial product and your e-file. Reduce bulk in controlled moving passes, leave a planned safety layer when appropriate and never chase the final veil onto the natural nail with an aggressive bit. Heat or pain means stop immediately.
This guide owns the ‘which drill bit removes gel’ decision. The separate electric nail file guide explains machine setup, rotation, hand support, speed range and safe control in depth. Neither page replaces hands-on training, manufacturer instructions or workplace risk controls.
First rule: remove artificial product, not natural nail
The endpoint determines the safe method
A removal bit belongs on identifiable artificial product
Bulk
Efficient artificial-product reduction
Thin layer
Increase control and inspection
Transition
Change abrasive or method
Natural plate
Not the removal target
A refill rarely requires every stable layer to be removed. When the retained material is known, compatible and firmly attached, the technician can reduce bulk, eliminate lifting and rebuild current structure. The nail infill guide explains that assessment. Full removal may be appropriate for incompatible, unidentified, extensively lifted or intentionally discontinued product, but the natural plate is not a target to polish thin.
Plan an endpoint before starting: colour layer removed, bulk reduced for rebalance, or enhancement fully removed by a product-appropriate method. As the product becomes thin, change the tool, abrasive, angle or method instead of increasing pressure. A skilled operator can still damage a plate with the wrong endpoint; a rounded ‘safety’ tip does not protect the sides or belly of a bit.
Carbide, ceramic and diamond nail bits
Material describes mechanism, not the whole task
Cut, shape, direction and documentation still decide use
Carbide
Fluted cutting action
Ceramic
Fluted product reduction
Diamond
Coated abrasive detail
Band
Read the maker's specification
Bit family | How it works | Typical professional role | Key limitation |
|---|---|---|---|
Carbide | Flutes cut and evacuate artificial product | Efficient bulk reduction on suitable hard systems | Direction, tooth pattern and control must match |
Ceramic | Cutting flutes remove artificial product | Bulk or colour reduction when specified | It can still generate heat, catch or break |
Diamond | Coated surface abrades rather than cutting flutes | Controlled detailing and specific preparation tasks | Usually inefficient for rapid removal of full bulk |
Sanding band | Disposable abrasive sleeve on a mandrel | System-defined surface or product refinement | Fit, grit, mandrel and single-client use matter |
Material alone never identifies the task. Two carbide bits can have different flute depth, tooth geometry, direction and end shape. Two ceramic bits with the same colour band can behave differently across brands. Read the maker's product description, compatible rotation, maximum range, cleaning method and intended substrate; do not infer them from appearance.
Choose the shape by access and contact area
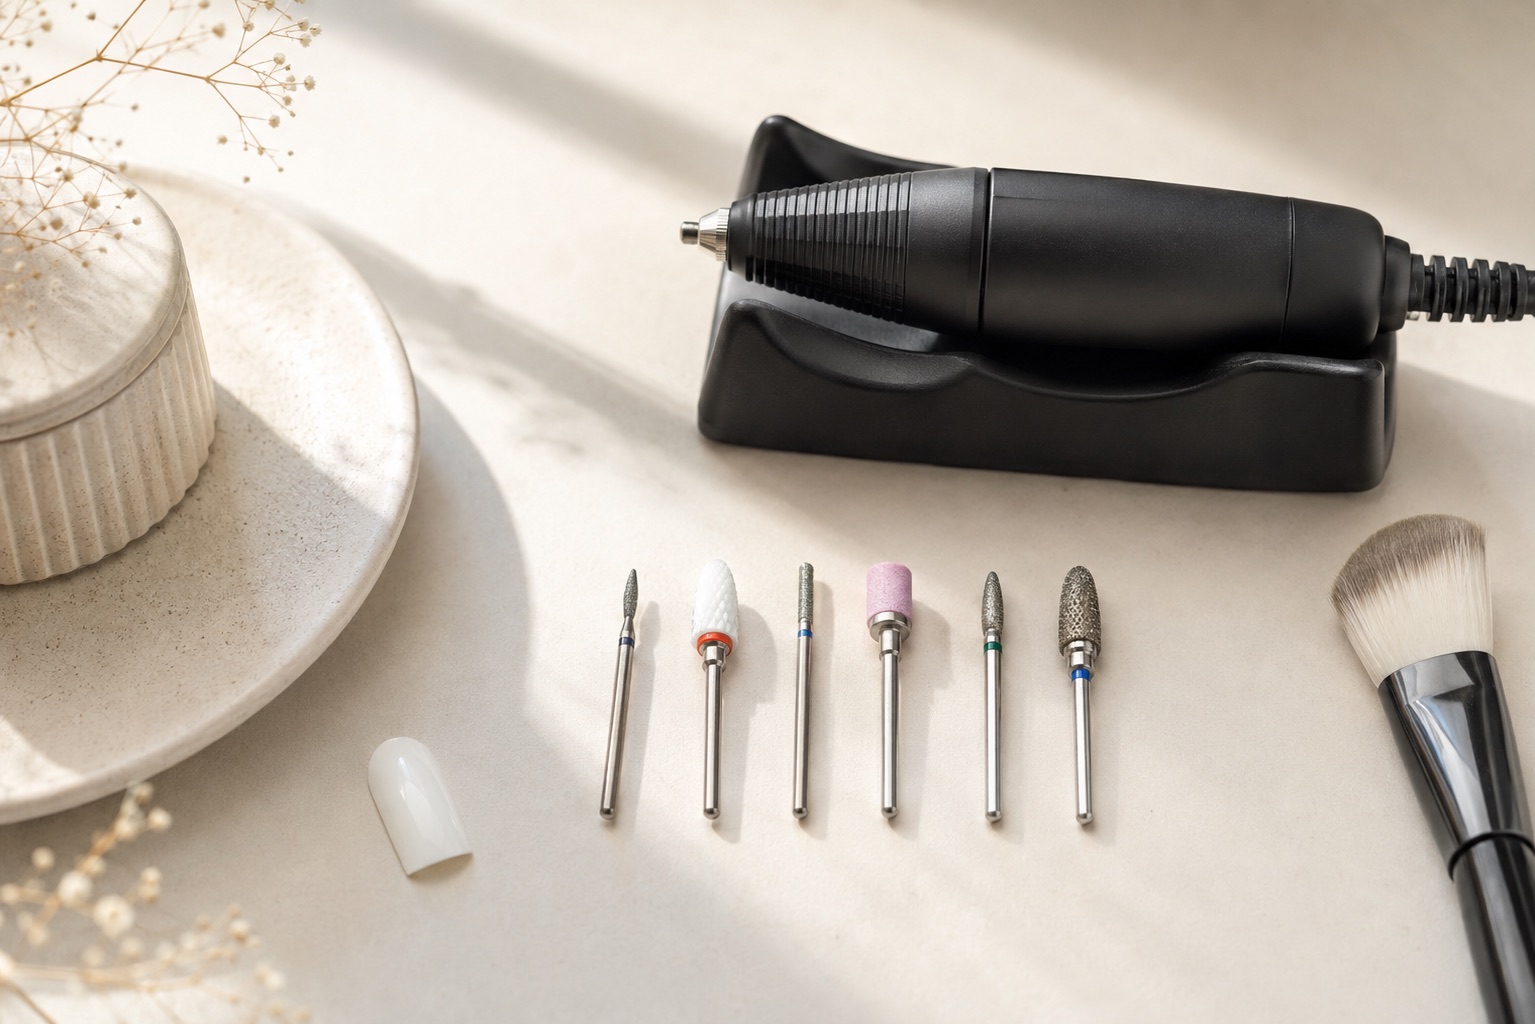
A barrel offers a broad working surface for open product areas but its end geometry may limit access near contours. A tapered barrel or cone can improve access along side areas when the operator maintains a safe angle. A flame or needle-shaped diamond supports precise tasks in trained hands; it is not a substitute for a bulk-removal bit. A ball is designed for specific periungual work, not for planing an enhancement.
The widest useful part of a bit is not automatically the fastest safe choice. Contact area, curvature and access determine whether pressure is distributed or concentrated. Match the shape to the nail's convexity and keep the active cutting surface visible. Never work behind a hidden rotating tip or use the point as a lever.
Read cut, grit and colour bands cautiously
Removal bits may be described as fine, medium, coarse or extra coarse, but colour coding is not a universal performance standard across every manufacturer. The number, depth and pattern of flutes influence how carbide or ceramic engages material. Diamond grit describes abrasive particle size, which is a different mechanism. Compare specifications within the same documented system before assuming two bands are equivalent.
Coarse does not mean ‘professional’ and fine does not mean ‘safe’. A coarse removal bit can reduce bulk efficiently with trained moving contact; held still, it can create heat and deep tracks. A fine bit used repeatedly with pressure can also overheat and reach the natural plate. Choose the least aggressive setup that performs the planned task efficiently in your trained technique.
Rotation direction and tooth pattern must agree
Many fluted bits are cut for one rotation direction; others are left-handed or bidirectional. A mismatched direction may rub rather than cut, encourage pressure, produce poor control or pull unexpectedly. Confirm the arrow or documentation before the client sits down. Changing from one hand to the other does not automatically mean reversing rotation: the trained stroke, side of the bit and maker's permitted direction must be considered together.
The bit shank must fit the handpiece specification and be fully seated as instructed. Do not use a bent shank, chipped ceramic, damaged flute, worn diamond coating or bit that creates unusual vibration. Run a brief no-load check after insertion and stop if the sound or movement is abnormal.
Select the bit by removal depth
Move from efficiency to precision
One bit does not need to complete every layer
Top
Open the colour or seal
Bulk
Reduce to the service plan
Inspect
Read lifting and thickness
Finish
Change method near the plate
Planned layer | Decision | Endpoint |
|---|---|---|
Top and colour | Controlled product-reduction bit and visible passes | Structure preserved for assessment |
Bulk before infill | Efficient shape suited to open artificial material | Stable thin base and lifting removed |
Near transition | Change tool, abrasive or manual method | No groove or pressure on natural plate |
Soak-off product | Break seal only as the system permits, then soak | Release without scraping softened plate |
For gel polish, confirm whether the product is soak-off and follow its complete removal instructions. The gel-polish safety guide covers product-specific curing and removal. Hard gel and acrylic generally require a different reduction plan; the gel extension and acrylic extension guides explain their system boundaries.
A controlled gel-removal sequence
Inspect the nail and identify the material, service goal, lifting, repairs and areas that must not be covered.
Choose a documented, clean and undamaged bit; confirm shank fit, rotation and working range.
Stabilise the client's finger and your working hand so the handpiece does not float or pivot unpredictably.
Reduce length or heavy free-edge bulk according to the service plan before refining the upper surface.
Work in overlapping moving passes with the active surface, keeping the point and sidewalls visible.
Pause, brush away dust with a suitable method and inspect colour, thickness, lifting and heat frequently.
Change to a more controlled tool or manual abrasive before reaching the natural plate or delicate transition.
Finish at the planned endpoint, clean the workstation and process reusable instruments under local protocol.
The nail prep guide begins where controlled removal and assessment end. Do not convert a product-removal bit into a natural-plate preparation bit simply because it is already in the handpiece.
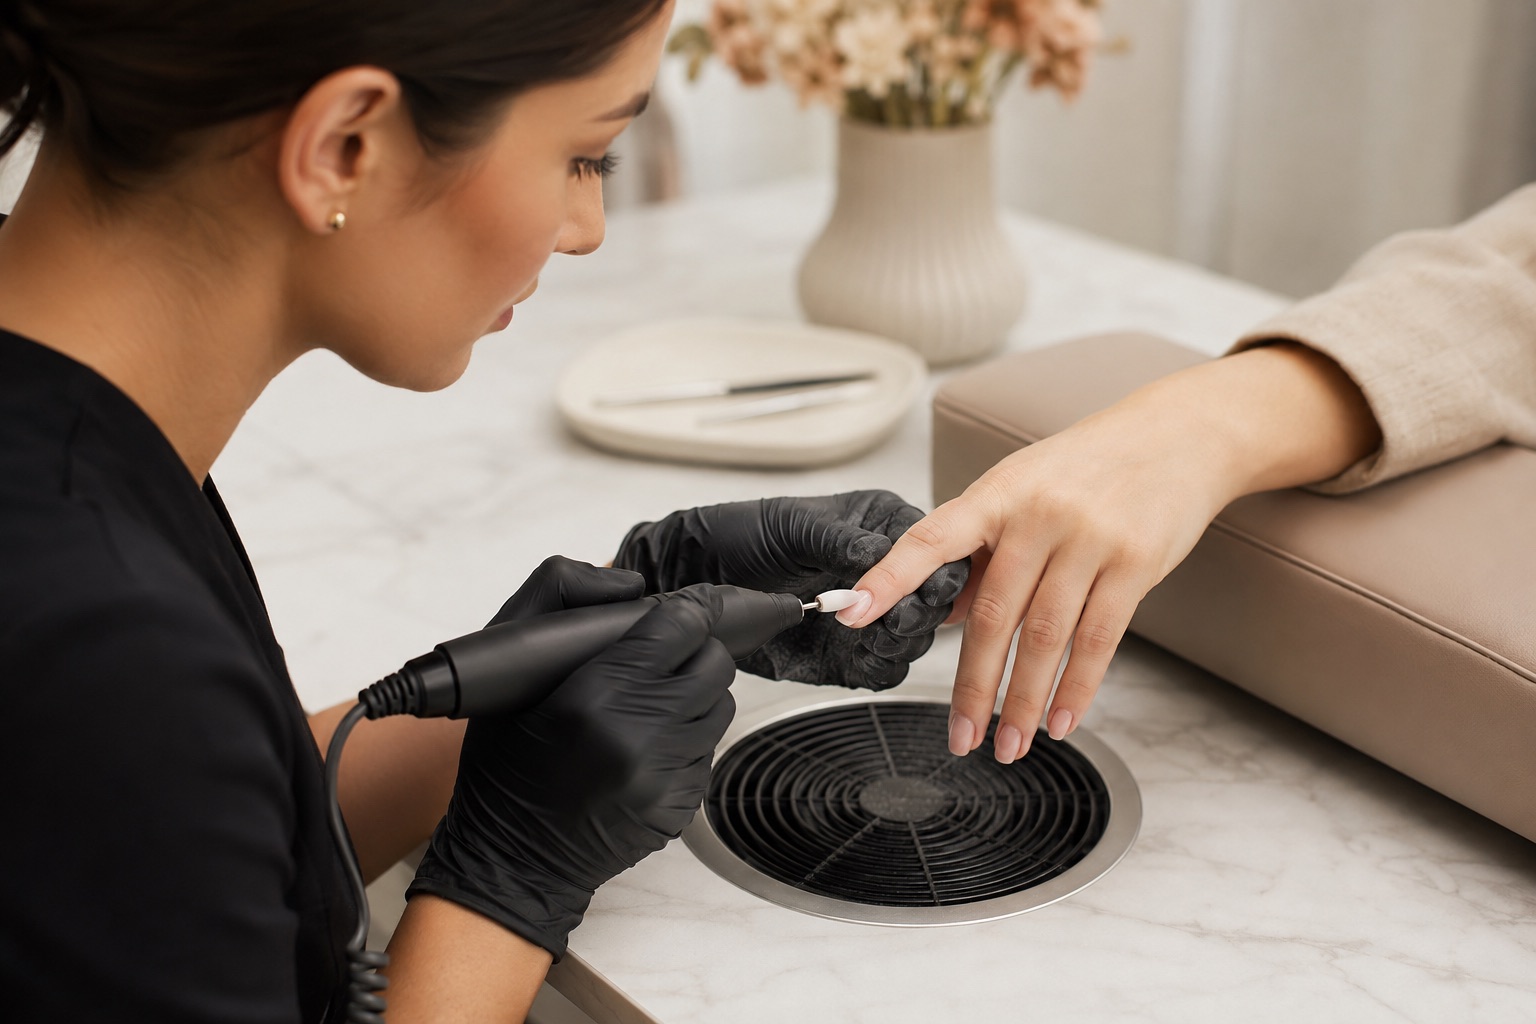
Heat, pain and vibration are stop signals
Discomfort is information, not a normal stage
Remove contact first, then identify the cause
Heat
Stop contact immediately
Vibration
Inspect bit and handpiece
Pain
Do not continue the pass
Resume
Only after cause and plan are clear
Heat can increase through excess pressure, long contact in one place, an unsuitable or worn bit, poor cutting direction, repeated passes or product friction. Do not tell a client that burning is normal. Stop, remove contact, reassess the surface and identify the cause before continuing. Pain, sharp vibration, plate movement, bleeding or sudden sensitivity also require immediate stop and appropriate next action.
The goal is efficient cutting with light controlled contact, not force. Increasing speed is not a universal solution and lowering speed does not make poor pressure safe. Use only the range permitted for the bit, handpiece and trained task, and keep the bit moving in the direction your technique was designed to control.
Agree a comfort signal before beginning and check in during long reductions without repeatedly asking leading questions. A client may report warmth later than the operator expects, so communication supplements rather than replaces visible inspection, brief passes and good technique. Never continue because only one nail remains or because the appointment is running late.
Control dust and process bits correctly
Artificial-nail filing generates fine dust. The UK Health and Safety Executive warns that nail filings can cause respiratory symptoms and recommends controls such as effective extraction. Capture dust close to the source, maintain the extractor, clean without redistributing dry dust and complete the workplace risk assessment required in your jurisdiction.
Cleaning removes visible debris; disinfection or sterilisation requirements depend on instrument classification and local rules. Follow validated contact time, concentration, rinsing, drying, packaging and storage steps. Porous sanding bands are normally single-client disposable items. A bit with product trapped in flutes cannot cut predictably and should not be returned to service before correct processing.
When not to use an e-file for removal
Do not proceed when the product cannot be identified and its condition cannot be assessed, when the plate is exposed or visibly thinned, or when pain, bleeding, unexplained discolouration, inflammation or suspected infection is present. A cosmetic technician does not diagnose. Pause cosmetic service, document observations without medical labels and recommend assessment by an appropriate healthcare professional when indicated.
Training should precede client use. Compare BeautyLearn's online nail courses and use the English nail guide library to connect removal decisions with anatomy, structure and system compatibility.
Frequently asked questions
Which nail drill bit is best for removing hard gel?
A manufacturer-specified carbide or ceramic removal bit is common, but shape, cut, direction and range must match the product, e-file and trained technique. There is no universal best bit.
Can a ceramic bit still create heat?
Yes. Pressure, dwell time, poor cutting action, repeated contact and a worn or unsuitable bit can generate heat regardless of the material.
Are diamond bits suitable for removing gel bulk?
They are generally intended for controlled abrasive and detail work rather than rapid removal of a whole hard-gel structure. Follow the specific bit documentation.
Does a red, blue or green band mean the same across brands?
Do not assume it does. Colour may indicate a relative cut or grit within a manufacturer's range, but geometry and performance still require product-specific documentation.
What does a safety-top nail bit protect?
A rounded end may reduce the cutting action at the tip for its intended task. The side and belly remain active, so angle, contact and training are still essential.
Can I use the same bit on the natural nail?
A product-removal bit should not be treated as a natural-plate preparation tool. Change to the documented method appropriate for the remaining layer and trained task.
Should I remove all gel before an infill?
Not automatically. Stable, known and compatible material may be retained and rebalanced; lifting, contamination uncertainty or incompatibility can change the plan.
Why does the bit bounce or vibrate?
Possible contributors include a bent shank, damaged bit, poor seating, handpiece fault, incompatible speed or unstable contact. Stop and inspect rather than pressing harder.
How can I reduce heat during e-file removal?
Use a sharp suitable bit, trained moving passes, stable support, light effective contact and frequent inspection. Heat or discomfort means remove contact and reassess.
Can sanding bands be reused?
Porous abrasive bands are normally single-client disposable items. Follow the supplier and local infection-control rules; process the reusable mandrel separately.
Do I need dust extraction for gel removal?
Professional filing creates airborne dust. Use effective source extraction and the additional controls identified by the workplace assessment and local requirements.
When should removal stop and be referred?
Stop for pain, bleeding, exposed or severely thinned plate, inflammation, unexplained discolouration or suspected infection and recommend appropriate assessment without diagnosing.
Sources and scope
Workplace dust and exposure references: UK HSE guidance for beauticians and OSHA nail salon health hazards. Product-safety reference: FDA nail care products. Apply current manufacturer instructions and the rules of the country where the service takes place.
Editorial boundary: this page owns removal-bit selection by material, shape, cut and task. E-file machine control, complete product-removal methods, nail preparation and instrument hygiene remain distinct intents.