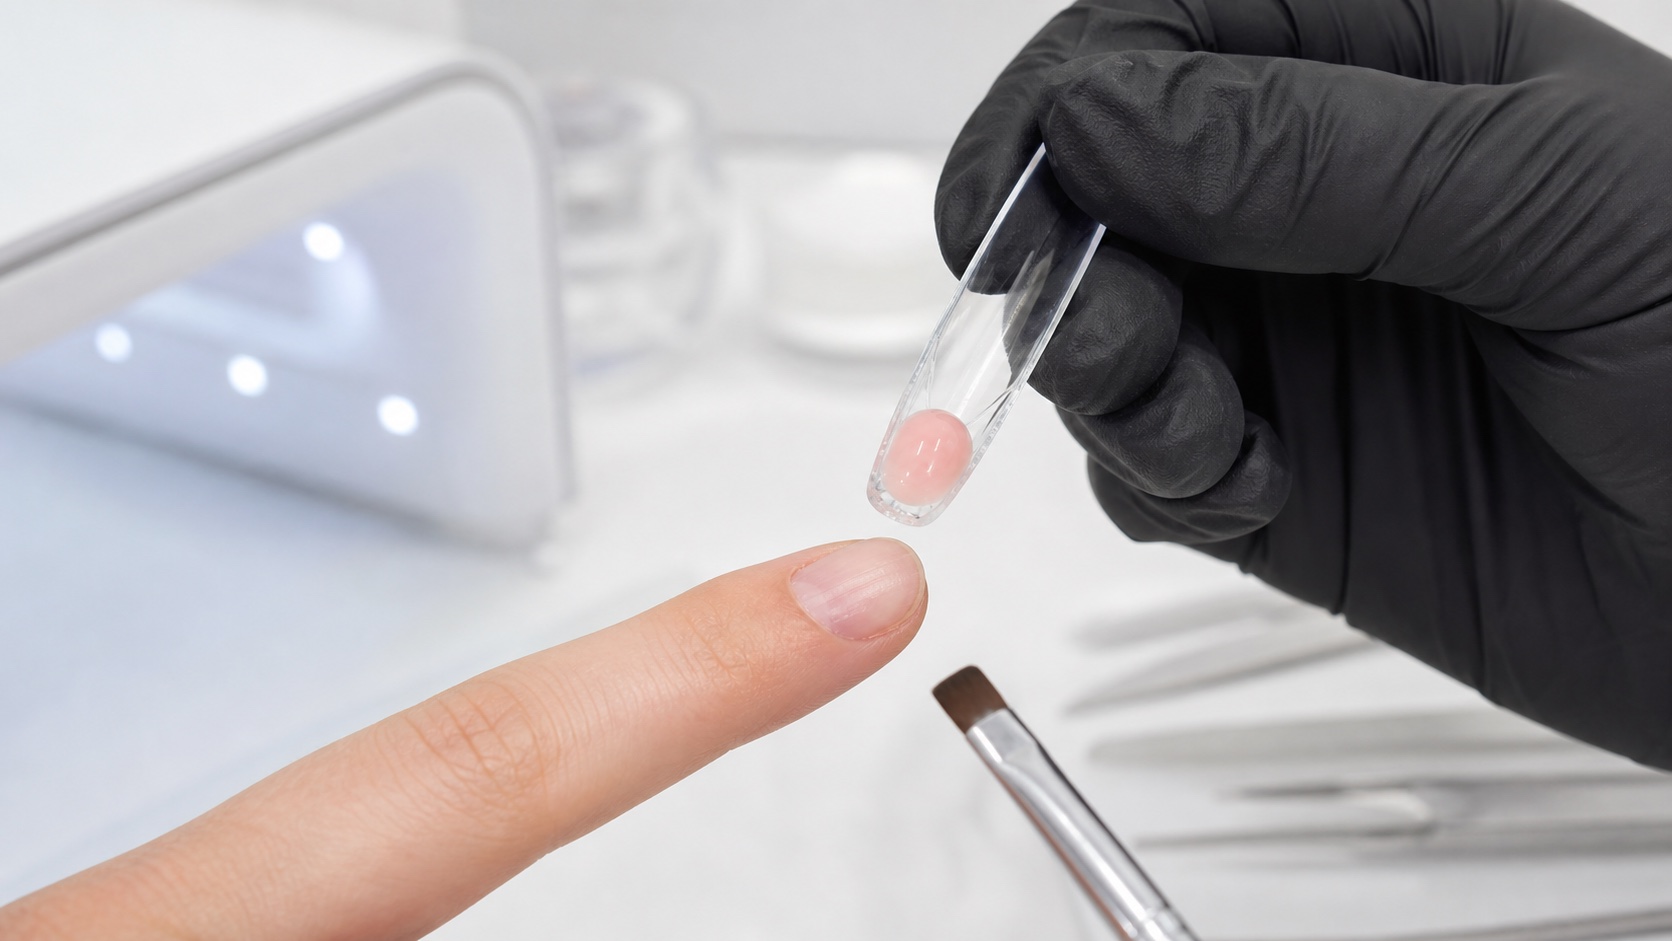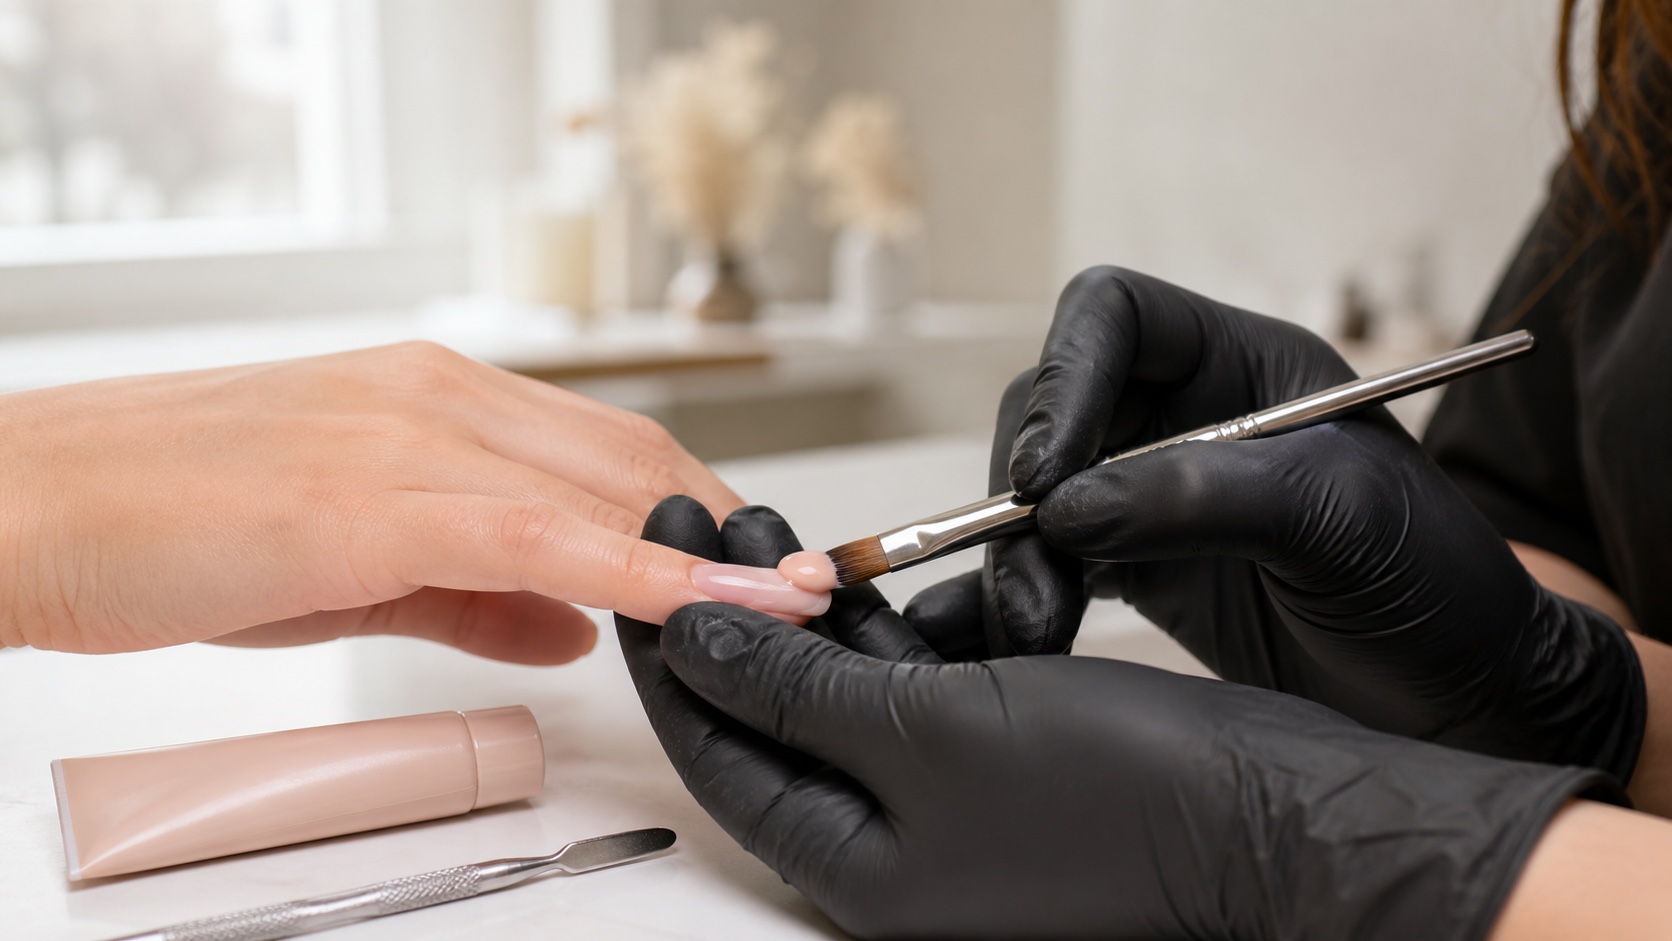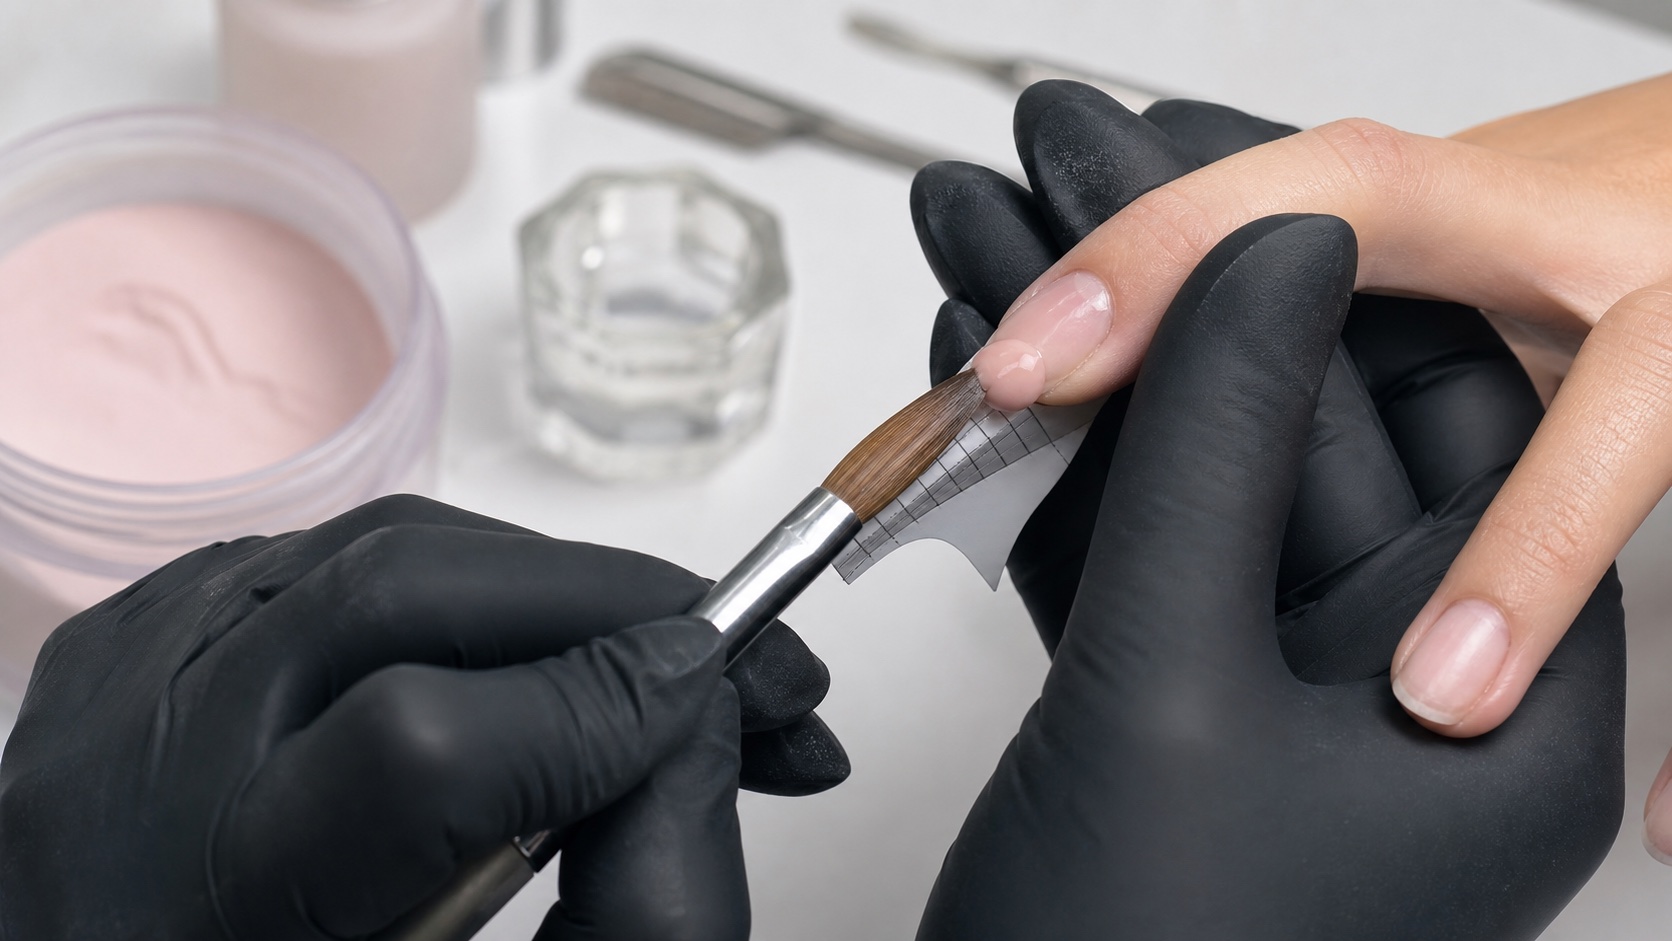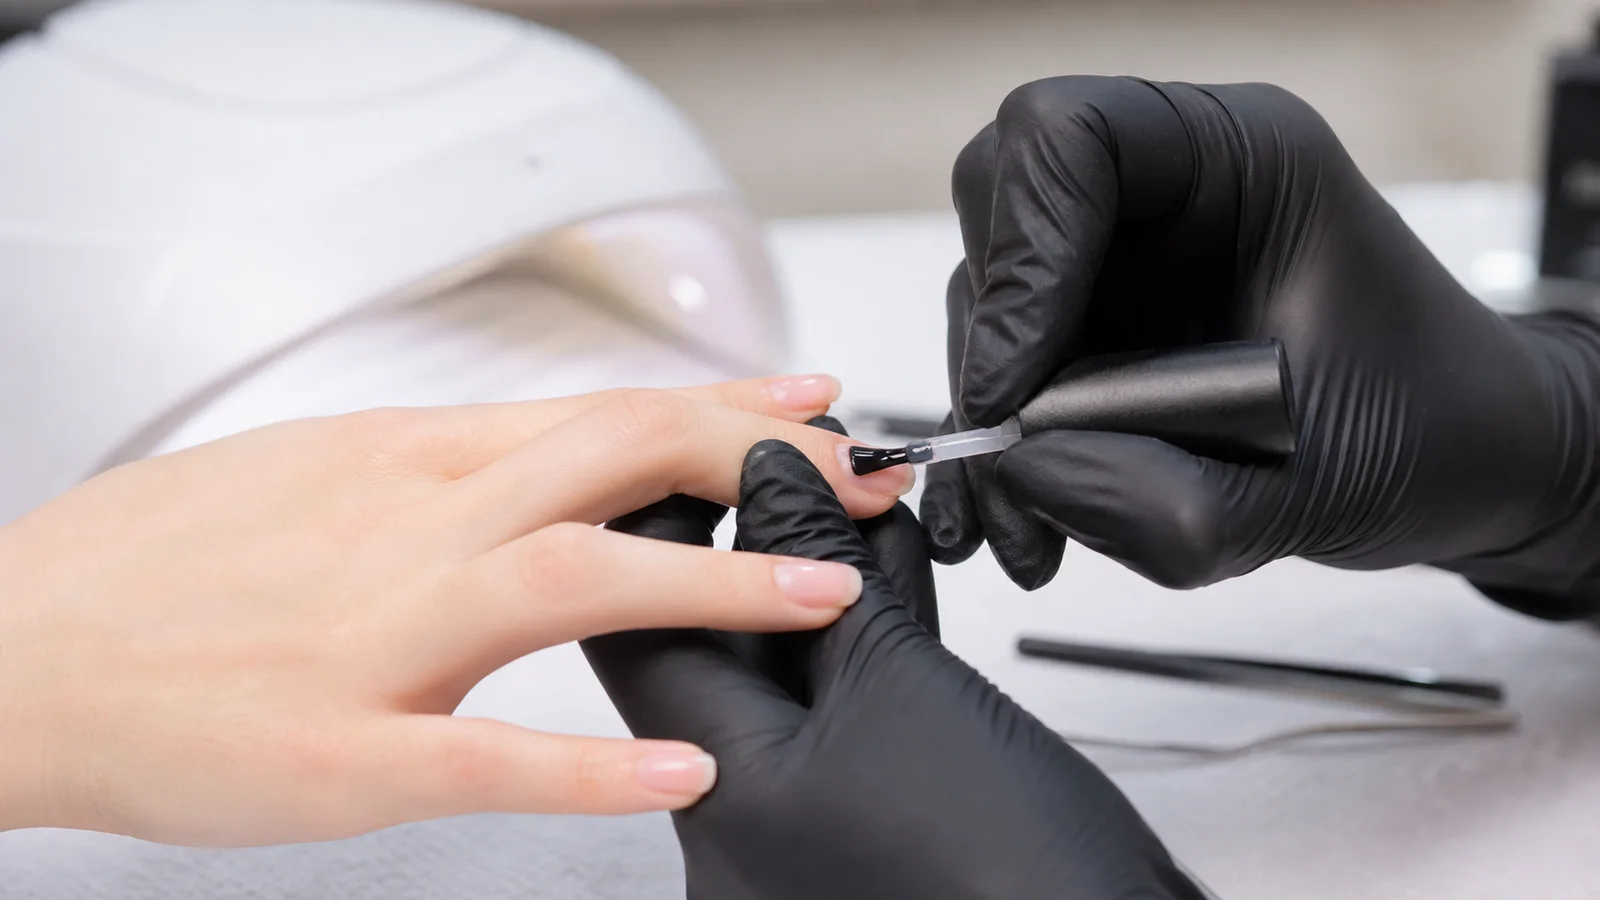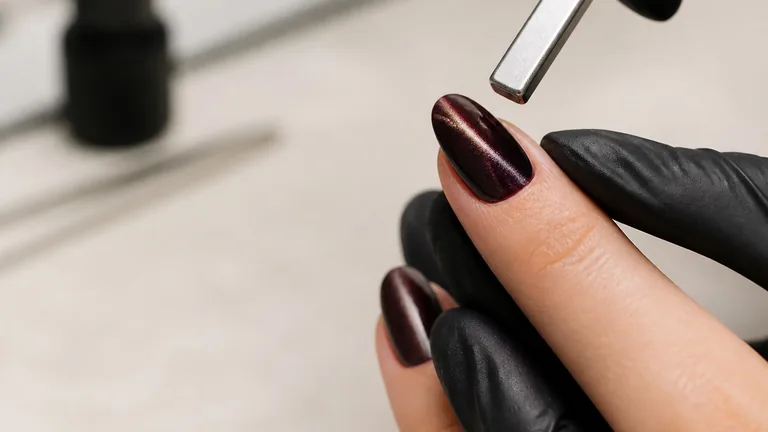
Cat-eye gel and chrome powder both create moving, reflective nail finishes, but they do so at different stages and through different materials. A cat-eye product contains particles that respond to a magnetic field while the gel is still mobile. Chrome is an extremely fine decorative powder burnished onto a prepared cured surface and sealed beneath a compatible finish. Treating them as interchangeable is the fastest route to a diffuse magnetic line, a grainy mirror or edges that peel.
Quick method: for cat-eye, apply an even product layer, position the magnet without touching, refine the reflection and cure as soon as the design is stable. For chrome, create the exact surface required by the powder, use very little pigment, burnish until smooth, clean the perimeter and seal every vulnerable edge. Product and lamp instructions decide the cure stages.
This guide owns the technical intent for cat-eye and chrome application. It does not replace the broader nail-art fundamentals guide or the system checks required when you mix nail-product brands. It was substantively reviewed on 5 September 2026. Exact layers, lamp exposure, surface preparation and removal must come from the documented product combination—not a generic social-media timing.
Cat-eye and chrome are not the same nail-art technique
Two reflective effects, two different control stages
Magnetise a mobile gel; burnish powder onto a prepared surface
Cat-eye
Move particles in uncured magnetic gel
Fix
Cure the positioned reflection completely
Chrome
Burnish minimal powder onto a smooth surface
Seal
Clear and protect the full perimeter
Control point | Cat-eye gel | Chrome powder |
|---|---|---|
Active stage | Uncured magnetic colour layer | Prepared cured surface |
Main tool | Magnet with tested strength and geometry | Clean silicone or foam applicator |
Critical action | Position particles before cure | Burnish particles into an even film |
Typical failure | Wide, weak or inconsistent reflection | Patchy, grainy or peeling mirror |
The lamp does not create the cat-eye pattern. The magnet changes the particle distribution while the layer can still move; curing fixes that distribution. Chrome does not become more reflective because more powder is piled on. Its mirror effect depends on a smooth receiving surface, fine particles compacted into a thin continuous layer and a sealing system able to hold the perimeter.
Before application: build a documented test tip
Record the base, background colour, cat-eye or chrome product, top, lamp model, exposure stages and removal route.
Prepare a tip with the same colour depth, layer thickness and finish planned for the client.
Test the effect from front, side and normal hand movement rather than judging one dramatic angle.
Inspect cure, hardness, surface, edge adhesion and removal behaviour; an immediate shine is not a complete compatibility test.
Label the sample with product and batch so a successful result can be repeated instead of remembered approximately.
Two containers labelled UV/LED do not prove that their initiator package, recommended lamp, colour load and top coat form one validated system. Check the UV/LED nail-lamp compatibility guide before transferring a cure time between products. Keep uncured gel and loose powder away from skin, folds and work surfaces throughout the trial.
Cat-eye nails step by step
Complete natural-nail preparation, base and any background colour according to the system. Cure only the layers the protocol says to cure.
Redistribute magnetic particles exactly as directed, avoiding vigorous movement that introduces bubbles.
Apply a thin, even magnetic layer with clean margins and no skin contact.
Hold the magnet steadily above or beside the surface. Watch the reflection and make small changes to angle, side or orientation.
When the reflection is where you want it, move the finger directly into the validated lamp and complete the stated exposure.
Repeat a fixed hand-to-hand sequence and finish with the compatible top coat and full cure.
Working one nail at a time is usually the most controllable learning method because particles can relax while an uncured gel sits. A fast flash cure should be used only when the manufacturer explicitly integrates it into a complete later cure. Do not invent a short exposure to freeze the line, then forget the full exposure needed for that layer.
How to use the magnet for line, velvet, halo and depth
Repeat the coordinates, not just the effect name
Tool position, angle and finger orientation define the reflection
Position
Reference the apex and side
Angle
Keep tool orientation repeatable
View
Check front, side and hand movement
Cure
Fix only the approved pattern
A rectangular magnet approaching from one side can pull the visible reflection into a band; rotating the tool changes the band direction. Working from opposing sides can compress or diffuse the highlight towards the centre, producing a velvet-like field. A cylindrical end or small pole can move particles locally to create a halo, curve or darker negative space. These names describe visual families, not universal coordinates.
For consistency, define three variables before you start: where the tool sits relative to the apex, its angle to the surface and how long you observe before curing. Keep finger orientation stable and compare the highlight from more than one viewpoint. A sharp diagonal visible in a single photograph may disappear when the hand turns; a salon design should still read during normal movement.
Never rest the magnet on wet gel. Contact marks the surface and can transfer uncured material to the tool, skin or next client. If contact occurs, stop, isolate the contaminated item and restore the layer according to the product protocol before trying again. Holding the magnet closer may strengthen movement, but touching is not a valid shortcut.
Background colour changes the entire cat-eye result
Black and very dark backgrounds usually increase separation between the luminous band and the surrounding colour. Nude, milky or related chromatic bases can create a softer, tone-on-tone finish. A translucent magnetic gel over colour behaves differently from an opaque cat-eye formula because the background remains part of the final optical mix. Make a small matrix rather than choosing from a bottle photograph.
Nail curvature also changes the reflection. On a strongly curved surface the band may appear narrow at the centre and break across the sidewalls; on a flatter surface it can read wider. Preserve correct nail architecture and adapt product amount and tool position. Adding random bulk to make the light more visible creates a structural and curing problem rather than solving the design.
Cat-eye troubleshooting: weak, blurred or uneven results
Observed result | Likely variables | Next controlled check |
|---|---|---|
Particles barely move | Distribution, tool strength, distance, wrong side or cured layer | Use a fresh labelled tip and verify instructions |
Band is wide and blurred | Unstable angle, excess distance, viscosity or delay | Stabilise hand and tool; cure one nail promptly |
Ten nails look different | Angle, finger orientation or sequence changed | Mark a repeatable position and work order |
Surface wrinkles or stays soft | Layer, pigment load, lamp fit, hand position or cure | Stop and audit the curing system—not the magnet |
Wrinkling, softness, loss of gloss or premature lifting is not merely a poor magnetic effect. It calls for the complete gel-curing checklist: layer thickness, opacity, finger placement, lamp compatibility and full exposure. Do not compensate by extending time blindly or adding top over a questionable layer.
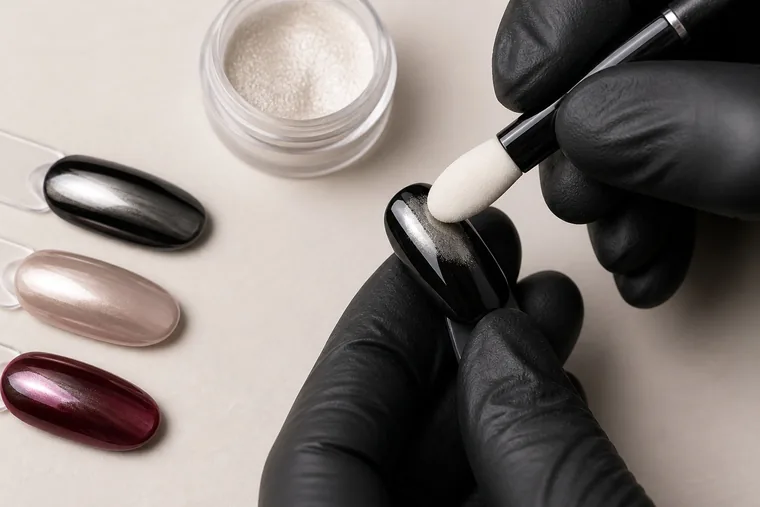
Chrome powder application step by step
Chrome is a thin film, not a pile of pigment
Surface, cure window, burnishing and perimeter work as one sequence
Prepare a level receiving surface
Follow its documented cure stage
Burnish a minimal amount evenly
Clean and seal every edge
Finish the base and background colour in thin, completely cured layers within one documented system.
Apply the no-wipe top or other receiving surface specified for that powder, keeping it level and away from skin.
Use the complete or partial exposure stated for that exact top, powder and lamp combination.
Pick up a minimal amount of powder and burnish with light, even pressure until separate particles become a smooth reflective film.
Remove loose excess with a dedicated clean brush and clear the sidewalls, proximal margin and free edge without scratching.
Create the clean adhesion perimeter required by the system, seal the free edge and sidewalls, then complete the top-coat cure.
There is no universal rule such as ‘apply chrome to a warm top’ or ‘cure for a few seconds’. Heat is not a reliable specification. Some systems use a narrow partial-cure window, while others require another receiving surface or full stage. Copying a timing without the same top, lamp and powder can produce either poor burnishing or under-cured material.
Mirror, pearl, glazed and aurora finishes
A silver powder over black may read as a strong mirror; the same powder over nude, white or pink can become pearl or glazed. Translucent iridescent powders change with the background and viewing angle. Names such as aurora, unicorn and mermaid are commercial descriptions, not technical protocols. Identify the real powder, receiving layer and sealing route before using the name to plan the service.
Build a physical swatch library with base shade, powder, top, lamp, exposure, batch and date. Photograph each tip under a fixed soft light, but also rotate it in person. Camera exposure and white balance can hide patches or exaggerate a colour shift. The swatch should be a repeatable technical record first and a client menu second.
Chrome troubleshooting: grainy, patchy, dull or peeling
Read the failure before adding another layer
A mirror defect points to a specific variable in the stack
Grainy
Surface, excess powder or pressure
Patchy
Uneven top, contamination or cure stage
Dull
Loose pigment or incompatible sealer
Peeling
Blocked perimeter or unsealed edge
Grainy: the base is uneven, too much powder was used, the applicator is overloaded or burnishing pressure is inconsistent.
Patchy: the receiving top is uneven, the cure window is wrong, the surface is contaminated or some areas were not burnished.
Dull after top: loose pigment, an incompatible finish, a contaminated brush or aggressive sealing may have interrupted the reflection.
Peeling at the edge: loose powder may block adhesion, the perimeter may be unprepared or the free edge may not be sealed.
Powder sticks everywhere: the surface may be too tacky, the wrong dispersion layer is exposed or tools and station are contaminated.
Lines and scratches: the receiving surface is rough, the applicator is hard or foreign particles are trapped beneath the finish.
Do not repair graininess by adding more powder and multiple thick top layers. Return to labelled test tips and change one variable at a time: surface, exposure, powder amount, applicator, perimeter or sealer. A controlled matrix identifies the cause; random repetition only creates a thicker undocumented stack.
How to seal chrome without losing the mirror
Sealing needs a clean zone where the finish can adhere. The exact method may include thorough dusting, clearing a very narrow band at the free edge, a compatible bonding step or two specified finishing layers. Follow the documented route rather than assuming all chrome powders need the same sandwich.
Keep loose pigment out of the top-coat bottle. A brush that returns loaded with powder can contaminate later applications, change clarity and deposit shimmer on unrelated services. Use a dedicated decanted quantity or the hygienic handling process allowed by the product instructions. Clean every reusable tool according to its material and intended processing route.
Hygiene, fine powder and skin contact
Uncured nail gel should remain off skin and nail folds. Fine decorative powders should be dispensed in controlled amounts, never blown across the workstation or brushed into the air. Close containers, capture filing dust at source and clean tools and surfaces between clients. Gloves and local extraction reduce exposure; they do not make uncontrolled handling acceptable.
Review the guides to gel-nail allergy and methacrylates and nail-dust extraction. Itching, burning, swelling, blistering or a new nail change requires the cosmetic service to stop. Do not cover the sign or use another gel as an informal allergy test.
Combining cat-eye and chrome in one design
The two effects can coexist when each has a visual role. Cat-eye may create the moving background while chrome becomes a narrow line, French edge or small focal accent. A full opaque mirror can hide the magnetic movement beneath it. Decide hierarchy, palette, negative space and number of decorated nails before opening product.
Complete each stage in order: establish and fully cure the cat-eye layer, create the surface required for chrome, apply powder only to the intended area and seal the complete construction. If pigmented gel defines the chrome zone, verify that decorative gel, receiving top, powder, sealing top and lamp form a documented sequence.
Appointment time, price and client communication
A uniform cat-eye colour may add little time to a standard colour service once the motion is repeatable. Ten matching diagonals, multi-directional velvet or combined chrome line work need additional control. Full-cover chrome adds surface preparation, burnishing, perimeter cleaning and sealing. Quote from the number of nails and the agreed complexity rather than calling every reflective effect one add-on.
Ask for a reference before booking and state whether the supplement is per nail, pair, full set or complexity tier. Use the guide to nail appointment duration to separate the base service, removal, repairs and design time. A reference image is a brief, not a guarantee that another technician’s materials can be duplicated exactly.
Practice matrix for repeatable reflective nail art
Prepare identical tips with one known product system and one background colour.
For cat-eye, change only magnet angle, side, distance or layer amount in each comparison.
For chrome, change only receiving surface, documented exposure, powder quantity or applicator.
Photograph every tip in the same light and add a short rotating video to show movement.
Inspect the sealed result immediately and after wear or handling; log batch, lamp, stages and failure point.
Select only truthful, repeatable results for a public nail technician portfolio. A sample library proves colour and effect testing; it does not replace photographs of complete work on a hand when you want to demonstrate clean margins, consistent shape and service execution.
Training routes for cat-eye and chrome nails
Begin with the Gel Polish Course for preparation, thin colour layers, lamp use and removal. Continue with the Gel Painting Nail Art Course for controlled lines and isolated chrome details, or the Professional Nail Art Course for a wider decorative method. The Complete Nail Technician Course connects preparation, structure, colour and decoration. English course records are independent from the Italian catalogue.
Frequently asked questions about cat-eye and chrome nails
Do I use the cat-eye magnet before or after curing?
Use it while the magnetic layer is uncured and the particles can still move. Once the reflection is positioned, cure that layer exactly as the system requires. A magnet placed over a fully cured colour cannot redistribute fixed particles. If a protocol uses more than one magnetic layer, follow its order rather than assuming only the last coat moves.
How close should the magnet be to cat-eye gel?
There is no universal distance. Bring the tested tool close enough to see controlled movement without touching the gel, then stabilise the position. Magnet strength, pole geometry, product viscosity, layer amount and nail curvature all change the response. Record the workable position on tips before trying to reproduce ten matching nails.
Why does the cat-eye line spread before it reaches the lamp?
The particles remain mobile inside uncured gel, so a defined band can relax while you work elsewhere. Magnetise one nail or a small controlled group and move it into the validated lamp promptly. Do not solve the delay with an invented under-cure. Any freezing stage must be part of a complete manufacturer-defined exposure sequence.
Does cat-eye gel always need a black base?
No. Black often creates strong contrast, but nude, milky, coloured and transparent backgrounds produce different depth and softness. The formula may already contain an opaque colour or may be designed as a translucent effect. Test the intended background and complete layer stack because bottle appearance cannot predict the final result.
Can I use any magnet for cat-eye nails?
Different magnets can move particles but may not create the same field strength, width or geometry. A tool that works for one formula may produce slow or irregular movement with another. Use the recommended magnet or a documented test equivalent and keep its orientation consistent. Never let it touch uncured product.
Why is my cat-eye pigment not moving?
Check whether the particles were redistributed as instructed, the layer is still uncured, the active side of the magnet faces the nail, the distance is workable and the product amount is even. Test on a fresh tip. If movement remains absent, stop and verify the product and tool rather than applying a thicker layer that may compromise cure.
Can top coat move the cat-eye effect?
A completely cured magnetic layer should not be physically redistributed by top coat. The finish can still change perceived depth, gloss and contrast or reveal an uneven surface. If the pattern changes materially, audit whether the colour was fully cured and whether the top belongs to the documented system.
Should chrome powder be applied while the top is warm?
Warmth is not a specification. What matters is the receiving surface and cure window stated for the top, powder and lamp combination. Some systems describe partial exposure, while others use a fully cured no-wipe finish or a separate product. Test and record the exact sequence; do not transfer a few-second timing from another formula.
Why does chrome powder look grainy?
Common causes include an uneven receiving layer, too much loose pigment, a loaded or rough applicator, inconsistent pressure, surface contamination and the wrong cure stage. Inspect the surface before sealing. Repeat on labelled tips with one changed variable rather than adding more powder and top over a rough result.
Why does chrome peel from the free edge?
Loose pigment can prevent the sealing top from finding a clean adhesion zone, especially at the perimeter. The receiving layer or final top may also be incompatible, or the free edge may be poorly sealed. Follow the system’s dusting, edge-clearing and finishing instructions and avoid excessive bulk as a repair.
Can chrome powder be applied to an inhibition layer?
Only when the powder or system explicitly calls for that surface. A very tacky dispersion layer may trap loose particles without allowing a smooth mirror and make pigment adhere beyond the intended area. Do not assume every sticky layer is a chrome base. Test the specified route and keep skin and station free of residue.
Can I combine chrome powder and top coat from different brands?
Do not presume compatibility. Compare written instructions and test the complete sequence, cure, sealing and removal. A bright result immediately after application does not prove durable edge adhesion or a complete cure beneath an opaque effect. Prefer a documented combination and record every component if brands are mixed.
Do cat-eye and chrome make nails thicker?
Cat-eye adds the colour layer required by its system; chrome itself is extremely thin but needs a receiving surface and sealing finish. Excess thickness usually comes from heavy colour coats, repeated failed corrections or several top layers. Build the structure first, then apply the decorative sequence in controlled thin stages.
How are cat-eye and chrome nails removed?
Removal follows the underlying product system, not the decorative name. A verified soak-off gel polish differs from hard gel, acrylic or a structured overlay. Identify every layer before choosing solvent or controlled reduction. Use the complete guide to safe nail-product removal and never peel or prise the coating from the plate.
How much time do cat-eye or chrome add to an appointment?
A uniform tested finish may add only a modest step, while ten matched magnetic lines, layered velvet, isolated chrome art or mixed designs need more time. Removal and repairs are separate. Agree the number of decorated nails and send a reference in advance so the salon can define the service instead of guessing at the chair.
How should cat-eye and chrome nails be photographed?
Use soft directional light, lock exposure and capture both a complete still image and a short rotation that reveals movement. One dramatic angle can hide patchy chrome or make a weak magnetic effect look stronger. Preserve skin colour and avoid filters that replace the real finish; the portfolio should document, not manufacture, the result.
Method and editorial limits
The process above explains controllable variables and failure diagnosis. It does not supply universal magnet distances, lamp seconds or cross-brand formulas because those values depend on the actual product system. Product label, technical instructions and the validated lamp remain authoritative. Training examples must be confirmed on labelled test tips before client use.
Substantively reviewed on 5 September 2026. BeautyLearn does not link to competing academies or salons from this guide. Institutional safety context is available from the European Commission cosmetics legislation pages and the EU CosIng ingredient database; neither source validates a specific decorative product combination.