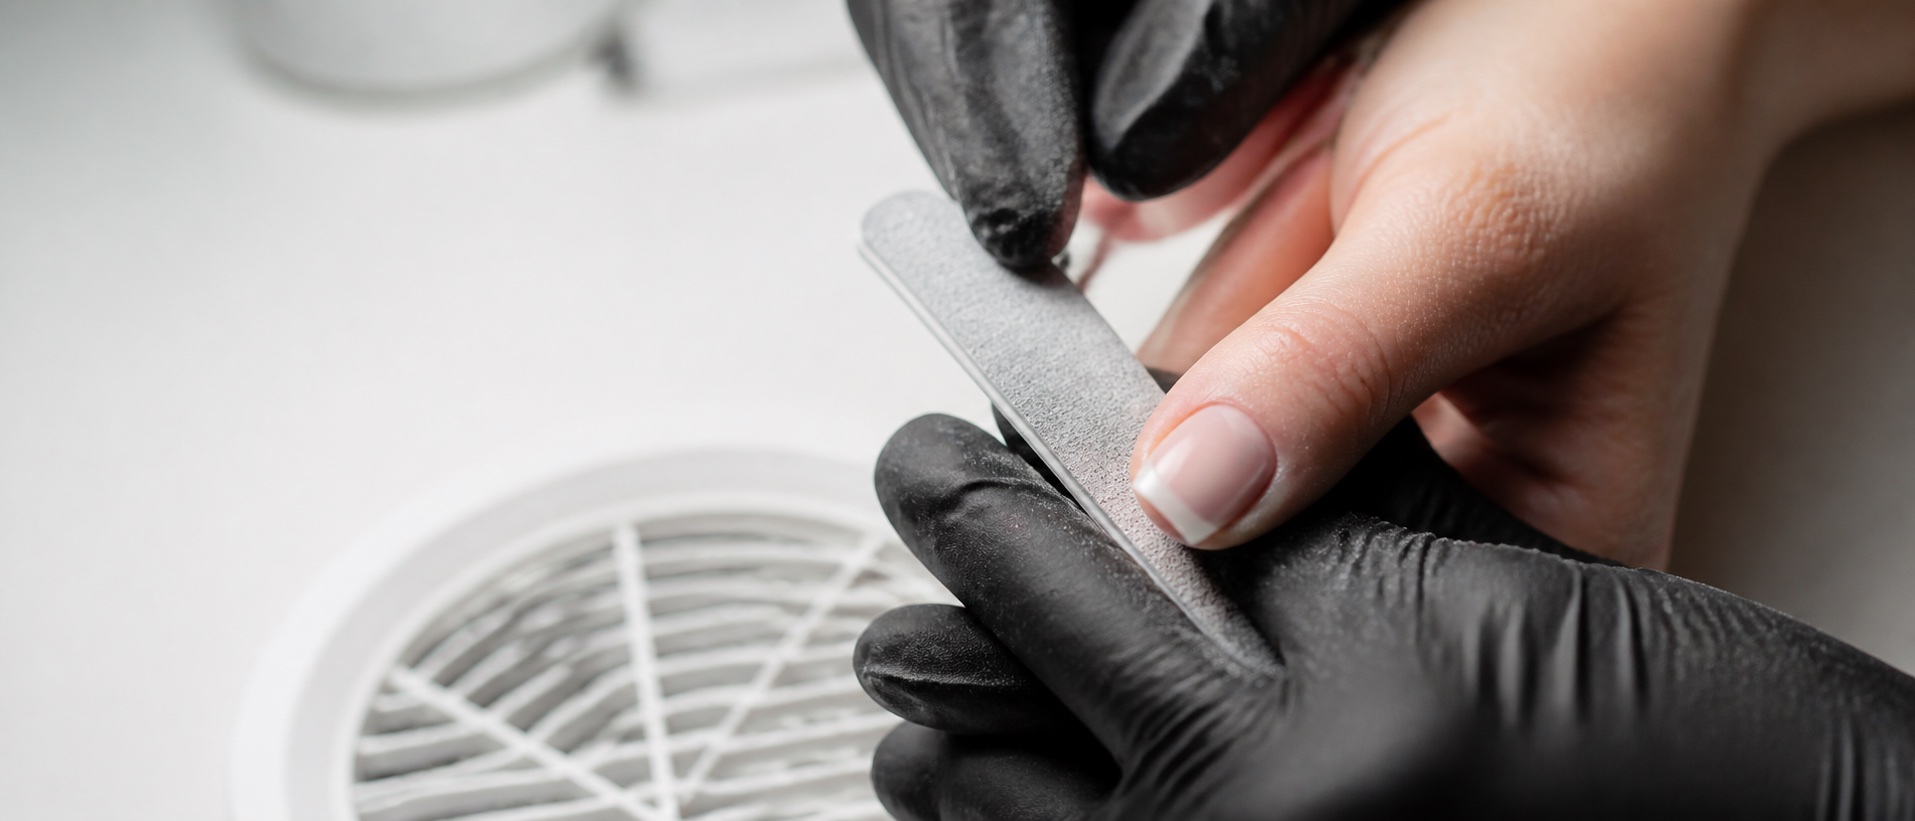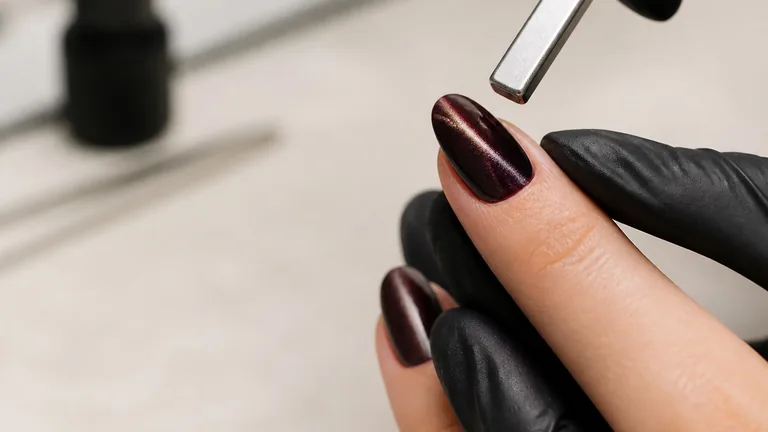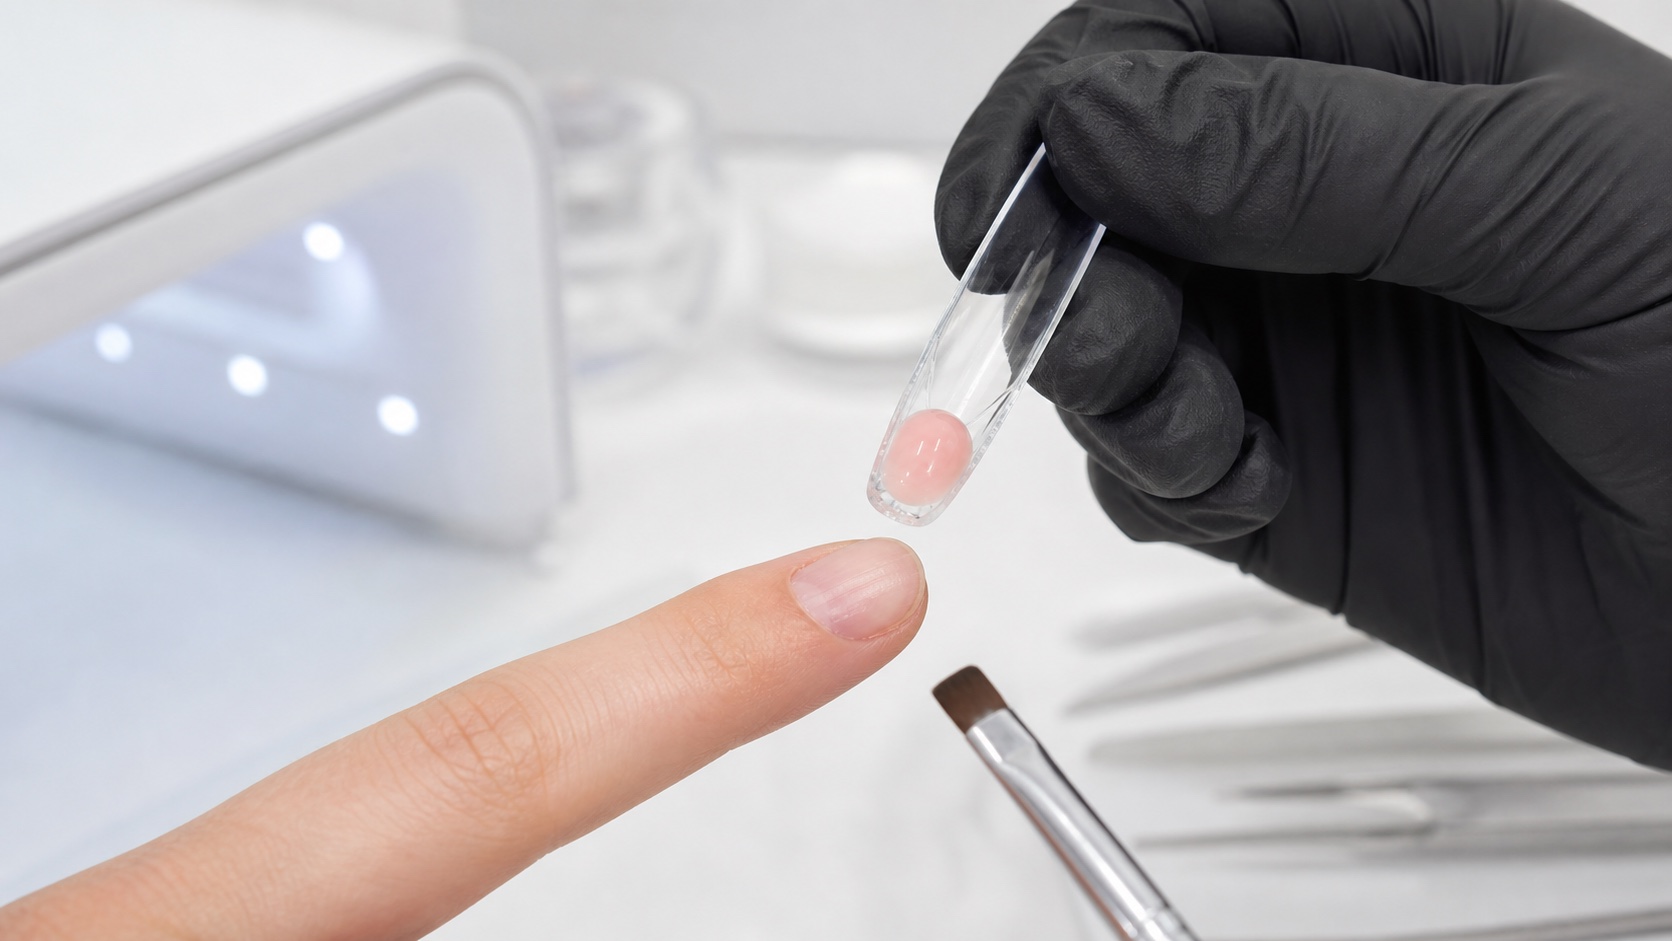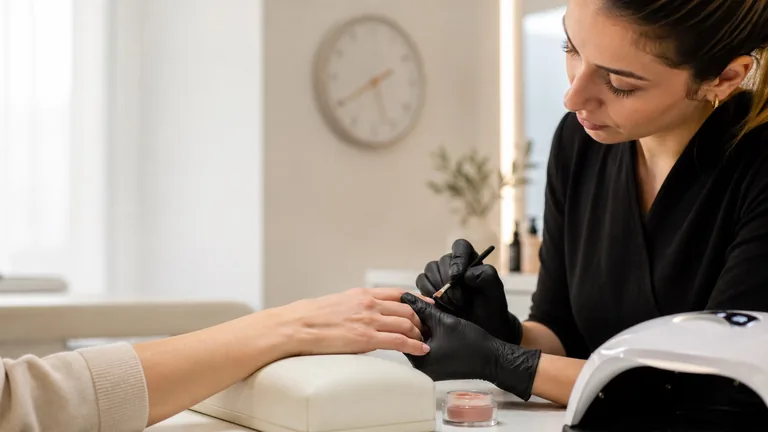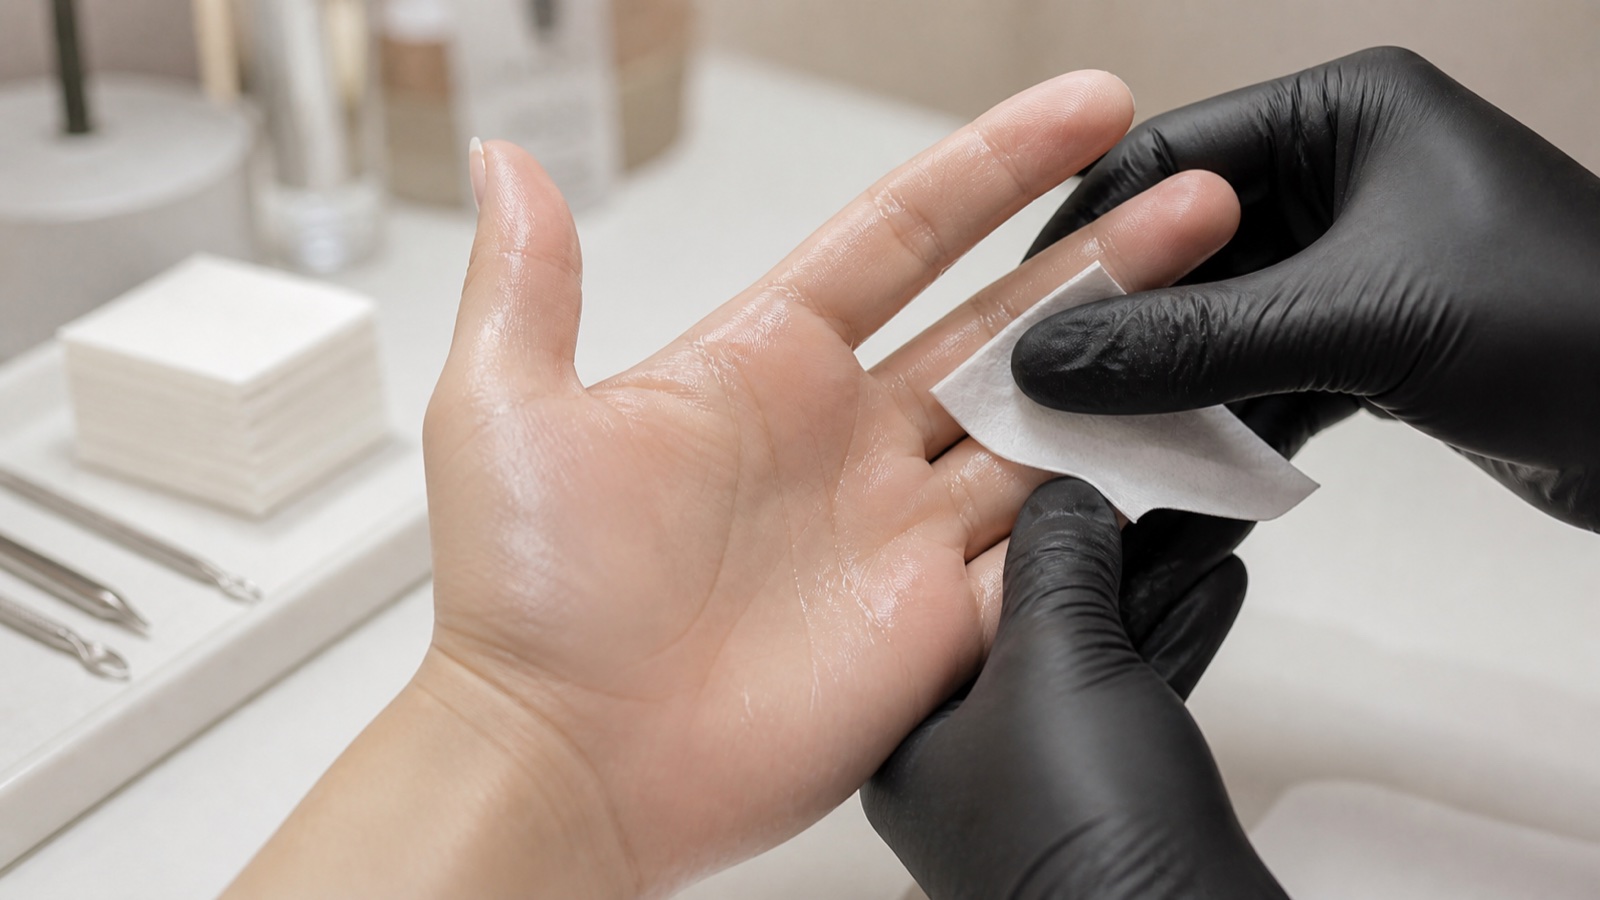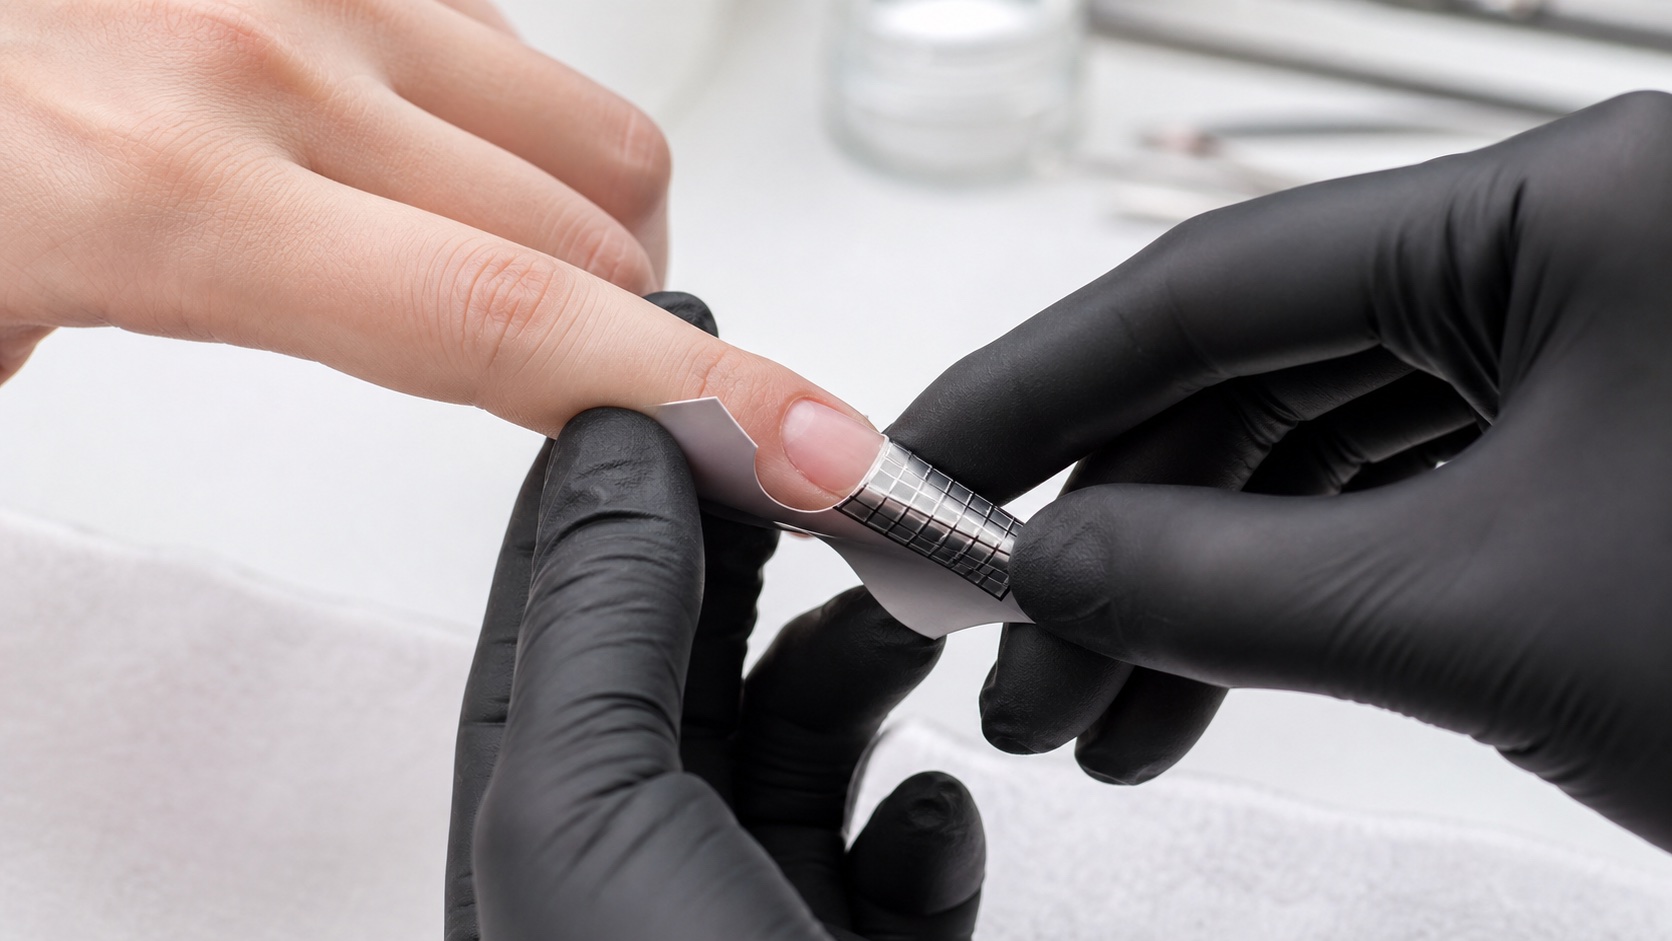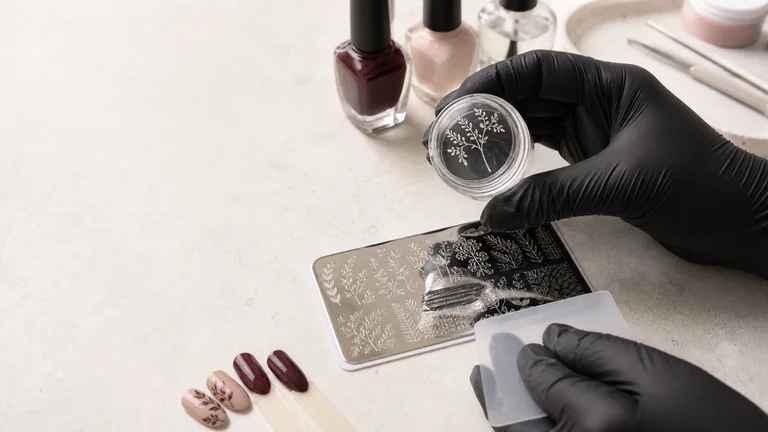
Nail stamping transfers an etched design from a metal plate to the nail. Colour fills the engraving, a scraper removes the excess, a silicone stamper lifts the remaining film and places it over the prepared surface. The action is quick only when plate, colour, pressure and timing already work together. A professional result also needs scale, alignment, contrast and a finish that does not smear the design.
Reliable sequence: prepare and fully dry or cure the background; remove the protective film from a new plate; fill the engraving with opaque stamping colour; scrape lightly and promptly; pick up immediately with minimal pressure; inspect and align through a clear stamper; transfer without crushing the image; let the design stabilise and float on a compatible top coat.
This page owns professional nail-stamping intent. It does not duplicate freehand gel painting or beginner design composition. Use the nail-art fundamentals guide to plan colour and hierarchy, then use this method to make transferred motifs repeatable. Substantively reviewed on 5 September 2026. Plate, stamper, air-dry polish, stamping gel and top-coat instructions remain authoritative for their materials.
What nail stamping is—and what it is not
The design is formed by microchannels in the plate, not drawn freehand. This makes line work, textures and repeated motifs more consistent than painting the same shape ten times. Repetition does not remove design decisions: a perfectly lifted motif can still be oversized, off-centre, visually heavy or unrelated to the nail shape.
Stickers and decals arrive as ready-made elements; foils transfer from a carrier through a compatible adhesive surface; gel painting creates every mark with a brush. Stamping is strongest when the value lies in an etched pattern and controlled repetition. It can sit over French, Baby Boomer, colour, cat-eye or negative space, provided each technique keeps its own surface and sealing sequence.
Technique | Best use | Main control |
|---|---|---|
Stamping | Repeat etched motifs | Timing, pressure and alignment |
Gel painting | Custom line and brush work | Viscosity, brush load and cure |
Sticker or decal | Fast ready-made detail | Thickness, edge and sealing |
Professional stamping kit: plate, scraper, stamper and colour
Four working parts, one short transfer window
Prepare the whole stamping station before opening colour
Plate
Clean continuous engraving
Scraper
Light decisive clearing pass
Stamper
Gentle pickup and visible alignment
Colour
Opaque, cohesive and tested
Etched plate: clean, continuous engraving with dimensions suited to the intended nail length and curvature.
Flexible scraper: firm enough to clear excess, smooth enough not to score the plate and comfortable at a shallow angle.
Stamper: clear for alignment, softer for pronounced curves or firmer for small controlled motifs when the system allows.
Stamping colour: sufficiently opaque and workable to leave a continuous image in one very thin transferred film.
Background and top: compatible with the base service and tested not to lift, stain, shrink or drag the motif.
Cleaning setup: lint-free materials, tape or lint roller, plate cleaner and the product specifically permitted for the stamper head.
Place every item before opening colour. Stamping polish can begin to set inside fine channels while you search for a scraper or clean the stamper. Keep a waste area and a clean area distinct, close bottles between batches and prepare test tips with the same background and finish planned for the client.
How to choose an etched stamping plate
Do not judge a plate only by the number of images. Inspect whether fine lines remain continuous, solid areas are evenly recessed and individual designs fit the nails you serve. Very shallow grooves may carry too little colour; irregular or damaged engraving can leave the same gap in every transfer. Large patterns need enough usable area to wrap the chosen length, while small icons must keep a readable outline after reduction on the nail.
Scraping direction can change how colour remains in long parallel channels. A pass directly along the lines may empty them; a crosswise or diagonal pass may fill them more evenly. Treat direction as a test variable. If one section fails repeatedly with several suitable colours, consistent timing and a clean stamper, inspect the engraving instead of pressing harder.
Remove the protective film from a new plate before judging it. Clean the metal with the allowed method, avoid hard tools that scratch the surface and store plates dry and separated. Residue inside a line and a permanent scratch can both appear in the next motif, but they need different corrections. Use magnification and a test print on paper or a tip to distinguish them.
Stamping polish, ordinary nail polish and stamping gel
Dedicated air-dry stamping polish is usually highly pigmented because the transferred film is exceptionally thin. An ordinary polish may work when opaque, cohesive and slow enough to move through the sequence, but its success is not guaranteed. A colour that looks rich in the bottle can become transparent over black or lose the fine lines before pickup.
UV/LED stamping gels follow a different process. They do not set through solvent evaporation in the same way and require the lamp, exposure and skin-contact controls stated for that system. Do not replace air-dry polish with an ordinary gel colour simply because it remains wet longer. An unvalidated gel may flood the engraving, transfer to skin or cure incompletely beneath pigment.
Build a colour matrix on light and dark tips. Include a fine line, a solid block and a tiny detail. Record pickup window, opacity, edge definition, top-coat response and removal. If photo-curing products are involved, review cross-brand nail compatibility and the UV/LED lamp checklist before testing on a client.
Prepare the stamper without damaging it
A silicone stamper head should be clean, dust-free and protected from nails or tools that can cut it. There is no universal preparation ritual. Some heads are ready to use; others have specific manufacturer instructions. Sanding, buffing, washing with household detergent or soaking in solvent can change transparency, elasticity and pickup behaviour.
Tape or a lint roller is often a gentle way to lift residual polish, but use only a method suitable for that head. The cleaner accepted by a metal plate may cloud or swell silicone. Replace a head with cuts, permanent deformation, severe haze or repeatable dead zones. A damaged clear stamper also compromises alignment because the centre and axis are harder to see.
Nail stamping step by step
Fill, scrape, pick up and transfer
Preparation creates speed; pressure does not
Fill the intended engraving
Scrape lightly and promptly
Pick up without crushing the head
Align, transfer and float the top
Complete the background. Air-dry polish must be genuinely dry; gel must be fully cured and prepared as its system requires.
Choose the motif, orientation and visible crop before opening colour. Plan how the design relates to the nail axis.
Place enough stamping colour along one edge to fill the engraving during one controlled scrape.
Hold the scraper at a shallow working angle—often near 45 degrees as a starting test—and move lightly, promptly and decisively.
Pick up immediately with a light press or small rolling motion appropriate to the head. Do not flatten the silicone.
Inspect the motif through the clear head. Lift unwanted fragments with permitted tape without touching the useful lines.
Align centre, axis and crop, then transfer with minimal direct or rolling contact suited to the nail curvature.
Clean the perimeter, allow the design to stabilise and float on the tested top coat without repeated brushing.
Speed matters between scraping and pickup because a thin air-dry film can set quickly. Speed does not mean force. Prepare the movement, then execute it once. If a pickup is incomplete, clean the plate and head and restart with fresh colour. Trying to fill several missing fragments on the same stamp often creates double edges and an uneven film.
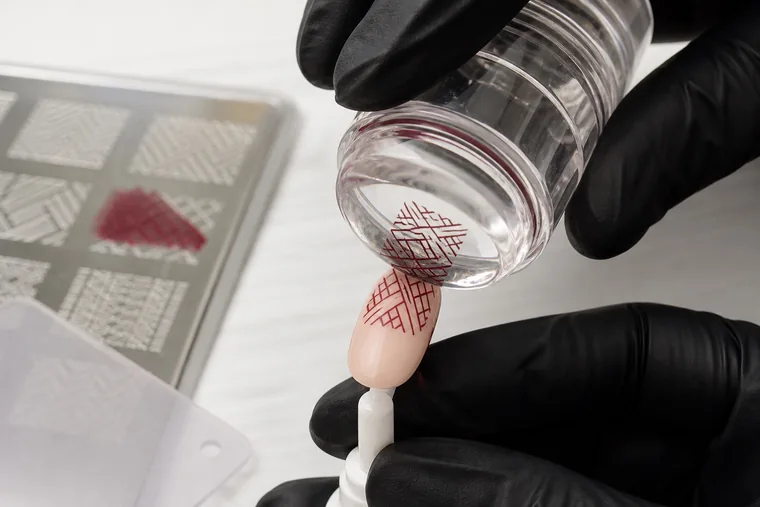
Pressure, angle and speed: diagnose one variable at a time
The missing area is evidence
Read where the print failed before repeating it
Empty lines
Scraper force or direction
Dry plate
Delay or fast-setting colour
Spread motif
Excess colour or pressure
Partial transfer
Pickup or curve contact
Failure | Possible cause | Controlled next test |
|---|---|---|
Empty fine lines | Scraped too firmly or in an unfavourable direction | Reduce force or cross the channel direction |
Design dries on plate | Delay or very fast-setting colour | Prepare tools and shorten only the pickup interval |
Motif spreads | Excess colour, heavy pressure or crushed head | Use less colour and a lighter contact |
Only one side transfers | Partial pickup or poor contact on the curve | Stabilise the head and test a gentle roll |
Top smears lines | Motif not stable or brush repeatedly drags it | Allow the right set time and float the top once |
Do not change plate, colour, head, angle and pressure together. Print the same motif on a row of tips and alter one coordinate. The location of missing material is evidence: repeated gaps in the same etched segment point toward the plate; random edge loss points more often toward timing or contact.
How to centre and crop a motif on the nail
Mark the visual axis from proximal centre to free edge, then identify the motif’s focal element. It may need to sit on the true axis, on the widest part of the nail or deliberately off-centre. A clear stamper lets you see which part will disappear beyond the sidewalls. Practise the crop on a matching tip before approaching the client.
Curvature stretches and hides different parts of the image. A full-cover pattern may require a controlled side-to-side roll; a small geometric icon often stays sharper with direct contact. Avoid correcting an off-centre print by twisting the stamper while it touches the nail—the movement shears fine lines. Lift, assess and use the tested recovery method for that background.
Seal stamping without dragging or changing colour
Allow an air-dry stamp to stabilise for the window appropriate to the colour and background. Load enough compatible top to float over the motif with minimal pressure and as few strokes as possible. Repeatedly brushing a partially set line can dissolve or pull it. A very thin top may also leave raised design edges exposed to wear.
Test whether the top changes opacity, bleeds pigment or shrinks from the motif before using the combination in a service. With photo-curing products, cure the stamping layer and final top as documented. The gel-curing guide explains why a glossy sealed surface does not prove that an opaque or layered product underneath received sufficient exposure.
Layered stamping, reverse stamping and multiple colours
Layered stamping uses two or more related motifs that must register over one another. Establish a fixed landmark, transfer the broad base first and add the fine layer only when the previous design is stable. Use high contrast during practice so alignment errors remain visible. Very small offsets may be part of an intended print effect; random double contours are not.
Reverse stamping colours the picked-up outline while it remains on the stamper, then transfers the completed element. The fill must stay inside its boundary and the assembled film must remain flexible enough to release without tearing. Product and waiting times vary. Test how fill, optional clear layer, background and top interact rather than transferring a rigid patch to the client.
For two colours in one engraving, place small amounts in planned zones and remember that the scraper blends their meeting edge. Reduce repeated passes and choose colours that remain distinct after a very thin transfer. Document placement direction so the gradient can be repeated across several nails.
Stamping over gel polish, structured gel and reflective effects
Gel-polish and structured-gel backgrounds must be fully cured and prepared in the way their system requires before stamping. Air-dry polish must be truly dry or stamper pressure can wrinkle and lift it. If the background has a dispersion layer, do not remove or retain it by habit; follow the tested receiving sequence.
Stamping can add a fine texture over cat-eye, a partial pattern across Baby Boomer or a geometric interruption inside French. Keep the hierarchy simple when the background already moves or reflects strongly. The guide to cat-eye and chrome nails separates magnetising and burnishing from the later transfer stage.
Cleaning, hygiene and workstation control
Clean the plate and scraper whenever residue blocks engraving, using a method that does not leave lint or score the metal. Keep the stamper head off damaged skin and remove any motif outside the nail without spreading product across folds. Photo-curing colour must never remain uncured on skin. Close bottles and isolate used cleaning materials from clean tools.
Stamping-tool cleaning is only one part of the service hygiene plan. Reusable surfaces and instruments follow their material-specific processing instructions; single-use items are discarded after the client. If gels are used, review methacrylate exposure and allergy prevention rather than treating skin barriers as permission for messy application.
Service time, pricing and client communication
One or two simple accents need less time than a centred full set, layered registration or hand-coloured reverse stamping. Define design levels in the price list: single accent, coordinated set and multi-stage composition. Include planning, test print, perimeter cleaning, sealing and a reasonable recovery allowance instead of pricing only the moment of transfer.
Before booking, ask for nail shape, length, background colour, number of decorated nails and reference. Do not promise an identical copy if you do not own the same plate or if the client’s proportions differ. Use the nail appointment duration guide to keep removal, base service and decoration visible as separate time blocks.
Four-stage nail-stamping practice plan
Build transfer control before layered designs
Each stage stabilises one group of variables
Colour
Fine line, solid block, detail
Mechanics
Angle, direction and contact
Alignment
Axis and crop on five shapes
Set
Ten related tips and real timing
Stage one: compare three colours on fine lines, solid blocks and tiny details over light and dark backgrounds.
Stage two: repeat one motif while changing only scraper angle, direction or pickup contact.
Stage three: align the same image on five shapes and curvatures; photograph axis, crop and sidewalls.
Stage four: design ten related tips with focal nails, negative space and a timed complete workflow.
Advanced stage: add layered or reverse stamping only after basic pickup and transfer are repeatable.
Label swatches with plate, motif code, colour, background, head and top. Keep failed attempts in the learning record; select only complete, truthful sets for a nail technician portfolio. A successful macro proves line transfer, while a full-hand image proves composition and consistency.
Checklist before stamping on a client
The same motif transfers cleanly to at least five tips with a stable work sequence.
Fine lines remain continuous and solid areas remain filled over the intended background.
The clear head provides enough visibility to align axis and crop on the selected nail shape.
Top coat does not smear, stain, shrink from or cloud the stamped colour.
Tools can be cleaned and reset without damaging the plate or stamper or contaminating the next service.
A failed pickup has a recovery plan that does not add random fragments or excessive product.
Training routes for professional nail stamping
The Gel Polish Course builds preparation, colour, curing, edges and removal for the background service. The Gel Painting Nail Art Course develops manual lines and corrections that can complement transferred motifs. The Professional Nail Art Course connects stamping, palette and composition, while the Complete Nail Technician Course places decoration inside a complete service. English course records remain separate from Italian records.
Frequently asked questions about nail stamping
Why will my stamper not pick up the design?
Check that the protective plate film is removed, the engraving and head are clean, colour is opaque and the interval between scrape and pickup is short. Excess pressure can flatten the head or leave colour in the groove; too little contact can miss one side. Repeat on a fresh print and change only one variable.
Do I need a special stamping polish?
A dedicated air-dry stamping colour is generally the most predictable because it is designed to remain opaque in a thin film. Some ordinary highly pigmented polishes work, but must be tested for pickup window, clarity and top-coat response. A transparent colour may look strong in the bottle yet disappear over the background.
Can I stamp with ordinary gel polish?
Do not assume an ordinary gel colour is suitable. Use only photo-curing products that explicitly support the technique and follow their lamp, exposure and skin-contact instructions. A colour that stays wet may flood the plate, transfer beyond the nail or cure incompletely in an opaque motif.
What angle should the scraper use?
About 45 degrees is a useful starting test, not a universal setting. Plate depth, card flexibility, colour and line direction change the result. Use a light decisive pass and observe whether grooves are being emptied or surface colour remains. Adjust angle or direction before adding more force.
Should I press hard with the stamper?
No. Heavy pressure can deform the silicone, widen lines and push colour away from the engraving. Use the minimum complete contact required by that head. A gentle small roll may help over curvature, while a direct touch may preserve a small geometric motif. Test the movement rather than forcing the tool.
How should a clear stamper be cleaned?
Follow the head manufacturer’s instructions. Tape or a lint roller is often a gentle option for loose colour and dust, but solvents or abrasives can cloud, swell or cut some silicone. Clean the metal plate through its separate method; one cleaner is not automatically safe for both materials.
Why is the stamped image incomplete?
Possible causes include an engraving that was not filled, scraping too firmly, colour that is transparent or already dry, delayed pickup, partial head contact or a damaged groove. Note where material is missing. The repeated location helps separate a plate defect from random timing or pressure errors.
Why does the motif distort on the nail?
The stamper may be compressed, dragged or twisted during contact, or the chosen head may not wrap that curvature evenly. Reduce pressure and rehearse the path on a matching tip. Use a controlled roll for wide curves and avoid changing direction while the film is already attached.
How do I centre a geometric stamp?
Identify the nail axis and the motif’s visual centre before pickup, then inspect the crop through a clear head. Decide which line must remain visible at the proximal edge and sidewalls. Practise the contact point above the nail without touching; do not rotate the head after transfer begins.
Why does top coat smear nail stamping?
The motif may not have stabilised, the top may be incompatible or the brush may be repeatedly rubbing the pigment. Respect the tested set time, load enough finish to float over the image and use minimal strokes. Test colour shift and bleeding on a tip before sealing a complete client set.
Can nail stamping be applied over gel?
Yes when the structured or gel-polish surface is fully cured, prepared to receive the motif and compatible with the selected stamping colour and top. Test the entire stack. Do not leave uncured gel on skin, and do not assume a glossy top proves the coloured motif beneath was fully cured.
What is the difference between rolling and direct transfer?
A small controlled roll helps a wide motif wrap pronounced sidewalls; direct contact can reduce stretch on a small central design. Head softness, motif size and nail curvature decide the better path. Neither means pressing hard. Practise both on the same shape and compare line width and crop.
What is reverse nail stamping?
Reverse stamping fills a picked-up outline while it remains on the stamper, then transfers the coloured element as one piece. The fill must stay within boundaries, remain flexible and release cleanly. Waiting time and optional clear layers depend on the products, so the complete stack needs a test.
How can two colours be used on one stamping plate?
Place small amounts in planned sections of the engraving and scrape in the direction that creates the intended boundary or blend. The scraper will mix their meeting edge, so reduce repeated passes. Test opacity over the real background and document placement if several nails must match.
How long does stamped nail art last?
It depends on the background service, edge preparation, stamped colour, compatible seal, nail use and maintenance. Stamping cannot rescue a lifting gel or poorly cured layer. Inspect the complete stack and remove it according to the underlying system rather than judging stability only from the design.
How much time does nail stamping add to a service?
A few rehearsed accents may add minutes. Ten centred motifs, full-cover alignment, layered registration or reverse stamping need more planning, cleaning and recovery time. Measure several comparable complete services before publishing an add-on price, and ask for the design before the appointment.
Method and editorial limits
This method separates plate, colour, timing, pressure, transfer and sealing so failures can be tested. It does not endorse a universal scraper angle, solvent, gel or cure time. Product and tool instructions prevail. The safest professional shortcut is a prepared workstation and a verified tip—not stronger pressure or an improvised photo-curing product.
Substantively reviewed on 5 September 2026. No competitor academy, salon or product retailer is linked. External commercial tutorials are intentionally excluded; where a brand-specific stamping system is used, its current label and technical documentation remain the source for that system.