Gel polish, hard gel, acrylic and acrygel do not share one universal removal method. Some products are designed to soften in a named solvent process; others must be reduced mechanically; hybrid systems depend on their exact formulation. Safe removal starts by identifying the product and its instructions, defining whether the goal is an infill or a full removal, and reading each layer before the natural nail becomes the working surface.
Short answer: confirm the product and its documented removal method, inspect lifting and the natural nail, reduce only the layer required, and change from efficient removal to controlled finishing before the plate is exposed. Never peel or lever product away. Stop for heat, pain, bleeding, unexpected discolouration or an unclear boundary.
This guide owns complete removal decisions and sequences across gel polish, gel, acrylic and acrygel. The nail drill-bit guide owns bit construction, shape, cut and grit; the nail infill guide owns the decision to retain stable compatible material. Those are connected but separate search intents.
Why there is no single nail-product removal method
Removal follows identified chemistry
Appearance does not prove whether a product will dissolve
Soak-off
Open and soften as instructed
File-off
Reduce in controlled layers
Combined
Debulk, then soften if permitted
Unknown
Do not guess chemistry
‘Gel’ may describe a thin soak-off colour, a soft builder or a hard sculpting system. Acrylic varies by chemistry and brand; acrygel is not one standard formula. Appearance and hardness do not prove whether a coating will dissolve. Packaging, batch records, service notes and manufacturer documentation are more reliable than a timing rule copied from another product.
A soak-off system uses its specified solvent exposure after the seal is opened as directed. A file-off system is mechanically reduced with suitable files or e-file technique. Some services combine both: reduce bulk, then wrap the remaining soak-off layer. If the product is unknown, assume less—not more—about its behaviour and avoid experimental chemicals or scraping.
Compare removal by product family
Product family | Method to verify | Main risk to control |
|---|---|---|
Gel polish | Open seal and soak only when documented soak-off | Peeling or scraping before release |
Hard gel | Controlled mechanical reduction | Heat and filing into the natural plate |
Acrylic | File and/or solvent process specified by the system | Forcing material before complete softening |
Acrygel | Product-specific mechanical or combined method | Assuming every hybrid is soak-off |
Unknown material | Conservative assessment and controlled reduction | Guessing chemistry or hidden condition |
The broader gel, acrylic and acrygel comparison explains why hardness, flexibility, curing and removal are separate properties. Never advertise ‘soak-off’ or ‘file-off’ from category alone.
Assess the nail before removing anything
Define the system, condition and endpoint
Removal starts before the first file stroke or wrap
Identify
Product, layers and date
Inspect
Lifts, cracks and colour
Agree
Infill, thin layer or bare nail
Control
Dust, solvent and waste
Identify the system, brand, application date, previous infills and any products layered over it.
Locate lifting, cracks, repairs, exposed plate, skin contact and differences in colour or thickness.
Ask about pain, burning, itching, swelling and recent reactions without diagnosing their cause.
Agree whether the endpoint is colour removal, rebalance, temporary safety layer or fully bare nail.
Choose ventilation, extraction, solvent protection and waste controls for the documented method.
Do not cover an unexplained green, brown, black or yellow area simply because the client wants a new colour. Remove only what can be handled safely, document the observation without a medical label and recommend appropriate healthcare assessment when the cosmetic service should stop.
Record the removal product, brand, batch, file or bit, approximate sequence and any unexpected response. This makes a later reaction or service failure traceable and helps the next appointment begin with facts. When another salon applied the material, ask for available product information but do not present an uncertain identification as confirmed.
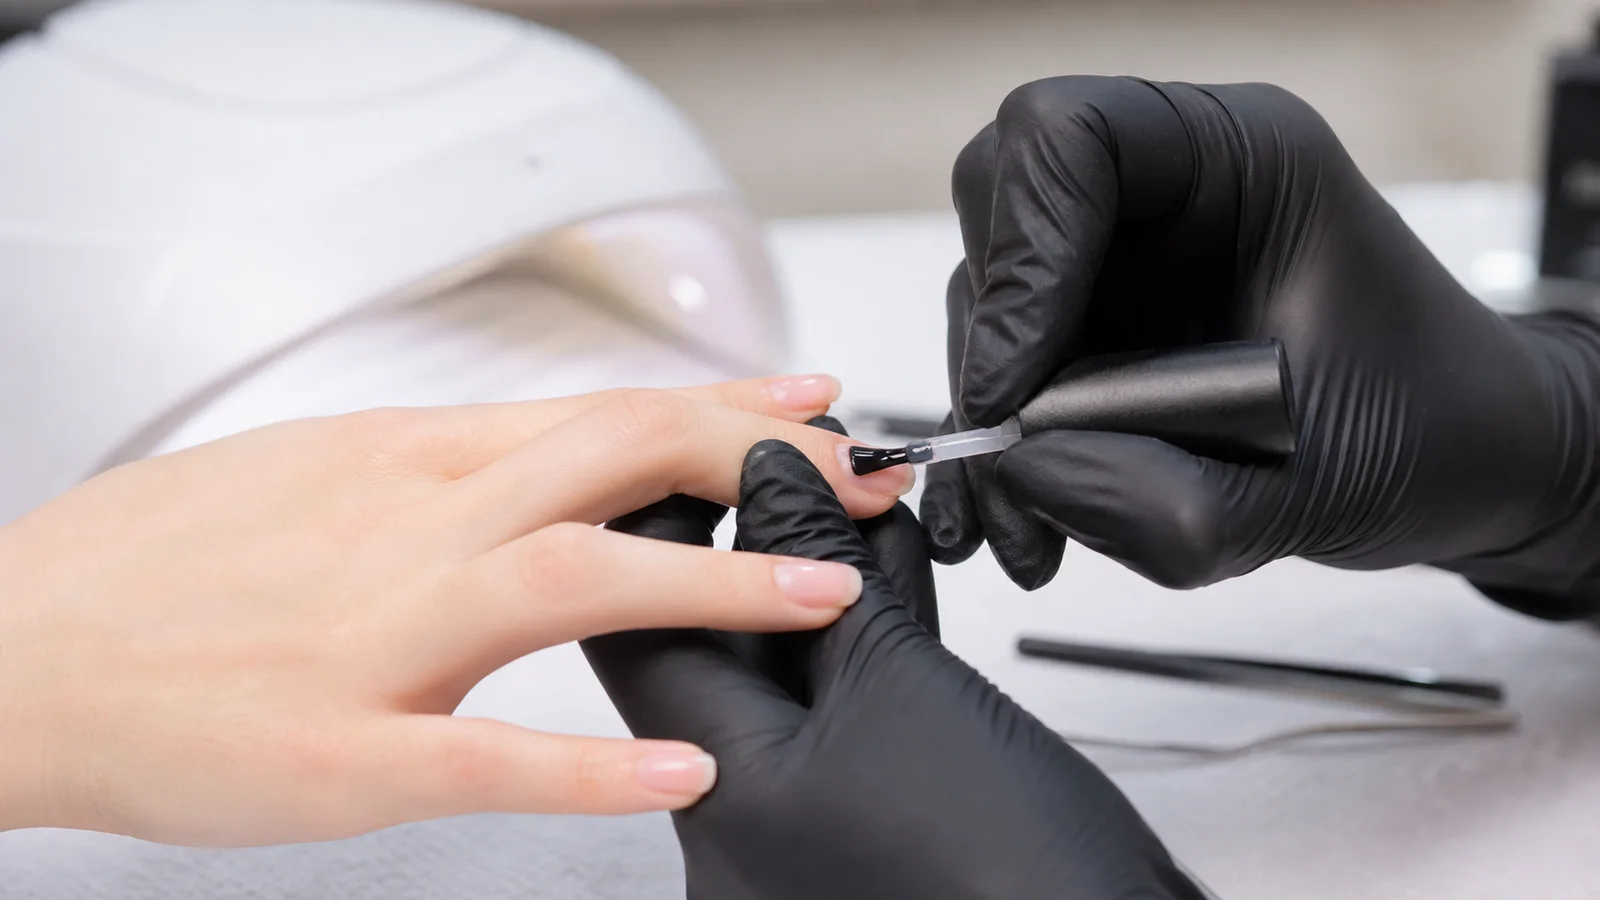
How to remove soak-off gel polish
Verify that every applied layer belongs to a documented soak-off process and read the current directions.
Reduce length if required and open the top seal only to the depth specified, avoiding the natural plate.
Protect the workstation and unnecessary surrounding skin from solvent contact.
Apply the named remover with correctly sized material and wrap it for the instructed exposure period.
Unwrap one nail and test release gently. Rewrap resistant product instead of scraping or levering it.
Remove softened residue with the least traumatic documented method, then clean and inspect the plate.
The American Academy of Dermatology advises against picking or filing gel polish off and recommends limiting acetone contact to the nail area. Acetone can irritate and dry surrounding skin; ventilation, surface protection and the product safety information still apply. The gel-polish safety guide connects removal to correct application and curing.
How to remove hard gel
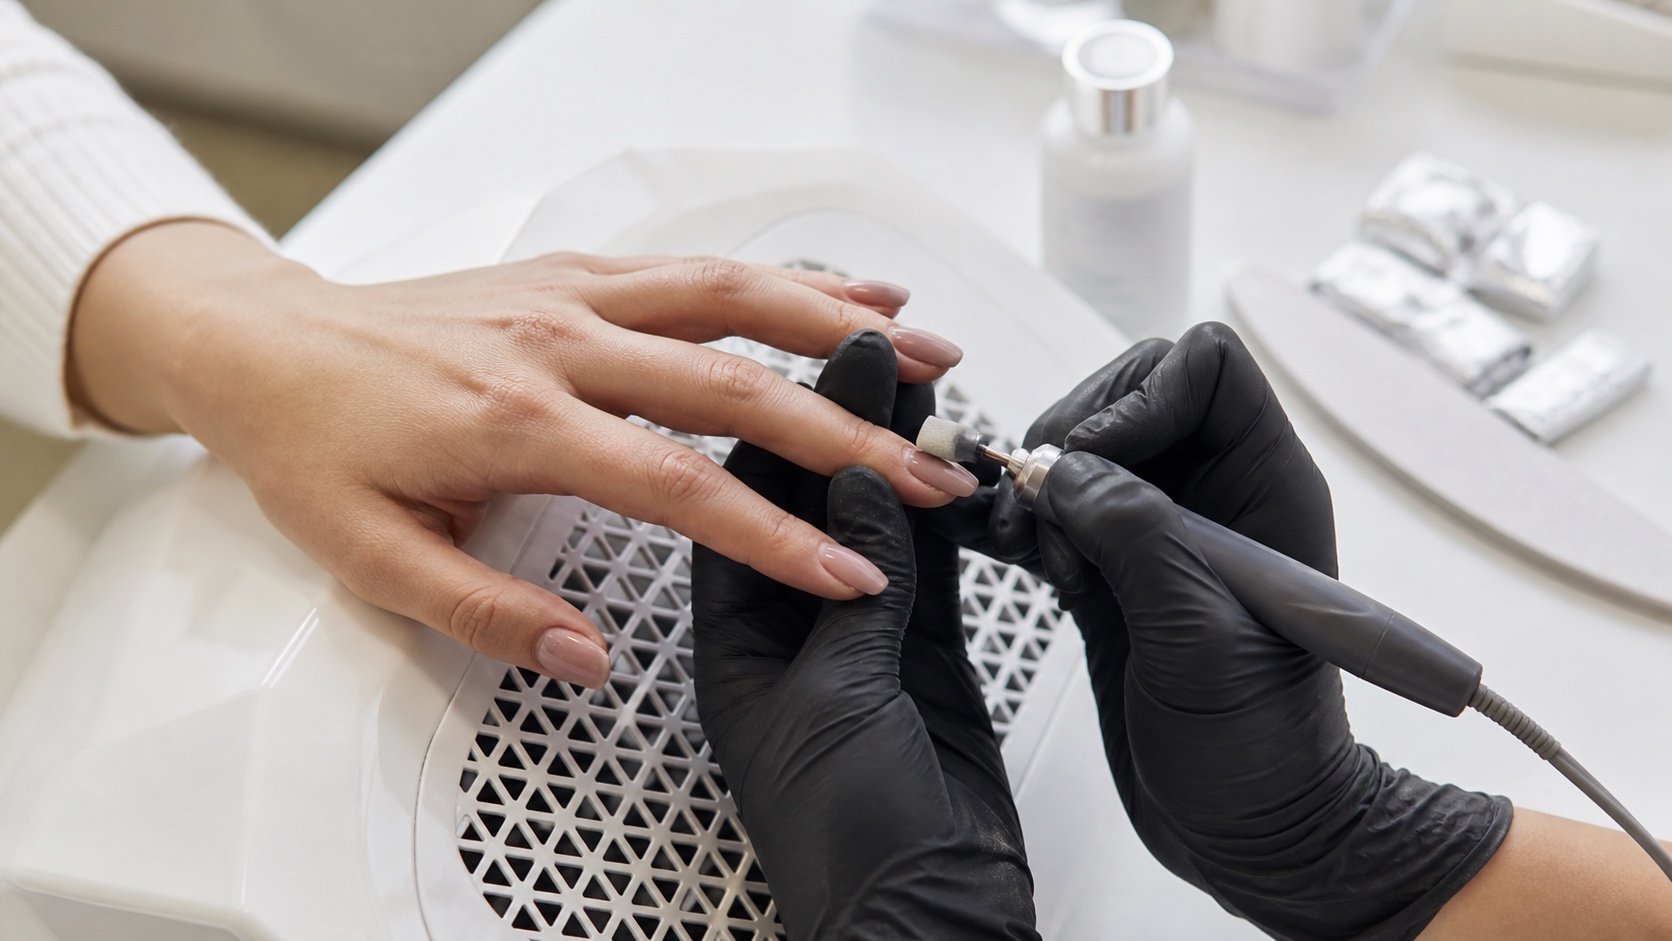
Hard gel is normally reduced mechanically. Shorten and debulk the extension while the material is thick and readable. Remove lifted zones without chasing them under stable product, and transition to finer, more controlled filing as the retained layer thins. For a healthy bare-nail endpoint, a very thin even safety layer may be preferable to aggressive pursuit of invisible residue, depending on the known product and service plan.
Use surface colour, sound, dust, reflection and previous records together; none is an infallible depth gauge. Stop frequently, remove dust safely and view the nail from above, side and front. If the layer boundary becomes uncertain, change to manual control rather than increasing pressure or repeating passes on one point.
How to remove acrylic
Confirm the acrylic system and manufacturer method. Reduce length and bulky structure with a documented file or e-file setup, controlling dust and heat. When the system allows solvent removal, reduce the appropriate amount first, protect skin and surfaces, use the specified solvent procedure and wait for genuine softening. Do not pry the enhancement away when edges lift.
Unknown, unusually resistant or strongly odoured product is not permission to improvise a stronger chemical. Record what is known, work conservatively and stop if a reliable method cannot be established. Product history can also affect whether a partial reduction is more appropriate than forced full removal.
How to remove acrygel
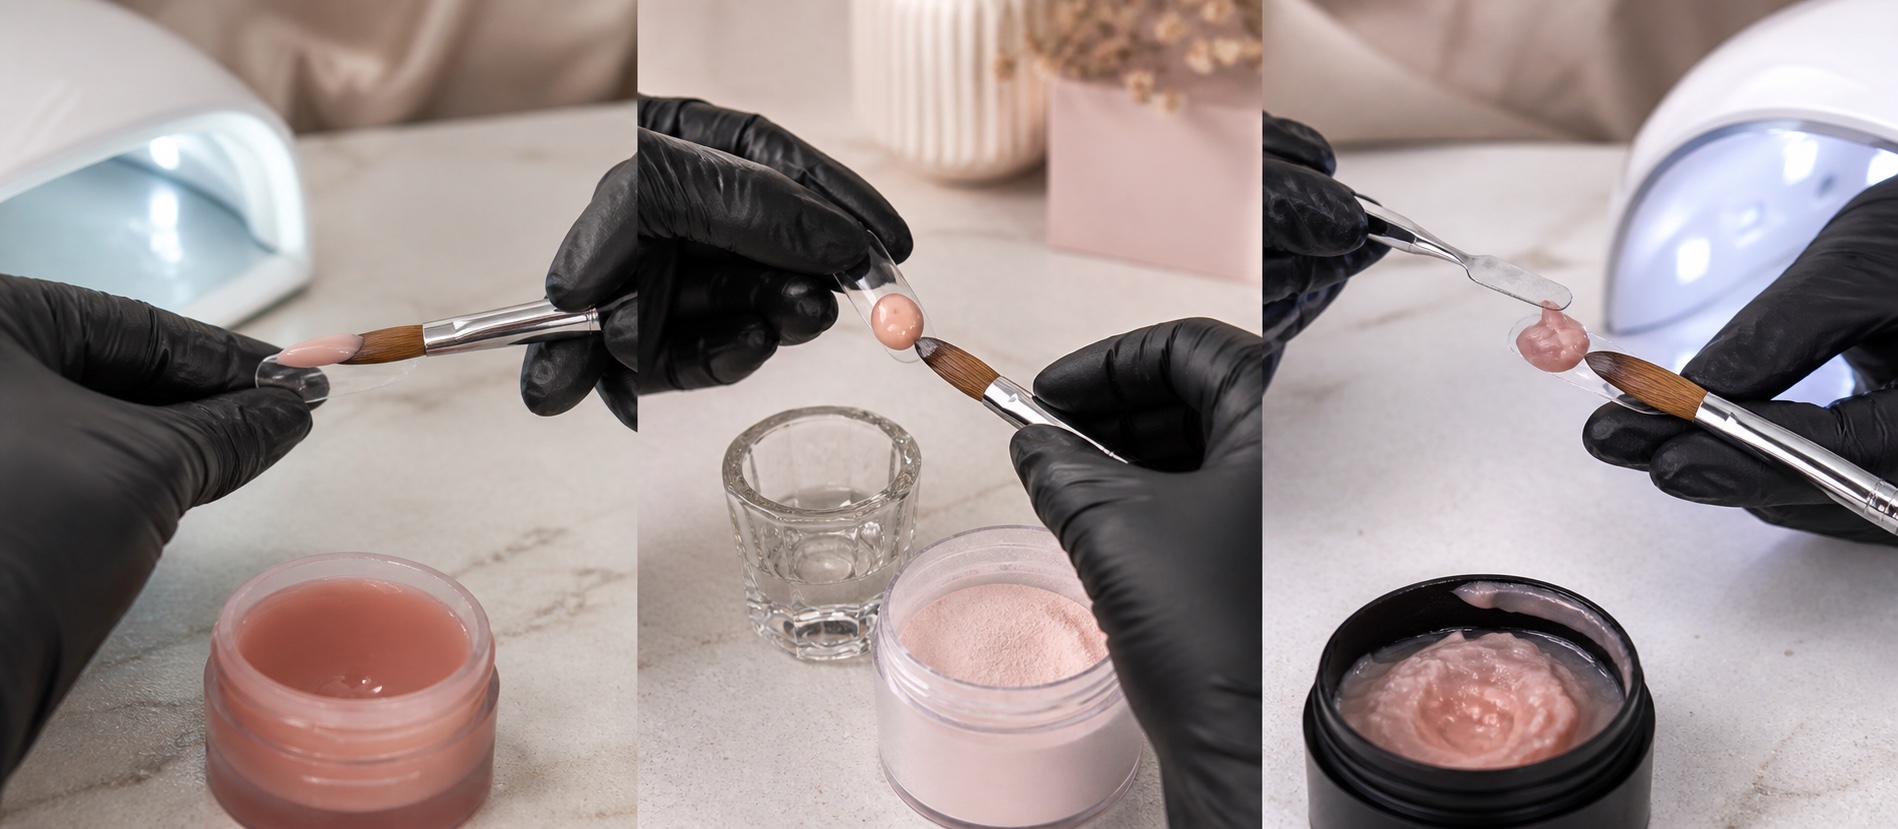
Acrygel is a broad commercial category rather than a single removal chemistry. Many systems are filed down; some may permit a combined process. Follow the exact brand instructions and keep retained material identifiable. Reduce the strongest central structure first, preserve control at sidewalls and the proximal transition, and avoid treating the product as gel polish because both arrive in a tube or bottle.
Manual file or e-file: what changes
Method | Strength | Control required |
|---|---|---|
Manual file | Direct tactile feedback and simple tool change | Grit, stroke, pressure, edge protection and fatigue |
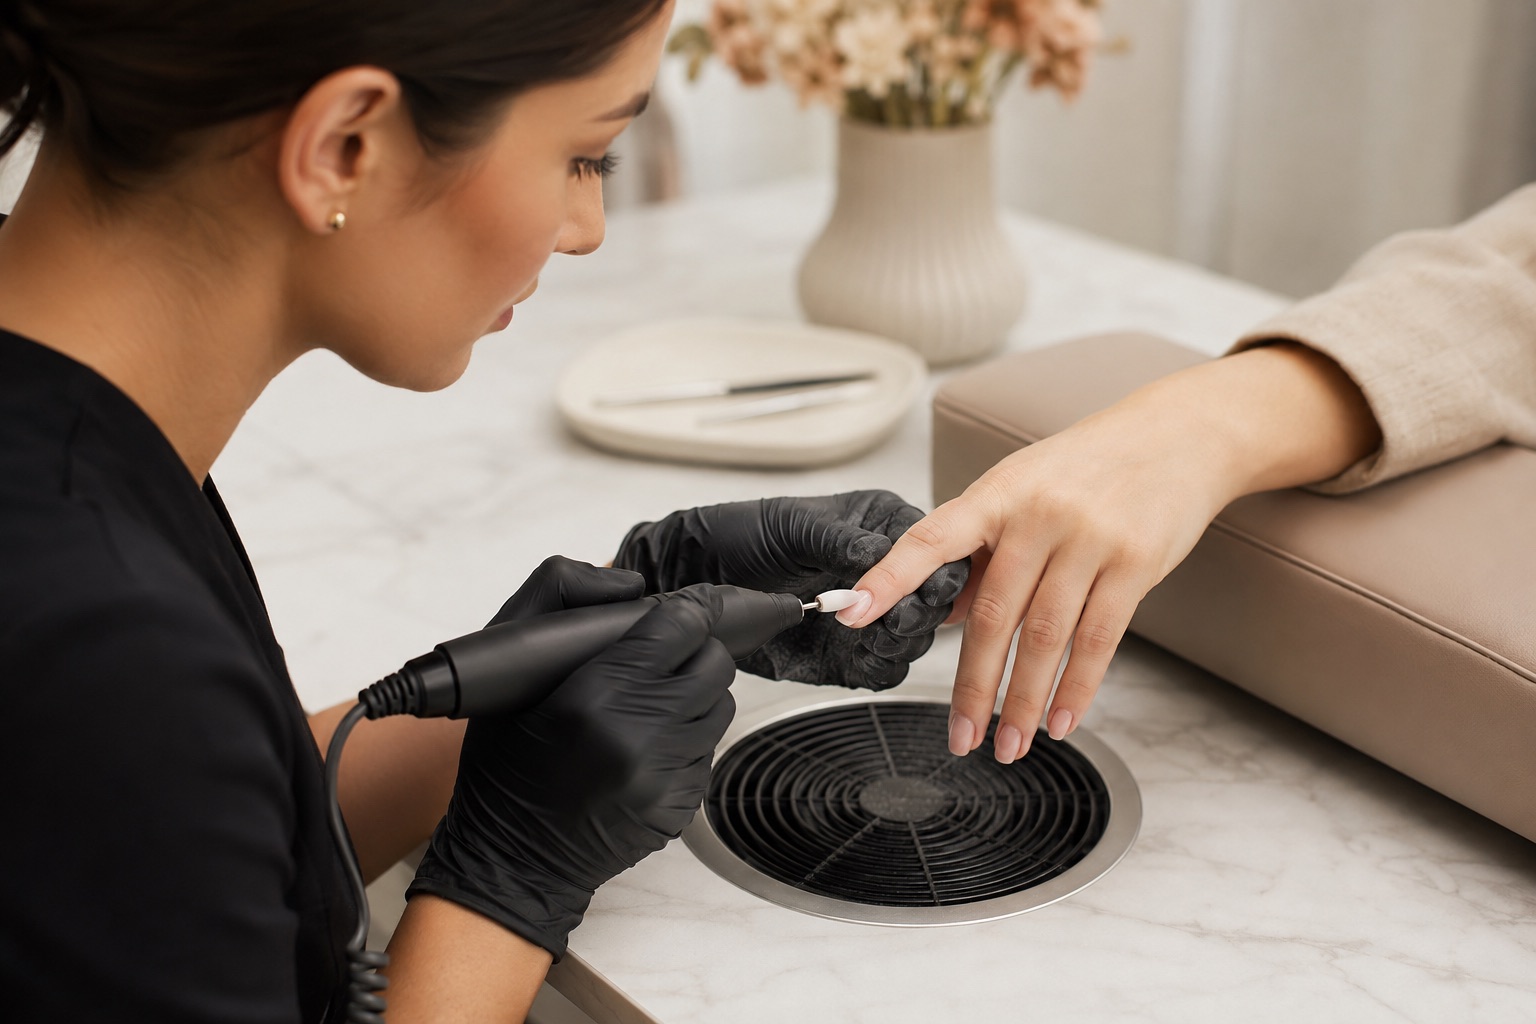
E-file | Efficient bulk reduction with trained technique | Bit, direction, speed range, contact, heat and dust |
Combined | Efficiency in bulk and precision near transitions | Clear switch point and no duplicated abrasion |
An e-file is not inherently safer or more damaging than a hand file; outcome depends on selection, maintenance, support and control. Repeated manual strokes can also thin a plate. Use the method for which the operator is trained and the task is documented, then change method as precision becomes more important than speed.
Read layers without reaching the natural nail
Efficiency decreases as the plate approaches
Preserve a reference layer until the boundary is readable
Bulk
Efficient product reduction
Map
Locate lifts and transitions
Refine
Change tool and pressure
Stop
Never use pain as a depth gauge
Work in zones and planned layers rather than trying to reveal the whole nail at once. Preserve a thin continuous reference layer until lifting, thickness and product boundaries are mapped. Near the natural nail, use clean light, dust removal and a viewing angle that reveals reflection. Never use pain as a depth indicator.
A perfectly bare appearance is not always evidence of a better removal. White patches, grooves, local heat, excessive flexibility and new sensitivity can indicate that the plate—not only the coating—has been abraded. If damage is suspected, stop cosmetic preparation and reassess the appropriate next step.
Solvent, dust and fire controls
Use remover in a ventilated area away from ignition and heat, follow the safety data and label, keep containers closed, protect compatible surfaces and dispose of contaminated material under local rules. The UK Health and Safety Executive notes that remover solvents can irritate skin and that artificial-nail filing dust can cause respiratory symptoms; use effective source extraction for filing tasks.
Do not buy an untraceable ‘burst’ or ‘magic’ gel remover because it promises instant bubbling. In 2025–2026 the FDA reported tested cosmetic gel removers containing prohibited methylene chloride, sometimes omitted from the label. Check current recalls and official alerts in your market, keep supplier and batch records, and stop using any recalled or unidentified product.
Removal errors that damage nails
Resistance calls for reassessment, not force
Peeling, scraping and repeated abrasion remove more than colour
Peel
Can lift plate layers
Scrape
Signals incomplete softening
Over-file
Thins the natural plate
Correct
Reassess method and endpoint
Peeling or lifting product away with another nail, pusher or metal tool.
Assuming resistance means more force instead of more time or a different documented method.
Holding an abrasive in one place until heat becomes painful.
Using coarse removal tools across the final thin transition or exposed plate.
Covering discolouration, separation or inflammation without assessment.
Applying fresh product immediately when the plate is painful, severely thinned or condition is unclear.
After removal: inspect and document
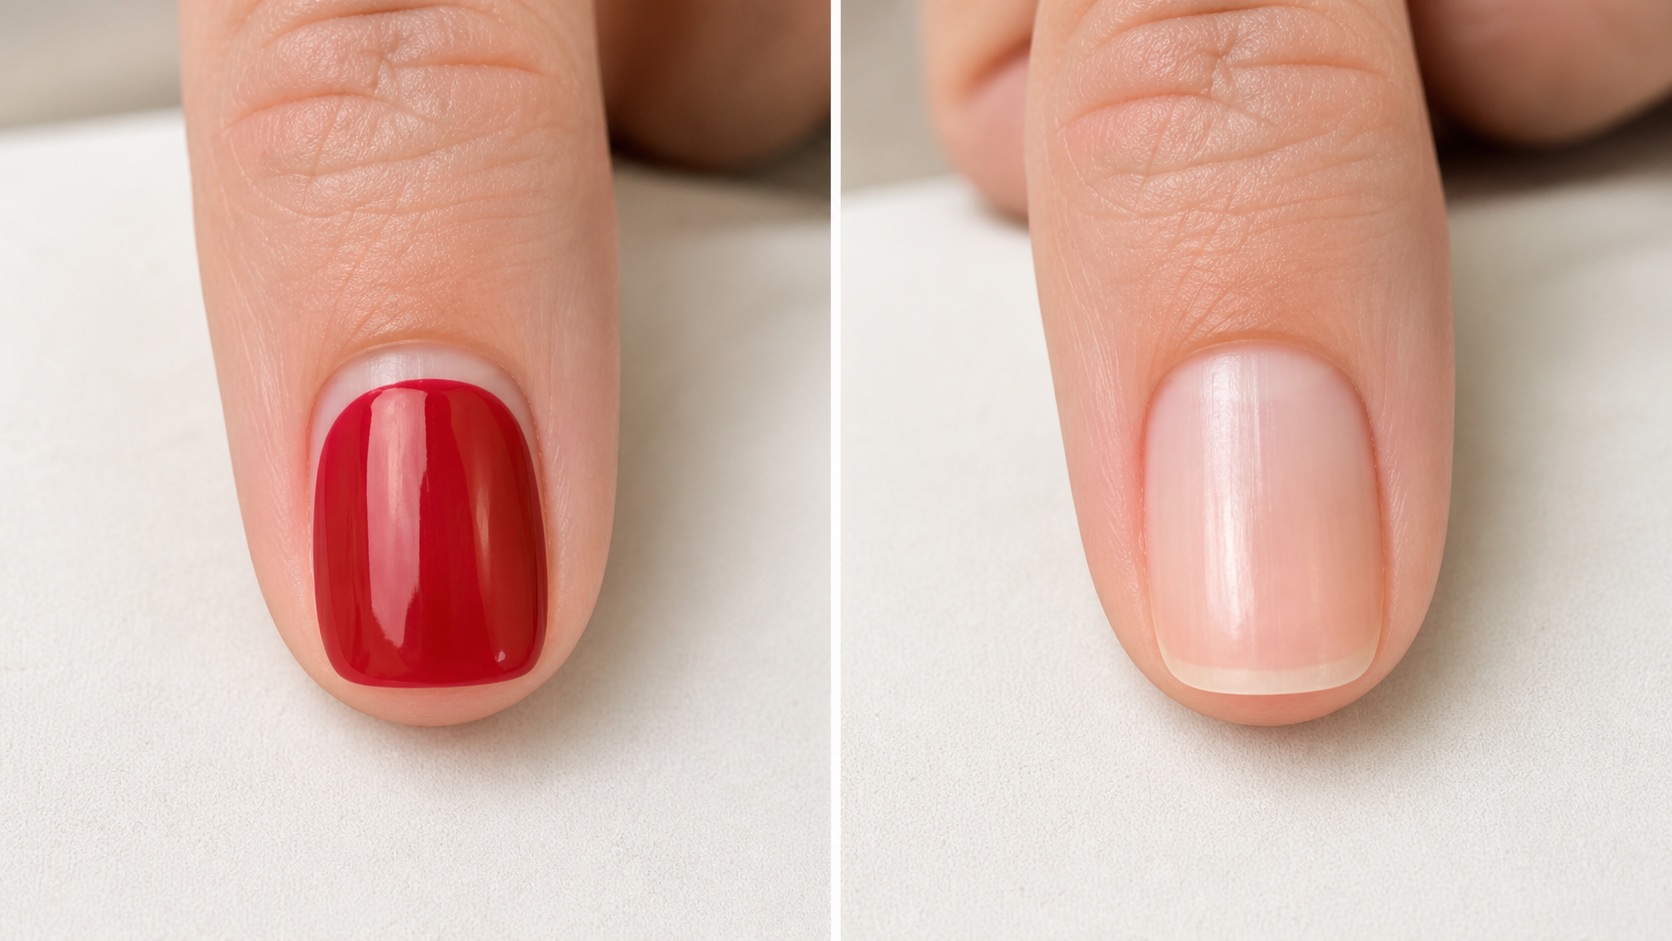
Clean the nail gently and inspect thickness, surface, attachment, colour and surrounding skin in neutral light. Record the product removed, method, exposure or filing sequence, unusual observations and client comfort. Moisturising skin and nails can improve dryness after solvent use, but cosmetic products do not repair a plate that has been physically thinned.
If the nail is comfortable and suitable for another service, begin only the preparation required by that compatible system. The nail prep guide explains why additional aggressive roughening is not the solution after removal.
Training and repeatable removal
Practise identifying layers, debulking evenly and switching method on training material before working near a client's plate. Compare the BeautyLearn online nail courses and use the English nail guide library to connect removal with anatomy, filing, infill and product systems.
Frequently asked questions
How can I tell whether a product is soak-off?
Use the exact product label, technical instructions and service record. Appearance, bottle format and a short solvent test do not replace documented identification.
Can hard gel be removed with acetone?
Many hard gels are file-off systems. Follow the exact manufacturer's removal instructions rather than assuming all products named gel will dissolve.
Why will gel polish not soften?
The seal may not be opened as instructed, layers may be too thick, remover contact may be poor, exposure may be incomplete or one layer may not be soak-off.
Should all artificial product be removed at every appointment?
No. Stable, known and compatible material can often be retained and rebalanced. Full removal has its own indications and should not become repetitive plate abrasion.
Is heat during filing normal?
Do not normalise burning. Remove contact immediately and reassess bit or file, pressure, dwell time, wear, support and the remaining layer.
Can an e-file be used on the natural nail?
Only for a specifically documented, trained task with an appropriate setup. A product-removal bit should not be carried onto exposed natural plate.
How long should nail-product removal take?
It depends on product, thickness, length, lifting, chosen method, equipment and operator control. Publish realistic booking time rather than a universal promise.
What if a green area appears under product?
Do not cover it or diagnose from colour alone. Stop cosmetic service, document what is visible and recommend appropriate professional assessment.
Can lifted product be soaked and pulled away?
It should release only through the product's documented method. Pulling an attached section can remove superficial nail layers with it.
Are instant gel-removal liquids safe?
Do not assume so. Use traceable products that comply in your market, read labels and alerts, and avoid unverified ‘magic’ removers or products with missing ingredients.
Should the nail be buffed perfectly smooth after removal?
Not at the cost of thinning the plate. Remove only appropriate residue, preserve natural thickness and avoid chasing every visual irregularity with abrasion.
When should removal stop?
Stop for pain, burning, bleeding, severe thinning, inflammation, unexplained separation or discolouration, or whenever product and plate boundaries cannot be identified safely.
Sources and scope
Product and remover safety: FDA nail care products and the current FDA methylene-chloride cosmetic alert. Dermatology guidance: AAD gel-polish removal and AAD artificial-nail damage reduction. Workplace exposure: UK HSE beauty guidance.
Editorial boundary: this page owns complete removal method selection and sequence. Bit choice, e-file control, infill decisions, plate preparation and post-removal nail conditions remain separate intents.