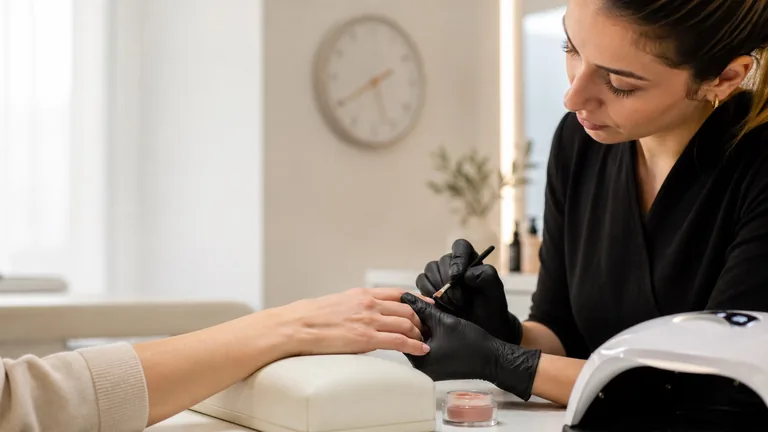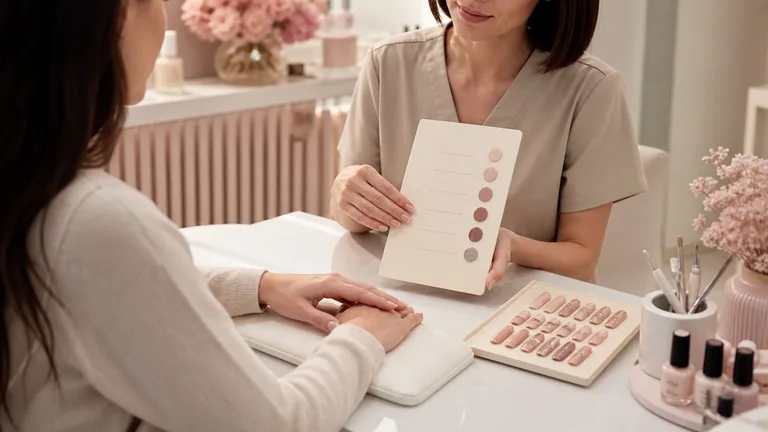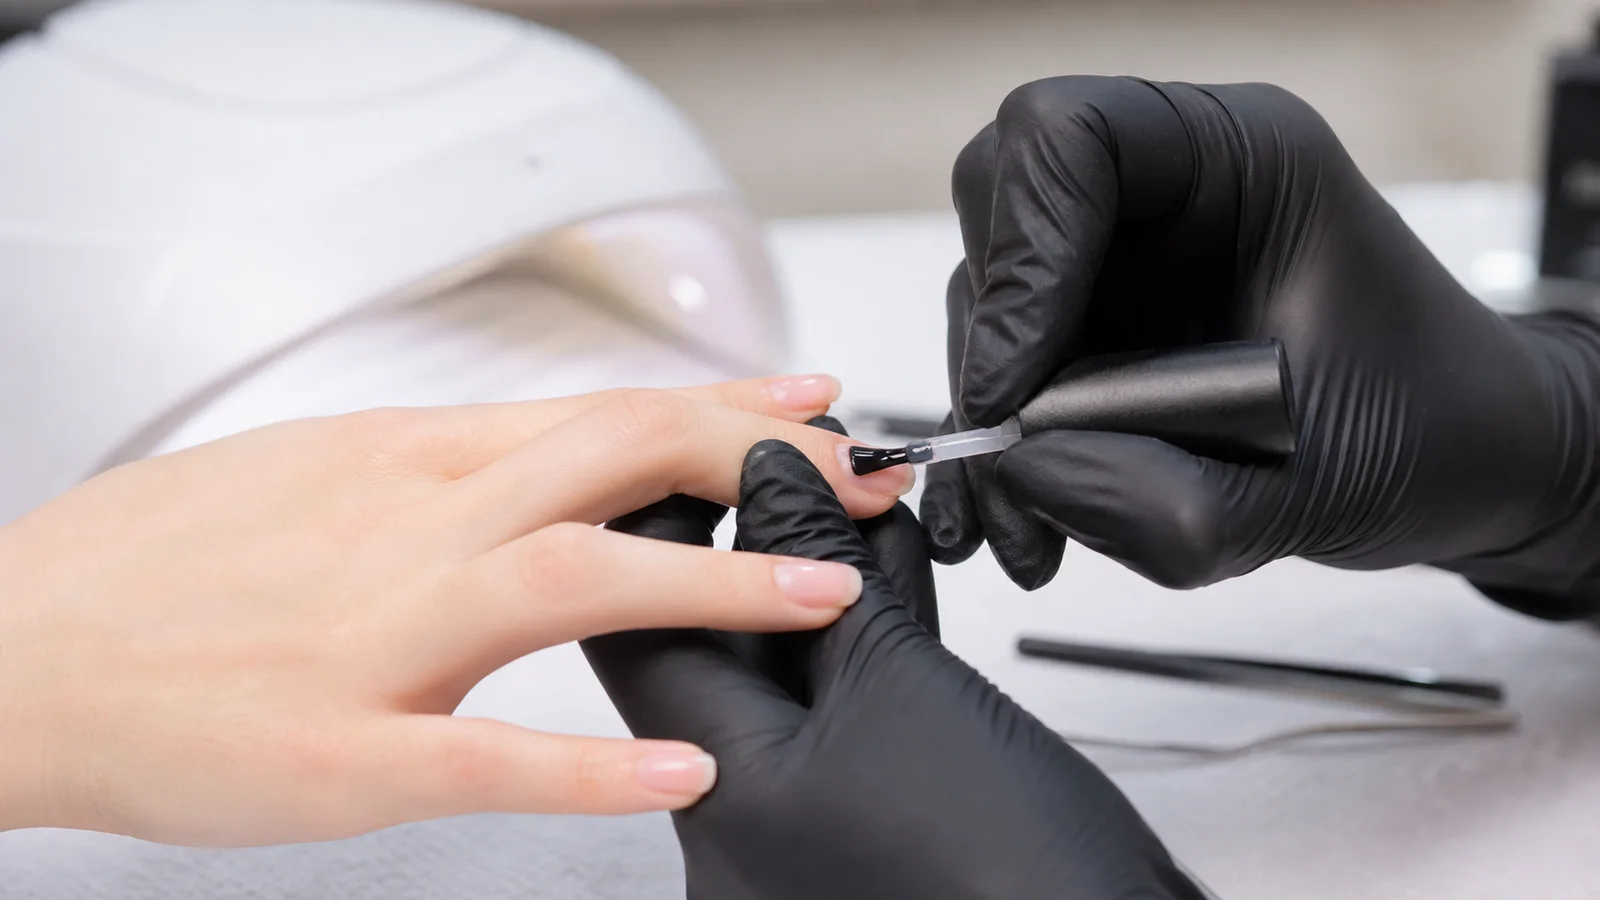
Gel polish is a thin, light-cured nail coating designed to combine colour with longer wear than conventional polish. A safe service is not created by rougher preparation, extra primer or thicker colour. It depends on assessing a suitable natural nail, keeping uncured product off skin, using a compatible product-and-lamp system, controlling each layer and removing the coating without peeling away the plate.
Essential rule: uncured or inadequately cured gel must not contact skin. Apply only to a suitable nail plate, clean accidental contact before curing, use the lamp and cycle supported by the product manufacturer, and stop for pain, itching, swelling, blistering, unexplained separation or a significant nail change.
This guide owns the complete safety pathway from assessment to removal. The separate nail-prep guide explains surface preparation in depth, while the gel-curing guide owns lamp compatibility and exposure variables. Use them together without turning any one step into a universal recipe.
What gel polish is—and what it cannot fix
Bottle names do not define structural capability
Match product role, thickness and removal method
Gel polish
Thin colour coating
Reinforcing base
Light levelling or flexibility
File-off
Controlled mechanical removal
Builder
Structure when specified
A conventional gel-polish base follows the natural plate and adds limited thickness. Reinforcing bases and builder-in-a-bottle products may allow controlled levelling or short reinforcement when their instructions support it, but the bottle name does not automatically make them extension products. A very flexible plate, unsuitable length, damaged area or structural imbalance cannot be solved by adding layers.
System type | Typical role | Main control |
|---|---|---|
Soak-off gel polish | Thin colour coating | Thin layers and supported removal |
Reinforcing base | Flexibility or light levelling | Maximum thickness and compatible cure |
File-off colour or base | Durable coating within a file-off system | Removal depth and remaining base |
Builder gel | Structural overlay or extension when specified | Architecture, thickness and lamp system |
Pre-service assessment: proceed, adapt or postpone
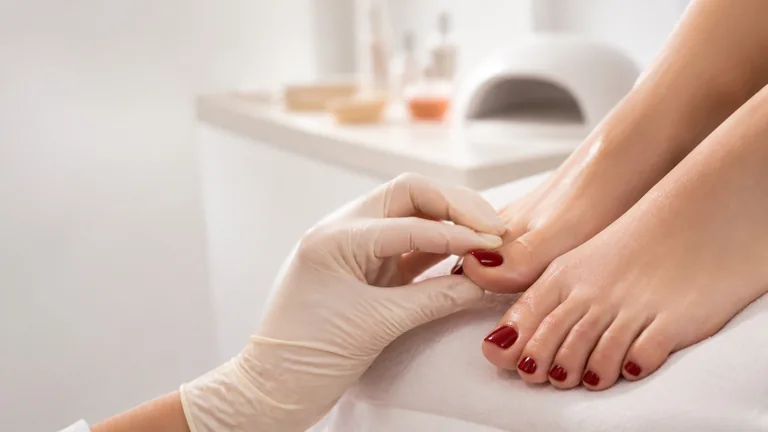
Inspect all nails and surrounding skin in even light before filing or liquids alter their appearance. Ask about previous itching, swelling, blistering, burning, nail separation or a diagnosed allergy to nail products. Record the previous service, removal method and product system when known. This is a safety screen, not a medical diagnosis.
Proceed only when the nail and surrounding skin are intact, comfortable and suitable for a cosmetic coating.
Adapt length and coating type to plate flexibility, lifestyle, previous wear and the product’s supported use.
Postpone for open or inflamed skin, pain, discharge, unusual odour, green colour, extensive separation or a significant unexplained change.
Do not repeat suspected allergen exposure or place uncured gel on skin as a salon patch test; recommend appropriate clinical assessment.
Use the cautious guide to yellow nails and warning signs when colour cannot be explained by polish staining. A nail technician describes, documents and refers; they do not diagnose infection or allergy.
Preparation liquids are not a safety shortcut
Cleaner, dehydrator, primer, bonder and base have different roles. Some gel-polish systems use several of them, while others omit a step. Do not add an acid or acid-free primer simply because a previous set lifted, and do not apply repeated coats to a damp-looking plate without product instructions. Excess liquid can reach skin, contaminate the margin or create an incompatible interface.
Read the dedicated nail-primer guide to distinguish temporary moisture control from chemical adhesion promotion. Then trace a retention problem by its location and timing. Safe troubleshooting changes one supported variable at a time; it does not intensify every preparation step and expose an already thinned natural nail to more abrasion or chemistry.
A controlled gel-polish application sequence
Eight stages protect one coating system
Assessment begins before the bottle opens
System and workstation
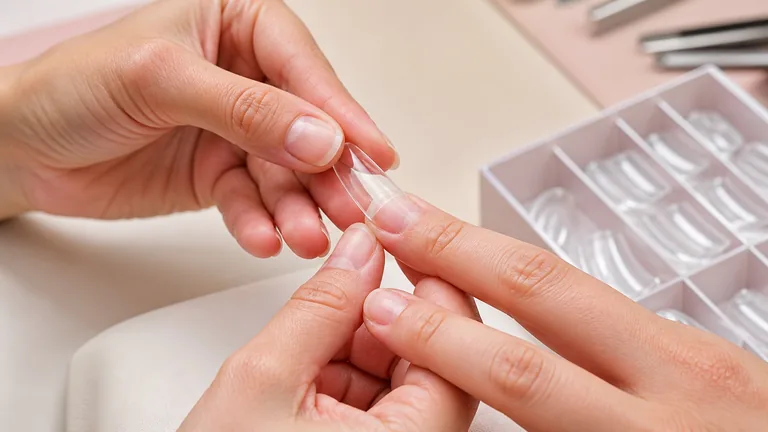
Fold, edge and surface
Liquids and thin layers
Skin clearance and cure
Confirm the complete base, colour, top and lamp system before beginning; read current instructions for layer thickness and cycle.
Prepare clean tools, single-use items and a dust-controlled workstation, then clean hands according to the salon protocol.
Shape the free edge and manage only nonliving tissue attached to the plate without cutting or abrading living folds.
Refine the surface only to the degree required; remove dust and avoid touching the prepared plate.
Use dehydrator, primer or bonder only when named by the system and keep every preparation liquid off skin.
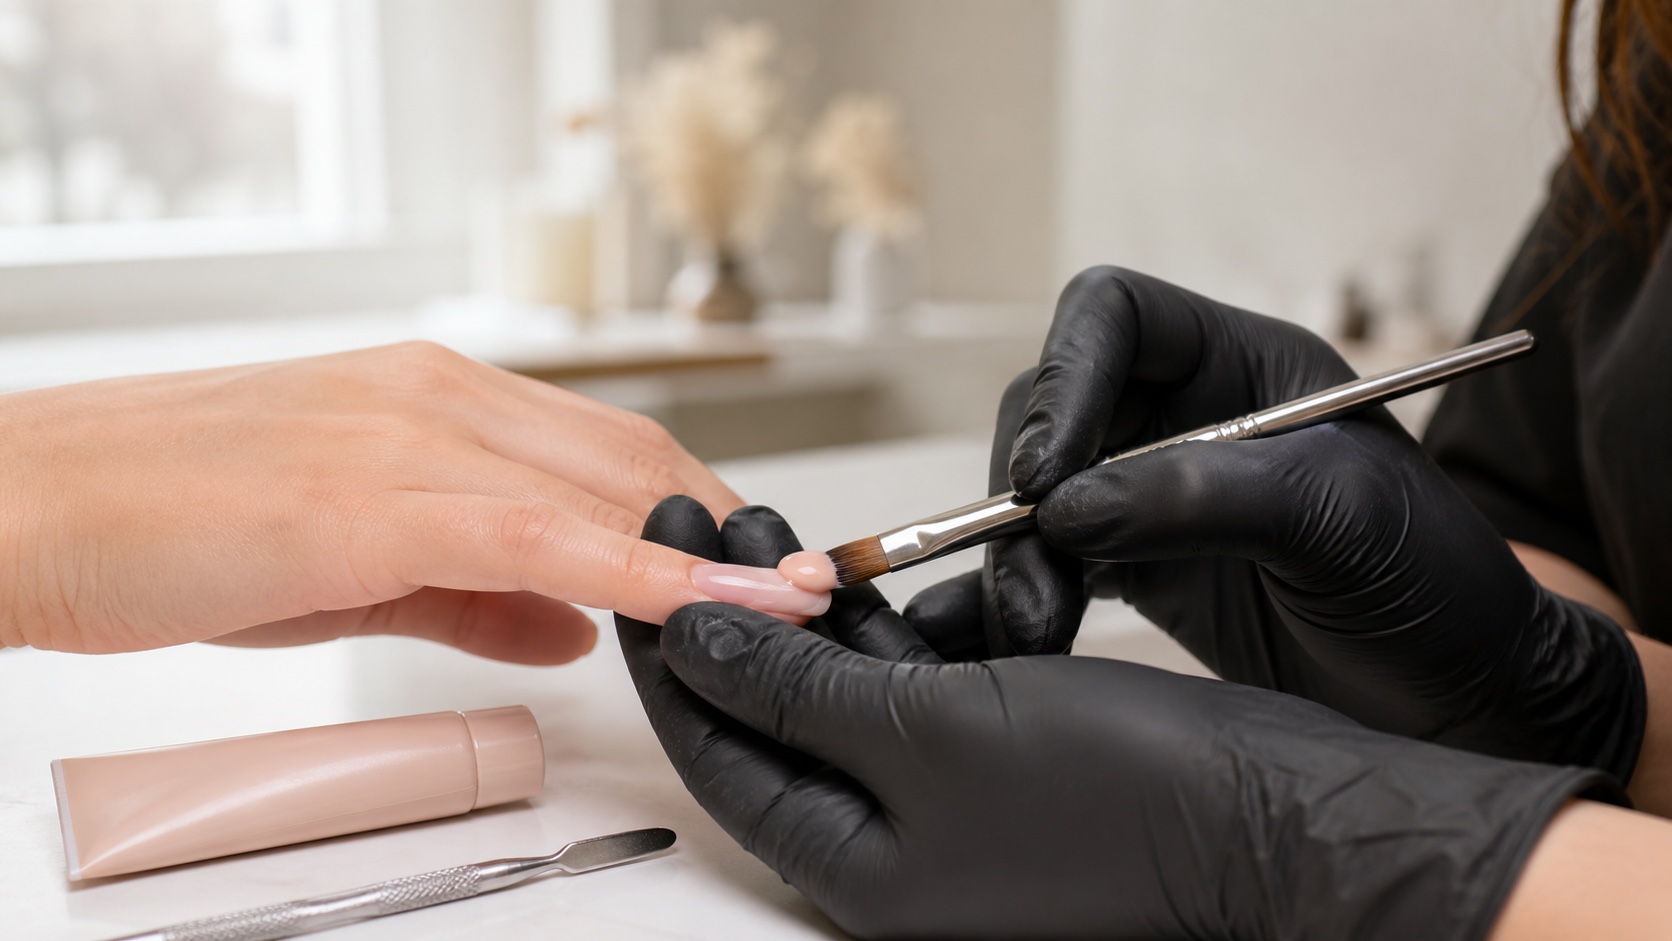
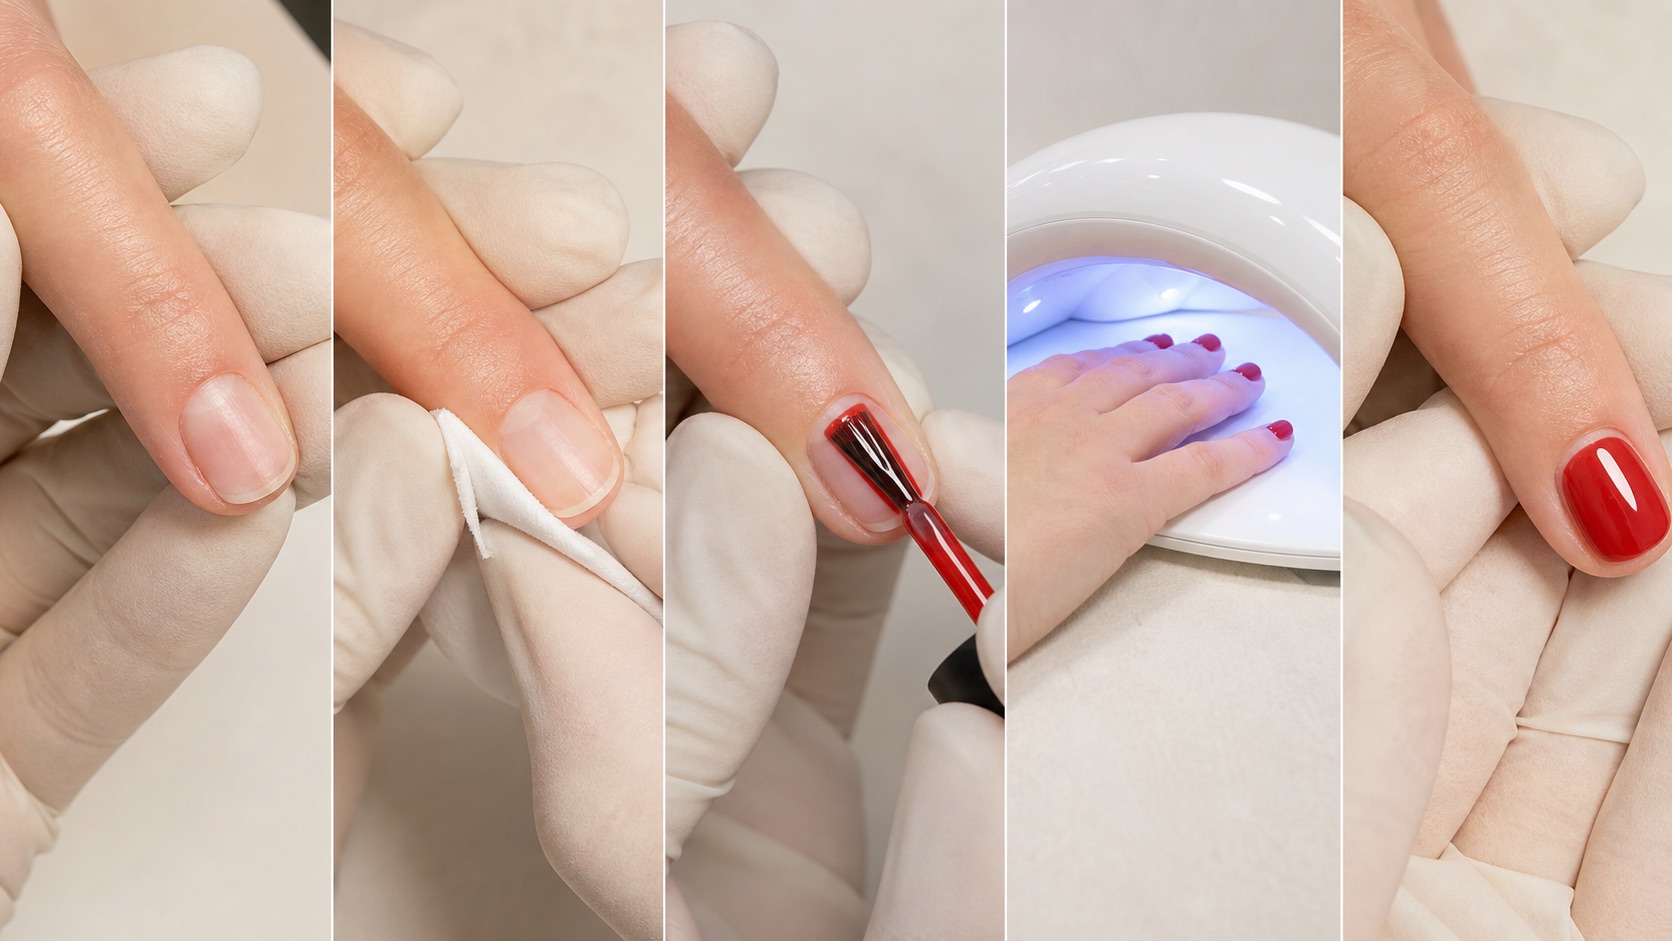
Apply base, colour and top in controlled supported layers with a clean visible margin around skin.
Remove every accidental contact before the hand enters the lamp; contaminated tools, gloves or bottle necks must not spread residue.
Position fingers and thumbs within the lamp’s supported light field and complete each full cycle without shortening it.
Why skin contact matters
Control every route of uncured-product exposure
The margin is only one possible transfer point
Apply
Clean visible skin margin
Inspect
Sidewalls and free edge
Remove
Uncured contact before lamp
Control
Tools, gloves and bottles
Gel-polish products contain reactive ingredients designed to form a polymer network during a supported cure. Avoiding skin contact reduces exposure to uncured material. Flooding can happen at the proximal margin or sidewalls, after the client moves, while capping the free edge, or when a contaminated brush, glove, bottle or wipe transfers residue.
Do not cure a flooded margin and plan to file it away later. Stop, remove the uncured product fully from skin with the method specified by the manufacturer, replace contaminated items where required and reapply cleanly. A closer colour line is never worth a preventable exposure.
‘HEMA-free’ does not mean acrylate-free, allergy-proof or suitable for a person with a previous reaction. Ingredient substitution does not remove the need for skin clearance, compatible curing and clinical advice when allergy is suspected.
HEMA, Di-HEMA and acrylate allergy risk
European Commission Regulation (EU) 2020/1682 restricts HEMA and Di-HEMA Trimethylhexyl Dicarbamate in nail products to professional use and requires ‘for professional use only’ and ‘can cause an allergic reaction’ warnings. The underlying SCCS opinion emphasises application to the nail plate only and avoidance of adjacent skin. Professionals must still read the actual ingredient list, label and safety information for every product in their market.
Possible allergic contact dermatitis can involve itching, redness, swelling, blistering, soreness or nail changes and may extend beyond the application site. Those signs are not something a technician should test by re-exposure. Stop using the suspected products and recommend assessment by an appropriately qualified healthcare professional. Do not promise that changing brand or selecting one omitted ingredient will make a future service safe.
Curing: the product and lamp are one system
A lamp label saying UV/LED and a high wattage do not prove compatibility. Formula photoinitiators, emitted wavelength range, irradiance distribution, distance, hand position, colour opacity, layer thickness and exposure time all matter. Use the manufacturer’s named lamp or supported specification and replace or maintain the device as instructed.
Wrinkling, softness, movement, thumb-only failure or an unusual uncured layer requires a controlled check. Do not add another top coat to trap unstable material. Remove it safely, check instructions and identify the variable. A hard surface cannot show the cure state through the full depth of the applied layer.
Heat spikes, burning and discomfort in the lamp
Polymerisation releases heat, and the sensation can be influenced by product quantity, reaction speed, nail condition and prior over-filing. Never require a client to endure sharp heat or pain. Remove the hand, inspect the nail and product, then follow the system’s supported low-heat or application method if available. Pain on a thinned or damaged plate is a reason to stop, not to improvise repeated partial cycles.
Safe removal: soak-off, file-off and hybrid protocols
Identify the system before choosing removal
Release, reduce or combine only as documented
Soak-off
Time and spontaneous release
File-off
Depth, dust and pressure control
Hybrid
Supported staged removal
Never
Pick, peel or lever
Method | Correct signal | Stop or reassess when |
|---|---|---|
Soak-off | Product releases after the system’s exposure time | Force is needed to scrape attached coating |
File-off | Layers are reduced with visual and tactile control | Heat, pain or uncertainty about the natural plate appears |
Hybrid | Top is reduced, then supported solvent removal is used | The manufacturer does not support the combination |
Peeling or picking a coating can remove superficial layers of natural nail. For soak-off, reduce the top only if specified, limit unnecessary skin exposure, wait the full stated time and repeat on attached areas rather than scraping. For file-off, recognise colour, base and plate as dust changes; reduce pressure and speed near the interface. Leaving a stable compatible base can be safer than chasing every transparent trace.
Common errors and what they reveal
Deep filing or repeated buffing: natural-plate damage, not stronger adhesion.
Thick or uneven colour: uncertain light penetration, wrinkling and uncontrolled margins.
Product on skin: preventable exposure and a likely starting point for lifting.
Random lamp or shortened cycle: cure has not been validated for that formula and application.
Picking or levering removal: coating can take superficial nail layers with it.
Sealing over lifting: contamination and instability remain hidden below the next layer.
Use the full nail-lifting diagnostic guide to read failures by location and timing. Do not respond to every lift with more abrasion and stronger primer.
Workstation controls, ventilation and traceability
Keep product containers closed, label every working container, control dust with local extraction and manage vapours through the workplace risk assessment. Safety data sheets inform storage, first aid and protective equipment; gloves and masks do not replace clean technique or suitable ventilation. Avoid food and drink at the workstation, and prevent cured and uncured residues from spreading to phones, handles and lamps.
Record the exact base, colour, top, lot where required, lamp, cycle, removal method and any unusual event. Traceability makes a reaction, retention issue or product notice easier to investigate. It also stops the technician from guessing which of several mixed systems was used.
Professional checklist before the client leaves
Every nail and surrounding fold is comfortable, clean and free of cured product on skin.
The coating is stable, evenly cured by the supported system and free from visible wrinkling or movement.
The chosen length and product role match the natural nail rather than relying on colour layers for strength.
Aftercare explains not to pick, peel or use nails as tools and when to book maintenance or removal.
The client knows to remove product and seek appropriate assessment if itching, swelling, blistering, pain or separation develops.
For a curriculum that connects preparation, thin application, cure and removal, compare the current BeautyLearn online nail courses by level and learning outcomes. Continue through the English nail guide library for structure, products and troubleshooting.
Frequently asked questions about gel-polish safety
Does gel polish damage natural nails?
Damage is often associated with over-filing, peeling, aggressive removal or reactions. A careful service reduces risk but does not make every person or product automatically suitable.
How long should gel polish last?
There is no universal guarantee. Plate flexibility, growth, preparation, system, length, application and daily wear all affect retention and maintenance timing.
Must the natural nail always be buffed?
Follow the exact system. If refinement is required, it should be minimal and even; deep scratches and heat are not adhesion targets.
Can I use a lamp from another brand?
Only when compatibility is supported by the product maker or reliable specifications. Wattage and a hard surface alone do not validate the full cure.
Is HEMA-free gel polish allergy-proof?
No. Other acrylates or ingredients may still cause reactions. HEMA-free never authorises skin contact or self-testing after a suspected allergy.
What should I do if gel touches skin?
Do not cure it. Stop and remove the uncured residue completely using the manufacturer’s procedure, control contamination and reapply with a clean margin.
Why does gel polish burn in the lamp?
Polymerisation releases heat; thickness, reaction speed and nail condition can intensify it. Remove the hand and inspect rather than requiring the client to tolerate pain.
Can I peel gel polish off if it has lifted?
No. Peeling can take layers of natural nail with the coating. Use the supported removal method and inspect why lifting started.
Is acetone always the right removal method?
No. Some products are soak-off, file-off or use a combined protocol. Confirm the exact base and top before choosing a method.
Can gel polish cover a green or separated nail?
Do not hide an unexplained colour or significant separation. Remove unstable product, document the sign and recommend appropriate assessment.
Should a nail technician perform a gel patch test?
Do not place uncured gel on skin to predict allergy. Suspected allergic contact dermatitis needs evaluation and, when indicated, testing by qualified healthcare professionals.
Can gel polish be applied continuously without breaks?
A calendar break is not automatically required for every healthy nail, but each service needs reassessment. Stop or simplify when damage, discomfort or reaction signs appear.
Official sources and editorial review
Editorial and source review: 5 September 2026. Product instructions, labels and safety information take priority for exact application, curing, protective equipment and removal.
EUR-Lex: Commission Regulation (EU) 2020/1682 on HEMA and Di-HEMA TMHDC in nail products
European Commission SCCS: safety of HEMA and Di-HEMA Trimethylhexyl Dicarbamate
This page owns safe gel-polish application and removal. Natural-nail preparation, lamp science, lifting diagnosis and medical assessment remain separate intents.