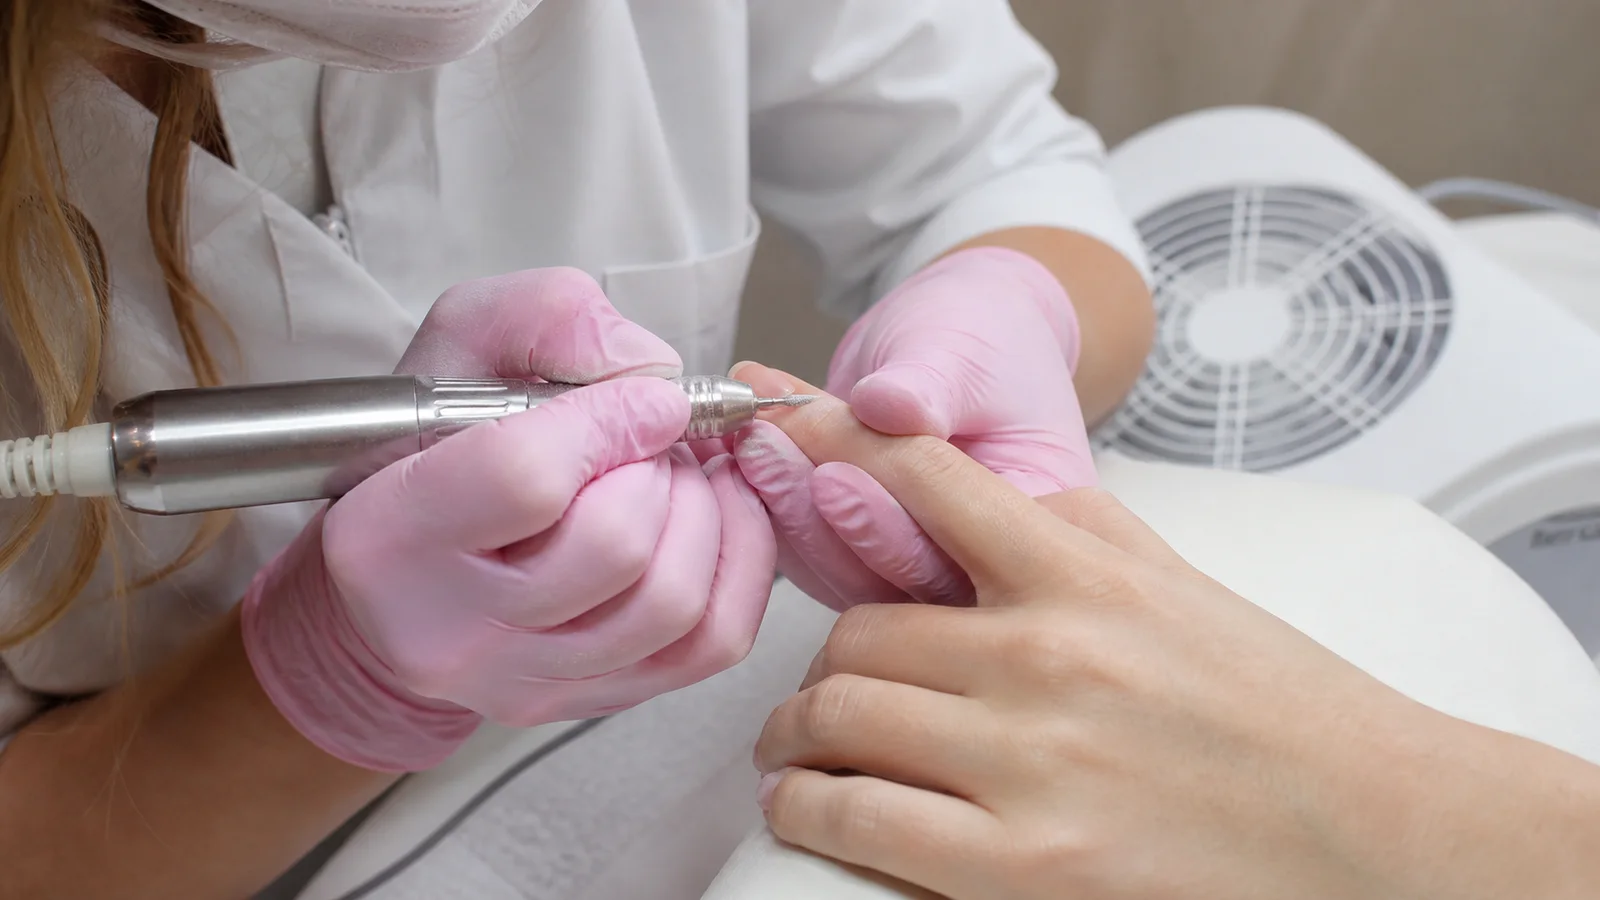
Dry manicure and Russian manicure are often used as synonyms, but the names do not guarantee the same procedure. Dry manicure first means working without soaking the nails. Russian manicure is a commercial term commonly used for very precise work around the nail folds, often with an electric file and manual cutting tool. Combi manicure mixes methods. Safety depends on anatomy, instrument control and the tissue actually removed—not the trend attached to the name.
Essential rule: remove only clearly nonliving tissue when it is relevant to the service. The proximal nail fold and lateral folds are living protective skin. Pain, heat, bleeding, an increasingly deep pocket, shiny abraded skin or a groove in the nail plate mean the procedure has gone beyond a cosmetic preparation goal.
This guide owns fold assessment, manual and electric-file manicure technique and stop decisions. It is not a second nail-prep article. Read the separate nail-prep guide for the complete adhesion-surface sequence and the electric nail-file guide for machine, bit, RPM and direction fundamentals.
Dry, Russian and combi manicure: the practical difference
The name does not define the depth
Describe the actual tools, tissue and sequence
Dry
No-soak manicure
Russian
Detailed fold work
Combi
E-file plus manual tools
Safety
Living tissue remains intact
Term | What it usually describes | What the name does not prove |
|---|---|---|
Dry manicure | A manicure performed without soaking | Use of an e-file or cutting tools |
Russian manicure | Detailed fold work, commonly with an e-file | A standardised or risk-free protocol |
Combi manicure | A combination of e-file and manual tools | Competence with every tool used |
Water manicure | Soaking before cosmetic nail care | Suitability immediately before every coating |
A dry manicure can be entirely manual and gentle. A procedure sold as Russian can vary from superficial cleaning to aggressive fold cutting. Ask what instruments, tissues and steps are involved instead of assuming quality from the label. The useful comparison is depth, visibility, pressure, tissue status and finish—not nationality.
Cuticle is not the living proximal nail fold
Separate residue from protective tissue
The boundary decides whether work is needed
Cuticle
Nonliving residue on plate
Proximal fold
Living protective skin
Lateral folds
Living side boundaries
Stop
Pain, heat or bleeding
Salon language often calls all skin near the nail base ‘cuticle’. Anatomically, nonliving cuticle is a thin layer that can adhere to the nail plate. The proximal nail fold is living skin that protects the emerging nail unit. The eponychium is living tissue on the underside of that fold. Lateral folds border the sides. These structures should not be drilled, scraped or cut to manufacture a deeper channel for colour.
The American Academy of Dermatology and the US CDC advise against cutting cuticles because they act as a barrier and injury can make entry of germs easier. A professional cosmetic protocol should become more conservative, not less, when the boundary is unclear. Use the nail-matrix anatomy guide to understand why trauma near the proximal fold can affect more than the visible surface.
Assess the fold before choosing a tool
Observe all fingers under clear light. Look at skin elasticity, adhesion of nonliving tissue, hydration, fissures, previous cuts, hangnails, sensitivity and the angle at which the fold meets the plate. Ask about recent reactions, soreness and how the last manicure healed. The same person can have different folds across fingers, so the protocol may need to change within one hand.
Proceed when the skin and nail are intact, comfortable and clearly readable.
Simplify when tissue is thin, dry, tightly attached, recently overworked or difficult to distinguish.
Postpone for inflammation, open skin, pain, swelling, discharge, warts, unexplained colour or suspected infection.
Refer rather than diagnosing when a sign is outside cosmetic scope or fails to resolve.
Manual tools: pusher, curette, scissors and nippers
A pusher or curette should reveal and accompany nonliving residue, not gouge the plate. Match the edge to the nail curvature, keep a low controlled angle and stop if pressure is needed to force the fold back. Scissors or nippers should meet only a clearly visible free piece of nonliving tissue; they are not tools for tracing a continuous deeper line around living skin.
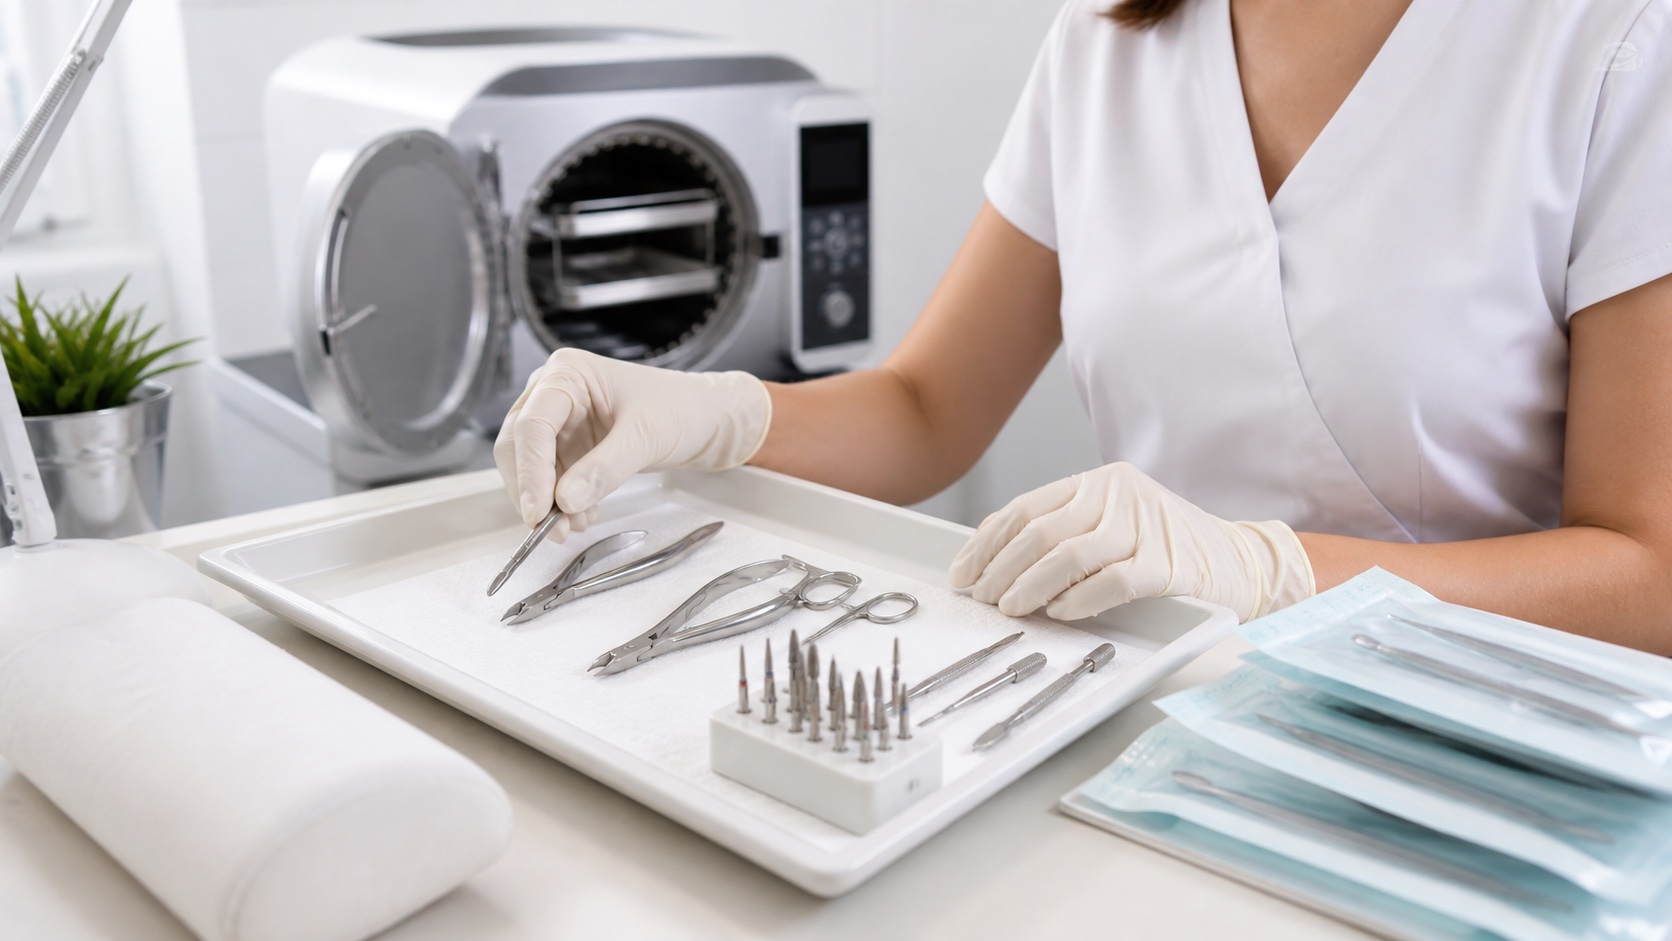
Instrument sharpness and alignment matter. A blunt edge can crush and pull rather than cut predictably; a damaged hinge can close unevenly. Reusable tools must be cleaned and processed by the applicable local protocol and manufacturer instructions. Single-use abrasives are discarded after the client. A drawer or UV storage box does not clean a contaminated instrument.
Electric-file bits: shape does not define safe use
Flame, needle, drop, cylinder and ball names describe geometry, but material, diameter, grit, wear, rotation, angle and machine behaviour change the action. There is no universal bit colour or RPM that is safe on every fold. Verify the manufacturer’s intended surface and speed range, practise on a training medium, and understand which part of the rotating bit is active before approaching a person.
Maintain a stable hand rest, good visibility and light contact. Keep the bit moving only where movement improves control; do not sweep blindly into a lateral groove. If dust hides the tissue, stop and clean rather than repeating passes. Heat, vibration, client withdrawal, whitening from pressure or a shiny abraded strip require immediate reassessment.
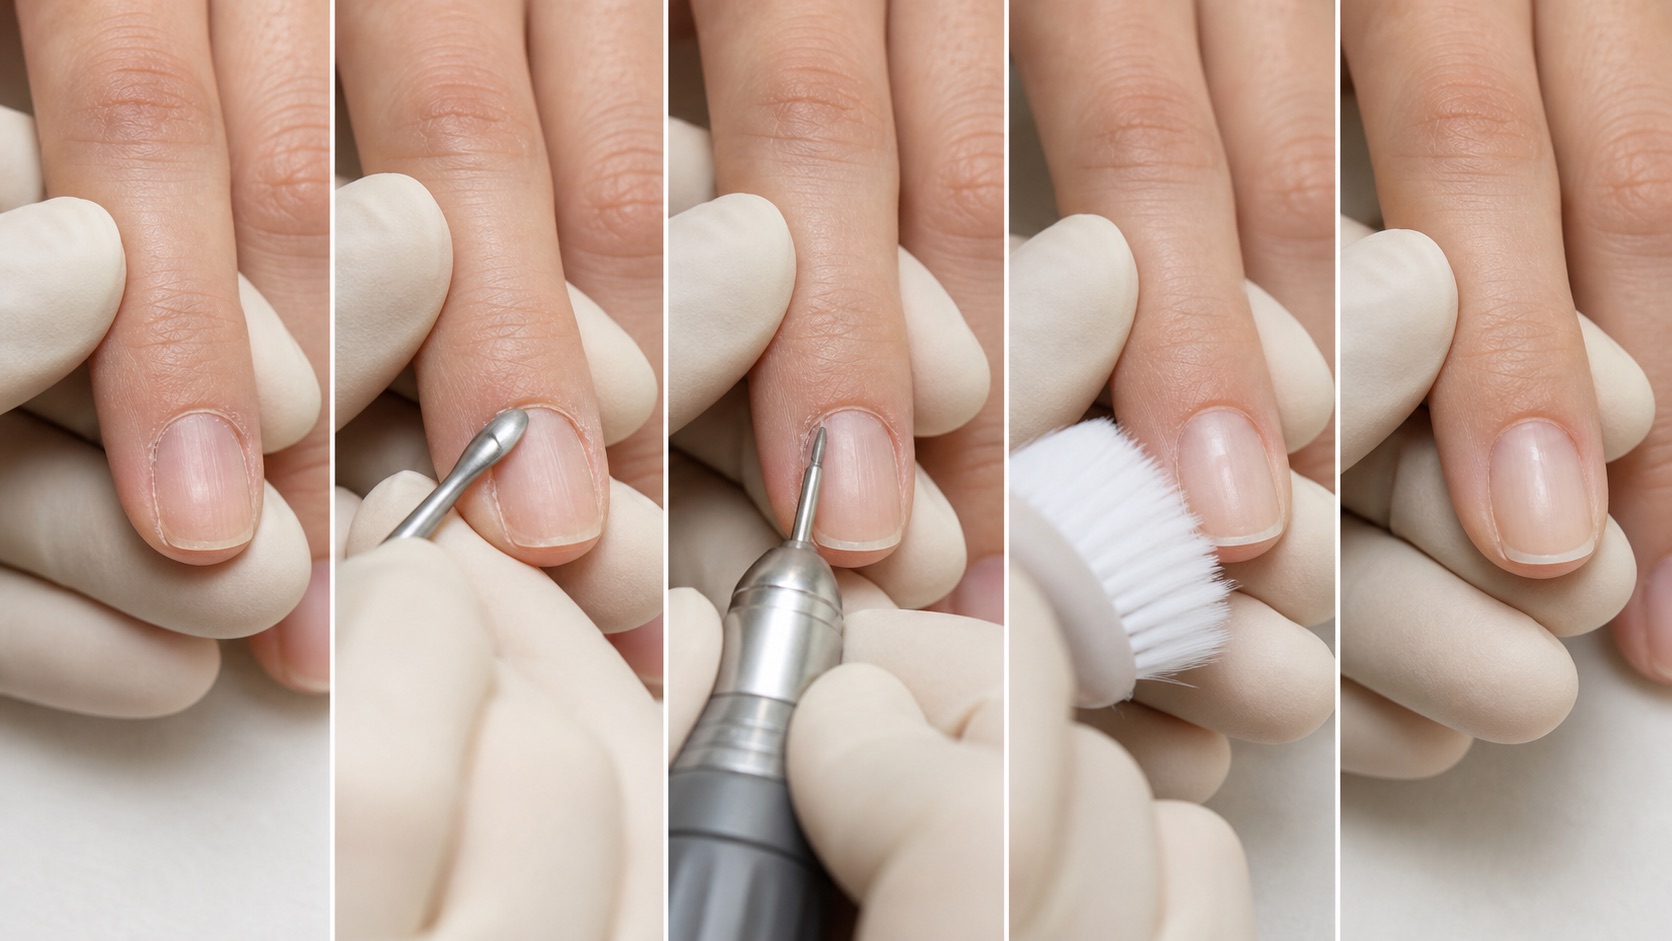
A conservative dry-manicure sequence
Seven stages with reassessment between tools
Do not let the desired photograph determine the depth
Assess and prepare
Reveal and remove minimally
Refine and inspect
Proceed only if suitable
Assess all nail plates and folds, record concerns and decide which fingers need no cutting or e-file work.
Prepare clean hands, surfaces, processed reusable tools, single-use items, lighting and dust control.
Gently reveal the plate margin without forcing the living fold into a stretched pocket.
Remove only visible nonliving residue with short supported actions and continuous visual control.
Refine a free hangnail only when its boundary is clear; never chase a continuous deeper cut for symmetry.
Remove dust, inspect from several angles and confirm there is no pain, heat, bleeding, groove or shiny damaged skin.
If applying a coating, return to that product system’s preparation and skin-clearance protocol.
What a safe finished result looks and feels like
Clean does not mean empty or deep
Tissue integrity is part of the result
Controlled
Intact, normal colour, comfortable
Friction
Pink or shiny skin
Trauma
Cut, blood or plate groove
Response
Stop and follow protocol
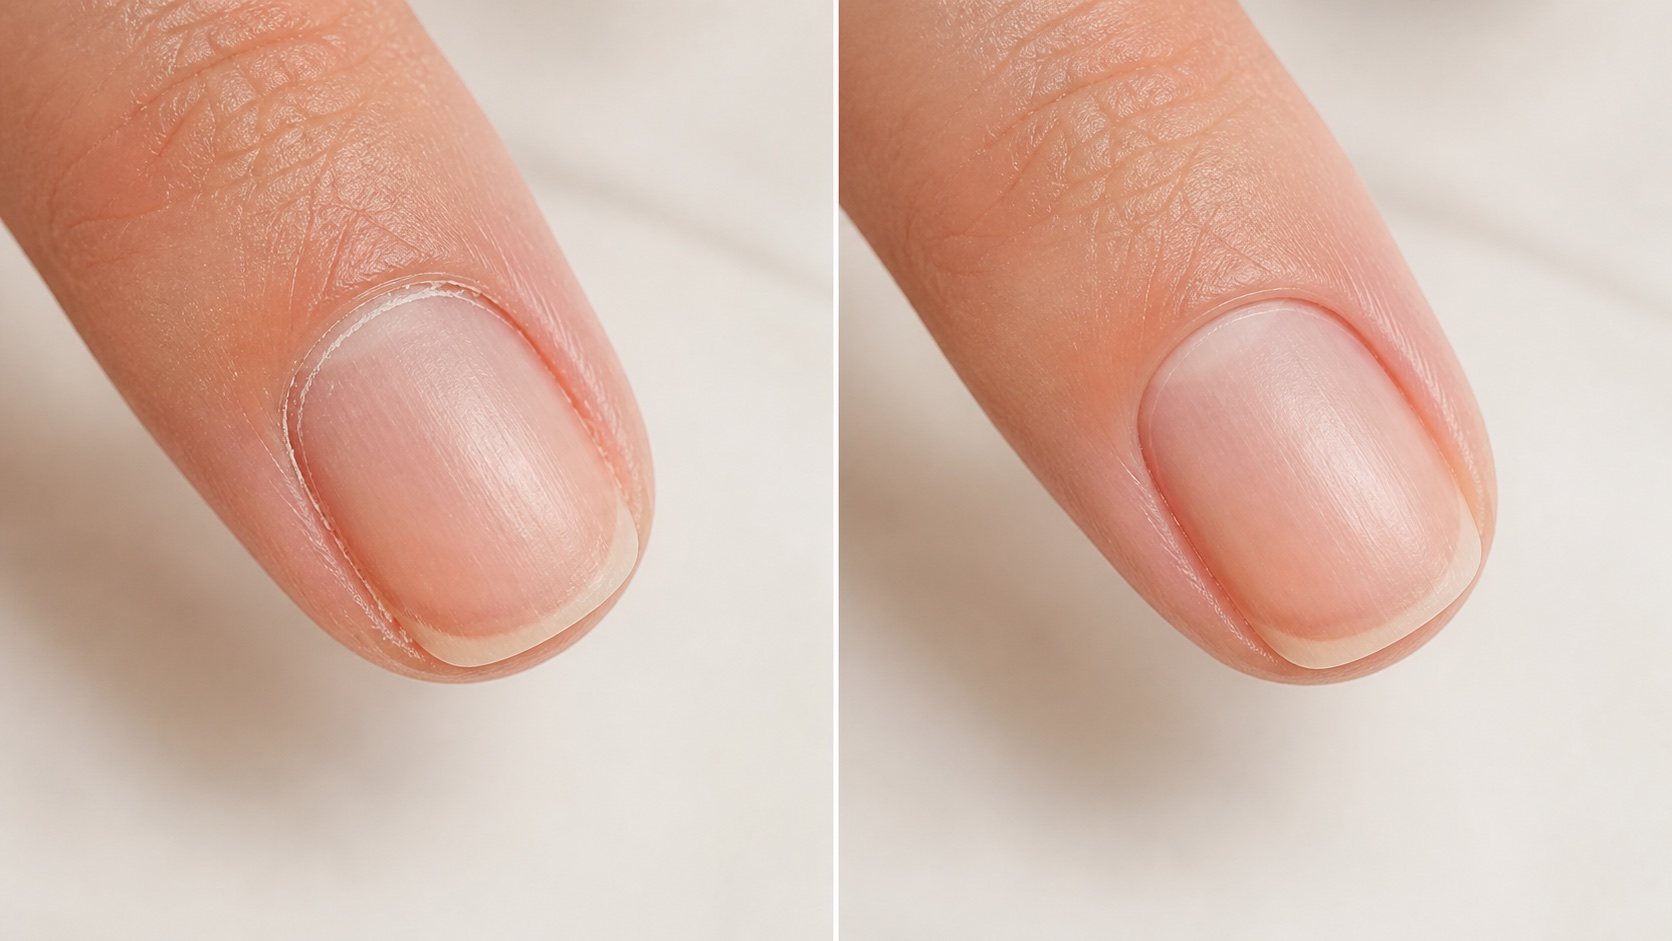
The nail perimeter should be readable and free from residue relevant to the planned coating, while the skin remains intact, normally coloured and comfortable. The goal is not a perfectly empty fold or a colour line hidden under injured tissue. A before-and-after image should show refinement without redness, white pressure marks, cuts, blood or a visibly enlarged channel.
Observation | Likely interpretation | Response |
|---|---|---|
Thin dry fringe on plate | Possible nonliving residue | Reveal gently; remove only if clear |
Pink, shiny or sore skin | Friction or overworking | Stop; do not continue for appearance |
Bleeding | Barrier breach and biological exposure | Stop and follow exposure protocol |
Plate groove or heat | Wrong angle, pressure or repeated pass | Stop; do not cover pain or damage |
Bleeding is an incident, not a normal step
OSHA identifies blood and potentially infectious materials as biological hazards in nail salons. Prevention starts by avoiding work on open or visibly affected skin and by not cutting living tissue. If bleeding occurs, stop the service, avoid direct contact, separate contaminated disposables, and follow the workplace exposure, cleaning and incident procedures required in the jurisdiction. Do not continue colour application over the area.
Gloves reduce exposure only when selected, used and changed correctly. They do not convert an aggressive technique into a safe one. The workstation should already have a written response for skin breaks, tool contamination and cleaning products rather than improvising after an incident.
Product placement after detailed fold work
A detailed manicure can make the nail margin more visible, but it does not authorise gel, base or primer on skin. Keep a clean controllable distance that matches product viscosity and the technician’s application skill. If the fold has been stretched, allow it to return to its natural position before judging the margin; otherwise skin may move back into uncured material after the brush leaves.
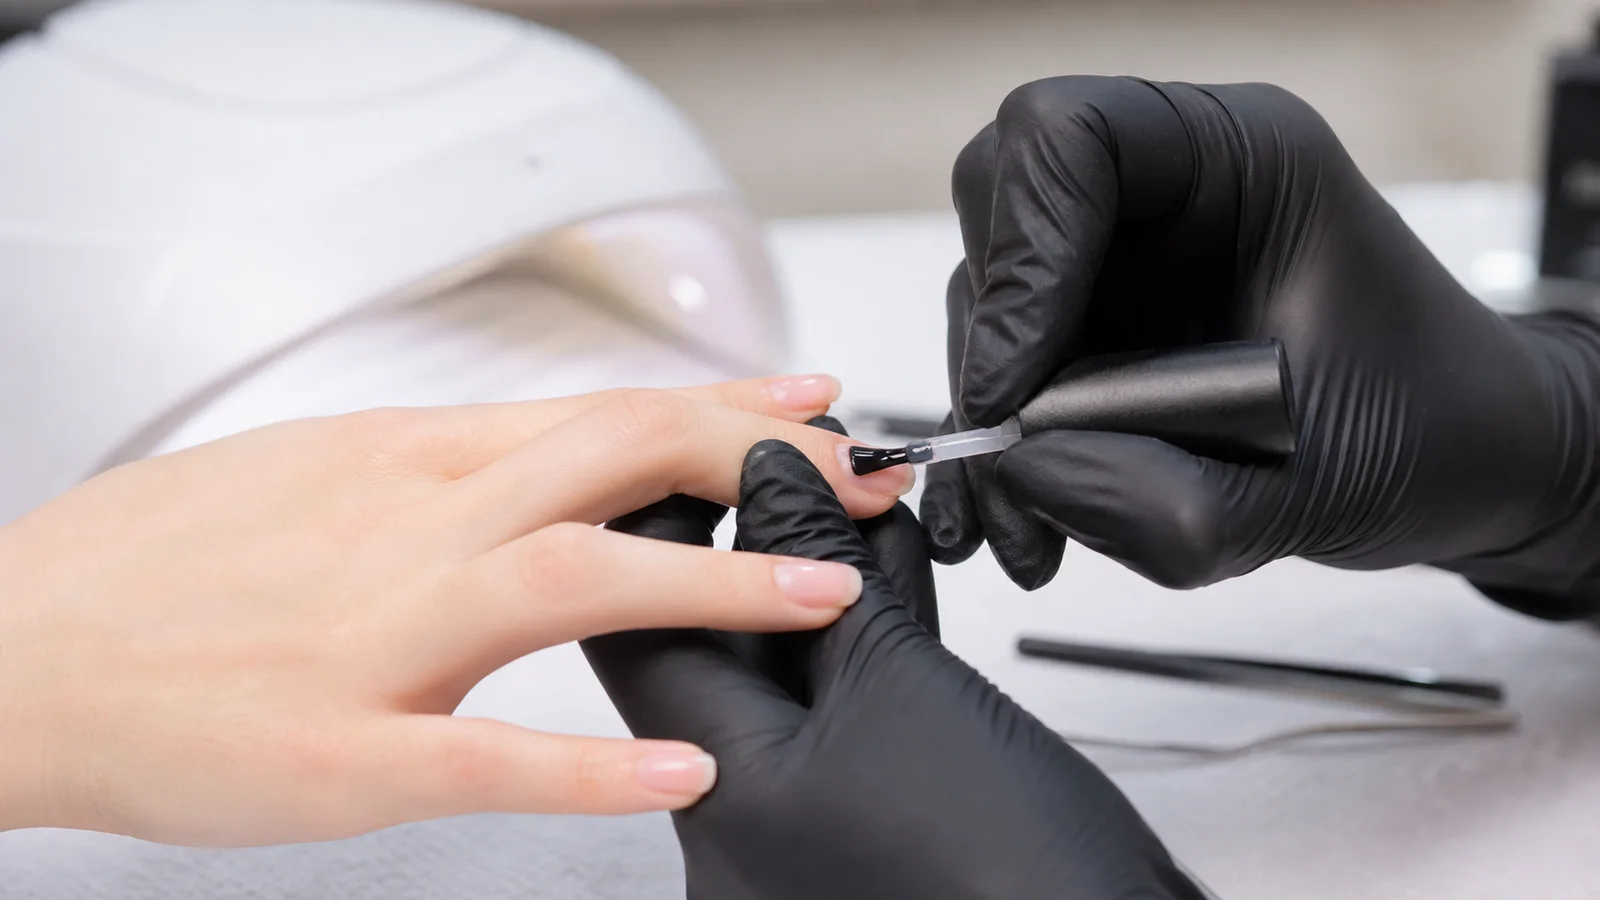
Never use a freshly created cut, abrasion or deep pocket as a route for placing colour closer to the nail root. If product touches skin, remove it fully before curing and control every contaminated brush, glove or wipe. Read the full gel-polish safety guide for acrylate exposure, compatible lamps and removal. A clean photograph is secondary to an intact barrier and a coating that remains entirely on the suitable nail plate.
Where the tissue is sore, pink, shiny or bleeding, do not proceed with a reactive coating. Record what happened, follow the incident procedure and allow appropriate recovery or assessment. Covering the area hides evidence and can add chemical exposure to mechanical trauma.
Common dry- and Russian-manicure errors
Treating every fold with the same bit, pressure and number of passes.
Using rotation direction from habit rather than the active side and travel path of the bit.
Mistaking living proximal-fold tissue for cuticle and cutting a continuous ring.
Increasing speed to compensate for poor visibility, a worn bit or unstable hand support.
Repeating passes after dust obscures the surface or the tissue becomes pink and shiny.
Judging success by how far colour can be placed under the fold rather than tissue integrity.
How to learn the technique in a safer progression
Begin with nail-unit anatomy, hygiene, contraindication screening and visual identification of living versus nonliving tissue. Practise manual-tool angles and minimal pressure before combining instruments. Introduce the e-file on training media to understand bit contact, rotation and heat, then progress to carefully selected models with supervision and documented feedback. Speed comes after repeatable tissue recognition.
Compare BeautyLearn online nail courses by prerequisites, practical demonstrations and feedback rather than choosing from a close-up result alone. Use the English nail guide library to connect fold work with filing, gel-polish safety and natural-nail limits.
Frequently asked questions
Are dry manicure and Russian manicure the same?
Not necessarily. Dry means no soaking; Russian commonly describes detailed fold work, often with an e-file. Ask for the actual tools and tissue steps.
Does Russian manicure have to use an electric file?
The commercial term is inconsistent, but e-file work is common. The procedure should be described concretely rather than inferred from the name.
Should cuticles be removed completely?
No. Only clearly nonliving tissue relevant to the service may be removed. Living protective folds should not be cut or drilled away.
Should a dry manicure hurt?
No. Sharp discomfort, heat, burning or withdrawal is a stop signal. Reassess angle, pressure, tool, tissue and whether work is needed at all.
Is bleeding normal during Russian manicure?
No. It is a barrier breach and biological-exposure incident. Stop and follow the applicable workplace protocol; do not continue over the area.
What RPM should I use for cuticle work?
There is no universal number. Machine, bit, diameter, manufacturer range, tissue, direction, angle and operator control all change the result.
Which bit is safest for Russian manicure?
No shape is universally safest. Verify intended use and condition, then select the least aggressive tool that provides controlled visibility for the defined task.
Can dry manicure improve gel-polish retention?
Removing relevant nonliving residue can improve a clean margin, but retention also depends on surface prep, skin clearance, product compatibility, cure and wear.
Is a very deep colour line proof of a better manicure?
No. Colour placement must remain on the nail plate and respect living tissue. Depth in a photograph does not demonstrate safety or durability.
Can I perform dry manicure on inflamed skin?
Postpone when skin is inflamed, open, painful, swollen or otherwise unsuitable. Do not diagnose or use the procedure to remove the visible sign.
How often can Russian manicure be performed?
There is no fixed safe interval. Reassess tissue recovery and need at every visit; do less or none when previous work is still visible or sensitive.
Is dry manicure the same as nail prep?
No. Dry manicure describes work without soaking, especially around the folds. Nail prep is the complete preparation of the adhesion surface for a product system.
Official sources and editorial review
Editorial and source review: 5 September 2026. Tool processing, exposure response and professional scope must follow current local rules and manufacturer instructions.
This page owns dry, Russian and combi manicure technique around the nail folds. Adhesion preparation, complete e-file operation and medical diagnosis remain separate intents.