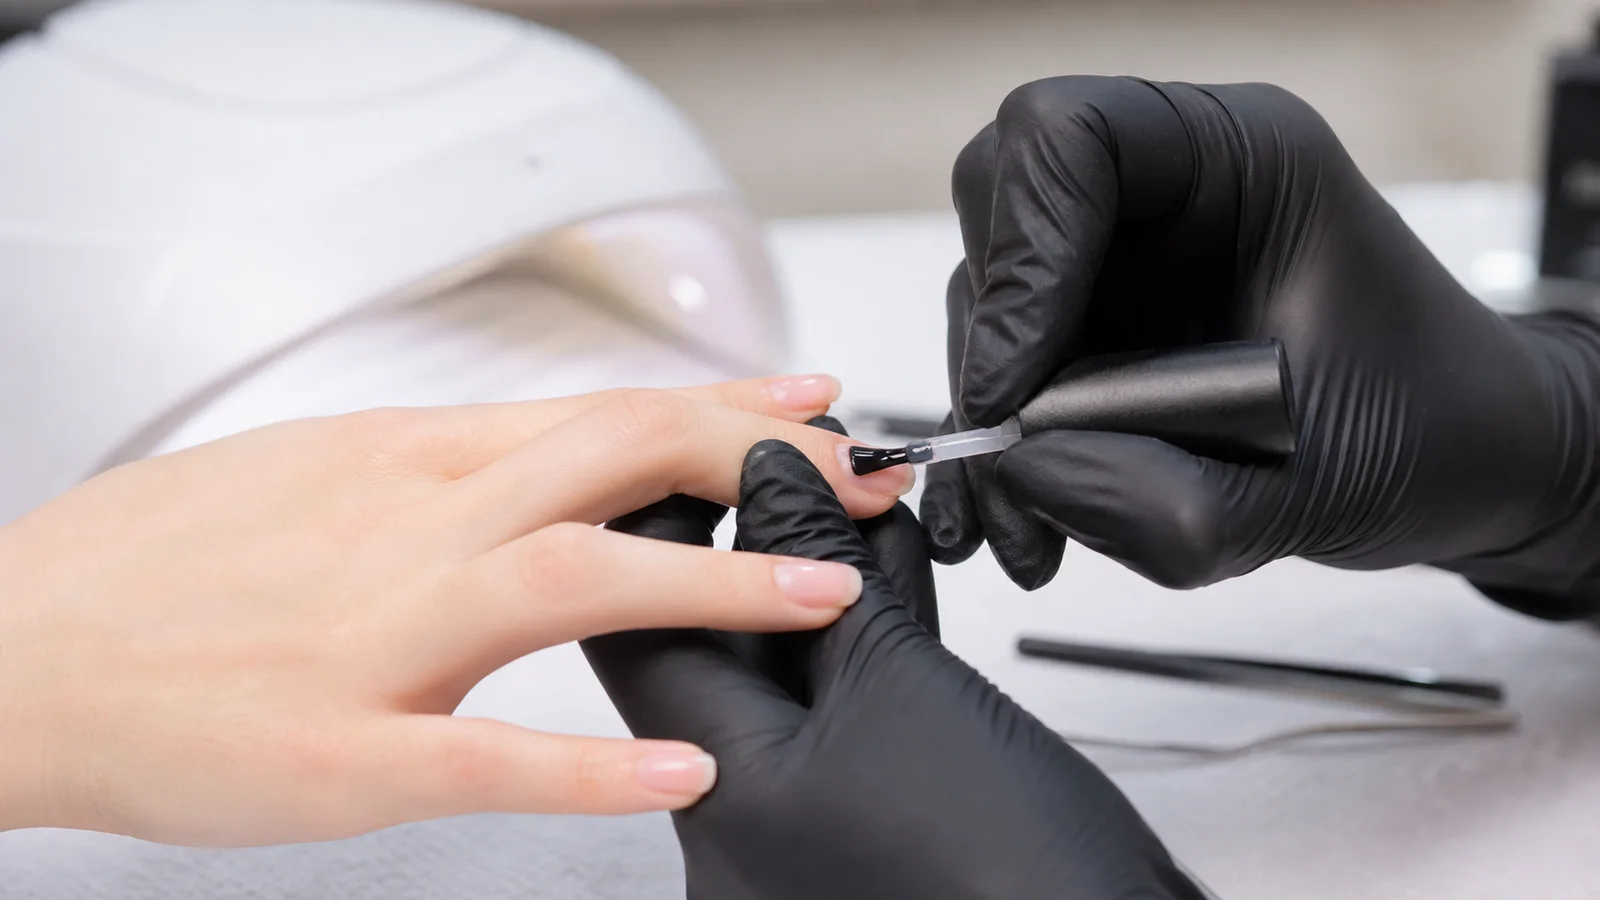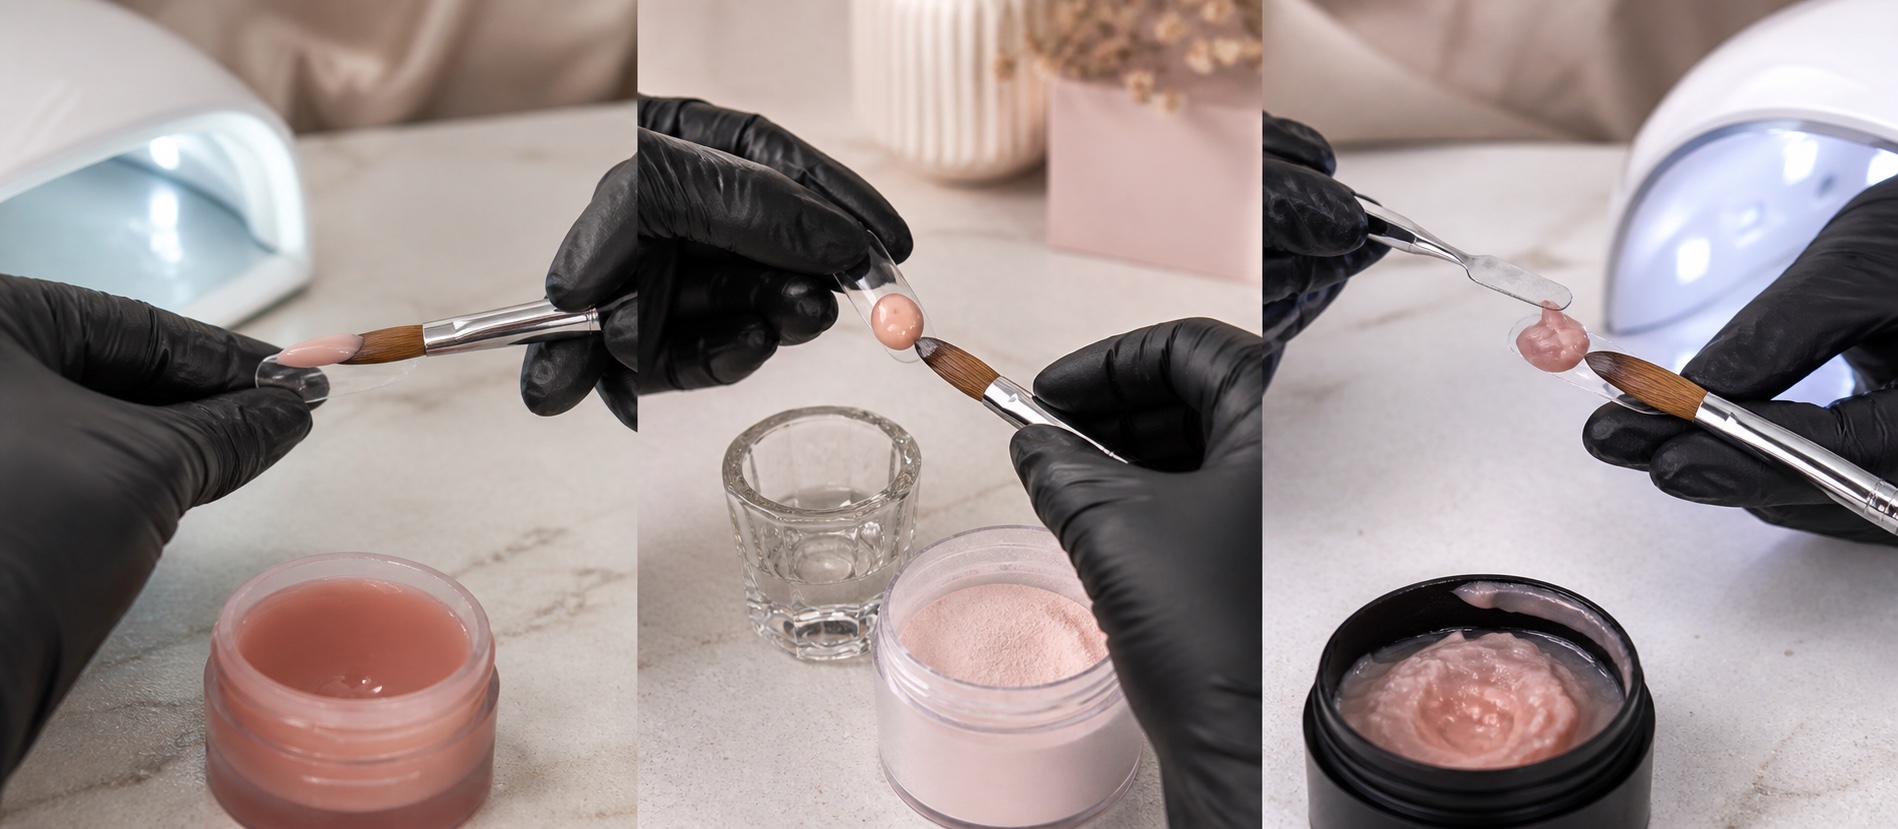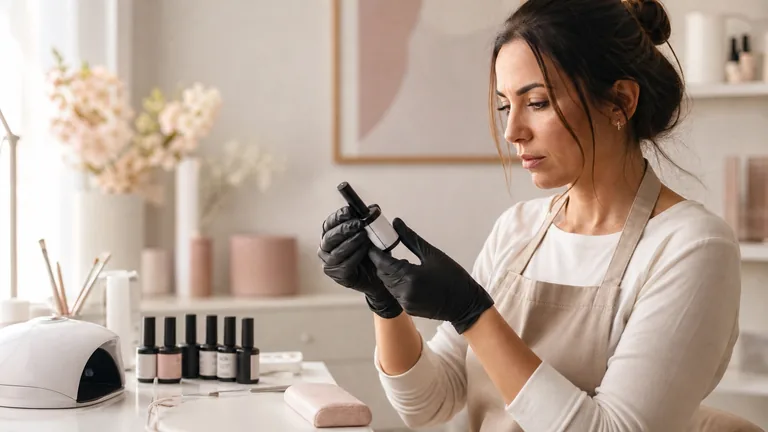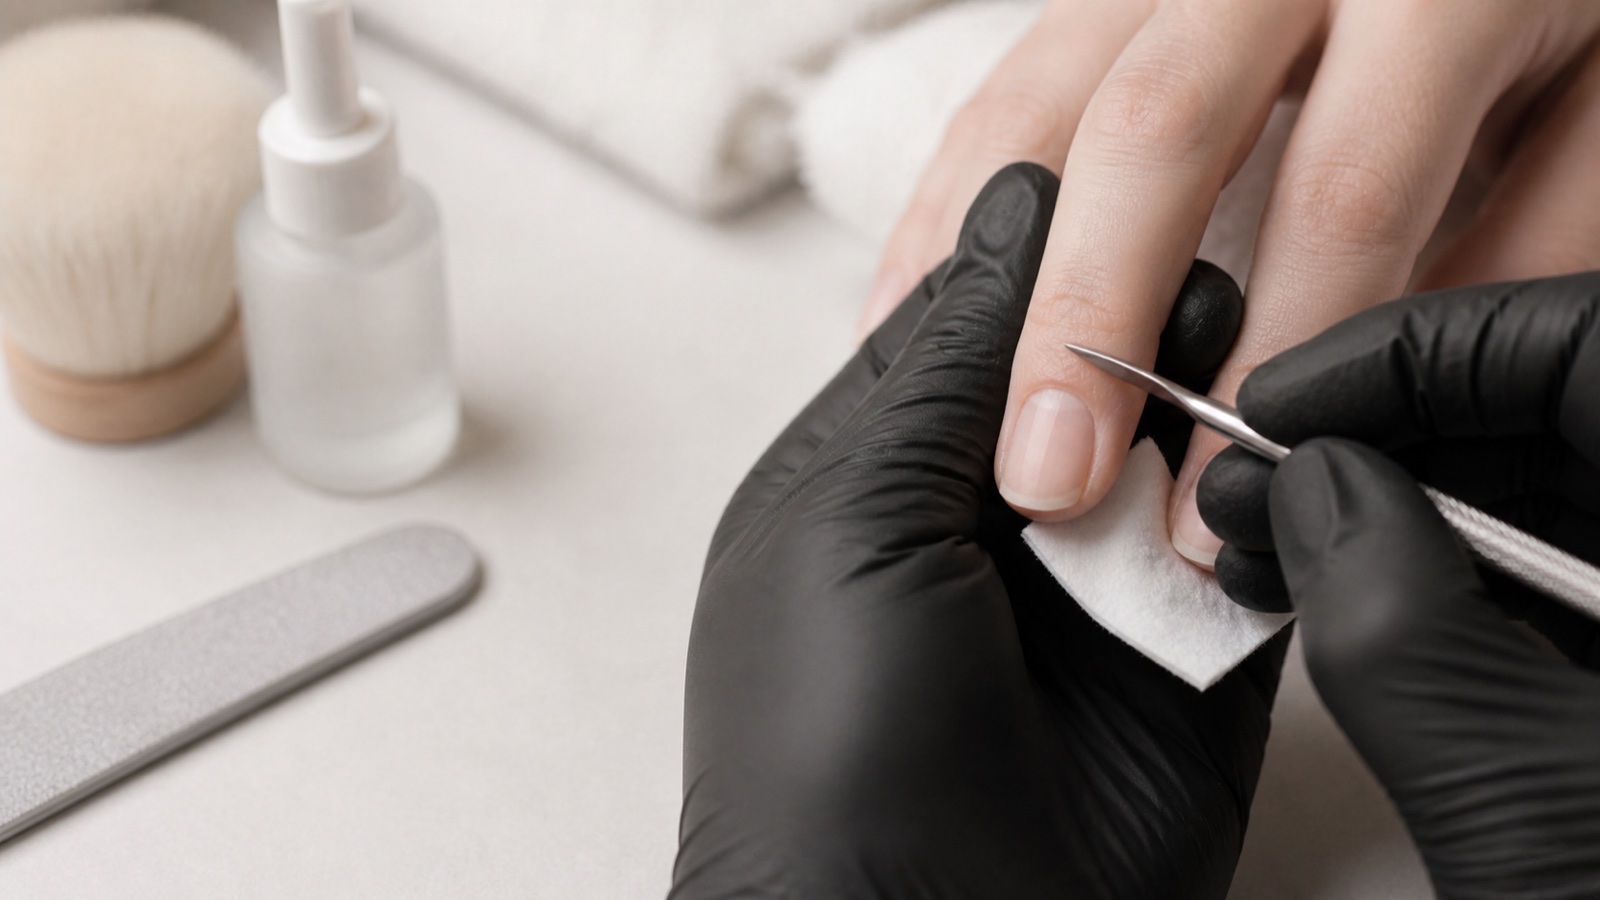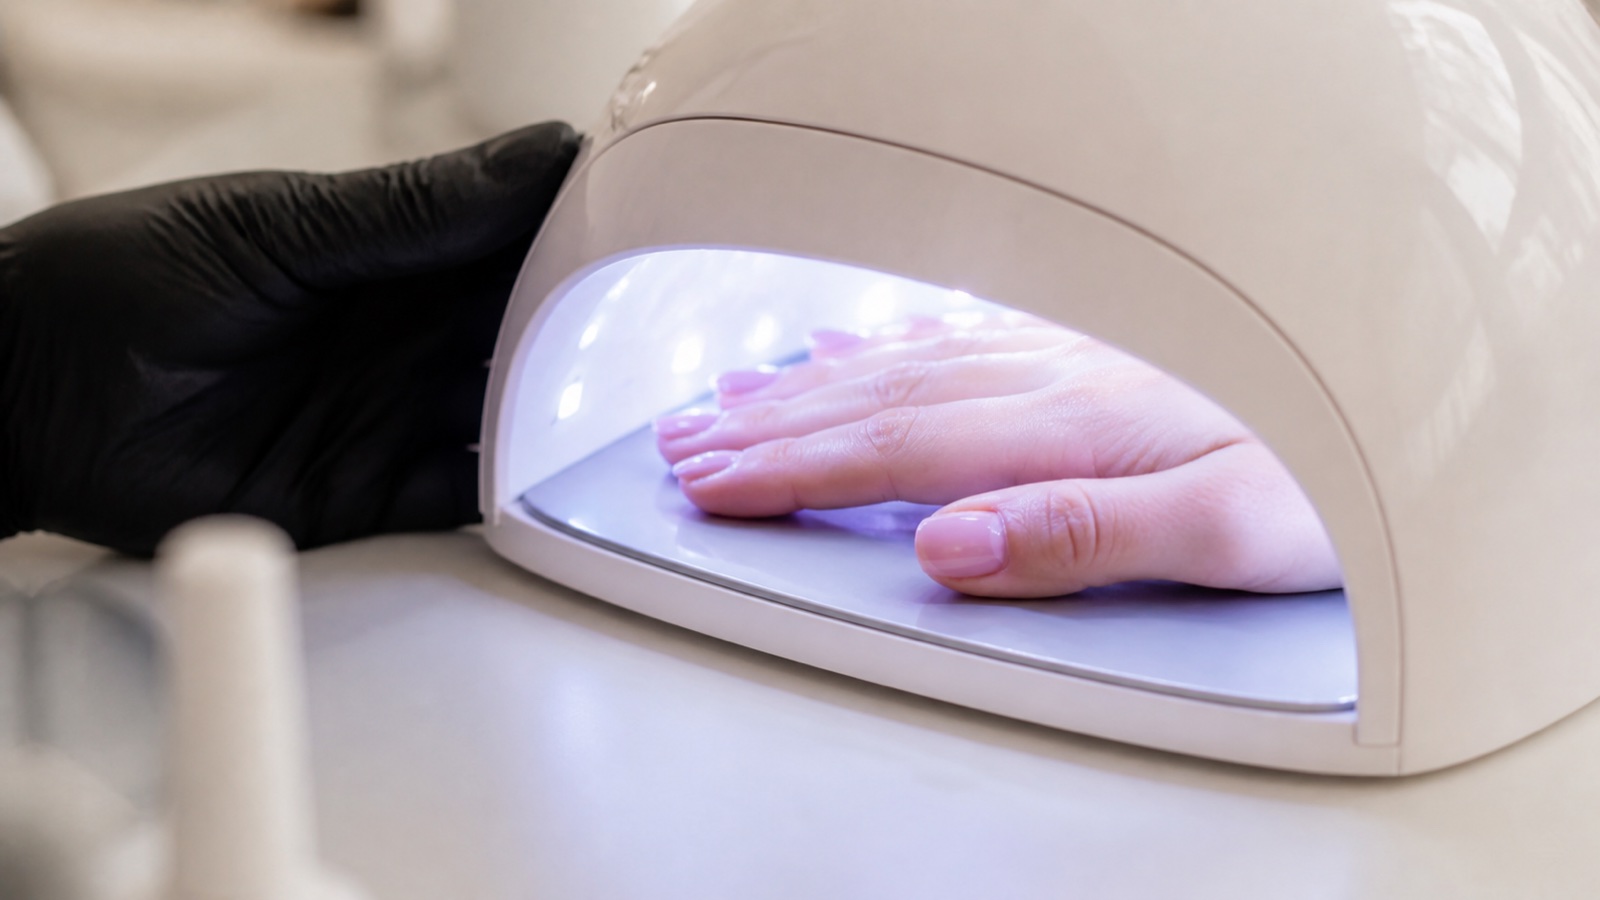
Curing gel nails correctly does not mean leaving a hand under a lamp until the coating feels hard. Light must activate the photoinitiators in the exact formula and deliver enough energy through the applied layer to form a sufficiently stable polymer network. Product, lamp, thickness, pigmentation, hand position and exposure time therefore operate as one system.
Professional rule: use the product with the lamp or lamp specification its manufacturer declares compatible, apply the documented thickness, keep every nail inside the intended light field and complete the stated cycle. High wattage, two improvised cycles or a hard surface do not prove complete cure.
Insufficient cure can leave more reactive material, reduce performance and increase exposure to acrylates. Keep uncured product strictly off skin. Itching, redness, swelling, blistering, pain or nail separation are not normal finishing issues: stop exposure, remove product by the appropriate safe protocol and recommend medical assessment.
This page owns lamp compatibility, exposure time and curing-control intent. The gel nail extensions guide owns the complete application workflow, while the apex guide owns structural volume placement. This guide explains why a correctly shaped nail still needs the validated light-curing system.
What curing gel nails actually means
A hard surface is not a cure measurement
Treat formula and light as one system
Formula
Photoinitiator and reactive system
Lamp
Spectrum, geometry and output
Layer
Thickness, opacity and position
Cycle
Validated exposure time
Light-curable gel contains reactive molecules and photoinitiators. When the initiators absorb light within their effective wavelength range, they trigger reactions that connect molecules into a three-dimensional polymer network. The visible change from liquid to solid is useful, but surface hardness alone cannot measure conversion through the depth of the layer.
Curing is not drying. The process does not simply wait for water to evaporate, and ‘no longer moving’ is not an adequate endpoint. The formula needs a compatible spectrum and dose distributed through the intended product volume. A tacky inhibition layer can be normal; a wrinkled or unstable coating is not.
Term | What it describes | What it does not prove |
|---|---|---|
Wavelength range | Where the lamp emits light | Adequate energy everywhere in the lamp |
Irradiance | Light power reaching an area | Compatibility with every formula |
Exposure time | Duration of the validated cycle | That extra time fixes excess thickness |
Surface hardness | What the outer surface feels like | Conversion at the bottom of the layer |
UV, LED and UV/LED nail lamps: read the terms correctly
UV describes the ultraviolet region used by the system; LED describes the light source. An LED nail lamp can still emit UVA. A product marketed as a UV/LED lamp normally uses diodes selected to cover one or more emission bands, but the label does not make it universal. The formula’s initiator package must still match the light delivered.
Why wattage cannot select a curing lamp
Electrical input in watts does not by itself describe spectrum, irradiance at the nail, optical geometry or even distribution. Two 48 W devices may position different diodes around different interiors and deliver different light to thumbs and sidewalls. Select by documented product compatibility, not the largest number on a marketplace listing.
Product–lamp compatibility is the starting point
Wattage is not compatibility
The product maker’s evidence is the decision point
Not enough
Wattage or UV/LED wording
Verify
Named lamp or supported specification
Control
Layer, hand position and full time
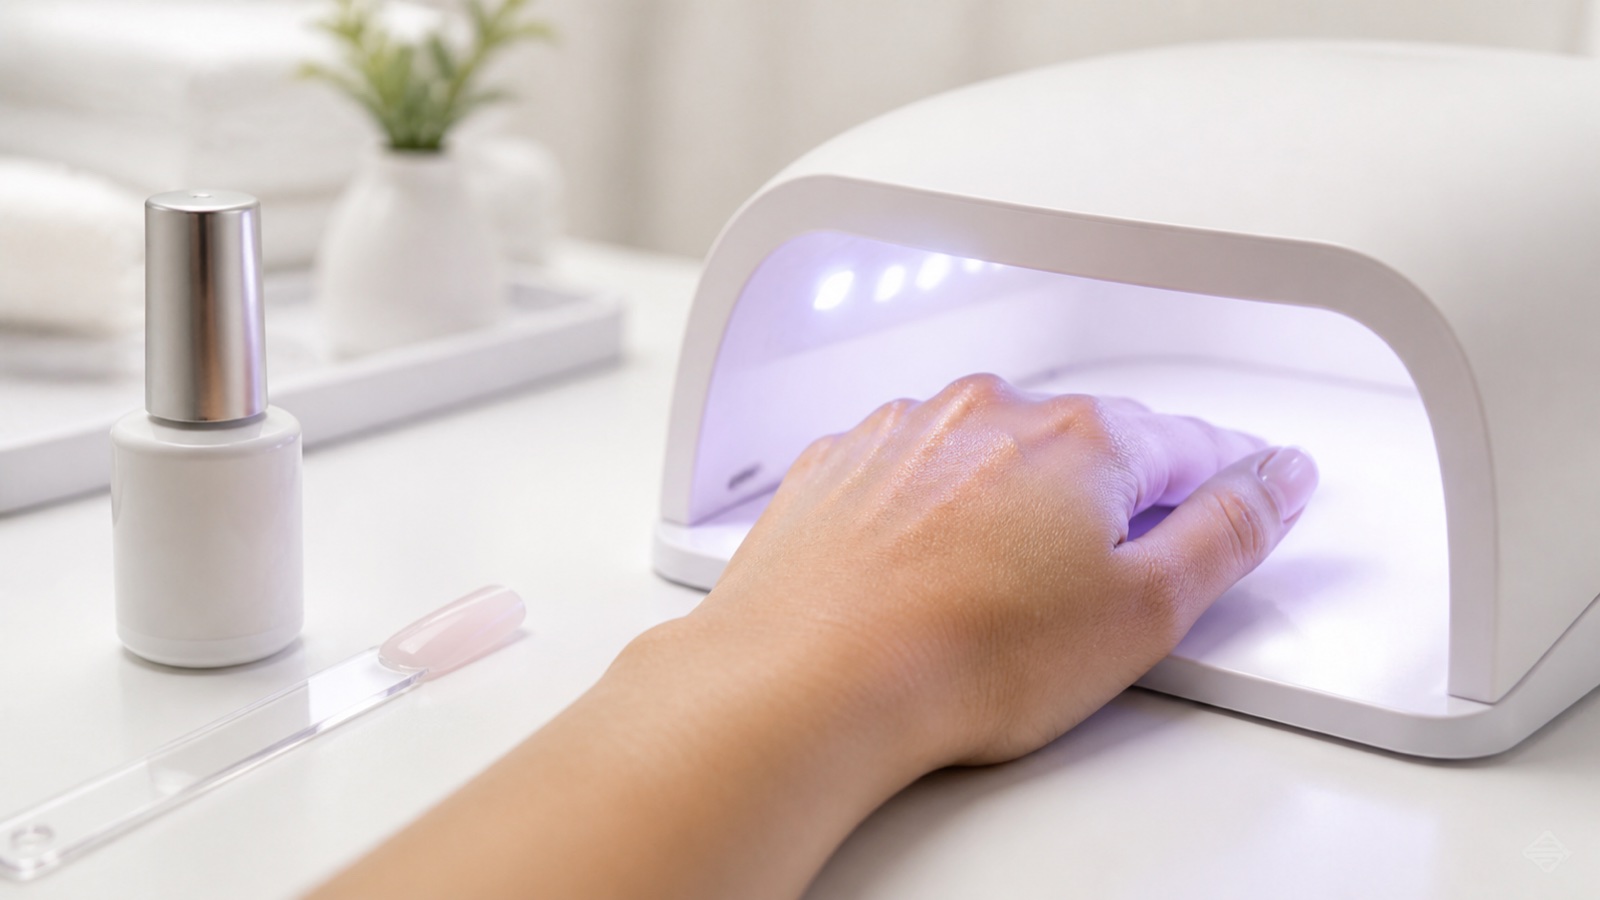
A photoinitiator works efficiently only when it receives suitable light with sufficient energy. The product manufacturer should identify the recommended lamp or supported specifications, cycle and maximum application method. Combining base, builder, colour and top from unrelated lines without a compatibility statement makes the system less predictable.
Spectrum: emission must overlap the absorption needs of the formula’s photoinitiators.
Geometry: useful light needs to reach centre, sides and thumbs in their specified position.
Distance: raised, bent or rotated fingers change the energy that reaches the coating.
Thickness and opacity: dense pigment or excess depth can restrict light penetration.
Time: the cycle belongs to the specified combination, not to gel products in general.
If compatibility is not documented, neither ‘it cures everything’ nor an online wattage claim fills the evidence gap. Ask the product manufacturer for written technical guidance.
Keep adhesion and curing as separate checkpoints. A dehydrator, primer or bonder prepares the interface but cannot make an incompatible lamp cure the coating. Review the nail-primer guide for product roles, then return to the lamp protocol for every light-curable layer.
What determines gel nail curing time
There is no universal 30-, 60- or 120-second rule. Validated time can differ between products in one range. Formula, colour, thickness, lamp, nail location and source condition all contribute. Use the current instructions for the exact product, not a remembered value from another bottle.
Formula and photoinitiator package
Base, builder, colour and top may use different initiator combinations and different reactive systems. Similar viscosity or a shared brand name does not guarantee the same layer or exposure schedule.
Layer thickness and structural volume
A layer beyond the documented limit may harden at the top while receiving less useful light below. Adding arbitrary minutes is not a reliable correction. Apply the specified amount and use multiple controlled stages only when the system supports them. Coordinate structural volume with the broader nail-architecture guide.
Opaque colours, white, black and glitter
Dense pigments and decorative particles may absorb, scatter or reflect some light. Apply thin even colour layers exactly as directed. Do not dilute the product or use a self-invented longer cycle to compensate for an application that is too thick.
Hand and thumb position
Bent fingers, a rotated thumb or a hand lifted from the base can leave areas outside the intended field. Ask the client to rest the hand flat, centred and still. Cure thumbs separately only when the system’s lamp geometry or instructions require that position; do not create a different exposure time.
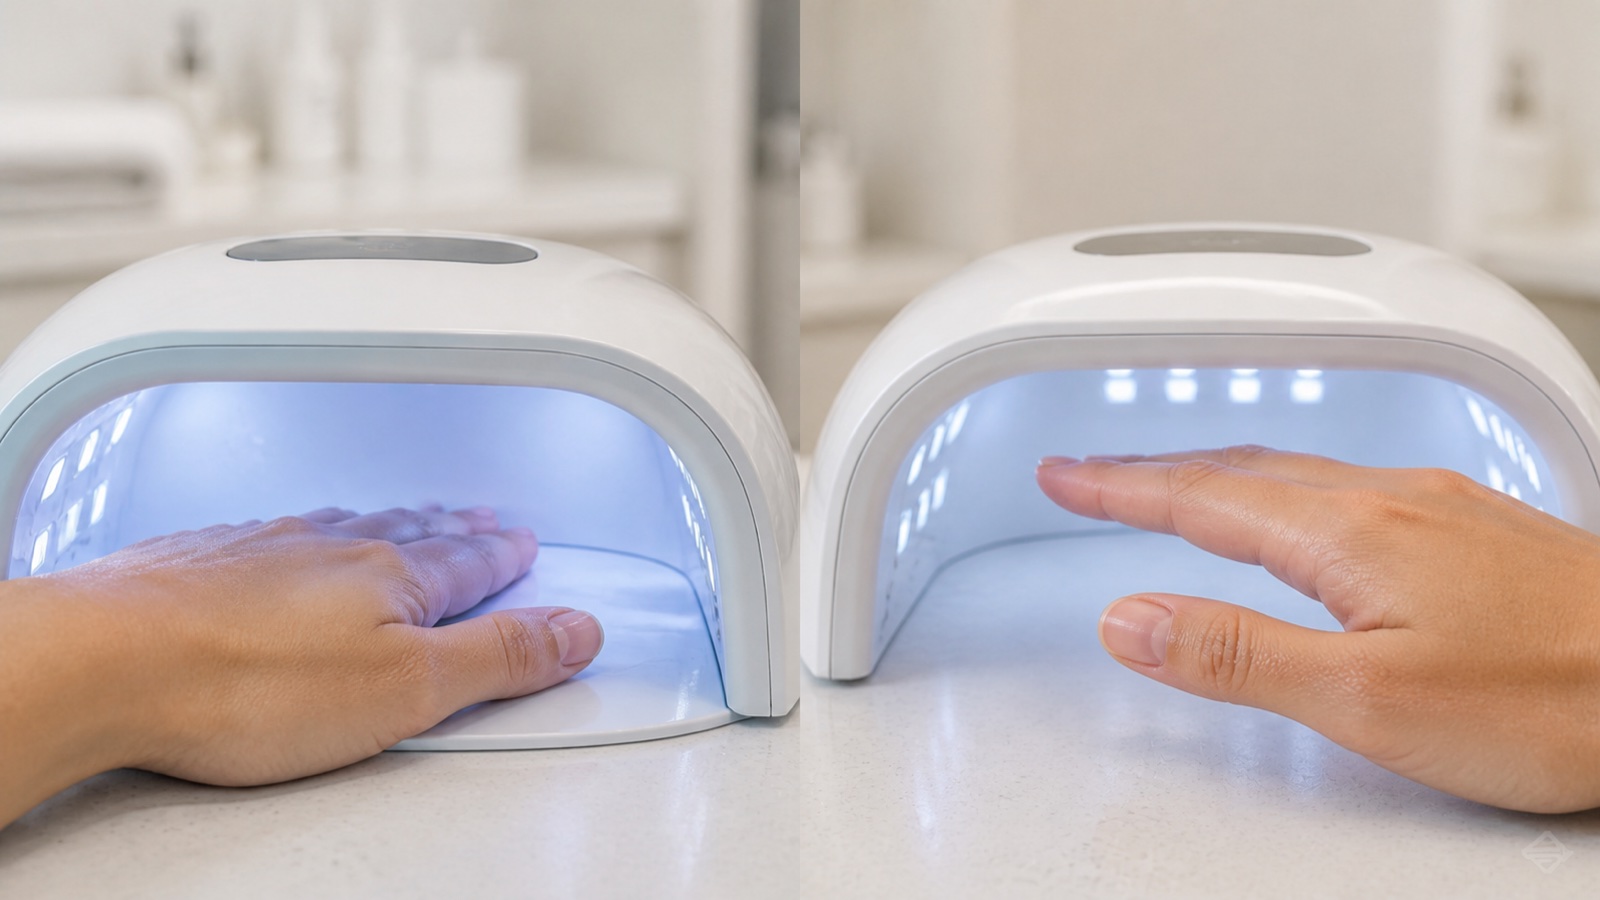
A seven-step professional curing protocol
Control the application before pressing start
Every stage protects the same curing system
Instructions and device check
Skin clearance and thickness
Position and complete cycle
Traceable record
1. Read the exact system protocol
Confirm the recommended lamp, cycle, any low-power mode, maximum layer or bead method, number of coats, expiry and batch. Keep current technical instructions available at the desk rather than relying on memory.
2. Inspect and clean the device
Keep the base and light sources free from dust and product residue. Follow manufacturer cleaning, disinfection, service and replacement instructions. Remove a lamp with damaged housing, cable, irregular timer or non-functioning diodes from use.
3. Keep uncured product off skin
Apply only to the nail and maintain a controlled margin. If gel floods a fold, remove it completely by the product protocol before the hand enters the lamp. Curing product on skin does not erase the exposure that already occurred and can increase sensitisation risk.
4. Apply the supported thickness
Distribute base and colour in thin even layers. Build structural gels within the system’s volume and staging rules instead of concentrating an oversized mound. Do not assume a second cycle can cure any depth.
5. Position all nails in the light field
Keep fingers straight, separated as directed and parallel with the lamp base. Explain that the hand remains inside until the signal. Check natural thumb rotation and sidewalls rather than assuming the top view proves correct placement.
6. Complete the documented cycle
Do not interrupt the timer or alternate lamps within the service. A low-heat mode, when specified, changes initial energy delivery to manage the sensation of heat; it still needs to be part of the manufacturer’s complete validated cycle.
7. Record product, lamp and exceptions
Document product and batch, lamp model, cycle, layer sequence and any anomaly. A traceable record helps investigate wrinkling, breakage, lifting or skin symptoms without changing several variables at once.
Heat spikes: why gel can feel hot in the lamp
Polymerisation releases heat as new bonds form. A large product mass, a reactive formula, rapid light delivery or a thin and sensitive nail plate can make the sensation more intense. Pain is not evidence of a good cure.
A client must be able to remove the hand if intense burning occurs. Do not tell them to endure it. Reassess product mass, nail condition and the exact system protocol; use low-heat mode only when it belongs to that validated process.
Do not invent a repeated in-and-out rhythm. Every interruption changes exposure. If heat spikes recur, reduce unsupported product mass, reassess the natural nail and contact the manufacturer’s technical support.
Curing errors: signs, likely variables and response
Read the sign without guessing the cure percentage
Remove instability; do not seal it in
Wrinkle
Layer, opacity, lamp or cycle
Softness
Compatibility, quantity or device
Thumb
Rotation and light-field position
Lifting
Cure plus full service analysis
Observation | Variables to check | Controlled response |
|---|---|---|
Colour wrinkles | Excess layer, opacity, lamp, position, interrupted cycle | Remove as directed; repeat thinly within the system |
Product remains soft or shifts | Compatibility, quantity, device or cycle | Do not file unstable material; use the supported removal method |
Problem mainly on thumbs | Rotation and light-field position | Use the documented separate position or cycle arrangement |
Early lifting | Cure plus prep, skin contact, structure, impact and care | Use location and timing; do not blame the lamp alone |
Use the dedicated lifting troubleshooting guide when failure appears after the service. Cure is one plausible variable, not a diagnosis from wear alone.
Does a tacky inhibition layer mean the gel is uncured?
Not necessarily. Oxygen at the surface can inhibit part of the reaction and leave a tacky layer that the system expects. Remove it only at the stated step and with the recommended product. Its presence or absence cannot validate conversion at depth, and touching it with bare skin is not a cure test.
Acrylate safety and incomplete curing
Artificial-nail and gel-polish products can contain acrylates or methacrylates capable of causing allergic contact dermatitis. Prevention relies on correct professional use: keep reactive product on the nail plate, use compatible curing equipment, follow directions, minimise dust and vapour exposure, clean spills and use controls selected through the workplace risk assessment.
Itching, redness, swelling, blisters, fissures, periungual change or nail separation should not be covered with another service. Stop further exposure and advise medical assessment. A ‘HEMA-free’ label is not permission for skin contact and does not prove the formula contains no other acrylate sensitiser.
For practical system training, compare BeautyLearn’s current online nail courses and continue through the English nail guide library. English products are demonstrated within independent English-market course records.
End-of-service curing checklist
Product, lamp and cycle match the current system instructions.
Every layer stayed within the supported application method and off skin.
The hand remained flat, centred and still for the complete cycle.
Thumbs and sidewalls received light in the specified position.
No wrinkles, unstable product, flooding or product on skin remain.
Batch, lamp, cycle and unusual events are recorded.
Frequently asked questions about curing gel nails
How many seconds does gel need to cure?
There is no universal number. Use the exact product’s stated time with its compatible lamp, supported layer and correct hand position.
Is a 48 W lamp better than a 36 W lamp?
Wattage alone cannot answer. Spectrum, optical geometry, delivered irradiance and validated formula compatibility matter.
Can one UV/LED lamp cure every brand?
Only when each manufacturer confirms compatibility. UV/LED wording is not a universal-cure certification.
If gel feels hard, is it completely cured?
No. Surface hardness cannot measure conversion deeper in the layer. Follow the validated system rather than a touch test.
Should thumbs be cured separately?
Follow the lamp and product instructions. A separate correctly positioned thumb cycle may be required by some geometries.
Why does gel polish wrinkle in the lamp?
Common variables include an excessive or opaque layer, incompatible lamp, poor position or interrupted exposure. Remove and repeat as directed.
Is curing for longer always safer?
No. Extra time does not fix incompatible wavelengths, shadow or excess thickness. It also adds heat and UVA exposure without proving cure.
When should a nail lamp be replaced?
Use the maker’s service and replacement criteria, and remove it earlier for damage, timer faults or failed light sources.
Does the tacky layer need another cure?
Not automatically. It may be the intended oxygen-inhibition layer. Follow the product’s next step and avoid bare-skin contact.
Can I cure a thick builder-gel apex twice?
Do not assume two cycles validate an unsupported mass. Use the product’s stated bead, thickness and staged-curing method.
Is a low-heat mode a shorter cure?
Not necessarily. It changes early power delivery and must still complete the exact cycle specified for the system.
Can gel allergy be diagnosed from a heat spike?
No. A heat spike is an exothermic sensation, while allergy requires clinical assessment. Persistent skin or nail symptoms need medical advice.
Sources and editorial review
Editorial review: 5 September 2026. The manufacturer’s current instructions remain authoritative for the specific cosmetic and lamp system.
European Commission SCCS: safety of HEMA and Di-HEMA Trimethylhexyl Dicarbamate
British Association of Dermatologists: artificial nail allergy and home kits
This page owns curing-system compatibility and operation. Complete gel application, architecture, apex placement and lifting analysis remain with their dedicated English guides.