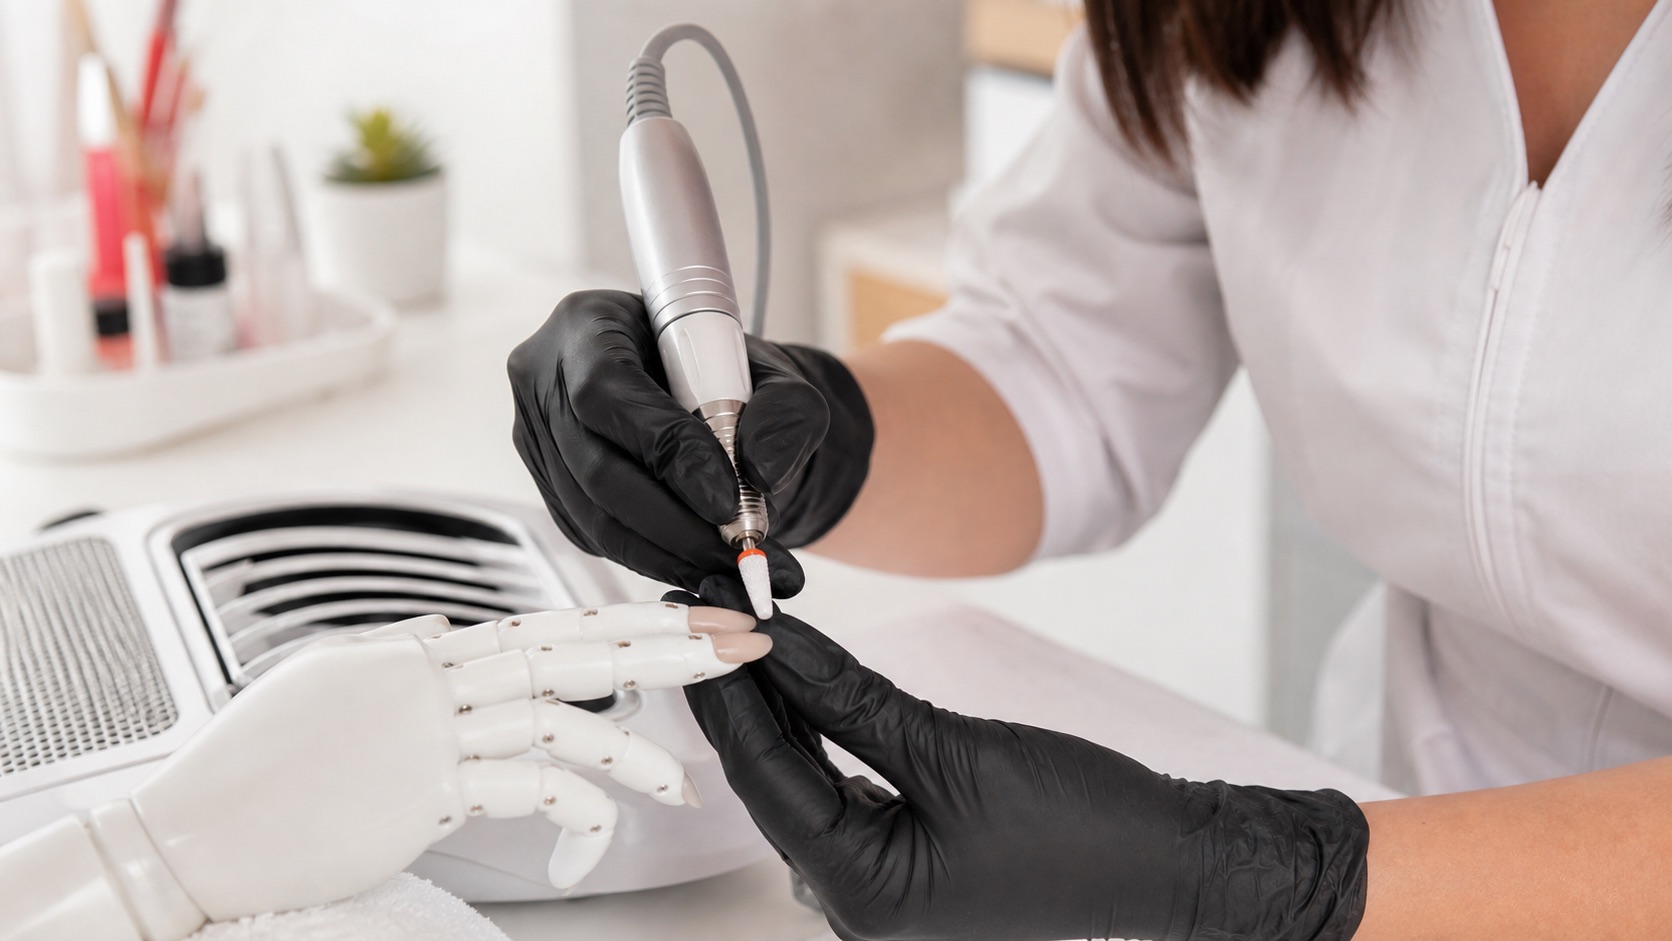
An electric nail file—often called an e-file or nail drill—is a powered handpiece that rotates a removable bit for defined professional tasks. It can reduce cured enhancement product, refine an underside or support a trained dry-manicure sequence, but it does not decide which tissue or material is safe to touch. Control comes from the machine, bit, speed, direction, pressure, contact area, movement and operator’s view working together.
Quick answer: choose a serviceable machine with a stable low-vibration handpiece and secure chuck; match a clean, undamaged bit to one material and task; set direction for the working side and operator hand; begin at a controlled speed; stabilise the client’s finger; keep the correct bit area moving on visible product; use local dust extraction; and stop for heat, pain, vibration, resistance or loss of visibility. RPM alone never makes a technique safe.
This guide owns the broad machine-control intent in the BeautyLearn professional nail guide library. Read professional hand filing for abrasive sequence, nail-matrix anatomy for living boundaries and the nail-lifting guide before reducing an unstable pocket. Individual bit geometry and gel-removal selection remain a separate technical intent. For practical training, compare the Electric Nail File Course and all online nail courses. English enrolments, courses and teacher records remain isolated from the Italian market.
What an electric nail file can and cannot do
An e-file can make repetitive product reduction more consistent and reduce physical effort when the technician understands the task. It can also cause rapid heat, grooves, thinning, cuts or airborne dust when a bit is unsuitable, stationary, overloaded or used without visibility. The motor multiplies movement; it does not turn an untrained decision into a safe one.
Do not use the machine to diagnose or treat nail disease, dig beneath attached nail, chase every trace of coating into the plate, or cut living tissue. Practise handpiece handling, direction changes and surface contact on training material before client use. Natural nail, cured product and surrounding skin are three different surfaces and must not share one default bit or speed.
Machine specifications that matter in professional work
Maximum RPM is only one specification
Professional control begins with a stable system
Handpiece
Low vibration and manageable weight
Chuck
Secure fit and centred rotation
Control
Smooth speed and direction
Support
Parts, repair and warranty
Feature | What to verify | Why it matters |
|---|---|---|
Handpiece | Weight, grip diameter, vibration, heat and cable | Affects fatigue, precision and tactile feedback |
Chuck | Supported shank, locking method and runout | A centred secure bit reduces wobble |
Speed control | Smooth low-to-high adjustment and display accuracy | Allows task-specific control without sudden jumps |
Torque | Performance under the intended load | Reduces the urge to compensate with pressure |
Forward / reverse | Safe change procedure in the manual | Supports both working sides and left-handed use |
Service support | Warranty, handpiece parts, repair and distributor | Professional downtime and safety depend on maintenance |
A large advertised maximum RPM does not prove torque, low vibration, durability or suitability. Compare the exact handpiece supplied, not only the control box name. Test whether speed remains stable under the intended material load and whether parts and qualified servicing are available. A pedal can change workflow but does not replace a deliberate start, stop and direction protocol.
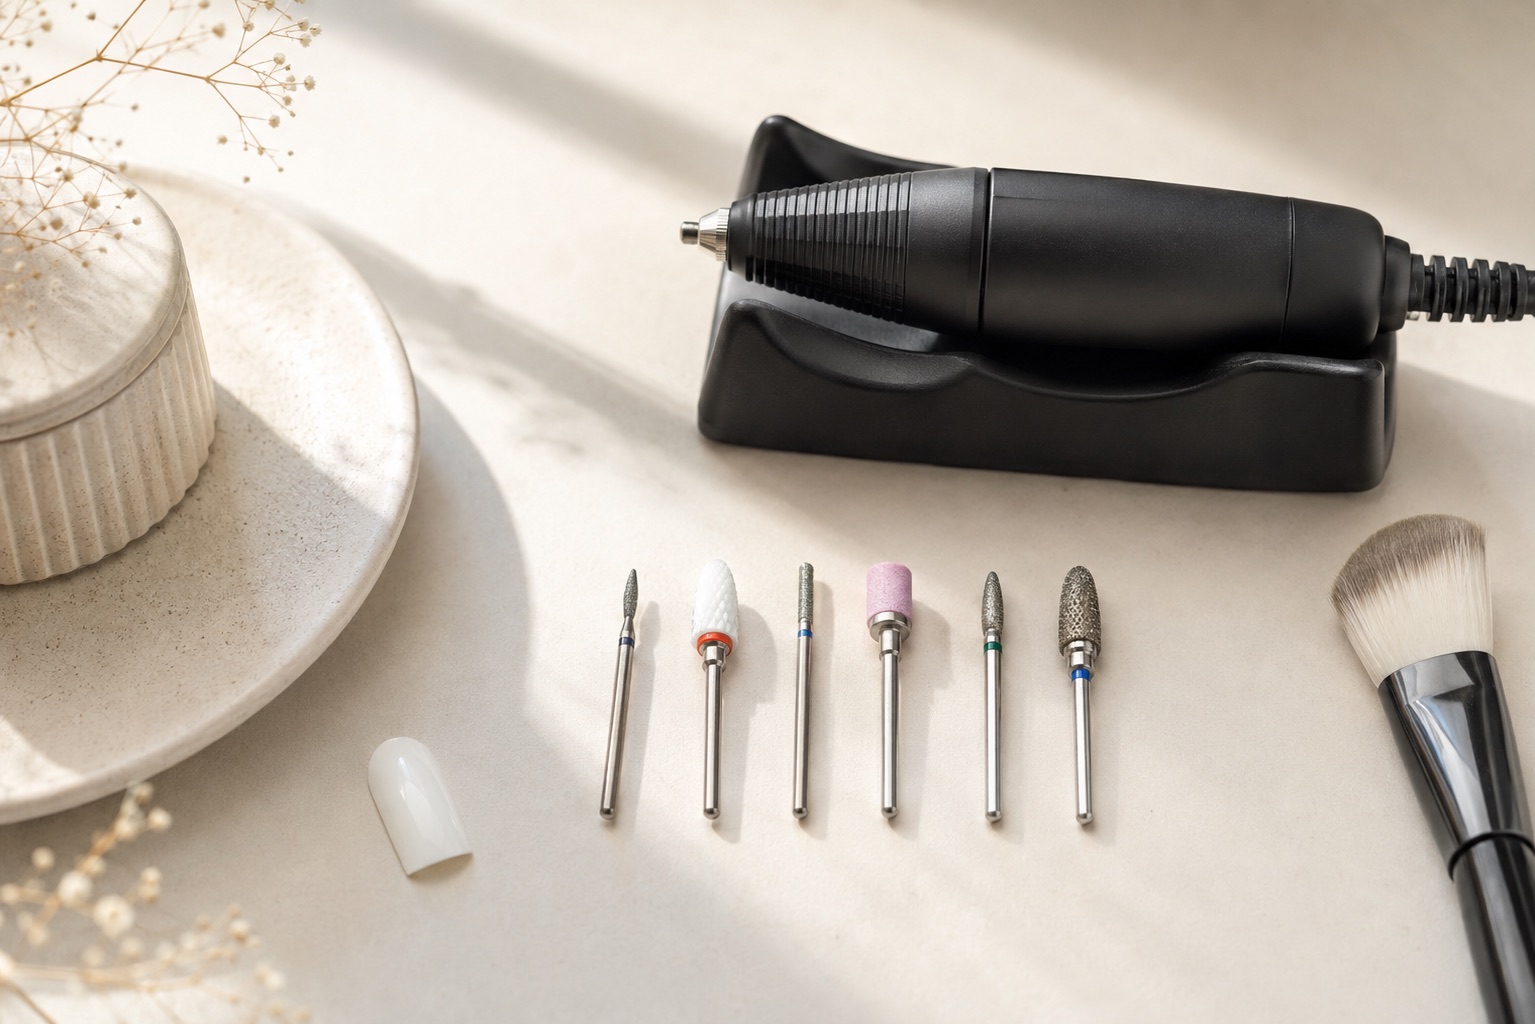
Bit choice is based on material, task and contact area
Bit material, shape, diameter, cutting pattern, grit, edge and condition change how contact behaves. A large barrel can reduce broad cured product efficiently but cannot safely enter every side area. A tapered shape improves access but concentrates contact. A rounded safety edge reduces one hazard without making the whole bit safe on skin. Select the bit for one named task and know which part of it is the active working surface.
Colour bands and names are not perfectly standardised across manufacturers. Read the technical information for the exact bit, supported machine and cleaning route. Replace bent, corroded, chipped, worn or clogged bits. A worn tool often tempts the operator to add pressure and dwell time, increasing heat while removing material less predictably.
RPM is not a universal prescription
RPM does not describe the whole contact
Removal changes with bit and technique
Machine
RPM and torque under load
Bit
Diameter, shape, grit and wear
Hand
Angle, pressure and movement
Surface
Material and remaining thickness
Revolutions per minute describe spindle speed, not surface speed, cutting force or safety. A wider bit travels farther at its outside edge during each revolution than a narrow one. Material hardness, task, bit condition, contact angle, pressure and movement all change removal. Copying one RPM from a video without matching those variables creates false precision.
Start within the trained range documented for the tool and bit, make contact on visible practice material and evaluate sound, vibration, debris, heat and removal. Too slow with heavy pressure can catch and drag; too fast with poor stabilisation can skip, cut or heat rapidly. The correct setting is the lowest controlled combination that performs the intended task without pressure, stalling or loss of tactile feedback.
Forward, reverse and the working side
Rotation must carry the bit predictably across the surface instead of pulling it into the sidewall or forcing the hand to work against the cut. The suitable direction changes with the technician’s dominant hand, the side of the nail, the bit design and the movement path. Learn both sides on training material rather than treating forward as right-handed and reverse as one fixed exception.
Bring speed to zero before changing direction unless the machine manual explicitly gives another safe procedure. Confirm rotation before approaching the client. Never reverse while the bit is touching the nail. If a bit catches, jumps or drives into a margin, lift away, stop and reassess direction, angle, speed and support rather than gripping harder.
Grip, finger stabilisation and contact angle
Stabilise before contact
A short controlled lever protects precision
Support the client’s hand
Stabilise the working finger
Brace the operating hand
Set angle before contact
Use planned overlapping lanes
Hold the handpiece in a balanced precision grip without locking the wrist. Stabilise the client’s finger between supporting points so the working surface cannot roll unexpectedly. Where appropriate, brace a finger of the operating hand against the client’s finger to create a short, controlled lever. The client’s hand should be supported, relaxed and positioned within clear view.
Use the intended side or tip area of the chosen bit and maintain the documented angle. A barrel placed on its corner concentrates force; a tapered bit laid flat may expose too much surface. Keep passes overlapping and purposeful. Hovering repeatedly over one spot, pressing to stop vibration or filing without a defined zone increases heat and removes structure unevenly.
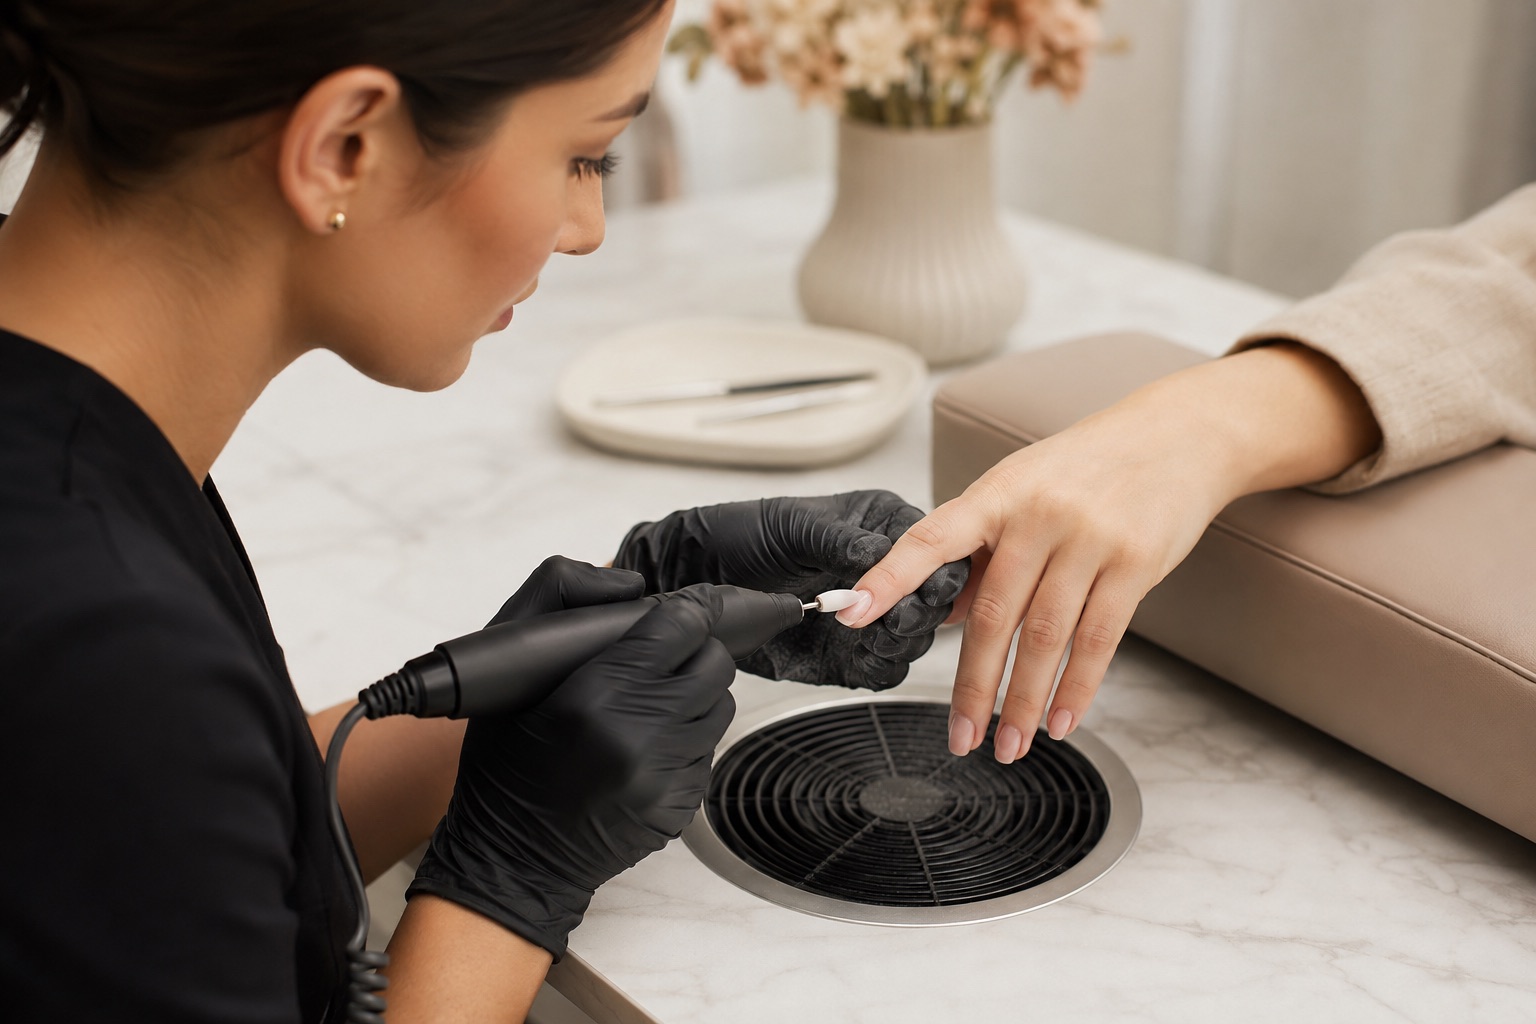
A zone-based sequence for reducing enhancement product
Assess the nail, identify product, mark lifting or cracks and decide what sound material can safely remain.
Choose the bit for cured product reduction and verify condition, shank fit, chuck lock and rotation.
Stabilise the finger and reduce bulk on broad, visible product zones before approaching margins or the natural nail.
Follow planned lanes with light overlapping passes, checking remaining thickness from top, side and front.
Change direction, bit or hand file when the zone changes; do not force one tool to complete every surface.
Stop before the natural plate is exposed unnecessarily. Dust off, inspect and refine only the areas prescribed by the new service.
Natural nail and periungual work require a separate protocol
Cured enhancement reduction and natural-nail preparation are not the same task. A bit suitable for hard product may be too aggressive for the nail plate. Living nail folds, cuticle seal and skin must not be treated as disposable material. Dry-manicure and periungual techniques require dedicated education, suitable bits, visibility and clear limits; they are not an automatic extension of product removal.
Stop for bleeding, broken skin, pain, unexpected softness, natural-nail separation, unexplained colour or a surface whose boundary you cannot identify. Do not use rotation to investigate beneath the nail. Switch to hand tools or no service when the powered method reduces control. A professional can choose not to use the e-file even when it is available.
Heat, vibration and stop signals
Stop signals are diagnostic clues
Do not compensate by gripping or pressing harder
Heat
Dwell, pressure, wear or thin layer
Vibration
Bit, chuck, runout or overload
Catching
Direction, angle or support
No visibility
Dust off and restore extraction
Signal | Possible control problem | Immediate action |
|---|---|---|
Heat or burning | Dwell, pressure, worn bit or thin remaining layer | Lift away, stop and inspect before changing variables |
Strong vibration | Bent bit, poor chuck, runout or overload | Power down and inspect equipment |
Catching or skipping | Direction, angle, speed or unstable finger | Break contact and reset support |
Dust hides the surface | Extraction position, filter or removal rate | Stop, clean and restore visibility |
Do not teach a client to tolerate heat. Pain is information that control has been lost or the surface may be compromised. Pause before adjusting speed: the cause might be pressure, a blunt bit, a corner contact, low remaining thickness or faulty equipment. Persistent handpiece heat, unusual sound or smell is a maintenance stop, not a sign to finish the last client first.
Dust extraction, ventilation and workstation control
Position local extraction close to the source without obstructing the handpiece or client support. Empty and replace collectors or filters using the manufacturer’s method, because a loaded system can lose capture. General room ventilation supports the workstation but does not replace source capture. Avoid sweeping dry dust into the air and clean horizontal surfaces between clients.
The NIOSH guidance for nail technicians explains that workers may inhale nail dusts or vapours and highlights general ventilation plus local exhaust at workstations. Its artificial-nail exposure control document describes ventilated table control for methacrylate exposure. The FDA nail-care overview reinforces labelled directions and warnings. Apply current local occupational rules, safety data and product instructions to the actual materials used.
Cleaning, maintenance and a pre-service check
Remove and process bits according to their material, manufacturer instructions and local infection-control requirements. A handpiece is not automatically immersible or sterilizable. Clean its exterior as documented and prevent liquid or dust from entering openings. Store processed bits protected from recontamination and separate used items immediately after service.
Inspect cable, connectors, handpiece shell, chuck and bit shank.
Seat and lock the compatible bit with the motor stopped.
Run away from the client and check sound, centring and vibration.
Confirm speed control, direction and extraction before contact.
Remove faulty equipment from service and arrange qualified repair.
Frequently asked questions about electric nail files
What RPM should I use on an electric nail file?
There is no universal number. Use the trained range for the exact machine, bit, material and task, then control pressure, angle, movement and remaining thickness.
Is a higher-RPM e-file better?
Not by itself. Maximum RPM does not prove torque, low vibration, handpiece quality, serviceability or safe performance under the intended load.
Can an e-file be used on the natural nail?
Only within a dedicated trained protocol using a suitable bit and minimal controlled contact. Product-removal settings and bits do not transfer automatically to natural nail.
Why does the client feel heat?
Common causes include staying in one area, pressure, a worn or clogged bit, concentrated edge contact and too little remaining product. Stop immediately and inspect.
Why does the bit jump or catch?
Check rotation direction, contact angle, speed, bit damage, chuck security and finger stabilisation. Break contact before making any adjustment.
Should I use forward or reverse?
Direction depends on dominant hand, working side, movement and bit. Practise both directions and change only at zero speed or as the manual specifies.
Can one bit remove gel, acrylic and acrygel?
A bit may be approved for several cured materials, but task, hardness, bulk, condition and remaining layer still change the safe control strategy. Verify its documentation.
How do I know when a drill bit is worn?
Reduced cutting, clogging, added pressure, surface damage, corrosion or vibration are warning signs. Inspect after processing and replace rather than compensating.
Does a dust collector replace room ventilation?
No. Local extraction captures near the source; general ventilation manages room air. Both require correct placement, maintenance and filters.
Can the e-file remove lifting?
It can reduce unstable product in trained hands, working from stable material toward a visible boundary. Never drive a bit blindly into or beneath a pocket.
Why does the handpiece vibrate?
Possible causes include a bent bit, incompatible shank, poorly locked chuck, runout, bearing wear or overload. Stop and inspect equipment before client use.
Do I still need hand files if I use an e-file?
Yes. Hand files give controlled access and finishing in areas where a powered bit is unnecessary or reduces precision. Professional workflow uses the appropriate tool by zone.
Editorial review: 5 September 2026. This guide does not replace supervised practical training, the machine and bit manuals, local occupational rules or healthcare assessment. It owns e-file machine control; detailed bit selection and individual service protocols remain separate search intents.
Preserve the intended result during powered refinement: the nail-architecture guide explains apex, side-line, free-edge and three-view checks so reduction follows structure instead of erasing it.