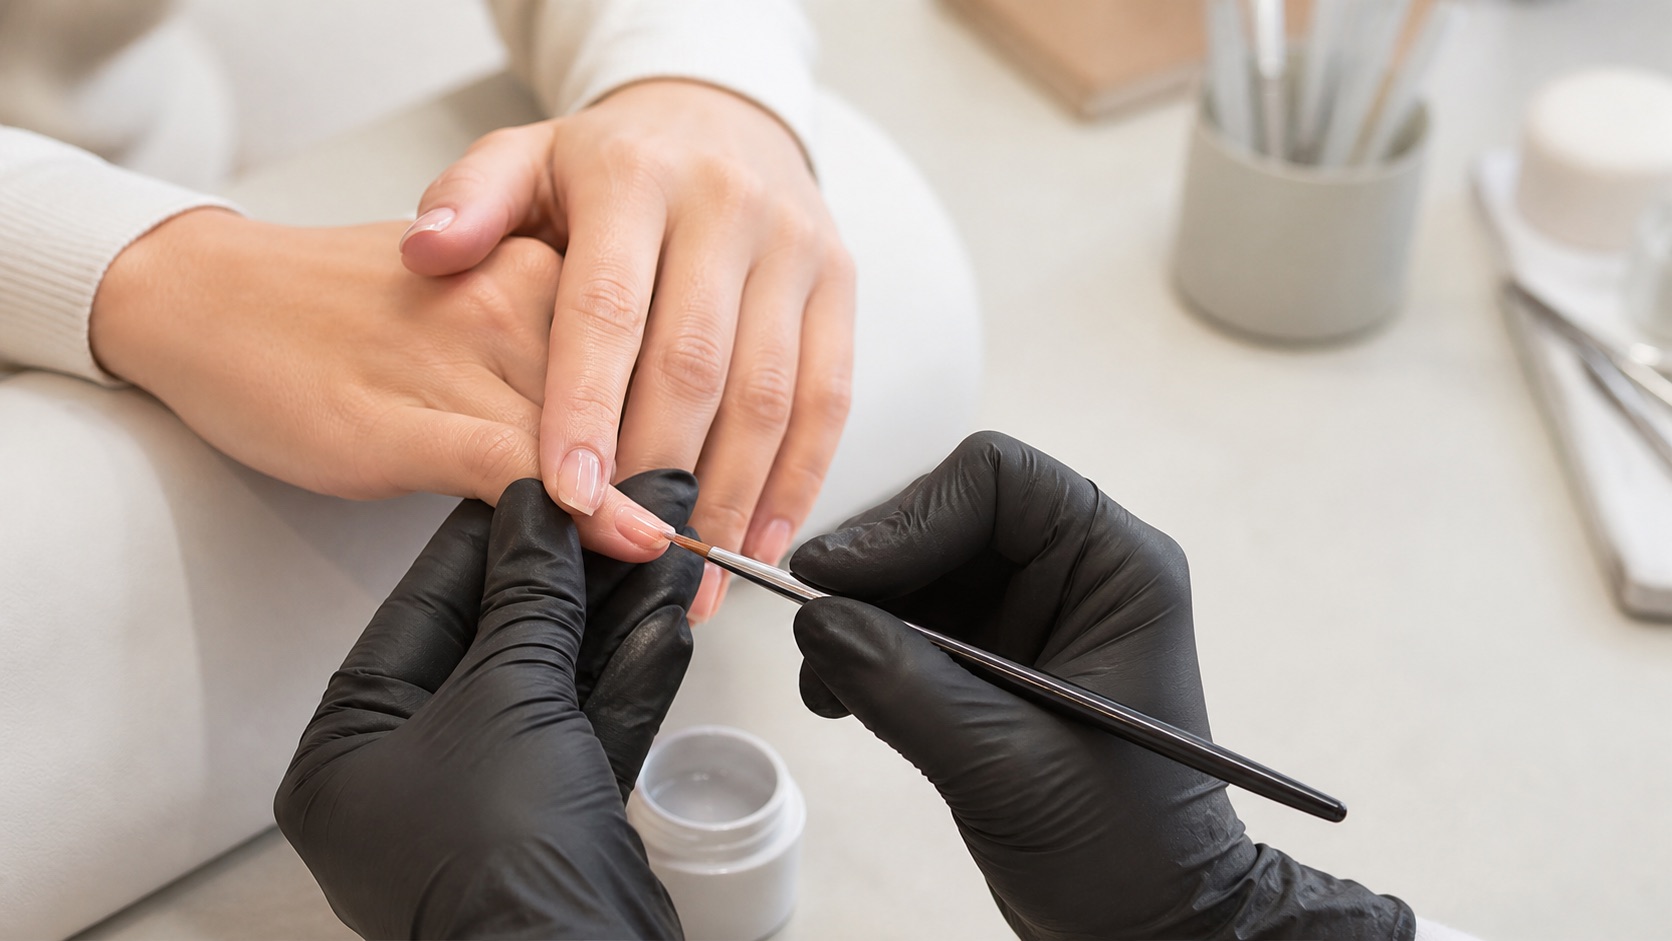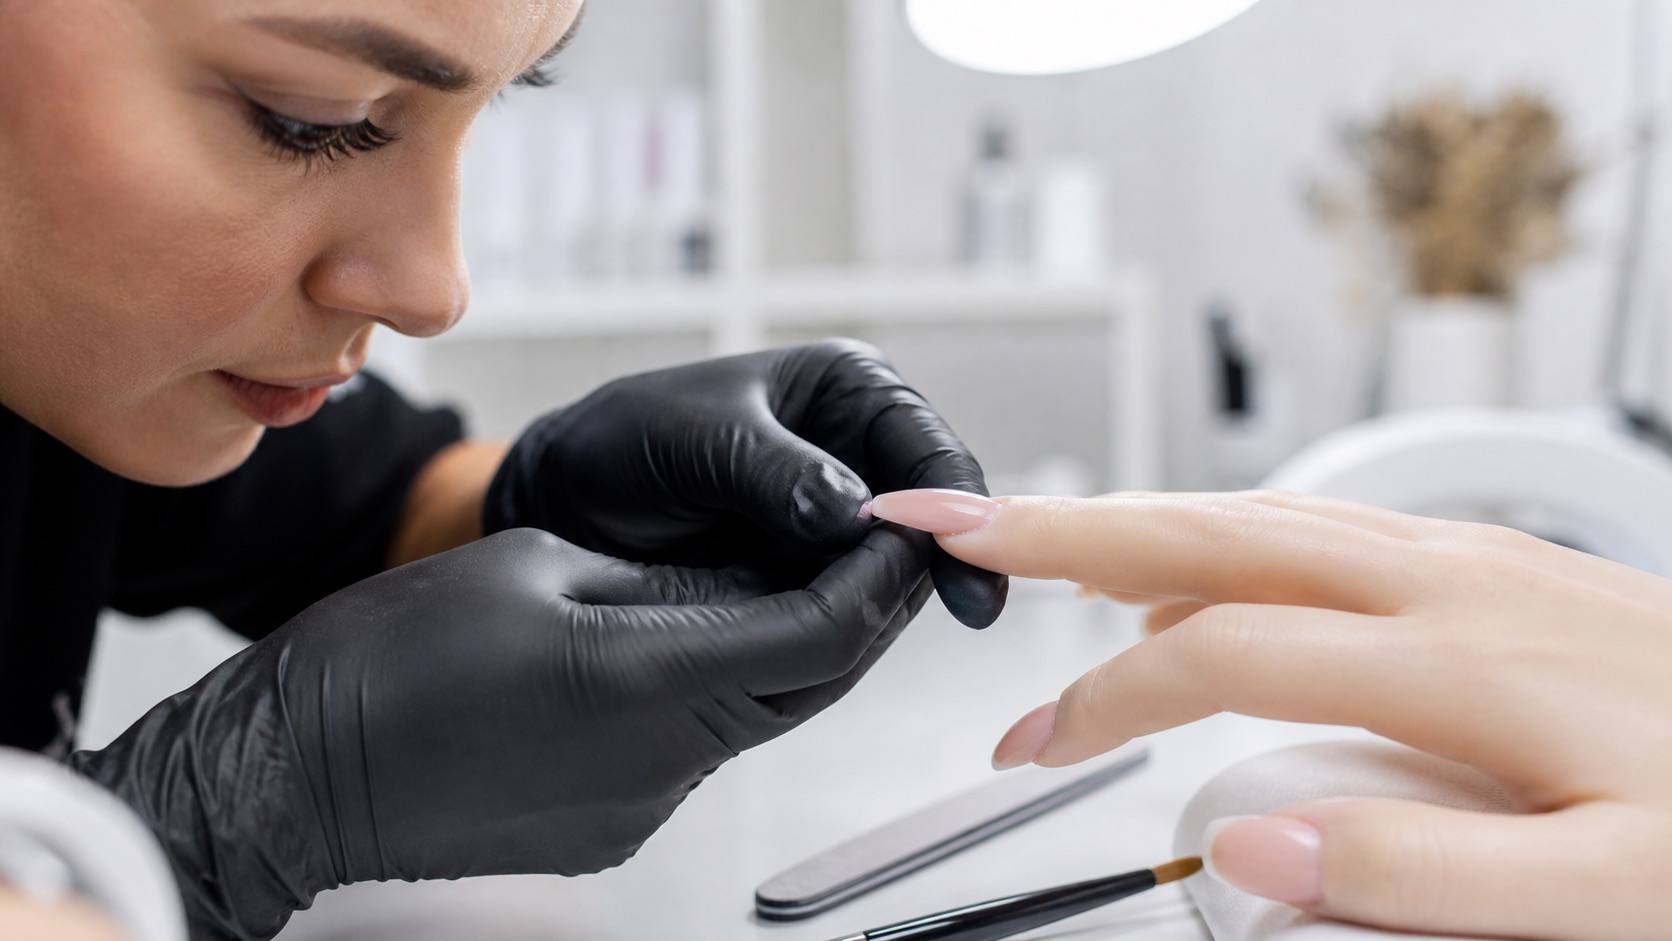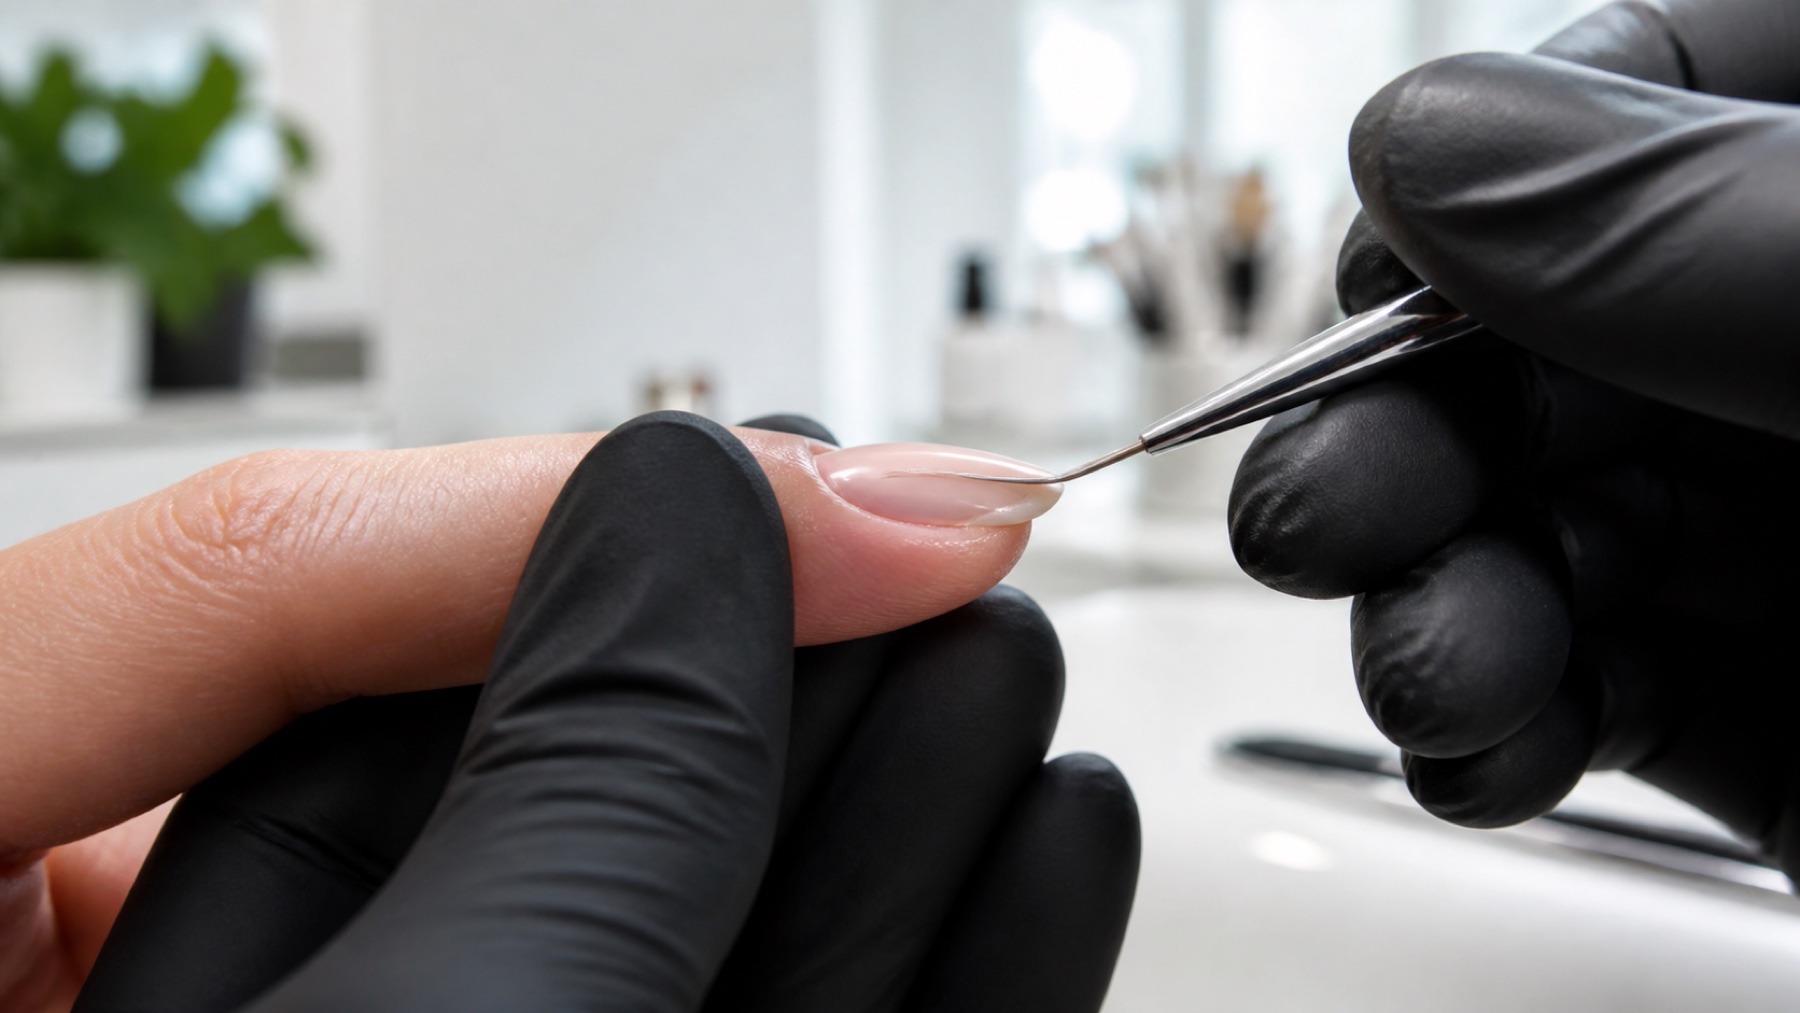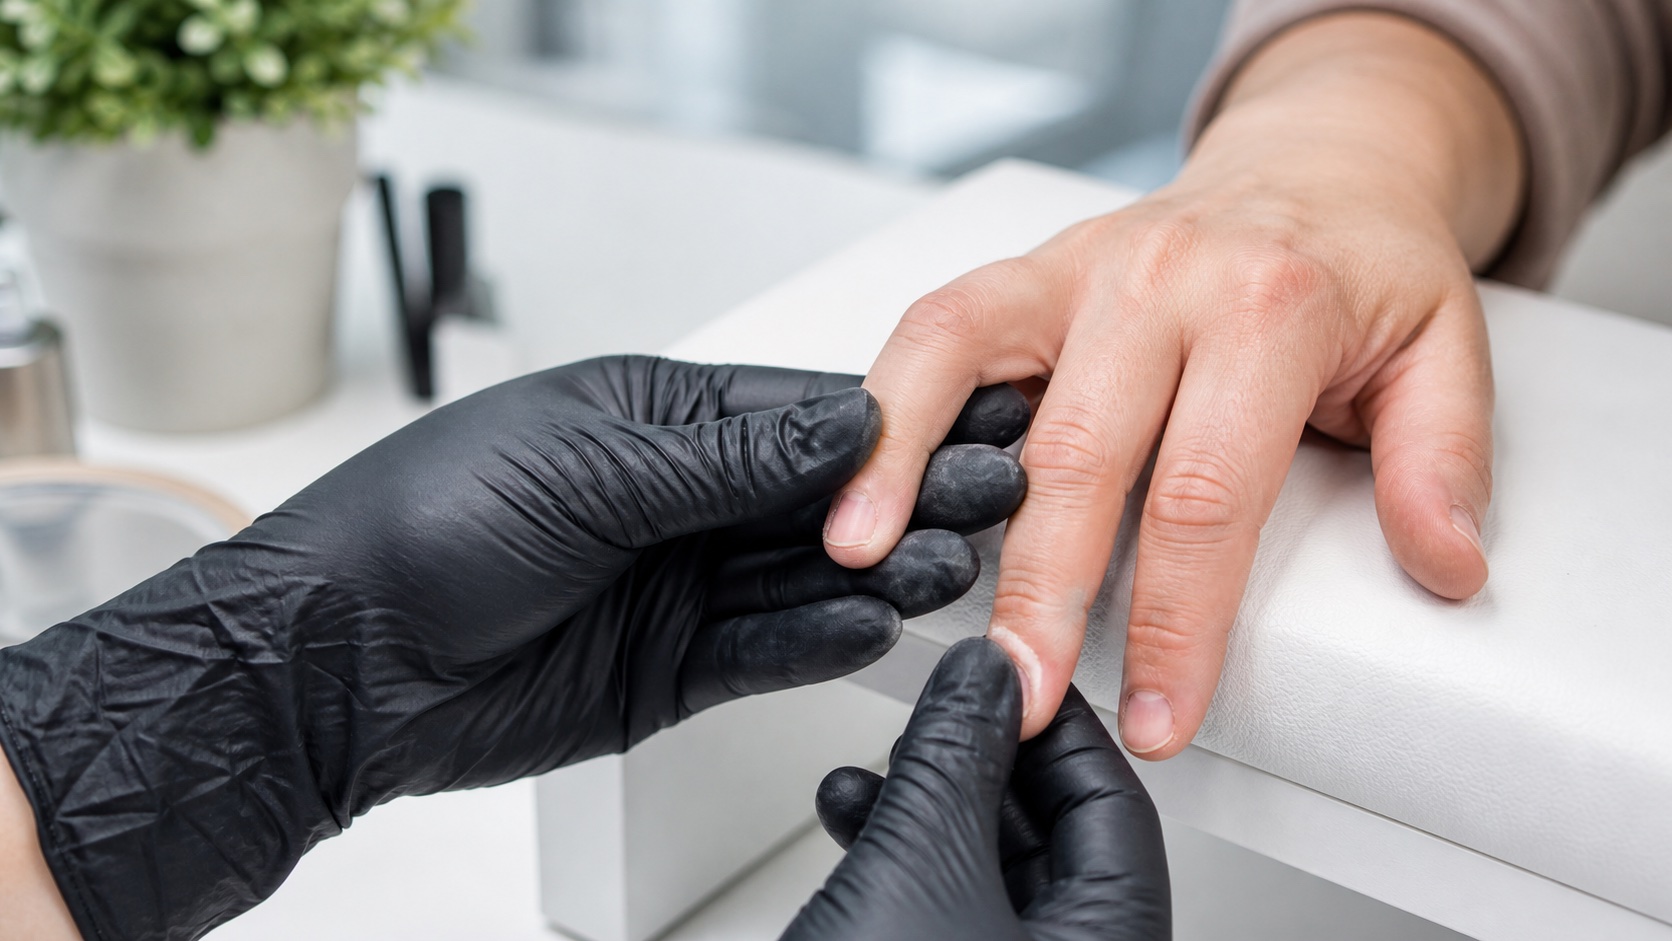
Product lifting is a loss of adhesion between a nail enhancement and the surface beneath it. It may begin as a pale line near the cuticle, a raised edge at one side, a pocket at the free edge or a larger sheet-like separation. The useful professional question is not simply ‘Which primer should I add?’ but where the failure began, when it appeared, which layer separated and what changed in the service or the client’s use.
Quick answer: never seal fresh product over a lifted pocket. Remove all unstable material until the boundary is fully visible, clean and inspect the nail, identify the most likely mechanism, then rebuild only when the remaining surface is intact and suitable. Pain, odour, swelling, broken skin, unexplained colour or separation of the natural nail from its bed is a stop—not a cosmetic repair.
This guide owns the ‘why nail enhancements lift’ troubleshooting intent in the BeautyLearn professional nail guide library. Use the nail-matrix guide for natural-nail boundaries, the material comparison for system behaviour, the dual-form guide for mould-specific errors and professional hand filing for controlled reduction. For guided practice, compare the Beginner Gel Nails Course, the Fast Nail Refill Course and all online nail courses. English course records stay isolated from the Italian market.
Lifting, chipping, cracking and natural-nail separation are not the same
Name the failure before correcting it
Four visible patterns lead to different decisions
Lifting
Interface loses adhesion
Chipping
Surface layer releases
Crack
Structure fails under load
Natural nail
Stop and refer
What you see | What has failed | First response |
|---|---|---|
Lifting | Adhesion at an interface | Remove unstable product and investigate |
Chipping or peeling | A surface layer or free-edge film | Check layer compatibility, thickness and edge wear |
Structural crack or break | Material or architecture under load | Assess injury, remove movement and review structure |
Natural nail lifts from nail bed | Living nail unit, not just coating | Stop cosmetic cover and seek medical assessment |
Do not call every white space ‘lifting’. Enhancement separation is a technical observation. Onycholysis describes separation of the natural nail plate from the bed and can have different causes that a nail technician must not diagnose. Filing product away may reveal the pattern, but it does not authorise treatment or concealment of an unexplained nail change.
Map the lifting by location and timing
The first location narrows the audit
Cuticle, sides, edge and centre suggest different checks
Cuticle
Tissue, dust, contact, transition
Sidewall
Fit, access, filing, lateral stress
Free edge
Flex, thickness, wear, length
Centre / sheet
Air, cure, compatibility, impact
Record which finger is affected, the first visible zone, whether separation is between natural nail and base or between product layers, and the time since service. Photograph top, side and front with consent. Compare the pattern across both hands. A repeated ring-finger side lift suggests a different investigation from all ten nails releasing as complete films within forty-eight hours.
Starting area | Check first | Do not assume |
|---|---|---|
Cuticle margin | Residual tissue, dust, skin contact, thick transition | More primer will solve it |
Sidewall | Fit, product contact, filing and lateral stress | The client pulled it away |
Free edge | Flex, edge thickness, wear, length and delamination | Every edge must be capped the same way |
Central pocket | Prep, trapped air, impact, cure and old material | It is safe because edges look closed |
Whole layer or all nails | Contamination, incompatible layers, application and cure | The client’s nail rejects product |
Preparation and contamination causes
Adhesion begins with correct assessment and product-specific preparation. Residual cuticle tissue, dust, oil, cream, water, touching the prepared plate, an unsuitable cleanser or a contaminated brush can interrupt the interface. Excessive filing creates a damaged, flexible surface and does not provide better adhesion. The natural nail is not spare material to roughen until a product stays.
Preparation is not one universal sequence. Dehydrator, primer, base or bonder may be optional, required, cured or air-dried depending on the exact system. More primer does not mean more adhesion. Apply the specified quantity, respect evaporation or cure and avoid combining brands unless compatibility is documented. Change one variable at a time during troubleshooting.
Product contact, layers and curing causes
Product touching living skin can create a raised margin and unnecessary exposure to uncured methacrylates. Remove contact completely before cure. A base that floods sidewalls, a builder placed over a contaminated inhibition layer, incompatible products or a rigid layer over an unsuitable flexible service can also separate at different interfaces. Identify which layer released instead of naming the whole service as one material.
For light-curable products, use the lamp, hand position and exposure specified for the formula. Wrong output, old equipment, thumb outside the effective zone, opaque colour, excessive thickness or shortened timing can leave a material that looks hard but has not reached the intended cure. For acrylic, inspect liquid-to-powder ratio, system compatibility and setting conditions. Do not compensate for uncertain cure with longer random exposure or extra primer.
Structure, length, growth and client-use causes
Adhesion can be sound while leverage progressively overloads the interface. Excess length, an apex that has grown forward, weak side lines, uneven thickness, an unsupported free edge or a shape that conflicts with daily work can concentrate force. A lift at one impact-prone corner is not the same pattern as a complete cuticle release across every nail.
Ask about the timing and mechanism without blaming the client. Cleaning work, prolonged water exposure, solvents, picking, opening objects, sports, keyboard habits and accidental impacts may change wear. The professional response is to adapt length, structure and maintenance interval where possible—not to promise an indestructible enhancement or assume every failure is poor aftercare.
What to do as soon as lifting appears
Do not pull, glue, press, bite or seal the raised edge with colour, base or builder.
Keep the area clean and dry and reduce leverage until a professional inspection is possible.
Record when it started, any impact, discomfort, colour, odour or skin change and which products were used.
Book correction promptly; do not wait for the pocket to spread or collect debris.
Stop cosmetic intervention and seek healthcare assessment for pain, swelling, discharge, natural-nail separation or unexplained change.
Professional removal and correction sequence
Expose before you rebuild
Stable product is the starting boundary
Assess nail and skin
Shorten unsafe leverage
Remove toward the boundary
Clean and inspect
Correct, record, review
Assess the whole nail and surrounding skin before a tool touches product. Decide whether the service remains within cosmetic scope.
Shorten excessive leverage if this can be done without moving a cracked or painful area.
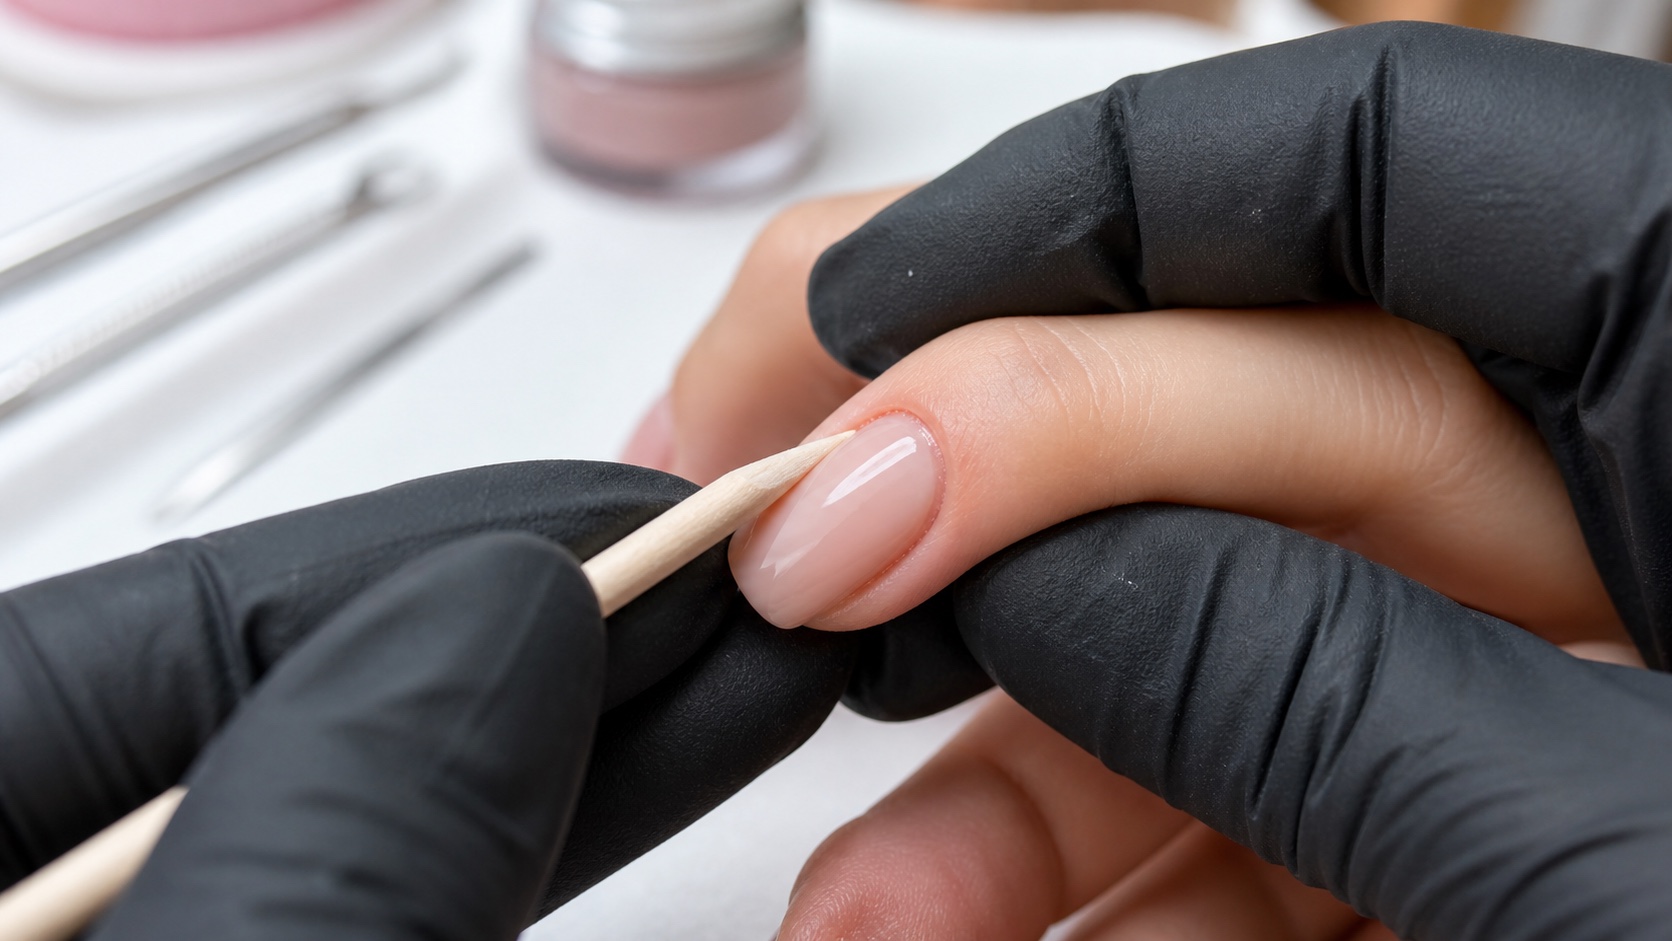
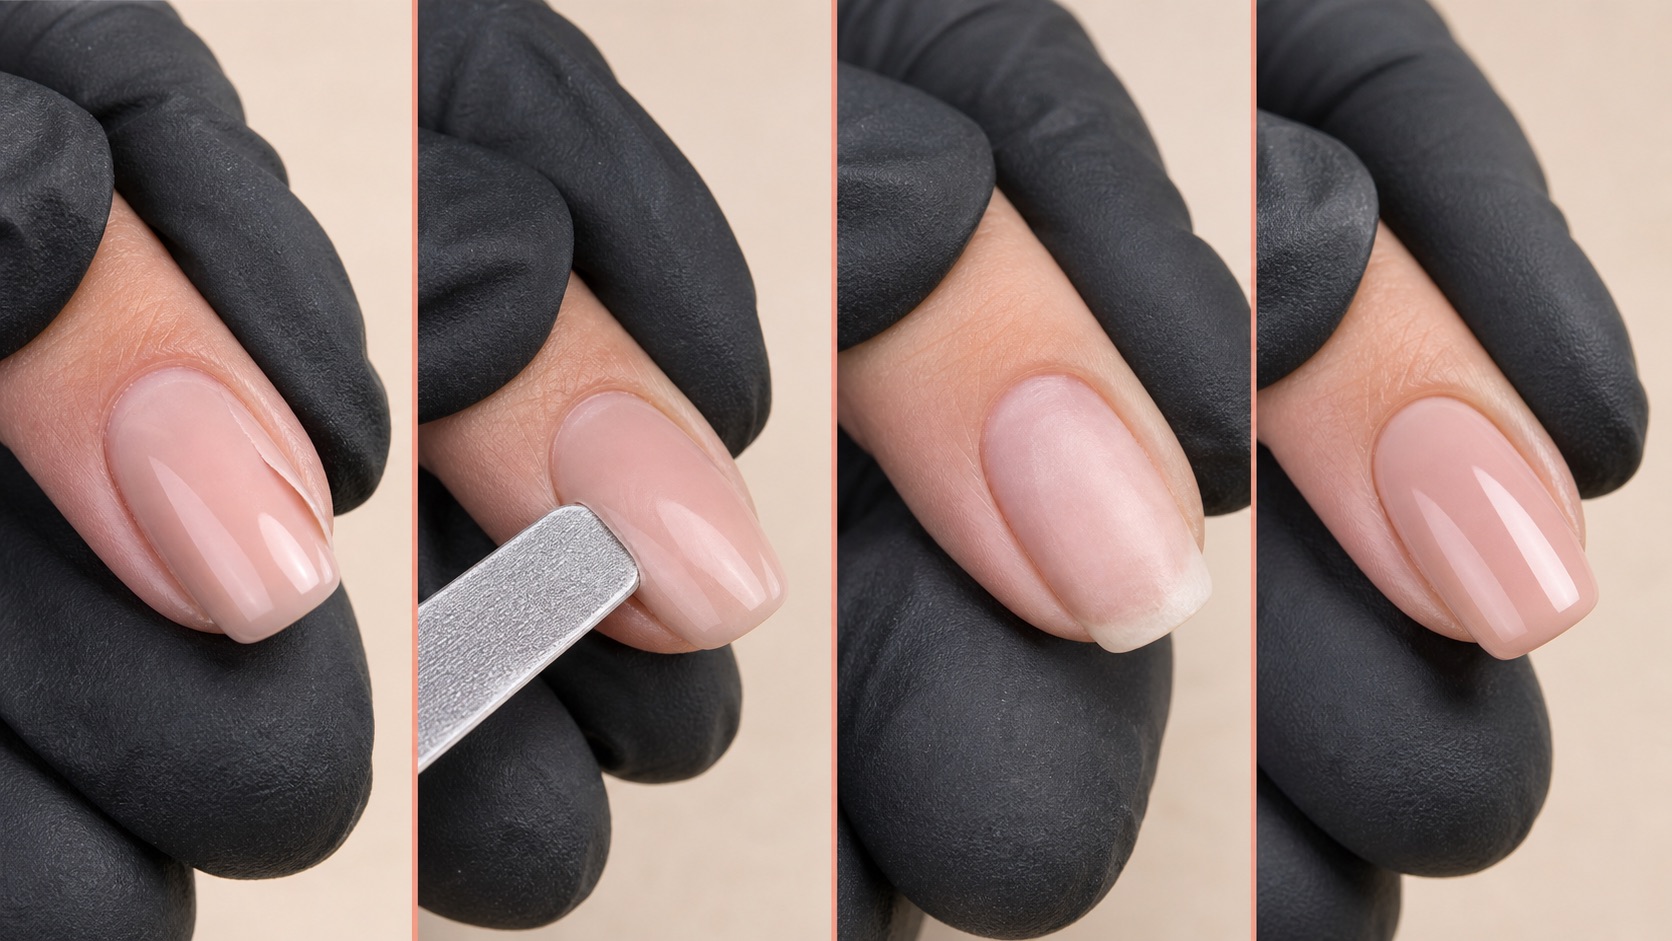
Work from stable, visible product toward the lifted boundary. Do not insert a bit or file blindly underneath the pocket.
Remove every unstable edge and expose the full boundary without chasing the natural plate or causing heat and pain.
Clean and inspect the revealed surface. If colour, odour, damage or natural-nail separation is unclear, stop and do not cover.
Correct the suspected process variable and rebuild only on an intact, appropriate surface with a compatible system.
Document the correction and compare the same area at the next review rather than declaring the cause solved immediately.
When to stop and not cover the nail
A closed pocket is not a safe pocket
Stop criteria come before cosmetic finish
Correct
Known technical lift on intact nail
Remove more
Boundary or product is unclear
Stop
Pain, skin change or unknown colour
Refer
Natural-nail or health concern
Stop if the natural plate appears detached from the nail bed, the skin is broken or swollen, the nail is painful, there is discharge or odour, or a green, brown, black or otherwise unexplained colour remains after unstable coating is removed. Do not diagnose fungus, bacteria, allergy, psoriasis or trauma from appearance. Refer the client for appropriate healthcare assessment and preserve information about products and timing.
The American Academy of Dermatology’s guide to nail changes that need examination distinguishes natural-nail lifting from a cosmetic coating problem and advises medical evaluation. Its manicure safety guidance warns against covering nail problems. The FDA nail-care overview reinforces labelled directions, warnings and avoidance of skin contact. These sources do not replace local rules or individual clinical advice.
A controlled troubleshooting method
Use a repeatable record: client and nail, product system and batch, preparation steps, lamp or acrylic ratio, length and shape, first location, time to failure, maintenance interval, occupation, impacts and corrective action. Compare recurring patterns across clients without sharing personal data. A defect log turns ‘this brand never lasts’ into testable observations.
Change the smallest plausible variable and keep the rest stable. If you replace base, primer, lamp, preparation, length and technique at once, improvement cannot be attributed. Escalate to the product manufacturer or educator when documentation is unclear. A recurrent unexplained reaction or nail change is not an experiment for repeated exposure.
How to reduce repeat lifting
Prevention is a controlled chain rather than one miracle adhesion product. Begin with a service the natural nail and surrounding skin can accept, prepare only as the system requires, prevent contamination after preparation, keep reactive product off skin, respect layer thickness and use verified curing or setting conditions. Build an architecture that suits the chosen length and plan maintenance before growth moves the stress area too far forward.
At handover, give practical aftercare rather than vague warnings: do not use nails as opening or scraping tools, do not pick edges, wear suitable gloves for wet or chemical work, report lifting or impact promptly and keep the review appointment. Aftercare cannot rescue an under-cured or poorly prepared service, just as perfect application cannot prevent every accident. Prevention works when technician variables, service design and realistic client use are documented together.
Frequently asked questions about nail lifting
Why does gel lift after only two or three days?
Early widespread lifting points first to preparation, contamination, skin contact, layer compatibility, application thickness or cure. It is not normal wear; document the exact pattern and audit the sequence.
Can I put more gel over a lifted area?
No. The unstable pocket must be removed completely and the underlying surface inspected. Covering it conceals debris, moisture, colour and the true boundary.
Does more primer prevent lifting?
Not necessarily. Excess or incompatible primer can impair the system. Use only the specified product, amount and drying or curing method after correct preparation.
Why does lifting start at the cuticle?
Check residual tissue, dust, touching, flooded product, a thick transition, preparation products and cure. Remove the detached margin rather than filing living skin more aggressively.
Why does product lift at the free edge?
Flex, wear, excessive length, thin or uneven structure, incompatible layers and daily leverage are common process areas. Inspect which layer separates and how the edge is used.
Why does one nail always lift in the same place?
Compare growth direction, sidewall access, repeated pressure, shape, dominant-hand habits and the technician’s angle on that digit. A local repeated pattern deserves a local investigation.
Does oily nail plate cause every lifting problem?
No. ‘Oily nails’ is often used without evidence. First audit surface preparation, contamination, compatibility, cure, structure and wear rather than blaming an unmeasured trait.
Can water under lifting cause a green mark?
A pocket can trap moisture and debris, but colour cannot be diagnosed from a description. Remove unstable coating safely, do not cover unexplained colour and seek healthcare assessment.
Is nail lifting always a fungal infection?
No. Enhancement lifting is an adhesion failure with many technical causes. Natural-nail change, pain, colour, odour or thickening requires medical assessment rather than salon diagnosis.
Should all product be removed when one corner lifts?
All unstable material must be removed. Whether sound product can remain depends on visibility, product identity, crack path, underlying nail and the planned compatible maintenance service.
How long should enhancements last without lifting?
There is no universal guarantee. Reviews are often planned around growth and structural balance before failure. Lifting within days needs investigation; waiting for widespread detachment is not maintenance.
Can a client glue a lifted enhancement at home?
No. Glue hides the boundary and can contact skin or enter a pocket. Keep the area clean, dry and protected from leverage, then arrange professional inspection promptly.
Editorial review: 5 September 2026. This guide does not diagnose nail disease, infection or allergy and does not replace product instructions, local regulation or medical care. It owns enhancement-lifting diagnosis; refill workflow, complete removal and individual product applications remain separate intents.
For powered reduction of unstable product, review the electric nail file control guide before selecting a bit, speed, direction and working path. Never enter a lifted pocket without visibility.