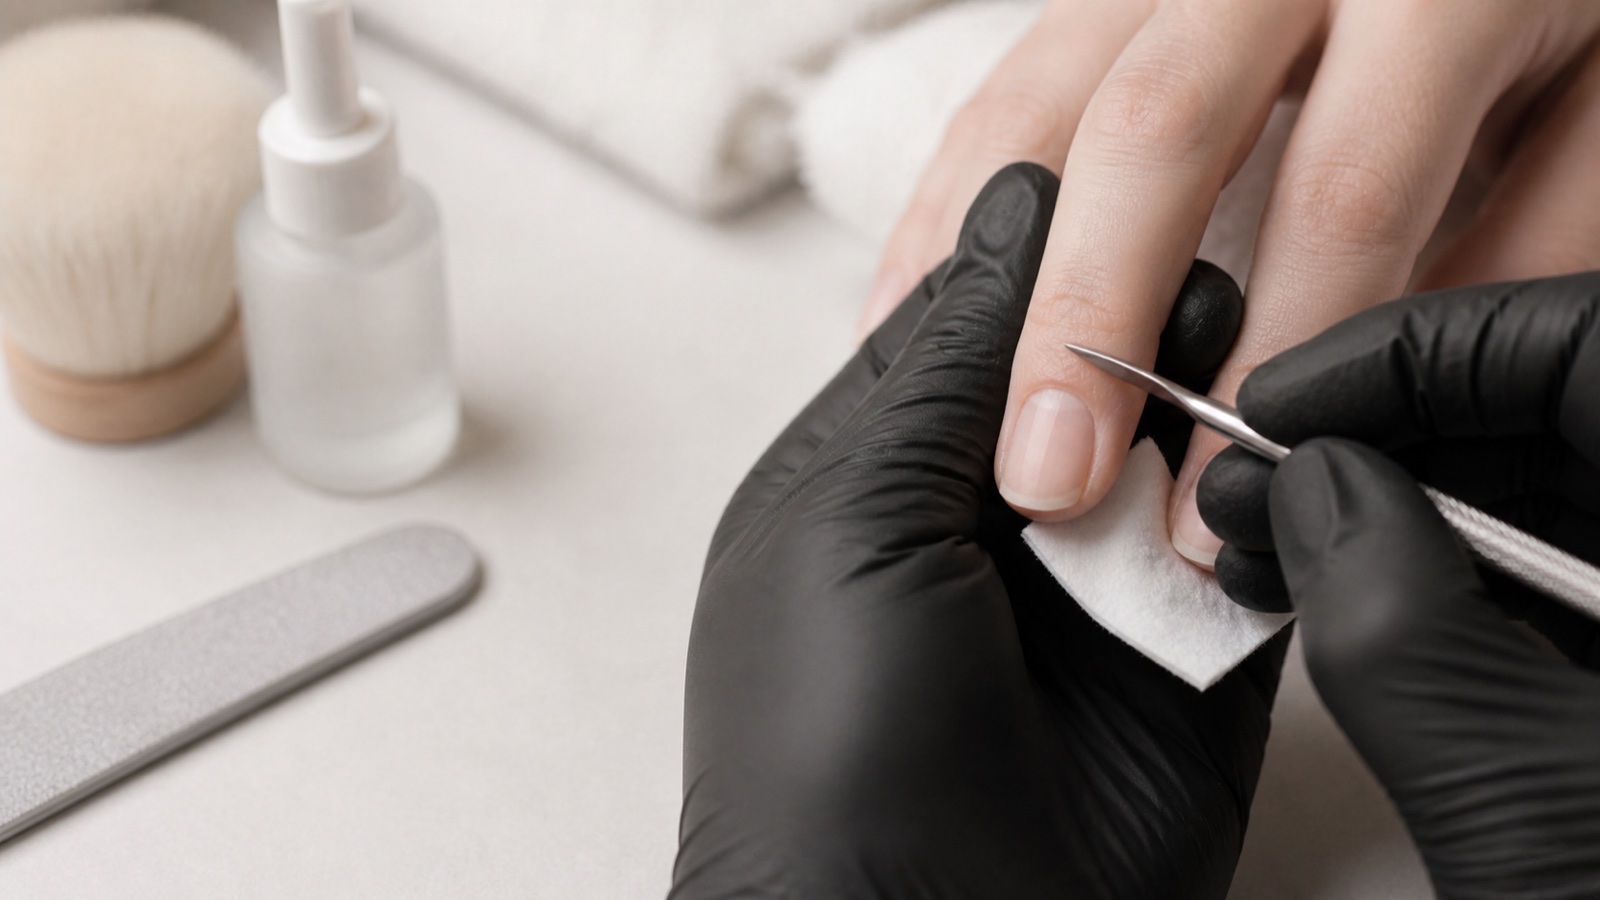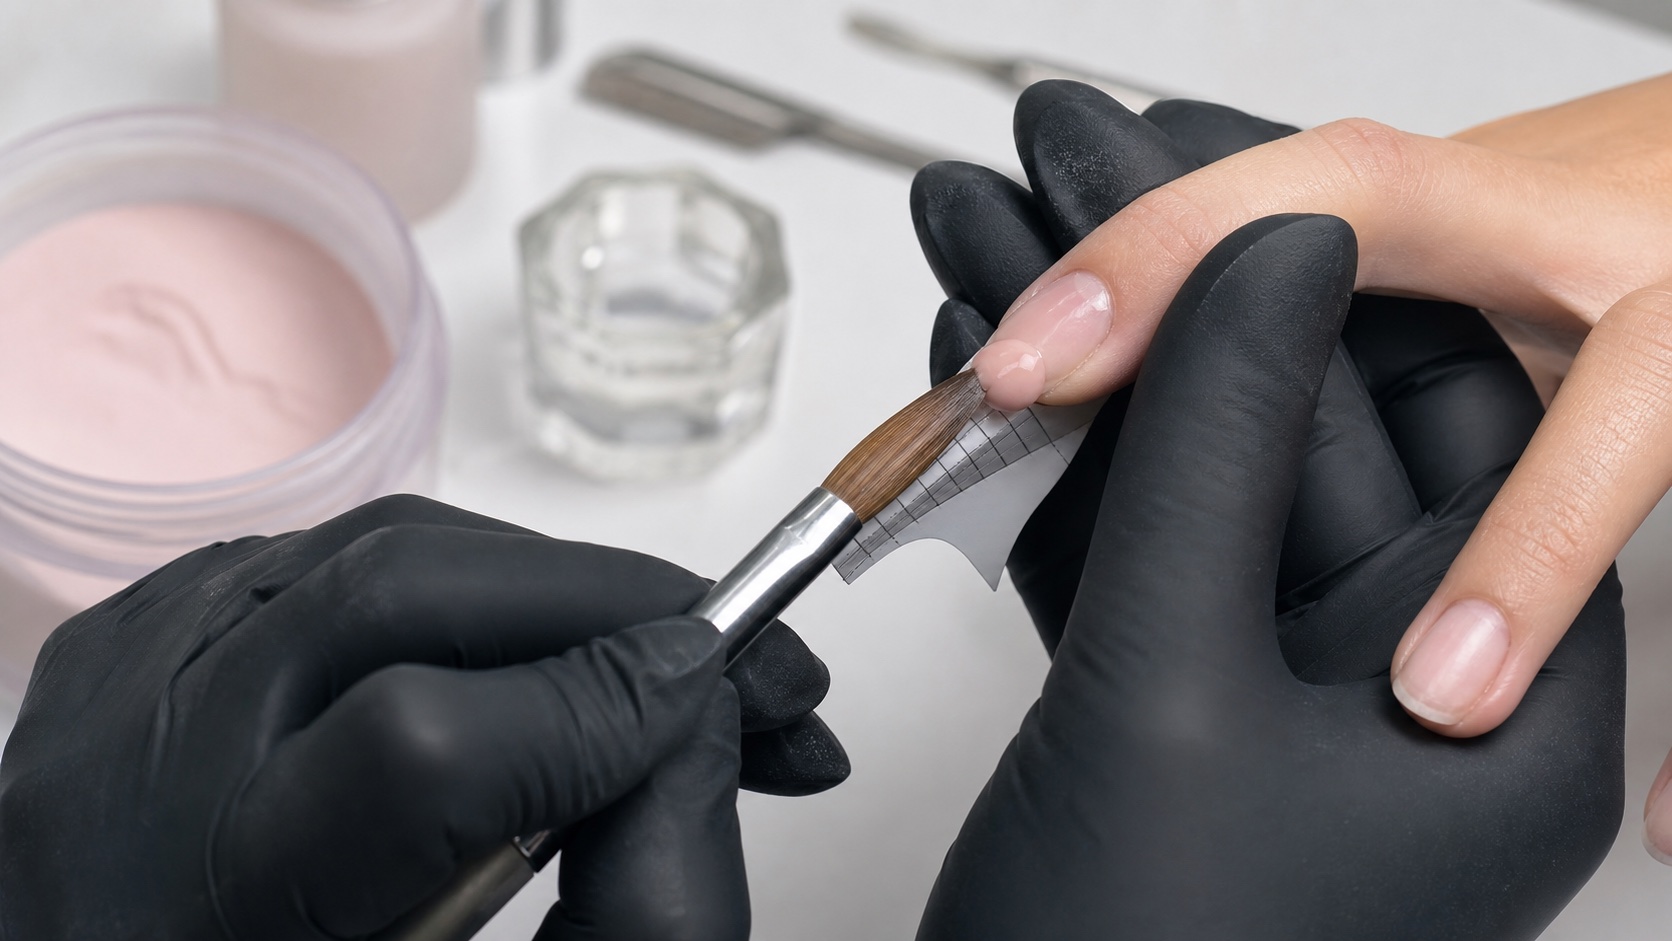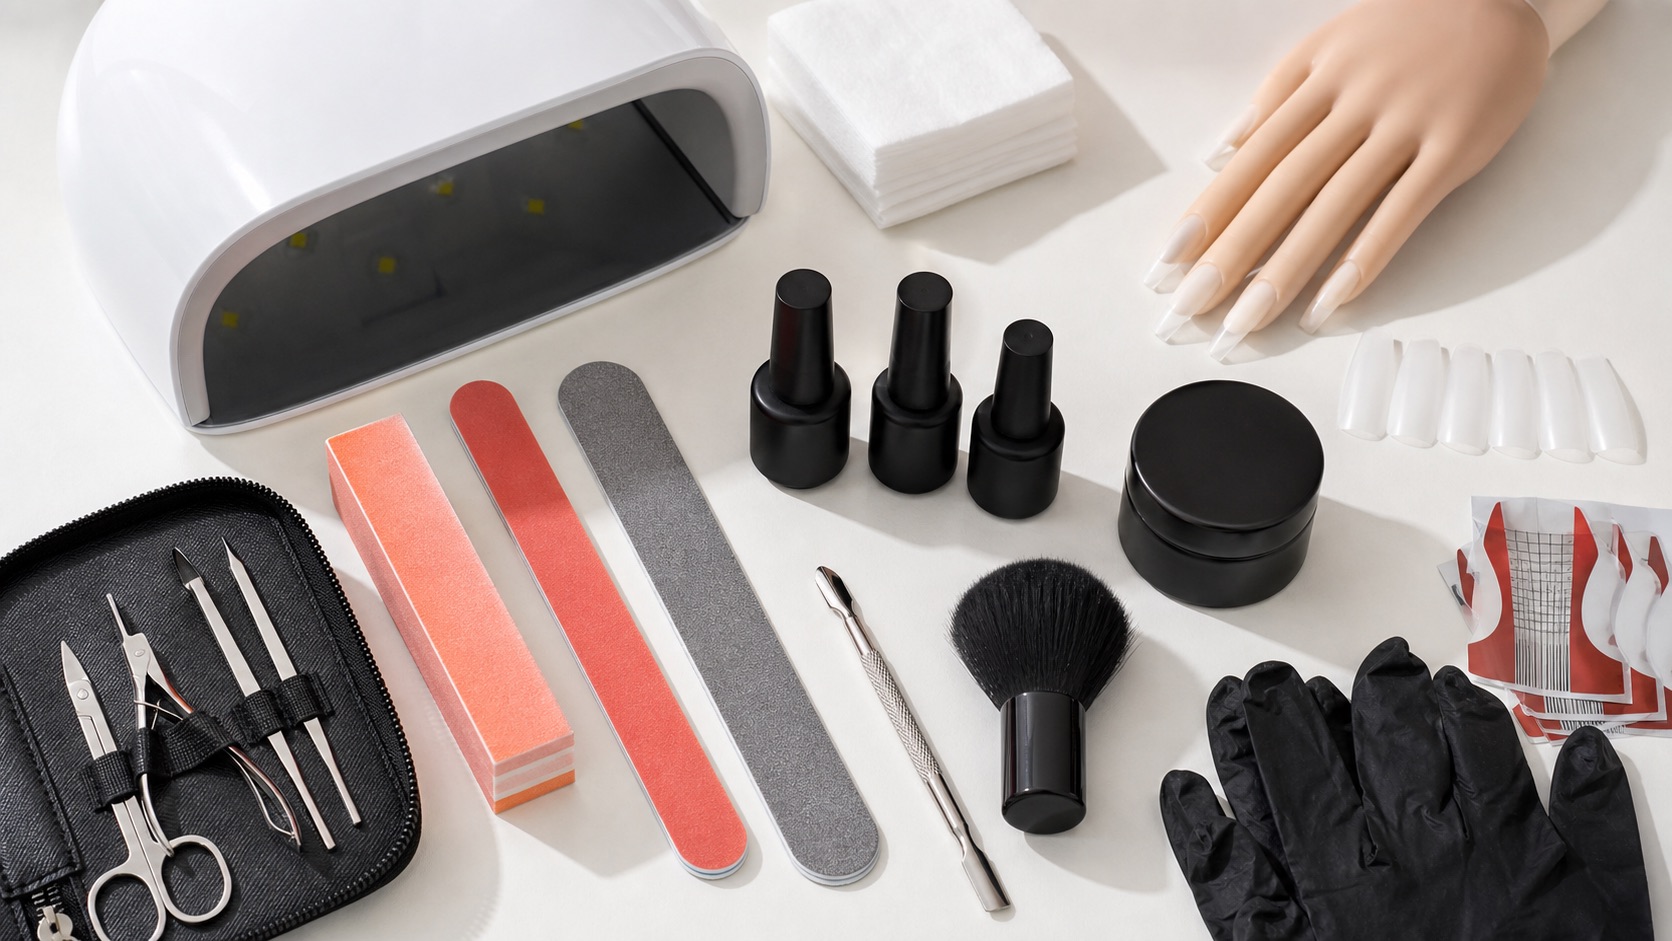
A useful beginner nail kit is not the box with the most colours, drill bits or mystery liquids. It is the smallest set of traceable, compatible tools and products that lets you repeat one complete technique safely. Start with assessment, hand tools, clean consumables, suitable lighting and dust or vapour control; then add one gel, acrylic or acrygel system and the practice support taught in your course.
The no-waste rule: choose the technique and learning protocol before you shop. Buy only the steps named by that system, in sizes you can use within their stated life. A larger kit does not teach faster, and products with similar names are not automatically compatible.
This guide is for structured training and practice. Working on paying clients also requires appropriate competence, hygiene procedures, local business compliance, insurance and a workstation designed for repeated use. Equipment never replaces supervised practice. If you are still comparing materials, begin with gel versus acrylic versus acrygel and use the BeautyLearn English nail guide library to build the theory around the kit.
Choose one nail system before buying a kit
One technique creates a traceable baseline
Complexity multiplies before competence does
Gel
Builder system plus validated lamp
Acrylic
Matched liquid, powder and vapour control
Acrygel
Paste system, shaping liquid and lamp
Soak-off
Colour coating, not extension training
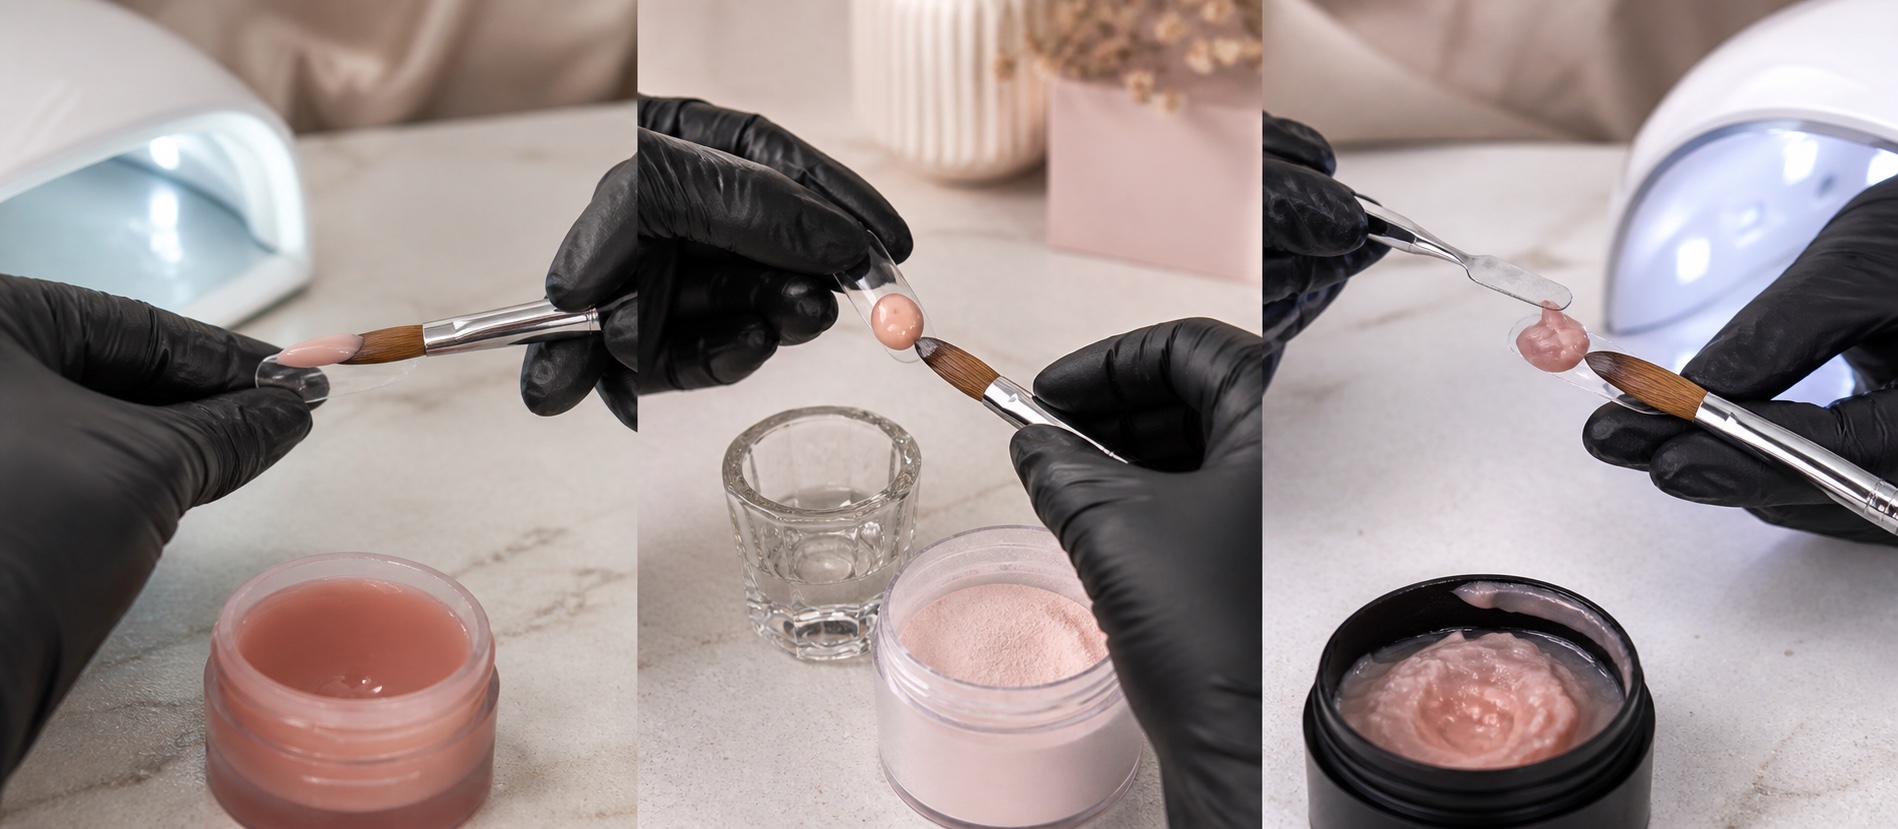
Gel, acrylic and acrygel solve some of the same extension and reinforcement needs but behave differently. Buying all three at the beginning multiplies primers, brushes, liquids, curing decisions and removal methods before you have a reliable baseline. A first kit should make errors easier to trace, not hide them inside a cupboard of alternatives.
System | Core product group | Main setup implication |
|---|---|---|
Builder gel | Compatible prep, base or bond, builder and top | Declared curing lamp is essential |
Acrylic liquid-and-powder | Compatible monomer, polymer powder, prep and dedicated brush | Vapour control and bead practice matter |
Acrygel | Paste product, compatible prep or base, shaping liquid and top | Lamp and controlled product placement are essential |
Soak-off gel polish | Prep, base, one colour and top within one range | Colour coating is not structural extension training |
Choose the system used in a course with a visible curriculum and a complete manufacturer protocol. A single transparent or cover shade is enough to study quantity, sidewalls, apex and filing. Expanding after several documented practice sets is more efficient than choosing products around a sale or influencer collection.
The essential beginner nail-kit checklist
A complete kit has four zones
Products are only one quarter of the setup
Workstation
Light, extraction, gloves and clean storage
Hand tools
Few suitable files and prep tools
Product system
Only compatible named steps
Practice
Stable supports and replacement consumables
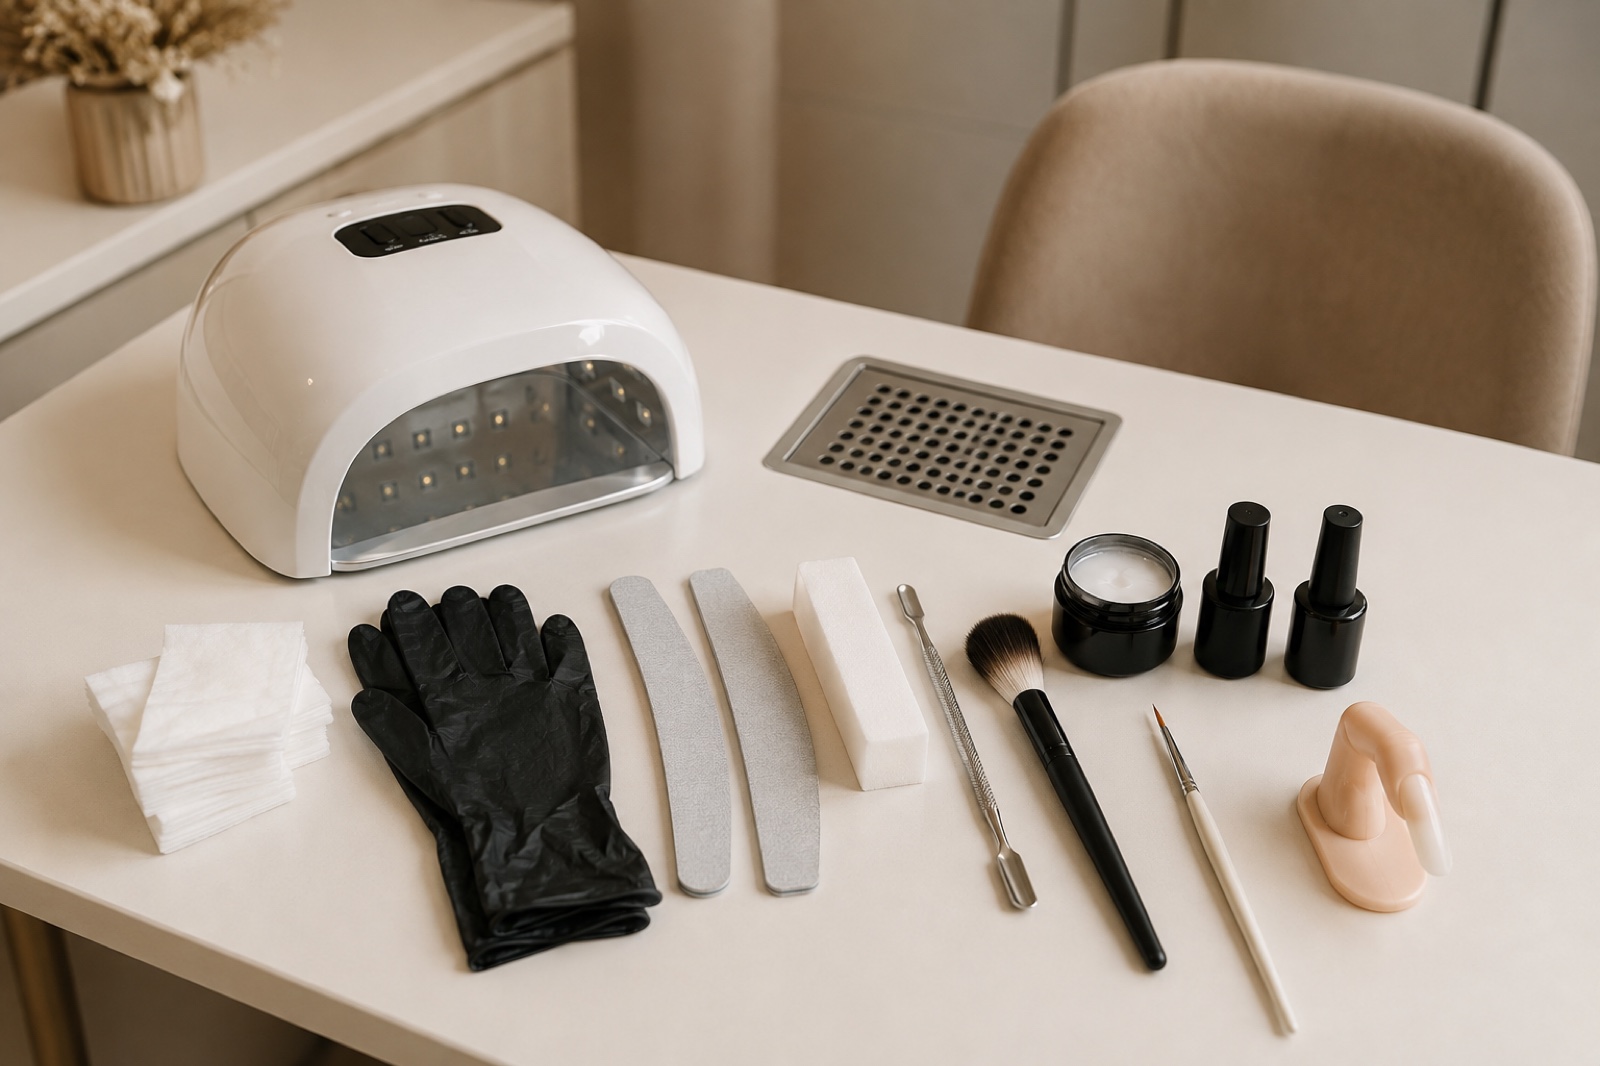
1. Work surface, task light and exposure control
A stable, washable work surface reserved for the service—not a table shared with food, drinks or personal items.
An adjustable neutral task light that reveals cuticle margins, file scratches, dust and product touching skin.
Suitable disposable gloves, chosen with the product safety data in mind, plus enough replacements for contamination or damage.
Source control for dust and adequate ventilation for the products used. Frequent professional work deserves effective local extraction, not a decorative desktop fan.
Closed waste containers and clearly separated clean, used and disinfected storage zones.
Current CDC/NIOSH guidance notes that nail technicians can encounter chemical exposure, dust and repetitive-motion risks. It prioritises controls such as ventilation, closed containers and appropriate personal protective equipment. A mask alone does not capture dust or vapour at its source, and gloves do not correct flooded product.
2. Hand tools for preparation and filing
A well-finished metal cuticle pusher or suitable disposable alternative for the method taught.
A small selection of professional files in the shapes and grits required by the chosen material.
A gentle buffer only if the protocol requires it; it is not a licence to thin the natural plate.
A dust brush, lint-free wipes and clean single-use supports.
Nippers or scissors only after the relevant anatomy, technique and hygiene procedure have been taught. Living tissue is never beginner practice material.
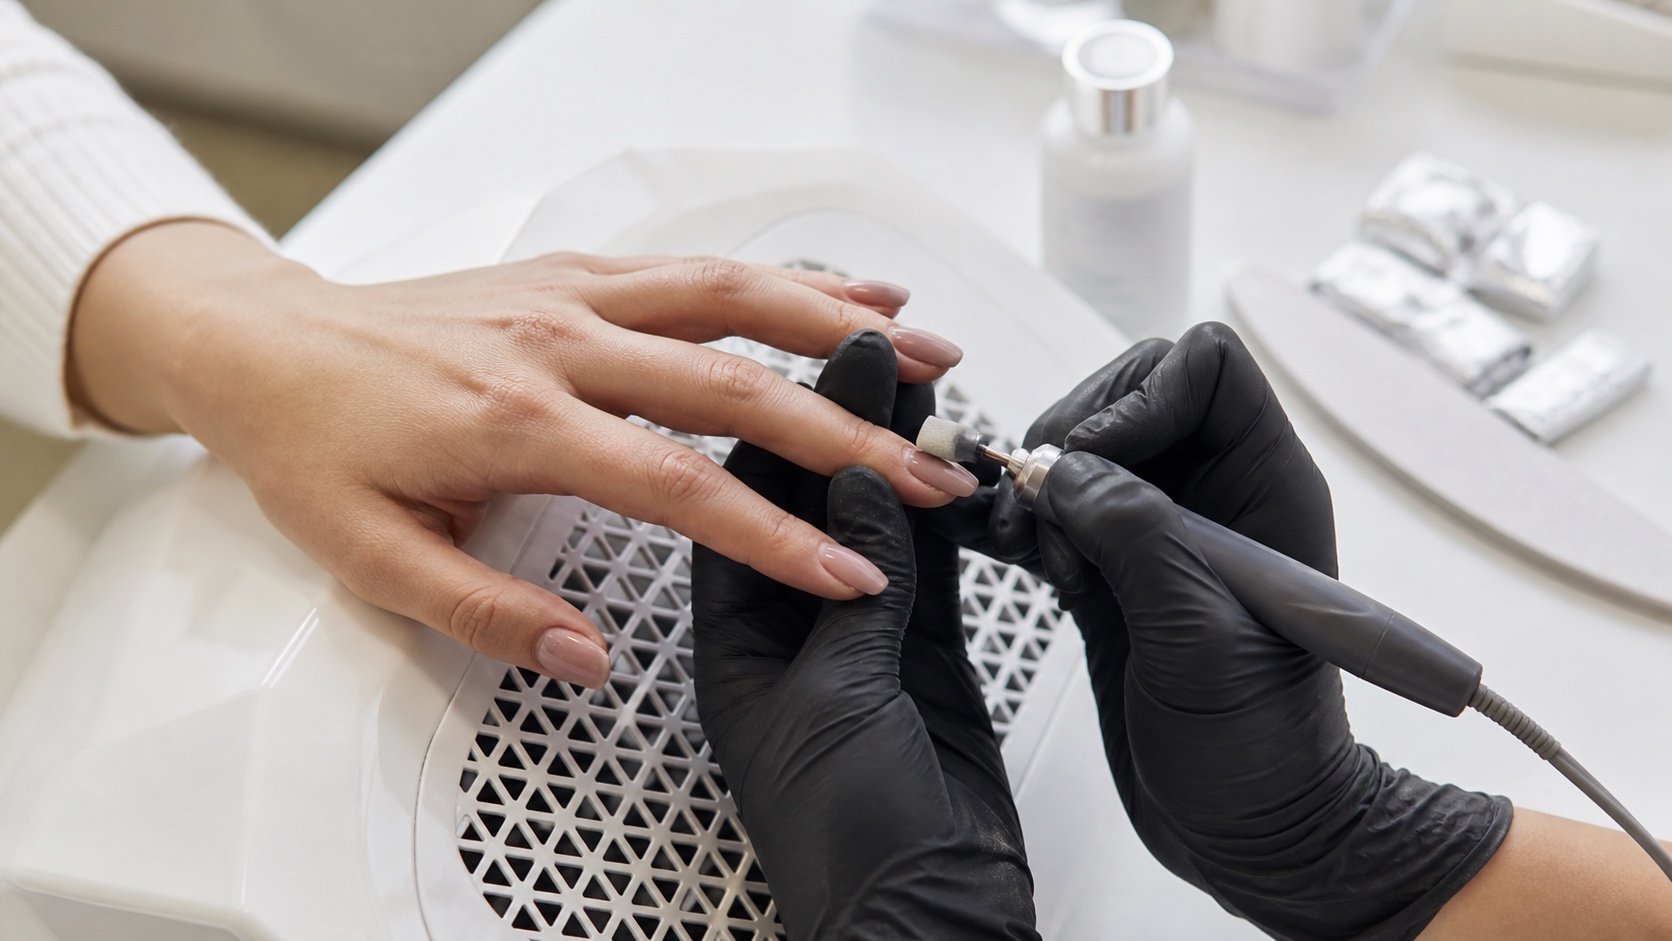
Learn grit, pressure and direction in the professional nail-filing guide. A hand file is enough to develop shape and control. An electric file may become useful later, but speed is not a foundation; the electric nail-file guide explains the competence required before that purchase.
3. Cleaning liquids and nail-preparation products
The cleanser or surface-preparation liquid named by the system, with lint-free wipes.
Dehydrator only if the protocol calls for one.
One acid, acid-free or bonding product only when the system specifies it—not all three.
The correct removal liquid only if the product is designed to be removed by that method.
Dehydrator, primer and bonder are not synonyms. The dedicated nail-primer guide explains how to identify their role. Stacking extra prep liquids can create skin exposure, an unstable interface and a removal problem rather than stronger retention.
4. One complete product system
For a gel or acrygel kit, select only the specified prep, base or bonding step, builder and top. For acrylic, select the matched monomer, polymer powder, prep and brush. Start with small formats where available, one clear or cover product and no more than one colour needed for the exercise. Record opening dates, lot numbers and storage requirements.
Do not rely on labels such as professional, vegan, HEMA-free or universal as proof of compatibility or zero allergy risk. EU rules restrict HEMA and Di-HEMA TMHDC in nail products to professional use and require warnings, but other sensitising acrylates may still be present. Correct curing and no skin contact remain essential.
5. A compatible curing lamp—not simply high wattage
Match formula and lamp before checkout
Wattage is not a curing certificate
Choose the product range
Find its validated lamp
Confirm time and hand placement
Record and follow the protocol
A light-cured base, gel, acrygel or top needs the lamp declared or validated by its manufacturer. A watt figure describes electrical power consumption, not proof that the relevant wavelengths, irradiance, geometry and exposure time cure every formula. Material can feel hard at the surface while remaining inadequately polymerised below.
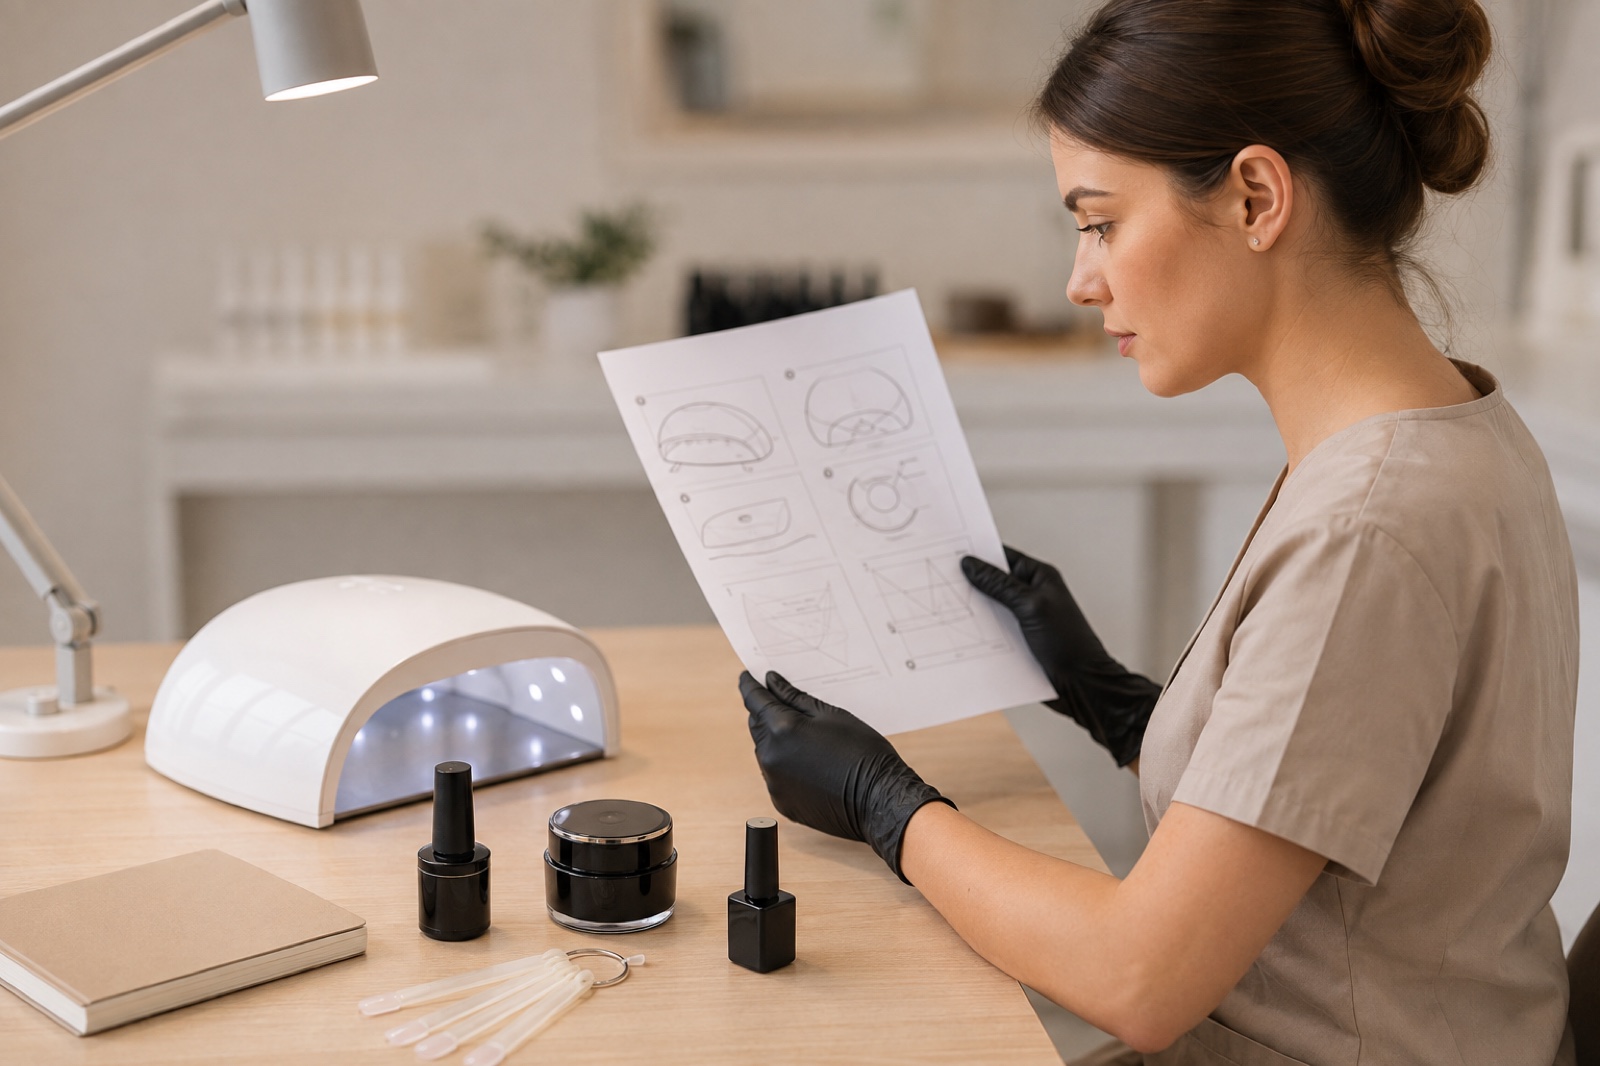
Choose the lamp before buying multiple bottles. Verify model, curing schedule, hand placement, reflective base and replacement guidance. Do not compensate for an unknown lamp by doubling time: overexposure does not prove a complete cure and may increase heat. The coming polymerisation guide will own the detailed curing intent; this kit guide owns the buying decision.
6. Forms, tips, dual forms and practice supports
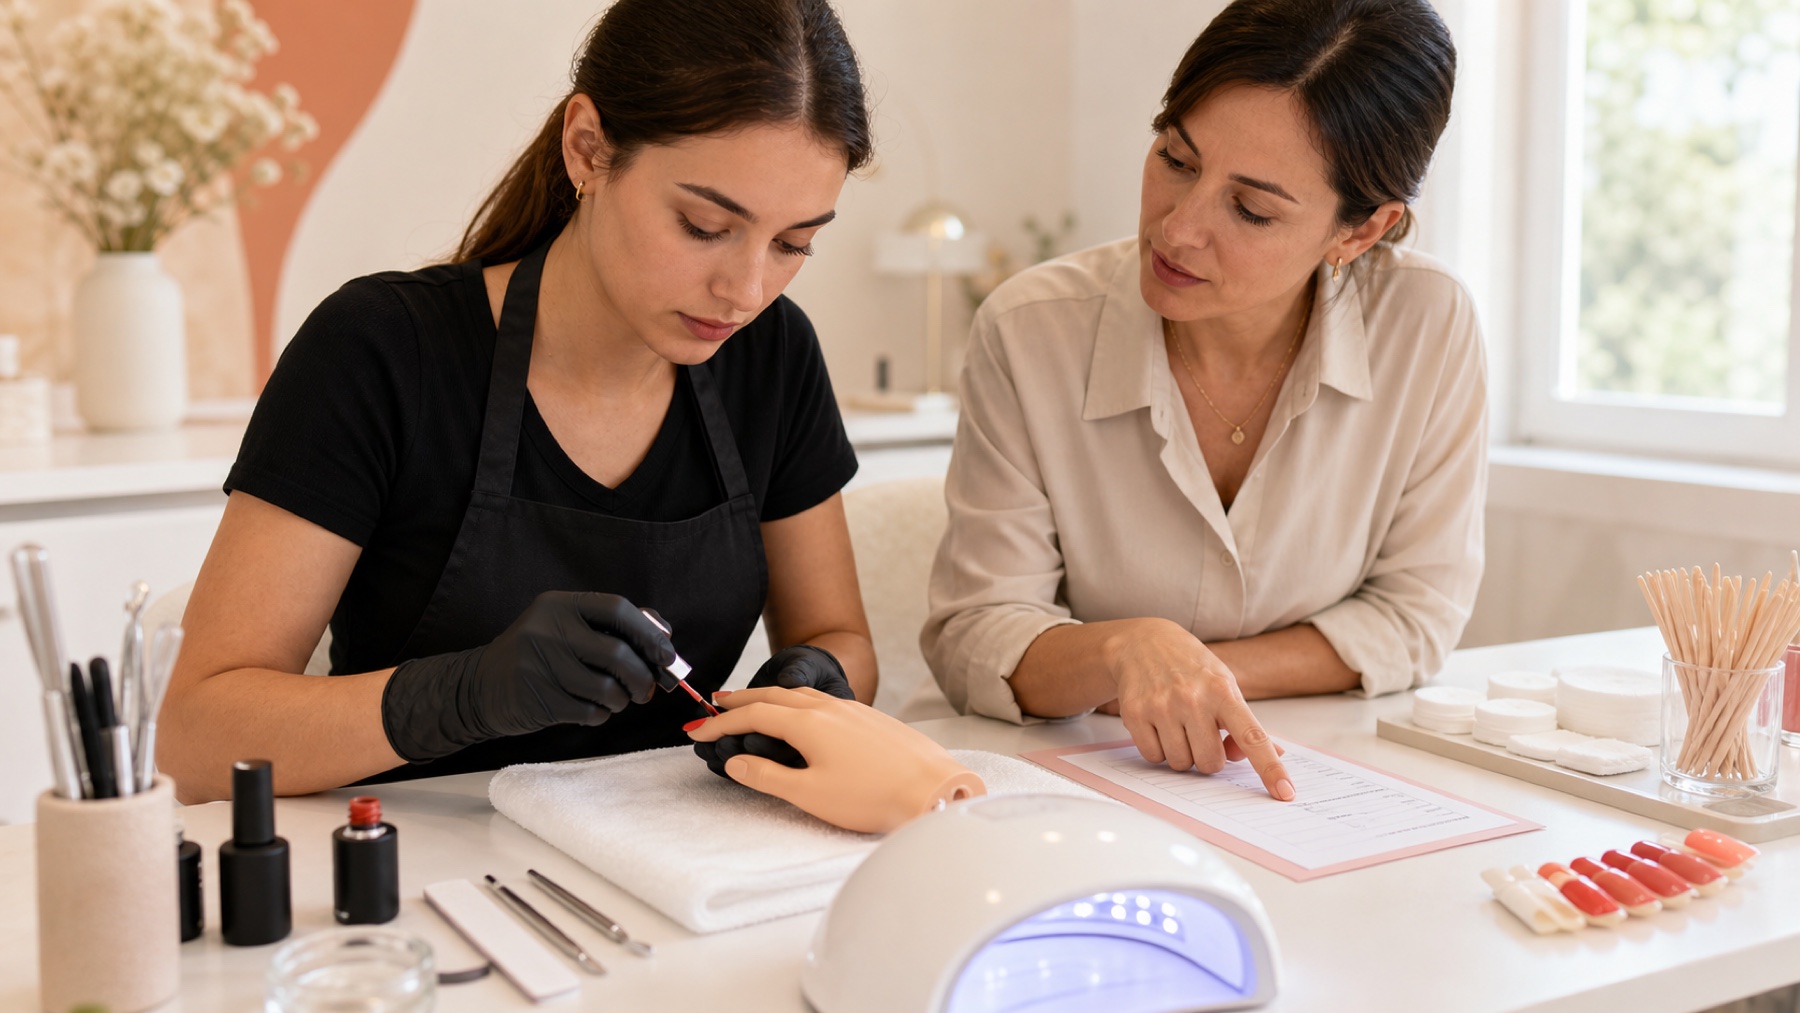
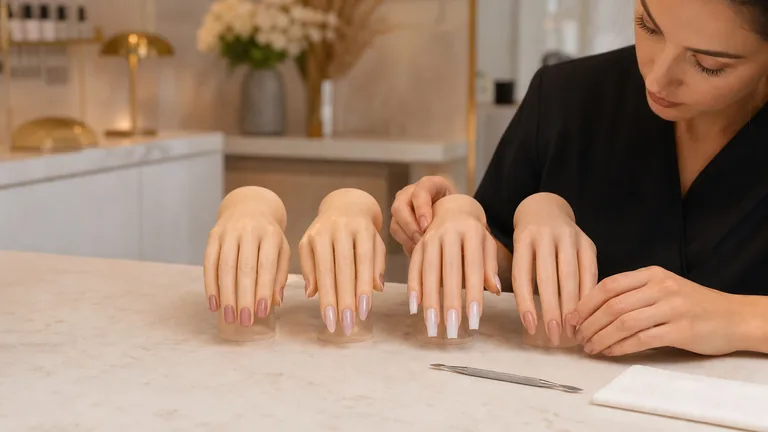
You do not need paper forms, classic tips, full-cover tips and dual forms at once. Buy the extension support taught in the course. Use a stable practice hand, training finger or secured practice tips to repeat bead or gel quantity, axis, apex and filing before moving to a person.
Dual forms can shape product efficiently but do not remove the need for sizing, apex control and finishing. The dual-forms guide explains those decisions. Whichever support you choose, make a small size range available rather than forcing a poorly fitting form.
What not to buy at the beginning
A high-speed electric file and a large bit collection before direction, pressure and risk zones are understood.
Twenty colours when clear or cover material reveals structure more accurately.
Several “universal” bases, primers and bonders that duplicate one another or cross incompatible ranges.
Nail-art pigments, charms and advanced brushes before preparation, architecture and sealing are repeatable.
Untraceable products without clear ingredient, lot, responsible-person, instruction or warning information.
Large professional sizes chosen only for a lower cost per millilitre when the product may expire unused.
Delay anything that does not improve safety, observation or repetition of the current lesson. A purchase earns its place when it solves a documented need—not when it makes the kit look professional on camera.
Plan the budget by priority, not by an arbitrary kit price
Fund the essentials in order
A fixed kit total hides the trade-offs
Priority 1
Safe setup and exposure control
Priority 2
One complete compatible system
Priority 3
Consumables for repetition
Priority 4
Colours, tools and new techniques
Kit prices vary by country, tax, product size, lamp, extraction and what you already own. A fixed total quickly becomes misleading. Divide the budget into four priority levels and fund them in order. This also shows where a cheap bundle has hidden its compromises.
Priority | What it includes | Do not trade it for |
|---|---|---|
1. Safe setup | Light, washable surface, gloves, clean storage, extraction or ventilation | More colours or packaging |
2. Complete system | Named preparation, material, top and compatible lamp where needed | Mixed “universal” products |
3. Repetition | Practice supports, replacement files, wipes and consumables | Decorations used once |
4. Expansion | Extra shades, tools and another technique after competence | Premature complexity |
Calculate ongoing costs as well as checkout price: disposable files, gloves, wipes, dust-extractor filters, replacement lamp parts, removal supplies, wasted mixed acrylic and products that reach their period after opening. Training and safe removal belong in the budget. A small kit you understand costs less than ten discounted bottles you cannot trace.
Product checks before you buy
Name the exact job: cleanser, dehydrator, primer, base, builder, colour and top are not substitutes.
Verify the full compatible system and curing lamp, not only reviews of one bottle.
Read ingredients, warnings, lot, storage, shelf life and period after opening.
Obtain technical instructions and safety data where required for professional use.
Choose a size you can use correctly and record its opening date.
Confirm the removal method and supplies before the first application.
Reject unclear marketplace listings, decanted products and bottles whose traceability cannot be verified.
The no-waste checkout checklist
I chose one technique and one level-appropriate training protocol.
Every bottle maps to a named step; nothing is included “just in case”.
Base, builder, top and lamp are documented as compatible.
I have safe practice supports before working on another person.
Light, dust control, ventilation, gloves and clean/used separation are included.
I am not buying duplicate prep liquids, colours or bits because they are discounted.
I know application, curing, storage, removal and waste procedures for each product.
Frequently asked questions about beginner nail kits
What do I need to start doing gel nails?
You need a safe workstation, essential hand tools, clean consumables, practice supports, one documented gel system and its compatible curing lamp. Begin with one clear or cover product.
Is a ready-made nail kit good value?
Only if every item forms a documented system and the lamp is compatible. Count useful essentials, not the headline number of colours and decorations.
How many nail colours should a beginner buy?
One or two are enough. Early practice should reveal preparation, product quantity, apex, sidewalls, free edge and filing rather than hide them.
Do I need an electric nail file?
No. Hand tools build control. Add an e-file after training in direction, speed, bits and risk zones and when the workload justifies it.
Can I mix base, builder and top from different brands?
Do not assume compatibility. Begin with one complete system or an exact combination confirmed in writing by the manufacturer.
What wattage should a nail lamp have?
Wattage alone cannot prove a cure. Use the lamp model or validated specification named for the formula, with its stated time and hand position.
Are paper forms, tips or dual forms best for beginners?
Use the support taught in your course. Each trains different decisions; buying all three before practising one increases variables and waste.
Does a HEMA-free kit remove allergy risk?
No. It excludes one ingredient, not every sensitising acrylate. Avoid uncured product on skin and use the correct system and lamp.
How much should I spend on a beginner nail kit?
Set the budget after identifying safe setup, one complete system and enough consumables for repetition. Local prices vary, so compare those essentials rather than a generic total.
Can I practise nail extensions on myself?
A training hand or secured tip makes repetition safer and easier to inspect. Self-application can hide posture, angle and skin-contact errors.
Which items must be single use?
Follow local hygiene rules and manufacturer instructions. Porous abrasives and contaminated disposable items generally cannot be made reusable by spraying them.
Which course should I take before buying?
Choose a course covering anatomy, safety, preparation, application, structure, filing, curing and removal. Compare the current BeautyLearn online nail courses by level and curriculum before matching a kit to the programme.
Sources and editorial review
Editorial review: 5 September 2026. Prices, product ranges and instructions change; use current local rules, labels, technical directions and safety data for the products you buy.
This guide owns the broad beginner nail-kit and buying-order intent. Detailed product chemistry, filing, e-file, architecture, curing and individual extension systems remain with their dedicated English guides to prevent keyword overlap.