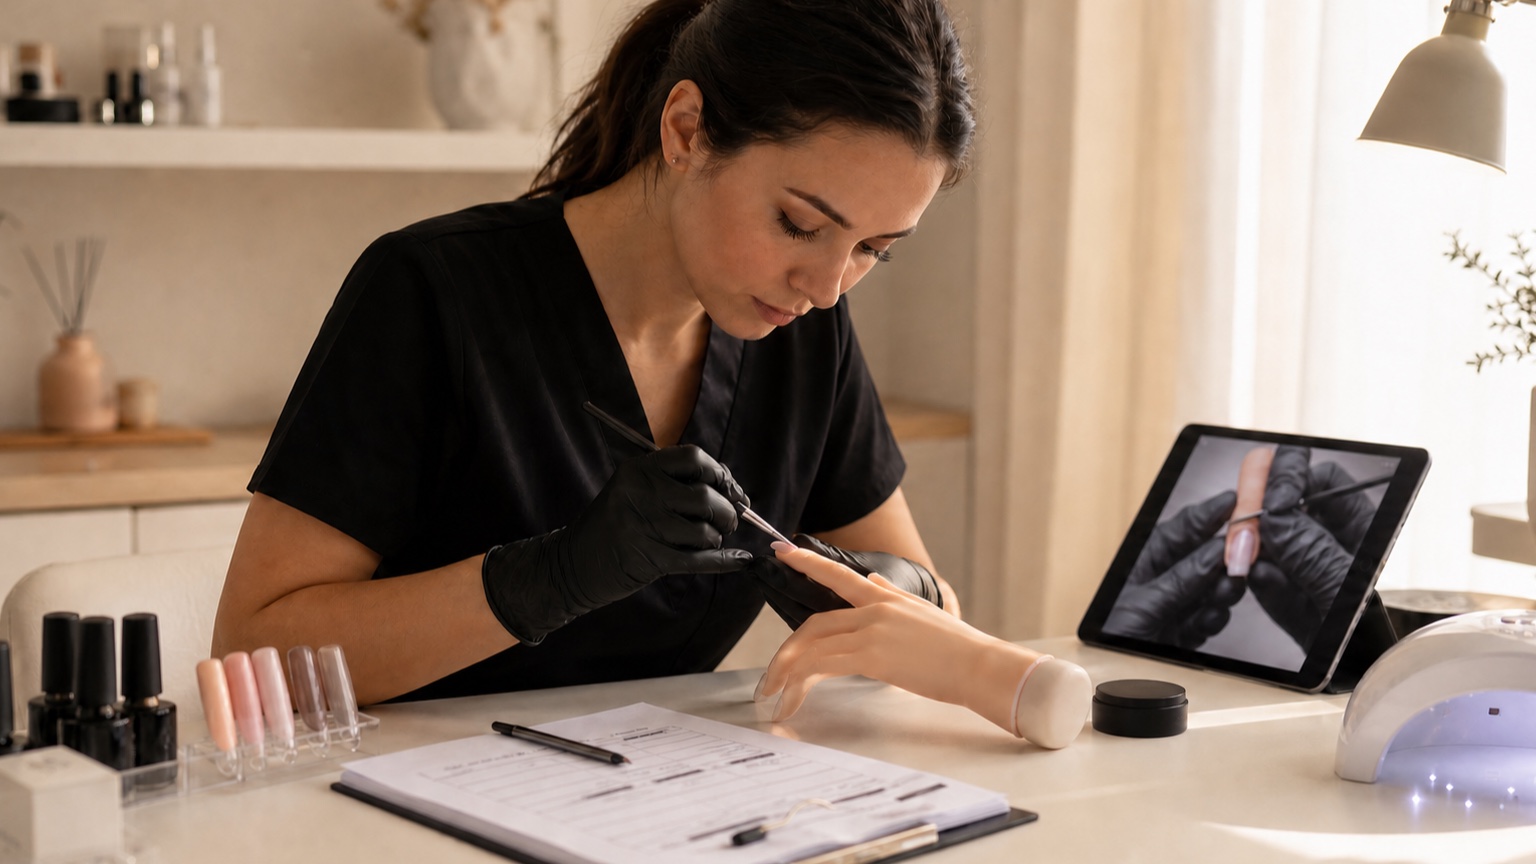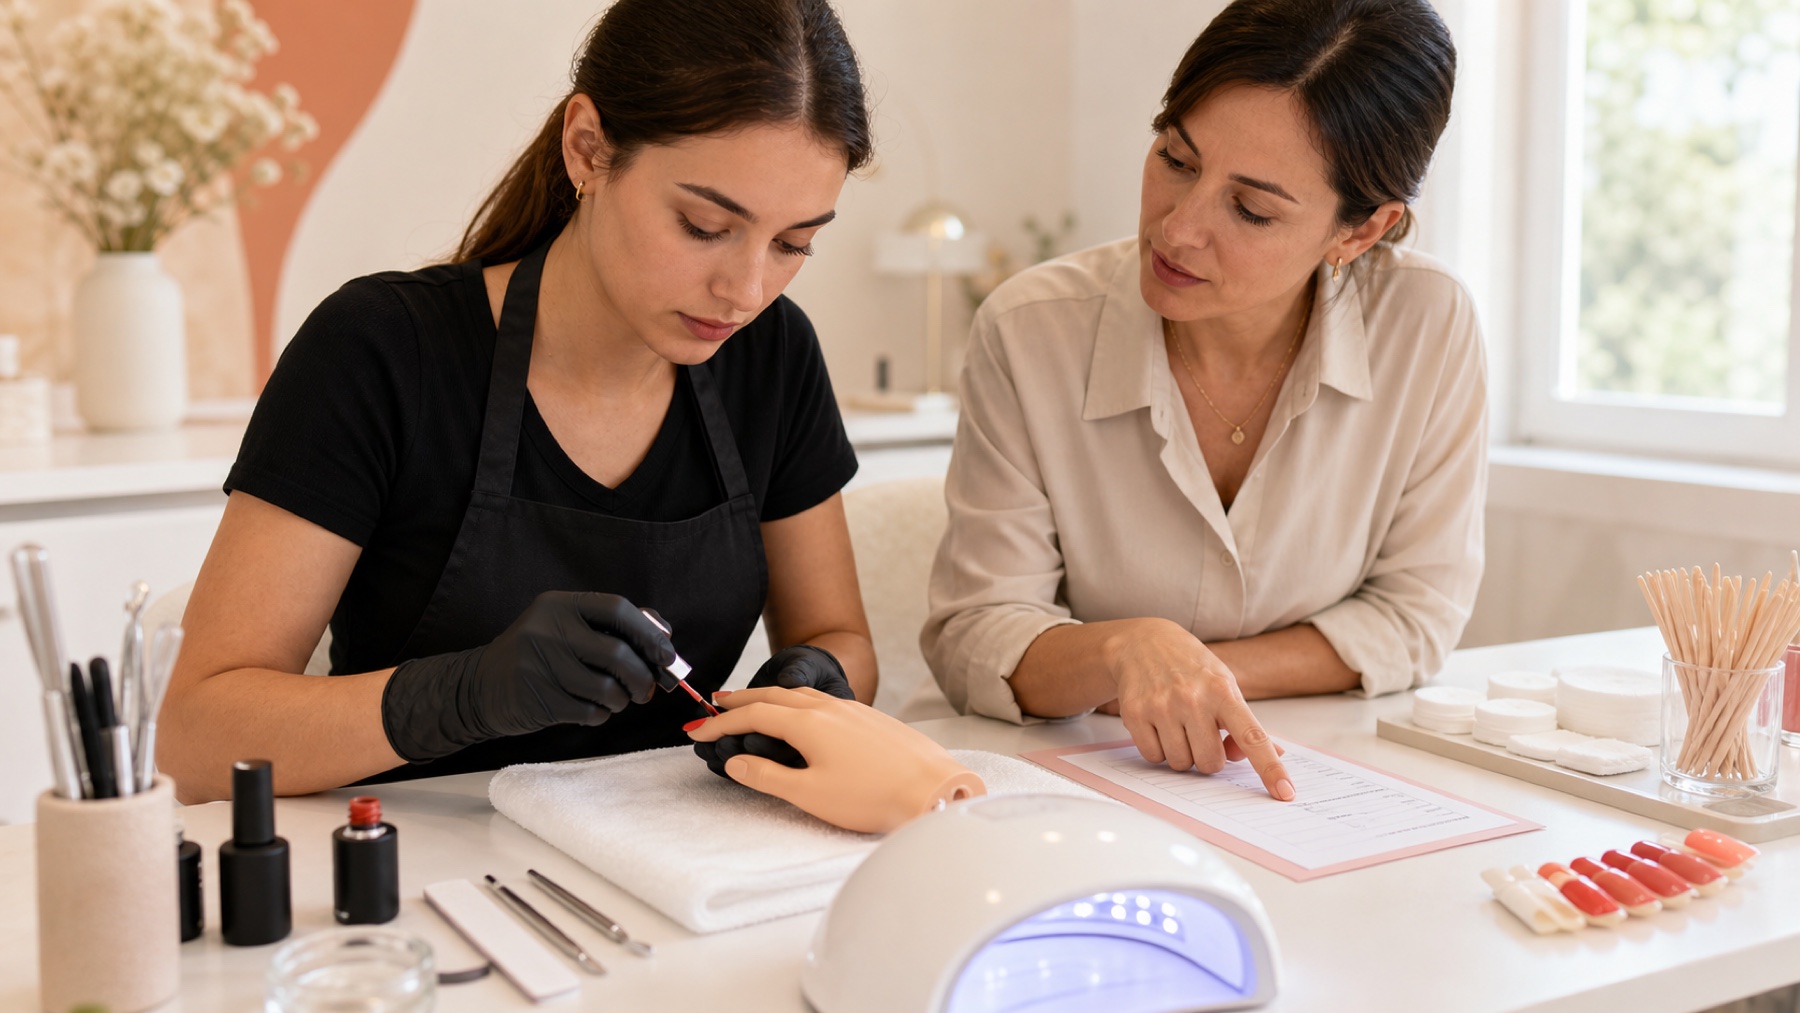
If you are starting from zero, the best first nail technique is not necessarily the trendiest service or the one with the highest salon price. It is the technique that lets you control a small number of variables, see mistakes clearly and repeat the work without using decoration or thickness to hide weak foundations. For many learners, that means studying anatomy, hygiene and manual preparation first, then practising a thin gel-polish service on short natural nails before moving into overlays, structured gel and extensions.
Short answer: begin with natural-nail assessment, workstation hygiene, preparation, product control, compatible curing and safe removal. Gel polish can be a useful first complete service because it trains clean margins and thin application without adding extension geometry. It is not automatically easy or risk-free, and it does not teach architecture by itself.
This page owns one decision: which technique to learn first and what should follow it. The nail technician career guide covers the complete route into work; the online-versus-in-person guide compares learning formats; and the practice roadmap owns the time-and-milestones question. Keeping those intents separate prevents a beginner page from becoming a second career, course-format or duration article.
A sensible order for learning nail techniques
Build control before adding complexity
Each stage should make the next variable easier to read
Foundations
Anatomy, hygiene and preparation
Thin service
Gel polish and safe removal
Structure
Overlay, balance and infill
Extension
One system, short and controlled
Stage | Technique or competence | Why it belongs here | Move on when |
|---|---|---|---|
0 | Anatomy, assessment, hygiene and manual preparation | You learn where to work, how to organise the service and when not to proceed. | Preparation is controlled, comfortable and does not abrade skin or nail plate. |
1 | Gel polish on short natural nails | It isolates margin, quantity, brush, curing and removal control without added length. | Thin, clean applications and intact removal are repeatable across several hands. |
2 | Short natural-nail overlay or structured gel manicure | It introduces volume and balance while the free edge remains manageable. | Thickness, axis and surface are legible from top, side and front. |
3 | Builder-gel maintenance, infill and removal | You learn architecture and rebalance before adding form fitting or length. | You can preserve the natural nail and identify what to keep, rebalance or remove. |
4 | Short extension with one selected system | Length, support, axis and leverage are added after product control is stable. | Short extensions are balanced and repeatable rather than rescued by extra bulk. |
5 | E-file, advanced shapes, corrections and complex art | Advanced tools now refine reliable foundations instead of compensating for them. | You can name the objective, risk and stop point for every additional step. |
This is a teaching progression, not a universal law. Someone with verified manicure experience may move through the first stage quickly; someone who still creates heat, soreness, grooves or repeated lifting should remain there longer. Progress should follow observable control and competent feedback, not a calendar or the number of certificates collected.
Stage zero: what to learn before applying a product
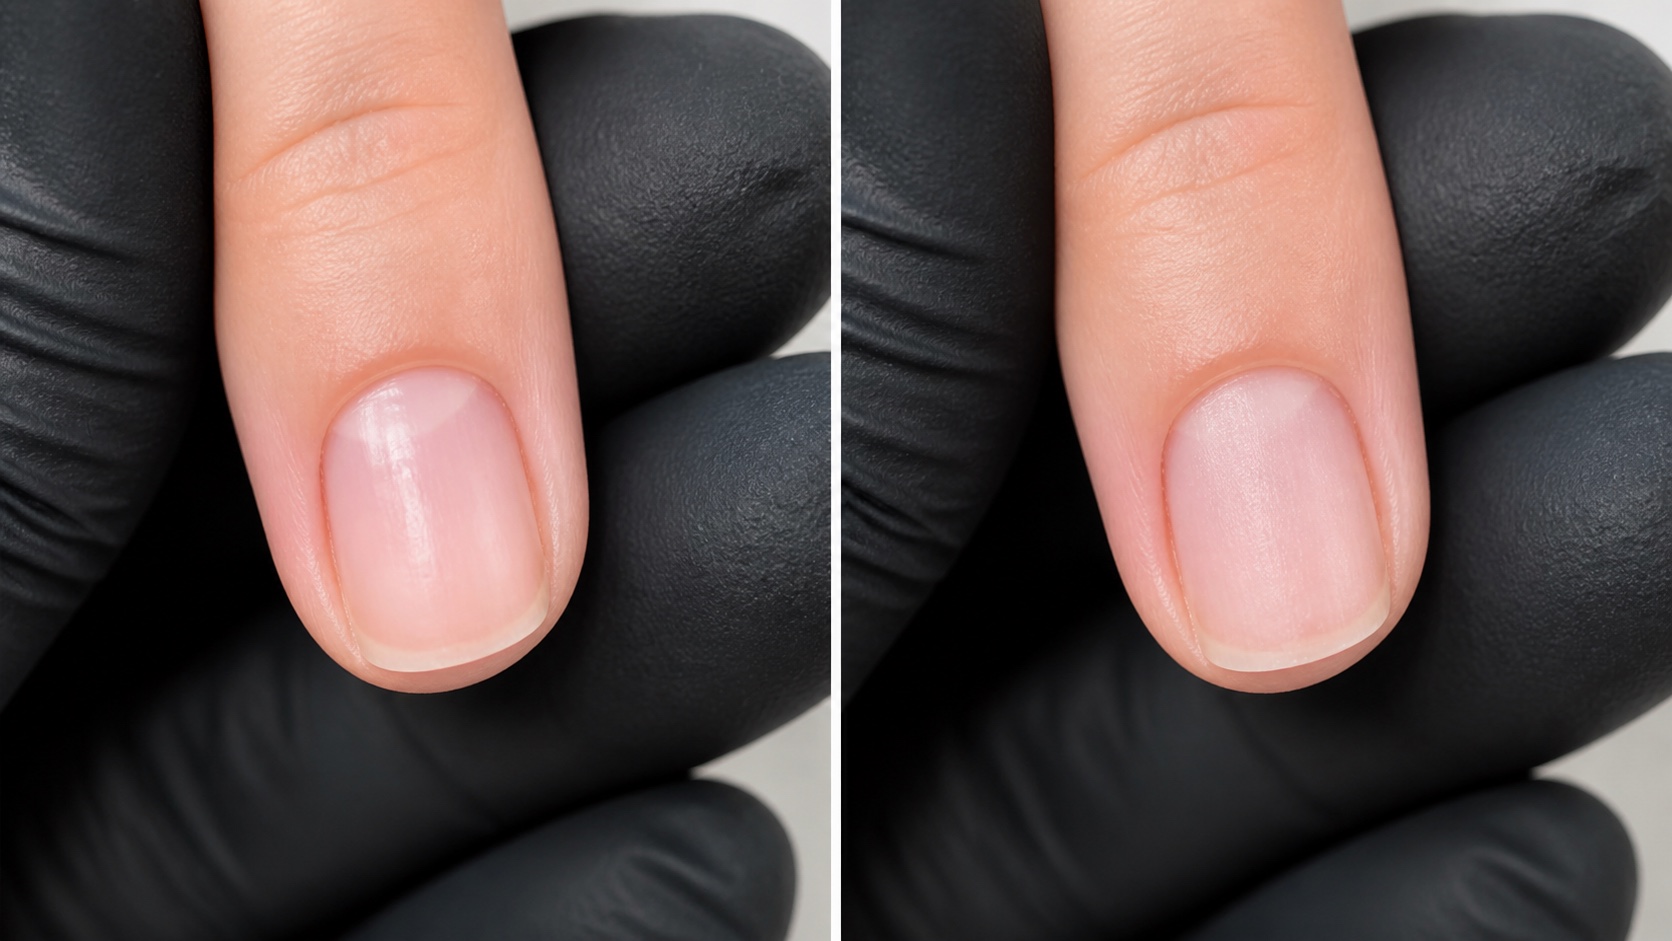
Product application begins after observation, not before it. Learn the basic structures of the nail unit, recognise the difference between removable surface material and living tissue, and understand the limits of a cosmetic service. A nail professional does not diagnose disease. They identify findings that make a service unsuitable, stop, document appropriately and refer the client to a qualified healthcare professional when needed.
Your first practical sequence should include hand hygiene, a cleanable workstation, correctly processed reusable tools, single-use items where required, safe storage and a plan for dust and vapour. The nail anatomy guide defines professional boundaries, while the guide to cleaning, disinfection and sterilisation separates processes that are often incorrectly treated as synonyms.
Then practise the natural-nail preparation sequence. The goal is not to make the nail look rough. It is to remove only what the selected system requires, maintain a clear perimeter and leave the nail plate intact. Pain, bleeding, excessive heat, visible grooves and progressive thinning are stop signals, not normal signs of thorough preparation.
Why gel polish can be a useful first complete service
A first service is a complete control loop
Wear alone cannot prove correct technique
Assess
Suitability and stop criteria
Apply
Clean margins and thin layers
Cure
Compatible lamp and instructions
Review
Regrowth, removal and nail condition
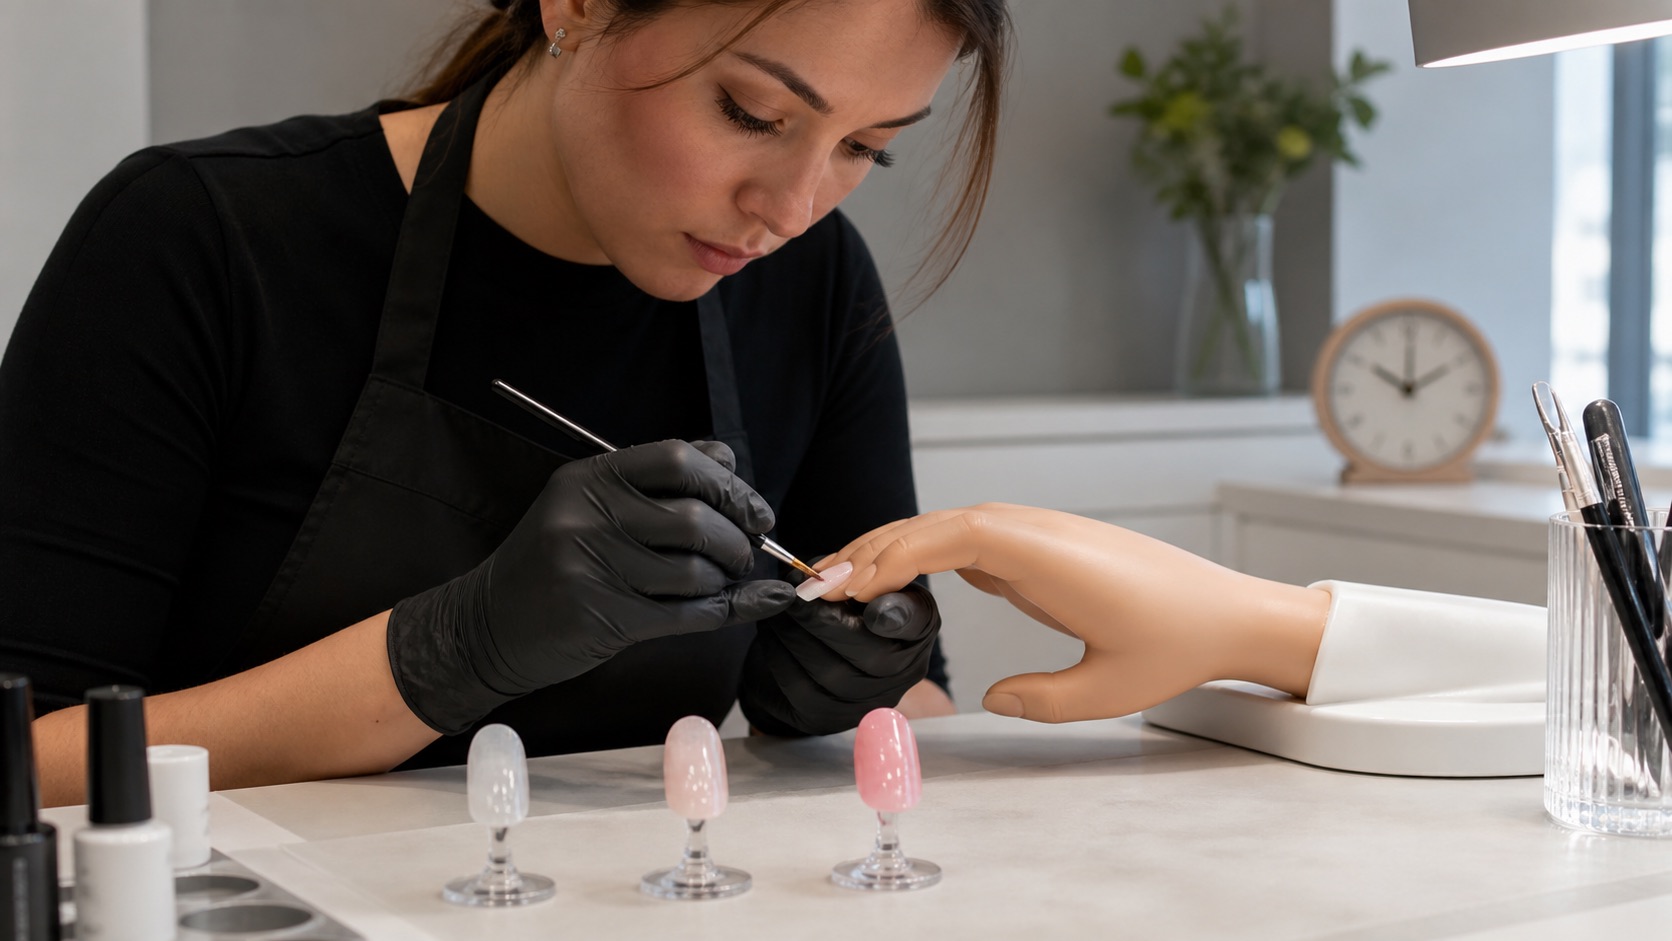
A short natural nail removes the geometry of an artificial extension while preserving the essential service loop: assessment, preparation, base, colour, top, compatible curing, wear observation and removal. This lets a learner isolate brush pressure, product quantity, sidewall control and the distance from surrounding skin. Each variable can be photographed and corrected without the distraction of apex height, form placement or long free-edge leverage.
Gel polish is not merely ‘painting nails’. The product must stay on the nail plate, and the lamp, exposure time and layer thickness must follow the system manufacturer’s instructions. European Regulation 2020/1682 restricts nail products containing HEMA or Di-HEMA TMHDC to professional use and requires an allergy warning. The US FDA also advises following label directions, avoiding skin contact and using adequate ventilation. These sources do not endorse a brand or training provider; they show why accurate application and product instructions belong in the first course.
Study the complete sequence in the guide to gel-polish application, curing and removal. Do not judge success only by how long the coating stays on. Long wear can coexist with over-filed nails, product touching skin or an incompatible cure. The evidence should include the application perimeter, the regrowth, the removal process and the condition of the natural nail afterwards.
When to move from gel polish to an overlay
Move to a short overlay when the thin-product sequence is repeatable and you are ready to control a small amount of structure. An overlay keeps the natural nail as the foundation but introduces product distribution, a subtle apex or reinforced stress area where the system and nail require it, surface levelling and a more deliberate filing plan.
A builder base, rubber base or structured gel manicure is not chosen from a universal ranking of strength. Product names vary between manufacturers, and a flexible base is not automatically suitable for every nail or length. Compare the complete system, removal method, client’s nail and intended wear. The detailed comparison belongs to the natural-nail overlay guide; here its role is to bridge thin coating and extension architecture.
Before advancing, check the result from above, the side and the front. The central line should be stable, the surface should not depend on a thick perimeter, the product should remain clear of skin and the free edge should have a coherent thickness. You should also be able to perform an infill or removal without repeatedly cutting into the natural plate.
Which extension system should a beginner choose?
There is no universally easiest extension system
Choose by working behaviour, complete training and feedback
Gel
Flow, levelling and curing
Acrygel
Portioning and controlled movement
Acrylic
Ratio, bead and setting time
Evidence
Structure checked in three views
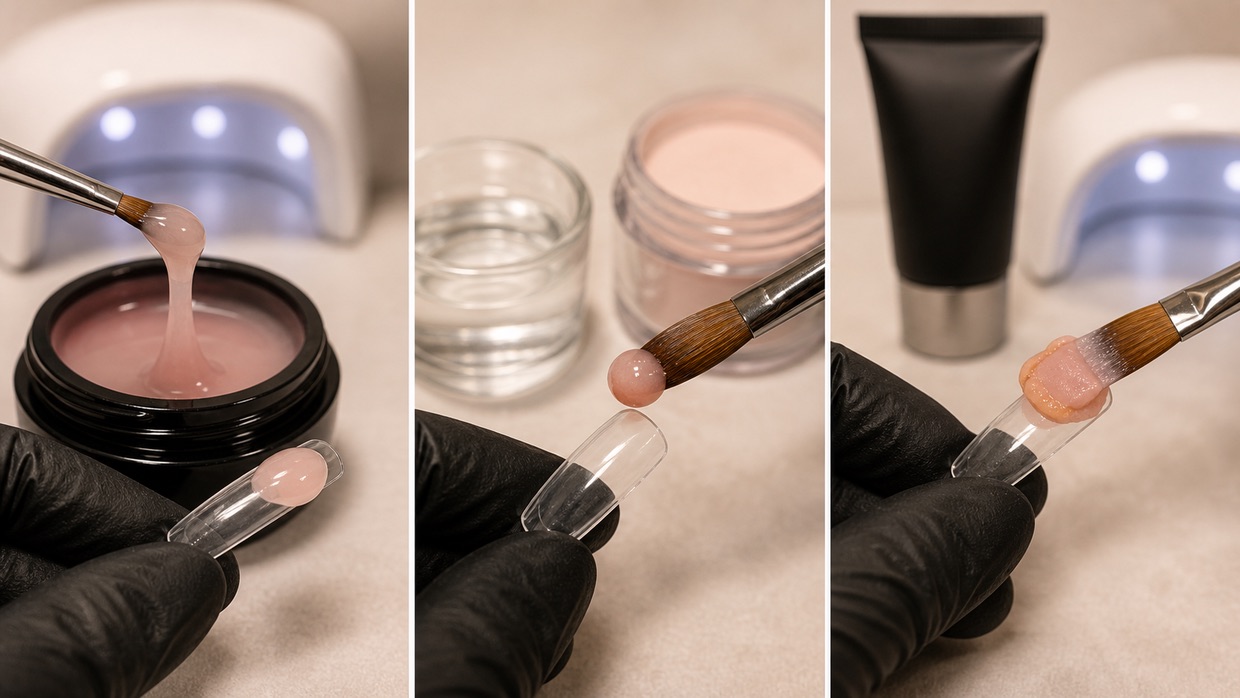
Gel, acrygel and acrylic are workable professional systems with different handling demands. Gel remains mobile until cured and therefore teaches levelling and timing before the lamp. Acrygel generally stays where it is placed and is moved with a suitable liquid and brush according to the manufacturer. Acrylic depends on liquid-to-powder ratio, bead consistency and air-setting time. None is universally easiest: the best first extension system is the one taught completely, supplied compatibly and corrected against visible criteria.
System | Main new control | Useful prior skill |
|---|---|---|
Builder gel | Flow, levelling, turning and curing before movement changes the shape. | Clean margins, short overlay and multi-view structure checks. |
Acrygel | Portioning, controlled movement, surface smoothing and complete cure. | Product distribution, filing plan and short architecture. |
Acrylic | Liquid-to-powder ratio, bead placement and work before air setting. | Margin control, brush stability, filing and ventilation practice. |
Dual form | Sizing, curvature, quantity, seating, underside and bubble control. | The ability to recognise correct architecture without relying on the mould. |
Use the detailed gel, acrylic and acrygel comparison to understand working behaviour. If your course starts with gel, study the complete gel-extension sequence; if it starts with acrylic, use the liquid-and-powder ratio guide. Learn one complete system before mixing techniques or brands whose compatibility has not been documented.
Why e-file work, long shapes and complex nail art come later
An electric file adds rotation speed, direction, bit geometry, abrasive grade, pressure, support, contact time and heat. It should not be used to make an uncertain manual process feel faster. Learn what material must be removed and what must remain before adding a powered tool. The professional e-file guide explains those controls; supervised practical correction is especially valuable when the learner cannot yet see pressure or angle errors.
Long extensions add leverage and magnify errors in axis, apex, sidewalls and free-edge thickness. Begin with a short, salon-relevant shape that you can assess from several views. Once it is repeatable, vary one element—length, shape or product—not all three together. Decoration should follow the same principle: first create a clean, balanced service, then add lines, colour or effects without compromising curing, thickness or maintenance.
A ten-week practice sequence for a true beginner
Ten weeks is not a promise of professional independence. It is a sample structure that prevents random practice. Repeat a stage when control is unstable, and obtain competent feedback before adding complexity. Keep dates, products, lamp, timings, top/side/front photographs, wear observations and the next correction; do not save only the best result.
Weeks 1–2: nail-unit theory, stop criteria, workstation workflow, manual-tool handling and preparation exercises on suitable training supports.
Weeks 3–4: five-tip drills for brush pressure, thin layers, clean margins and colour consistency; then review errors numerically rather than choosing one attractive tip.
Weeks 5–6: complete gel-polish application and removal under the chosen system, documenting regrowth and the natural nail after removal.
Weeks 7–8: short overlays assessed from top, side and front, with one priority correction repeated under the same conditions.
Weeks 9–10: repeat the same complete service twice, compare preparation, structure, timing and finish, then decide which gap the next course should address.
The learning-time roadmap explains how to turn elapsed time into meaningful evidence. Speed comes after repeatability: timing an unstable service only makes the same uncontrolled decisions happen faster.
Buy a beginner kit by stage, not by fear of missing out
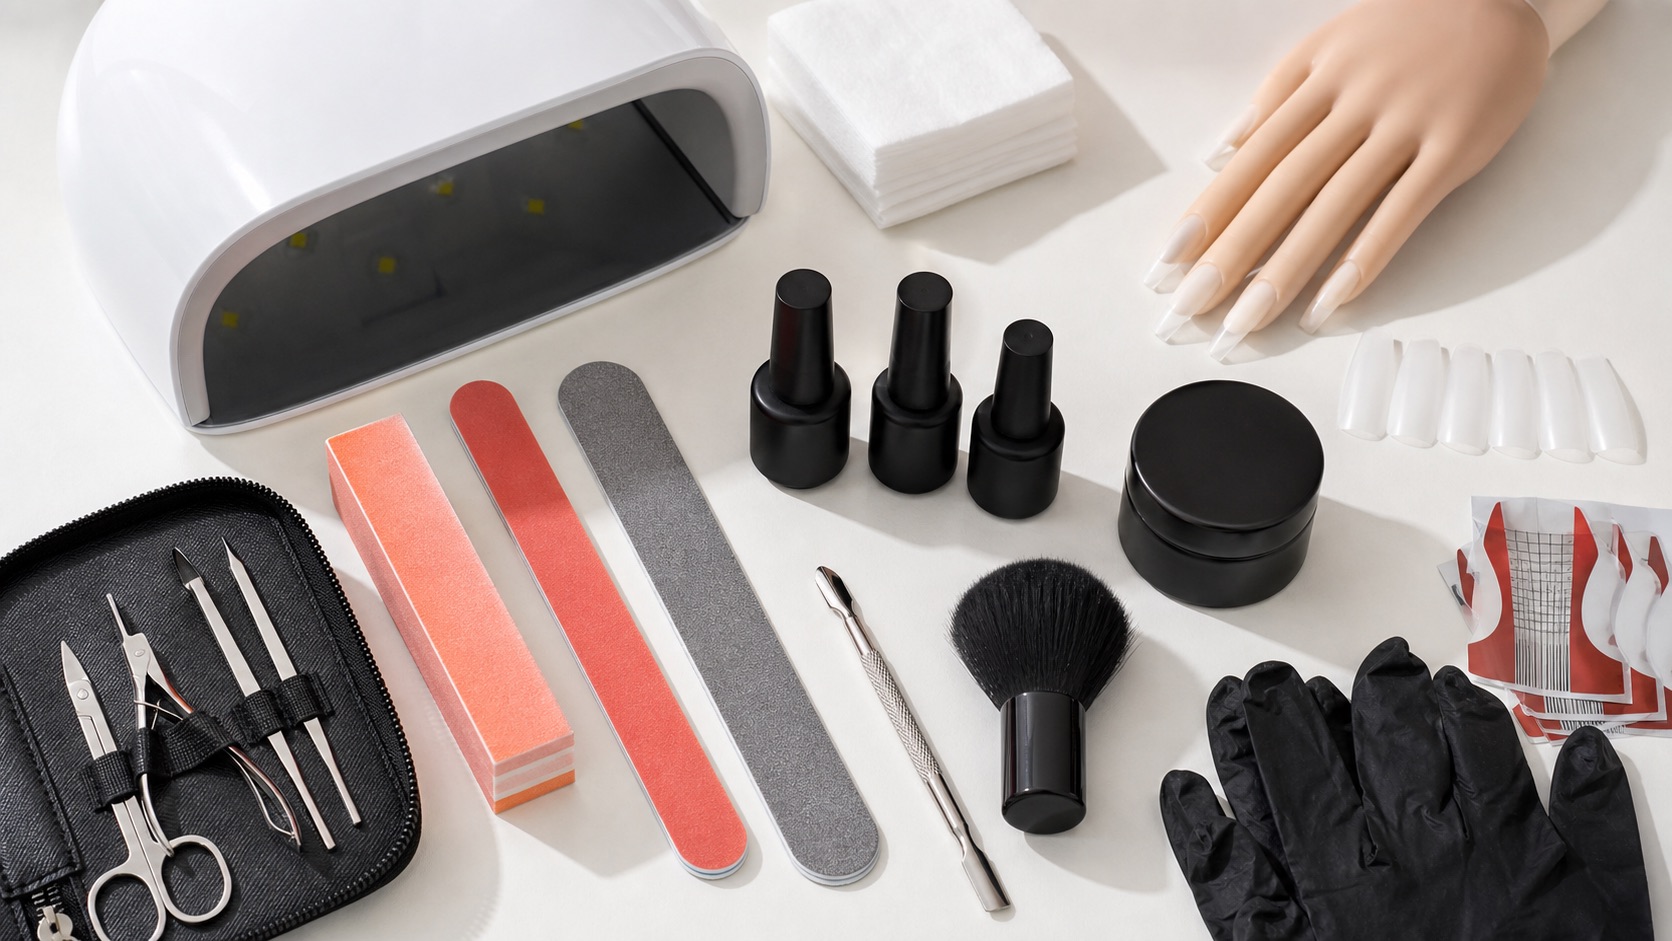
A very large kit creates more compatibility questions, storage duties and expiring products. Start with the complete system used in the course, the lamp specified for it, a cleanable workstation, suitable hand tools, files with declared abrasiveness, single-use supplies and training supports. Add overlay or extension products only when that stage begins. Do not substitute lamp, base, builder or top at random when the manufacturer defines a system.
Use the beginner nail-kit checklist after selecting a course and system. It is a purchasing guide, not a curriculum. Owning acrylic, gel, acrygel, dual forms and dozens of colours does not create the controlled sequence needed to use them safely.
How to evaluate a beginner nail course
Beginner is a level, not a marketing label
The programme should make practice and limits testable
Curriculum
One complete service and its limits
Practice
Progressive tasks and evidence
Feedback
Who, what, how often and when
Status
Certificate and local requirements
The words beginner, basic or complete are not a curriculum. The course page should state the starting level, exact service, product system, demonstrations, exercises, feedback, assessment, access period, kit and exclusions. A short course promising gel polish, gel, acrylic, acrygel, e-file, dual forms and advanced nail art may provide an overview; it cannot automatically provide repeated practical control of every system.
Does the syllabus teach anatomy, hygiene, preparation, application, curing or setting, maintenance, removal and stop criteria for the stated service?
Can you watch a real lesson sample showing quantities, angles and checks—not only finished sets and promotional edits?
Are practical tasks progressive, and do the assessment criteria describe observable outcomes from more than one view?
Who provides feedback, on what evidence, how many times and within what access period?
Are product, lamp and tool requirements listed, with compatibility and manufacturer instructions kept visible?
Does the provider distinguish a completion certificate from any qualification or licence required in your jurisdiction?
Compare the current English-market programmes in the BeautyLearn nail-course catalogue. Then verify any legal or employment claim using the guide to certificates, qualifications and licences and the competent authority where you intend to work.
Frequently asked questions
What nail technique should a complete beginner learn first?
Start with anatomy, assessment, hygiene and preparation. A controlled gel-polish service on short natural nails can then train margins, thin layers, curing, wear and removal before you add structural length.
Is gel polish easier than builder gel?
It usually involves less architecture, but it still requires accurate preparation, skin avoidance, compatible curing and safe removal. Easier to stage does not mean harmless or automatically simple.
Can I start directly with acrylic nails?
You can follow a well-designed beginner acrylic pathway, but it must still teach the common foundations and provide enough ratio, bead, structure, filing and ventilation practice. Do not skip natural-nail control.
Are dual forms suitable for beginners?
They can be taught to beginners, but the form does not create correct architecture automatically. Sizing, curve, quantity, seating, bubbles, underside and final balance all require assessment.
When should I learn to use an electric nail file?
After you understand the anatomy, material and manual objective well enough to know what must be removed, what must remain and when to stop. Add supervised control of bit, speed, direction, angle and pressure.
Should a first course cover every nail system?
Not necessarily. Depth in one complete, assessed service is often more useful than brief exposure to many systems. A broad course should clearly distinguish orientation from practical competence.
How do I know when I am ready for extensions?
Preparation, product perimeter, short overlay, filing and removal should be repeatable and leave the natural nail intact. You should be able to read axis and thickness from top, side and front before adding length.
Do I need a large kit before enrolling?
No. Ask for the exact system and included materials first. Buy compatible essentials for the current practice stage, then expand after you can explain the purpose and maintenance of each item.
Can I practise only on nail tips?
Tips are useful for brush and structure drills, but they do not reproduce skin, natural-nail variation, hand positioning, wear, infill or removal. Progress to suitable informed models under the course protocol.
Is an online beginner nail course enough?
It can provide a strong pathway when demonstrations are complete, practice is required and process feedback is available. Some learners also need live correction for posture, pressure or tool movement. Check local training requirements separately.
Does a certificate mean I can work professionally?
A certificate may document participation or assessment, but work requirements vary by country, state, region and service. Verify the issuer’s claim and the current rules where the service will be offered.
What is the biggest beginner mistake?
Adding tools, products and techniques before the previous control is repeatable. Change one variable at a time, document the whole service and use feedback to select the next exercise rather than chasing speed.
Official sources and editorial boundary
Product-use and allergy-warning context: European Commission Regulation (EU) 2020/1682. General nail-product and skin-contact guidance: US Food and Drug Administration, Nail Care Products. Workplace chemical-hazard context: US Occupational Safety and Health Administration, Nail Salons. Jurisdiction and product rules differ; always follow current local requirements, product labels and manufacturer instructions.
Editorial boundary: this educational guide does not diagnose nail conditions, certify competence or replace approved education, supervised practice, manufacturer training, workplace risk controls or a licence where required. Stop a cosmetic service when the nail or surrounding skin is painful, inflamed, broken or otherwise unsuitable and refer within your professional scope.