Black gel nails can look precise and understated, soft and velvety, or bright with metallic detail. The difference comes from the amount of black, the nail shape and where you place the contrast. A thin black French tip leaves a very different impression from a full black coffin nail, even when both use the same colour.
Start with one decision: do you want solid colour, a small accent or a pattern? Then choose a length you can manage comfortably. The ideas below work as a brief for a nail appointment or as composition exercises on practice tips; applying gel safely also requires product knowledge and controlled technique.
Quick choice: begin with the amount of black you want to see. Choose full colour for a defined outline, a micro-French for a lighter-looking set, or a sheer accent if you want both. Keep one main feature—colour, texture or decoration—and let the other nails support it.
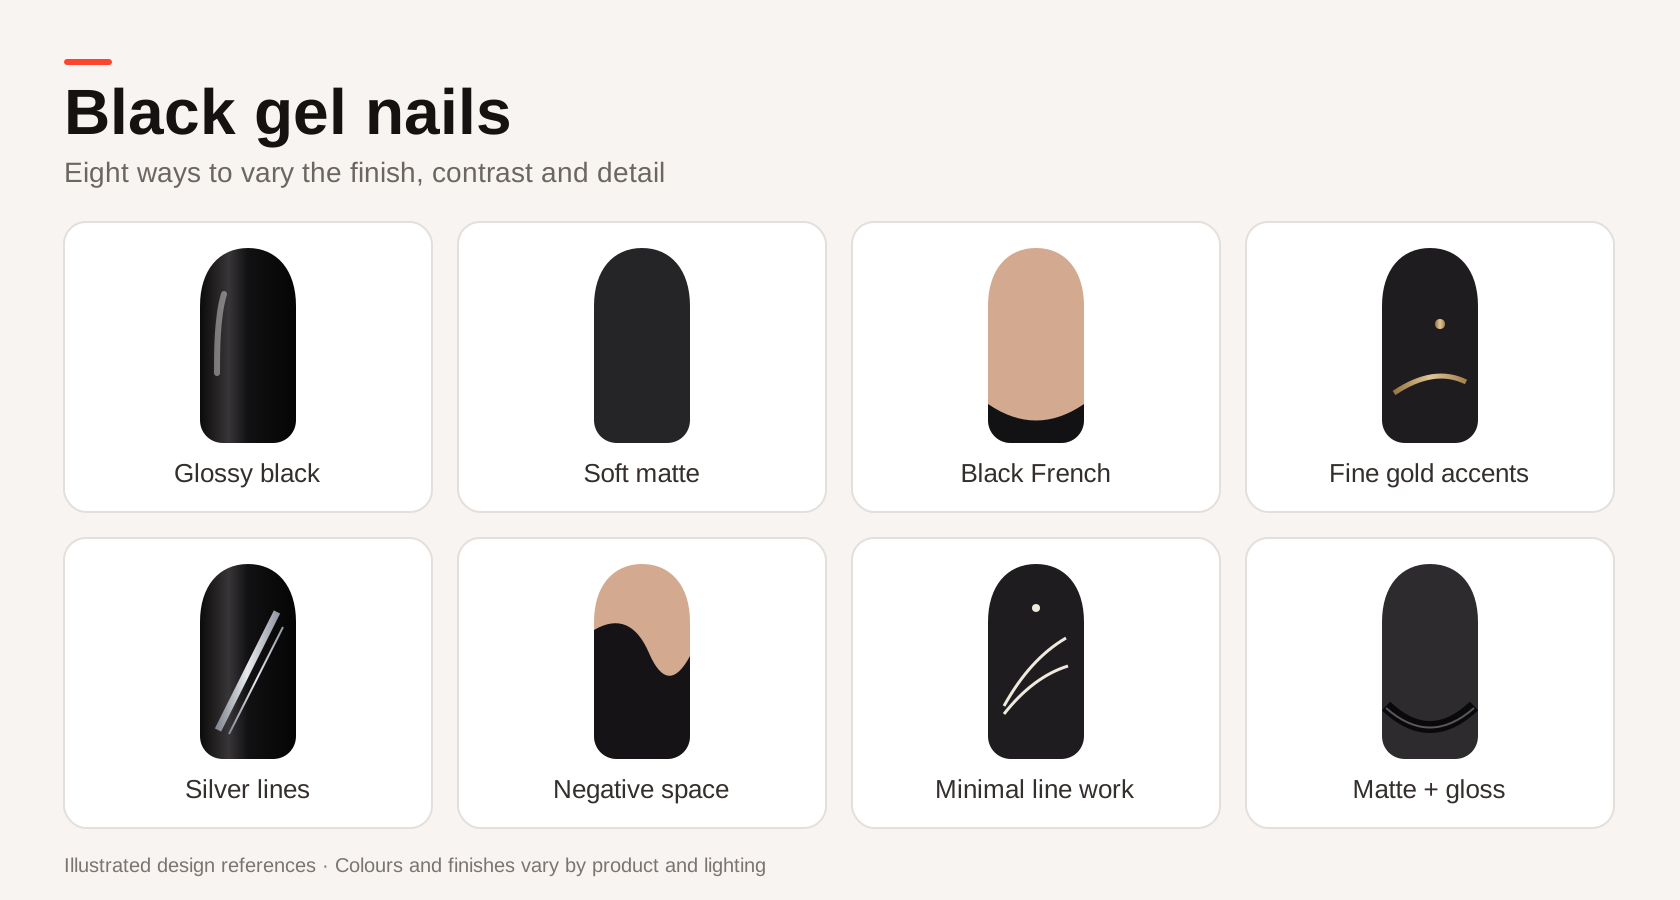
Eight black gel nail designs to adapt
1. Glossy black on a short rounded square
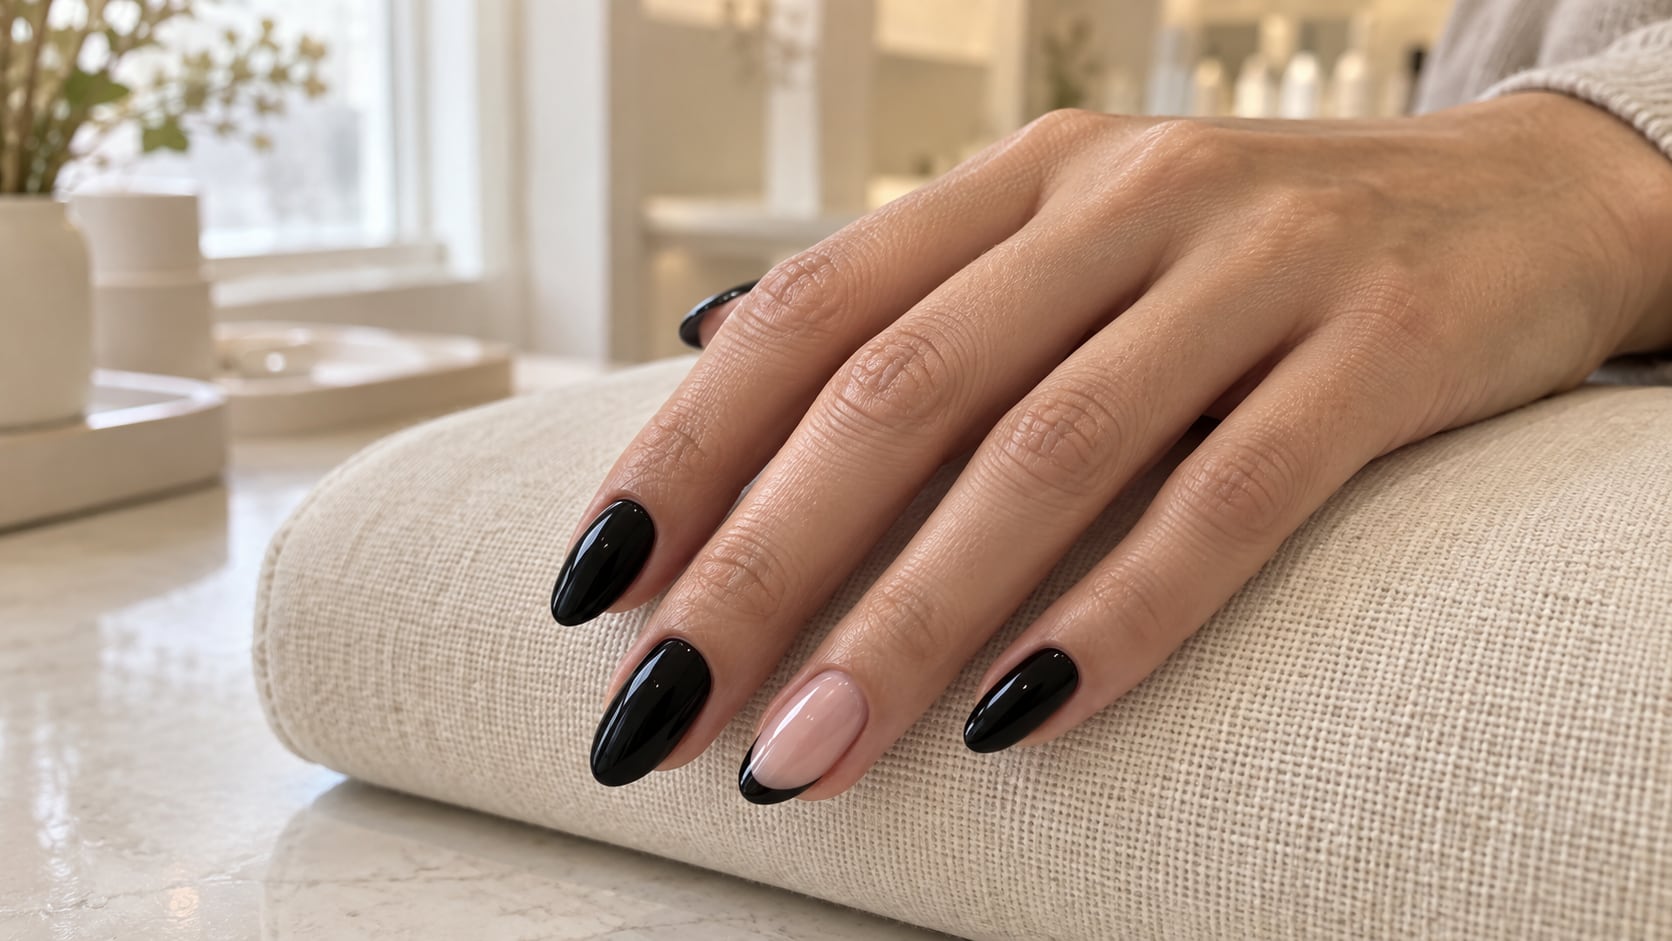
A full black manicure needs no extra decoration to feel finished. On a short rounded square, the straight edge gives structure while softened corners keep the outline compact. Ask for an even perimeter and a smooth reflection. Black makes a wobbly colour border conspicuous, so precision contributes more than another layer of product.
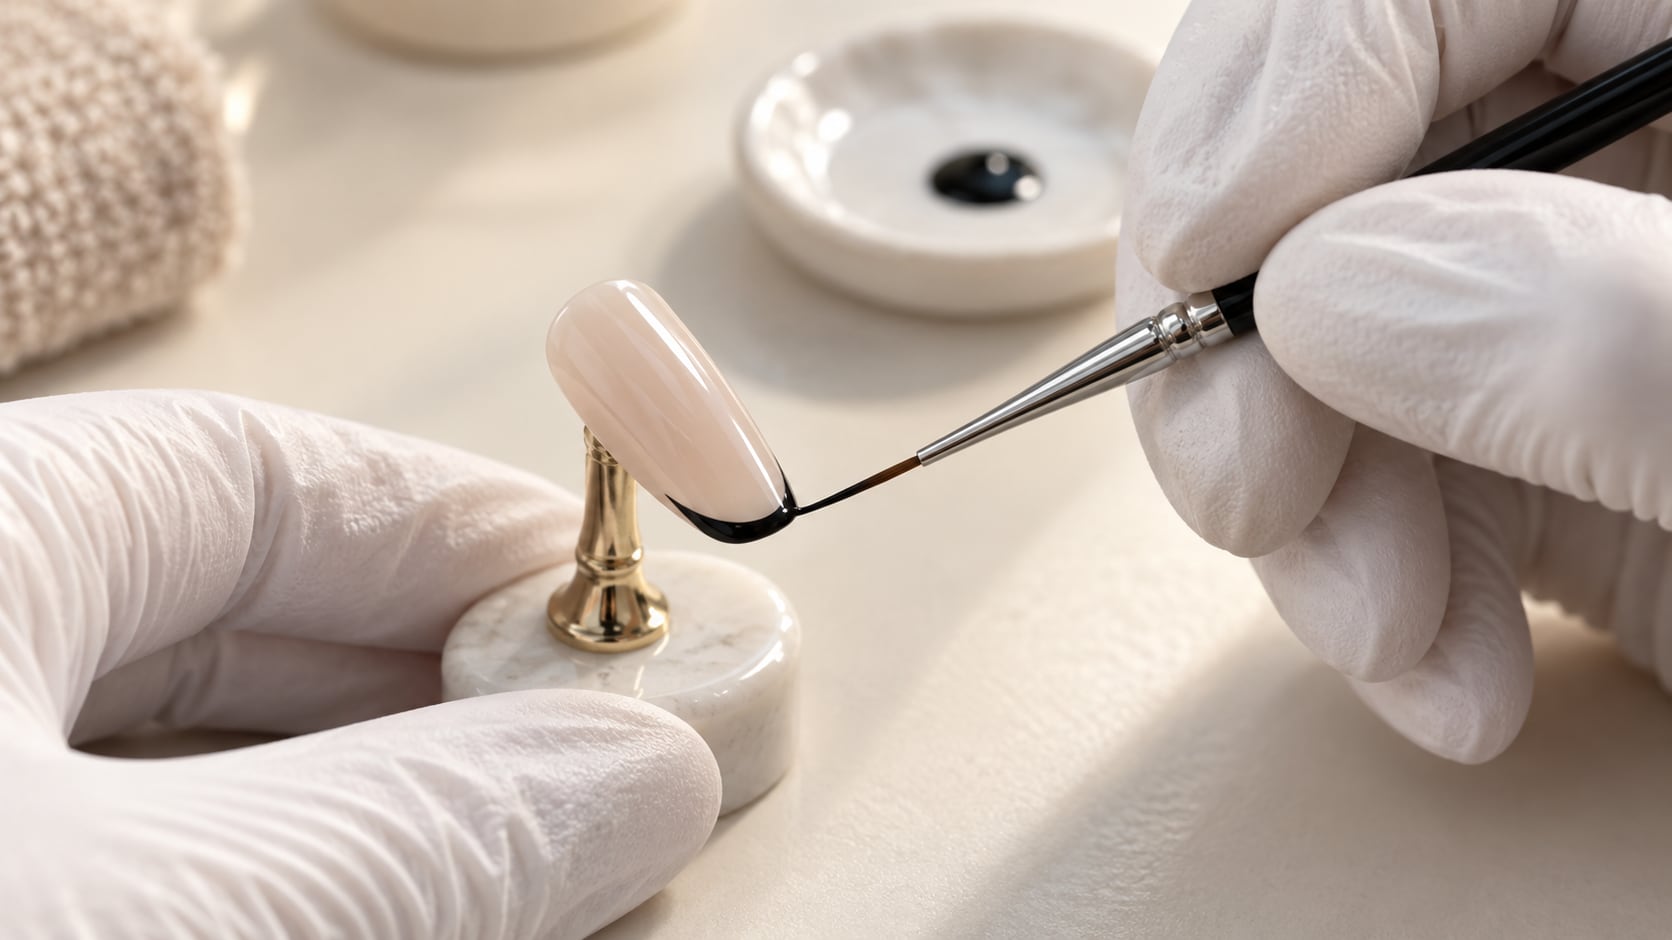
2. Black micro-French on a sheer base
Choose a sheer pink, beige or clear-looking base and a narrow black tip. Keep the band proportional to the visible nail: a deep smile line can overwhelm a very short nail bed. On almond nails, let the black follow the tapered curve. The French manicure guide explains smile-line balance.
3. Matte black with glossy tips
Use texture as the accent: a matte black field with a glossy black French edge, diagonal band or small curved motif. It looks subtle head-on and becomes clearer as the hand moves. Test the compatible top-coat sequence on a tip first; adding an all-over matte finish at the end would erase the glossy contrast.
4. Black with a silver line
A single silver diagonal or narrow chrome-effect edge gives black a crisp, cool contrast. Use one decorated nail per hand for a quieter result, or repeat the same slim line across the set. Leave enough uninterrupted black around it to keep the detail readable. Use nail products intended for the chosen technique and seal them as directed.
5. Black with small gold-foil accents
Place a few small pieces of nail-art gold foil off-centre, leaving generous black space. Irregular placement can feel more relaxed than a full metallic nail. Keep foil away from skin and avoid bulky edges that catch. For a coordinated set, repeat its position loosely on two nails rather than covering every nail with equal amounts.
6. Black curves with negative space
Paint a broad black sweep along one side and leave the opposite area translucent. Negative space means an intentionally visible base, not missing protection or an unfinished service. A diagonal curve works on short nails; longer ovals allow two separate curves. Keep the open area large enough that it still reads clearly from normal viewing distance.
7. A black-and-white graphic accent
Pair solid black nails with one white accent carrying a black dot, curved stripe or small checkerboard. Choose one motif and repeat its scale. Tiny checks may merge visually on short nails, so use fewer, larger squares. A clean dot or simple arc is also easier to practise consistently than several miniature motifs.
8. Black with a translucent accent nail
Alternate full black with one sheer taupe, pink or smoke-coloured nail carrying a fine black outline. This reduces the amount of solid black while keeping the set coherent. Choose a ready-formulated translucent product or a manufacturer-approved layering method; do not improvise a smoky gel by adding solvent, loose pigment or unrelated products.
Match the design to short or long nails
Short round and squoval nails suit full black, a small metallic accent or a micro-French. If a nail is wider than it is long, a narrow vertical detail leaves more visible length than a thick horizontal band. These are composition choices, not rules about which hands are allowed to wear black.
Medium oval and almond shapes offer room for side curves, slanted tips and paired finishes. Long square or coffin nails can carry larger graphic sections, but the design should follow a sound structure. Do not file away supporting sidewalls to copy a photo. Choose length around work, sport and everyday tasks, and ask a trained technician whether an extension is suitable.
Choose the effect before choosing the detail
Use this comparison to narrow a collection of saved photographs to one clear direction. The aim is not to find the most complicated design, but to decide what should catch your eye first. A reference can inspire the balance without being copied nail for nail.
If you want… | Try… | Check the proportions |
|---|---|---|
A bold, uncomplicated set | Solid glossy or matte black | View all five nails together. A consistent outline matters more than identical nail lengths. |
A lighter-looking introduction to black | A sheer base with a micro-French | Keep the tip visually narrow; do not enlarge every band to match the widest nail. |
A small jewellery-like accent | One metallic line or a few foil details | Leave a clear area of black around the accent so it does not become a solid metallic patch. |
Detail that appears as the hand moves | Black-on-black matte and gloss | Compare the finishes at several angles before deciding the contrast is too subtle. |
Glossy or matte black?
Gloss creates bright reflections and a polished appearance; matte diffuses those reflections and makes the outline and artwork more prominent. Neither finish guarantees longer wear. Compare two finished swatches in the light where you usually see your hands. For choosing colours beyond black and caring for a matte surface, continue with matte nail colour ideas and finishes.
Turn inspiration into a clear appointment brief
Send a reference with your preferred shape, approximate length, finish and number of decorated nails. Say whether you need removal, an infill or a fresh application. For example: short squoval, glossy black, one silver diagonal on each ring finger. A technician can then confirm the suitable service, products, time and price. Gel polish supplies colour; it does not automatically create the structure needed for long extensions.
Bring one main reference and, if useful, one alternative. Explain what you like about each: the slim tip, the amount of visible nude, the silver detail or the softer reflection. Also say what you do not want, such as extra length or decoration on every finger. Ask to see a sample of the actual black and finish; a screen image cannot promise an exact match.
Apply and cure black gel with the correct system
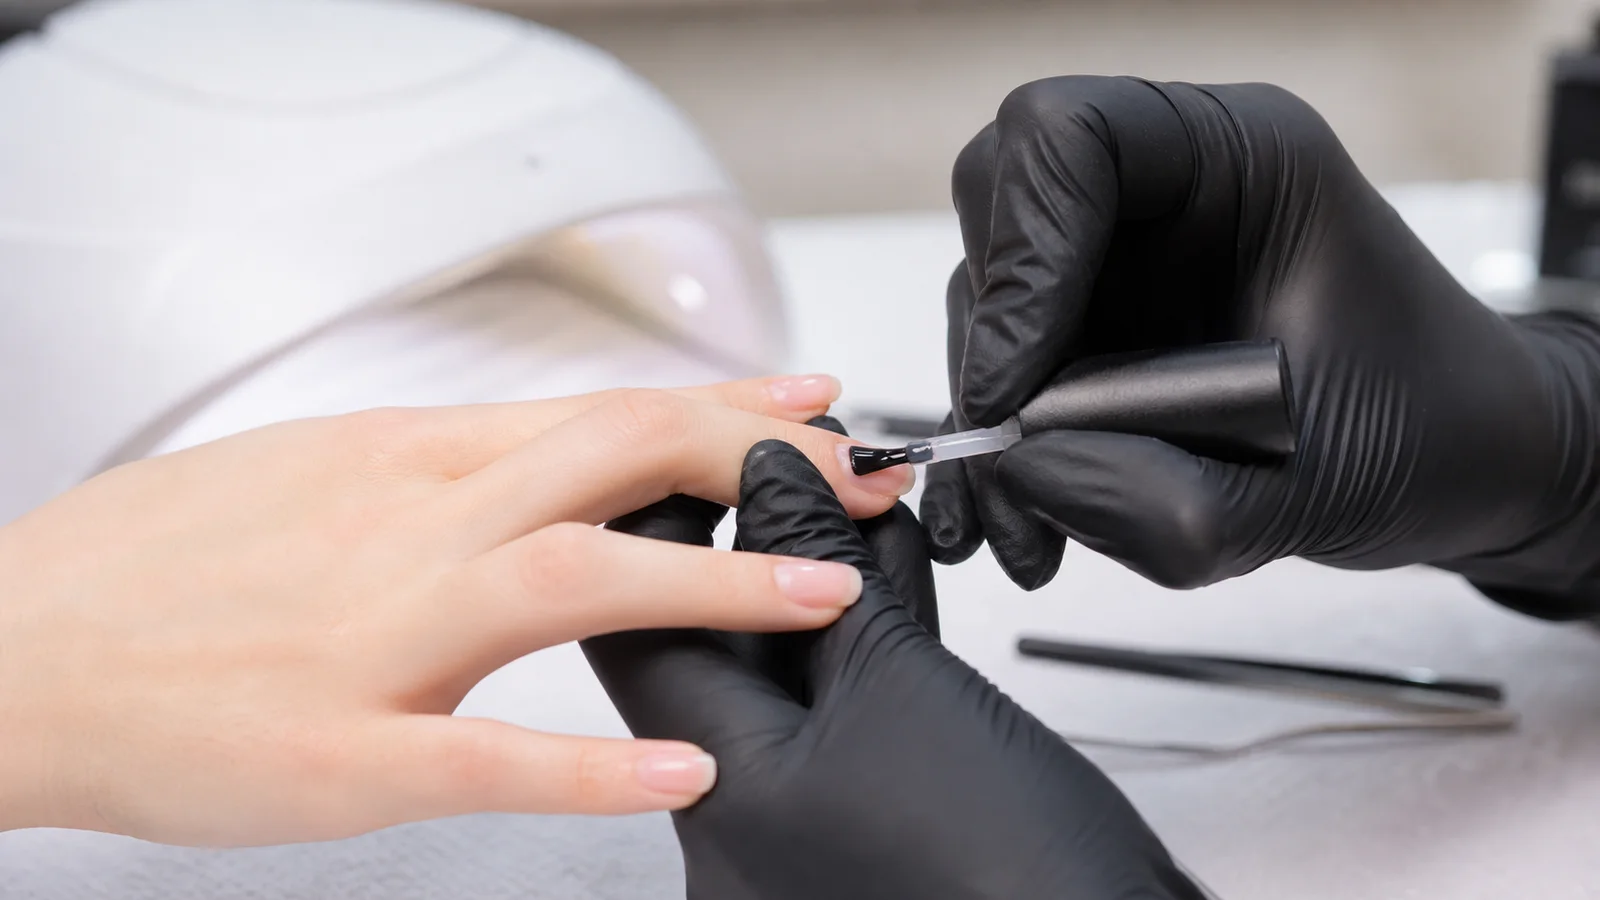
Do not chase opaque black with one heavy coat. Follow the product instructions for preparation, layer thickness and number of coats. CND’s SHELLAC product guidance links wrinkling with excessive thickness and specifies its own base, colour, top and lamp combination. Those instructions apply to that system; they are not a recipe for every black gel.
Use the lamp, setting, exposure and hand position specified for the exact product. There is no universal number of seconds for black. A brief flash cure used to hold artwork does not replace the full cure; CND makes that distinction in its lamp instructions. If colour wrinkles or remains visibly wet, stop and resolve the application problem instead of hiding it with decoration. Our gel-curing guide covers system checks.
Keep uncured gel off skin. The British Association of Dermatologists warns that skin contact and insufficient curing can increase allergy risk. Stop use and seek medical advice for itching, swelling, blistering or a new rash after a service. Do not test another gel on irritated skin.
Maintain the finish and plan removal
Protect your hands during cleaning and avoid using nails to lever open packaging. Follow the top-coat maker’s cleaning advice; do not scrub a matte surface with abrasives to refresh it. Book maintenance according to the service, growth and condition of the set. A good-looking black coating is not a reason to postpone a needed inspection.
The American Academy of Dermatology’s gel-manicure advice recommends moisturising nails and surrounding skin between manicures and avoiding picking at gel. It also recommends broad-spectrum, water-resistant SPF 30 or higher on hands before UV exposure, or dark opaque gloves with fingertips exposed. Seek assessment for unusual or persistent nail changes.
If the coating lifts, cracks or catches, arrange assessment rather than covering the area with more black. Removal depends on the material underneath: a soak-off colour service and a file-off enhancement need different approaches. Use the nail-product removal guide to understand that distinction.
A three-tip exercise for a more balanced black design
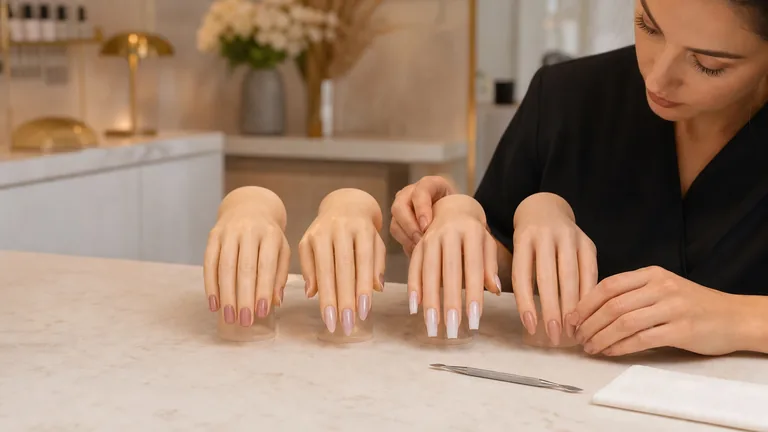
If you are learning, separate composition from application. You can plan the layout on paper before using your usual training products on practice tips. Use three tips of similar size so a change of shape does not distract from the design decision.
Make the first tip your baseline: one plain black finish, without decoration. Keep it beside the others to judge whether an added detail genuinely improves the design.
On the second tip, add one feature such as a fine French edge, a curve or a metallic accent. On the third, repeat that feature at a different width or position—not with several new colours.
Compare all three at normal hand-viewing distance and then in a close-up. Note which one reads clearly, which feels crowded and what you would change next. Photograph the complete comparison rather than only the most successful tip.
Before planning a full set, sketch five nail outlines and decide where the eye should pause. One accent can be enough. Repeat a quieter element elsewhere if the decorated nail looks disconnected, or remove a detail if every nail competes for attention. This gives the set a direction without making all five designs identical.
Frequently asked questions
Do black gel nails work on very short nails?
Yes. Full black, a fine French tip or a single small accent can work well. Keep the design proportional and choose a comfortable outline; extensions are not necessary just to wear black.
Compare the tip width on your smallest nail before choosing it for the whole set. A design saved from long extensions can usually be simplified: retain its colour or curve, rather than trying to fit every tiny detail into less space.
Should I choose gold or silver with black?
Silver gives a cooler contrast; yellow gold adds warmth. Compare the actual foil or gel beside your jewellery. Both work with black, and a small accent is an easy starting point.
Choose the actual finish as well as the metal colour: a fine silver line, reflective chrome and irregular silver foil create different effects. You can also keep the manicure entirely black and let your jewellery provide the metallic contrast.
Why does my black gel look patchy or wrinkled?
Patchiness and wrinkling need different checks. Review mixing instructions, layer thickness and the specified lamp protocol. Do not compensate with a thick coat, solvent or guessed extra curing time; ask the manufacturer or a trained technician.
Does black gel need longer under the lamp?
Colour alone cannot set the exposure. Follow the instructions for the exact gel and compatible lamp, including any shade-specific requirements. Do not double the time simply because the colour is dark.
Can I combine matte and glossy black in one manicure?
Yes, with compatible products and the correct sequence. A glossy tip over a matte-looking field makes a clear texture contrast. Test the finished combination on practice tips before applying it to nails.
Show the sample both straight on and at an angle. If the contrast disappears at ordinary viewing distance, adjust the size or placement of the glossy area rather than immediately adding a second colour.
How long should I keep a black gel manicure?
Follow the service’s maintenance plan rather than a universal wear claim. Growth, lifting, cracks and nail condition matter more than colour. Contact your technician promptly if the set catches or lifts, and seek medical advice for painful or inflamed nails.
Practise the technique behind the design
Practise an even black background before adding lines and accents. The Gel Polish Course covers preparation, controlled layers and removal; the Professional Nail Art Course develops composition and decorative techniques.
Sources checked on 11 September 2026. Design suggestions are editorial examples; product instructions govern application, and this guide does not diagnose nail or skin conditions.