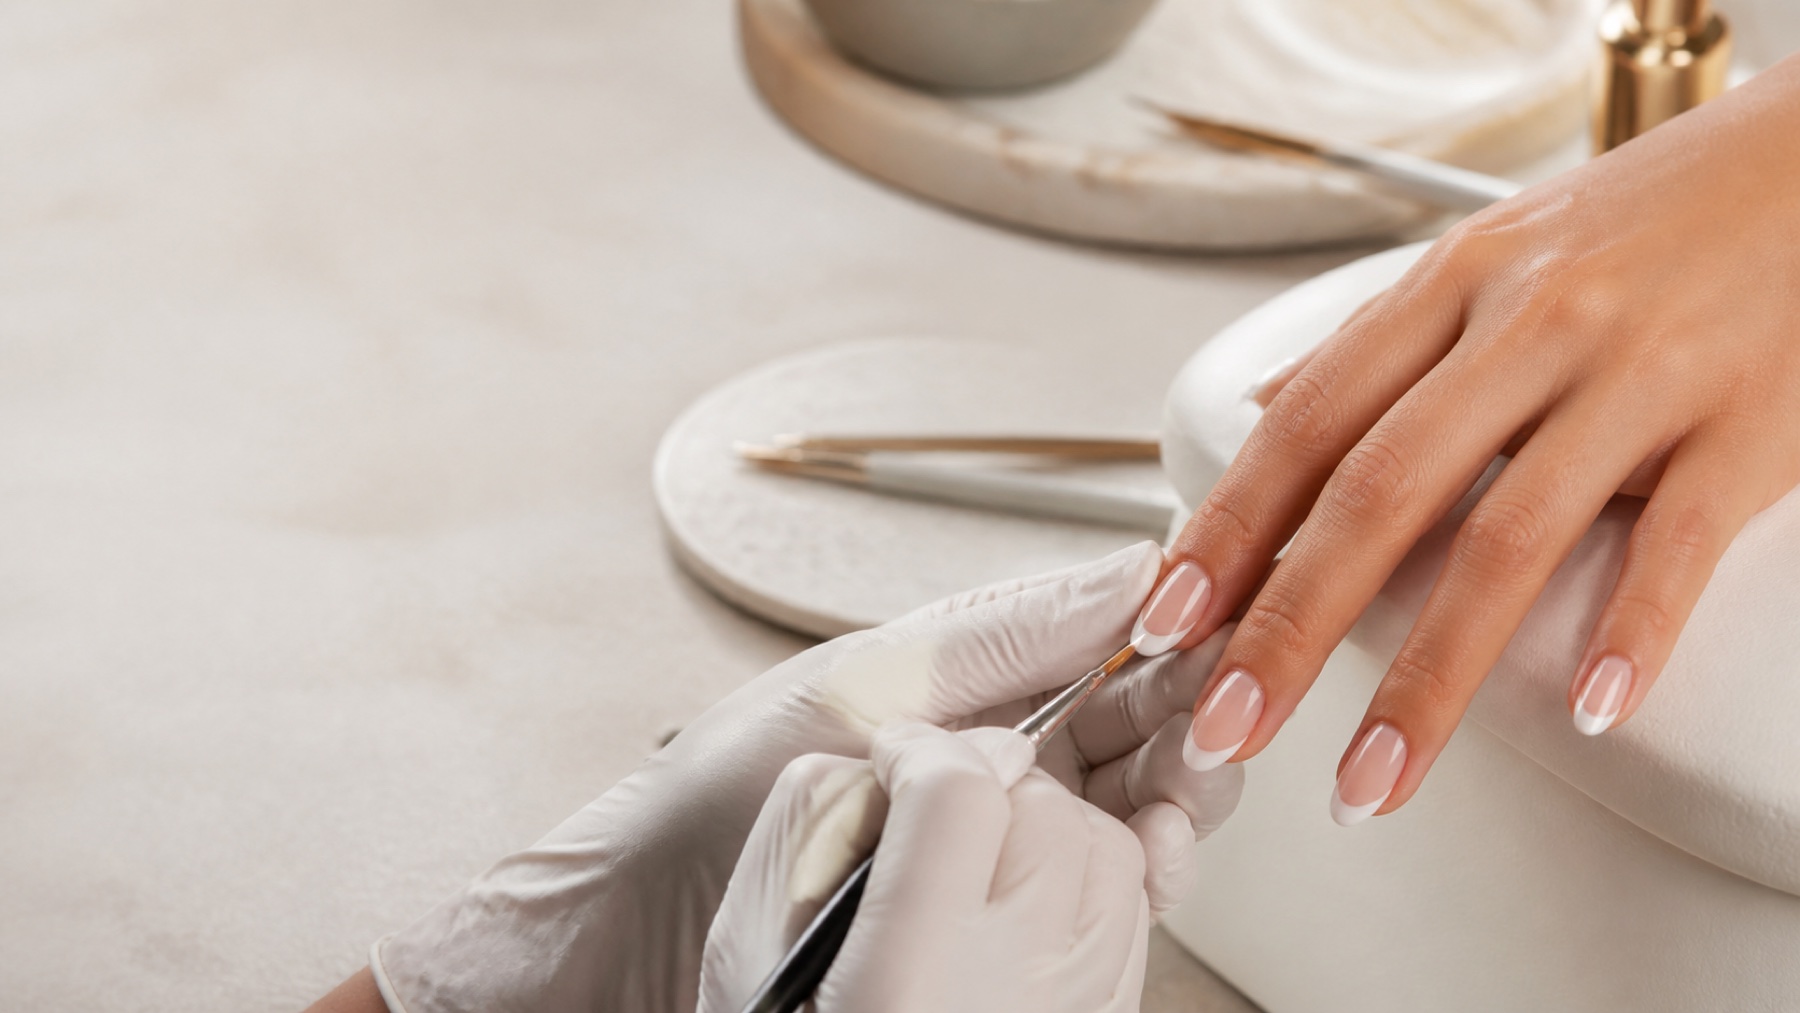
A professional French manicure is not defined by a white stripe at the free edge. Its quality comes from the relationship between the nail bed, smile-line depth, centre, wings, extension shape and the consistency of the whole hand. A technically neat curve can still shorten a nail visually, widen one finger or expose structural imbalance when its proportions are copied without reading the individual nail.
Short answer: establish the visual axis, mark the deepest point and both wings, compare their height, connect them with controlled curves and fill the free edge in thin compatible layers. Judge the whole set from the client’s view before curing. A sharp smile line depends more on mapping, brush support and product quantity than on correcting repeatedly with more white.
This guide owns French-manicure technique and smile-line proportion. The Babyboomer page owns the white-to-nude gradient, the nail-art foundation page owns general brush and colour skills, and gel painting owns product control for painted details. Here those subjects appear only where they clarify why a French line succeeds or fails.
French smile-line anatomy: centre, curves, wings and free edge
A smile line is built from connected references
Balance the negative space as well as the white tip
Centre
Depth and visual axis
Transitions
Equal curve tension
Wings
Matched height and clean sides
Free edge
Even opacity and thickness
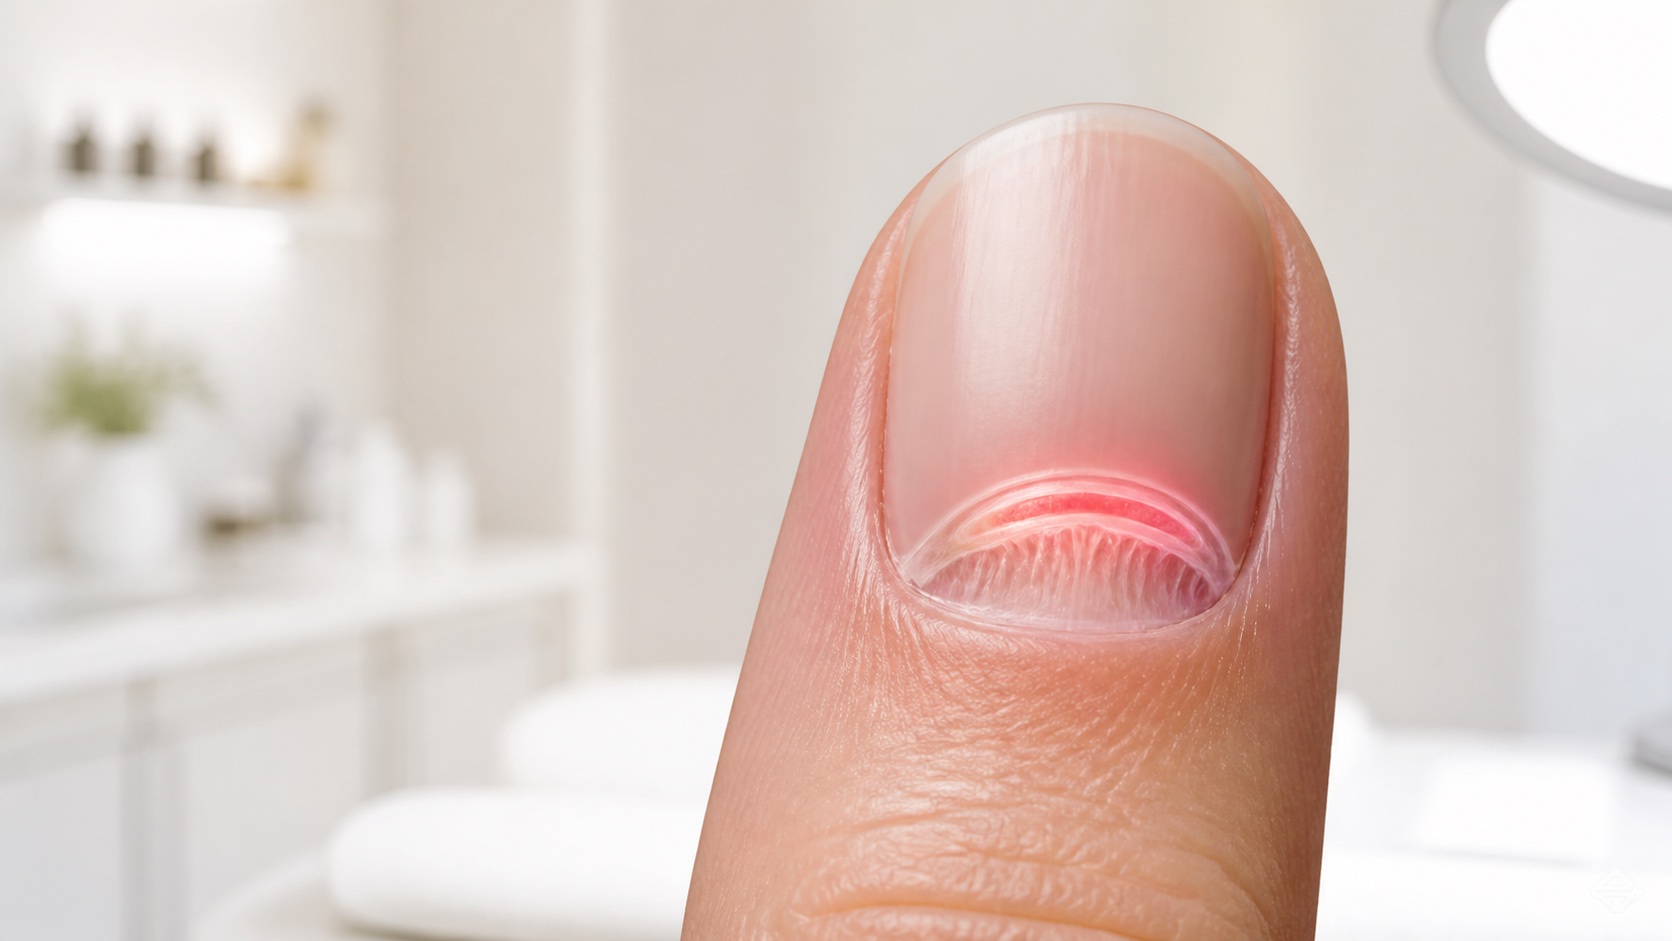
The centre is the deepest point of the smile line and should relate to the visual axis of the nail, not merely to the apparent centre of a rotated finger. From there, two transitions rise towards the lateral wings. The wings should reach a coherent height and meet the side areas cleanly without product flooding into the folds. The white or coloured free edge must remain visually and physically balanced.
Symmetry does not mean tracing a mathematical semicircle. Left and right sides should carry comparable tension and length, but an asymmetric natural nail or corrective extension may need slightly different drawing movements to create a balanced appearance. Assess the smile line together with the free-edge axis and shape using the nail morphology guide rather than treating colour as separate from structure.
Classic, deep and micro French—and why Babyboomer is different
Proportion changes the visual result
One white band does not suit every nail
Micro
Narrow accent for precise short shapes
Classic
Balanced bed-to-tip contrast
Deep
Deep centre and high wings
Babyboomer
Gradient, not a smile line
Style | Line and proportion | Best used when | Common error |
|---|---|---|---|
Classic French | Moderate smile depth and visible balanced tip. | Natural to medium lengths with a timeless contrast. | A flat band that widens the nail. |
Deep French | Deep centre with extended, rising wings. | Longer shapes with enough side length for clean wings. | Forced wings on a short nail or uneven structure. |
Micro French | Very narrow controlled free-edge accent. | Short nails or understated contrast with precise shape. | A line too thin to remain continuous at the sidewalls. |
Babyboomer | Diffuse white-to-nude transition without a hard line. | A soft gradient is the intended design. | Calling any pale French a Babyboomer. |
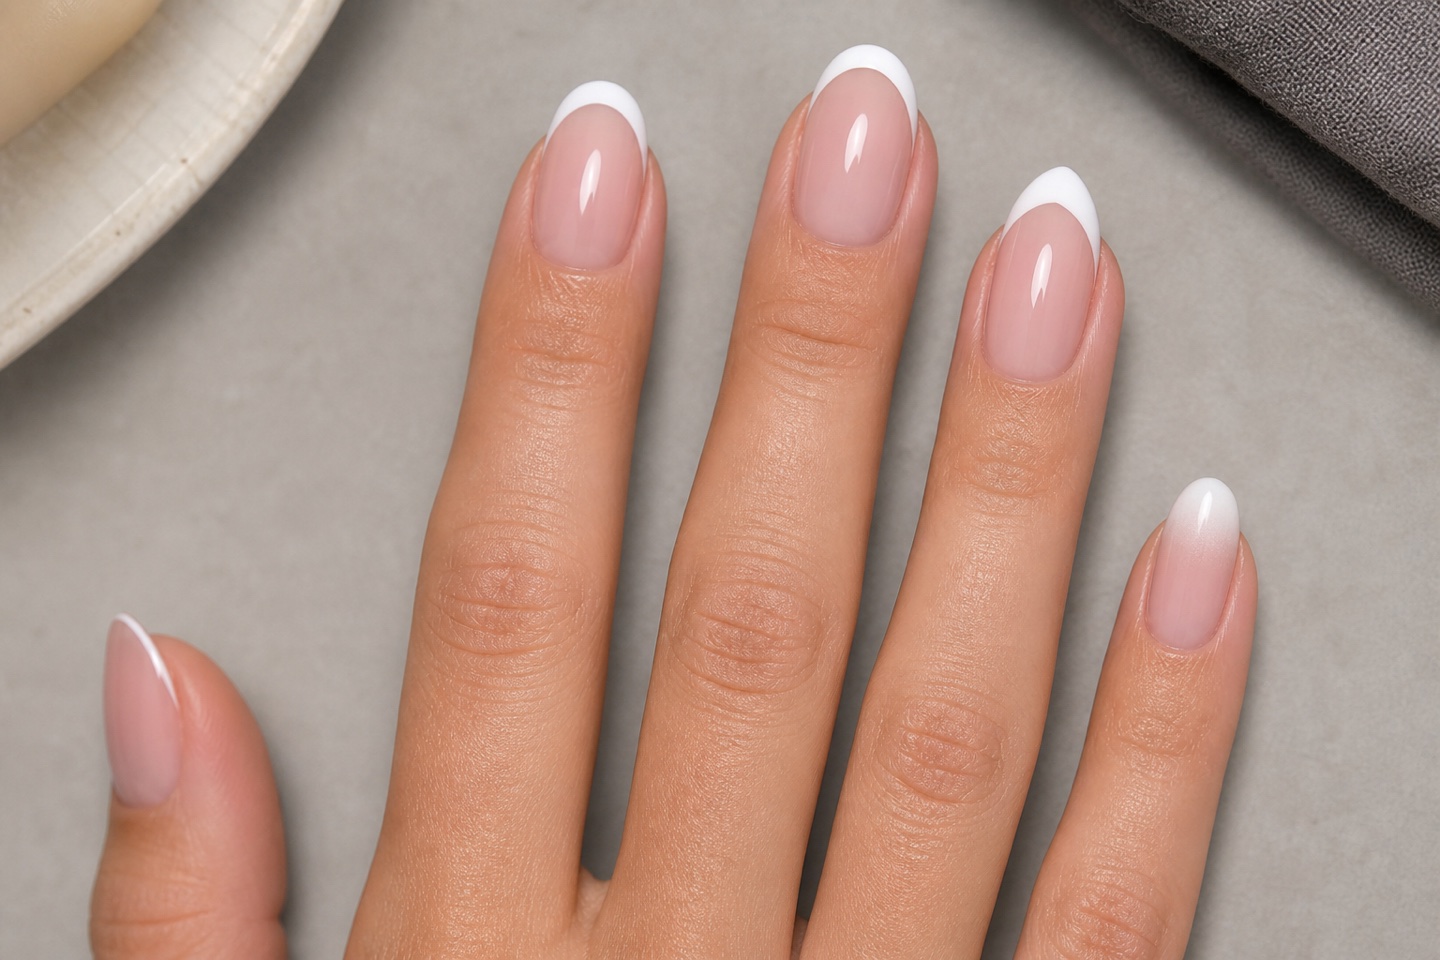
These are families, not rigid templates. A classic French can be narrow or generous, and a deep French may be softened for the available nail bed. The defining question is whether the line remains deliberate and balanced in relation to shape. Photograph a proposed proportion before filling it when the choice is uncertain. Babyboomer is a separate gradient technique and should not be used as a synonym for an imperfect blurred smile line.
How to choose smile-line depth and proportion
Begin by viewing the whole hand, not one magnified nail. Mark the apparent nail-bed length, free-edge length, centre axis and widest area. A deep centre and high wings can visually lengthen a nail when enough side length and structure support them. On a very short nail, the same drawing may consume too much nude area and create compressed proportions. A micro French preserves nail-bed visibility but demands a precise finished shape.
Do not copy the exact ratio from the thumb to the little finger. Each nail has different width, natural smile, growth direction and viewing angle. Preserve a family resemblance: comparable visual weight, curve language, wing height and white opacity. The set should read as one design without pretending all ten nails are identical templates.
Brushes and products for a controlled French
A fine liner supports longer continuous curves; a short detail brush can place and refine compact wings; a flat or angled brush may clean a wet edge when the system allows. Choose a tool by the movement and product viscosity, not because one brush is marketed as the universal French solution. Settle the hand, stabilise a finger and keep the brush at an angle that allows its hairs to follow the curve without dragging a heavy ridge.
The white or colour should provide controlled opacity in the layer thickness the manufacturer permits. A product that shrinks, wrinkles or requires excessive bulk is not corrected by adding more strokes. Keep base, colour, top and lamp within a documented compatible system. The guide to gel curing and lamp checks explains why watts or a hard surface cannot prove complete cure.
Painted French with gel polish or gel paint: step by step
Complete assessment, preparation, base or structure and surface finishing according to the product system.
Place the finger in the client-view axis, identify the centre and decide the intended proportion before loading the brush.
Mark the deepest centre point, both transitions and both wing heights with the thinnest useful trace.
Connect one side at a time with a supported movement, rotating the finger when useful instead of contorting the wrist.
Compare left and right before filling. Correct the map while the layer remains within the system’s working conditions.
Fill towards the free edge with a thin even layer, preserving the established border and avoiding a white ridge.
Check the whole hand from above, front and client view, then cure exactly as instructed and top coat compatibly.
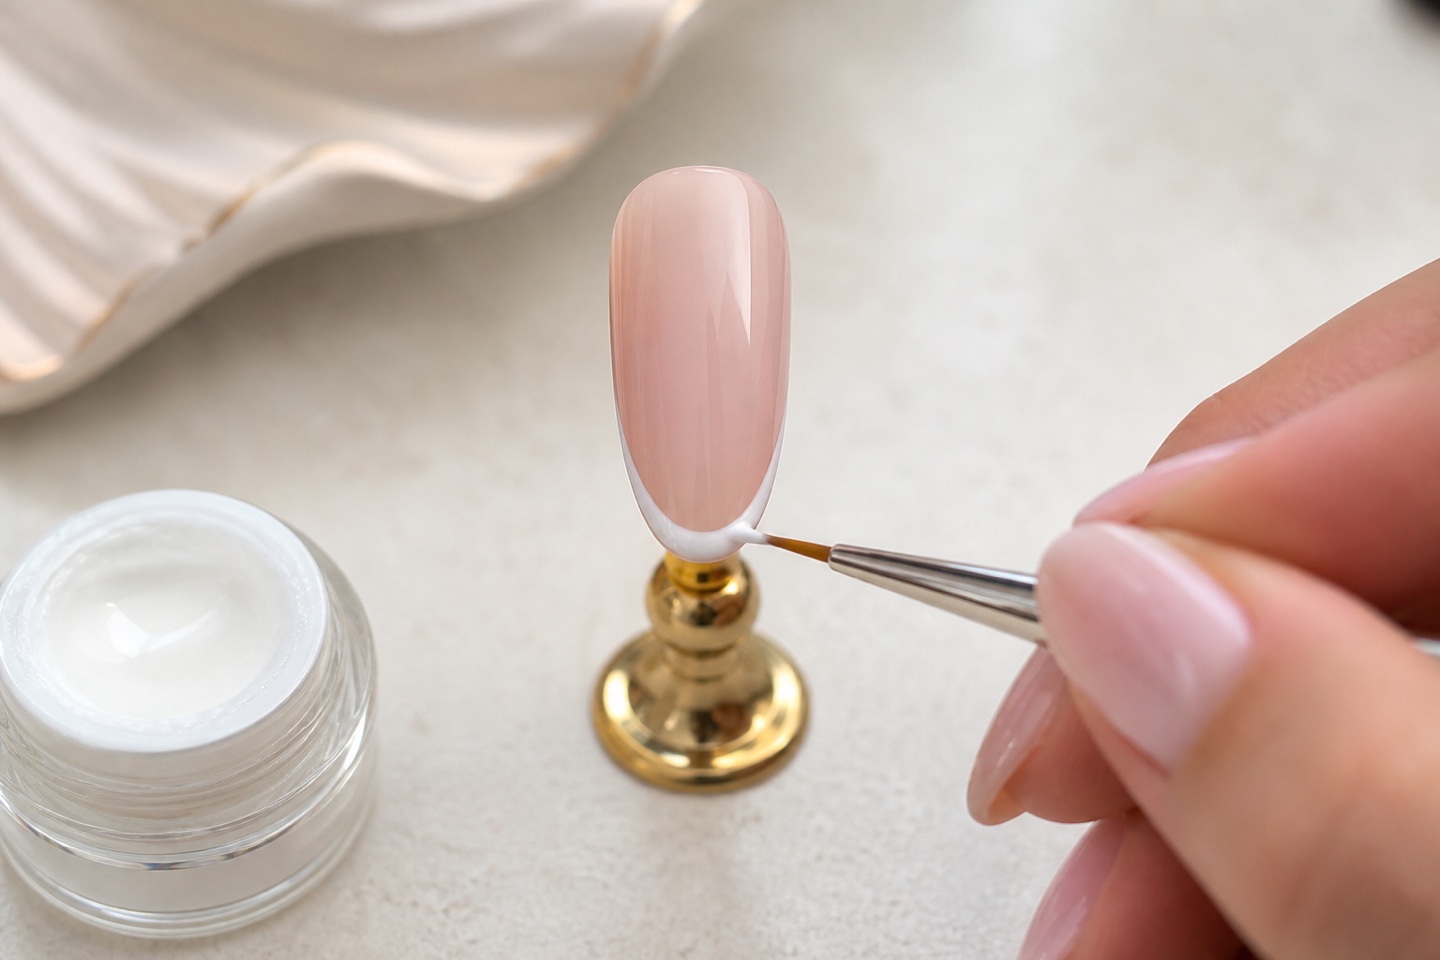
For gel-polish French, the base service must already be thin, clean and fully cured. Review the gel-polish application and removal guide before adding detailed colour. Decoration cannot compensate for product on skin, incomplete cure or a damaged natural nail.
A five-reference method for a symmetrical smile line
Map before you fill
Correct the reference instead of widening the whole tip
Visual axis
Deepest centre
Two transition points
Two wing heights
Connect, compare and fill
Use five references: the central axis, the deepest centre point, two transition points and two wing heights. The centre gives depth; transitions decide the curve’s tension; wings connect the design to the side areas. Mark both sides before joining them. If one wing is wrong, correct that point rather than widening the entire white section until the asymmetry disappears under bulk.
Turn the finger while keeping the hand supported. Many uneven curves come from leaving the finger fixed and reaching awkwardly across one side. Compare the negative nude shape above the smile line as well as the white tip below it: asymmetry is often more visible in the negative space than in the line itself.
Reverse French and an inlaid smile line
In reverse French, a cover product first builds or carves the extended nail-bed wall; the white or coloured free edge is then placed against that wall. The border is created structurally rather than painted on the surface. This can produce a deep, crisp smile and correct visual nail-bed length, but it adds product control, architecture, filing and complete cure requirements.
The cover wall should be thin and clean at the meeting edge, with wings of equal height and no hidden gaps. The free-edge product must connect without creating a bulky ridge or weakening the stress area. This is not merely a faster way to paint French; it is an advanced construction sequence that assumes stable apex and stress-area control.
Make ten different nails look like one set
Choose the design language before the first nail: micro, classic or deep; high or moderate contrast; square, almond or another finished shape; and a consistent nude family. Then map each finger individually while preserving comparable visual weight. The thumb may need a wider white area to look equal, while the little finger may need a finer line.
After every two nails, place them together in the client’s natural viewing position. Compare centres, wing heights, free-edge width and negative space. A macro view helps refine a curve, but the hand view reveals whether one nail dominates. Complete symmetry within one nail and rhythm across the hand are separate checks.
Agree the French design before painting
Words such as natural, thin or deep are interpreted differently. Show real examples on a comparable length and ask the client to choose contrast, nude opacity, tip width and shape before the colour stage. Mark one nail lightly and view it at hand distance; a macro reference alone can make a proportion look finer than it will in daily wear.
Record the chosen nude and tip colour, product system and whether the design is painted or inlaid. This makes later maintenance easier and prevents ten separate decisions during the set. If the requested smile line cannot fit the available length or structure cleanly, explain the constraint and offer a micro, classic or length-adjusted alternative rather than forcing high wings into the lateral area.
Coloured French, nude undertone and contrast
White is not the only French colour, and nude is not one universal beige. A pink, peach, neutral, warm beige or cool beige base changes the apparent clarity of the tip and its relationship to skin. Test the pair in the lighting where it will be worn and show the client the real swatch. High contrast makes every proportion and small asymmetry visible; low contrast is softer but still requires a deliberate line.
A coloured tip should remain part of the same design logic: clean centre, matched wings, controlled opacity and compatible thin layers. Neon, dark or very opaque pigments may have different curing limits. Follow manufacturer instructions and do not assume that a longer lamp cycle makes an excessively thick colour layer safe.
French-manicure mistakes: diagnose before correcting
Identify the cause before adding more colour
Repeated correction can create both asymmetry and bulk
Crooked
Recheck finger and visual axis
Wobbly
Stabilise support and brush load
Thick
Reduce product and correction passes
Inconsistent
Compare negative space across the hand
Visible problem | Likely control to review | Useful correction |
|---|---|---|
Line tilts to one side | Finger rotation, visual axis or mismatched wing reference. | Reposition the finger and remap centre and wings before filling. |
Wobbly border | Unstable support, overloaded brush, dry product or interrupted movement. | Stabilise the hand and practise one curve with a controlled load. |
Thick white ridge | Too much product, too many corrections or poor opacity at permitted thickness. | Remove the affected wet layer or refine according to system; redraw thinly. |
Nail looks short or wide | Flat line, excessive white height or wings ending too low. | Redesign proportion; do not merely thin the same horizontal band. |
Set lacks consistency | Each nail copied from its natural line without a shared design rule. | Compare visual weight and negative space across the hand. |
Do not correct every defect by adding more white or repeatedly wiping with a brush. Each pass changes thickness and curve. If the layer remains wet and the system permits, clean or redraw the affected area. If it is cured, use the correction method allowed by the product sequence and restore a compatible surface before repainting.
French maintenance and infill
As the nail grows, apex position and the visual relationship between nude bed and tip change. At infill, assess lifting, length and balance before preserving the design. A painted French can be removed and redrawn after the structure is rebalanced. An inlaid or reverse French may require more material reduction and reconstruction if the smile has moved too far from the intended position.
Do not repaint a perfect smile over an unstable structure. Use the infill and rebalance guide to decide what sound product can remain, where volume must move and when full removal is the more controlled route.
A four-week French practice plan
Week 1: practise supported lines, matched wings and five-reference maps on a flat sheet and large tips without filling.
Week 2: create series of micro, classic and deep proportions on identical tips; photograph negative space and compare the whole row.
Week 3: transfer one selected proportion to curved short tips or a training hand, maintaining thin product and a coherent set.
Week 4: complete one salon-scale set, record mapping and filling time separately, request feedback and repeat the weakest two nails.
Use the post-course practice framework to retain every attempt, score consistent views and modify one variable per series. If preparation or structure is still unstable, return to the beginner technique sequence before using French to conceal an uneven surface.
Frequently asked questions
How do you create a perfect French smile line?
Map the central axis, deepest point, transitions and equal wing heights before filling. Stabilise the hand, rotate the finger and judge both the white tip and negative nude space.
Which brush is best for a French manicure?
A fine liner supports long curves, a short detail brush supports compact adjustments and a flat or angled brush may clean a wet edge when compatible. Choose by product and movement.
How do you do French tips on short nails?
Use a narrow micro or restrained classic proportion, keep side connections continuous and refine the nail shape first. A deep line can consume too much visible nail bed on very short nails.
Are classic and micro French the same?
No. Micro French uses a much narrower free-edge accent. Classic French allows more visible tip while balancing nail-bed length and shape.
Are deep French and reverse French the same?
Deep describes the smile-line proportion. Reverse describes an inlaid construction sequence in which the nail-bed wall is built first. A reverse French often creates a deep line, but the terms are not synonyms.
Are French and Babyboomer the same technique?
No. French has a defined smile-line boundary; Babyboomer blends white into nude through a soft transition. Each owns a different technique and search intent.
Can French be painted with gel polish?
Yes when the product provides even coverage at the permitted layer thickness and is cured with its compatible lamp and time. Keep the base service thin and controlled.
Why does my French look crooked?
The finger may be rotated, the visual axis may be misread or the wings may start at different heights. Reposition and remap rather than following an asymmetric natural free edge blindly.
How do I avoid a thick white tip?
Use controlled opacity, a small brush load and a thin map before filling. Remove a faulty wet layer when permitted instead of accumulating repeated corrections.
How deep should the smile line be?
There is no universal measurement. Match depth to visible nail bed, free edge, final shape and the visual weight of the whole hand. Both wings must remain clean and feasible.
Can a cured French line be corrected?
Yes, using the correction and surface-preparation method allowed by the product system. Do not place a new layer over dust, unstable material or an uncontrolled ridge.
How does French change at infill?
Growth shifts the apex and changes bed-to-tip proportion. Rebalance structure first, then redraw painted French or reconstruct an inlaid smile when its position can no longer be preserved.
Which course should I choose for French nails?
Choose one that matches your base system and teaches mapping, proportion, brush control, thin opacity, multi-view assessment, correction and practice feedback—not only one demonstration.
How can I practise French without wasting product?
Map unfilled lines on reusable flat practice sheets, then move to identical tips and fill only when symmetry is stable. Keep each series, label the proportion and correct one variable.
Official sources and editorial boundary
General nail-product safety: US Food and Drug Administration, Nail Care Products. Workplace chemical and physical hazards: CDC/NIOSH, Nail Technicians: Workplace Safety and Health. These sources support safety context; colour thickness, lamp, cure, preparation and removal must follow the instructions for the exact products used.
Editorial boundary: this guide teaches design and technical checkpoints. It does not diagnose nail conditions, replace product instructions or hands-on supervision, certify competence or authorise work where local qualifications are required. Keep uncured product off skin and stop for pain, heat, inflammation, broken skin or reaction.
Compare current English-market nail courses by level, product system, demonstrated French style, practical submissions and feedback. The course should make clear whether it teaches painted, micro, deep, reverse or inlaid French rather than using one photograph for every outcome.