A bubble, crack, broken corner or flooded cuticle is not a complete diagnosis. The same visible defect can begin during product pickup, placement, structure, curing, filing, finishing or wear. Replacing the brand without recording where and when the defect appeared removes evidence and can reproduce the same problem with a new system.
Short answer: locate the defect, establish when it first appeared and decide whether it is on the surface, inside the enhancement or at the natural-nail interface. Stop for pain, heat, bleeding, swelling, broken skin, unexplained colour or suspected reaction. Remove uncured product from skin before the lamp; never seal over lifting, contamination or an unknown pocket.
This guide owns cross-defect technical troubleshooting. The lifting guide owns loss of adhesion by location; the curing guide owns lamp compatibility and exposure; the future wrinkling guide will own gel that shrinks or remains soft. Use those deeper pages after this map identifies the likely branch.
Quick map: four defects and the first checks
The visible defect is a clue, not the diagnosis
Start with location, timing and depth
Bubble
Where and when air entered
Crack
Direction through the structure
Break
Exact point of mechanical failure
Flooding
Quantity, flow and hand angle
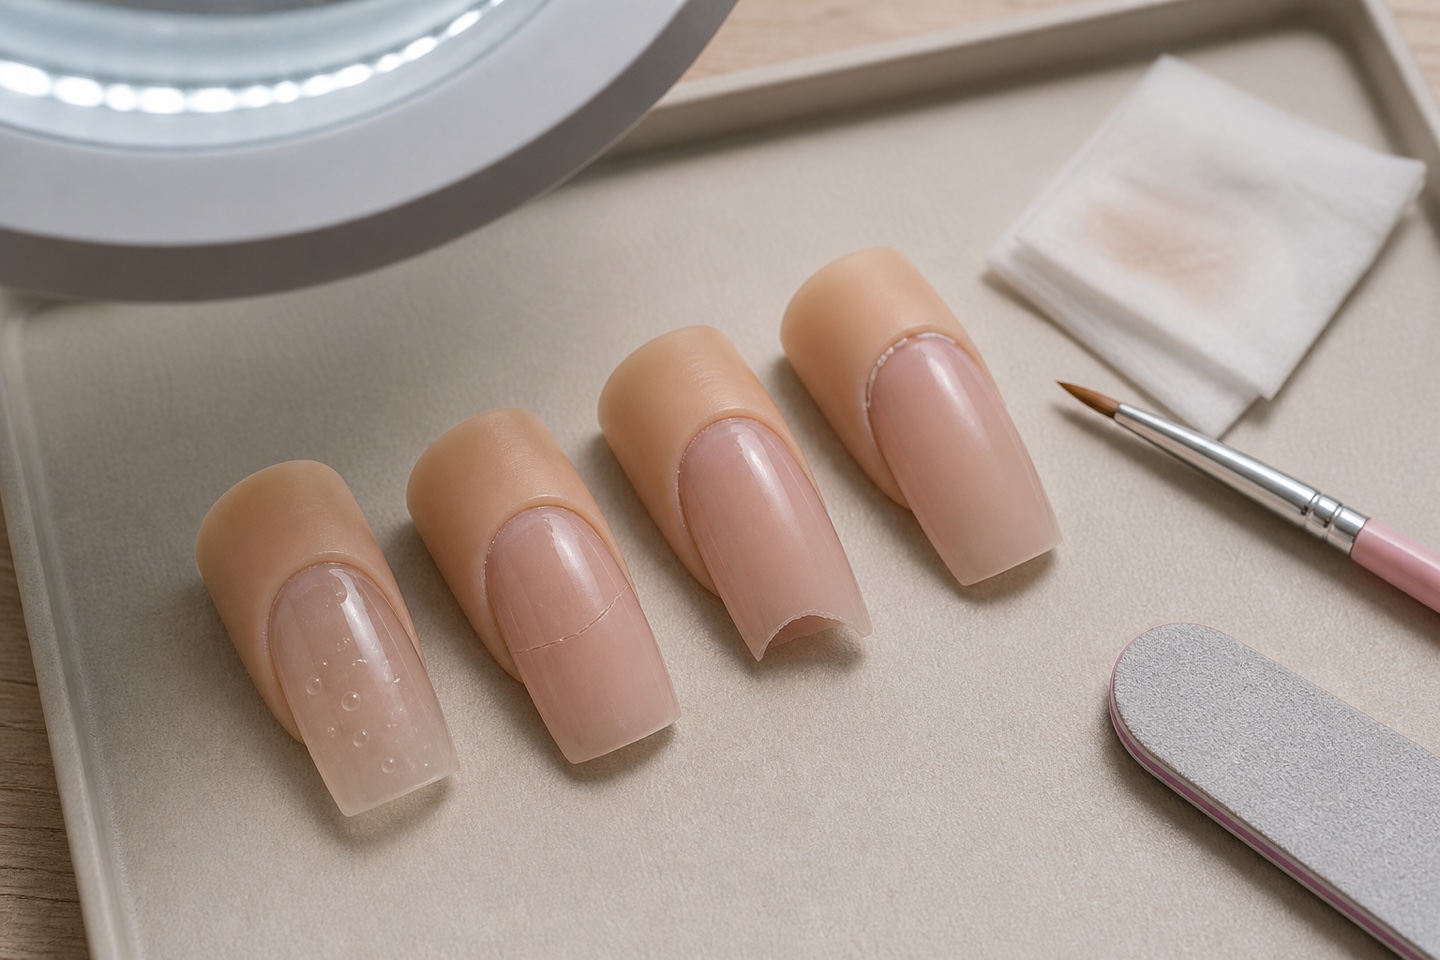
Defect | First observation | First controlled check |
|---|---|---|
Bubble | Surface, internal or at an attachment interface? | Pickup, mixing, brush pressure, seating and product temperature. |
Crack | Hairline, stress-area, sidewall or transverse? | Architecture, thickness transition, length, impact and material behaviour. |
Break | Corner, free edge, lateral or stress area? | Axis, lower line, apex, repeated leverage and filing. |
Cuticle flooding | Was it visible before or only after cure? | Quantity, viscosity, hand angle, application order and control time. |
Read location, timing and depth before choosing a cause
Build a timeline before rebuilding the nail
The same mark has different meanings at different stages
Photograph before reduction
Map location and depth
Reconstruct first appearance
Verify system and architecture
Location identifies the loaded zone. A recurrent sidewall crack has a different evidence pattern from random surface pinholes. Timing separates application from wear: a visible bubble before cure belongs to pickup or placement; a chip after repeated impact belongs to a different branch. Depth distinguishes a top-coat mark from an internal void or natural-nail separation.
Ask what changed: product batch, lamp, brush, room temperature, preparation, length, shape, appointment interval, client activity, impact or home repair. Record one variable at a time. A defect on all ten nails points towards a shared process or system; the same corner repeatedly failing on one finger may point towards local structure, habit or leverage. Neither pattern proves a cause alone, but both narrow the test.
The minimum evidence set
Top, side and front photographs before reduction, with the whole finger visible.
Exact product, batch, lamp, exposure, layer order and application date.
Location, depth, first time noticed and whether an impact or home intervention occurred.
Condition of surrounding product, natural nail and skin, including pain or colour change.
Bubbles in gel: identify when air entered
Air can be folded into a gel by stirring, whipping a brush, repeatedly lifting and pressing the product or collecting it from a foamy container edge. It can be trapped during placement when a bead bridges over a hollow, or under a full-cover tip or dual form when contact is incomplete. Bubbles can also become visible after filing exposes an internal void that was previously hidden.
Do not chase a visible bubble with aggressive brush movement; that may divide one void into many smaller ones. When the product is still uncured and the method permits, open the pocket deliberately, guide material into the space and re-level without introducing new air. If control is lost, remove the wet application and start again. After cure, reduce the defect only if the full boundary is visible and stable; an unknown pocket should not be sealed.
For gel tips and dual forms, dry-fit width and curve, control product quantity and seat in the direction specified by the system. The guide comparing tips, gel tips, forms and dual forms explains why each support traps air differently.
Cracks in gel: the line shows how structure failed
Map the crack from start to finish. A line across the stress area can indicate repeated flexion, insufficient support, excessive length or an abrupt thickness transition. A side crack can relate to a weak lateral, over-filing or an axis that concentrates force. Fine surface crazing may belong to a finish layer or material pairing rather than a full structural fracture.
Do not reinforce only the visible line without checking apex, stress area, sidewalls, lower line and free edge. A patch over unstable architecture hides the symptom while force continues through the same path. Use the nail architecture guide and apex placement guide to assess the entire load path.
A crack with pain, bleeding, natural-nail involvement or an unclear deep path is a stop criterion. Do not use a drill or product to explore a painful area. Remove pressure where safe, avoid further cosmetic work and refer for appropriate assessment when injury or pathology may be involved.
Breaks: find the failure point before adding strength
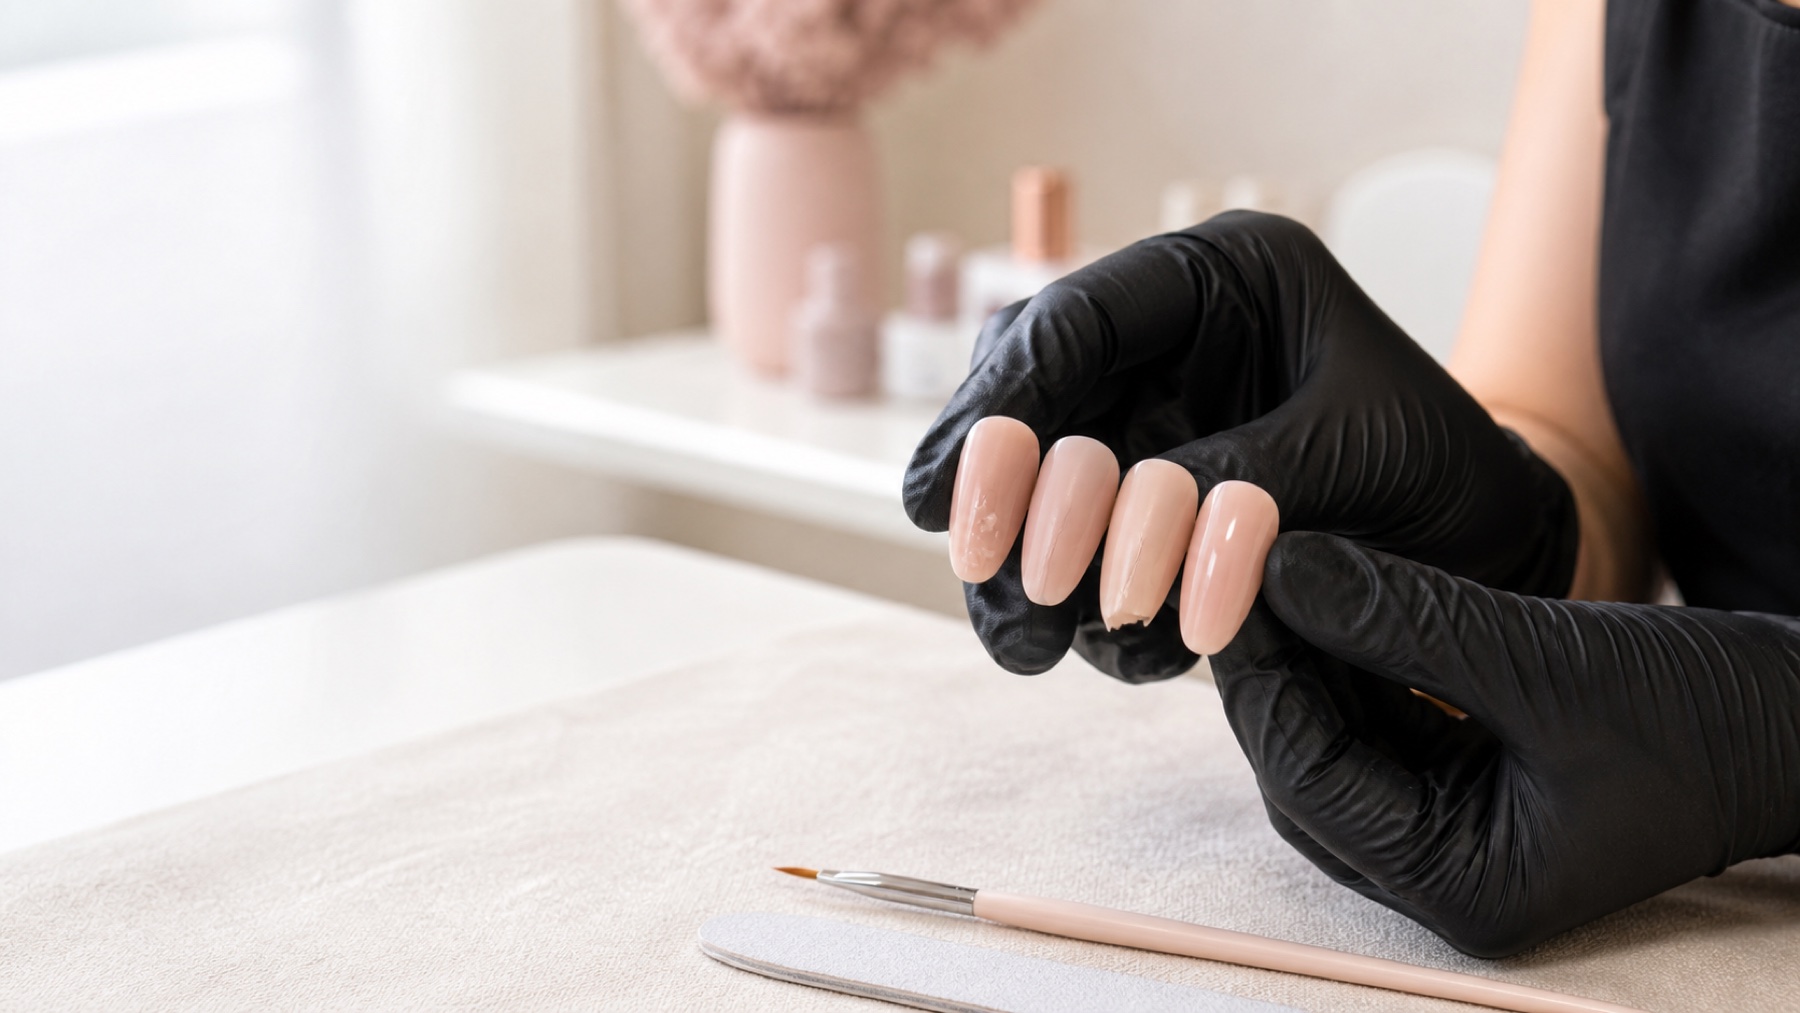
A broken corner may begin with asymmetric filing, an unsupported sidewall or daily leverage at that finger. A free-edge chip may relate to excessive thinness, product behaviour, impact or incomplete encapsulation of a design. A break near the apex suggests the whole architecture and length need reassessment. “Use more gel” is not a diagnosis; excess bulk can shift force and create a different failure.
Failure point | Inspect | Do not assume |
|---|---|---|
Corner | Sidewall, shape symmetry, local habit and filing. | Every corner needs a thicker free edge. |
Free edge | Thickness, edge finish, length and repeated impacts. | Top coat can reinforce missing structure. |
Stress area | Apex, lower line, lateral support and product condition. | A local patch restores the complete load path. |
Repeated one-finger break | Finger use, tool grip, nail direction and matched length. | The whole system is too weak. |
Gel flooding the cuticle: act before the lamp
Uncured gel on skin is a stop signal
Remove the contact; do not freeze it with the lamp
Stop
Do not cure the contact
Remove
Clear uncured product completely
Reset
Margin, angle and quantity
Inspect
Full perimeter before cure
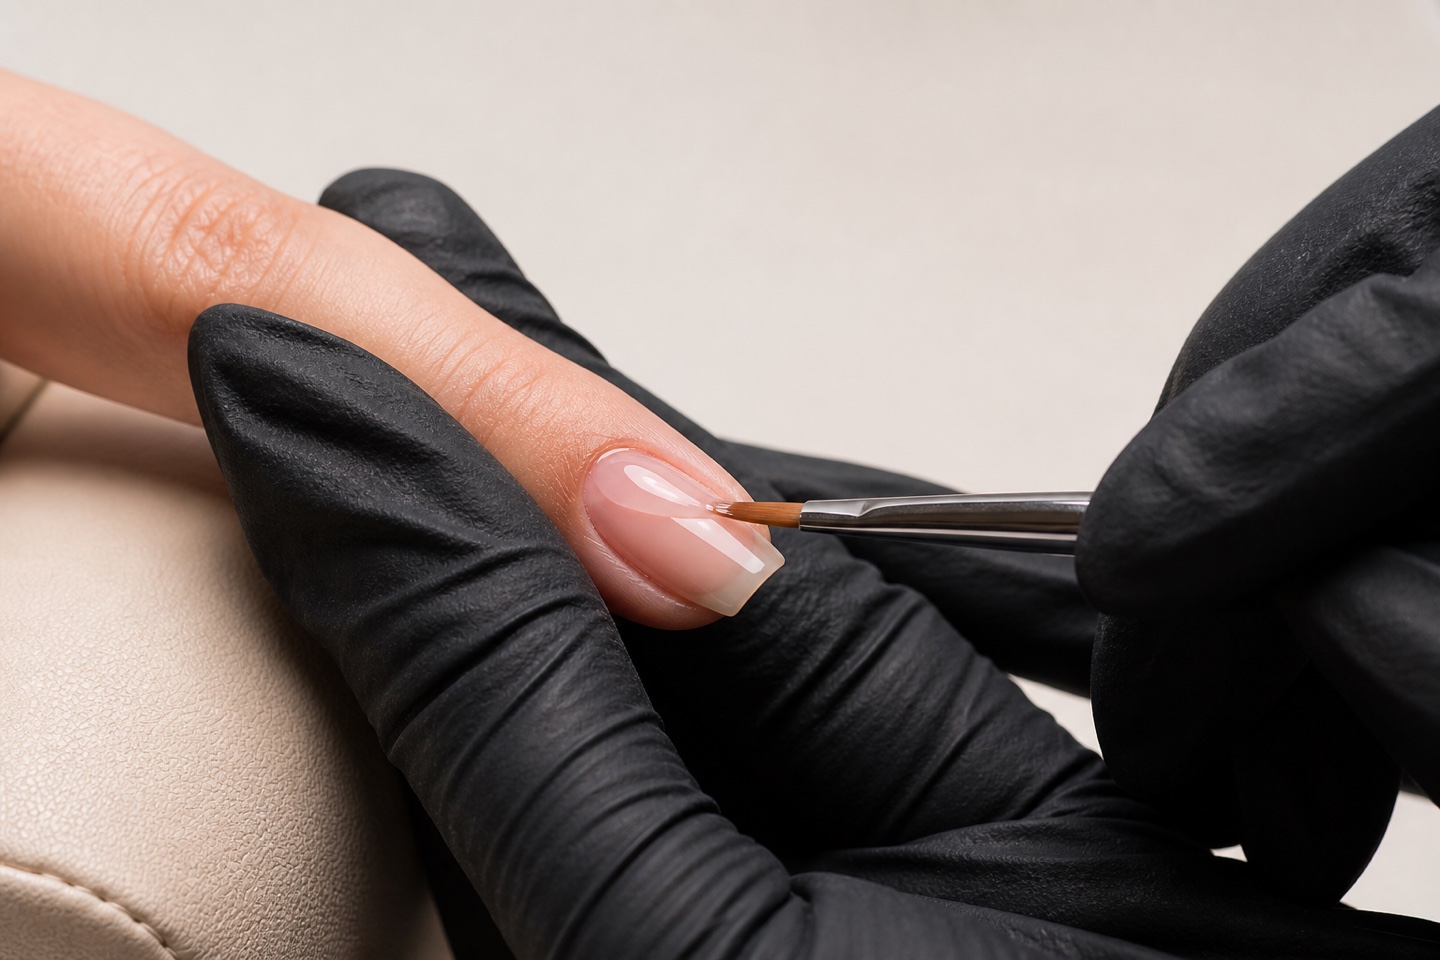
If uncured gel reaches skin, stop. Remove it completely before curing by the method specified for the product and re-establish a visible clean margin. Do not flash cure to freeze a flood and do not rely on filing cured product off skin later. Preventing repeated skin exposure matters because nail products can irritate or sensitise.
Common process contributors include too much product near the proximal fold, a viscosity that changes with room or product temperature, a hand tilted towards one side, working several nails before checking flow, pressure that pushes the bead outwards and a service sequence longer than the operator can control. Use smaller portions, work one nail at a time when necessary, keep the finger level and inspect the full perimeter immediately before cure.
A detail brush can guide a controlled margin but cannot rescue an oversized moving bead indefinitely. If product continues to run, remove the wet layer and reconsider quantity, temperature, chosen gel and pace. The gel nail extension guide connects viscosity control to structure and curing.
Wrinkled gel, hard surface and soft interior
Wrinkles, shrinkage, dents, a hard top over soft material or colour movement can indicate excessive thickness, heavy pigmentation, incompatible lamp exposure, incorrect layer order or a product outside its required handling conditions. Do not top coat the symptom. Remove uncertain material safely and verify product, lamp, exposure, hand placement and layer thickness.
Watts alone do not establish compatibility, and surface hardness does not prove complete cure. Follow the exact system instructions and review the gel curing guide. If a lamp, product or batch behaves differently, document the event and contact the manufacturer rather than inventing longer or shorter times.
Separate application, filing and wear defects
A defect visible in the wet product belongs to placement and must be corrected before cure. A defect first revealed during filing may have been trapped internally, produced by uncontrolled filing or exposed because the enhancement was built unevenly. A defect that appears after days of wear requires the original service record plus information about length, impacts, work habits, appointment interval and any home repair. Treating those three moments as one category leads to contradictory corrections.
Photograph the application when testing a recurrent issue: after preparation, after the main structural layer, after filing and at the finished service. Keep the same angles. If the nail leaves the table without the visible defect, the later image and timing become important; if the defect is already present before top coat, client aftercare cannot be its original cause. This does not remove shared responsibility for maintenance—it simply keeps the timeline honest.
Do not confuse a cosmetic defect with a nail or skin change
A transparent air bubble inside known product is different from green, brown or dark colour under separated material. A superficial top-coat scratch is different from a painful crack that moves with the natural nail. Itching, swelling, blistering, burning outside the expected brief heat sensation, discharge or progressive redness are not ordinary retention problems. Do not diagnose the cause at the table, but do stop exposure and avoid covering the sign.
Test one variable without turning the client into an experiment
Use practice tips and manufacturer-supported procedures to test brush movement, quantity, form seating, product temperature and compatible lamp placement before changing a live service. Keep product and batch constant while changing one technique variable, or keep the technique constant while comparing one authorised product choice. Label every sample. An unlabelled row of tips only shows that several outcomes occurred; it cannot show why.
Do not deliberately under-cure, overbuild, contaminate or expose a client to test a theory. Curing and safety requirements are boundaries, not variables for improvisation. If a defect continues after documented correct use, isolate the product, lamp or accessory as appropriate, preserve batch details and ask the manufacturer for technical support. A viral shortcut is not stronger evidence than the instructions for the exact system.
Explain the finding and correction to the client
Describe what is visible, what is uncertain and what action is safe without blaming the client or inventing certainty. For example: “There is a crack crossing the lateral stress area; I need to reduce the product to see whether the natural nail is involved. If the line is deep or painful, I will stop rather than cover it.” This sets a clear decision point and makes consent meaningful.
Record the agreed correction, any charge or warranty decision, aftercare and review date. Ask the client to report pain, lifting, colour, odour or another break promptly and not to glue, peel or press the area back down. A technically correct repair still needs a realistic length, intact aftercare and a follow-up plan. Use the same neutral language in photographs and notes so the record remains useful if the defect recurs.
Correct, rebuild or stop: a decision tree
Not every defect belongs under another layer
Uncertainty is a reason to remove or stop
Symptoms?
Stop and avoid further exposure
Uncured or unknown?
Remove; never seal
Small and fully visible?
Controlled repair may be possible
Deep or widespread?
Full removal or appropriate referral
Stop first for pain, heat, bleeding, swelling, broken skin, unexplained green, brown or dark colour, odour, discharge or suspected reaction.
If product is uncured or uncertain, remove it safely. Do not seal or top coat it.
If the defect is small, fully visible and surrounded by stable known product, reduce it to a controlled boundary and reassess structure.
Choose full removal when cracks, bubbles or lifting are widespread, deep, inaccessible, contaminated or connected to unknown material.
Rebuild only after the natural nail, surrounding product, system compatibility and intended architecture can be verified.
The infill and full-removal guide helps decide what stable product can remain; the safe product-removal guide separates soak-off and file-off routes.
A ten-minute troubleshooting protocol
Minute 1–2: photograph and mark location, direction, depth and surrounding changes before touching the defect.
Minute 3–4: reconstruct timing, service steps, impact, home intervention and first symptom.
Minute 5–6: verify product, batch, lamp, exposure, application order and known compatibility.
Minute 7–8: compare architecture, length and the same position on the other nails.
Minute 9–10: choose stop, controlled reduction, repair, rebuild or full removal and record the reasoning.
Checklist immediately before curing
No product touches skin, sidewalls or the underside outside the planned structure.
No visible bubble, hollow, lint, hair or dust is trapped in the wet layer.
Thickness and product placement stay within the system’s application instructions.
Apex, stress area, sidewalls, lower line and free edge are visually balanced.
The correct lamp, exposure, hand position and cure sequence are ready.
Defect record: what to document
Field | Example | Why it matters |
|---|---|---|
Location and depth | Right index, lateral stress area, internal line. | Connects the defect to load and process stage. |
Timing | First noticed on day eight after impact. | Separates immediate application signs from wear. |
System | Base, builder, colour, top, batches, lamp and times. | Makes compatibility and repetition reviewable. |
Decision and outcome | Removed fully; no reapplication; follow-up advised. | Links the evidence to a safe action and future learning. |
Frequently asked questions
Why are there bubbles in my builder gel?
Air may be folded in during pickup or brush movement, trapped over a hollow, or exposed later by filing. Observe when and where it appears before changing the product.
Can I cure a gel bubble and file it out later?
Do not deliberately cure a known uncontrolled void. Correct the wet layer when permitted or remove and reapply; an inaccessible pocket should not be sealed.
Why does gel crack across the stress area?
Possible factors include repeated flexion, insufficient support, excessive length, abrupt thickness changes, impact or material behaviour. Assess the whole architecture.
Can a cracked enhancement be patched?
Only when the small defect is fully visible, surrounding product and natural nail are stable, and the complete load path can be rebuilt. Stop for pain or a deep unclear crack.
Why does the same nail keep breaking?
Compare that finger’s growth direction, sidewall, axis, length and daily use with the others. A repeated local break does not automatically mean the entire product system is weak.
Should I apply thicker gel to prevent breaks?
Not by default. Strength depends on balanced placement and product behaviour, not uniform bulk. Excess thickness can shift force and create an uncomfortable service.
What should I do if gel touches the cuticle?
Stop and remove all uncured material from skin before the lamp using the product-system method. Re-establish a clean margin; do not cure first and file later.
Why does builder gel flood one side?
Check finger angle, table level, product quantity, viscosity, temperature, working time and pressure. One tilted hand can repeatedly direct product to the same side.
Can a liner brush stop gel flooding?
It can refine a controlled margin, but it cannot indefinitely hold an oversized or rapidly moving bead. Remove and reset the application when control is lost.
Why does gel wrinkle in the lamp?
Excess thickness, dense pigment, incompatible exposure, wrong layer order or handling conditions may contribute. Remove uncertain material and verify the exact product–lamp system.
Does a hard gel surface mean it is fully cured?
No. Surface hardness cannot verify internal cure. Use only the specified compatible lamp, exposure, placement and layer thickness.
Can I top coat over a small defect?
Top coat does not correct a void, crack, soft layer, lift or contaminated pocket. Diagnose and remove uncertainty before finishing.
When is full removal safer than repair?
When defects are widespread, deep, inaccessible, contaminated, connected to unknown product or accompanied by natural-nail or skin warning signs.
Which photos help troubleshoot a gel defect?
Take top, side and front views before reduction, include the full finger, mark the defect and keep lighting neutral. Add a photo of the complete hand for comparison.
Which course helps with repeated gel defects?
Choose a course that reviews preparation, product control, architecture, curing, filing and troubleshooting with feedback. Match the course to the system you use rather than buying by defect name alone.
Official sources and editorial boundary
General nail-product safety and the importance of avoiding skin contact: US Food and Drug Administration, Nail Care Products. Workplace chemical exposure, ventilation and prevention: CDC/NIOSH, Nail Technicians: Workplace Safety and Health and OSHA, Chemical Hazards in Nail Salons.
This guide supports technical observation; it does not diagnose infection, injury or allergy, replace the exact product instructions, or prove why an individual nail failed. Stop for symptoms or uncertain nail changes and seek appropriate assessment rather than covering them.
Compare the current English-market nail courses for supervised troubleshooting, architecture, curing and practical feedback. Record complete series and one-variable tests so education changes the process, not only the product shelf.