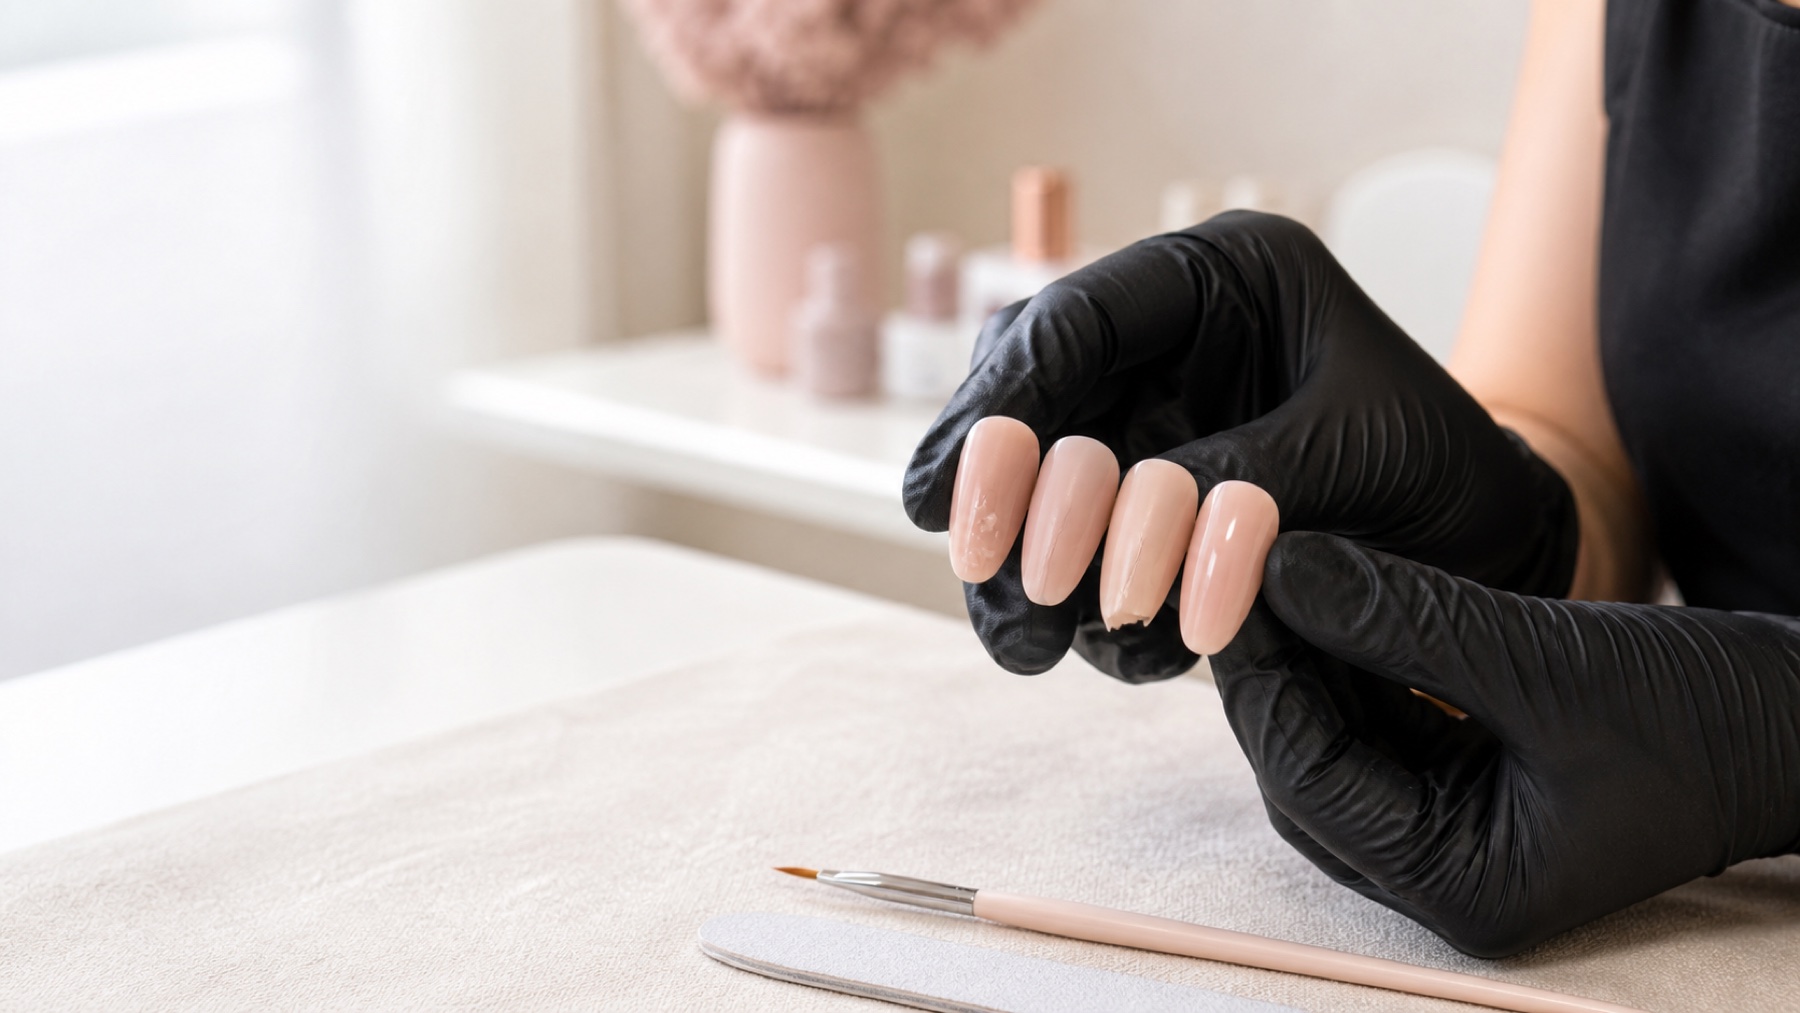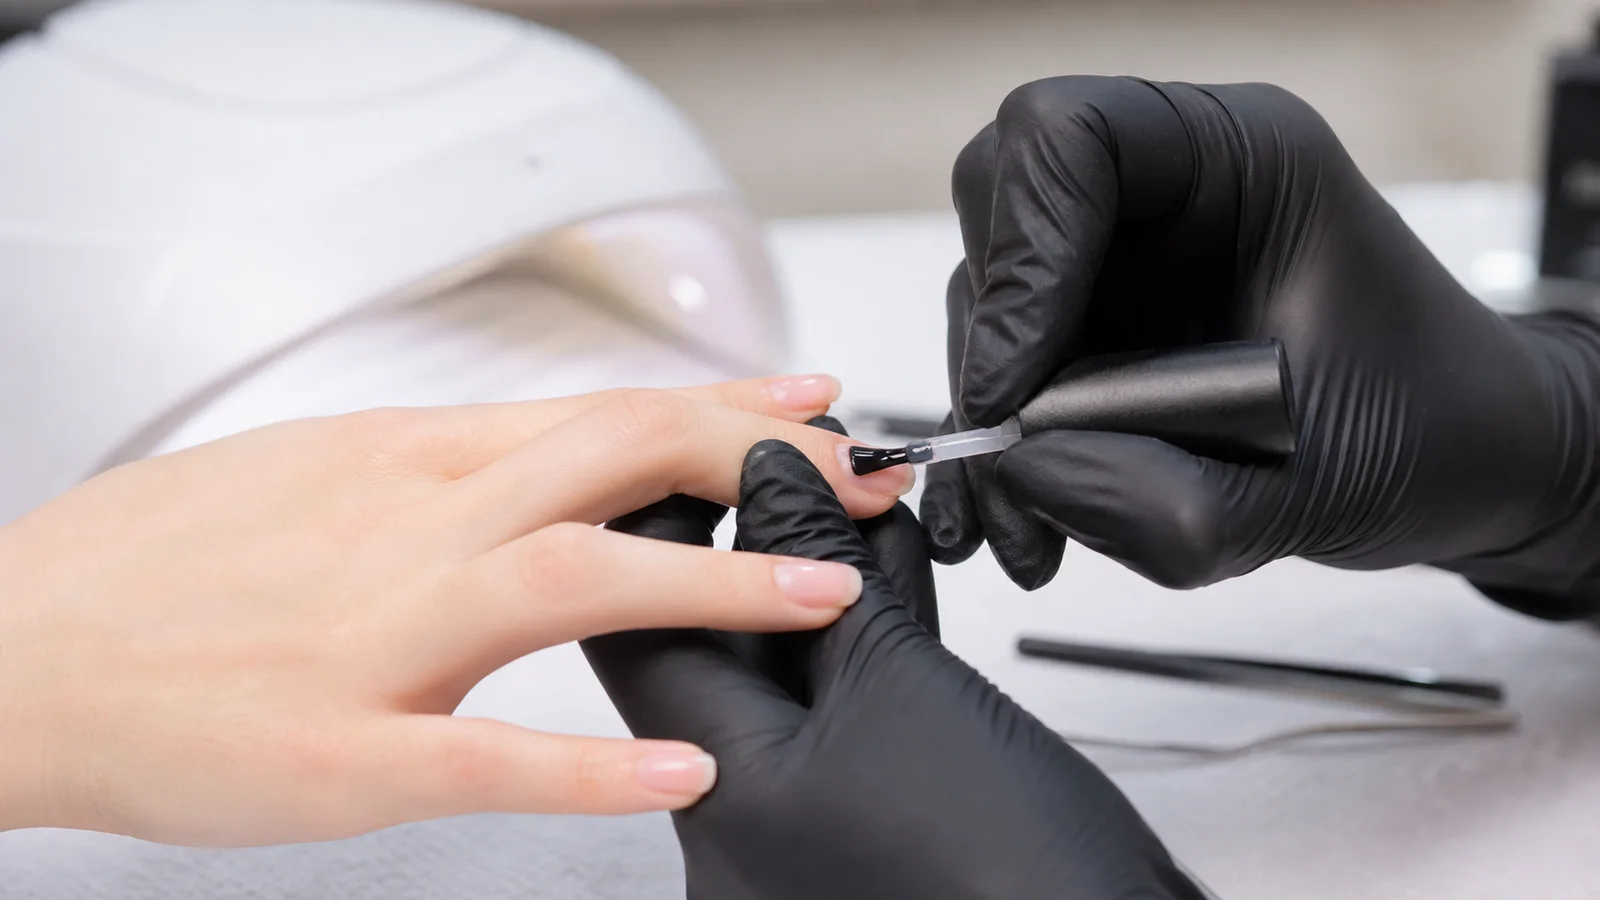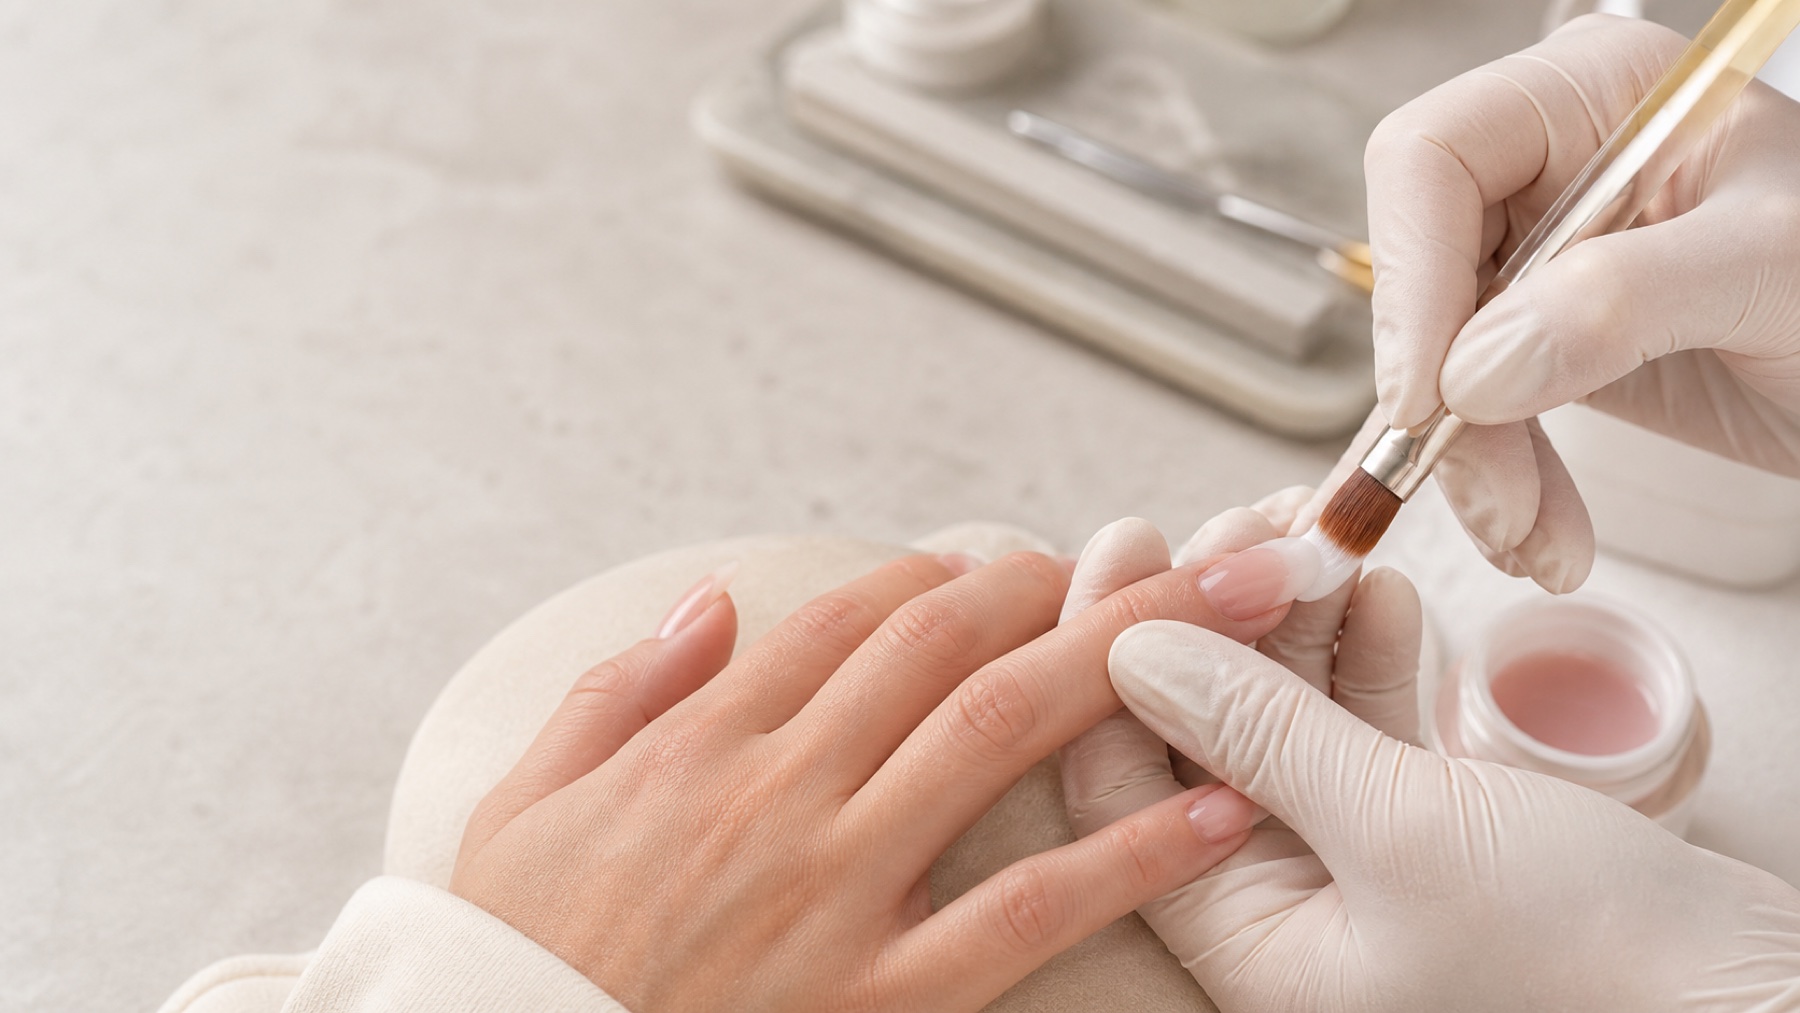
Baby Boomer nails use a soft transition between a pale free edge and a nude or pink nail bed. The design looks simple because it has no hard smile line, yet a clean result depends on planned proportions, compatible colour density, controlled overlap and a structurally balanced surface. When the white is deposited as a single opaque stripe or the nude covers it without a transition zone, the result becomes a blurred French rather than a deliberate gradient.
Short answer: map a clear white zone, a transition zone and a nude zone; apply small amounts from both directions; soften only the meeting area with feathering, tapping or the method taught for that system; preserve enough white at the free edge and enough nude near the cuticle; then cure each permitted layer completely before top coating.
This guide owns the Baby Boomer white-to-nude gradient. The professional French guide owns a defined smile line, while the general nail-art cluster owns multicolour ombré and decorative composition. Keeping those intents separate prevents one article from claiming every two-colour design.
What Baby Boomer nails are and how to recognise the design
Four connected zones create the gradient
Soft does not mean shapeless
Nude
Clean cuticle-side colour
Overlap
Gradual fall-off, no hard line
White
Readable free-edge brightness
Surface
Even thickness and reflection
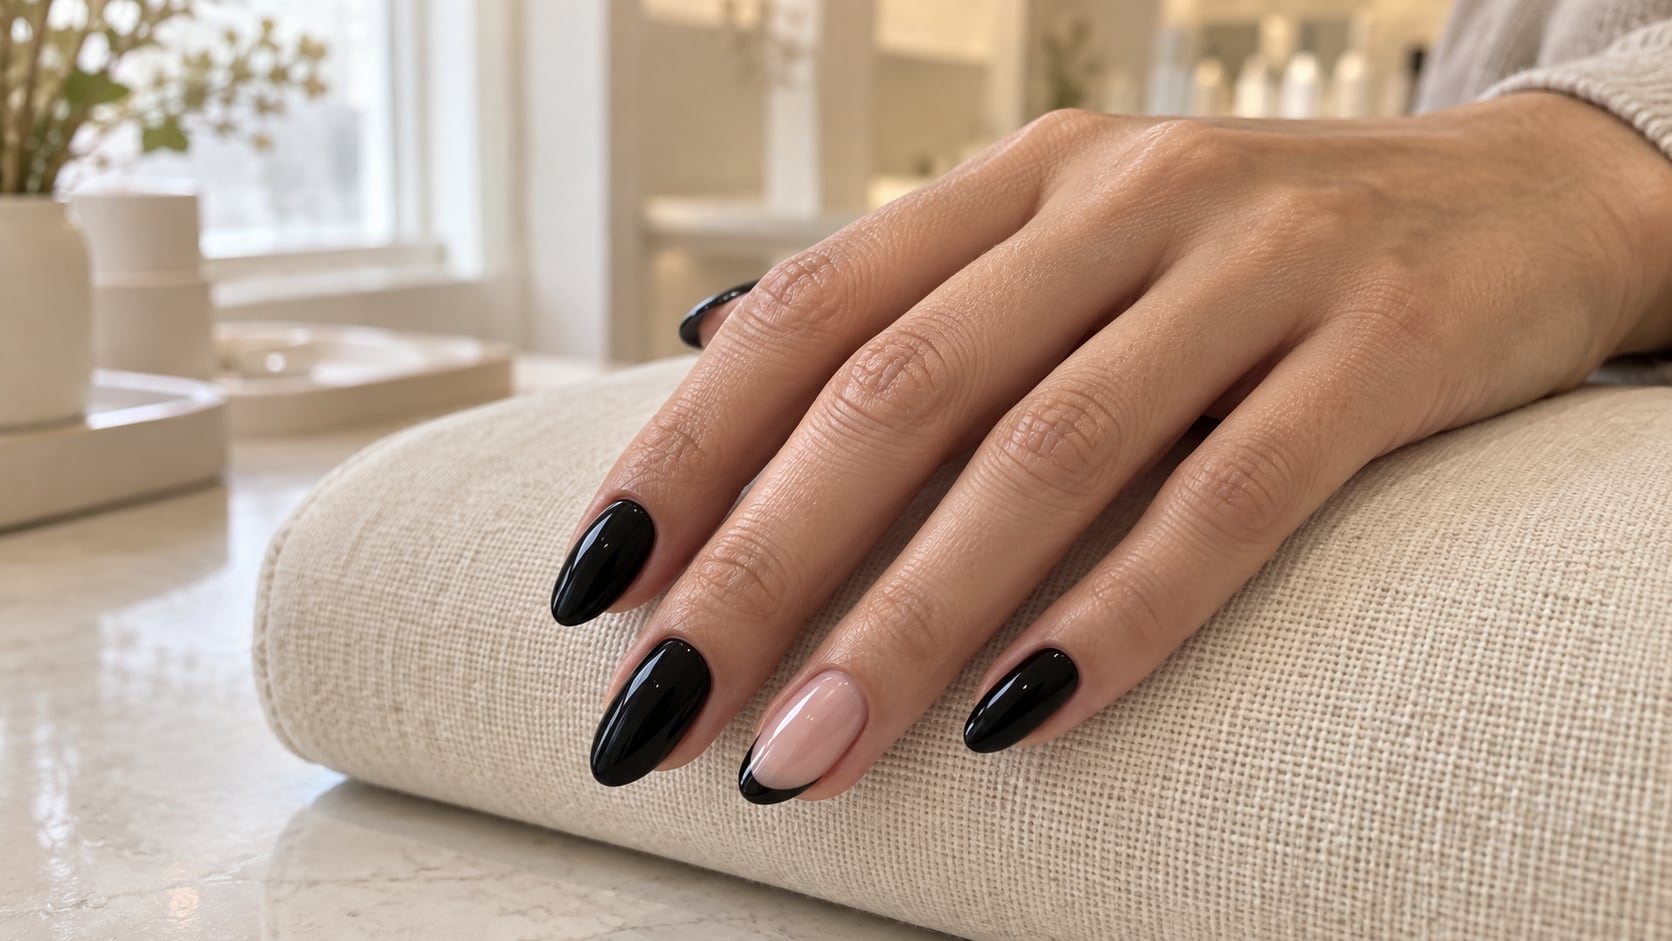
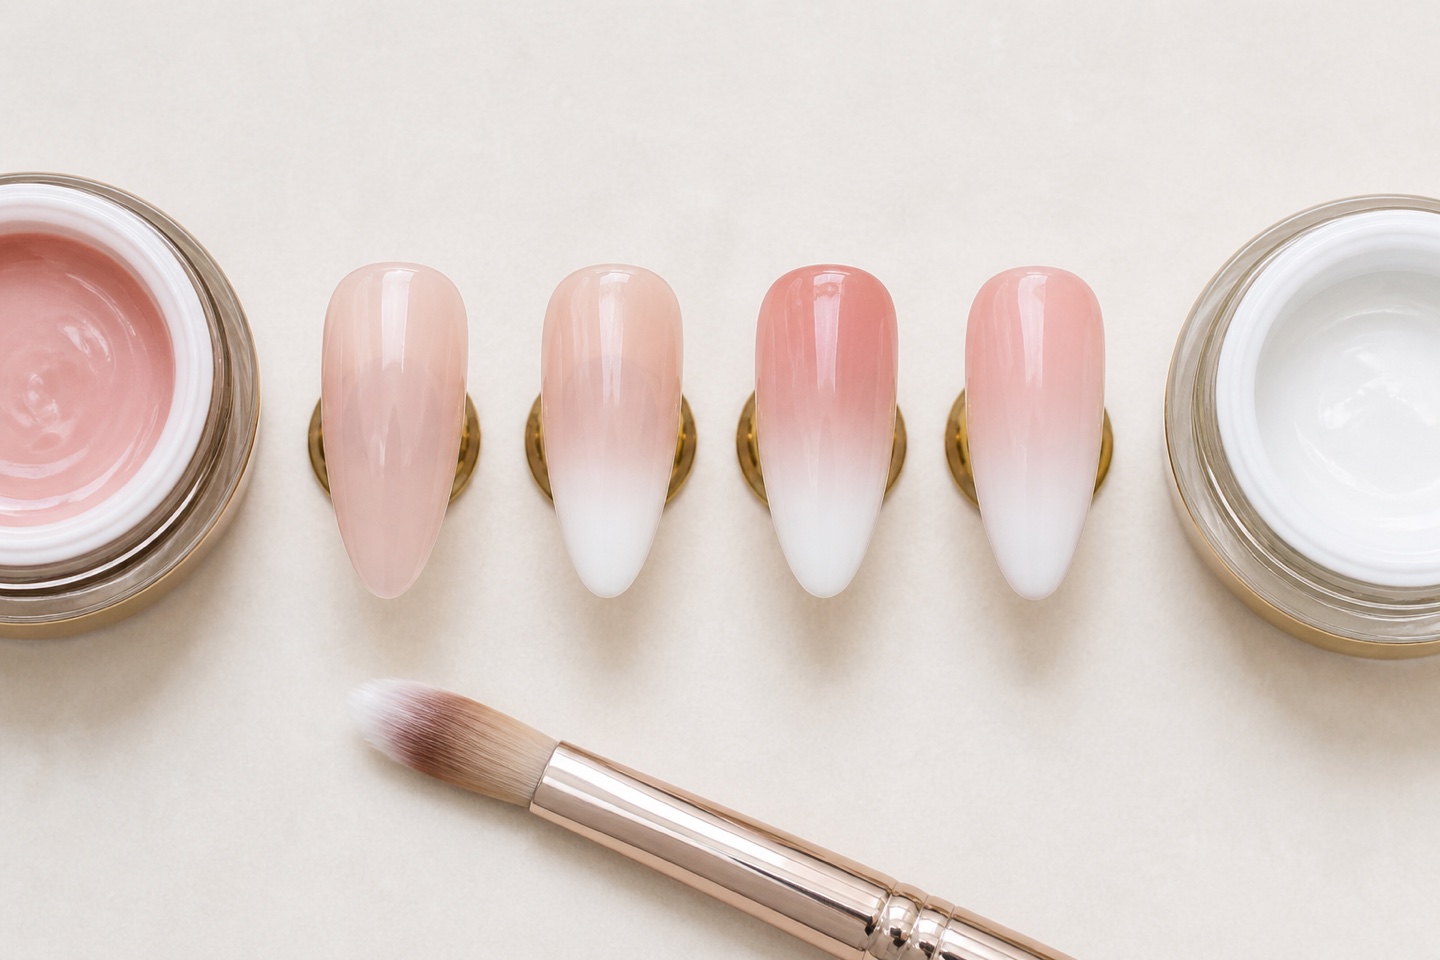
A recognisable Baby Boomer has four visual zones: a nude area near the cuticle, an overlap where white and nude soften into one another, a readable pale free edge and a smooth final surface. The transition should not create a grey, chalky or transparent band. From hand distance, the eye should see a gradual lightening rather than the individual strokes used to build it.
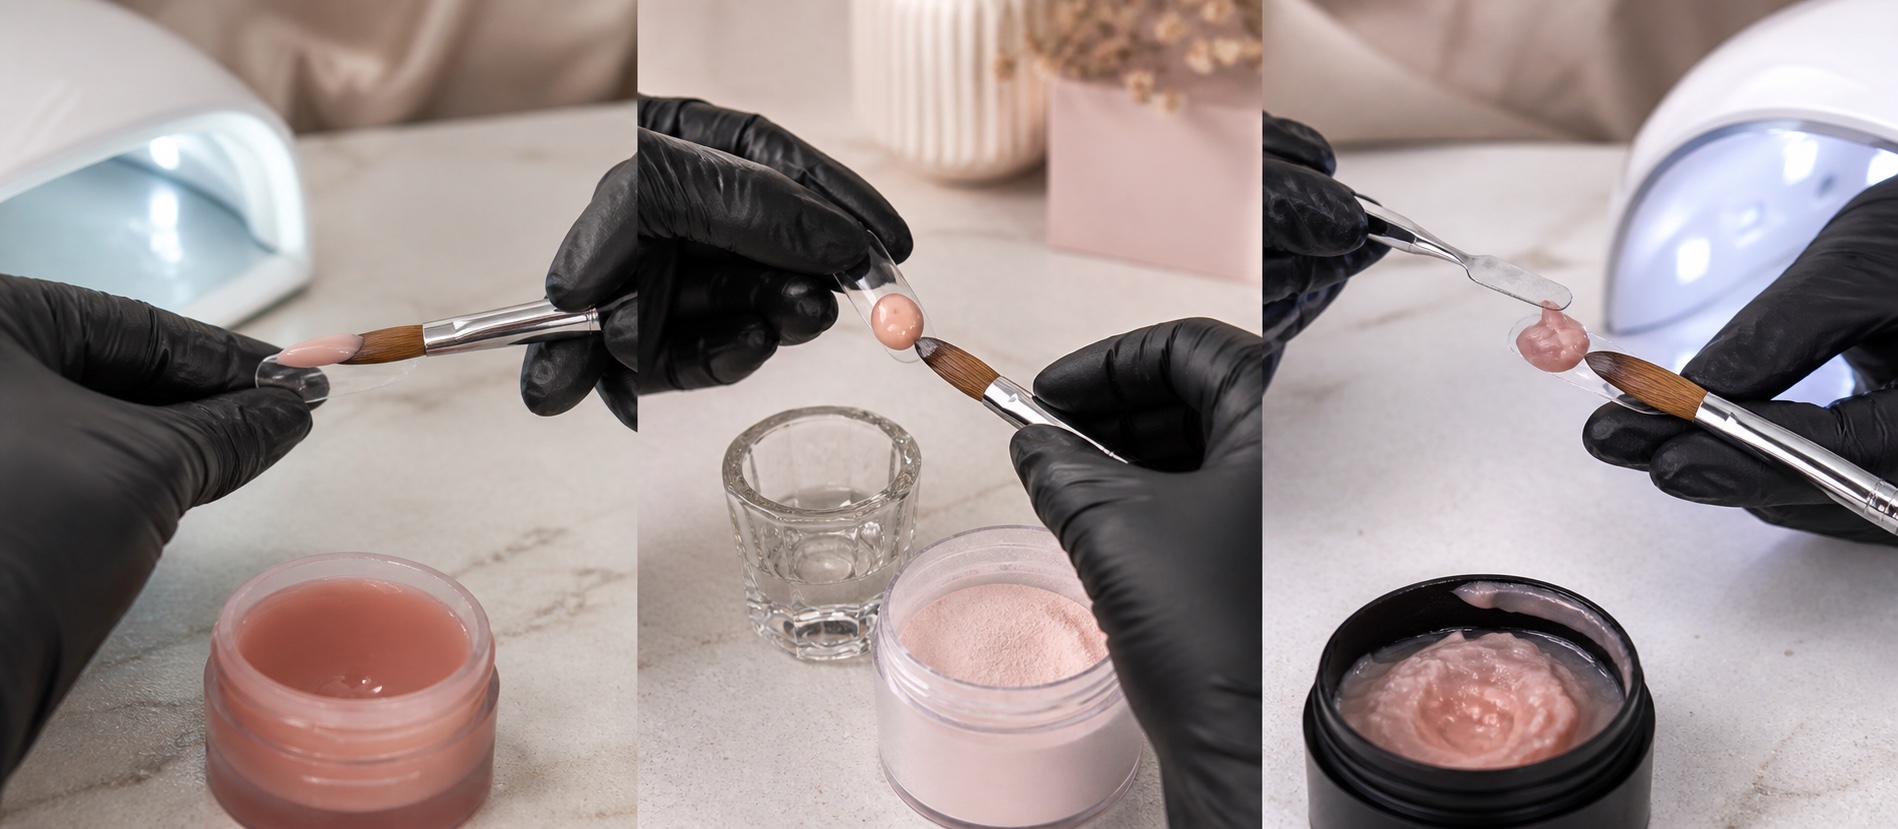
The design can be painted over a completed overlay, built with pigmented gels or acrygel, created with sponge or brush methods, or produced with powder systems when their manufacturer instructions support the technique. Those workflows are not interchangeable. Each has its own thickness, curing or setting, filing and maintenance requirements.
Baby Boomer vs French vs coloured ombré
Name the design before choosing the method
The transition—not simply two colours—defines Baby Boomer
Baby Boomer
White-to-nude soft transition
French
Defined smile line and tip
Coloured ombré
Two or more feature colours
Choice
Intent controls products and process
Design | Boundary | Colour logic | Main technical focus |
|---|---|---|---|
Baby Boomer | Soft transition without a hard smile line. | White or milky tip into nude or pink bed. | Overlap, brightness and smooth surface. |
French | Defined smile-line border. | Usually contrasting free edge and nail bed. | Centre, wings, symmetry and proportion. |
Coloured ombré | Soft or directional transition. | Any planned colour pair or sequence. | Hue, value, saturation and placement. |
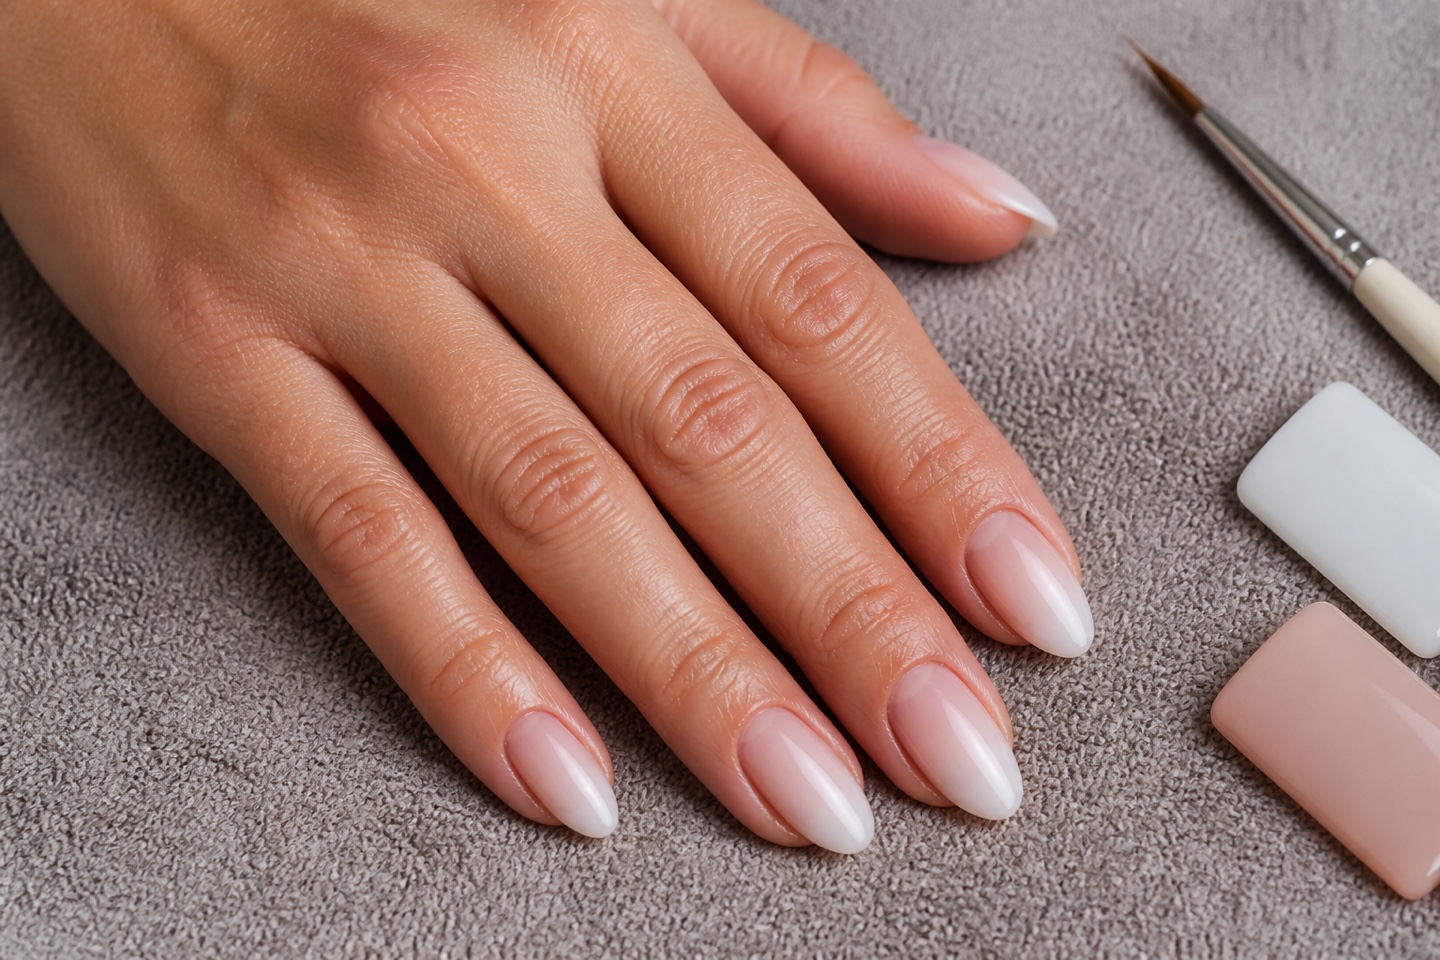
A Baby Boomer can be warm, cool, sheer or more opaque, but it keeps the classic pale-tip and nude-bed relationship. When the colours become the subject—blue into violet, neon into pink or several hues—the broader ombré or nail-art intent is more accurate. Naming the result correctly helps select products, technique and client expectations.
Plan the white, transition and nude proportions
Divide the visible nail into three working bands rather than two colour blocks. The white should remain readable at the free edge; the transition should be long enough to soften its particles or brush marks; the nude should remain clean near the cuticle. On a short nail, an excessively long gradient can erase the white. On a long nail, a very short overlap looks like an accidental stripe.
Read the final shape and nail bed. A narrow tapered extension may need a more concentrated centre highlight, while a wider square nail may need a broader but carefully controlled transition. Do not simply follow an uneven natural free edge. Use the nail morphology guide to keep the decorative proportion connected to the structural and visual shape.
Consultation, shape and finish before application
Agree what the client means by Baby Boomer before opening products. Reference images may show a barely visible milky fade, an opaque bridal gradient, a pinker nail bed, a bright white edge or a glitter overlay. Ask which element matters most, confirm the practical length and shape, and explain how the client’s natural nail colour can affect a sheer result. This prevents the technician from solving a different design from the one the client expects.
Assess each nail for length, width, growth direction, existing product and surface condition. A broad short nail can look visually shorter when the white zone begins too far back; an excessively narrow or high gradient can distort a wide free edge. Shape choice should support the finger and available nail, not imitate the proportions of a different hand. Consistency across ten nails means comparable visual weight, not identical measurements on different nail plates.
Decide whether the finish will be glossy, soft-matte or decorated only after the gradient is legible on its own. Gloss increases reflection and can make uneven filing more visible; matte can reveal streaks and dust; glitter or chrome changes contrast and should not be used to hide a broken transition. Photograph one approved test nail in neutral light when the desired nude, white and opacity are unusually specific, then record the products and layers for consistent maintenance.
Baby Boomer methods: brush, sponge, gel, acrygel and powder
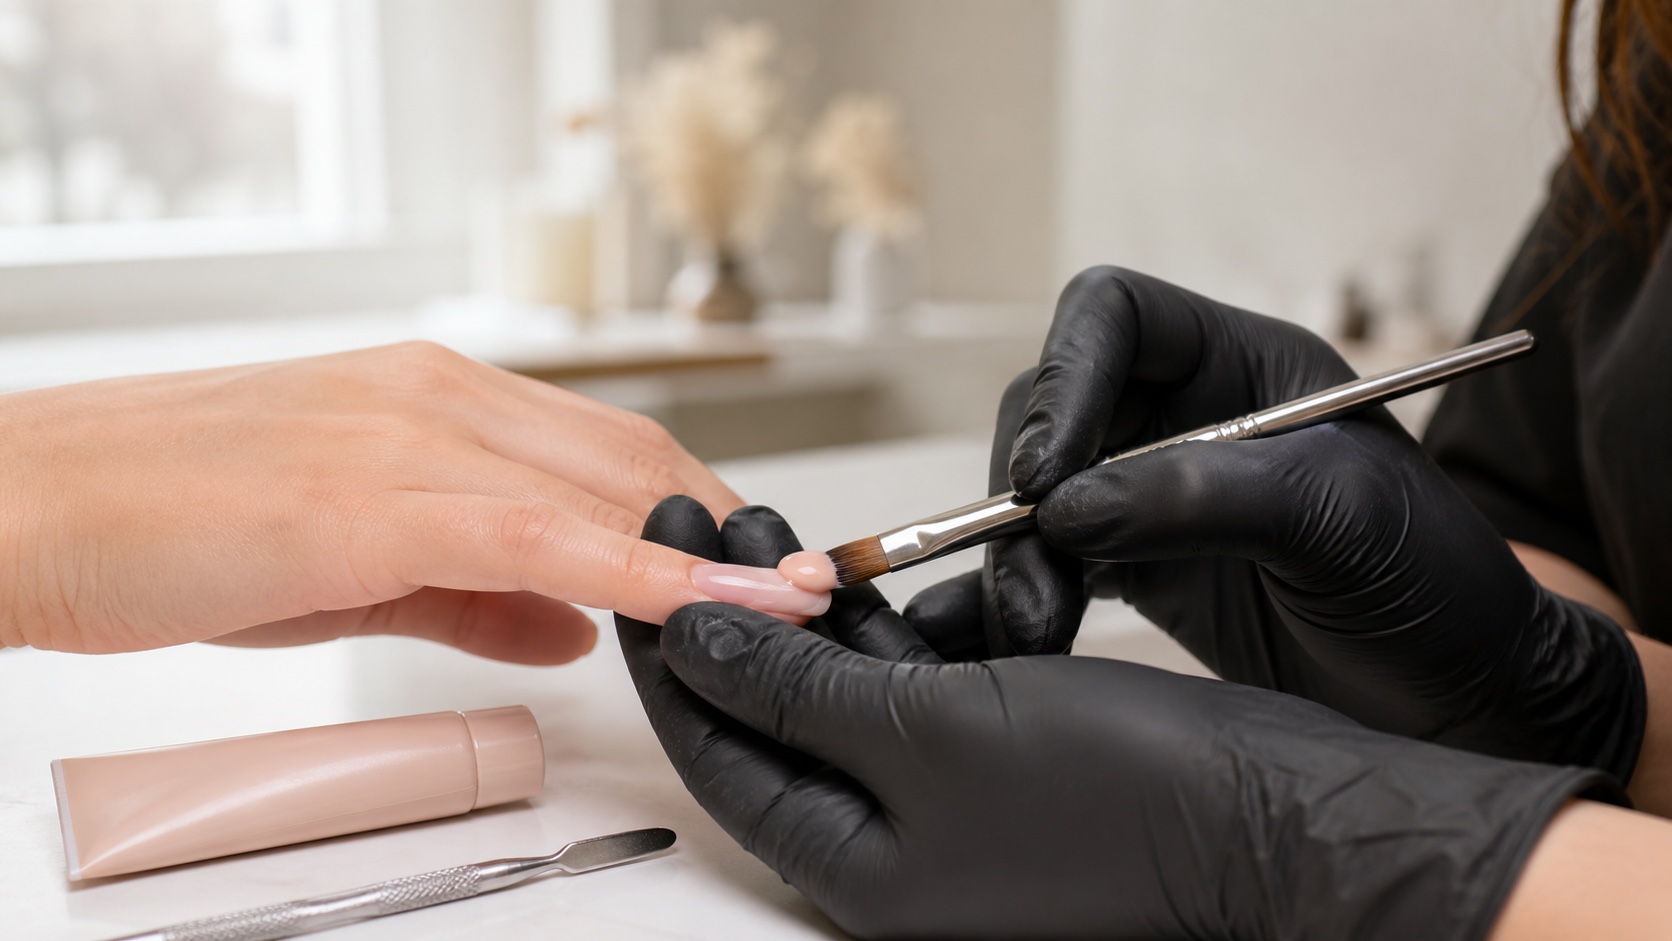
A fine or fan-style brush can feather a thin white or nude product through short overlapping strokes. A sponge transfers small particles or colour in repeated taps and can create a diffuse finish, but its texture and discarded material must be managed. Pigmented builder gels can place the gradient within structure. Acrygel can be portioned and pressed into connected white and nude zones before curing. Powder methods use their own pickup and layering sequence.
No method is automatically fastest or best. Brush work exposes stroke control and can remain thin; sponge methods may be accessible but create texture or uneven density; structural methods can preserve colour through filing but add architecture and cure variables. Choose the method for the base service and product instructions, not merely for the look of one finished tip.
If acrygel is the structural medium, first stabilise portion, liquid, curing and filing with the complete acrygel guide. Decorative success cannot compensate for product on skin, an unsupported apex or incomplete cure.
Pair nude and white without losing the gradient
Compare value, opacity and undertone. A very opaque bright white beside a deep opaque nude can create a harsh grey-looking overlap; a milky white and translucent pink may blend easily but disappear at the edge. Test one, two and three permitted thin overlaps on a clear or nude tip and view them both in close-up and at hand distance.
Choose a nude that relates to the client’s preference and desired coverage, not one shade described as universally natural. Cool pink can sharpen a blue-white tip; warm peach can soften it; neutral beige can change the apparent brightness. A coloured base should not be used to mask nail changes that require assessment. Record product names and layers so refill or repetition remains possible.
Essential tools without unnecessary purchases
One compatible base or structural system, one tested nude, one tested white and the specified top coat.
The lamp required by light-cured products, with the correct exposure and hand placement instructions.
One brush or single-use sponge appropriate to the chosen method, plus a palette when needed.
Files or trained e-file tools for structure, dust control and cleanable hand support.
Neutral practice tips, labels and fixed lighting for comparing complete series.
Do not buy several whites before identifying the real problem. A stripe can come from poor overlap, unsuitable density, excess product or incorrect movement rather than the shade itself. Change one variable in a labelled test series so the result can be attributed to the product, brush or technique.
Baby Boomer with gel or gel polish: step by step
Build density before chasing softness
Plan the transition as a sequence, not a rescue layer
Prepare and map the zones
Place white at the free edge
Taper density through overlap
Connect nude without burying white
Inspect, cure and finish
Complete assessment, preparation, base or structure and surface finishing according to the selected system.
Map white, transition and nude zones on the finished length before loading brush or sponge.
Place a small amount of white at the free edge and reduce its density towards the transition with feathering or tapping.
Apply the nude from the cuticle area and soften only its lower boundary into the existing transition.
Compare the light line, free-edge brightness and overlap from top and side; remove skin contamination before cure.
Cure each layer for the exact lamp and time specified, repeating thinly only when permitted and necessary.
Refine the surface only as the system allows, remove dust safely and apply a compatible top without erasing the gradient through excessive thickness.
For a thin painted version over gel polish, first review gel-polish application, curing and removal. A smooth gradient still fails the service if base layers are thick, uncured or touching skin.
Feathering, tapping and overlap: how the transition is made
Feathering uses a lightly loaded brush and short strokes that reduce pressure and product towards the transition. Tapping deposits many small points or particles so density changes gradually. Overlap means the transparent or semi-opaque edge of one colour extends into the other without covering it completely. These are movement principles, not a guarantee that every product will blend the same way.
Work from dense to light. If you repeatedly drag white through the nude and back again, the two colours can become grey, streaked or fully mixed. Clean or replace the tool as required, preserve separate pickup zones and inspect before adding another layer. The most effective correction is often to remove an incorrect wet layer and rebuild the overlap, not to bury it.
Structural Baby Boomer with gel or acrygel
In a structural Baby Boomer, white and nude materials contribute to the enhancement itself rather than sitting only as surface colour. Portion and place both products so the transition remains in the intended zone after filing. The apex, stress area, sidewalls and free edge must remain correct independently of the gradient.
Do not place extra white merely to protect brightness if it creates a thick free edge, and do not file so deeply that the transition becomes patchy or structure is weakened. Check the nail architecture guide before attempting a structural gradient. Decoration and mechanical balance must be read from the same top, side and front views.
Common Baby Boomer problems and corrections
Correct the stage that created the defect
Another colour layer is rarely a complete diagnosis
Stripe
Lengthen and soften the overlap
Faded white
Restore free-edge density
Grey or patchy
Separate colours and calibrate tool
Thick tip
Use pigment, not excess bulk
Problem | Check | Correction approach |
|---|---|---|
White stripe | Overlap too short, white too opaque or pressure ending abruptly. | Extend a thinner transition and taper density before cure. |
White disappears | Nude too opaque, transition too long or white placed too thinly. | Restore free-edge density without thickening the entire nail. |
Patchy or dotted | Uneven sponge load, dry product or unplanned tapping pattern. | Calibrate the tool on a palette and apply matching light passes. |
Grey transition | Overmixing, incompatible undertones or dirty tool. | Preserve separate colours and blend only their edges. |
Thick free edge | White density created through bulk or repeated unplanned layers. | Use a product with suitable opacity and rebuild within permitted thickness. |
Correct the process stage that created the defect. A grey overlap is not necessarily solved by a brighter white; a thick tip is not solved by filing until colour disappears. Record product, number of layers, tool, direction and zone so the next test changes one supported variable.
Refill, regrowth and removal
At refill, assess lifting, growth, apex position, length and the amount of gradient that remains. Rebalance structure first. A surface Baby Boomer can usually be removed and repainted after maintenance. A structural gradient may require careful reduction and rebuilding so the transition returns to the intended position without thinning sound material or natural nail.
The guide to nail infill and rebalance helps decide what can remain; the safe removal guide separates soak-off and file-off systems. Never peel a gradient or extension from the plate.
A four-week Baby Boomer practice plan
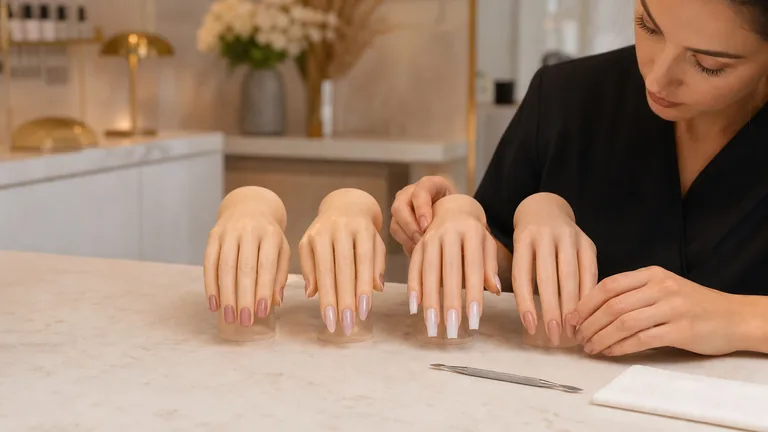
Week 1: create white density scales and nude opacity scales on labelled tips; identify compatible pairs.
Week 2: repeat transition strips with one brush or sponge movement, keeping product and zone constant.
Week 3: transfer the chosen method to matching short curved tips and compare white, overlap and nude proportions.
Week 4: complete one salon-scale set, photograph top, side, front and hand view, request feedback and repeat the two weakest nails.
Use the post-course practice plan to keep full series and score results. If product application or structure is still unstable, return to the beginner technique sequence rather than using a gradient to disguise uneven work.
Frequently asked questions
What are Baby Boomer nails?
They are a soft white-to-nude or white-to-pink nail gradient with a readable pale free edge and no defined French smile line.
Are Baby Boomer and French nails the same?
No. French uses a distinct smile line. Baby Boomer blends the tip into the nail-bed colour through a transition zone.
How do I avoid patches in a Baby Boomer gradient?
Calibrate product and tool on a palette, use small consistent strokes or taps, keep zones planned and repeat thin permitted passes rather than depositing one heavy block.
Which brush is best for Baby Boomer nails?
It depends on viscosity and method. A fine, flat or fan-style brush may feather product; a separate brush can refine structural gels. Choose the tool that produces repeatable density.
Can I make Baby Boomer nails with a sponge?
Yes with compatible colour products and a clean single-use or appropriately managed applicator. Control texture, debris, layer thickness and curing; sponge tapping does not remove system requirements.
Can Baby Boomer be done with gel polish?
Yes when white and nude provide a smooth transition at the manufacturer’s permitted thin layers and are cured with the compatible lamp and time.
Which white should I use?
Choose by opacity, viscosity, undertone and compatible layer thickness. Test it with the actual nude; a bright opaque white is not automatically the easiest to blend.
How long should the white area be?
There is no fixed ratio. It must remain visible at the free edge while leaving enough space for a smooth transition and a clean nude area on the actual nail length.
Why does my Baby Boomer look like a white stripe?
The overlap may be too short, the white too opaque or the tool pressure may stop abruptly. Extend a thinner density gradient rather than covering the line with more nude.
How do I avoid a thick tip?
Use opacity from pigment rather than bulk, keep each layer within system limits and inspect the side and front before cure. Rebuild an incorrect layer instead of stacking corrections.
Can Baby Boomer be built with acrygel?
Yes when the acrygel system and colours support it. Portion white and nude deliberately, maintain structure, use the approved liquid and complete the specified cure.
How is Baby Boomer refilled?
Assess growth and lifting, rebalance structure, reduce the old design as appropriate and rebuild the transition. The exact sequence depends on whether colour is surface-applied or structural.
How long does it take to learn an even gradient?
There is no universal number of days. Progress comes when several comparable tips show stable zones, smooth overlap, thin surface and maintained structure—not from one successful nail.
Which Baby Boomer course should I choose?
Choose one matching your base system that teaches proportions, colour pairing, tool movement, curing, structure, corrections, refill and practical feedback rather than only a finished demonstration.
How can I practise without wasting product?
Build density and transition scales on labelled tips, use small measured quantities and keep each test pair. Fill a complete nail only after the overlap is repeatable.
Official sources and editorial boundary
General nail-product safety: US Food and Drug Administration, Nail Care Products. Workplace chemical and physical hazards: CDC/NIOSH, Nail Technicians: Workplace Safety and Health. These sources provide safety context; product pairing, tool, lamp, curing, setting and removal must follow the exact system instructions.
Editorial boundary: this guide does not diagnose nail conditions, replace product instructions or hands-on supervision, certify competence or authorise work where qualifications are required. Keep uncured product off skin and stop for pain, heat, inflammation, broken skin or reaction.
Compare the current English-market nail courses by level, base system, Baby Boomer method, practice assignments, compatible products and feedback. A useful course should show both the transition and the structure, not only a final top-view photograph.