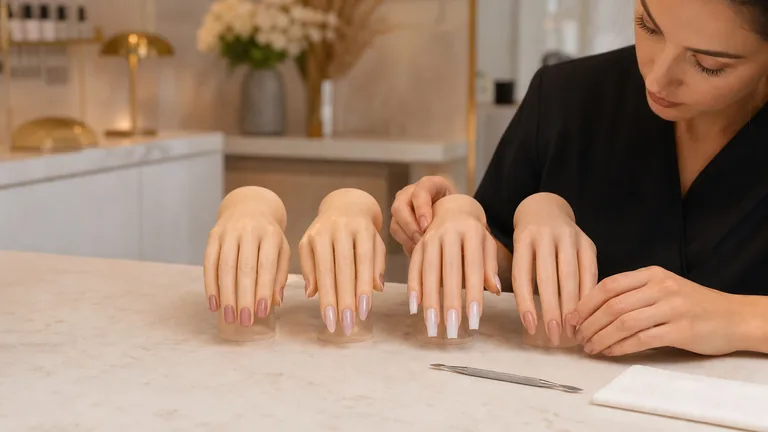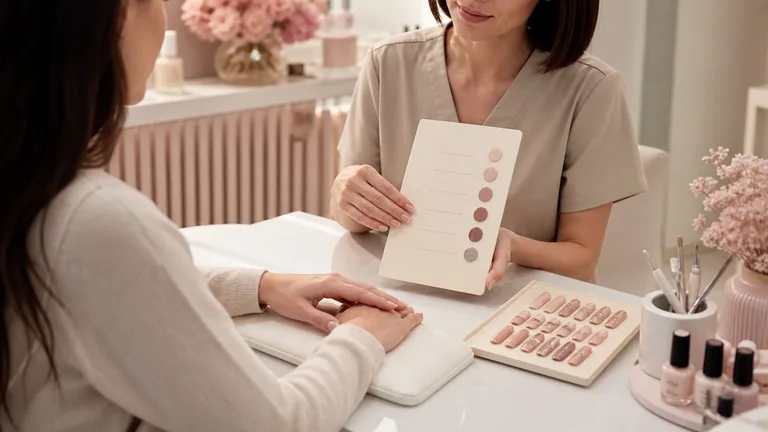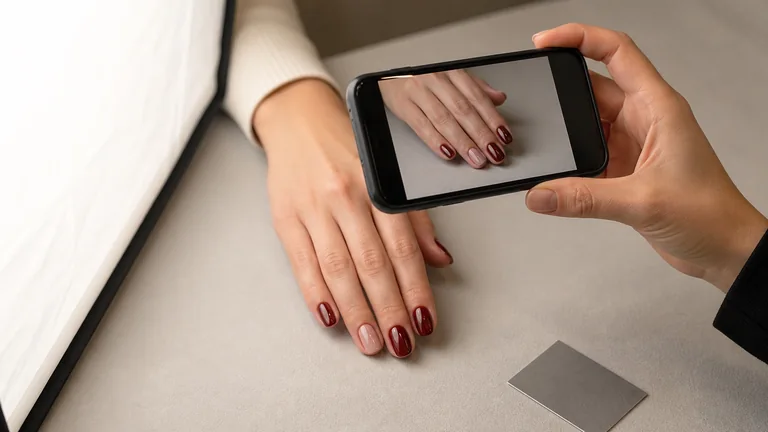
Good nail photography does not make a service look better than it was. It makes the work readable: shape, margins, architecture, surface reflection, colour and design stay recognisable. A consistent image helps a prospective client understand the service, gives a portfolio comparable evidence and lets a nail technician review progress without confusing technical improvement with a stronger filter.
Fast setup: clean the lens; use one large diffused light at roughly 45 degrees; switch off differently coloured room lights; support the wrist on a neutral surface; lock focus and exposure on the nails; capture a complete view, side view, free-edge view, detail and thumb; correct global light and white balance without changing skin, margins, shape or product colour.
This guide owns capture, colour and file-workflow intent. The separate nail technician portfolio guide owns project selection, case notes and client-facing presentation. Substantively reviewed on 5 September 2026, this method works with a smartphone or camera and does not depend on one editing application, social platform or equipment brand.
A professional nail photograph should demonstrate, not conceal
A technical record and a social image can share the same truth
Correct the file globally; never rebuild the service
Show
Shape, margins, structure and colour
Correct
Global light, balance and crop
Keep
Original and technical master
Never invent
Skin, nail shape or missing detail
A technical image should show symmetry, proximal and lateral margins, colour continuity, apex position, thickness and finish. A social image may add atmosphere, props and brand style, but should still represent a result the client can receive. Turning a nude beige pink, hiding sidewall bulk or smoothing every fold creates false expectations and destroys comparison between services.
Keep a technical master before creative crops. Zoom into the cuticle area, centre reflection, side profile and free edge. Ask what the front view hides and what an extreme pose distorts. The purpose of review is not to repair every flaw in software; it is to identify what should change in the next application, filing sequence or photograph.
Use | Must show | Avoid |
|---|---|---|
Learning record | Shape, structure, margins and errors | Filters, selective blur and decorative poses only |
Portfolio | Credible quality, range and complete work | Only perfect macros without a full set |
Social media | Result, context and recognisable style | Altered colour and plastic-looking skin |
Prepare the hands, set and lens before lighting
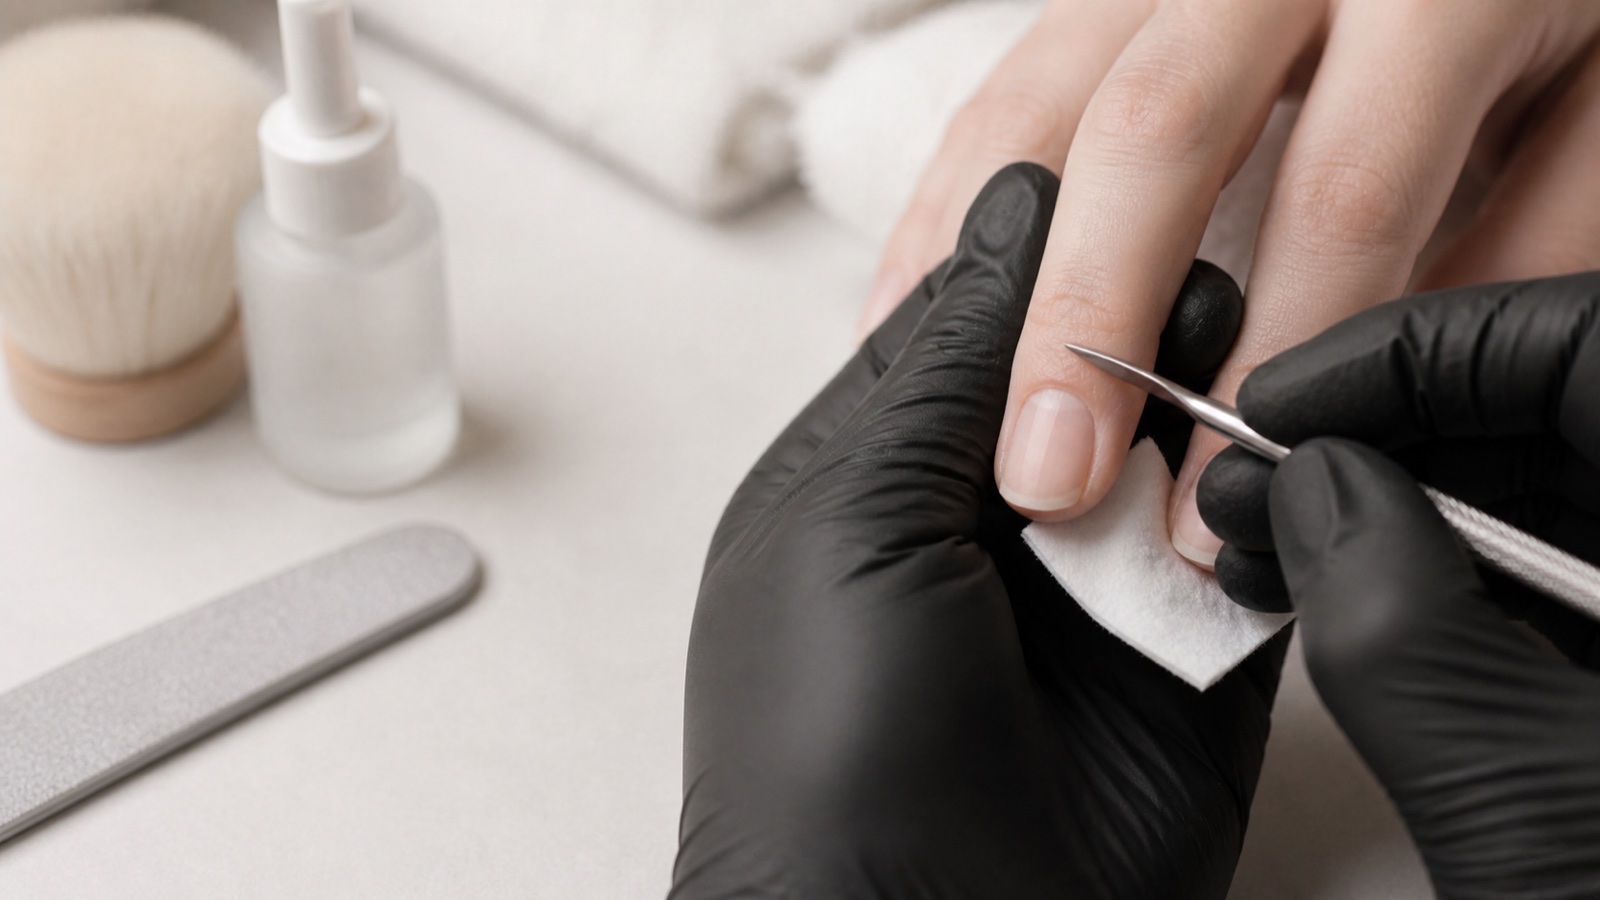
Check for dust, oil, cream, lint, pigment or residue on the finish and around the nail.
Clean the phone or camera lens; a faint smear lowers contrast and blooms every highlight.
Remove cables, product labels, manicure lamps and tools that do not help explain the result.
Choose background, wrist support and any prop before posing the hand; keep the setup stable between views.
For colour-critical records, place a neutral grey reference in the first frame and remove it for the final image.
Confirm the permitted use before photographing or publishing identifiable hands, tattoos, jewellery or context.
Skin finish should come from a careful service, not digital reconstruction. Do not erase product on skin, a damaged fold or a shape defect to turn the picture into another result. If a visible skin change makes a marketing image unsuitable, do not publish it; retain only the necessary clinical or technical record in the authorised workflow and choose another subject.
Soft light: the simplest repeatable nail setup
One large source, one supported hand, one neutral reference
Move the light until the reflection describes the nail
Source
Large, diffused and stable
Hand
Supported, relaxed and centred
Camera
Steady, focused and exposure-locked
Reference
Neutral card in the first frame
A light source that appears large relative to the hand produces gradual shadows and broad, readable reflections. Place it to one side and slightly above, then observe the highlight running along the glossy nails. A white card on the opposite side can return detail to the shadow without introducing a second colour. The exact distance is less important than recording it and reproducing it.
A ring light is convenient, not compulsory. Its circular reflection can cover nail art and make every finish look alike. A curtained window, diffused LED panel or softbox often creates a wider strip that describes curvature more clearly. Avoid direct sun and bare small lamps: they make hard hotspots where the sensor records no colour or surface detail.
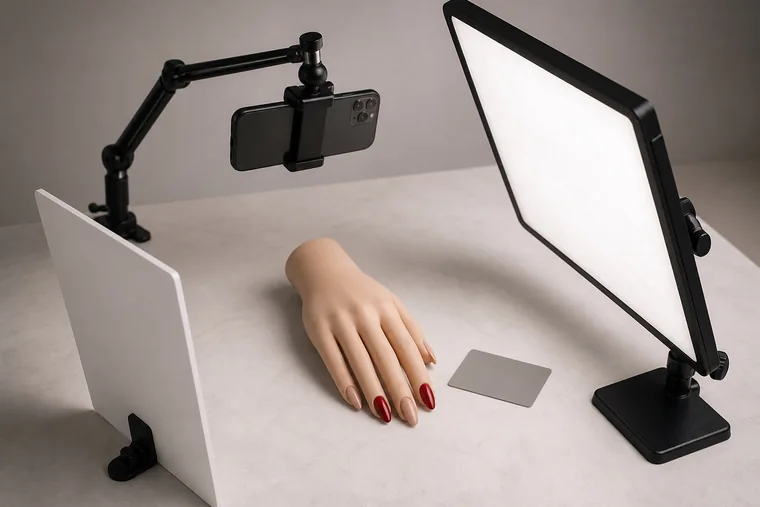
Where to place the light, hand, phone and reflector
Place the supported hand on a matte neutral background, far enough from the backdrop to avoid a hard cast shadow.
Move the diffused light about 30–60 degrees to one side and above until highlights describe the nail curves.
Set a white card opposite the light and change its distance to lift shadow without flattening all contrast.
Keep the camera sensor plane reasonably parallel to the row of nails for the complete technical view.
Mark tripod, hand rest and light positions so the next client can be photographed under comparable geometry.
Avoid mixed light and colour casts that cannot be fixed cleanly
Daylight from a window, a warm ceiling lamp and a cool desk light can strike different fingers at once. One global white-balance correction cannot neutralise three sources independently. Switch off competing lights or block the window, then use one stable source. Check hands and background: a bright coloured wall or sleeve can reflect tint into a nude or white manicure.
Do not copy a Kelvin number without checking the real scene. The stated colour temperature of a lamp, diffuser, room reflection and camera processing all affect the recorded result. Photograph a neutral reference under the same light, keep exposure constant and compare the product against the physical swatch before deciding that the file is accurate.
Smartphone settings: lens, focus, exposure and stability
A recent smartphone is sufficient for most nail portfolios when light and positioning are controlled. Use the main rear camera rather than digital zoom. Moving a wide-angle lens very close exaggerates the nearest fingers and stretches nails near the edges. Step back, keep the hand near the centre and crop moderately, or use a true optical telephoto module when the available light supports it.
Tap on the middle nail to focus, then lock focus and exposure if the camera app permits it. Reduce exposure until the brightest reflection still contains tone and colour. Use the grid and level to prevent a tilted axis. A tripod, phone arm or two-second timer reduces motion and lets the technician support the client’s hand rather than holding camera and wrist at once.
Portrait mode can simulate shallow depth of field, but software segmentation may blur fingertips, sidewalls, hair or fine decoration. Inspect every edge at full size. For a technical view, natural optical separation from a more distant background is safer. Beauty filters, automatic skin smoothing and vivid colour styles should be disabled.
Camera settings without turning the salon into a studio
With an interchangeable-lens camera, choose a moderate focal length that does not force the lens against the hand. Use an aperture deep enough to keep the row of nails sharp, then raise light output or ISO only as much as needed for a hand-safe shutter speed. A tripod does not freeze a client’s small movement; stabilise the pose and check focus after every change.
RAW files preserve more adjustment range for white balance and highlights, while JPEG is faster and includes camera processing. Neither format is automatically truthful. Use the one your workflow can develop consistently, retain the original and save a separate master for global corrections. Do not overwrite the source file with a social crop or heavy preset.
Use glossy reflections to read nail structure
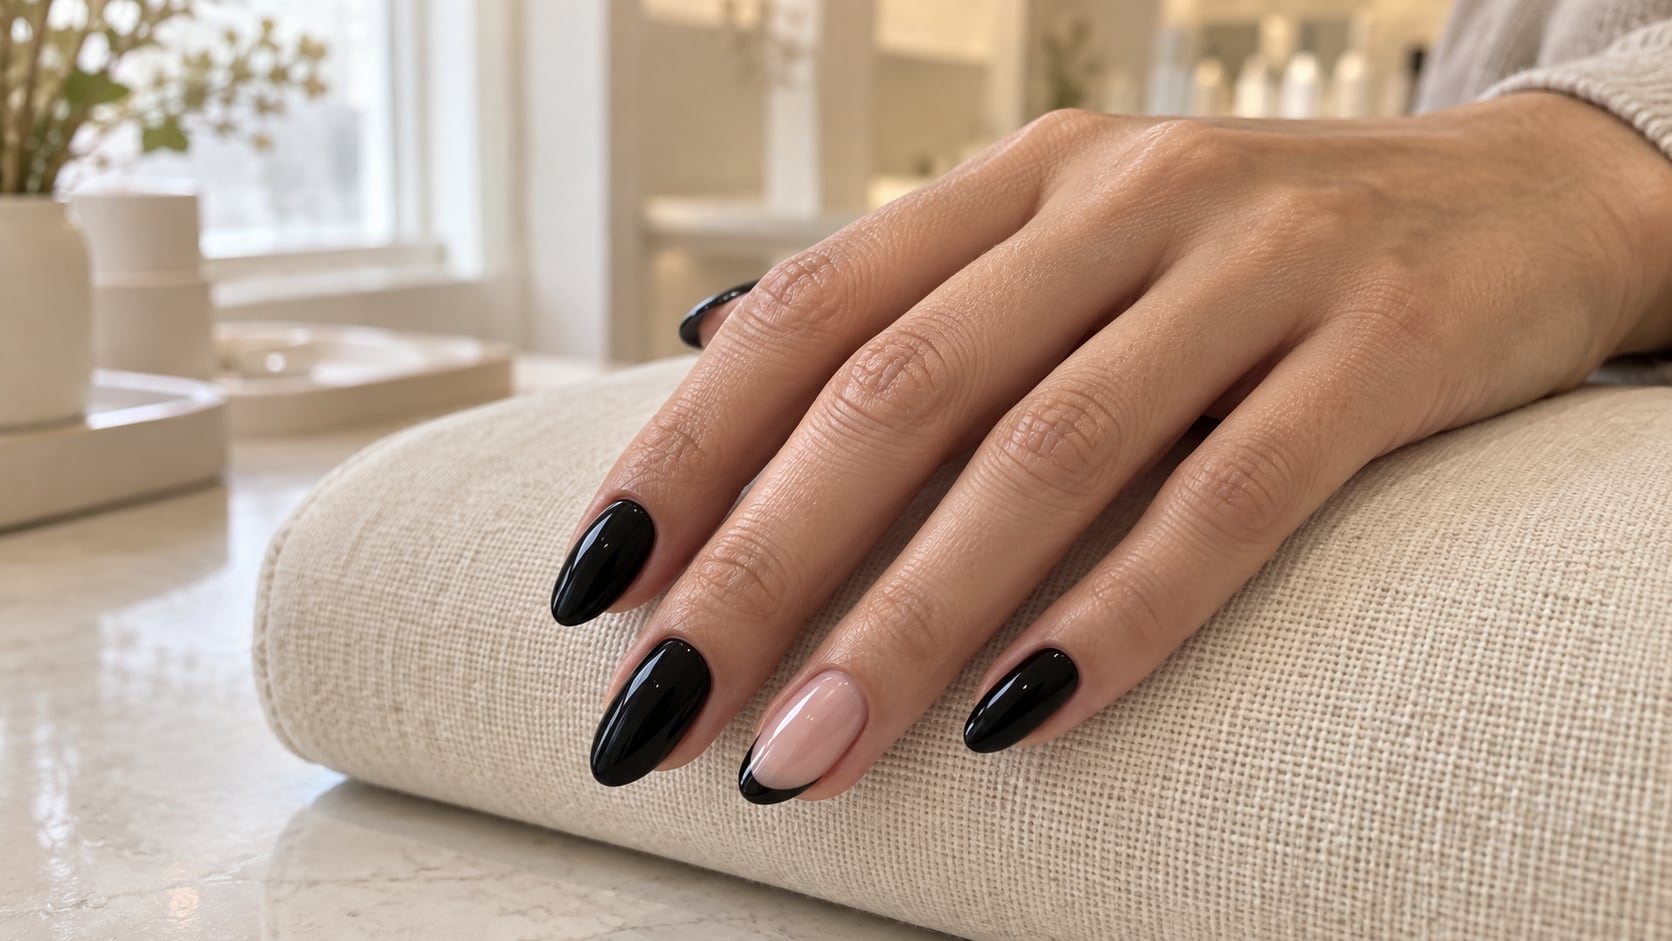
A long diffused reflection is a diagnostic line. An even highlight can show a smooth surface and connected architecture; an abrupt wave can reveal a hollow, ridge or unexpected change of plane. Move the light before moving the camera and compare all nails under the same strip. Do not remove the reflection entirely—without it, gloss and curvature become harder to judge.
Protect colour information at the same time. A clipped white hotspot has no remaining texture to recover in editing. Enlarge or diffuse the source, rotate the hand slightly or lower exposure. For matte finishes, place the light at a more oblique angle so soft texture remains visible without trying to create a glossy strip that the product does not have.
Pose the hand without distorting fingers or architecture
Support the wrist and ask the client to release tension. Do not press fingertips into the table or force fingers into an identical fan: compression widens pads, changes lateral angles and can make nails appear crooked. Adjust each finger gently, keep joints comfortable and check that the thumb is neither hidden nor twisted.
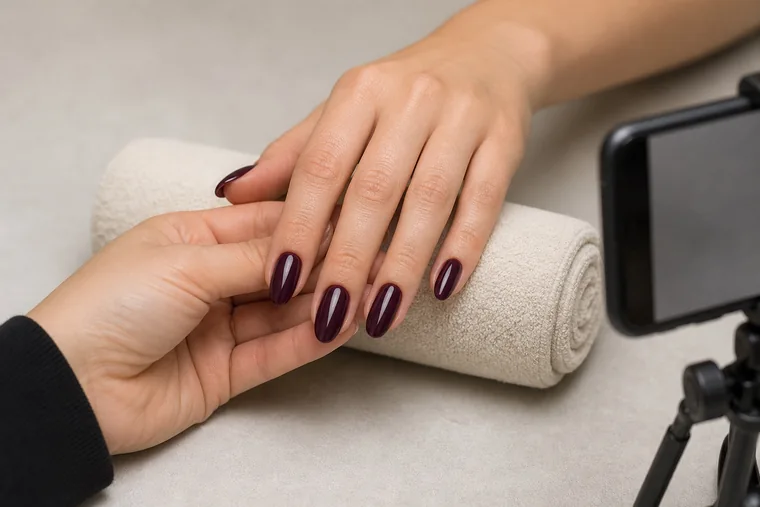
The five views that document a complete nail set
One attractive pose cannot prove every technical decision
Build a short repeatable shot list
Overview
Three-quarter complete set
Axis
Straight top and proximal margins
Structure
Side and free-edge views
Complete
Detail, thumb and second hand
Three-quarter complete view: overall shape, rhythm, colour and design hierarchy.
Straight top view: axis, proximal margins and symmetry across fingers.
Side view: apex position, upper arch, free-edge direction and bulk.
Free-edge view: thickness, lower arch and correspondence between shapes.
Detail plus thumb and second hand: technique, completeness and consistency beyond four selected fingers.
True nail colour: white balance, profiles and a neutral reference
Automatic white balance may change between frames as skin, background and polish fill different parts of the image. Lock a manual value or create a custom reference when possible. In editing, use the neutral card from the first frame to establish a starting point, then apply the same settings to the series captured under unchanged light.
A neutral reference corrects a global cast; it does not guarantee that every red, violet, fluorescent or chrome pigment fits the camera’s colour response. Compare the edited screen image with the physical nails under the capture light. Use a standard or neutral camera profile before adding a stylistic grade. If an effect changes with angle, deliver more than one frame or a short video rather than forcing one still to represent every colour.
Ethical editing: what to correct and what to leave visible
Reasonable global correction | Misleading alteration |
|---|---|
Exposure and white balance for the whole frame | Changing polish hue to match a trend |
Moderate crop, rotation and perspective correction | Narrowing nails or rebuilding sidewalls |
Removing a stray background speck | Deleting product on skin, lifting or a cut |
Consistent output sharpening and compression | Plastic skin, fake shine or invented detail |
Keep the original, a corrected master and channel-specific exports. If a technical defect matters to learning, preserve the unedited view in the practice record. Public images can be selected, but selection must not be represented as a complete set when only four convenient nails are shown. A truthful portfolio creates better client expectations and more useful feedback.
Portfolio images and social images serve different goals
A portfolio demonstrates current skills: preparation, shape, several systems, correction, infill, decoration and consistency. Social posts also need context and a reason to stop scrolling. Do not publish twenty almost identical hand poses. Build a sequence with complete result, technical detail, short process note and a relevant action, while keeping the same service and colour recognisable.
Capture one generous master frame, then export a vertical crop for a feed, a taller story or reel cover and a horizontal image for a website without cutting fingers or nail edges. Platform dimensions change, so verify them when exporting rather than building the original capture around a temporary interface. Keep the uncropped master outside the social platform.
Photograph French, Baby Boomer, cat-eye, chrome and stamping
French: move the highlight away from the smile line and combine a three-quarter view with a straight front view.
Baby Boomer: protect white highlights so overexposure does not simulate a smoother gradient than the real blend.
Cat-eye: capture the primary reflection and a short hand rotation that shows actual particle movement.
Chrome: use a large source that describes the mirror without turning the whole nail into a white patch.
Stamping or painting: add a sharp detail but keep the complete hand to prove scale and composition.
Matte finish: move light sideways to reveal uniformity rather than chasing a highlight that should not exist.
Use the guides to cat-eye and chrome nails and professional nail stamping to distinguish a technical finish problem from a photographic one. Lighting cannot correct incomplete chrome burnishing or distorted transferred lines; it can only make them easier to see.
Common nail-photography mistakes and corrections
Problem | Likely cause | Correction |
|---|---|---|
Nude looks yellow or grey | Mixed light or changing automatic white balance | Use one source and a neutral reference |
Nails look unusually wide | Close wide-angle lens and compressed pose | Step back, centre the hand and relax fingers |
Gloss has no detail | Clipped highlight or very small hard light | Diffuse, reposition and lower exposure |
Only one nail is sharp | Tilted sensor plane or very shallow depth | Align camera and increase depth of field |
Every client looks different | Unrecorded light, exposure, background and edit | Mark positions and use one shot list |
A ten-minute workflow after the nail service
Capture, check, preserve and export
A prepared station protects both quality and appointment time
Prepare
Result, consent, hand and light
Capture
Locked focus, exposure and shot list
Check
Sharpness, highlights and completeness
Deliver
Original, master and honest exports
Inspect and clean the result, confirm consent and place the wrist support.
Turn on one light, position reflector and capture the neutral reference.
Lock focus and exposure and capture the five technical views.
Check sharpness, highlights, thumb and second hand before the client leaves.
Import, preserve the original and create a globally corrected master.
Export, name by date and technique, and store files with the appropriate permission record.
Ten minutes is a target for a prepared repeatable setup, not a reason to omit consent, second-hand documentation or quality control. Add the actual capture and processing time to appointment planning. The nail appointment duration guide explains why photography and workstation reset occupy real business capacity.
Printable shot list for a consistent nail portfolio
Frame one: complete primary hand, neutral background, natural three-quarter pose.
Frame two: index or middle side profile with the structure aligned to camera.
Frame three: front view of free edges and shape correspondence.
Frame four: close detail of the most relevant technical or decorative element.
Frame five: thumb, second hand or comparable before-and-after view.
Files: original, corrected master, portfolio export, social export and linked consent status.
Four-session nail-photography practice plan
Light session: one tip, five source positions, compare reflection shape, shadow and clipped highlights.
Pose session: one hand, complete, front, side, free-edge, detail and thumb views without moving the light.
Colour session: nude, red, white and black with a grey reference and identical exposure.
Delivery session: select three honest images, make several crops and check that none changes technical meaning.
Practise on complete, readable work through the Gel Polish Course, the Professional Nail Art Course and the Gel Painting Nail Art Course. The Complete Nail Technician Course connects documentation with the wider service. English course records remain separate from Italian records.
Privacy, consent and photograph storage
A hand may identify a person through tattoos, scars, jewellery, location, date or its association with an appointment. Separate the technical need to document a service from permission to publish it for marketing. Explain channels, purpose and retention in plain language. Refusal of promotional use should not remove access to the booked nail service.
The guide to the nail client record and photography consent explains proportionate data collection and separate permissions. Do not auto-upload every original to a personal cloud or social account. Limit client names in filenames, remove unnecessary location metadata from public exports and set access and deletion rules.
Frequently asked questions about photographing nails
Do I need a professional camera to photograph nails?
No. A smartphone with a clean main lens, soft light, accurate focus and stable support can produce strong portfolio and social images. A camera offers more lens and file control, but it cannot repair hard lighting, distorted perspective or a tense hand pose. Build the repeatable scene before buying equipment.
Is a ring light or softbox better for nail photography?
Choose the source that creates a useful, repeatable reflection. A ring light is compact but produces a circular highlight that may cover details. A softbox, diffused panel or curtained window often creates a broader strip. Source size, diffusion, distance and position matter more than the product name.
What colour temperature should nail-photo lights use?
There is no universal Kelvin setting. Use one stable source, set or measure white balance under that light and verify with a neutral reference and the physical polish. Room reflections, diffuser and camera processing can shift the file even when a lamp displays a precise number.
How can I avoid white circles on glossy nails?
Enlarge or diffuse the source, move it away from the camera axis and rotate the relaxed hand slightly. The highlight should describe curvature without covering colour or art. Lowering exposure preserves detail only after the reflection shape is useful; it will not turn a tiny hard circle into a soft strip.
What is the best hand pose for nail photographs?
Use a supported wrist and relaxed fingers, then capture several technical views. A natural three-quarter pose shows the complete result, while top, side, free-edge, detail and thumb views reveal specific decisions. No single decorative pose proves shape, thickness, margins and consistency at once.
Why does nude nail colour change in photographs?
Mixed light, changing automatic white balance, vivid camera profiles and uncalibrated displays are common causes. Use one source, lock exposure and white balance, photograph a neutral reference and compare the edited file with the real product. Do not correct every screen difference by increasing saturation.
Can smartphone portrait mode be used for nail photos?
Only after inspecting every edge. Software depth masks may blur fingertips, sidewalls, hair or fine art and can create false outlines. For technical documentation, keep the background farther away and use normal focus. Portrait mode can be a secondary creative frame, not the only evidence of a set.
Is it acceptable to retouch the client’s skin?
Moderate global exposure and colour corrections are reasonable. Removing product on skin, rebuilding cuticle margins, narrowing nails, erasing lesions or plasticising texture changes the delivered work. Select another frame or subject if necessary. A professional image should show what the client could actually receive.
How should French nails be photographed?
Move the main reflection away from the smile line and capture both a three-quarter overview and a straight front view. The first shows harmony and the second shows symmetry, depth and side connections. Protect the white from overexposure so an uneven line is not hidden in a blank highlight.
How should cat-eye or chrome nails be photographed?
Use a large directional light, photograph more than one angle and add a short controlled hand rotation. One still cannot describe all magnetic movement or iridescent colour. Keep exposure and white balance stable, and do not increase contrast until the digital effect becomes stronger than the real finish.
Should both hands be photographed?
For professional documentation, include at least one readable view of the second hand and the thumb. A social post may lead with one attractive frame, but four selected fingers should not be presented as complete proof when the purpose is to demonstrate a consistent ten-nail service.
Which background is best for nail photographs?
Use a matte, uncluttered background that separates the nail colour without dominating it. White, grey, beige and black can all work when exposure and contrast remain controlled. Avoid strong patterns and reflective products that introduce colour casts, highlights or visual competition around the hand.
Should nail photographs be captured in RAW or JPEG?
RAW allows broader white-balance and highlight adjustment but requires development; JPEG is faster and contains the device’s processing decisions. Use the format you can handle consistently, preserve the original and create a separate master. Greater flexibility is not permission to alter nail shape or service quality.
How can a nail portfolio look consistent on social media?
Keep light, background, distance, pose family and global colour treatment stable. Vary framing when the technique needs it and avoid one filter that changes every polish differently. Capture a generous master and derive channel crops without cutting nail edges, fingertips or the technical context.
Do I need the client’s permission to publish nail photographs?
Define purpose, channels and retention before using identifiable images publicly or commercially, and keep the permission appropriate to the applicable rules. Hands can identify people through tattoos and context. Technical recordkeeping and marketing publication are separate purposes and should not be bundled automatically.
How many photographs should a nail portfolio contain?
Use a focused current selection rather than a repetitive archive. Show several relevant techniques, complete sets, side and free-edge evidence, honest details and a consistent capture standard. Replace an older image when a newer project demonstrates the same skill more clearly; keep the learning archive separate.
Method and editorial limits
This workflow is deliberately brand-neutral. It explains light size and position, perspective, capture controls, colour reference, ethical editing and file organisation without requiring one phone, camera or application. Device interfaces and platform dimensions change; verify the current export specification while preserving the technical master.
Substantively reviewed on 5 September 2026. No competitor salon, academy or equipment retailer is linked. Photography documents the visible cosmetic result and does not diagnose skin or nail conditions. When an image reveals pain, injury, inflammation or an unexplained nail change, prioritise the client’s welfare and appropriate referral over publication.