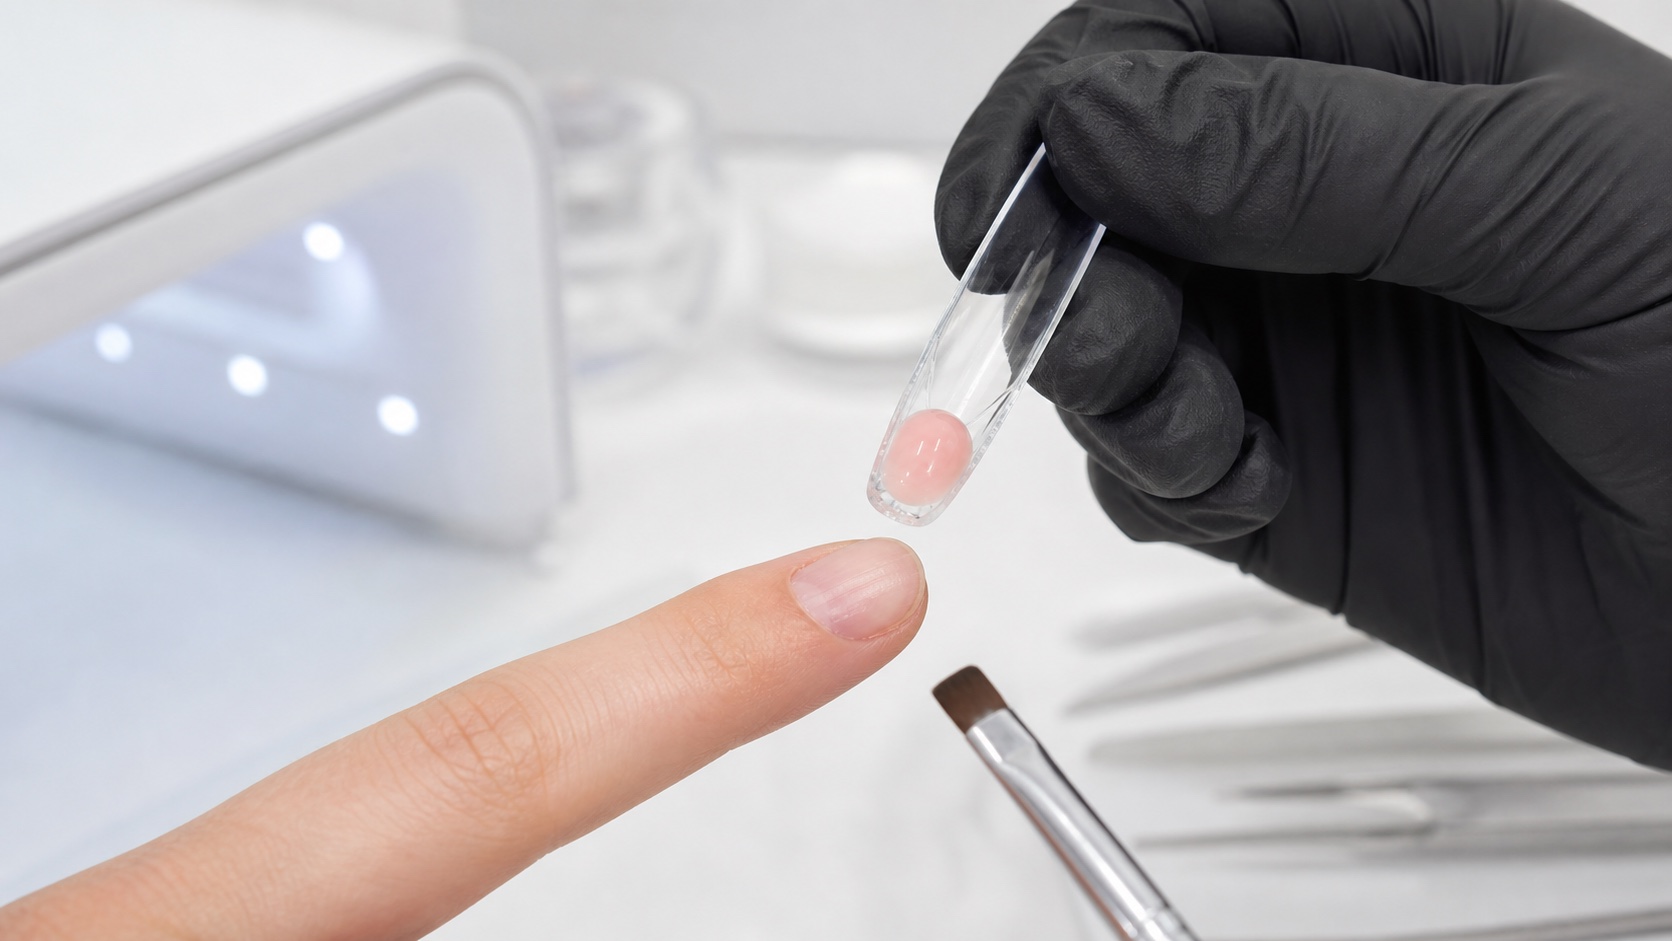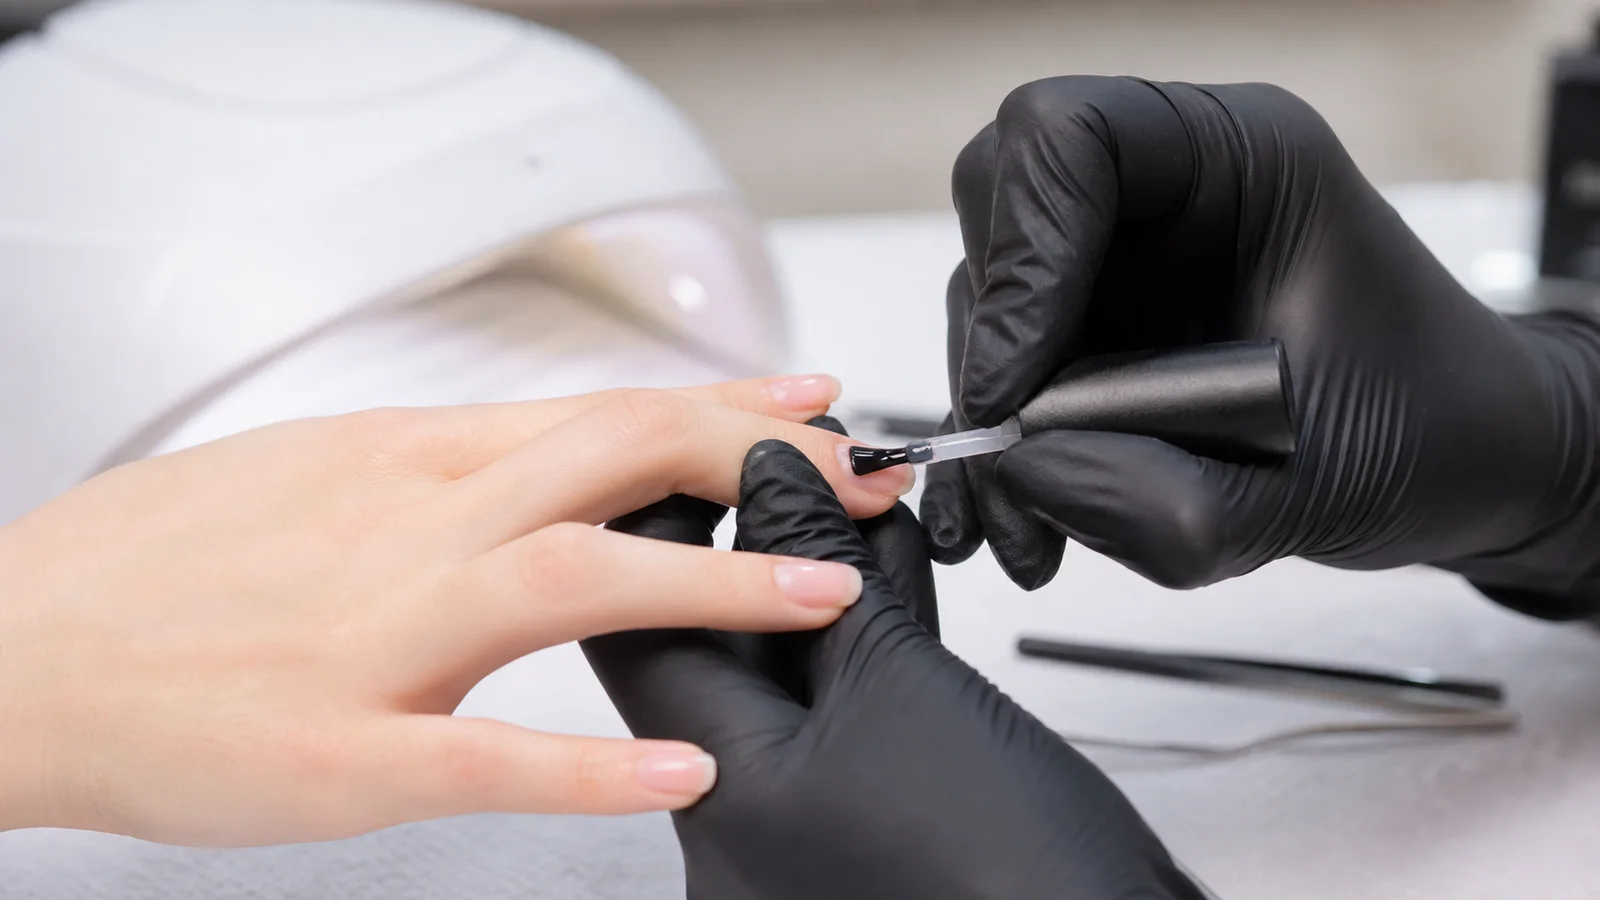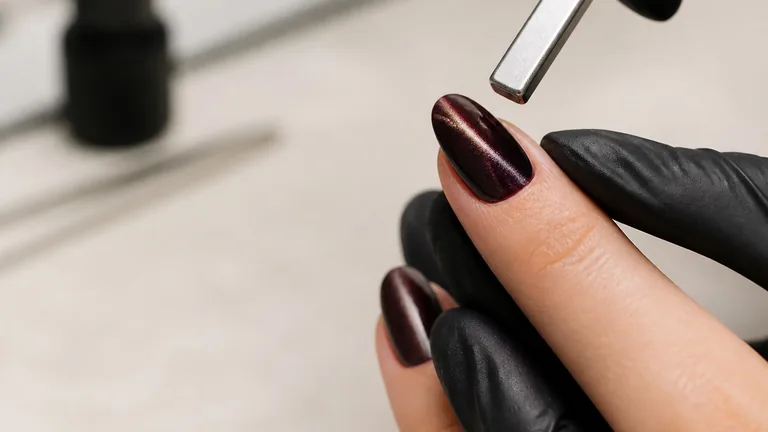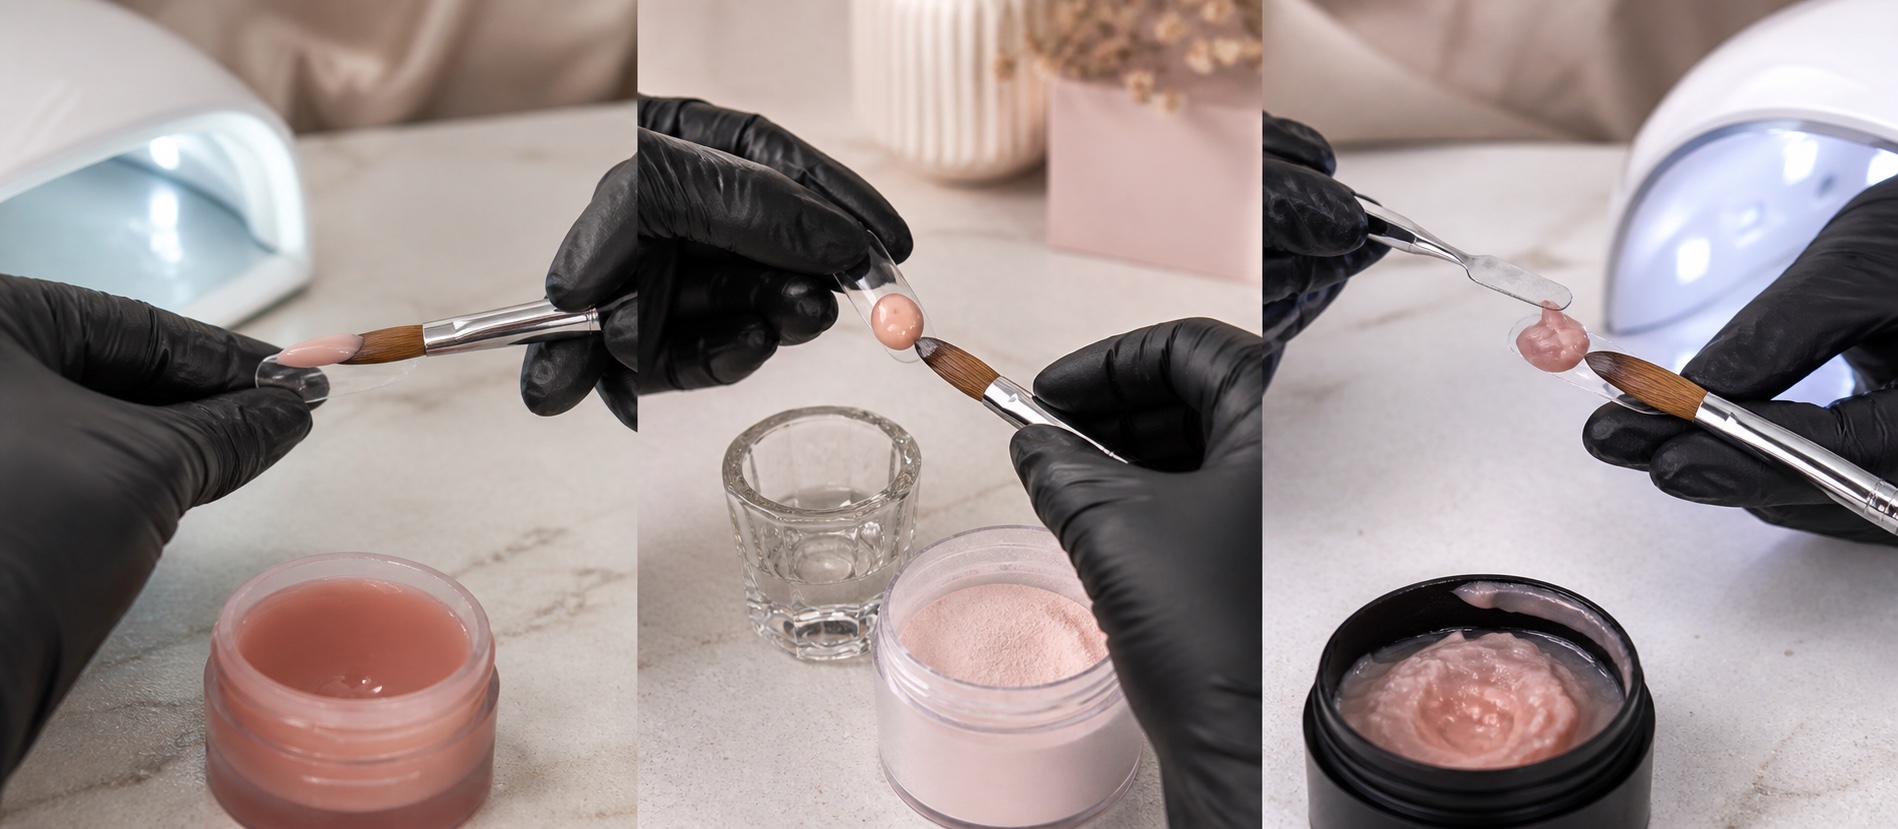
Acrygel is a dense, light-cured nail enhancement material designed to be portioned, positioned and shaped before curing. It can offer more placement time than acrylic and less self-levelling movement than many builder gels, but those comparisons do not make it a universal formula or an automatically easy technique. Preparation, compatible products, lamp, structure, filing, maintenance and removal still determine whether a service is controlled.
Short answer: place a measured portion of the manufacturer’s acrygel or polygel, use only the recommended brush liquid and method, distribute it without touching skin, build a balanced short structure, cure with the compatible lamp and time, then file and maintain according to that system. There is no universal amount of liquid, wattage or cure time.
This guide owns the complete acrygel technique. The gel, acrylic and acrygel comparison helps choose between material families; the dual-form guide goes deeper into mould fitting; and the troubleshooting cluster owns individual failure intents. Here the focus remains the full workflow from assessment to safe removal.
What acrygel, acryl gel and polygel mean
A category name does not define one formula
Read the product system before assuming behaviour
Stable
Usually remains where it is placed
Mouldable
Moved with brush and approved liquid
Light-cured
Requires compatible lamp and time
System-specific
No universal formula or removal
Acrygel, acryl gel, acrylic gel and hybrid gel are commercial terms used for dense light-cured enhancement products that combine handling characteristics associated with gel and acrylic systems. Polygel is a brand name that is also widely used informally as a category label. These names do not define one shared ingredient formula, hardness, flexibility, removal method or cure requirement. Read the actual product label, technical instructions and safety information.
The practical behaviour is distinctive: the portion generally remains where placed until it is moved with a brush and suitable liquid, then hardens only after light exposure. That creates time for placement but not permission to overwork it. Excess liquid can change handling, flood margins or interfere with the intended system; too little can make the brush drag and leave an uneven surface. The correct balance belongs to the product instructions and observed control, not a fixed number of drops.
When acrygel is useful—and what it does not solve
Acrygel can suit overlays, short salon extensions, corrections and dual-form work when the chosen product’s strength and removal method match the nail and intended length. Its stability may help a learner position product without racing against self-levelling or air setting. It can also reduce the need to control a runny gel, but it does not create apex, axis or lower arch by itself.
Dense material can hide excess volume. A result may look smooth from above while the side profile is flat, the free edge is thick or the underside contains an uncontrolled step. Acrygel is not inherently stronger than every gel or acrylic, and a thicker application is not automatically safer. Mechanical performance depends on product, complete cure, architecture, nail, length, daily use and maintenance.
Choose it because its working behaviour supports the service—not because social content calls it damage-free, hypoallergenic or impossible to lift. Any methacrylate-based nail system can be misapplied, and individual sensitisation is possible. ‘HEMA-free’ describes the absence of one named ingredient; it does not prove that a product contains no other acrylates or cannot cause a reaction.
Acrygel kit: the essentials for one coherent system
The selected acrygel, its required dehydrator, primer, base and top—not a random collection assumed to be compatible.
The lamp specified or validated by the manufacturer, with a clean interior and working light sources.
A clean spatula and an appropriate flat or oval brush, plus the recommended modelling or slip liquid.
Files and, only when trained, e-file bits with known grit, purpose and processing method.
Forms or dual forms matched to the method, lint-free wipes, suitable cleanser and single-use supplies.
Good task lighting, dust control or local extraction, closed waste and a cleanable hand support.
A kit is not improved by containing more brands. Begin with the documented system taught in the course and add alternatives only when you can compare their instructions. The beginner nail-kit guide separates essential equipment from optional purchases. If you cannot trace a product, find its cure information or identify the responsible manufacturer, do not improvise with it.
Assessment and stop criteria before application
Ask about previous reactions, current nail products, service history, pain, trauma and the intended length and use. Observe the nail and surrounding skin without diagnosing. Do not cover painful, inflamed, broken or suspicious tissue; unexplained separation, discolouration or a reaction requires a stop and, when appropriate, referral to a qualified healthcare professional.
Previous lifting is information, not an instruction to file more aggressively or add primer. Locate it by zone and timing, review wear and product history, and decide whether a service is suitable. If a client reports itching, swelling, blistering or a past allergy after gel or acrylic, do not test another uncured product on the skin. Cosmetic professionals do not diagnose allergy or use patch testing to declare a nail system safe.
Prepare the natural nail without creating damage
Follow the product system’s preparation: hygiene, length and shape, cuticle-area work within scope, removal of non-living surface tissue, controlled surface preparation, dust removal and any dehydrator or primer required. More abrasion does not equal more adhesion. Grooves, heat, soreness and progressive thinning are evidence of excessive work.
Use the detailed nail-prep guide and the guide to acid, acid-free primer, dehydrator and bonder to distinguish mechanical cleaning from chemical adhesion steps. Do not add every preparator ‘for insurance’; unnecessary layers may create incompatibility rather than prevent lifting.
Overlay, sculpting form or dual form: three methods
Choose the support by anatomy and learning objective
No application method creates structure automatically
Overlay
Product distribution without new length
Sculpting form
Custom support, axis and lower line
Dual form
Size, curve, seating and underside
Evidence
Top, side, front and underneath
Method | What it adds | Main control |
|---|---|---|
Natural-nail overlay | Strength or architecture without creating new length. | Thin perimeter, balanced volume and appropriate free-edge thickness. |
Sculpting form | A support on which length and lower structure are built. | Fit, central axis, upper/lower alignment and clean connection. |
Dual form | A reusable mould that transfers an upper surface and length. | Width, curvature, quantity, seating, underside and bubble control. |
An overlay is often the clearest route for learning product distribution. A sculpting form exposes how the extension is designed and supports custom fitting. A dual form can accelerate the upper finish but does not remove the need to judge structure. Choose the method by learning objective and anatomy, not by a promise that one is always faster.
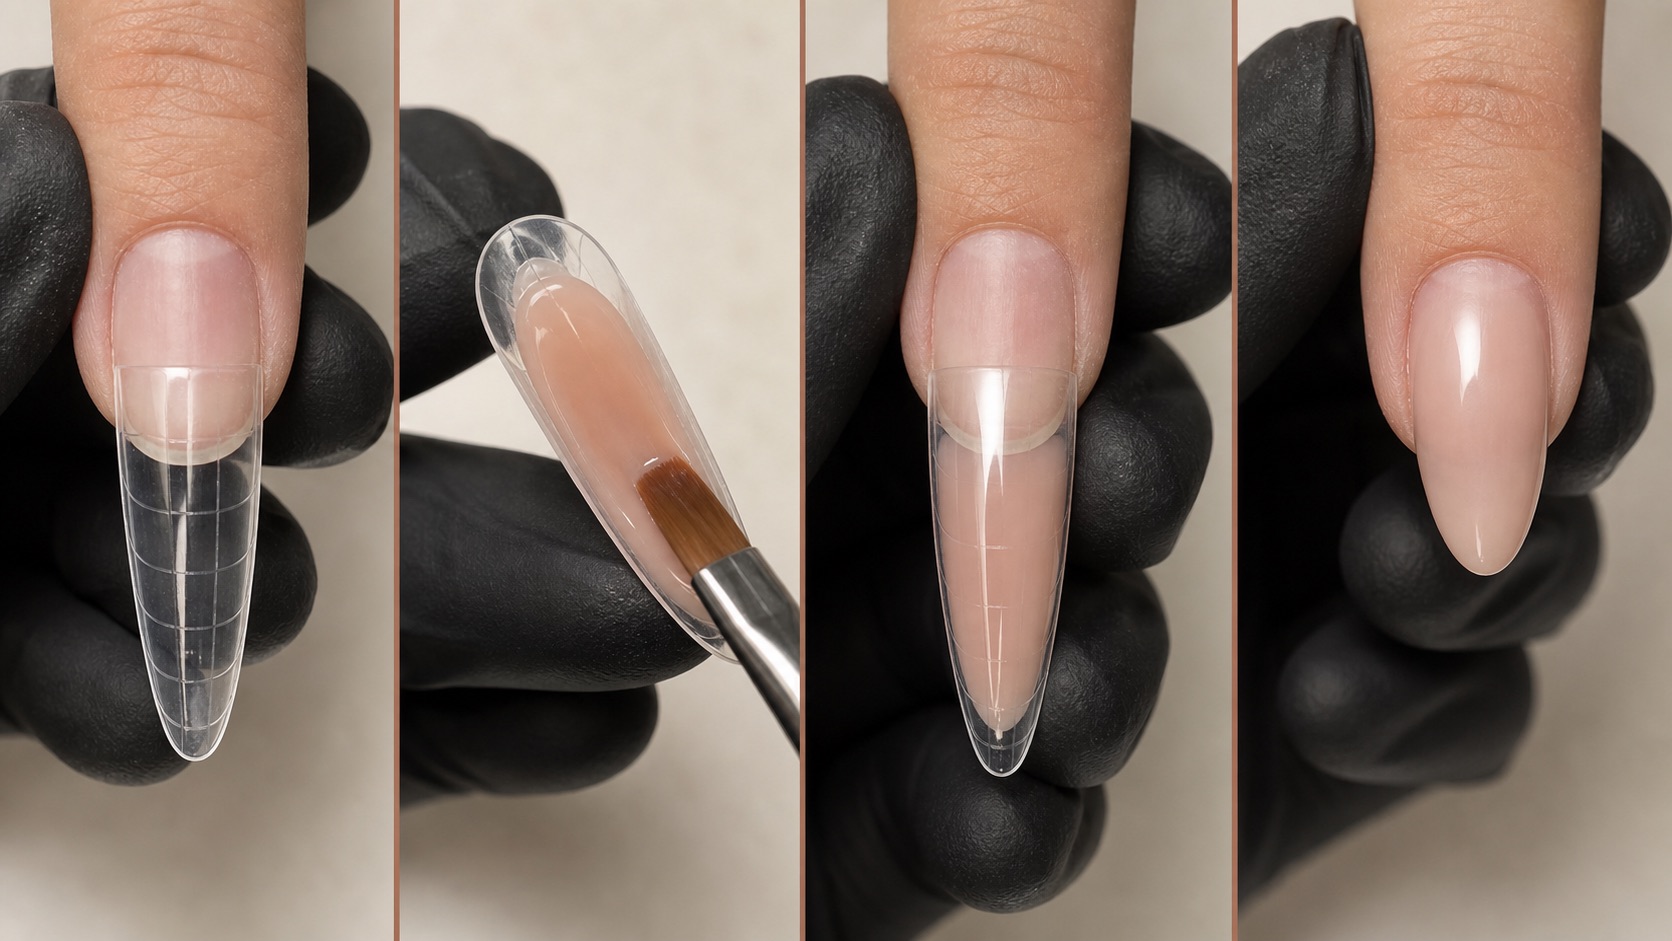
Acrygel application step by step
Complete assessment, hygiene and preparation, then apply only the adhesion layers required by the selected system.
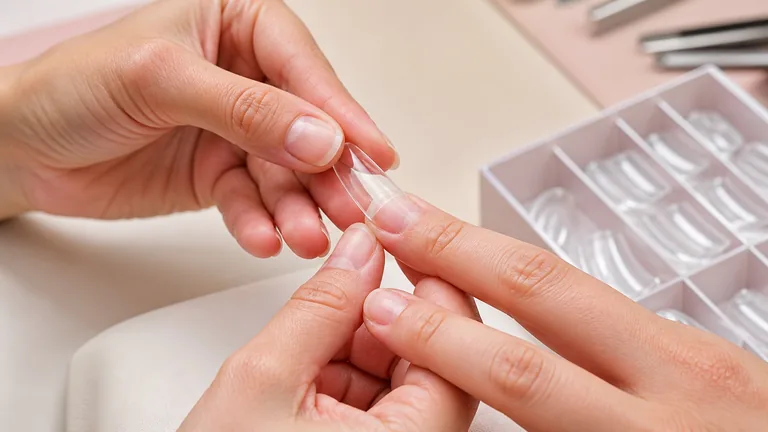
Fit the sculpting or dual form before opening product. Check width, sidewalls, axis and underside from several views.
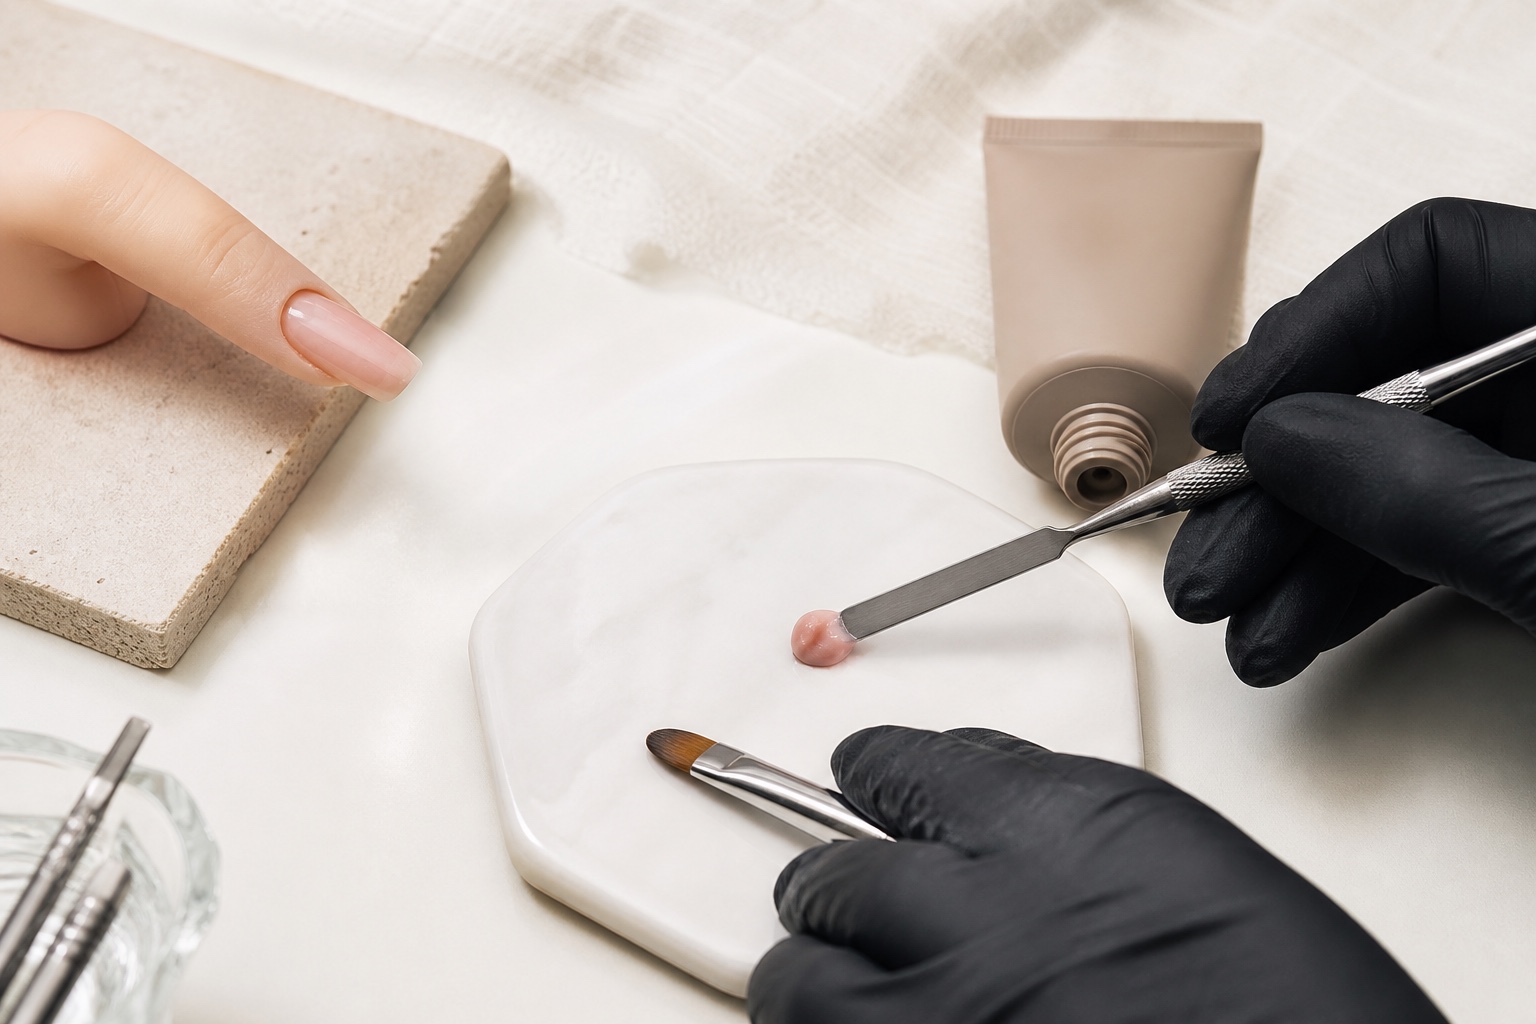
Remove a measured portion with a clean spatula and place it in the zone from which you can distribute it without flooding the perimeter.
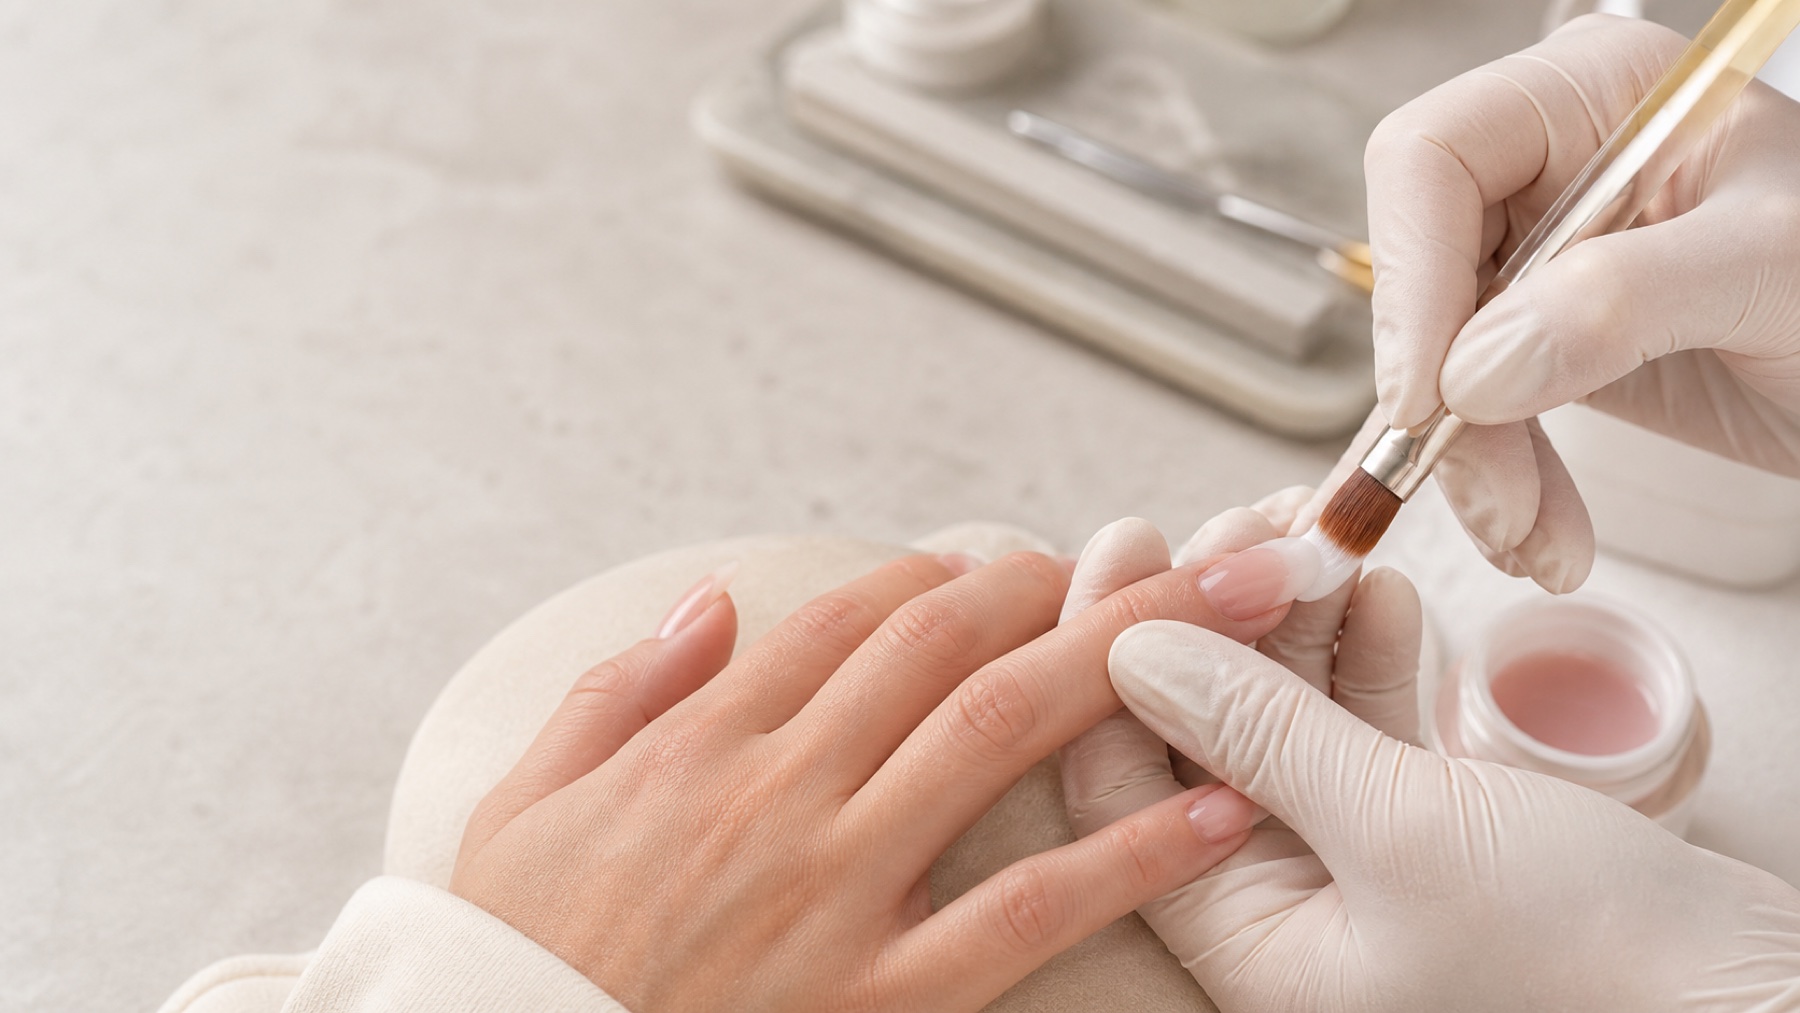
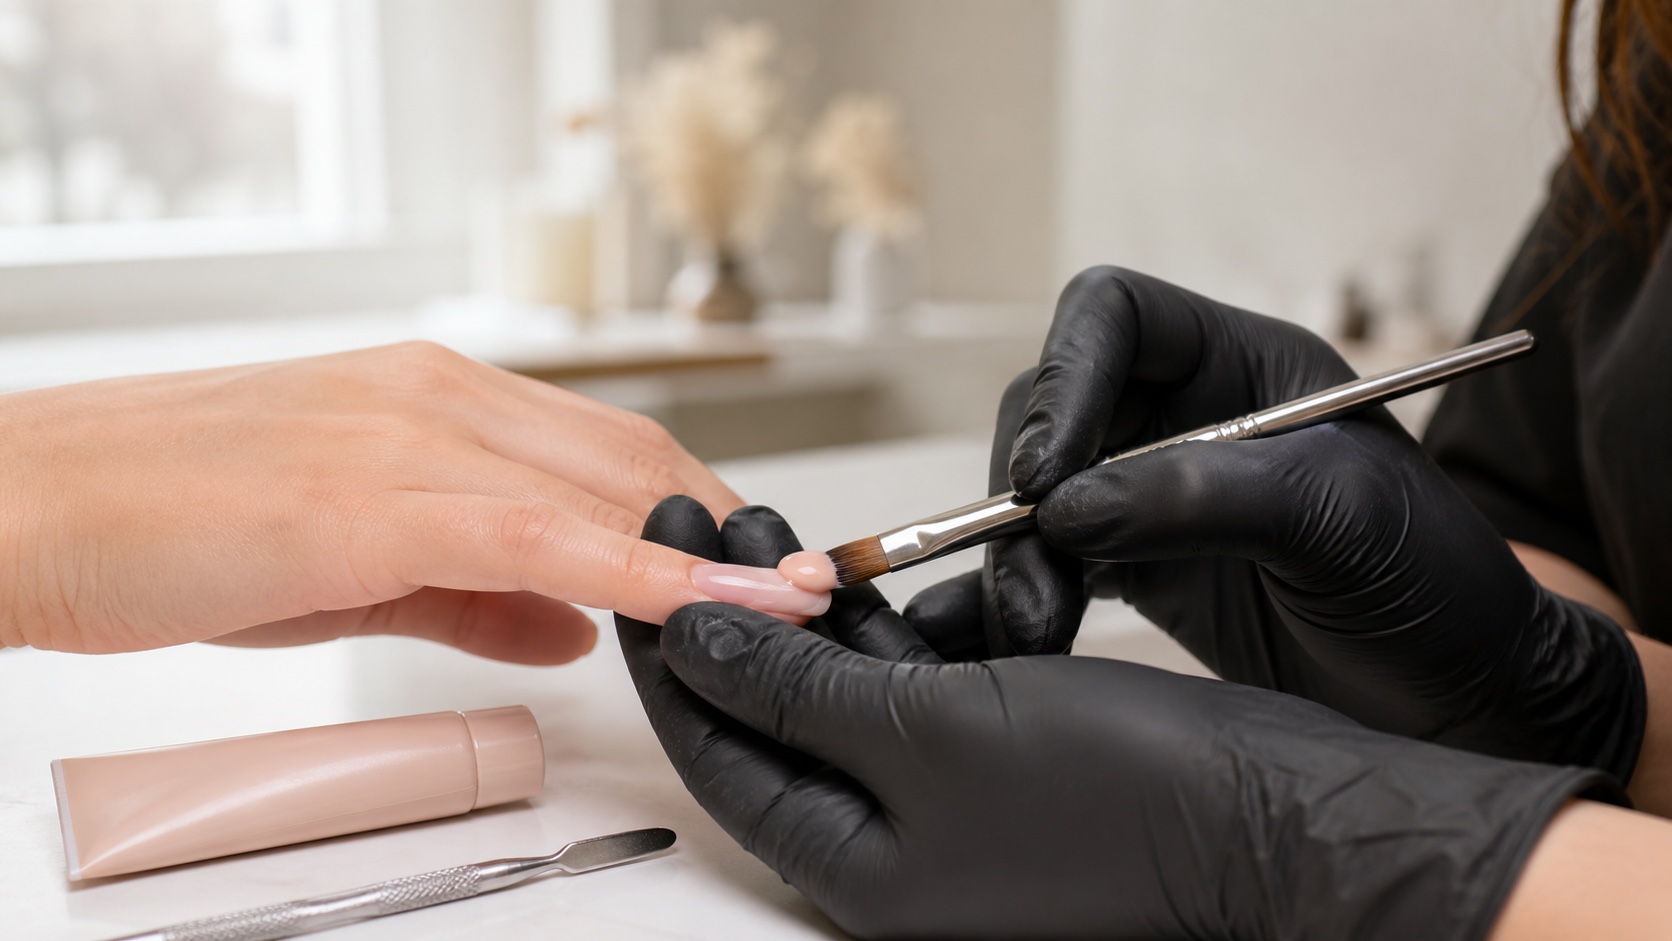
Moisten—not saturate—the brush using the manufacturer’s liquid and press or guide the material in short controlled movements.
Refine perimeter, stress area, sidewalls, free edge and underside. Remove any skin contamination before curing and do not continue on affected skin.
Position the hand in the compatible lamp and cure for the exact time and orientation required by the system. A flash cure is not necessarily the final cure.
Remove the support at the stage permitted by the method, inspect from top, side and front, then file only what the planned shape requires.
Remove dust safely, apply colour or top according to the system, complete the final cure and document advice, maintenance and any product used.
How much slip liquid should be on the brush?
Enough to prevent sticking and allow the product to move as intended, but not enough to flood the surface or leave liquid around the margins. Dip only as directed, wipe excess against the container or pad used by the system, and return to the product with a controlled brush. If it skates, spreads or becomes difficult to contain, the brush may be too wet; if it drags and pulls material away, it may be too dry.
Do not replace a named modelling liquid with alcohol, cleanser, acetone or monomer simply because another brand or video does so. Solvent composition and product compatibility vary. If the manufacturer permits isopropyl alcohol, follow its specified concentration and method. Otherwise use the intended liquid. More fluid is not a cure for poor portioning or an unsuitable brush.
Acrygel architecture: perimeter, apex, sidewalls and free edge
Strength comes from distribution, not maximum thickness
Inspect every structural zone before filing
Perimeter
Thin, clean and off skin
Stress area
Volume matched to length and use
Sidewalls
Support without flare or over-file
Free edge
Controlled thickness and underside
Keep the cuticle-area perimeter thin, clean and continuous. Build volume where the nail’s length, shape and stress require it, not as a generic central bump. Sidewalls should support the planned shape without flaring or being filed away. The free edge must be sufficient for material and use but not an uncontrolled block.
Turn the finger and inspect the light line before curing. From above, check axis and symmetry; from the side, apex and upper arch; from the front, C-curve and free-edge thickness; from underneath, the connection and any excess. The guide to nail architecture and the stress area explains why strength comes from distribution rather than maximum thickness.
Curing: no universal wattage or number of seconds
Lamp wattage alone cannot establish cure. Emission spectrum, intensity at the nail, distance, product photoinitiators, opacity, layer thickness, lamp condition and hand position all matter. Use the lamp and exposure specified or validated by the manufacturer. Do not reduce final cure time because the surface feels hard or increase time by guesswork to compensate for an incompatible lamp or excessive bulk.
A dark colour, thick apex, deeply curved dual form or thumb outside the optimal zone may alter light delivery. Follow system instructions for staged placement, thumb curing and any flash cure. The gel-curing guide explains why appearance and hardness are not reliable proof of complete cure.
Filing, infill and removal
After cure, inspect before filing. Refine in zones with the file or trained e-file bit appropriate to the material. Do not chase a glass-smooth surface by thinning stress areas or the natural nail. The guide to professional e-file control explains bit, speed, direction and stop decisions. Dust control, ventilation, eye protection and tool processing belong to the technique, not to optional salon polish.
At infill, assess growth, lifting, cracks, balance and the condition underneath. Remove all unstable material without opening pockets, preserve sound product when the system allows, prepare exposed regrowth and rebuild the shifted structure. The infill and rebalance guide helps decide when maintenance is appropriate and when full removal is more controlled.
Some acrygels are filed off; some systems may permit partial soaking or a specific remover. Do not assume the method from the category name. Follow the exact instructions and leave a controlled buffer where required rather than drilling into the natural nail. Never pry, peel or force material away. See the full gel, acrylic, acrygel and gel-polish removal guide for method selection and stop criteria.
Common acrygel problems and the first checks
Diagnose by zone, timing and process stage
Do not answer every failure with more primer or thickness
Locate
Zone, timing and type of failure
Review
Preparation, product and instructions
Test
One correction under control
Stop
Pain, inflammation or reaction
Problem | Check first | Do not assume |
|---|---|---|
Lifting at perimeter | Skin contact, residual tissue, preparation, incompatible layers and margin thickness. | That more primer or more filing is always the answer. |
Bubbles or voids | Portion folding, dual-form seating, brush movement and underside visibility. | That a top coat can seal a structural pocket. |
Breaking at stress area | Length, apex, sidewalls, free edge, cure and client use. | That the material is simply too soft and must be thicker everywhere. |
Rough or dragged surface | Brush condition, liquid amount, portion size and repeated overworking. | That heavy filing is the only route to a smooth finish. |
Heat or discomfort | Layer thickness, nail condition, lamp instructions and whether work should stop. | That pain is proof of effective curing. |
Record the zone, timing and service stage before changing products. The nail-lifting diagnostic guide separates cuticle, sidewall, free-edge and central failures. A problem that repeats across clients and systems requires process review; a reaction or painful condition requires stopping, not troubleshooting through another application.
Skin contact, dust, ventilation and allergy risk
Keep uncured product off skin and remove contamination before curing. Do not use fingers to shape acrygel. The FDA notes that residual reactive monomers in artificial-nail systems can cause redness, swelling and pain in people sensitised to methacrylates, and advises following labelled directions and ensuring good ventilation. In the EU, HEMA and Di-HEMA TMHDC nail products are restricted to professional use and carry an allergy warning under Regulation 2020/1682.
Filing creates dust and product work may create vapour exposure. Use source capture or suitable local extraction, keep containers closed, clean surfaces and follow the safety data and local workplace rules. NIOSH identifies both chemical exposure and awkward, repetitive work among nail-technician hazards. Gloves or masks must be selected for the actual risk; a generic face covering is not a substitute for ventilation or dust control.
A four-stage acrygel practice plan
Portion and surface: create matching portions and distribute them across tips with one product, brush and liquid routine.
Short overlays: build thin perimeters, controlled stress area and consistent free-edge thickness from three views.
One extension method: repeat either short sculpting forms or dual forms before switching between both.
Complete cycle: application, finish, wear observation, infill and controlled removal with documentation and feedback.
Use the post-course practice guide to score whole series rather than selecting one ideal tip. If you are new to all nail techniques, confirm the sequence in the beginner course guide before adding acrygel, dual forms and e-file work together.
Frequently asked questions
Are acrygel and polygel the same thing?
Polygel is a brand name often used generically, while acrygel and hybrid gel are broader commercial terms. Formulas and instructions vary, so the label and technical system matter more than the category name.
Is acrygel easier than builder gel?
Its stability may make placement easier for some learners, while gel may level more readily. Acrygel adds portioning and modelling-liquid control. Neither is universally easier; training and system fit matter.
Does acrygel need a base coat?
Some systems require a base and others specify a different adhesion sequence. Follow the exact manufacturer instructions rather than adding or omitting layers by category habit.
Can I use alcohol instead of slip solution?
Only when the manufacturer permits the exact type and concentration. Otherwise use the recommended liquid. Random substitutes can change handling, introduce contamination or conflict with the system.
Which lamp cures acrygel?
The lamp specified or validated for that product. Wattage alone is insufficient because spectrum, intensity, layer thickness, opacity, position and exposure time all affect curing.
Can acrygel be used as a natural-nail overlay?
Yes when the chosen product supports that use. Keep the perimeter controlled and distribute material for the nail, length and service rather than applying extension thickness everywhere.
Are sculpting forms or dual forms better for acrygel?
Neither is universally better. Sculpting forms reveal lower structure and custom fitting; dual forms transfer an upper surface but require precise sizing, seating, quantity and underside checks.
Why does acrygel lift?
Common possibilities include skin contact, residual tissue, preparation, incompatible layers, thick margins, incomplete cure, stress and unsuitable length. Diagnose by zone and timing before changing products.
How long do acrygel nails last?
There is no fixed universal duration. Growth, nail, architecture, length, use, system and maintenance affect wear. A service should be reviewed and rebalanced on an appropriate schedule before structure becomes unstable.
Does acrygel soak off in acetone?
Some products may soften or partially soak; others are file-off. Follow the exact product instructions and never force, peel or scrape material from the natural nail.
Does acrygel damage natural nails?
The category name cannot guarantee no damage. Excessive preparation, uncontrolled filing, skin contact, incomplete cure, poor structure and forced removal can all create harm or risk.
How can I learn acrygel without wasting product?
Practise measured portions and short overlays on suitable supports, keep conditions constant and correct one variable per series. Move to extensions only after surface and structure are repeatable.
Official sources and editorial boundary
Product safety context: US FDA, Nail Care Products. EU HEMA and Di-HEMA TMHDC restrictions and warnings: Commission Regulation (EU) 2020/1682. Workplace exposure and ergonomics: CDC/NIOSH, Nail Technicians. Follow current local law and the instructions for the exact products used.
Editorial boundary: this guide does not diagnose nail or skin conditions, establish that a product is allergy-safe, replace hands-on supervision or certify competence. It does not authorise work where a qualification or licence is required. Stop for pain, inflammation, broken skin, reaction or an unsuitable nail and refer within professional scope.
To study a complete programme, compare the current English-market nail courses by level, product system, demonstrations, practice and feedback. A course should make compatibility and curing instructions visible rather than promising one method for every acrygel.