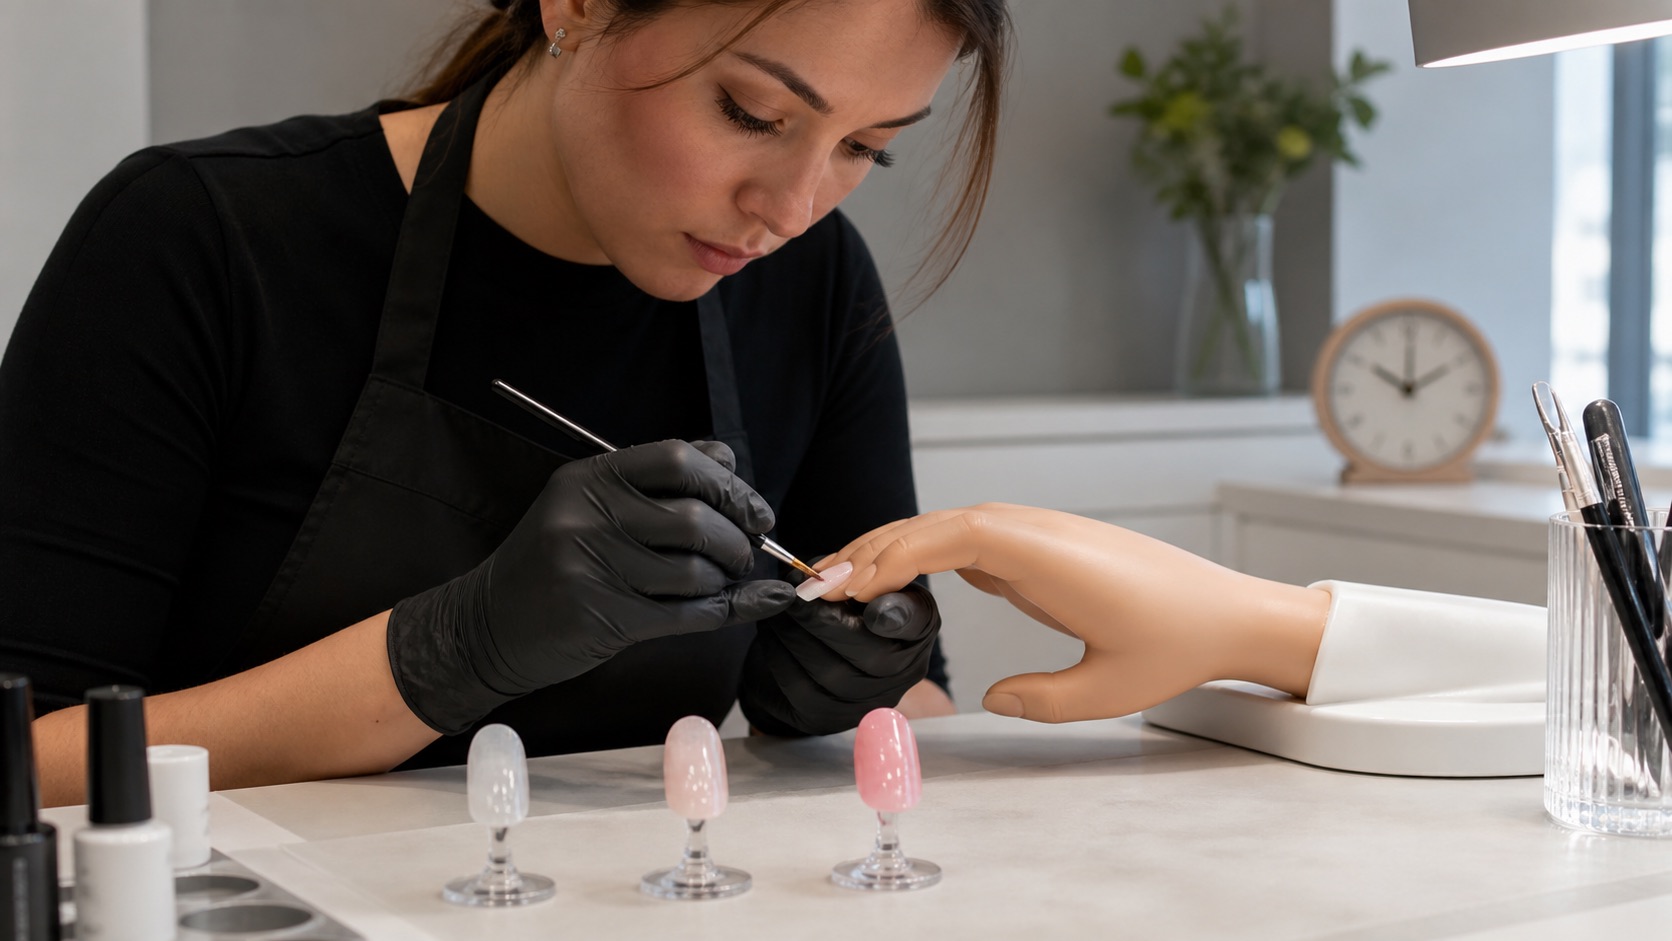
How long does it take to learn nail extensions? Watching every lesson may take a few days; turning preparation, product control, architecture, curing, filing and removal into a repeatable service takes much longer. Progress depends on the quality and spacing of practice, the material being learned, specific feedback and whether you inspect retention after the appointment—not simply on hours logged.
A realistic planning answer: with two to four focused sessions a week, a beginner can understand one system and complete early guided exercises over several weeks. Building consistent basic sets usually needs sustained practice over multiple months, documented wear results and tutor correction. Professional readiness has no universal hour threshold and must also meet the qualification, insurance and business rules where you work.
The useful question is not “When will I be fast?” but “Which outcomes can I repeat safely without prompts?” Start with one coherent system and the beginner nail-kit guide. Compare the current BeautyLearn online nail courses by level and curriculum, then use this roadmap to turn lessons into observed practice.
What “learning nail extensions” actually means
Completion is not the same as competence
Progress moves from explanation to safe autonomy
Understand
Explain the complete sequence
Guided
Execute with a checklist
Repeatable
Transfer quality across nails
Autonomous
Adapt, document and stop safely
A first attractive practice tip and an independently safe service are different achievements. Separate the learning process into four levels so that a result on your easiest hand is not mistaken for stable competence.
Understanding: you can explain assessment, preparation, adhesion, structure, curing, filing, maintenance and removal in the correct order.
Guided execution: you complete a training tip or set with a demonstration or checklist and recognise the main visible errors.
Repeatability: you achieve controlled margins, axis, apex, thickness and finish across different nails—not only one familiar shape.
Professional autonomy: you adapt within the system, document wear, remove safely, manage hygiene and exposure, and know when to postpone or refer.
Speed is a late outcome. A fast set with uncured product, flooded skin, a weak stress area or aggressive removal demonstrates urgency, not mastery.
Use skill milestones instead of a fixed deadline
Stage | Primary goal | Evidence before progressing |
|---|---|---|
Orientation | Anatomy, safety, setup and product behaviour | Can explain the protocol and stop criteria |
Component practice | Forms or tips, product quantity, apex and file strokes | Several comparable samples from front, side and top |
Guided full sets | Complete sequence without skipped safety steps | Tutor feedback and recorded corrections |
Consolidation | Different morphologies, maintenance and removal | Repeatable quality plus wear and removal evidence |
Calendar time still helps planning, but it is a container rather than proof. A learner who completes three short, deliberate sessions with immediate correction may progress more than one who repeats a full set for six hours while reinforcing the same error. Illness, caring duties, prior hand skills and access to suitable models also change the pace.
A realistic eight-week nail-practice roadmap
Plan by evidence, not calendar alone
Each phase earns the next one
Weeks 1–2
Safety, prep and product control
Weeks 3–4
Fit, axis and architecture
Weeks 5–6
Filing and a guided full set
Weeks 7–8
Variation, wear and correction
This roadmap assumes two to four sessions a week, usually 60 to 120 minutes with breaks. It is an editorial framework, not a qualification standard. Repeat a week when its evidence is missing; do not advance because the date changed.
Week 1 — Learn nail-unit anatomy, visible stop signs, product labels, workstation hygiene and the sequence of one system.
Week 2 — Practise safe preparation, brush pressure, product quantity and a clean margin on tips or a training hand.
Week 3 — Fit the chosen paper form, tip or dual form; check axis from front, side and top before adding length.
Week 4 — Build apex, stress area, sidewalls and free edge in short, simple shapes. Measure consistency rather than speed.
Week 5 — Learn a fixed hand-filing sequence and compare thickness and symmetry from several views.
Week 6 — Complete one guided full set, photograph each view and receive correction tied to specific criteria.
Week 7 — Complete a second set on a different suitable morphology and inspect the previous work for lifting, cracks and wear.
Week 8 — Repeat the full protocol, compare the two sets and write the next three component exercises from the evidence.
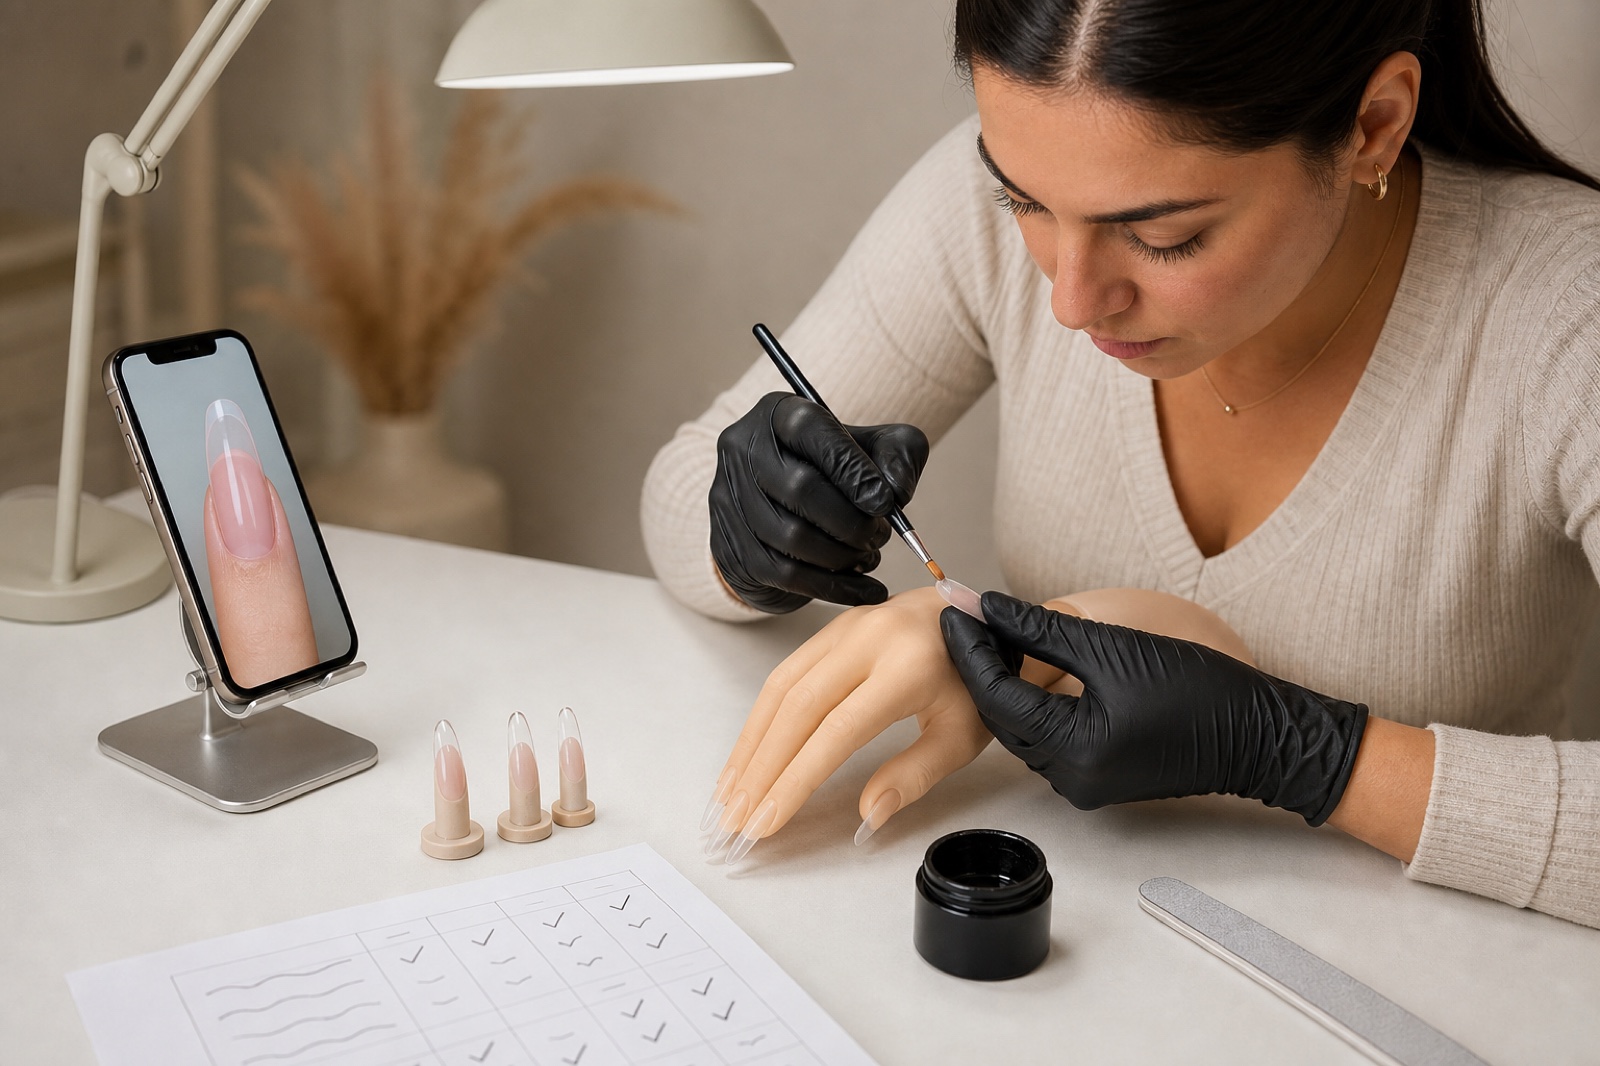
Use the nail-architecture guide for Week 4, the hand-filing guide for Week 5 and the lifting guide when wear results arrive. These pages own the detailed techniques; this guide owns the learning sequence.
Deliberate practice: repeat a question, not just a set
One variable makes feedback actionable
Inspect, correct, then repeat
Choose one measurable target
Perform comparable attempts
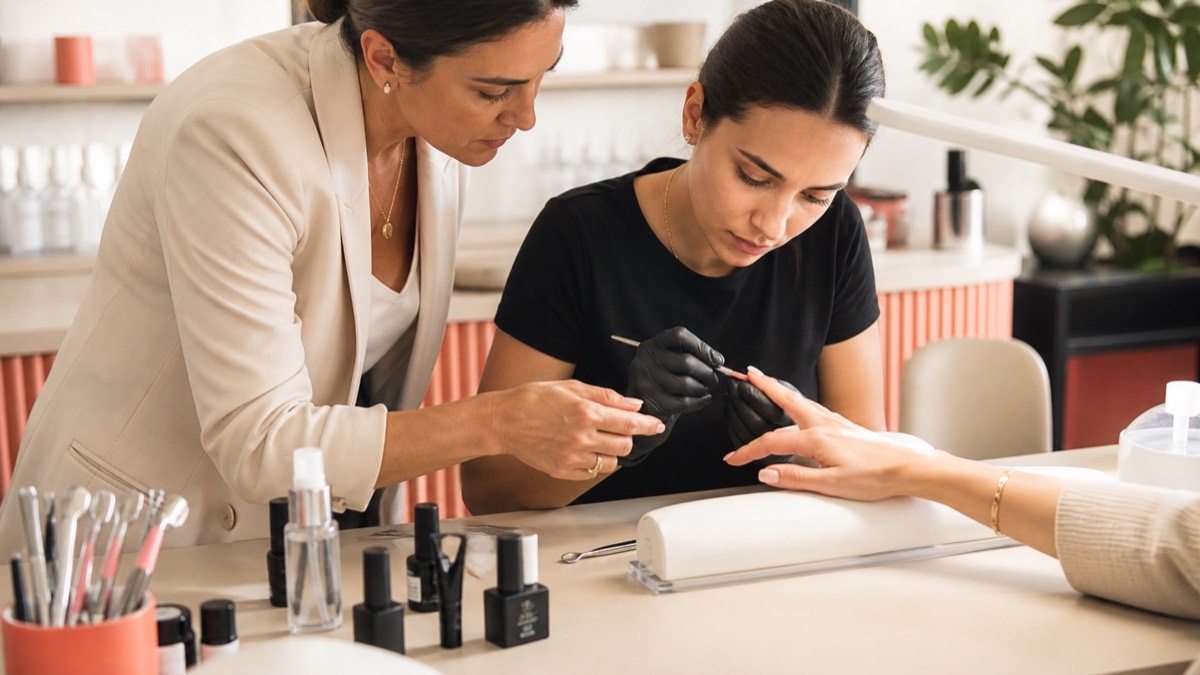
Obtain specific feedback
Repeat the corrected movement
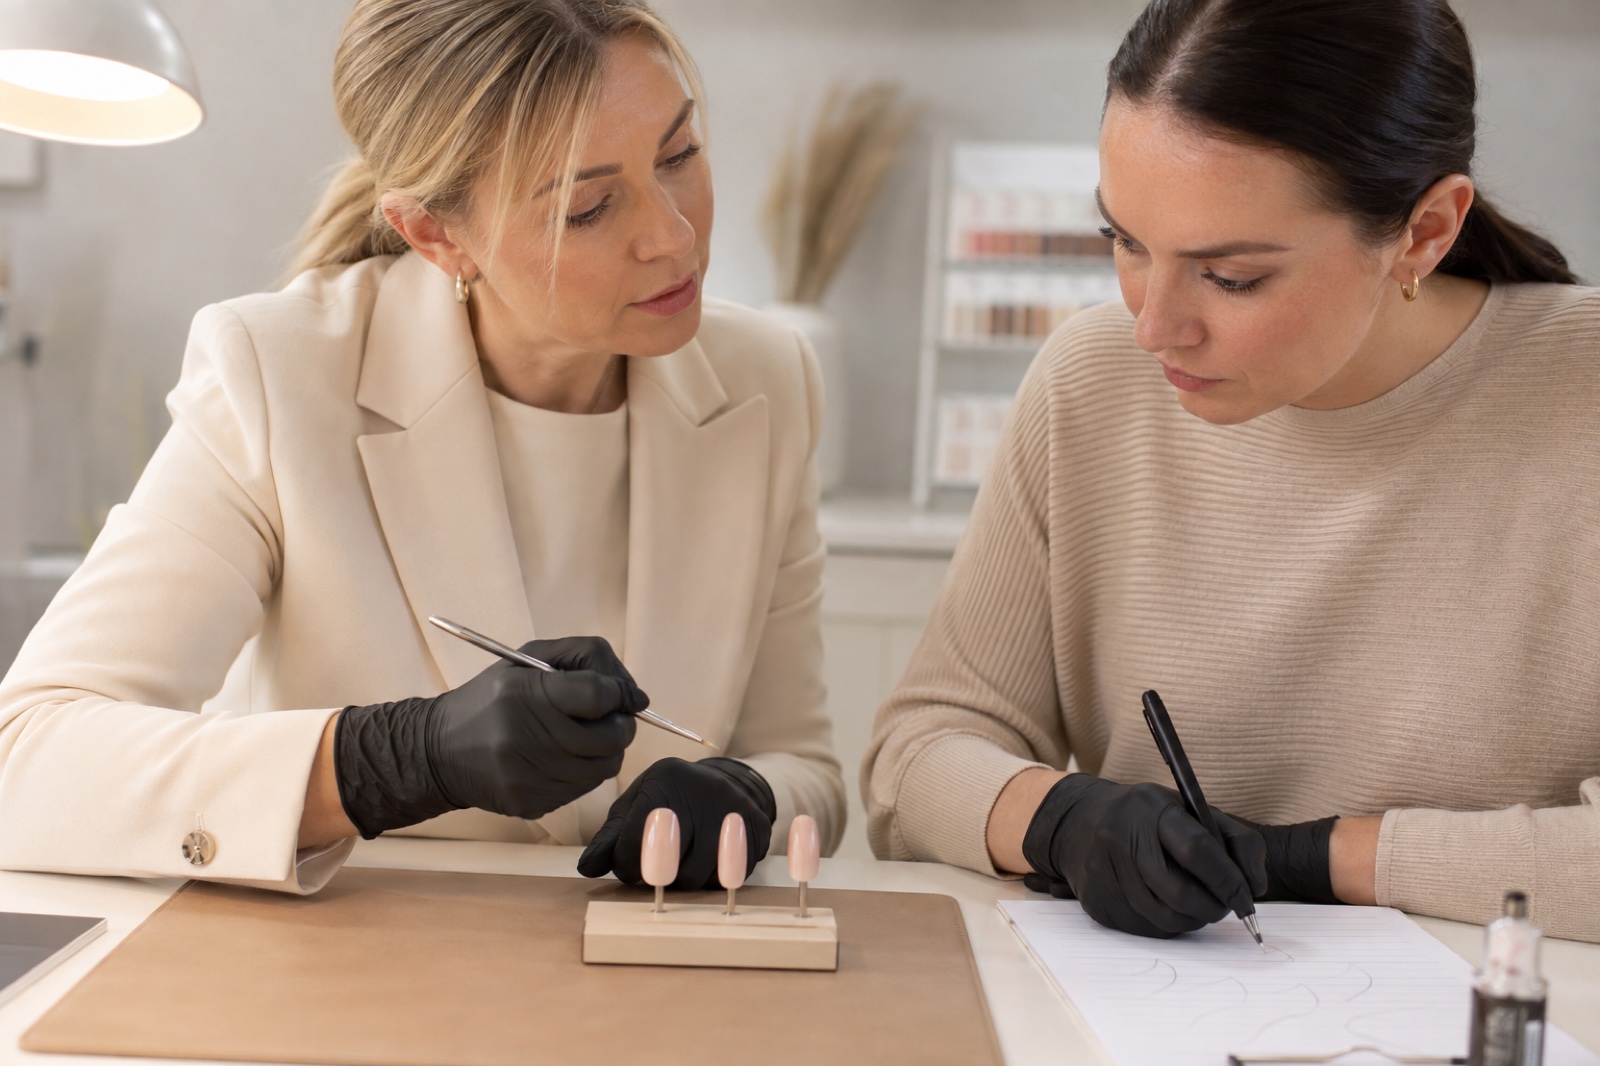
A useful practice session has one clear outcome: reduce free-edge bulk, centre the apex, fit sidewalls or complete a filing sequence without touching the plate. Define the criterion, make several comparable attempts, inspect them under the same light, obtain information-rich feedback and repeat the corrected movement. Praise alone cannot tell you what to change.
A systematic review indexed by PubMed found evidence that feedback can improve motor-skill learning in the populations and tasks studied. Nail extensions were not studied, so it cannot supply a salon-training hour target. It supports the learning principle: specific information about performance helps the next attempt more than passive viewing.
Weak prompt | Useful feedback question | Next exercise |
|---|---|---|
“Does it look good?” | “Is the axis centred from the client view?” | Fit and photograph five forms before product |
“Why is it bulky?” | “Which zone exceeds the target thickness?” | Build three side profiles with measured product |
“Why did it lift?” | “Where and when did separation begin?” | Change one relevant variable and record wear |
How many full sets should a learner complete?
There is no official number that makes every learner competent. Count comparable evidence rather than sets. Ten repetitions of the same easy tip do not show transfer to different nail widths, growth directions, lengths or maintenance needs. Conversely, moving to a difficult model before the base gesture is controlled makes the feedback noisy.
Photograph front, side and top views in similar light and at similar scale.
Record system, lamp, cure schedule, form or tip, duration, difficulty and correction.
Inspect wear: timing and location of lifting, cracks or breakage are learning data.
Document maintenance or removal, including the condition of the natural plate afterwards.
Seek specific tutor feedback before repeating the same uncontrolled result.
Do gel, acrylic and acrygel take the same time to learn?
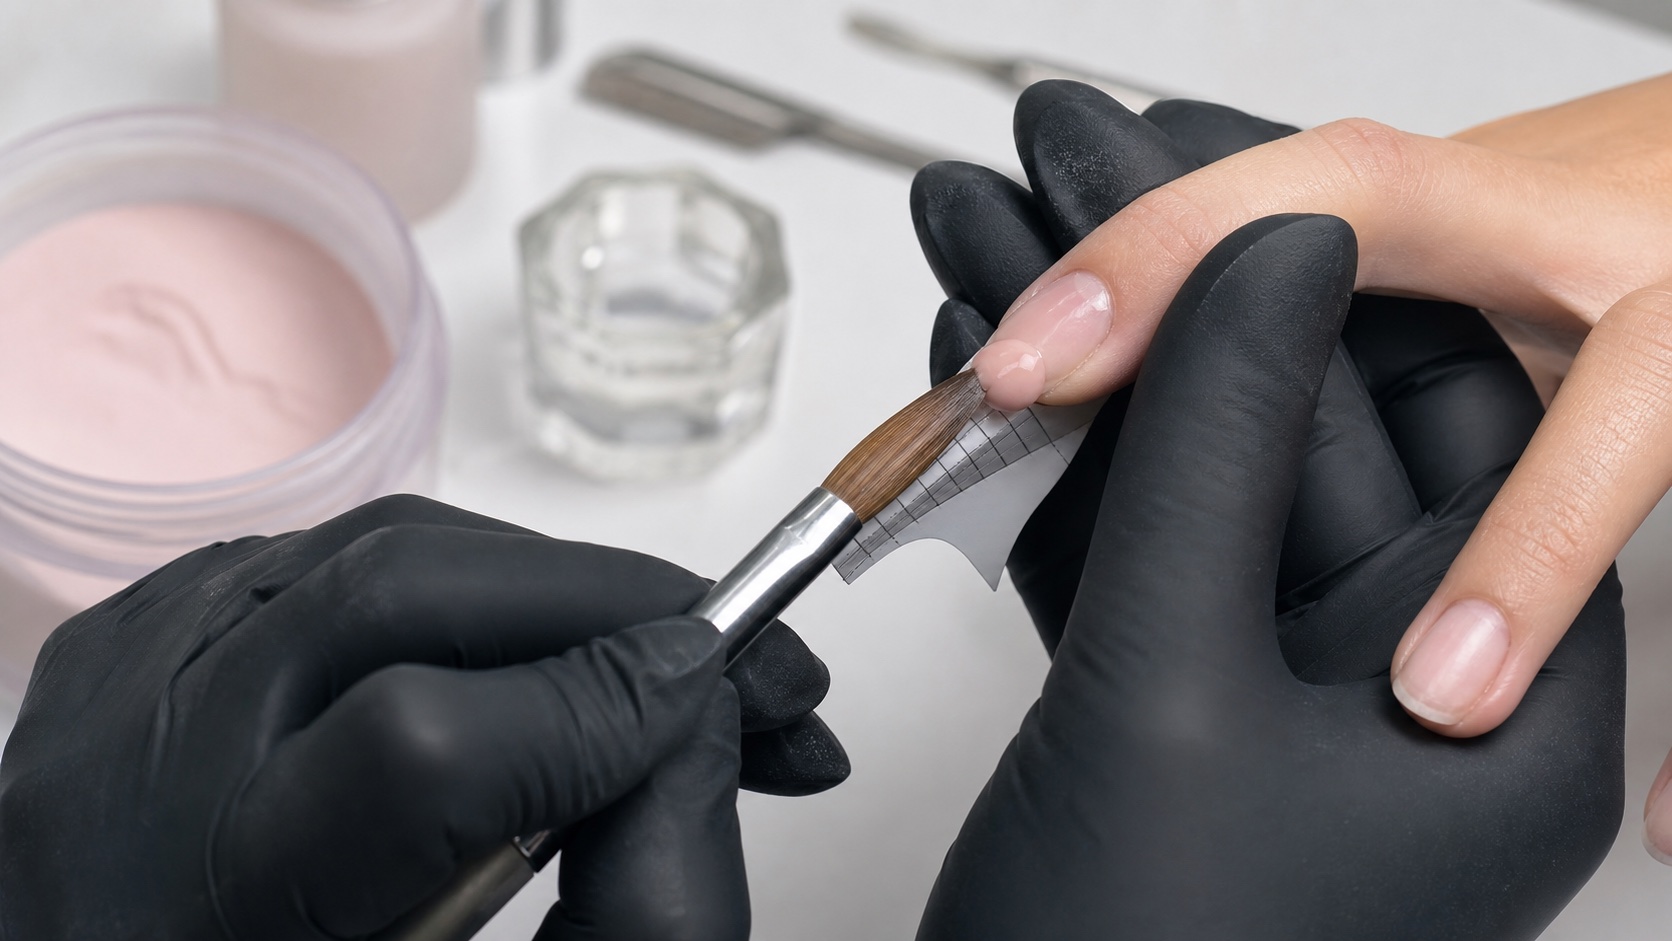
No. Structural principles overlap, but the working window changes. Gel remains workable until curing and may self-level; acrylic requires liquid-to-powder ratio and control through its setting stages; acrygel stays comparatively still but must be distributed evenly before curing. Prior brush skills or three-dimensional craft experience may help one learner, while another prefers a different material response.
Do not switch material every time an exercise feels difficult. Consolidate assessment, axis, stress area, margins and filing in one documented system first. The gel, acrylic and acrygel comparison helps select that starting point without promising that one medium is easiest for everyone.
What accelerates learning—and what only feels fast
One protocol at a time makes cause and effect visible.
Several shorter sessions preserve concentration better than an occasional exhausted marathon.
Watching one segment immediately before performing it connects observation to movement.
Early, specific feedback prevents one error becoming a practised habit.
Small measurable targets make improvement visible before a complete set.
Good lighting, hand support, adjustable seating and breaks preserve accuracy.
Constantly changing brands, chasing extreme shapes, starting nail art before structure, practising only on perfect tips, hiding failed wear and using an e-file to escape hand-file fundamentals may feel faster. They reduce the quality of the evidence. CDC/NIOSH and OSHA also identify awkward postures and repetitive movements as occupational risks; fatigue is not a training badge.
Readiness for a paying client: a quality gate
Safety and repeatability come before speed
A certificate is evidence of completion, not automatic authorisation
Technique
Repeatable axis, margins and structure
Safety
Compatible cure and no skin exposure
Evidence
Wear, maintenance and removal records
Compliance
Local qualification, insurance and business rules
Completing a course or a practice target does not automatically authorise professional work. Check local qualification and business rules. Before accepting payment, you should be able to perform and explain the following consistently:
Observe visible stop signs and postpone rather than diagnose or cover them.
Prepare without cuts, pain, grooves or unnecessary thinning.
Keep uncured product off every area of skin and use compatible products and lamp.
Build a balanced axis, apex, stress area, sidewalls and free edge.
Maintain or remove the product without damaging the natural nail.
Manage tools, dust, surfaces, waste and records through a repeatable hygiene procedure.
Explain aftercare and respond appropriately to breakage, lifting or a reported reaction.
A completion certificate documents the activity described by the provider. It is not automatically a government licence, a guarantee of skill or permission to work in every jurisdiction. Confirm what applies where the service will be delivered.
Online versus in-person learning time
Online lessons let you replay preparation, brush angle and filing sequences at the point of practice. In-person teaching can make live correction faster. Format alone does not decide the timeline: demonstration clarity, task design, access to feedback, learner support and the amount of deliberate practice matter more.
A ten-hour course does not create ten hours of physical skill. Watch, perform, photograph, compare, correct and repeat: that loop turns content into learning.
Frequently asked questions about learning nail extensions
Can I learn nail extensions in one month?
You can understand one protocol and complete guided exercises in a month of regular practice. Stable professional performance across varied clients usually needs longer.
How often should I practise each week?
Two to four focused sessions can be a sustainable plan. Session quality, a clear target and correction matter more than one long practice day.
How many hours does it take to become a nail technician?
There is no universal practice-hour answer, and formal requirements vary by jurisdiction. Check local rules and measure repeatable competence separately.
Is gel, acrylic or acrygel easiest to learn?
Each has a different working window. Choose one complete system that matches the course, then consolidate structure before adding another.
When can I start using an electric file?
After learning anatomy, direction, speed, pressure and bit function through controlled exercises. It is not a shortcut around hand-file control.
How many full sets should I practise?
Use enough varied, documented sets to demonstrate repeatability, wear and safe removal. A single fixed number cannot establish competence.
Should I time every practice set?
Record time after safety and quality criteria are met. First remove wasted movement; never remove assessment, cure or hygiene steps.
Can I practise only on a training hand?
Training supports are excellent for components, but later supervised practice on suitable varied models is needed to test fit, posture and communication.
Does a certificate mean I am ready to work?
No. It records completion under the provider’s terms. Practical quality, local qualification rules, insurance and business compliance still need checking.
How do I know whether my practice is improving?
Use comparable views, a fixed rubric, wear records and specific tutor feedback. Track one changed variable instead of relying on memory.
When should I learn advanced shapes and nail art?
After short basic structures are repeatable, safe and maintainable. Decoration should not conceal unresolved architecture or curing problems.
What should a beginner nail course include?
Look for anatomy, safety, assessment, one full system, preparation, product control, architecture, curing, filing, maintenance, removal and feedback opportunities.
Sources and editorial review
Editorial review: 5 September 2026. Time ranges are planning frameworks, not qualification thresholds or guarantees. Training and work requirements vary by jurisdiction.
PubMed systematic review: effects of feedback on motor-skill learning
US OSHA: Awkward Positions and Repetitive Motions in Nail Salons
This guide owns the learning-time, practice-roadmap and readiness intent. Individual techniques, product systems, legal qualifications and salon setup remain with their dedicated English pages to prevent overlap.