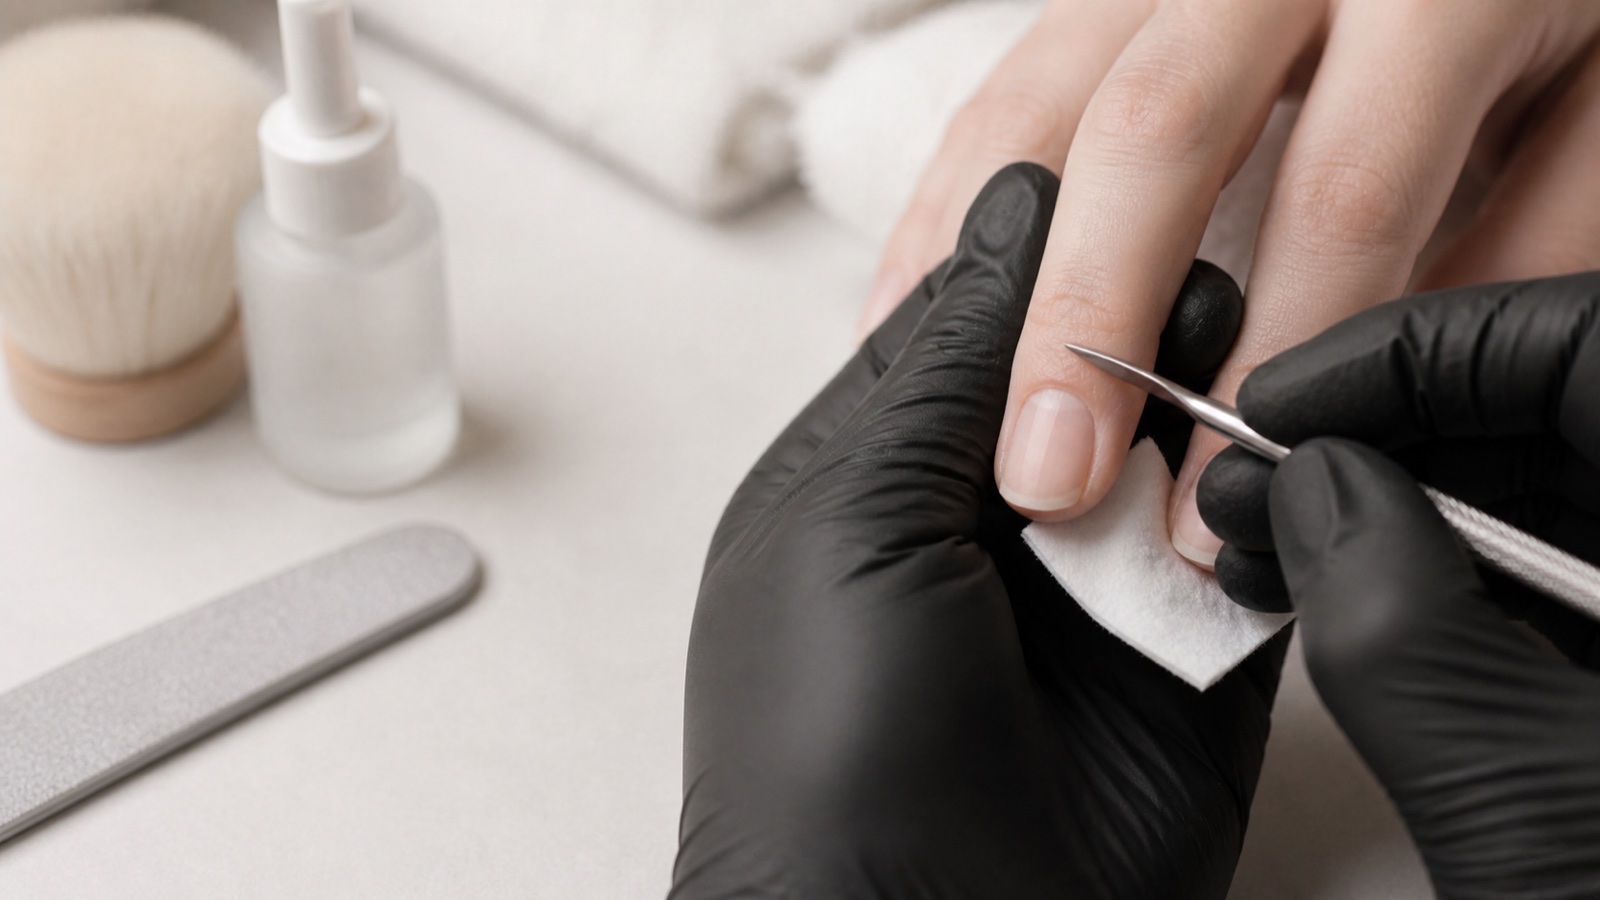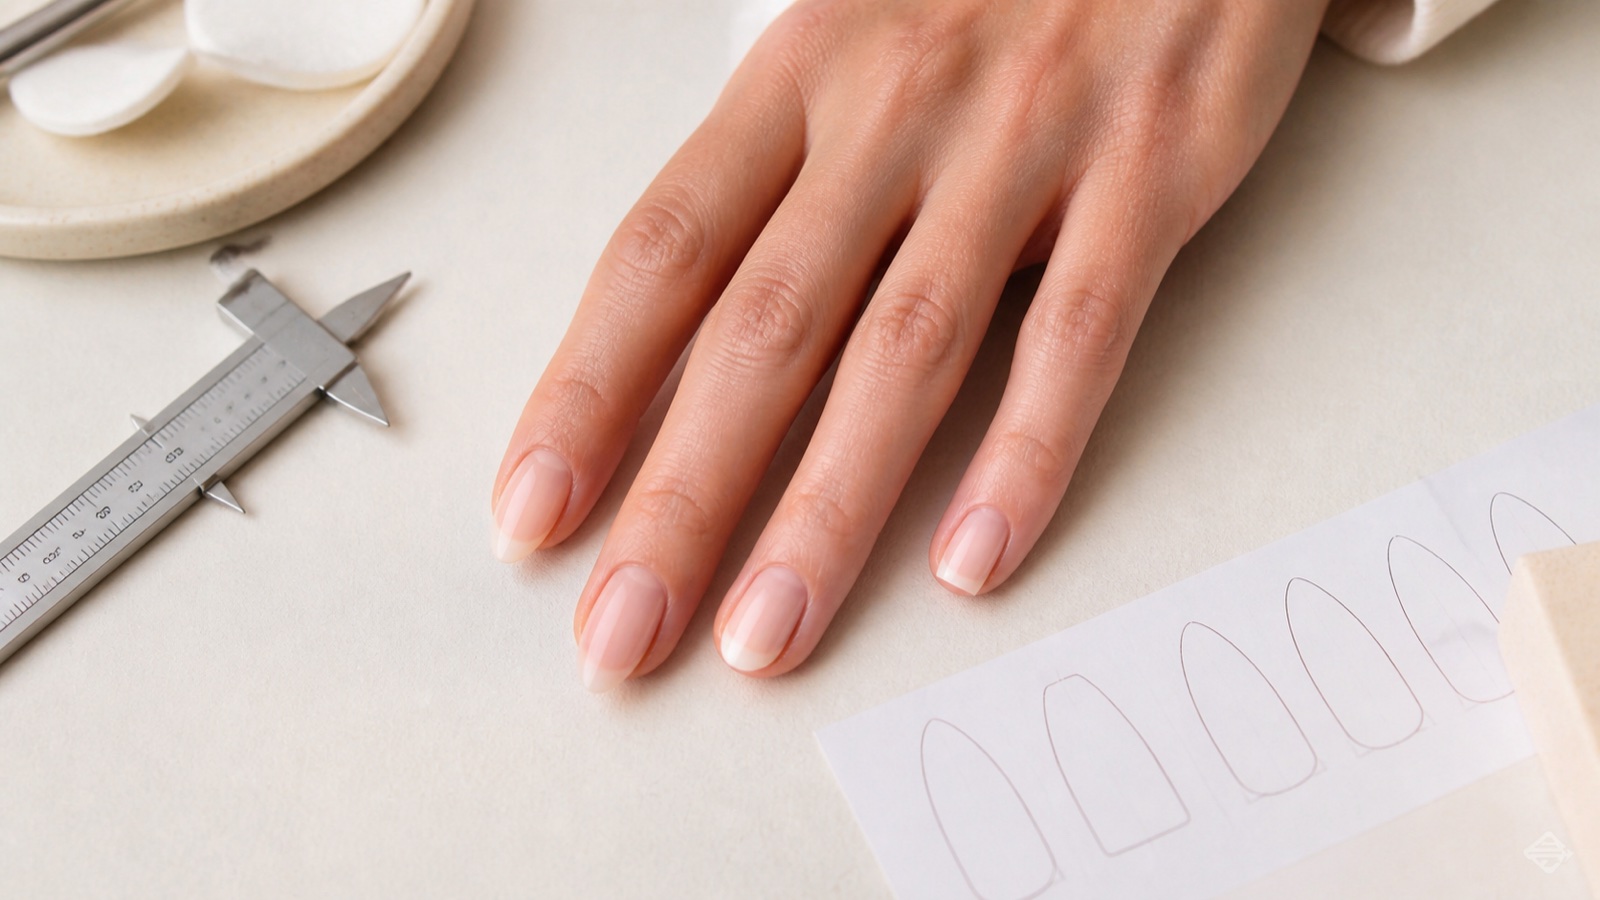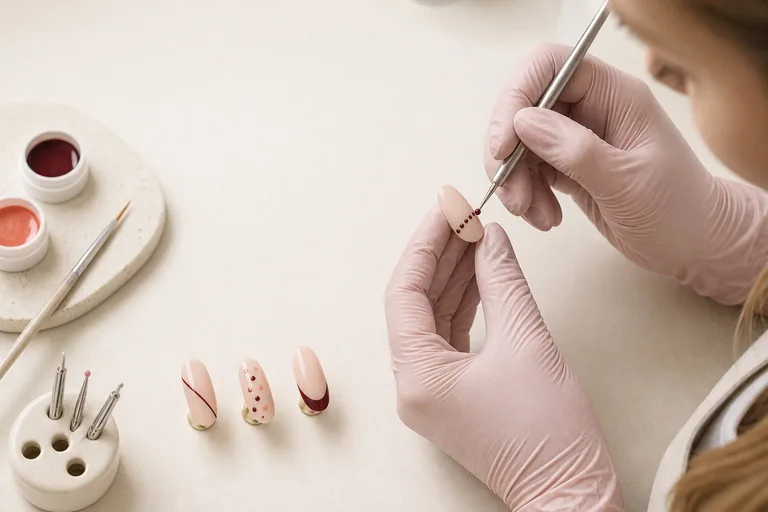
Easy nail art is not a complex illustration rushed into a shorter appointment. It is a design built from a small number of controllable variables: dots of a declared size, lines with a clear direction, two colours with enough contrast and negative space that lets the marks breathe. For a beginner, the most useful route moves from one gesture to a repeated module and then to a small composition. Miniatures, painted gradients and ten fully decorated nails can wait.
Short answer: begin with dots and straight lines on practice tips. Add one curve, a side French, a simple geometric block and a flower made from dots only after each earlier gesture is repeatable. Work with one product family and a limited palette, keep every level thin and follow the preparation, lamp, exposure and finishing instructions for the system you actually use.
This guide owns the beginner practice sequence and easy design ideas. The nail-art fundamentals pillar owns the wider theory of brushes, colour and composition. The specialist pages for One Stroke and Gel Painting own double-loaded petals and advanced photo-curable line work. Here the purpose is to turn basic marks into achievable first designs without cannibalising those technical intents. Substantively reviewed on 5 September 2026.
What makes a nail-art design beginner-friendly
A beginner-friendly technique makes the error visible and lets one variable be corrected at a time. Five aligned dots reveal changes in load and pressure. Two parallel lines expose direction and spacing. A flower assembled from five dots teaches rhythm and symmetry without requiring simultaneous control of a liner, a two-colour blend and a shaded fill.
Difficulty also depends on the service context. A motif can be simple on an oversize display tip and difficult on a short curved nail; quick on two accent nails and slow across ten fingers; clean in a cropped photograph yet uneven at normal distance. A useful progression reduces tool count, colour count and steps first, then adds curvature, scale changes and more nails gradually.
Do not call a design easy when it depends on an unfamiliar product or an improvised sequence. A five-dot flower made with curable colour still needs correct surface preparation, thin application, compatible exposure and no skin contact. Visual simplicity reduces the number of marks. It does not remove technical responsibility.
A minimal beginner kit: dotting tool, liner, detail brush and palette
A small functional kit keeps feedback readable
Add tools only when one repeated task exposes a limit
Dotting tool
Dots, petals and guides
Liner
Lines, curves and stems
Detail brush
Corners and small fills
Palette
Visible, repeatable quantity
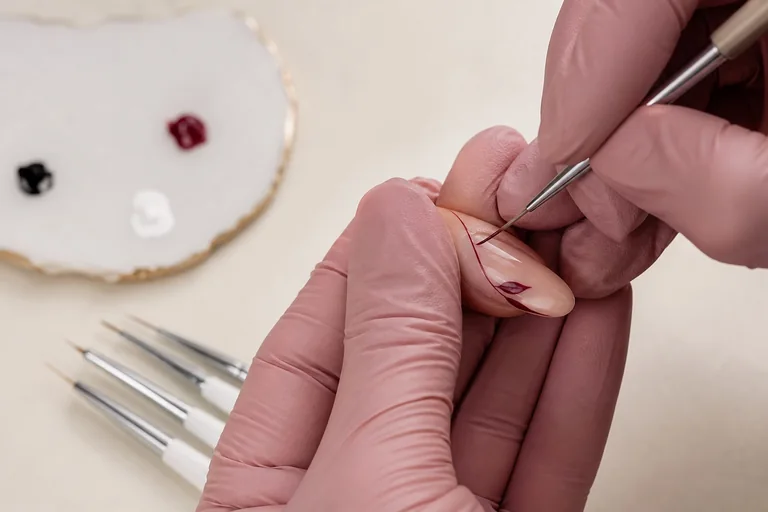
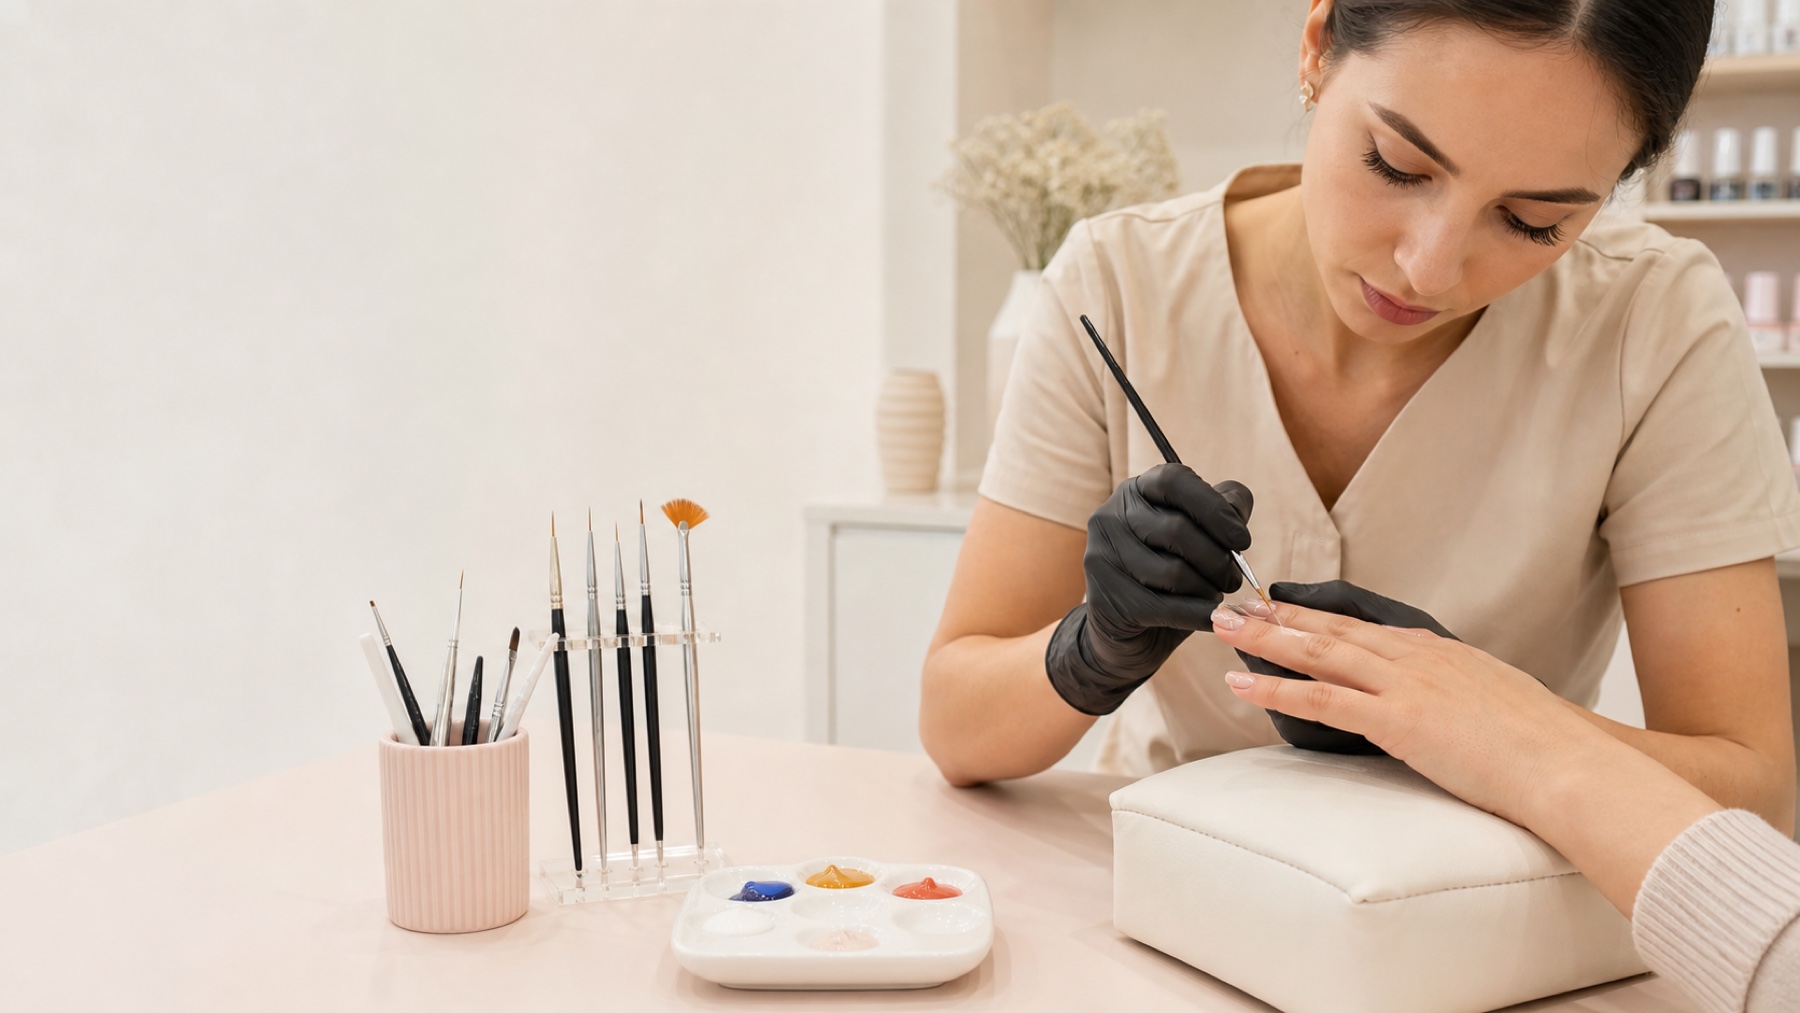
A small, functional kit teaches more than a drawer full of unfamiliar brushes. A double-ended dotting tool provides two declared dot sizes. A fine liner supports straight and curved marks. A short detail brush controls tiny filled shapes and local correction. A smooth palette keeps product quantity visible. Add numbered practice tips, a stable holder, the lamp required by the system and its supported cleaning materials.
Dotting tool: dots, round petals, centres, guides and repeated patterns.
Liner: straight lines, diagonals, simple curves, stems and tapered details.
Detail brush: triangles, small fills, corners and joins.
Palette: controlled pickup, colour testing and even brush loading.
Tips and holder: comparable evidence before work transfers to a client.
Use the same liner for several sessions and note its length, elasticity and product reserve. Add another tool only after identifying a specific limit, such as a long curve that repeatedly runs dry or a fill that the liner cannot spread thinly. The kit grows by function, not by impulse. Store clean brushes away from direct light when photo-curable residue could be present.
Choose one product family and keep safety non-negotiable
Traditional lacquer, gel colour and painting gel can all support simple decoration, but they do not share one protocol. Lacquer air-dries and changes during the session. Gel remains mobile until exposure. Painting gel may carry more pigment and hold a narrower edge. Do not transfer loading, thinner, cleaning or timing assumptions from one family to another.
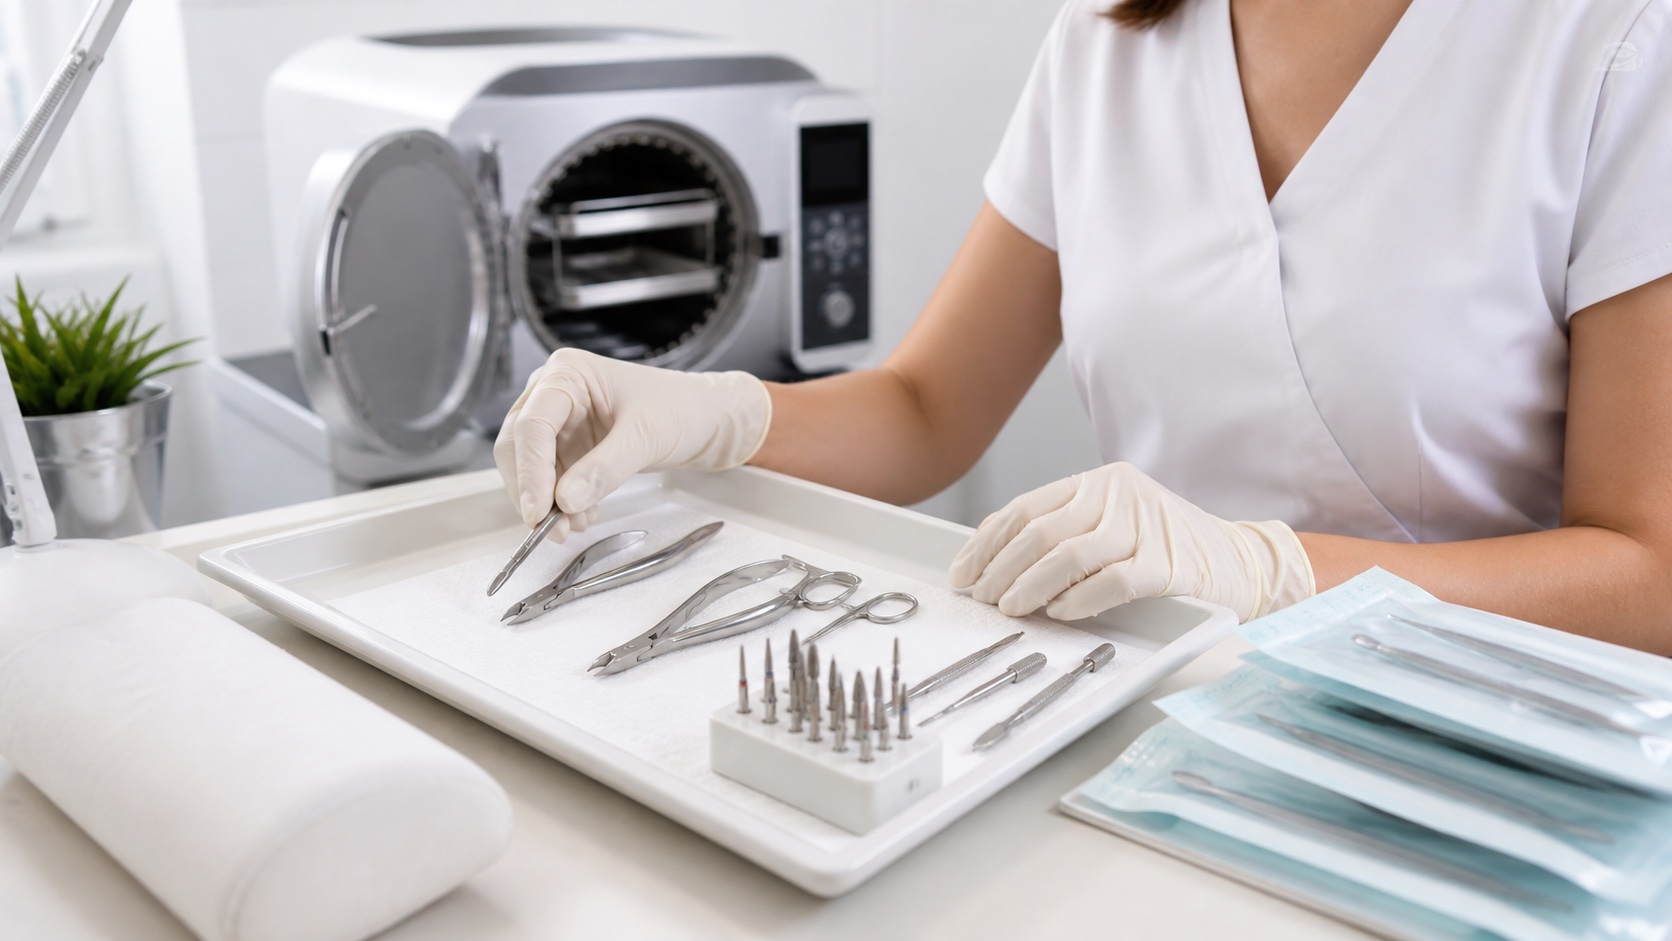
With photo-curable products, keep films within the supported thickness and use a compatible lamp. Do not make a dot or fill heavy simply to improve opacity, and do not treat an undocumented short exposure as a complete cure. The guide to curing gel nails explains how product, wavelength range, hand position, pigmentation and geometry interact.
Keep uncured material away from the proximal and lateral folds. Remove accidental contact before curing without spreading it. When base, colour, art gel and top come from different systems, use the guide to cross-brand product compatibility. A design that uses only three dots does not make unknown formulas compatible.
The progression: gesture, module, composition and service
Build complexity one layer at a time
A repeatable mark comes before a complete design
Gesture
One dot, line or curve
Module
Repeat with spacing and rhythm
Composition
Focus plus negative space
Service
Scale, nail count, cure and time
The first unit is a gesture: one dot, line or curve. A module repeats the gesture into a row of dots, three diagonals or two mirrored curves. A composition places a small number of modules within the nail. A service transfers the composition to a real curved nail, coordinates it across the agreed fingers and finishes it within a known time.
Gesture: score the shape, quantity, direction and endpoint of one mark.
Module: repeat that mark with deliberate distance and rhythm.
Composition: choose one focus, one direction and enough negative space.
Service: adapt scale, nail count, cure, finishing and timing.
Do not advance because one attempt succeeded. Advance when the standard can be repeated across more than one series. Repeatability makes a price credible, reduces correction and ensures the sample shown to a client represents what can actually be delivered.
Level 1: regular dots with a dotting tool
Five levels from dots to a first floral accent
Each stage adds one new movement—not five new products
1. Dots
Load, size and spacing
2. Lines
Direction and endpoint
3. Shapes
References and negative space
Side French and simple flower
Pick up a small amount and place the dotting tool approximately perpendicular to the surface. The first dot tends to be larger because the tool carries more product. For equal dots, reload through the same routine; for a gradient, use that changing reserve deliberately. Lift vertically rather than dragging a tail through the dot.
Complete three drills: five dots at one size, five dots decreasing gradually and one diagonal of equally spaced dots. Score the edge, centre, distance and mass. A tail indicates sideways movement. A dot that spreads after placement may carry too much product or use a product too mobile for that surface and waiting time.
Dots already create useful designs: a diagonal dotticure, a floral centre, one side border or a contrast rhythm. Work on a nude or calm background first. The point is to control quantity and placement, not to hide the exercise among glitter, chrome and multiple colours.
Level 2: straight lines, diagonals and one clean curve
Distribute a thin film of product through the liner, remove the terminal droplet and anchor the hand. Mark the start and finish of a straight line, then pull the brush toward you with minimal stable pressure. A short detail brush can create a compact segment; a longer liner carries product through a broader curve.
Train individual lines, then parallel pairs and finally a C curve. Preserve a failed mark long enough to decide whether load, brush point, anchor, direction or speed caused it. The Gel Painting guide takes these mechanics into advanced line weights, joins, fills and curing stages.
A complete beginner design may use two fine diagonals and three dots while most of the nail remains empty. Precision becomes the focal point. More lines are not automatically better. First compare parallelism, spacing, endpoint quality and distance from the skin.
Level 3: simple geometry and negative space
Geometry begins with references. Place tiny construction points for a triangle, then connect its edges through separate controlled segments. For a colour block, establish the perimeter and fill it with a thin level using the detail brush. A clean shape comes from planned order, not from repeatedly pushing a large pool toward the edge.
Negative space prevents a first design becoming heavy. Divide the nail with one diagonal, fill only a corner and repeat the colour in one dot. Keep margins clear of skin. If the block needs excess thickness to cover, change the product or build supported thin levels rather than creating a raised mass.
Practise one triangle, two parallel lines and three dots using a nude base, one dark colour and one light accent. The restriction exposes proportion and rhythm. Once it works, change only scale, angle or colour—not all three—so the effect of the change remains visible.
Level 4: a side French and controlled colour block
A side French focuses one curve on one edge and can be more accessible than a deep symmetrical smile line. Draw a diagonal or gentle curve from the free edge upward along one side, then fill the outer section thinly. Keep the highest point comparable across coordinated nails and assess the curve with the hand returned to its natural direction.
This is not a shortcut that replaces classic French study. The guide to the professional French smile line owns symmetry, proportions, side transitions and correction for the full technique. Use a side French here as one manageable curve plus one thin field.
Begin with a small corner, side crescent or band. The curved nail alters how the border reads, so inspect from above, front and side before curing. If the design makes one nail look wider or shorter than its neighbours, adjust the position rather than adding more detail.
Level 5: easy flowers built from dots
Build a simple flower from five equal dots around a marked centre. A three-petal version uses three evenly placed dots and one smaller centre. To create a teardrop petal, place the dot and pull it a very short distance toward the centre while the product still holds the movement. Repeat the same direction and travel for every petal.
Keep the flower small enough to remain readable. Place the centre first and distribute the petals rather than using one oversized centre to hide uneven gaps. Add one thin stem and one leaf only after the flower is stable. The One Stroke guide is the next specialist step when the learner is ready to replace dot-built petals with a double-loaded brush gesture.
Decorate two accent nails first. On the other nails, repeat a dot or one fine line from the same palette. This distribution reduces time, gives the hand a clear hierarchy and makes inconsistency easier to identify than ten separately improvised flowers.
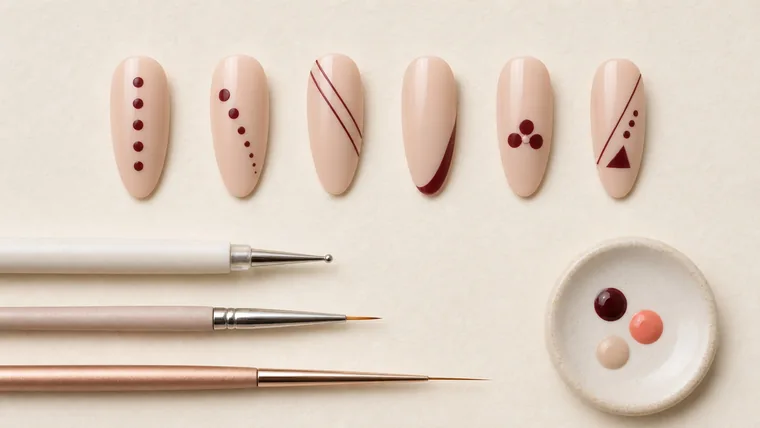
Six easy nail-art ideas to practise in order
Diagonal dotticure: five evenly spaced dots in one contrast colour over a nude base.
Graduated side dots: move from large to small while maintaining one axis.
Double diagonal: two fine parallel lines with three dots between them.
Side French: one controlled curve, one thin fill and one accent dot.
Three-petal flower: three short teardrop dots, a small centre and one fine stem.
Minimal geometry: one filled triangle, one line and three dots balanced by empty space.
Create one reference tip for each design and label tool, colours, order and total time. Repeat it three times without changing the product. If the third result differs greatly from the first, return to the underlying gesture. Once the samples agree, transfer one idea to two accent nails and time the complete service rather than the painted mark alone.
When to add simple stamping
Stamping transfers an engraved motif and can provide one crisp accent quickly, but it is not technique-free. Plate cleanliness, suitable product, scraping angle, complete pickup, alignment and timely transfer all matter. Start with one small motif on one accent nail and connect it to the set through one dot or line.
Do not begin with layered stamping, reverse stamping and hand-painted corrections together. First produce ten complete transfers of the same motif. Then vary position or colour. The dedicated guide to professional nail stamping owns plate, stamper, polish and transfer troubleshooting.
Adapt the design to nail length and shape
On a short nail, reduce the number of elements rather than shrinking everything. Three dots and one diagonal often read better than a miniature flower. An almond supports longitudinal or diagonal movement; a square makes frames and blocks legible; a coffin offers a flat end line for a band. Use the technical nail-shape guide to understand which decorative directions reinforce or interrupt the silhouette.
Map the hand before painting. Choose two accent nails, one repeated mark and one base colour. Keep the visual weight balanced rather than forcing the same motif to occupy identical millimetres on every finger. A coordinated set belongs to one system while still adapting to different nail widths.
Curing, finishing and the final quality check
Before exposure, check every margin, dot mass, filled area and line intersection. If a level is too thick, remove and rebuild it rather than hoping the lamp or top coat will solve it. Cure through the specified product–lamp system and keep the hand correctly positioned. A hard-looking surface is not proof of complete cure beneath a heavy dot.
Apply the supported finish with enough product to protect the design without dragging it or creating new bulk. Check the free edge and sides according to the system. If tiny details disappear under the finish, increase their scale next time. A beginner design should remain readable after the complete service, not only in the photograph taken before top coat.
Common beginner nail-art mistakes and corrections
Match the visible fault to one first correction
More decoration rarely fixes an uncontrolled base mark
Random dots
Standardise pickup and lift
Shaky lines
Anchor and inspect the brush
Crowded set
Restore focus and empty space
Raised fill
Use supported thin levels
Visible result | Likely cause | First correction |
|---|---|---|
Dots have random sizes | Pickup, pressure and reload routine vary | Standardise the load and lift vertically |
Lines tremble or split | Unsupported hand, very slow route or open brush | Anchor, rotate the tip and inspect the point |
Design feels crowded | Too many modules, colours or decorated nails | Keep one focus, one echo and negative space |
Filled shape is raised | Product piled up for opacity | Use a suitable colour in supported thin levels |
Set changes between fingers | No shared axis, module or palette | Map the set and repeat one clear element |
Detail disappears under top | Scale too small or finish dragged through it | Enlarge the mark and finish without tracing it |
Keep failed tips for a week and label the first cause. Comparing them teaches the difference between a loading fault and a composition fault. Erasing every unsuccessful attempt produces a prettier desk but weaker diagnostic skill.
A four-week beginner practice plan
Week 1—dots: equal rows, size gradients, diagonals and one dot flower on oversize tips.
Week 2—lines: straight, parallel, diagonal and C curves, then one two-line-and-three-dot design.
Week 3—shapes: triangles, one colour block, a side French and a composition using two modules.
Week 4—set: two coordinated accent nails, quieter echoes on the remaining nails and a complete photograph.
Use twenty or thirty minutes for one exercise family. Photograph with the same light and distance, then choose the sample that represents repeatable quality rather than one exceptional attempt. The Professional Nail Art Course can add demonstrations and feedback, while the Complete Nail Technician Course connects decoration to the wider service.
When to move from a tip to a client
Move to a client only when the design can be repeated at the declared size, its full service time is known and a mistake can be corrected without creating excess thickness. Begin with two accent nails and show a real sample. Confirm colours, nail count, supplement and timing before starting.
Document one macro and one complete hand. Macro reveals edges, dots and line quality; the wider view proves scale and coordination. Use the guide to photographing nails with true colour and avoid filters that erase the evidence. Once dots, lines and geometry are stable, choose whether to specialise in Gel Painting, One Stroke or stamping rather than learning all three at once.
For a focused practice brief, try these black gel nail designs for short and long nails. Choose one finish and one accent, then repeat the proportions on practice tips.
Frequently asked questions about easy nail art
What is the easiest nail art for a complete beginner?
A diagonal dotticure is the most observable start: it uses one tool, little product and makes size and spacing easy to compare. Create five equal dots on a practice tip, then a deliberate large-to-small sequence. Combine dots with one line only after the rhythm can be repeated.
Do beginners need many nail-art brushes?
No. One dotting tool, one liner and one short detail brush in good condition cover dots, lines, curves, small fills and simple geometry. Add a tool only when a repeated task exposes a specific limitation. Too many new brushes make it harder to tell whether a result came from the tool or the movement.
Can easy nail art be made with gel polish?
It can when the colour holds the intended mark, covers within its stated film thickness and is used with a compatible base, lamp, exposure and top. Some gel-polish colours self-level or remain too translucent for fine art. Test on tips, avoid heavy dots and follow the actual system instructions.
How can I make every dot the same size?
Use the same dotting-tool end, pick up a repeatable quantity and touch down vertically with similar pressure and contact time. Reload through a routine because the first dot from one pickup is often larger. Lift vertically and practise rows of five while scoring both diameter and spacing.
Why do my beginner nail-art lines look shaky?
Check hand support, tip direction, speed, product load and liner condition. A suspended hand or extremely slow movement magnifies small tremors; an open point makes a double edge. Rotate the support and pull toward the body, then practise a line of the same length on the palette.
How many colours should a beginner design use?
Two colours in addition to the base are enough to study contrast, repetition and focal point. Choose one dominant and one accent that remain distinct at real distance. Add a third only when it has a defined role. A restricted palette exposes whether the design works through structure rather than abundance.
How do I make a simple flower on a nail?
Mark the centre and place three or five equal dots around it. For teardrop petals, pull each dot a very short distance toward the centre using the same route. Add a smaller central dot and one fine stem if space permits. Do not use an oversized centre to conceal uneven petal spacing.
Is nail stamping suitable for beginners?
It can enter after basic order and placement are familiar, starting with one small motif. Stamping still requires suitable product, controlled scraping, complete pickup, alignment and timely transfer. Repeat the same motif successfully before adding layered or reverse-stamping techniques.
Should every small detail be cured separately?
That depends on product stability, design and manufacturer instructions. A supported interim exposure may keep neighbouring details from merging, but it does not replace the complete cure. Keep each level thin, position the hand correctly and complete every stated exposure before finishing.
How long does it take to learn simple nail art?
Progress depends on practice frequency, feedback and the target standard. Several short measured sessions each week can make dots and lines more repeatable within weeks, but client work also requires product control, finishing and known service time. Judge consistent series, not a calendar date or one good tip.
Should I practise on tips or directly on nails?
Tips let you repeat marks, keep samples and compare loads without service pressure. After several consistent series, move to curved tips and then two real accent nails. Natural nails add anatomy, hand positioning and perspective, so introduce them only when the underlying gesture is already readable.
How should beginner nail art be photographed for a portfolio?
Use soft neutral light, a clean background and a pose that does not hide the nail shape. Capture one macro for edges, dots and lines and one full-hand image for scale and set coherence. Lock exposure and white balance. Avoid smoothing or saturation that prevents an honest evaluation of the work.
Sources and editorial limits
These references support conservative nail and product-exposure boundaries rather than any proprietary art system. Product thickness, cleaning and cure remain manufacturer-specific. Explore the complete English nail guide library and the English nail course catalogue through English-only internal links.