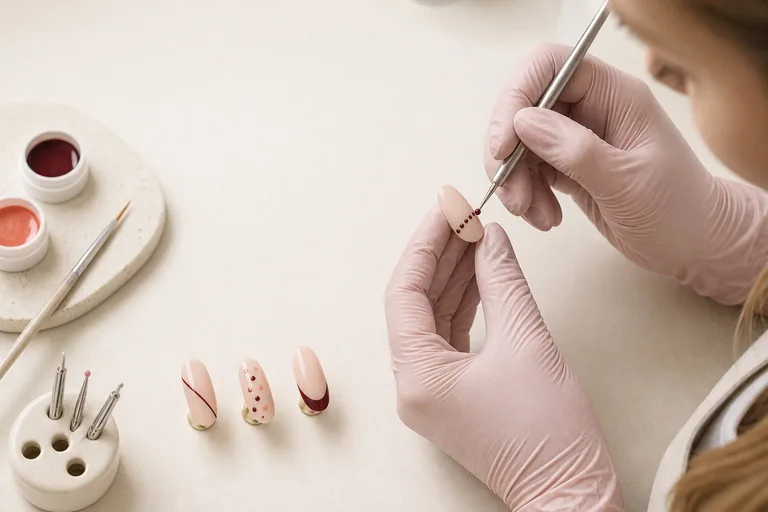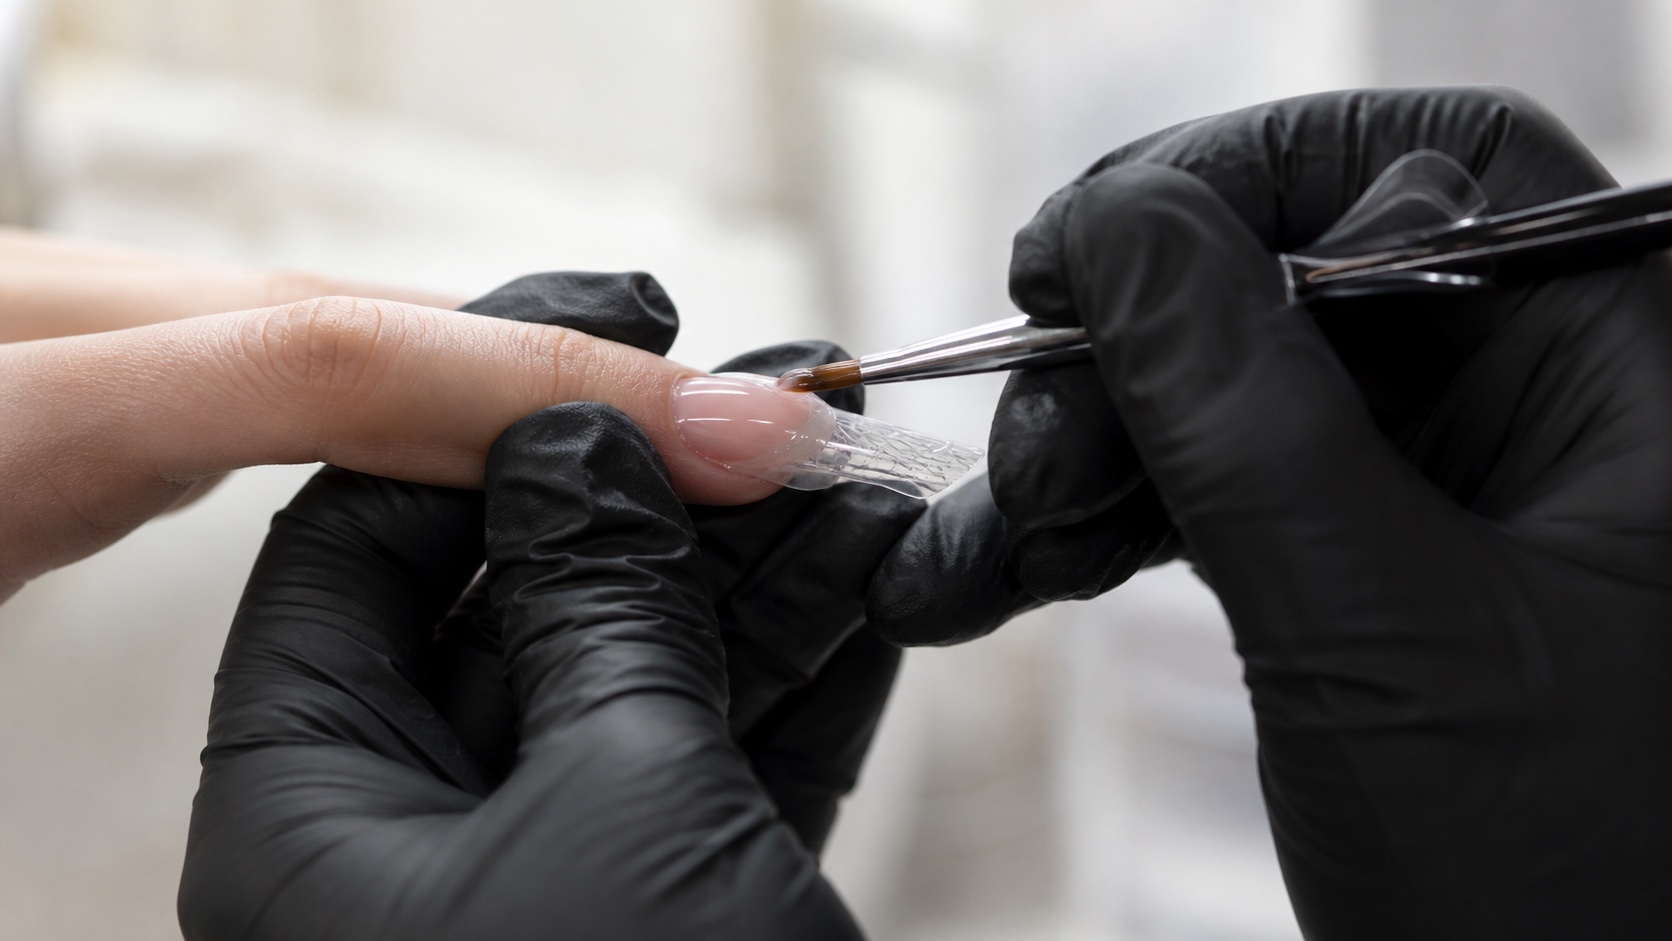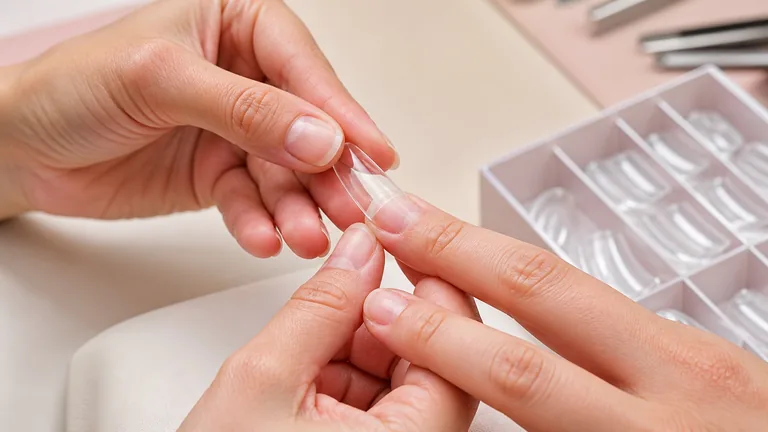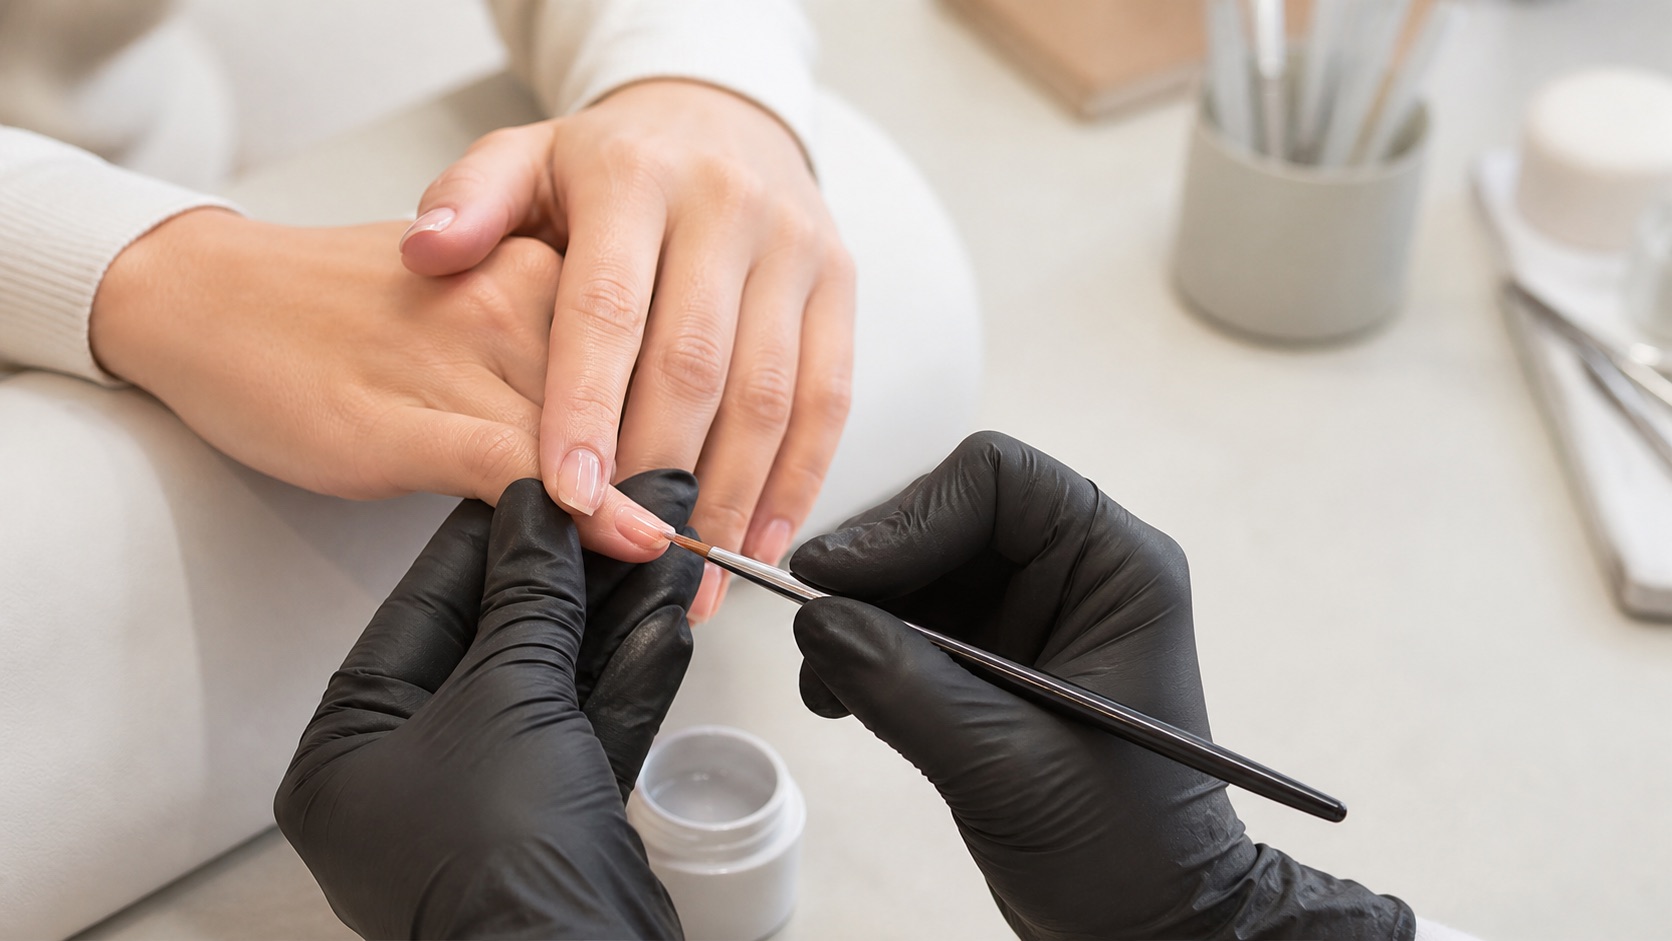
A clean Gel Painting line is not created by a steady hand alone. Brush length, bristle condition, gel rheology, pigment load, quantity, hand support, working angle, pressure, speed and surface all meet in one mark. When one variable changes halfway through, the line can narrow, widen, split, retract or leave a raised bead. Learning to read those outcomes turns decorative work from a lucky result into a repeatable process.
Short answer: use an intact liner, distribute a thin even film of painting gel along the bristles without leaving a drop at the tip, anchor the working hand and pull the line with minimal consistent pressure. The product must hold the intended mark without flooding or breaking. Keep fills and shading within the stated thickness and cure every level with the product–lamp combination and exposure specified by its manufacturer.
This page owns fine gel line work, contours, controlled fills, shading, layering and curing between decorative stages. The One Stroke guide owns double loading on a flat brush, pressure-built petals and leaves; the nail-art foundations guide owns broad tool, colour and composition decisions. Here the search intent is specifically photo-curable painting gel and the controls required for precise lines and layered motifs. Substantively reviewed on 5 September 2026.
What Gel Painting is—and what it is not
Gel Painting is the deliberate use of highly pigmented, photo-curable colour products to draw on a prepared nail surface. Its vocabulary includes hairline marks, medium outlines, monograms, botanical details, geometry, miniature motifs, local shadows and small opaque fills. The material remains workable until exposure, which gives time to refine a segment but also creates a responsibility to control thickness and skin contact throughout the design.
It is not simply any application of gel colour. A colour coat may self-level aggressively and lose a narrow line; a painting gel may be firmer, more concentrated and designed for a local mark. Nor is it stamping, which transfers a motif from an engraved plate. One Stroke uses two colours on a flat or angled brush to create a blended shape in one movement. These methods can share one set, but their product behaviour, brush loading and correction strategy are different.
The goal is not the thinnest line a camera can reveal. A professional mark has the planned width, finishes at the intended point, retains adequate colour, cures completely and remains readable at real viewing distance. Uniform, tapered, fine and medium lines are all valid when their variation is designed rather than accidental.
Choose the brush by the mark: long liner, short liner, detail and flat
Choose the brush by route, not by one size label
Bristle length changes product reserve and turning response
Long liner
Long curves and continuous marks
Short liner
Corners and compact segments
Detail
Microforms and joins
Flat
Thin fills and wider bands
A long liner carries product along more bristle length and supports continuous curves, stems, arabesques and parallel lines. It should glide rather than be held upright like a rigid pen. A short liner responds more quickly when direction changes and suits small segments, corners, narrow contours and local corrections. Neither choice is universally easier: the mark length and turning radius decide.
A detail or micro brush has a small belly and a precise point for tiny forms, joining contours, local highlights and controlled filling. A small flat or oval brush distributes a thin field or a wider band, but it does not replace a liner for capillary marks. A dotting tool makes repeatable dots and reference points; dragging a dot cannot reproduce the continuous deposit of a brush.
Long liner: long curves, stems, sweeping outlines, arabesques and parallel marks.
Short liner: short segments, corners, small contours and rapid direction changes.
Detail brush: microforms, joins, highlights and compact filling.
Flat or oval brush: thin fills, bands and broader shapes—not hairline work.
Dotting tool: dots, construction points and repeatable terminals.
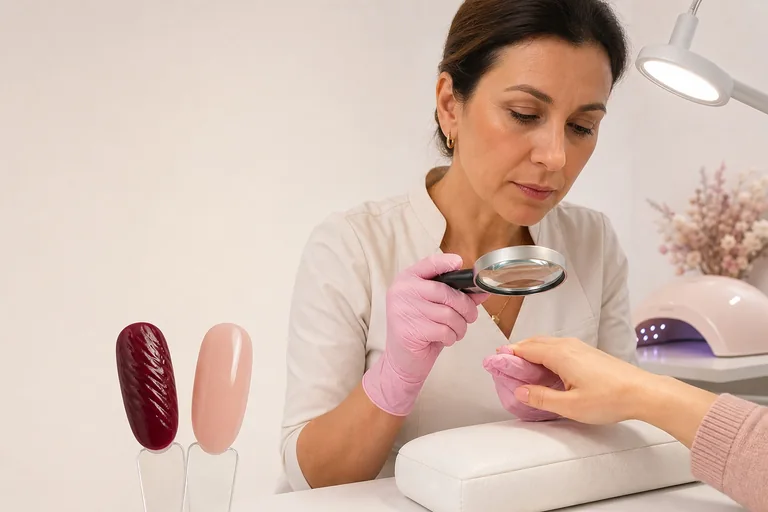
Inspect the brush before product. Bent, splayed or cured bristles split a line and create a double edge. The ferrule should be stable and the point should close when loaded. Test each new brush with ten comparable marks, because elasticity and point shape can alter the result even when two handles carry the same size label.
Painting-gel consistency, pigment and self-levelling
A fluid product travels easily but can widen, merge neighbouring lines and move toward the side folds while the design develops. A firm product holds an edge but may drag, skip or leave texture if it is not distributed through the bristles. A thixotropic gel may appear still at rest and become more mobile under movement. Confirm that behaviour on the actual product; marketing labels alone do not define its working response.
Pigmentation and viscosity are not synonyms. A dense gel may still be translucent, while a more fluid formula can carry a high colour load. Useful opacity is opacity achieved within the supported film thickness. If visibility requires one heavy cord of product, increasing lamp time at random is not the solution. Choose a product intended for that mark or build supported thin levels.
Do not dilute painting gel with cleanser, solvent or an unrelated base. An improvised mixture can change pigment distribution, adhesion and cure. Use a compatible medium only when the manufacturer provides a method. If base, colour, painting gel and top come from different ranges, apply the evidence-led checks in the guide to mixing nail product brands and retain the instructions for every layer.
Load a liner without a starting blob or a broken finish
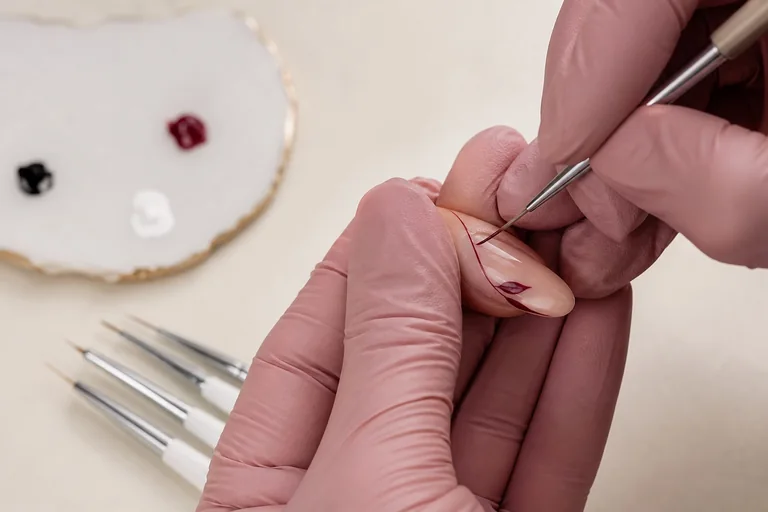
Do not dip only the point. Draw part of the bristle length gently through a small amount of gel so an even film surrounds it, then refine the load on a palette while keeping the point closed. A terminal droplet creates a blob at the first contact. An almost dry brush gives one crisp millimetre and then breaks before the route is complete.
Match reserve to route length. A curve across an entire tip requires more carried product than a two-millimetre detail, but that does not justify a hanging drop. A longer liner can hold more film along its body. Test a mark of approximately the intended length; a tiny palette dash cannot reveal where a long curve will run out.
When the product instructions and salon hygiene allow, work from a small separated quantity rather than repeatedly exposing the primary pot. Keep both pot and loaded brush away from curing-light spill and direct sunlight. A clean palette also makes fibres, bubbles, contamination and changing consistency visible before they reach the nail.
Hand support, posture and viewing angle before the stroke
Anchor one finger or part of the working hand on a stable support without pressing sensitive tissue. Avoid holding the forearm in mid-air through an entire design. Support reduces high-frequency tremor, but it must not lock the wrist and prevent a longer curve. Move the client’s hand into a neutral accessible position instead of reaching around it.
Rotate the nail toward the route. A long curve is often easier when the liner travels toward the artist rather than being pushed away. Plan where the fingers will rest before the first contact so the anchor does not need to move halfway through. Then return the hand to the client’s viewing position: a line that looks centred from the technician’s diagonal angle can appear skewed when the finger points forward.
Lighting should reveal colour and relief without placing a hard reflection over the mark. Keep the palette, lamp and tools positioned so the loaded brush does not pass through the lamp beam. The guide to nail dust extraction and workstation setup explains local extraction, workstation airflow and practical exposure control.
Angle, pressure, speed, quantity and surface
Five variables meet in one gel line
A broken or spreading mark is evidence, not bad luck
Angle
Bristle contact area
Pressure
Line width
Speed
Deposit continuity
Load + surface
Travel, spread and grip
Angle determines how much bristle contacts the nail. A liner held closer to parallel uses more of its length and supports a continuous pull; a more upright point responds to tiny details but carries less material into the mark. There is no single angle for every line, yet the chosen angle should remain stable through one segment unless a width change is intentional.
Pressure changes width. Minimal contact produces the finest mark that the brush and gel can sustain; greater pressure opens the bristles and deposits more material. Speed interacts with both. Too fast can leave gaps; too slow deposits extra mass and gives a mobile gel time to spread. Quantity determines travel and thickness, while surface energy changes whether the product glides, grips or retracts.
Change one variable in practice. Make one series with angle and load fixed while pressure changes, then repeat at fixed pressure with three speeds. Label each tip. Without controlled comparison, twenty attempts produce twenty outcomes but no rule that can be transferred to a new colour or motif.
Foundation drills for straight lines, curves and joins
Straight line: mark two points, anchor the hand and pull one line at constant pressure. Score direction, width and endpoint.
Parallel lines: repeat five marks with equal spacing and thickness, watching for convergence toward the hand.
C curve: guide one smooth arc without correcting its centre through a series of small movements.
S curve: connect opposite arcs and keep the reversal rounded rather than angular or thick.
Spiral: work from the outside while reducing radius without allowing the lines to touch.
Outline and fill: close a small leaf first, then place the thin fill as a separate controlled level.
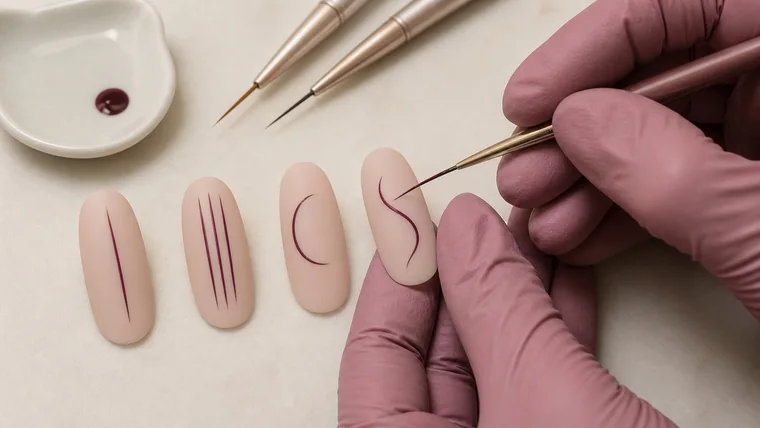
Repeat each drill at least ten times, but count quality criteria rather than attempts alone. A straight line is successful when it begins on the mark, maintains its intended width and ends without a bead. An S curve succeeds when both arcs share a rhythm, the reversal is smooth and the mark remains continuous. These criteria turn repetition into training.
Continuous lines, segments and invisible joins
A continuous line usually looks more fluid because it contains no join. Plan the route, rotate the hand and carry enough product before starting. Know where the fingers will rest and where the curve must end. If the brush will not hold the route, divide the design intentionally rather than allowing it to fail at a random point.
When segments are necessary, begin the second mark over a thin part of the first and travel in the same direction. Joining from the opposite direction often produces a small hump. Taper the first endpoint and, if the supported system calls for staged curing, secure the level before restarting with minimal quantity. Do not trace the whole line again simply to hide one join.
For geometry, place tiny construction points before drawing. They disappear into the final work but reduce corrective passes. Organic lines can contain controlled variation; two leaves can follow the nail’s curve without being mechanical copies. Precision means the intended relationship survives, not that every natural motif becomes identical.
Uniform and tapered lines for visual hierarchy
A uniform line needs stable angle, pressure and speed. Use it for frames, grids, geometry and decorative bands. If it narrows progressively, first ask whether the liner is running out of gel. If it widens, pressure may be increasing, movement may be slowing or the surface may be allowing the product to spread.
A tapered line is produced by gradually reducing pressure while the brush continues to travel. Lifting vertically under a heavy load leaves a blunt end or droplet. Practise stems and lash-like ornament from the wider base toward the point; reverse the direction only when the loading and endpoint remain controlled.
Width can organise a design. A primary branch may be slightly stronger than its secondary filaments, and an outer contour can carry more weight than internal detail. Making every line identical flattens the motif. Varying width without a declared hierarchy makes the composition unstable.
Thin fills, shading and layered colour
For a small fill, draw the perimeter with little product, then use an appropriate brush to move a thin film through the centre without building a dome. If the colour is not opaque within the supported thickness, cure and add another thin level only when the manufacturer’s instructions allow it. One opaque mound is not equivalent to two controlled films.
Shading can be built through adjacent values, a thin translucent level or carefully softened edges, depending on the specific product. Do not improvise by adding unknown liquids. Decide which edge remains hard and which becomes soft before touching the gel. A shadow is useful when it explains volume; a grey haze around every object simply reduces colour clarity.
Plan the order from large fields to small detail, while protecting the marks that must stay crisp. A fine line painted before an opaque neighbouring fill may be buried; a highlight added too early may disappear under top coat. Use staged photographs of the same sample so learners can see which visual information belongs to each level.
Curing between decorative levels without guessing
Build detail through documented thin levels
A holding exposure is not automatically a complete cure
Plan
Fields, shadows, contours, highlights
Layer
Thin and controlled
Cure
Product and lamp instructions
Verify
No skin contact or unstable mass
The finished design may contain extremely pigmented local areas, overlapping lines and opaque fills. These still need to remain within the product’s supported thickness and receive the specified exposure in a compatible lamp. A glossy, hard-looking surface does not prove that the lower material is fully cured. The guide to gel that wrinkles, shrinks or stays uncured explains the evidence and stop criteria.
A short interim exposure may hold one level in place only when the manufacturer explicitly supports that process. It is not a substitute for the full cure. Record the product, colour, lamp, exposure and number of overlapping levels for any design introduced into a salon menu. If a combination requires guesswork, simplify it or use a documented system.
Keep uncured gel off skin throughout painting. Fine art often brings the brush close to side folds, but precision must include clearance. Remove any contact before curing without wiping it over a larger area. Repeated uncured exposure is not made acceptable by the fact that the amount looks small.
Curves and composition across the nail shape
The nail is curved in more than one plane. A line that looks straight from the side can bend in the top view, while symmetrical curves can appear different when the hand is rotated. Mark axis, highest point and endpoints, then inspect from above and from the free edge. Design on the real three-dimensional surface, not only on a flat reference image.
Let geometry support the silhouette. Almond accepts longitudinal and diagonal flow; square makes frames and modules easy to read; coffin can use its flat end as a reference. The guide to technical nail shapes distinguishes decorative alignment from the structure beneath it. Leave negative space so line quality remains visible at salon distance.
Gel Painting troubleshooting by visible result
Read the line before repainting it
The first defect points to the first controlled check
Breaks
Reserve, speed and brush point
Widens
Mass, pressure and mobility
Split edge
Bristles and surface
Wrinkles
Thickness, pigment and cure
Result | Likely process cause | First controlled correction |
|---|---|---|
Line breaks before its endpoint | Insufficient reserve, excess speed or open bristles | Reload evenly and test the full intended length |
Line widens after painting | Excess pressure, slow speed or mobile gel | Reduce mass and validate surface and rheology |
Double or ragged edge | Split point, cured residue or rough surface | Inspect brush and surface before repeating |
Gel retracts into islands | Surface incompatibility or contamination | Restore the documented preparation and product chain |
Trembling route | No anchor, stop-start movement or extreme slowness | Support the hand and rotate the work toward one pull |
Raised, wrinkled fill | Excess thickness or accumulated pigment | Remove the unstable level and rebuild thinly |
Identify the cause before adding gel. Filling a broken line can create a hump; tracing a trembling route can double the irregularity. Retain failed practice tips and label the attempted correction. A diagnostic library often teaches more than a portfolio containing only the single best sample.
A four-week Gel Painting practice plan
Week 1—brush and load: compare long and short liners, draw three line lengths and record which load finishes without a blob.
Week 2—curves and width: practise C curves, S curves, spirals and tapered lines while colour and surface stay constant.
Week 3—layering and composition: combine stems, small fills, shadows and negative space using no more than three line weights.
Week 4—complete service: create two coordinated accent nails and time palette, painting, curing, finishing and photography.
Twenty focused minutes can be enough when the session has one measurable question. Photograph the same view at the same distance and choose the sample that represents repeatable quality, not the most spectacular accident. The Gel Painting Nail Art Course can organise these controls into guided practice; the Professional Nail Art Course broadens the decorative repertoire.
From sample to a salon menu
Build essential, intermediate and complex design levels. State the number of nails, motif scale, background, number of painted levels and indicative time. A client chooses more clearly from reproducible samples, and the technician avoids fitting a miniature illustration into the time reserved for one simple line accent.
Time the entire service, including palette preparation, test strokes, curing, correction, finishing and photographs. Price the work through real time and costs rather than pigment volume alone. Photograph both macro detail and the full hand using the true-colour nail photography guide. The Complete Nail Technician Course connects decoration to a broader service pathway. English courses remain separate market records and may be closed for enrolment until their teaching content is ready.
Frequently asked questions about Gel Painting
What is the difference between Gel Painting and One Stroke?
Gel Painting covers fine lines, contours, small fills, shading and layered motifs made with photo-curable painting products, usually with liners and detail brushes. One Stroke is a specific double-loading method on a flat or angled brush that creates a blended petal or leaf through pressure and movement. They can coexist, but they require different loading and practice.
Which brush makes the finest gel lines?
An intact long liner often supports a continuous fine line, while a short liner or detail brush responds better to tiny segments. The ideal choice depends on route length, turning radius, gel consistency and scale. Check that the point closes and that the brush can repeat ten comparable marks before using it on a client.
Why does my Gel Painting line keep breaking?
Common causes include too little gel distributed through the bristles, excessive speed, a resistant or contaminated surface, a split point or contact so light that the brush cannot deposit a continuous film. Load evenly and test the same intended length rather than compensating with one large droplet.
How do I avoid a blob at the start of a line?
Refine the load on the palette while keeping the point closed, then begin moving as soon as the brush touches the nail. Do not pause under full load. If the gel is very mobile, reduce quantity and confirm the supported surface. Remove an accidental bead rather than dragging it through the whole route.
Can ordinary gel polish be used for Gel Painting?
Only when its instructions and tested behaviour support the intended detail. Some colours self-level, remain translucent or require a film unsuited to line work. Test pigment, stability, thickness, cure and compatibility. A similar colour or texture does not make two systems interchangeable.
Does painting gel need to be very thick?
It needs to hold the planned mark without flooding or skipping, but there is no universal viscosity. A firm gel can suit contours and fills, while a more mobile one may support a long curve. Assess rheology together with pigment, supported thickness and manufacturer instructions.
Why does the design spread before curing?
The gel may be highly mobile, the working surface too slippery, the load excessive or the design may remain outside the lamp while many details are added. Restore the documented surface and reduce mass. Use staged exposure only when the manufacturer supports it, then complete the required full cure.
How can I paint curved lines without trembling?
Anchor the hand, rotate the nail toward one natural pull and pre-mark the start, high point and endpoint. Practise larger C and S curves before reducing scale. A very slow line can magnify micro-movement and deposit uneven gel; seek one deliberate continuous route.
Must every gel line be cured separately?
Not necessarily. It depends on the product’s stability, the motif and its written instructions. Separating levels can prevent adjacent lines from merging, but improvised short exposures do not replace the complete cure. Keep each level thin and complete every stated cycle before finishing.
How should Gel Painting brushes be cleaned?
Use the cleaning method supported for the gel, avoid crushing bristles against the container and do not leave material near the ferrule. Reform the point and store the brush closed away from sunlight and curing lamps. Unsupported solvents can open the point or change elasticity.
How long does it take to develop reliable line control?
Progress depends on frequency, feedback and the precision required. Four short measured sessions each week usually teach more than one long random session. Advance from loading to lines, curves, layering and complete services only when the current standard can be repeated across a set.
How do I photograph a fine line without losing it?
Use soft diffused light, move the specular reflection away from the mark and stabilise the camera. Capture one sharp macro and one full-hand view with fixed white balance and exposure. The macro shows cleanliness; the wider frame proves the line remains readable at its real scale.
Sources and editorial limits
These sources support conservative exposure and nail-care boundaries; they do not prescribe one artistic product line. Gel rheology, pigment, supported thickness and cure are product-specific. Follow the actual instructions and continue through the English nail guide library and English nail course catalogue without linking the English editorial graph to Italian pages.