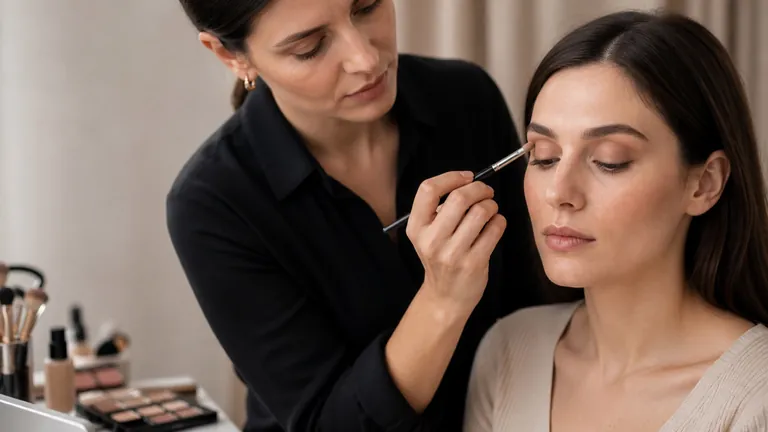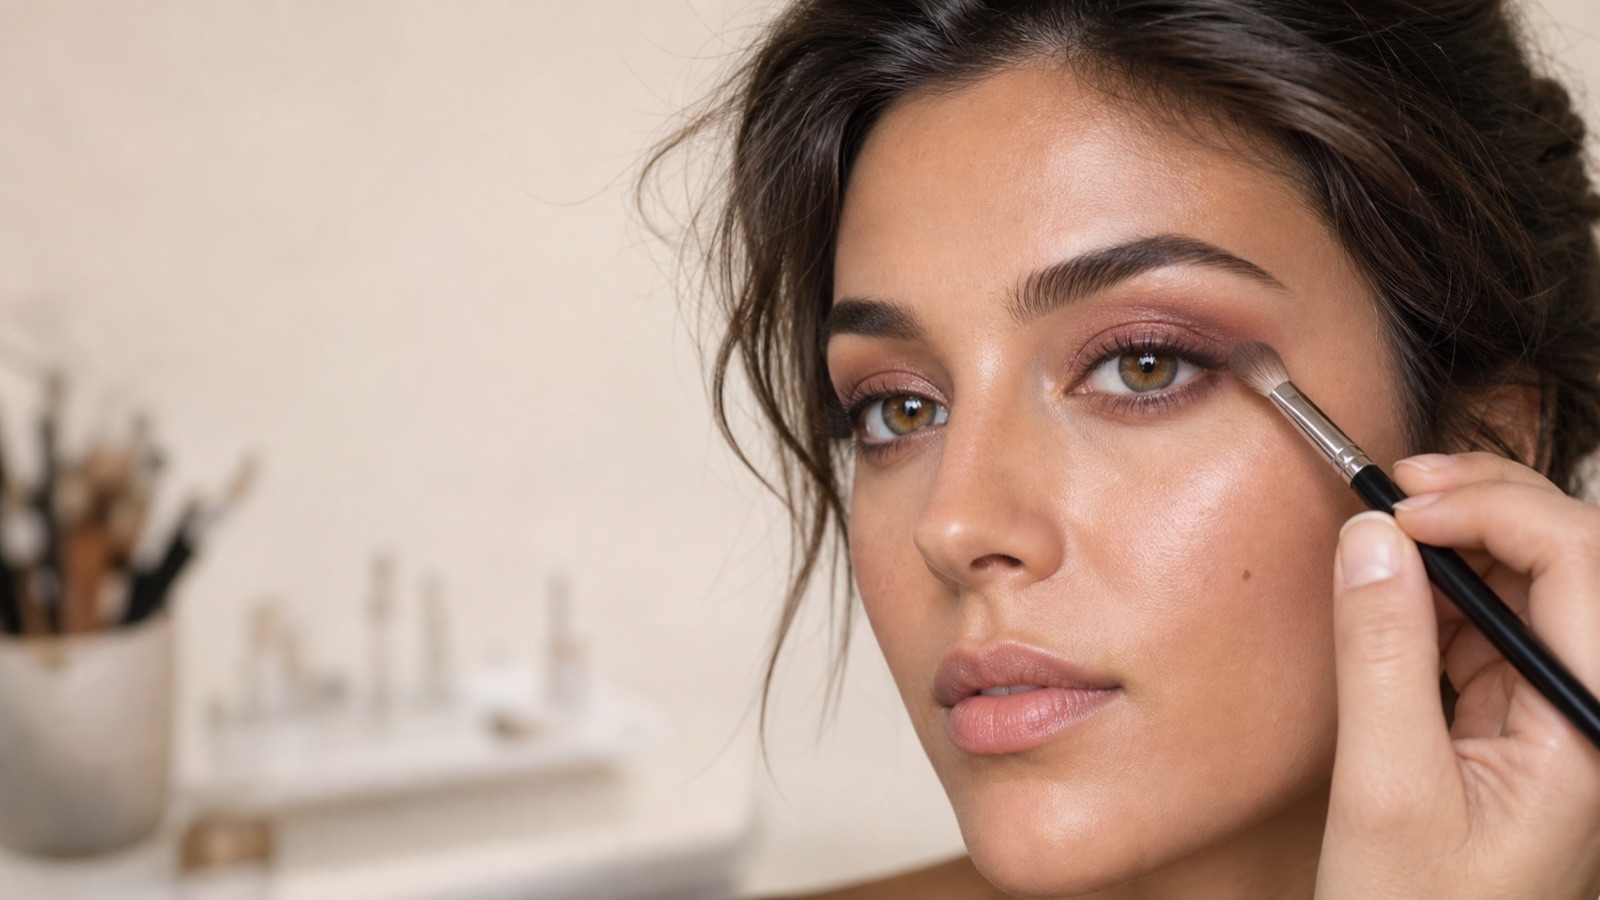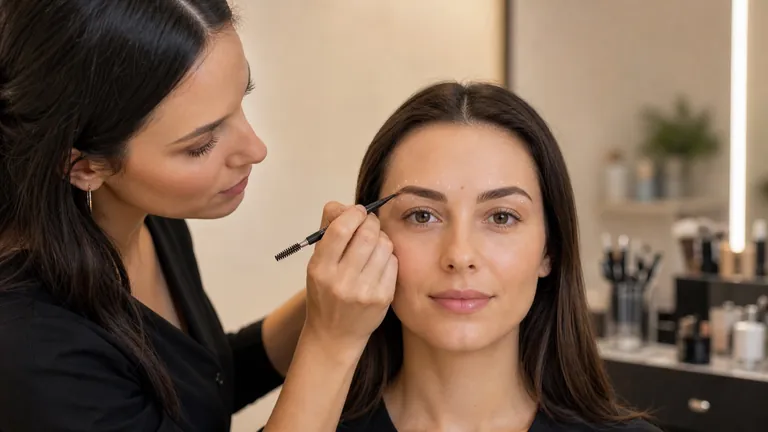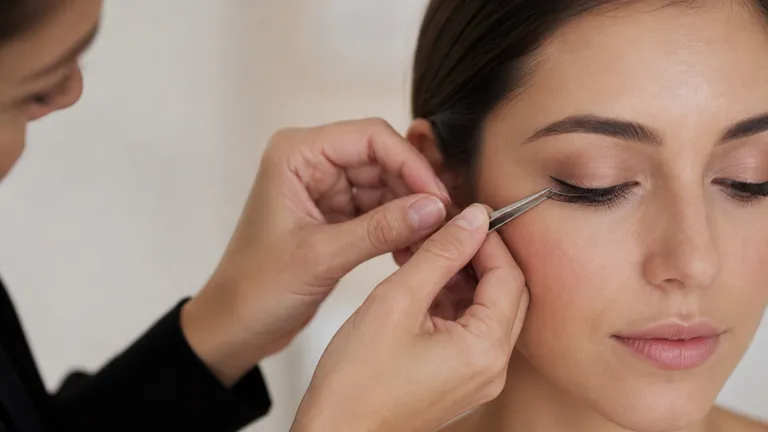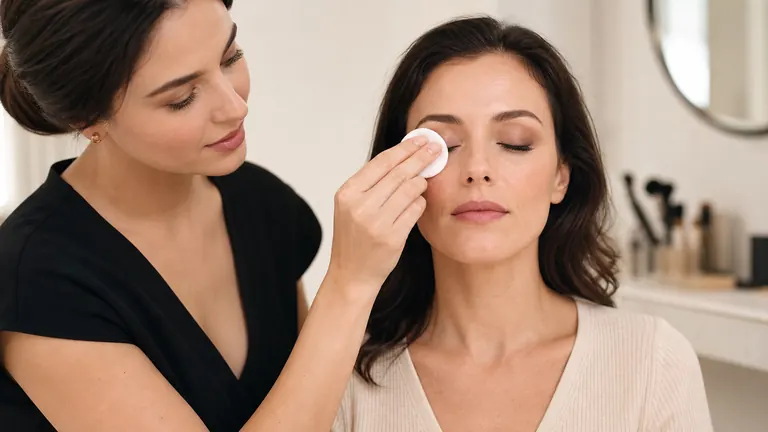
Removing makeup is not a matter of wiping until the pad comes away clean. What you applied to your lashes, lips and face determines how to take it off: waterproof mascara, tubing mascara and lip stain need different handling. This guide shows you how to choose a method for each area, spot what remains after the first pass and stop before repeated rubbing irritates your skin or eyes.
Quick answer. Wash your hands and remove contact lenses. For waterproof mascara, hold a pad with eye-safe remover against the closed eye before sweeping gently. For water-removable tubing mascara, use warm water and light pressure without pulling the lashes. Soften lipstick before wiping it away; choose a face cleanser that suits both the makeup's wear and your skin.
Choose a remover for eyes, lips and face
Waterproof mascara resists water; a water-removable tubing formula forms little sleeves around the lashes. Look at the formula and the part of the face you are cleaning before choosing a remover. Use only products intended for the eye area near your eyes. The table gives verified examples of how particular products are used, not a ranking. If your bottle gives different directions, follow those.
Light face makeup
- Product or method
- Sensibio H2O (Bioderma): sweep a soaked pad gently across the face. This product does not need rinsing.
- What to check
- If the pad still picks up foundation, use a clean side.
Waterproof mascara
- Product or method
- Take The Day Off Makeup Remover For Lids, Lashes & Lips (Clinique): shake the bottle, soak a pad and hold it against the lashes with your eye closed before wiping.
- What to check
- If colour remains at the lash line, work on that spot only.
Long-wear lipstick
- Product or method
- Use the same Clinique eye-and-lip remover: hold a soaked pad against the lips, then wipe away the softened lipstick.
- What to check
- When the pad stops picking up colour, do not scrub at a lingering tint.
Long-wear foundation
- Product or method
- Take The Day Off Cleansing Balm (Clinique): massage it onto a dry face with dry hands, then rinse thoroughly.
- What to check
- Check the sides of the nose, jawline and hairline.
Tubing mascara
- Product or method
- blinc Amplified: warm water and light pressure from clean fingertips or a soft cotton pad release the sleeves.
- What to check
- If they stay put, wet the lashes again rather than pulling.
Before you start: hands, contacts and clean pads
Wash and dry your hands, then remove contact lenses before taking off eye makeup. Tie back your hair and set out warm water, a clean towel and soft pads. Use separate pads for eyes and lips so colour does not transfer between them. If you are using a two-phase remover, shake the bottle before soaking the pad.
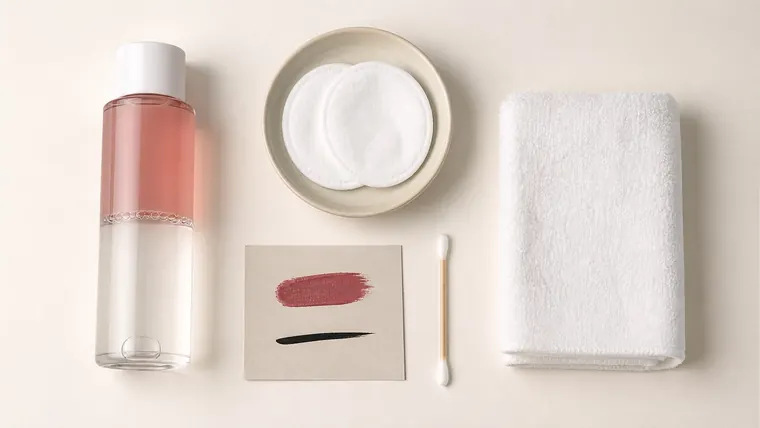
Wash reusable pads and let them dry completely before using them again. Replace one that holds residue, smells or has become rough: the material you put near your eyes needs to be clean and soft. When working on clients, prepare clean materials for each person and do not put an applicator back into the bottle after it has touched skin. The makeup workstation hygiene guide covers the full professional routine.
How to remove makeup from eyes, lips and face
Eyes. Hold a pad soaked in eye remover against the closed eye so waterproof mascara can loosen, then sweep gently down and out. If your mascara is a water-removable tubing formula, wet the lashes thoroughly with warm water and ease the sleeves along the lashes with clean fingertips or a soft pad, without pinching or pulling.
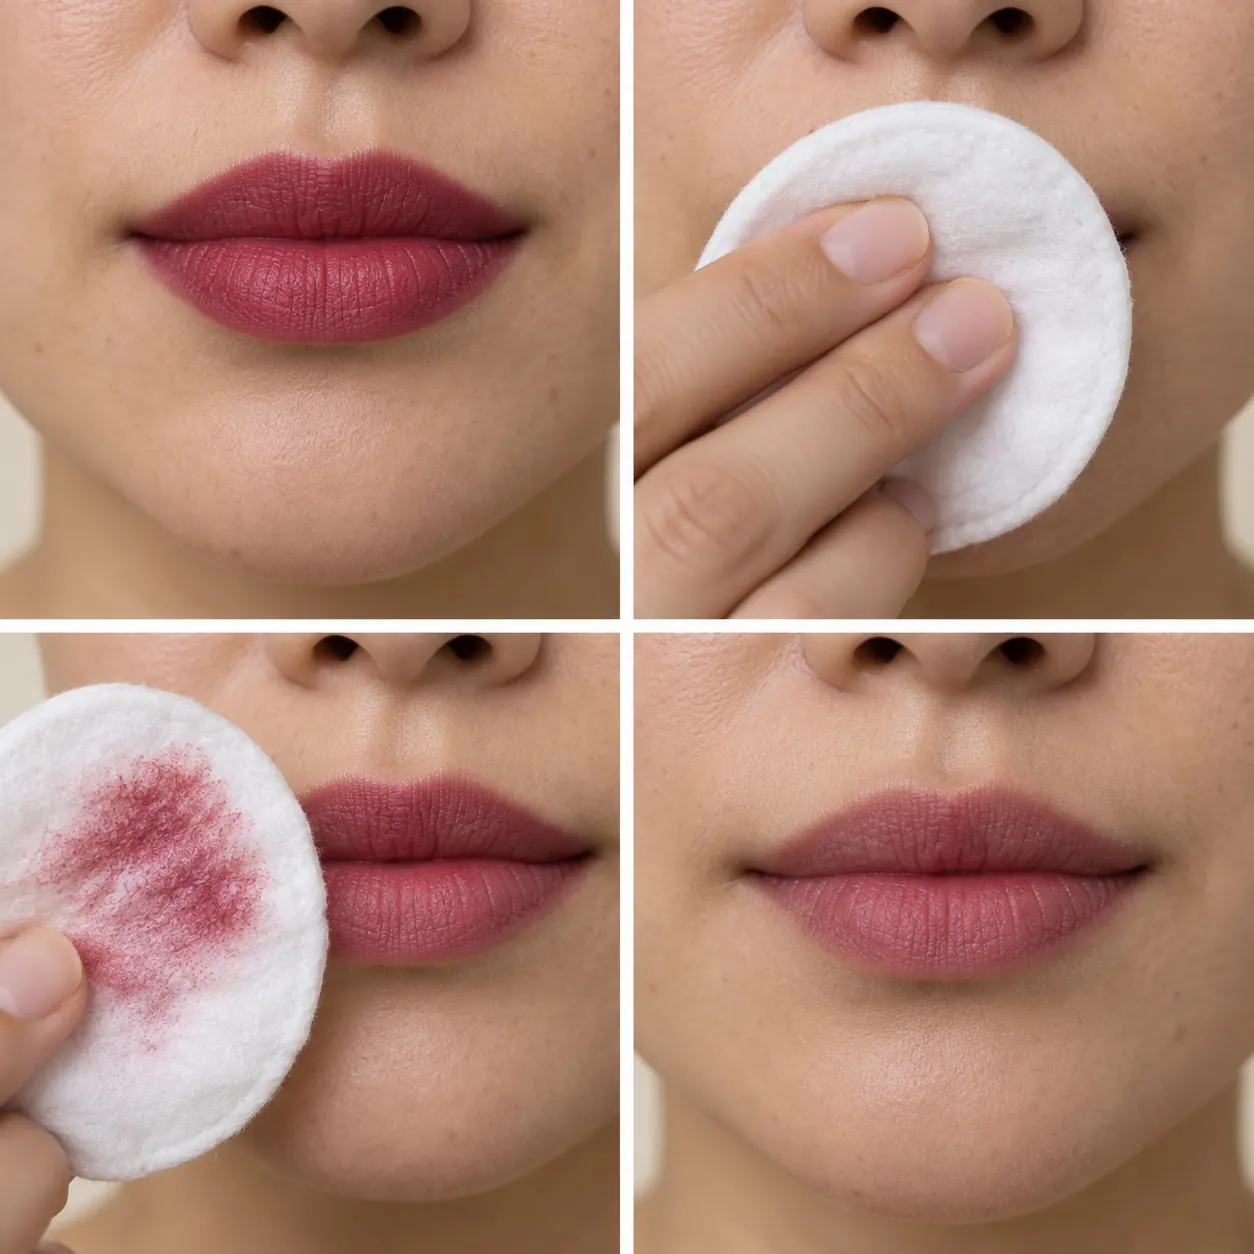
Lips. Hold a pad with a suitable remover against the lips long enough to soften the lipstick. Wipe from the corners towards the centre, turning the pad as it picks up colour.
Face. For light makeup, gently sweep micellar water across the skin with a clean pad. For a resistant base, massage cleansing balm onto dry skin, add water and rinse. If you have acne, choose an oil-free face remover followed by a gentle cleanser instead, even when your foundation is long-wear. Check around the nose, along the jaw and hairline, and the neck if you applied makeup there.
At the end, look for makeup that is actually left, especially at the lash line and around the edge of the face. Clean those areas only. If foundation remains after the balm or your skin feels coated, wash with a gentle cleanser and pat dry with a clean towel.
Waterproof mascara: clean the last trace at the lash line
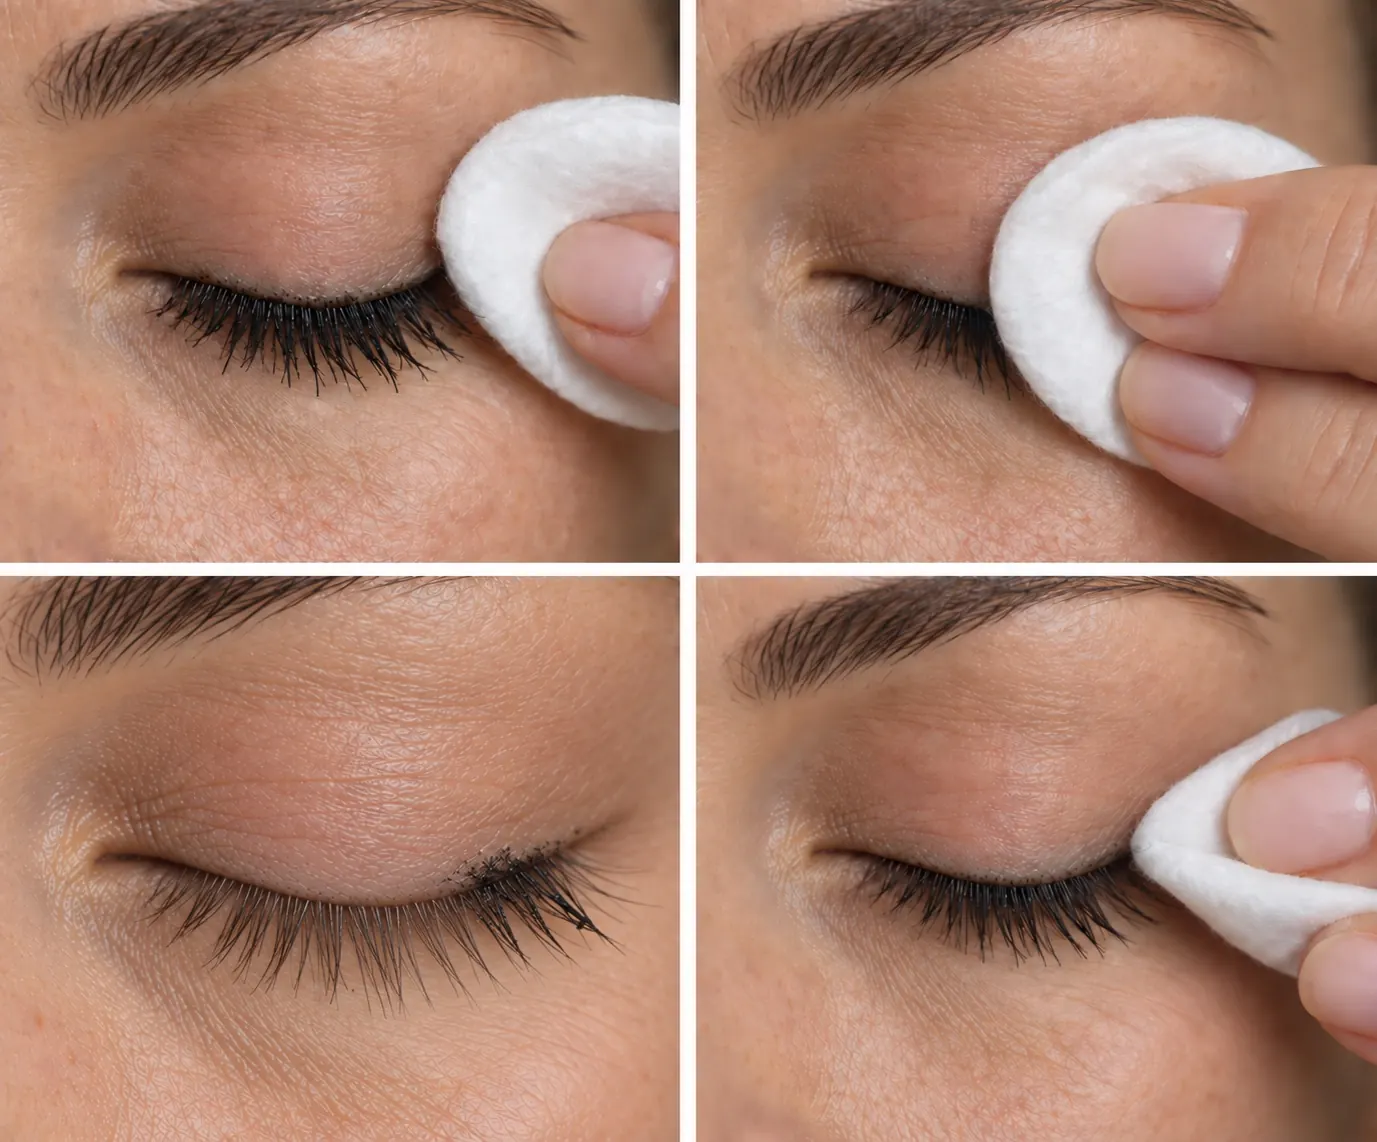
The first pass can leave a thin dark trace at the roots of the lashes. In the photographic sequence, it sits near the outer corner. With the eye closed, return only to that trace using a clean part of a pad soaked in remover made for waterproof eye makeup. Hold it there briefly, then sweep outward without tugging at the lashes. If the colour does not move, try another suitable remover rather than pressing harder. Stop if the eye stings or hurts.
Treat the remaining waterproof mascara only where colour remains
Tubing mascara: look for the sleeves coming away
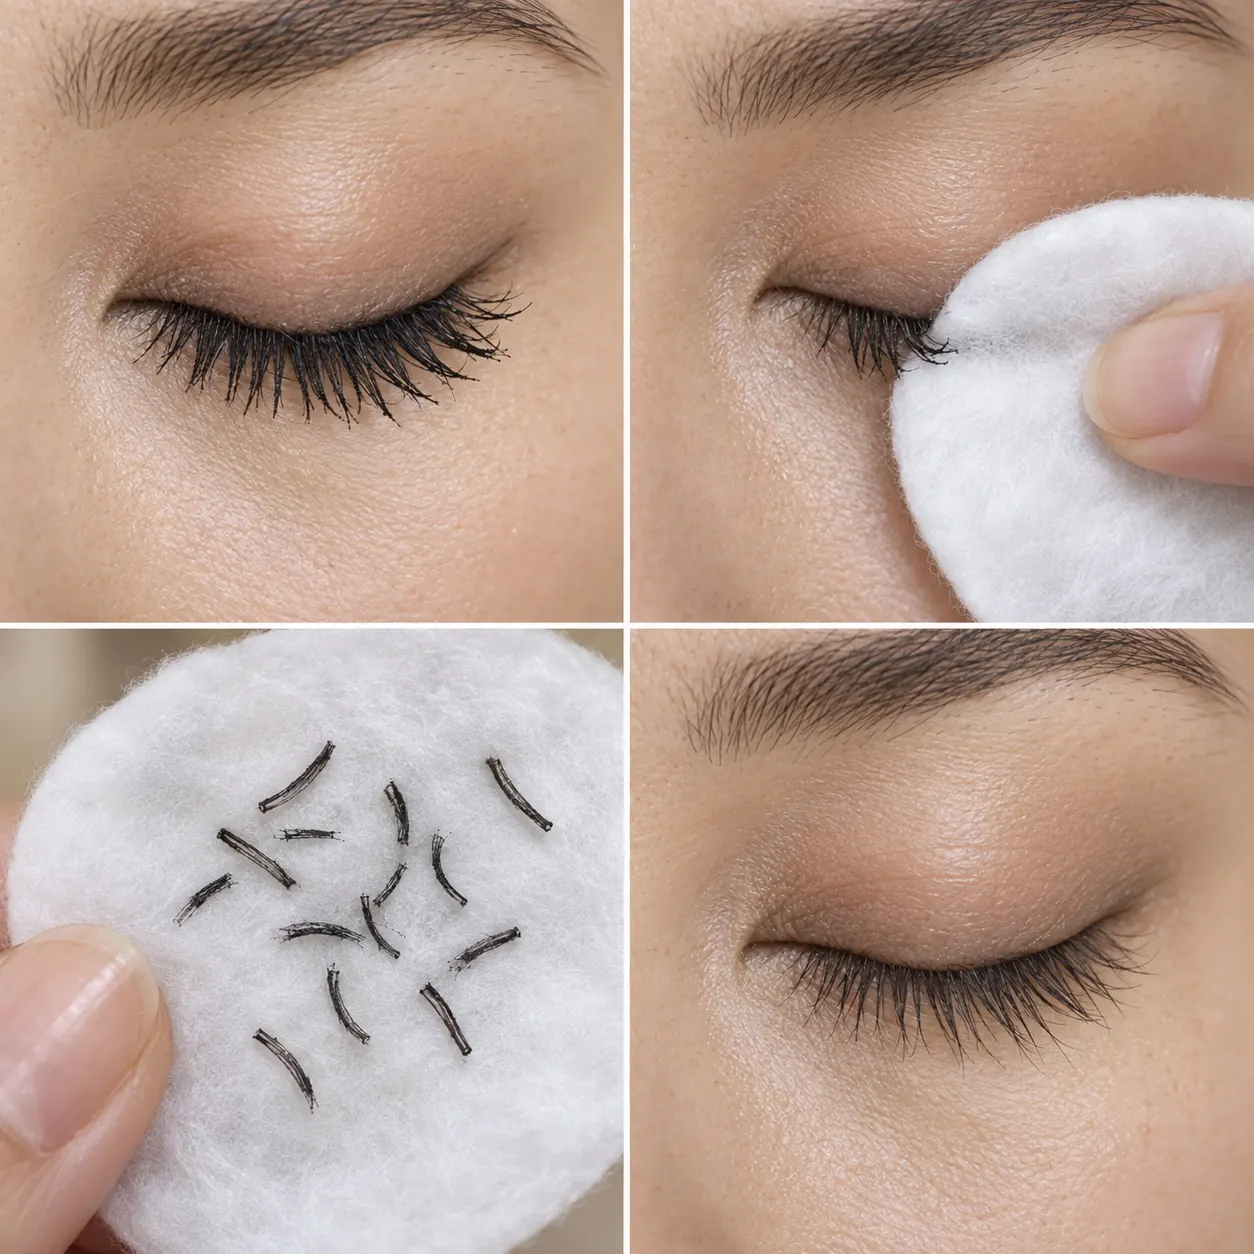
With a water-removable tubing mascara, you may find little black sleeves on the pad rather than dissolved colour. If some are still on the lashes, wet them again and move a soft pad gently along the lashes. Do not pick at them with your nails. If removal means pulling on your lashes, stop and check the directions for the formula you used.
Tubing mascara sleeves should come away without pulling the lashes
Eyeliner, glitter and strip lashes need different handling
For long-wear eyeliner, work along the line with a clean corner of a pad soaked in eye remover. Lift glitter from the lid with a fresh part of the pad, moving away from the eye; do not push particles towards the lid margin or use adhesive tape on the eyelid. If glitter gets into the eye, stop and rinse gently with clean water. Do not rub or use a pad or tool inside the eye. Seek medical help if the particle will not come out; a change in vision or severe pain needs emergency care.
For strip lashes, soften the adhesive as its maker directs before gently lifting the band. Stop if it pulls at your skin or natural lashes. This is not how to remove lash extensions; the false-lash guide covers removing strips in more detail.
Long-wear lipstick and lip stain
If the pad still lifts lipstick after the first pass, turn it to a clean side and continue gently. A lip stain can leave a faint tint even after its surface layer has come away; in the photograph, it is most visible in the lip lines. Once the pad stops picking up colour, rubbing will not help remove that remaining tint.
A faint lip stain is not a reason to keep scrubbing
If your skin is acne-prone or sensitive
If you have acne and foundation remains around the nose or hairline after the first pass, return only to those spots with your oil-free face remover. Do not reach for a scrub or brush to shift it. The American Academy of Dermatology recommends washing the face with a gentle cleanser afterwards; use a remover suited to your mascara around the eyes. The acne-prone skincare guide explains when to see a dermatologist.
If your skin irritates easily, avoid repeated passes over the same area and use products you already tolerate. Avoiding friction matters especially with rosacea. If your skin stings or looks red after removal, the sensitive and sensitised skin guide can help you simplify the routine.
When to stop and get help
If your vision changes, you have severe eye pain or you notice blood or pus coming from the eye, stop removing makeup and go to an emergency department immediately. If a product causes stinging or swelling, stop using it and do not rub the area. Get medical advice promptly for new or unusual eye discharge; see a doctor if mild redness or discomfort does not settle. If you suspect a cosmetic reaction, note the product you used: the cosmetic reaction guide helps you describe the symptoms.
Frequently asked questions about makeup removal
Will micellar water remove waterproof mascara?
Not always. Sensibio H2O, for example, is intended for face and eye makeup but does not claim to remove waterproof mascara. If the pad is not lifting colour, switch to a remover made for waterproof eye makeup instead of rubbing.
Do I always need to double cleanse?
No. If your makeup is gone and your skin feels clean and comfortable, you can stop. After a rinse-off balm, a gentle cleanser may help if foundation is still visible or your skin feels coated. The double-cleansing guide explains when a second wash is useful.
How long should I hold a pad over waterproof mascara?
It depends on the product. For its Take The Day Off eye-and-lip remover, Clinique recommends holding a saturated pad over long-wear mascara for 10 seconds before wiping. That is a product-specific example, not a rule for every two-phase remover.
Can I use cooking oil to remove eye makeup?
Choose a remover formulated for the eye area. Cooking oil does not come with directions for use or rinsing around lashes and eyes, so it is not a substitute for eye makeup remover.
What if makeup remover gets in my eye?
Stop removing makeup and rinse the eye straight away with clean water that is not hot. Hold the eye open under a gentle flow for at least 20 minutes, and follow any specific directions on the product packaging. Do not wipe inside the eye with a pad or another object. Go to an emergency department immediately if your vision changes, you have severe pain, or blood or pus is coming from the eye. Get medical advice promptly for other new or unusual discharge; see a doctor if mild redness or discomfort does not settle.
After removing your makeup
To compare the removers you own, download the printable A4 sheet and note what remains after the first pass next time you use them. When there is no makeup left to remove and your skin feels comfortable, continue with your evening skincare routine.
Sources
FDA: Everyday Eye Care covers taking out contact lenses before removing makeup; Eye Cosmetic Safety covers clean tools, products intended for the eye area and avoiding scratches.
American Academy of Dermatology: makeup and acne covers makeup removal before bed, gentle cleansing and oil-free remover for people with acne; rosacea skin care tips advises against rubbing rosacea-prone skin.
NHS: Eye injuries explains how to rinse an eye with clean water that is not hot for at least 20 minutes, follow cosmetic packaging advice and recognise symptoms requiring emergency care, including blood or pus coming from the eye. Red eye also describes when to seek advice for redness and sticky discharge.
Healthdirect Australia: Objects or chemicals in the eye covers gentle flushing for a small particle and medical help if it does not come out.
The product examples follow manufacturer directions checked on 29 September 2026: Bioderma Sensibio H2O, Clinique eye-and-lip remover, Clinique Cleansing Balm and blinc Amplified.