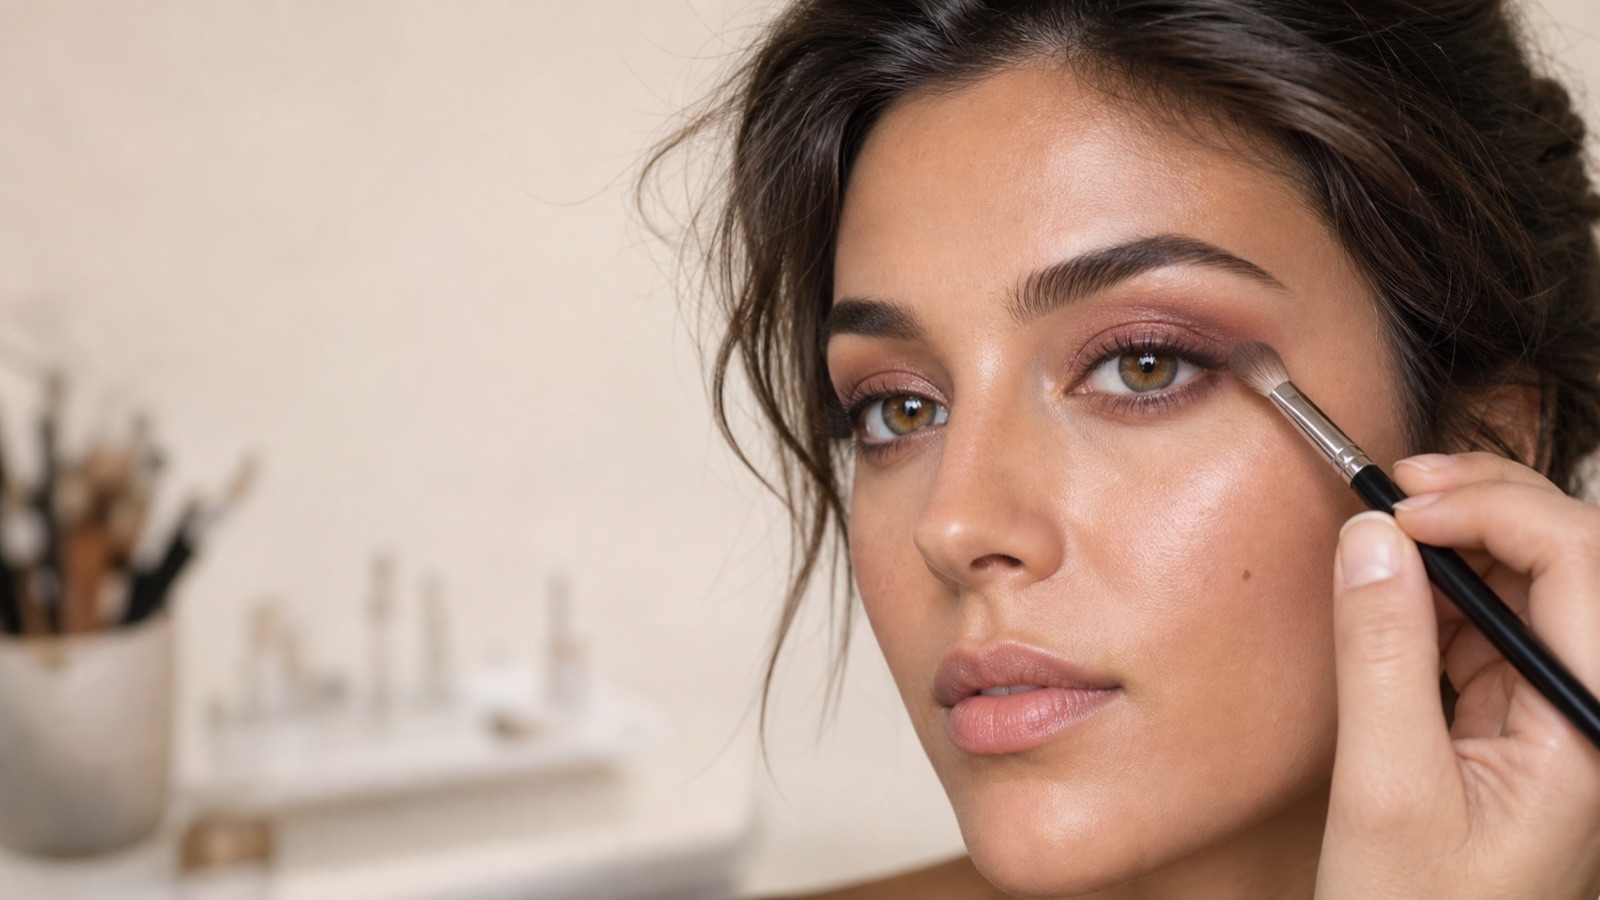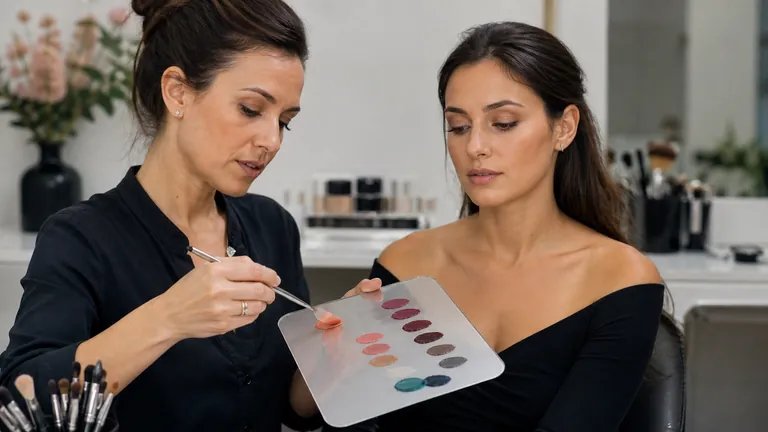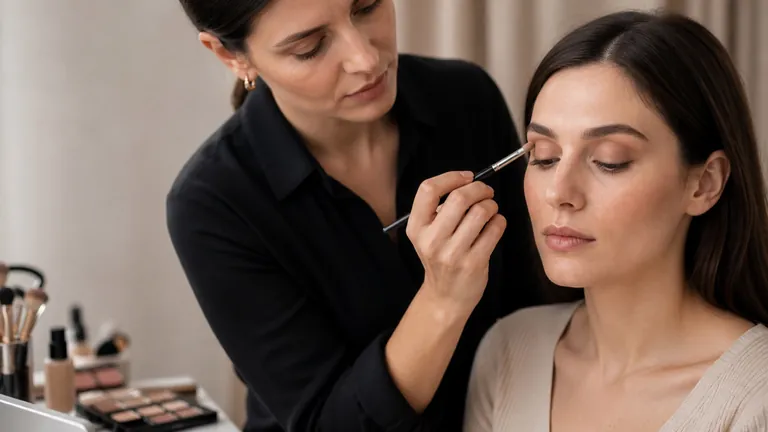
Corrective eye makeup is not a system for labelling one eye shape right and another wrong. It is a way to understand how visible lid, fold, brow space, eye axis, spacing and projection change the way eyeshadow, eyeliner and false lashes are read. Two people described as having small eyes may need opposite decisions: one may have a deep fold and little mobile lid visible, while the other loses space because the liner is too thick. A professional design begins with observation rather than a copied diagram.
Quick answer: observe the eyes from the front, open and with the brow relaxed. Identify what remains visible, choose one optical priority and test placement with very little product. On a hooded lid, map visible structure above the fold; on small eyes, preserve space and precision; on close-set eyes, move visual weight gradually outward; on prominent eyes, control reflection, depth and hard borders. Review the result at normal conversation distance.
This guide owns eye-shape analysis and corrective placement. Brush pressure and seamless edges belong to the eyeshadow blending guide, while whole-face proportion belongs to corrective makeup and visagism. Build the method through the corrective eye makeup course, or compare the wider online makeup course catalogue.
Read the eye before trying to correct it
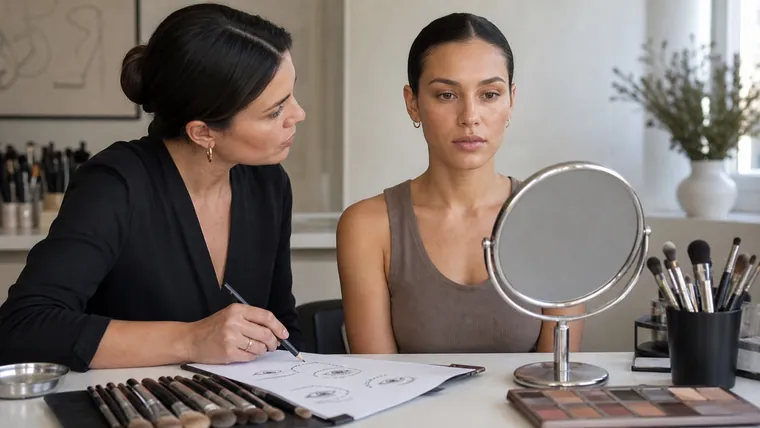
Shape labels are descriptive shortcuts, not diagnoses or aesthetic judgements. One person may have a hooded fold, close spacing and a slightly downturned outer corner at the same time. The two eyes may also differ. A single label hides that information. Describe what you can see instead: how much mobile lid remains visible, where the fold lands, which direction the axis takes, how the eyes sit within the whole face and which areas project into frontal light.
Observe bare eyes in diffuse light with the head neutral. Ask the person to look forward, then down, and finally close the eyes without lifting the brows. This reveals the difference between anatomy at rest and the working surface during application. A map that looks complete on a closed lid can disappear, crease or change direction the moment the person looks ahead. Record what happens in movement before selecting a technique.
The professional eye map: seven elements to observe
Observe before you design
Eye shape is a combination of visible variables, not one label
Lid
How much mobile space remains visible
Fold
Where tissue hides or transfers product
Axis
Direction between inner and outer corners
Volume
Depth, projection and frontal light
Visible mobile lid: note how much coloured surface remains readable from the front, not only when the eye is closed.
Fold and overlying tissue: see where skin rests and whether eyeshadow or liner becomes hidden or transfers.
Axis: compare inner and outer corners without imposing an ideal line; use direction to plan visual movement.
Spacing: assess the inner-corner distance in relation to the nose bridge, brows and full facial width.
Depth and projection: notice whether the eye looks deep-set, exposed or prominent and how frontal light describes the volume.
Fixed brow space: preserve deliberate negative space instead of filling the whole area automatically.
Functional asymmetry: compare fold height, brow position and opening, then balance visible weight rather than copying identical measurements.
Write one objective before applying product: keep the transition visible with the eye open, lighten a heavy lash line, move maximum depth outward, or make two different folds read more evenly. One priority prevents you from adding shadow, liner, pencil, lashes and brow definition simultaneously without knowing which decision produced the change.
Hooded eyes: design with the eye open
Build the map from the frontal view
Four checks keep placement and liner visible through the fold
Relax brow and forehead
Mark the visible boundary
Build controlled thin layers
Check line and wing open
On a hooded eye, tissue above the crease covers part of the mobile lid. This does not mean the eye must always be made to look lifted. It means colour and line need to be positioned according to what is actually visible from the front. Mark the key points with the eye open, connect them with the lid relaxed or half closed, and return repeatedly to the frontal view.
Place a thin transition slightly above the anatomical fold only where it needs to remain visible. Keep intentional space below the brow and build depth in controlled layers. A large dark patch can reduce the remaining visible area. If you use shimmer, test transfer and place reflection where the mobile lid can actually be seen instead of following the entire eyeball automatically.
Design eyeliner from the front. A thick line across the full lash line may occupy most of the mobile lid; fine root definition and an outer direction planned with the eye open often preserve more space. Do not extend a wing through a fold without checking it. A smooth line on a closed lid can break when open. Lash density and band stiffness matter too: a heavy uniform strip may hide the design and reduce comfort.
Small eyes: preserve space, contrast and definition
Small eyes do not require pale colour everywhere. The aim is to keep the iris, lid edge and chosen direction readable without building a frame that is out of scale. Begin with a fine lash line and add any extra thickness gradually toward the intended focal area. Keep depth controlled and the transition clean; a very wide haze can occupy more visual space than it creates.
A satin accent at the centre or inner corner may open one point, but reflection does not replace accurate shape. Too much light product can emphasise texture and will not automatically enlarge the eye. Curl and separated mascara can expose more of the iris when they do not form clumps or weigh down the tips. A pale waterline pencil is optional, not a rule. Use only cosmetics intended for that area and stop if irritation occurs.
Close-set eyes: move visual weight without creating an empty inner corner
Read spacing on the whole face. Close brow placement, shadow beside the nose and dark product in the inner corner can intensify a close-set impression. To move weight outward, keep the inner area fine and softly connected, then increase tone and definition through the outer half. Direct the end point in relation to the brow and available temple space rather than drawing the longest possible wing.
Do not leave a detached white patch at the inner corner. The lid still needs a credible transition from light to medium. Inner-corner highlighter is optional and should be proportionate; a bright isolated spot can attract attention back to the centre. Concentrate lash definition from the central axis outward while checking that long outer fibres do not pull the direction down.
Prominent eyes: control reflection, depth and hard borders
A prominent eye projects visibly and catches light across a broad surface. It does not need to be hidden. When the agreed aim is a more contained effect, try matte or controlled satin finishes across the mobile lid and build depth near the lashes and fold without making a dark ring. Keep the outer boundary gradual; a sharp frame around the entire eye may emphasise volume rather than balance it.
Avoid placing intense shimmer over the full mobile lid by habit when you want less optical projection, because reflection comes forward. You can still use a deliberate light point for a creative brief. Link lower-lash colour to the upper design with small tools. Excess black above and below can close the eye, while a precise line that merges into the shadow provides structure without a separate border.
Orientation table: placement, texture and control
Test one variable for each observation
The same placement does not solve every eye
Small
Preserve space and precision
Close-set
Move weight gradually outward
Prominent
Control reflection and hard borders
Asymmetrical
Balance what remains visible
Observation | Useful test | Common mistake |
|---|---|---|
Fold covers the lid | Open-eye map with transition visible above the fold | Designing everything on a closed eye |
Little apparent space | Fine line, precise depth and targeted reflection | Thick uniform dark frame |
Close spacing | Soft inner gradient with increasing outer weight | Detached bright inner patch |
Strong projection | Diffused depth with controlled reflection | Hard dark border around the whole eye |
Eyeliner: build the line while the person looks ahead
Mark three references with little product: the starting point, maximum thickness and final direction. Join them with short segments and ask the person to look forward after each stage. Do not stretch the skin while planning, because the line changes when released. Stabilise your hand without pressing on the eyeball and keep the tip of the tool within clear view.
A hooded lid may need an outer shape that looks stepped when the eye is closed but reads continuous when open; this is one option, not a prescription. Keep inner thickness small on a limited visible lid, build outward gradually for close spacing and connect line to shadow on a prominent eye. Brown diffusion and crisp black carry different visual weight even when the outline is identical. The separate eyeliner guide will own detailed wing construction; here the line remains one part of the corrective map.
False lashes and mascara: shape, load and comfort
False lashes do not correct automatically. A long uniform band may cover a small lid; a very heavy outer section can pull an already descending direction lower. Measure and trim the band according to its instructions, then choose density, curl and direction for the whole design. Clusters offer more local control but still require an appropriate adhesive, hygienic handling and gentle removal.
Never share a mascara wand between people. In professional work, decant where appropriate and use a fresh disposable applicator without returning a used tool to the tube. Review the complete workflow in the makeup hygiene guide. If a lash, band or product creates pain, scratching, excessive watering or persistent discomfort, remove it and stop rather than trying to secure it with more adhesive.
Asymmetry: balance what is visible rather than copying measurements
Most faces are not perfectly symmetrical. If one fold sits lower, drawing colour at the same anatomical height may produce different visible results. Balance the frontal reading instead. Alternate each step across both eyes: transition on both, depth on both, liner on both. Finishing one full eye before the other makes it harder to reproduce product load, pressure and angle.
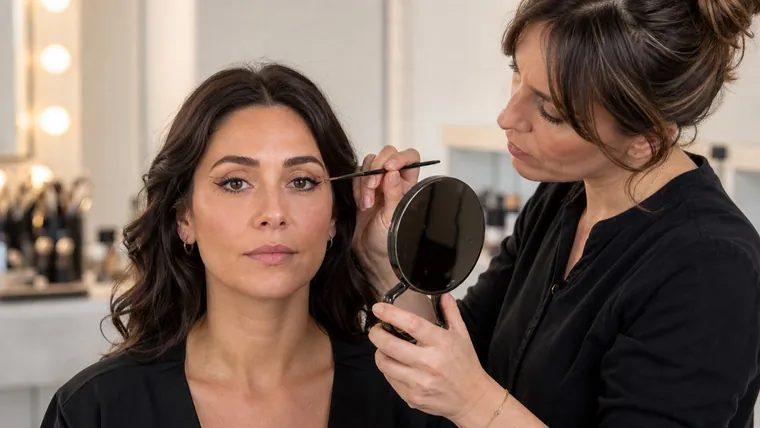
Check from about a metre away, not only in a magnifying mirror. Close inspection supports precision; normal distance reveals weight and direction. Take a neutral front photograph with consent and without the person lifting their brows, but do not make the camera the only judge. Lens, distance and angle can change apparent proportions.
A complete corrective-eye protocol in nine steps
Observe, choose, build, verify
Corrective eye makeup is a cycle, not a diagram to copy
Observe
Open, looking down and closed
Design
One priority and a few references
Build
Base, depth, line and lashes
Verify
Distance, light, image and comfort
Clarify preference, comfort, contact-lens use and the intended result without promising anatomical change.
Observe eyes open, looking down and closed; record fold, axis, spacing, projection and asymmetry.
Choose one optical priority that supports the whole makeup brief.
Prepare the lid with a thin compatible layer and no accumulation in the fold.
Mark transition height and direction with little product while the eye is open.
Deposit depth in the chosen zone and blend only the boundary.
Build lash definition, optional liner and reflection in proportion to real visible space.
Add mascara or lashes and verify that iris, shape and comfort remain clear.
Review close up, at distance, in the event light and in a consented photograph; change one variable at a time.
Apply the sequence after appropriate skin preparation and connect it to the complete service structure in the professional bridal makeup guide. Eye placement should support the brief, not become an isolated technical demonstration.
Common failures and what to change first
If the shape disappears when the eye opens, the design was probably built only on a closed lid. If the eye looks heavier, inspect line thickness, lash density and colour height before adding highlight. If the sides diverge, compare the first placement point and brush load. If a wing points down, reassess its direction from the front instead of repeatedly cleaning and thickening both edges.
The failure may be mechanical rather than morphological: rich eye prep, an unset base, excessive shadow, an oversized brush or prolonged blending can make a sound map look muddy. Stabilise product control with the eyeshadow blending method before redesigning the whole placement.
Practice four eye maps by changing one variable at a time
Prepare four face charts or consented photographs with different visible features. For each, write the observation, chosen priority, point of maximum depth, upper transition limit, lash-line plan and lash decision. Begin with one matte colour so hue and multiple finishes do not hide placement. Repeat with only one added variable, such as liner or a light point.
Record front and three-quarter views, timing and products. Evaluate with defined criteria: shape remains visible with eyes open, edges are controlled, visible balance is coherent, the person is comfortable and transfer is acceptable for the brief. The guide to learning makeup from scratch provides a broader deliberate-practice framework.
Eye hygiene, contact lenses and stop criteria
Wash hands, use clean tools, avoid sharing products that can become contaminated and use only cosmetics intended for the eye area. FDA guidance says to stop using an eye cosmetic if it causes irritation and to avoid eye cosmetics when an infection or inflamed skin around the eye is present. Pain, marked redness, discharge, a vision change or persistent discomfort is not a feature to cover. Stop and recommend appropriate healthcare assessment.
Contact-lens wearers should follow the advice of their eye-care professional and lens manufacturer. FDA consumer guidance recommends inserting lenses before makeup and removing them before taking makeup off. If pain, redness, itching or a vision change occurs, lenses should be removed and professional advice sought. Never use saliva or water to revive mascara, and never apply a moving tool close to an unsteady eye.
Frequently asked questions about corrective eye makeup
How should eyeshadow be placed on hooded eyes?
Map transition, depth and outer direction with the eye open. Keep some colour visible above the actual fold, build thin layers and preserve deliberate space below the brow.
Which eyeliner works on hooded eyelids?
There is no single shape. Fine root definition and a wing planned from the front often preserve more visible lid. Check the fold before joining the line and choose direction on the individual eye.
How can small eyes look more open?
Keep lash definition proportionate, place depth precisely, avoid an oversized haze and test lifted, separated lashes or one focused reflection. No single pale pencil creates the result alone.
How do I apply makeup to close-set eyes?
Keep the inner area softly connected and increase tone and definition gradually through the outer half. Assess brows and nose-side shadow because spacing is perceived within the whole face.
Which finishes suit prominent eyes?
For less optical projection, test matte or controlled satin with diffused depth. Shimmer is not forbidden; place it deliberately according to the agreed look, skin texture and lighting.
Does black always make eyes look smaller?
No. Thickness, placement, continuity and diffusion matter as much as colour. A fine black line can define; a thick uniform frame can reduce visible space.
Is waterline pencil safe?
Use only products intended for that area and follow their instructions. Do not apply during irritation or infection, and stop if discomfort develops. Contact-lens wearers should follow professional advice.
How can two different eyes look more balanced?
Alternate every stage and balance what can be seen from the front rather than copying a closed-eye measurement. Compare height, direction and visual weight at normal distance.
Do false lashes correct eye shape?
They can change visual weight, but not automatically. Length, density, curl and direction need to respect real space, axis, comfort and the requested effect.
How can eyeshadow transfer in the fold be reduced?
Reduce base thickness, let layers settle, use compatible formulas and verify placement with the eye open. Transfer may reflect fold, prep, heat and amount, not simply eyeshadow quality.
Should corrective makeup make every eye almond-shaped?
No. Professional technique may emphasise, balance or transform visual direction according to the request, but it should not impose one ideal shape.
When should eye makeup not be applied?
Stop when infection, inflamed periocular skin or evident irritation is present. Pain, discharge, marked redness or a vision change requires healthcare assessment rather than cosmetic coverage.
Sources and next steps
Safety references: FDA Eye Cosmetic Safety, FDA Cosmetics Safety Q&A and FDA Contact Lens Care. Continue through the English makeup guide library or review the dedicated corrective eye makeup course before enrolment reopens.
Editorial review: 5 September 2026. This educational guide does not diagnose eye conditions, prescribe an ideal eye shape or replace hands-on feedback and healthcare advice. It deliberately owns eye morphology and corrective placement; blending mechanics, eyeliner construction, eye-colour harmony and whole-face visagism remain separate search intents.
For a focused method on lash-line thickness, wing direction and open-eye balance, use the eyeliner guide for different eye shapes. It keeps line mechanics distinct from full eye morphology and eyeshadow blending.
For a focused method on temporary eyebrow shape, reference points, colour and product choice, continue with eyebrow mapping: shape, colour and makeup products. It keeps brow makeup distinct from permanent services and hair-removal procedures.
To separate hue, value, saturation, contrast and controlled neutralisation, continue with the makeup colour theory guide. It treats colour as a testable design decision rather than an automatic pairing.
To turn colour, blending and correction into a complete look for changed light, continue with the professional evening-makeup guide. It organises focal hierarchy, reflection, flash checks and realistic long wear.
To adapt these product and placement decisions to moving lines and mature texture, continue with the makeup for mature skin guide. It uses zone-based preparation, thin layers and selective setting without age-based rules.
To choose head shape, density and fibre from the mark you need, continue with the professional makeup-brush guide. It connects product loading, first contact, pressure and angle to a repeatable result.
Fit temporary lashes to the finished eye design
When a design includes a strip or temporary clusters, compare weight, length and direction with the eye open. Use the complete guide to false eyelashes.
Design a smokey eye on the real lid
Turn open-eye anatomy into a complete gradient with the professional smokey-eye guide.
Add the frame to the eye-shape assessment
When corrective lenses change the visible result, continue with makeup for glasses.
Use mascara to support the eye design
Choose direction and load through the professional mascara method.
Adapt cut crease to eyelid anatomy
Continue with the professional cut crease technique.
Separate iris palette from eye-shape placement
Use the eye-colour palette guide.