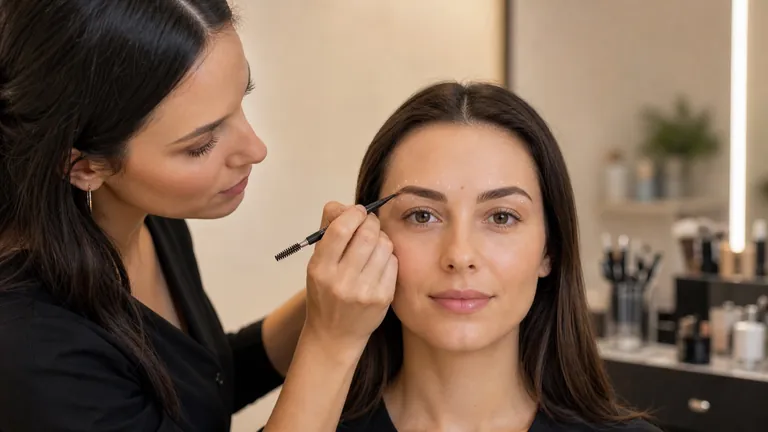
Eyebrows are not two stencils that must become identical. They are living structures made of hairs with different density, direction and height, placed over bones and muscles that rarely move in exactly the same way. Professional eyebrow mapping makes those differences legible. It sets provisional references, decides how much cosmetic product is useful and preserves texture instead of turning the face into a rigid drawing.
Quick answer: observe hair growth, skin and movement with the face relaxed; brush the hairs into their natural direction; mark start, highest directional point and tail lightly on both sides; compare from normal distance; test colour between the hairs; then build the lower direction, gaps and tail in thin layers. Aim for related balance rather than identical closed shapes.
This guide covers temporary cosmetic eyebrow makeup: observation, mapping, shape, colour and the choice of pencil, powder, pomade, brow pen and gel. It does not teach microblading, permanent makeup, tinting, hair removal or brow lamination. Link the detail to whole-face priorities through corrective makeup and visagism, then coordinate it with the corrective eye makeup guide and eyeliner for different eye shapes. Build the sequence through the beginner makeup course or compare all online makeup courses.
Observe eyebrow hair, skin and movement before mapping
Seat the person with the head neutral, forehead relaxed and gaze forward. Read the brows from about a metre before moving closer. Note the natural start, fullest zone, directional change, tail length, visible gaps and local hair direction. Ask the person to raise and relax the brows once. This separates asymmetry created by expression from the structure seen at rest.
Check the skin before applying product. Very dry patches can make pencil skip, while a rich unset base can destabilise pomade and gel. Do not cover broken, markedly inflamed, swollen or weeping skin. Stop if burning or a sudden reaction develops and recommend appropriate healthcare assessment when symptoms persist or involve the eye area.
Brush the hairs gently upward and then into their natural direction. This reveals length, sparse zones and changes in growth. Do not trim, remove or fix hairs before observing them. Altering the available structure first makes it harder to identify what temporary makeup alone can realistically achieve.
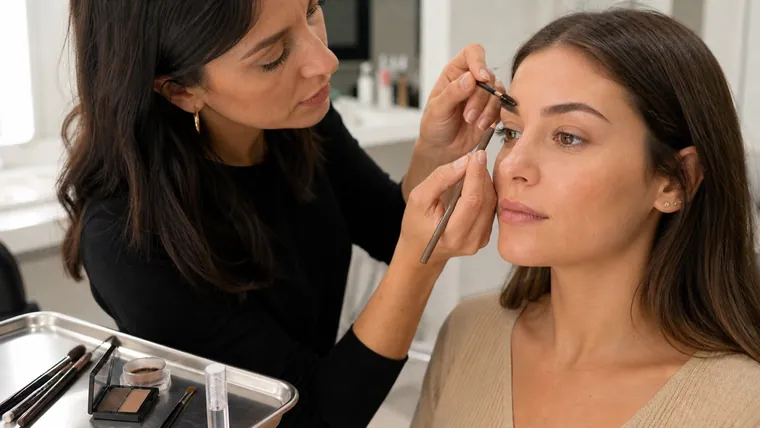
Eyebrow mapping: start, directional high point and tail
Three references, then a full-face check
Mapping guides a temporary design; it does not impose universal coordinates
Start
Controls central visual weight
Body
Carries density and direction
High point
Organises the directional change
Tail
Tapers without dragging
A basic map uses three references. The start influences how much visual weight sits near the centre of the face. The high point organises a change of direction. The tail completes the line without dragging it down. These are not universal coordinates. Nose width, bridge, eye corners and bone structure help orientation, but each mark must be checked against real growth and the whole face.
For the start, compare natural density with the side of the nose. A vertical line from the nostril can be a useful test, not a compulsory border. Different noses, eye spacing and existing hairs change the balance. Mark a faint point, step back and move it before drawing an edge. An overly dark or square start can dominate the expression even when its measurement appears correct.
The high point is not necessarily the tallest individual hair. It is where the upper and lower directions create the strongest visual turn. An arch placed too centrally can look abrupt; one placed too far out can leave an unsupported body and long tail. Compare iris, outer eye, brow bone and hair mass, then test the change with a removable mark.
The tail should usually narrow progressively and end without pulling the outer eye downward unintentionally. A notional line between nostril and outer eye can estimate length, but it does not require filling hairless skin with a solid stripe. Where density is low, build varied micro-strokes and review the result at conversation distance.
Build lower direction, upper softness and believable thickness
The lower brow line can organise direction, but should not become a continuous dark outline. Start through the body rather than at the inner edge and define only the areas that need clearer structure. Keep the upper boundary softer. Closing both edges with opaque product produces a cut-out effect. Add hair-like marks and small areas of visible skin between them.
Judge thickness in relation to forehead, eyes and existing density. Making a naturally full brow very thin to follow a trend removes material and creates maintenance. Expanding a fine brow with dark opaque product can feel equally disconnected. For temporary makeup, test small increases, take a neutral frontal photograph with consent and confirm that the result remains credible in daylight.
Eyebrow symmetry means relationship, not duplication
Compare start height, high-point position, tail angle and visible thickness without measuring every hair. One side may sit higher because of muscle activity, bone structure or growth. Lowering it with a dark border or raising the other with heavy fill can create two artificial shapes. Seek a relationship in direction, visual weight and colour while the face is relaxed.
Alternate continuously: mark both starts, both turns and both tails before building the bodies. Completing one brow before beginning the second makes an early deviation harder to balance. Check in a mirror, a consented photograph and from one metre. Close inspection is valuable for hair strokes; normal distance reveals whether the brows support the face.
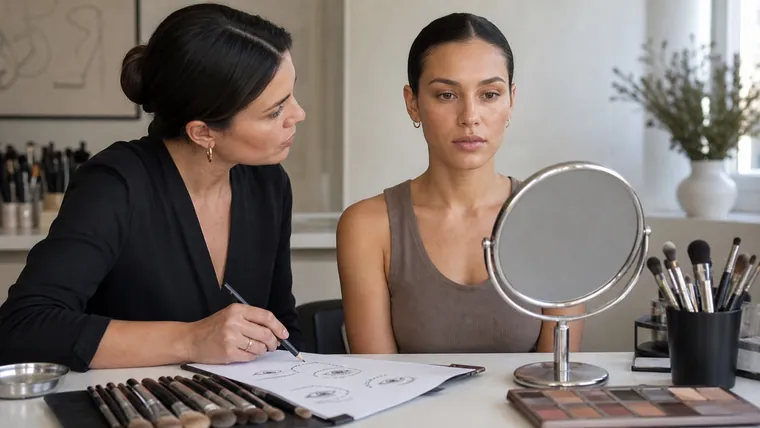
Brow shape and face shape: avoid rigid prescriptions
Charts that assign one arch to every face shape can start a conversation, but they oversimplify. Forehead, cheekbones, jaw, nose, eyes, hairline and personal style work together. A round face does not automatically need a sharply angular brow; a long face does not always need a straight one. Test the direction and intensity that support the agreed full-face design.
A soft start and fine tail reduce graphic weight; a fuller body increases presence; a defined arch makes the directional change obvious. These are visual effects, not claims about personality. Verify them on the individual and obtain agreement instead of imposing the current brow fashion.
How to choose an eyebrow colour
Test three colour variables
Depth, undertone and intensity are different decisions
Depth
How light or dark
Undertone
Warm, cool or neutral
Intensity
Amount and opacity
Context
Skin, roots and final makeup
Separate depth, undertone and intensity. Depth describes lightness or darkness; undertone may read warm, cool or neutral; intensity changes with product amount and opacity. Choosing the brown that looks closest to the hair in its packaging can create orange, grey or overly dark brows. Test a small amount between hairs and judge it after blending and settling.
Very dark hair may work with a slightly softer brow depth. Blonde and light-brown hair often benefit from controlled taupe or neutral brown, but the result still needs to agree with root colour and skin. Copper hair does not require an obvious orange brow. Grey or white hair may work with neutral grey, taupe or cool brown at several intensities. These are starting tests, not demographic rules.
Use the skin undertone and foundation guide to distinguish surface colour from undertone, then test the brow beside hair, eyes and final makeup. Wet, dry and photographed product can look different. Compare at least two options in neutral light rather than deciding from a swatch on the hand.
Pencil, powder, pomade, brow pen and gel compared
Each formula contributes a different function
Choose product and tool for density, skin and finish
Pencil
Map, strokes and gaps
Powder
Soft gradual shadow
Pomade
Definition and wear
Pen + gel
Fine marks and direction
Product | Best contribution | Main control |
|---|---|---|
Pencil | Mapping, gaps and varied strokes | Pressure and point cleanliness |
Powder | Soft shadow and gradual density | Brush size and product load |
Pomade | Definition and stronger wear | Tiny amount and thin layers |
Brow pen | Fine hair-like marks | Local direction and settled base |
Gel | Direction, hold and optional tint | Avoid deposits on surrounding skin |
A fine pencil creates strokes; a softer one fills and blends. Powder is forgiving but imitates individual hair less effectively. Pomade carries concentrated pigment, so decant a minimal amount and work it through the brush. A brow pen needs a clean point and a non-slippery base. Transparent gel organises hair; tinted gel adds tone and volume. A light combination of two functions is often more credible than one thick product layer.
Sparse, full, descending and mature eyebrows
On sparse brows, set only essential references and alternate varied strokes with a soft shadow. Covering the entire surface with dark pomade makes missing texture more obvious. Full brows may need only gel, a few gap corrections and an ordered tail. Do not add density simply because a product is available.
If the natural tail descends, a temporary design may reduce its visual length and build a slightly higher conclusion without aggressive hair removal. Downward-growing hairs can be redirected only within realistic limits. On mature skin, keep layers thin, avoid unnecessarily hard colours and choose formulas that do not collect visibly in texture.
A ten-step professional eyebrow protocol
Observe, map, build, verify
Alternating both sides prevents rigid borders and excessive correction
Observe
Hair, skin and movement
Map
Three light points per side
Build
Body, strokes and softness
Verify
Distance, light and comfort
Observe brows, whole face and movement at rest from the front.
Check skin integrity and comfort; stop on broken or markedly inflamed areas.
Brush the hair to reveal density and natural direction.
Mark start, directional high point and tail lightly on both sides.
Compare the map at one metre before drawing boundaries.
Test colour and formula between hairs and let them settle.
Build the body and lower direction with minimal pressure.
Add varied micro-strokes through gaps following local growth.
Soften the start and taper the tail without erasing texture.
Set only if necessary and review balance, colour and wear in neutral light.
Hygiene and safety near the eye area
Wash hands, use clean tools, decant where appropriate and do not share personal cosmetics. Never blow on a brush or add water or saliva to a formula. Use products according to their stated area and directions. FDA guidance advises avoiding eye cosmetics during infection or inflammation around the eye and stopping if irritation occurs.
Read purpose, warnings and period after opening. Do not assume an eye or lip pencil is interchangeable unless its label explicitly permits the intended site. Keep the complete makeup hygiene workflow active from product selection through cleaning. Pain, marked swelling, discharge, a vision change or persistent irritation requires stopping and appropriate healthcare advice.
Common eyebrow mapping and filling mistakes
The most common error is a start that is too dark. Use a clean spoolie to move excess towards the body and let skin reappear. Another is following every descending tail hair as though it were a compulsory border. The map assesses the whole result. Correct with small reductions rather than surrounding the brow with a thick light concealer stripe.
If colour is too warm or dark, remove or diffuse pigment before layering a second colour. If strokes look drawn, vary length, spacing and angle and stop them where natural hairs already provide texture. If the shapes diverge, identify which one respects the face better and bring the other closer with the least intervention.
A four-week practice plan for mapping, colour and product control
Week one: with consent, photograph five different adult brows from the front and mark start, high point and tail on digital copies without applying product. Compare geometry with growth and the full face. Week two: use one pencil across three densities, focusing only on pressure and direction. Week three: compare powder, pomade and pen on the same map. Week four: complete a brow design within a set working window and record initial colour, amount, corrections and final image.
Evaluate five criteria: soft start, readable body, tapered tail, coherent colour and visual relationship between sides. Repeat the weakest stage instead of repeating the full face without analysis. Add only consented, colour-faithful examples to a makeup artist portfolio.
Frequently asked questions about eyebrow mapping and makeup
How is eyebrow mapping done?
Observe growth and the relaxed face, mark start, high point and tail lightly on both sides, then check from one metre. Nose and eye lines are references to test, not mandatory coordinates.
Where should an eyebrow start?
A line near the side of the nose is a common test, but nose width, eye spacing and existing growth affect the balance. Mark provisionally and assess on the full face.
How do I locate the brow arch?
Find the directional change that supports the brow bone, eye and hair mass. An iris reference may help, but the mark needs testing on a relaxed face.
Should eyebrows be identical?
No. Muscle, bone and growth create normal differences. Temporary makeup aims for a visual relationship in height, direction, thickness and colour rather than copied measurements.
Which eyebrow colour should I choose?
Compare depth and undertone with hair roots, skin and final makeup. Test at least two small amounts between the hairs after blending; there is no universal shade for each hair colour.
Is pencil, powder or pomade better?
Pencil makes marks, powder creates soft density and pomade adds definition and wear. Choose by hair density, skin, result and your control. Light combinations are often most flexible.
How can sparse eyebrows be filled naturally?
Set a few references, alternate varied strokes with light shadow and leave some skin visible. Keep the start soft and avoid a uniform opaque block.
Does brow gel go before or after pencil?
It depends on the formula. A light clear gel may reveal direction first; strong film-forming gels often work better last. Test whether pencil can still make clean marks.
How do I soften an eyebrow start that is too dark?
Brush excess upward and towards the body with a clean spoolie, blot where appropriate and let skin reappear. Remove locally before layering lighter colour.
Can eyeliner pencil be used on eyebrows?
Only when the product directions permit that use and its texture gives a controllable result. Many eye pencils are soft or waxy and may create excessive density.
When should eyebrow makeup be avoided?
Do not apply over broken, markedly inflamed or weeping skin or during an eye infection. Stop for burning, swelling or irritation and seek appropriate healthcare advice when needed.
Is mapping useful on naturally full eyebrows?
Yes, but it can be minimal. It checks start, direction and tail while often confirming that gel and a few gap corrections are enough.
Sources and next steps
Safety references: FDA Eye Cosmetic Safety and FDA guidance on using cosmetics safely. Continue with the English makeup guide library or compare the current online makeup courses before enrolment reopens.
Editorial review: 5 September 2026. This guide covers temporary eyebrow makeup only. It does not teach hair removal, tinting, lamination, microblading or permanent makeup, does not diagnose skin conditions and does not prescribe one ideal brow. Those boundaries protect its search intent and professional scope.
To choose head shape, density and fibre from the mark you need, continue with the professional makeup-brush guide. It connects product loading, first contact, pressure and angle to a repeatable result.
Balance the brow against the upper rim
Add spectacle context through the makeup-for-glasses guide.