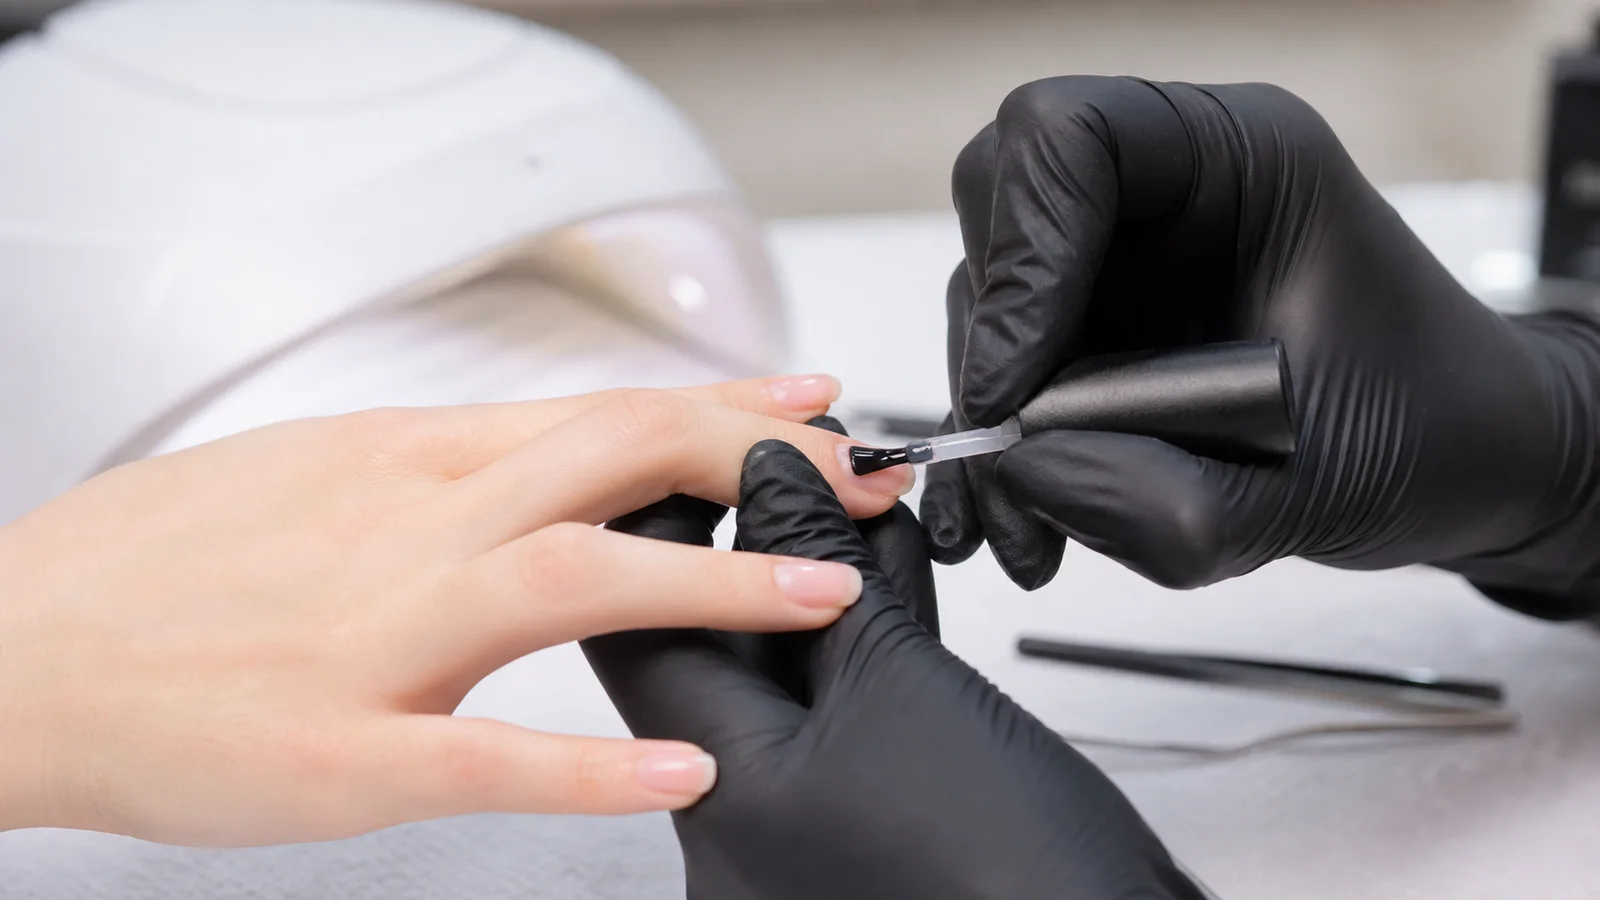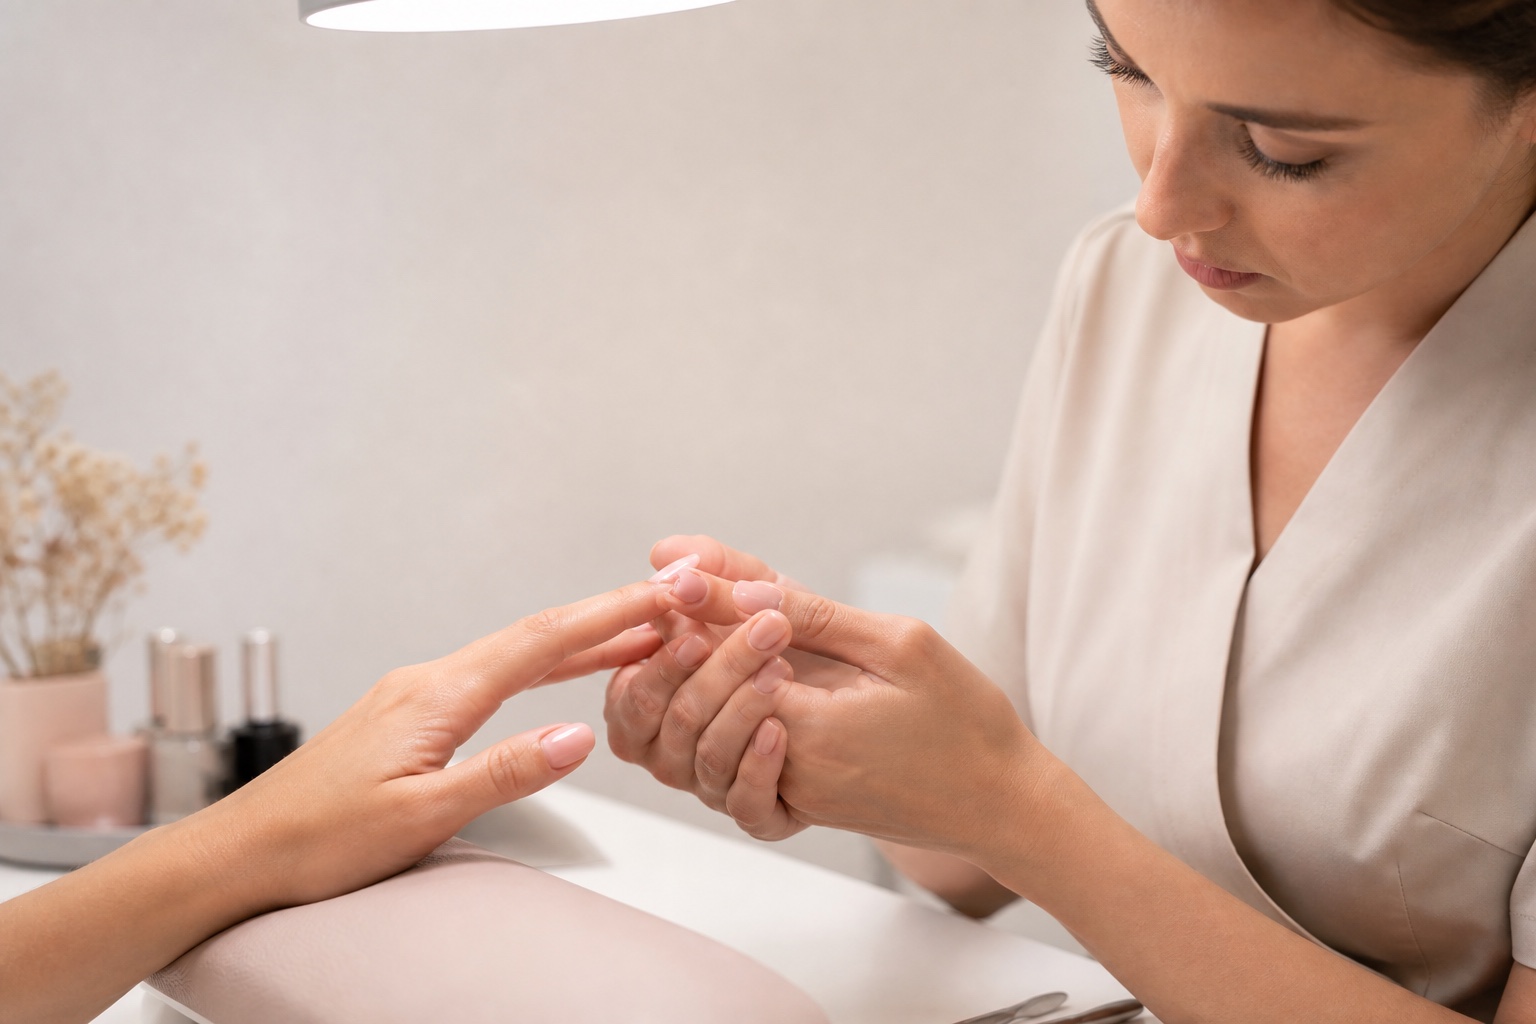
When gel polish peels after two or three days, adding more primer or filing the natural nail harder is not a diagnosis. A sheet lifting from the proximal edge tells a different story from colour chipping at the free edge. A failure on every nail points to shared process variables; one recurring thumb directs attention to position, local preparation and use. Location, timing and shape of failure are the evidence.
Short answer: for gel polish that lifts within days, check—in order—the nail surface and non-living cuticle, contamination, skin clearance, base amount, colour thickness, product–lamp compatibility and hand position. Never glue a lifted flap, pick the coating off or seal over a pocket. Remove unstable material safely and change one supported variable at a time.
This guide owns early gel-polish peeling and chipping. The broader nail-lifting guide covers structural gel, acrylic and acrygel, while the guide to how long nail services last owns normal wear and maintenance expectations. Substantively reviewed on 5 September 2026, this page is technical education, not medical advice. Pain, redness, itching, swelling, blisters, nail-plate separation or green, yellow or dark discolouration requires stopping the service and recommending qualified healthcare assessment.
Start with the failure map: where did the gel polish release?
The release point chooses the first check
Proximal lift, free-edge chip and whole-sheet peeling are not one fault
Proximal
Cuticle, residue and skin clearance
Free edge
Peeling layers, impact and flex
Sidewall
Fold contact and brush control
Whole sheet
Base, surface, cure and system
What you see | Priority checks | Do not |
|---|---|---|
Lift at the proximal edge | Adherent cuticle, dust, oil, skin contact, pooled base | Cut living tissue or flood with primer |
Chips at the free edge | Peeling nail layers, length, impact, flex and system edge method | Build a thick ridge only at the tip |
Sidewall release | Lateral folds, residue, product touching skin, brush control | File the skin or bridge the gap with top |
Whole sheet peels away | Surface adhesion, base, cure, compatibility, peel-off formula | Pull it off to test adhesion |
One thumb repeatedly fails | Lamp angle, exposure zone, local prep, dominant-hand use | Replace the entire system first |
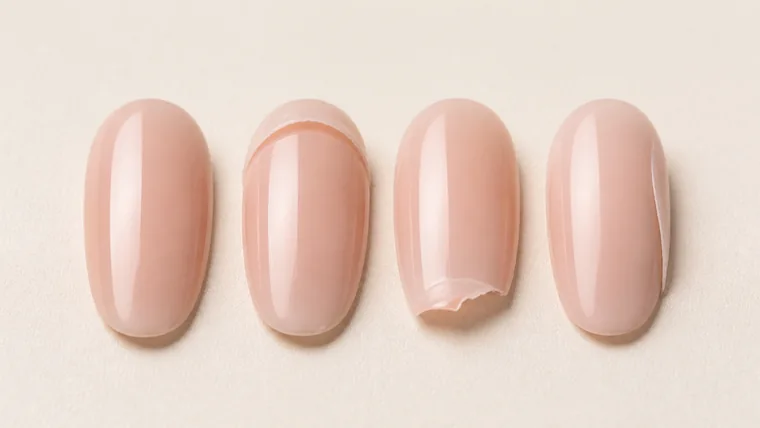
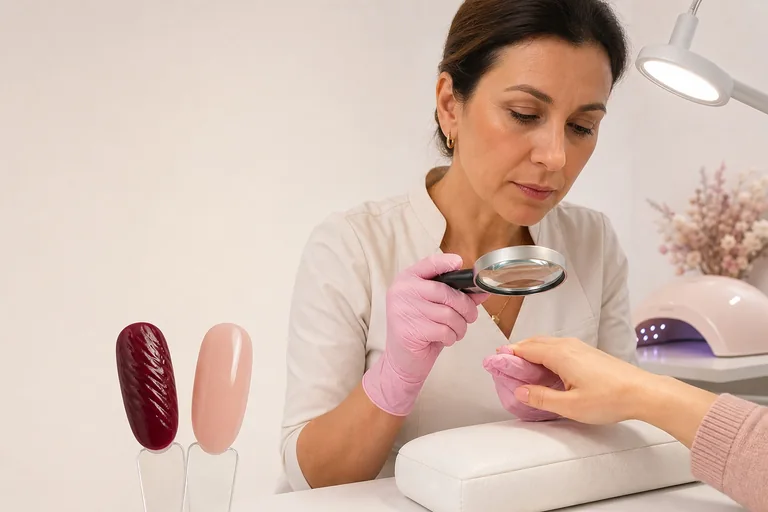
Photograph the defect before removal and record the day, finger, zone and relevant wear. ‘It did not last’ is too vague to reproduce. ‘On day three, the right middle finger lifted at the lateral edge’ lets you review application angle, skin clearance, lamp position and use of that hand. Keep the same vocabulary in the client record so returns can be compared rather than remembered.
Timing narrows the investigation
The day of failure changes the shortlist
Early adhesion failure and later service wear require different evidence
Same day
Skin, mobile film, missed cure
2–3 days
Surface, base, margin and lamp
1–2 weeks
Free edge, flex and impact
After a change
Isolate the new variable
Failure during the first 24–72 hours makes adhesion, margin, cure and compatibility priority checks. Chipping after one or two weeks gives more weight to free-edge condition, nail flex, length, impact and maintenance. Several weeks of growth and wear are not the same event as a complete film releasing on day two. Timing does not prove a cause, but it stops unrelated causes from receiving equal weight.
Same day: check skin contact, wrinkled or mobile product, missed steps, incomplete exposure and whether a peel-off base was used.
Two to three days: inspect surface contamination, adherent cuticle, base distribution, margins, lamp and cross-system compatibility.
Seven to fourteen days: compare free-edge wear, plate flex, peeling layers, length, impact and repeated water or chemical exposure.
Only after a new product, shade or lamp: isolate that change and restore the last documented combination before altering other steps.
There is no identical wear time for every client, but a repeatable early release is process information. It should be investigated, not hidden under thicker product or attributed automatically to the client.
Prepare the nail without thinning it
Gel polish bonds to the surface actually presented. Non-living cuticle attached to the nail plate, dust, oil, hand cream, moisture, remover residue or touching the nail after preparation can interrupt adhesion. The correction is not deep scratching. Over-filing removes protective nail layers, increases flex and may make both comfort and retention worse.
Assess the nail plate and surrounding skin before preparation; do not cover suspicious changes.
Remove only adherent non-living cuticle and debris through controlled technique.
Prepare or remove shine only to the extent required by that product system, without grooves or local pressure.
Clear dust fully and use cleansers, dehydrators or primers in the stated sequence and amount.
Do not touch the prepared plate with fingers, hair, oily wipes or a contaminated brush.
Use the complete natural-nail preparation guide to separate cleansing, surface preparation and dehydration. The guide to cuticle anatomy explains why the living proximal nail fold must never be treated as disposable cuticle. More abrasion cannot compensate for residue, and a cleaner plate does not require injured tissue.
Keep base, colour and top coat off the skin
Product touching a proximal or lateral fold creates a rigid bridge between a moving fold and the nail plate. As the skin moves and the nail grows, that bridge can break and lever the coating upward. A small cured overflow may therefore become the first lift point. Filing its visible edge after curing does not prove that the remaining margin is bonded.
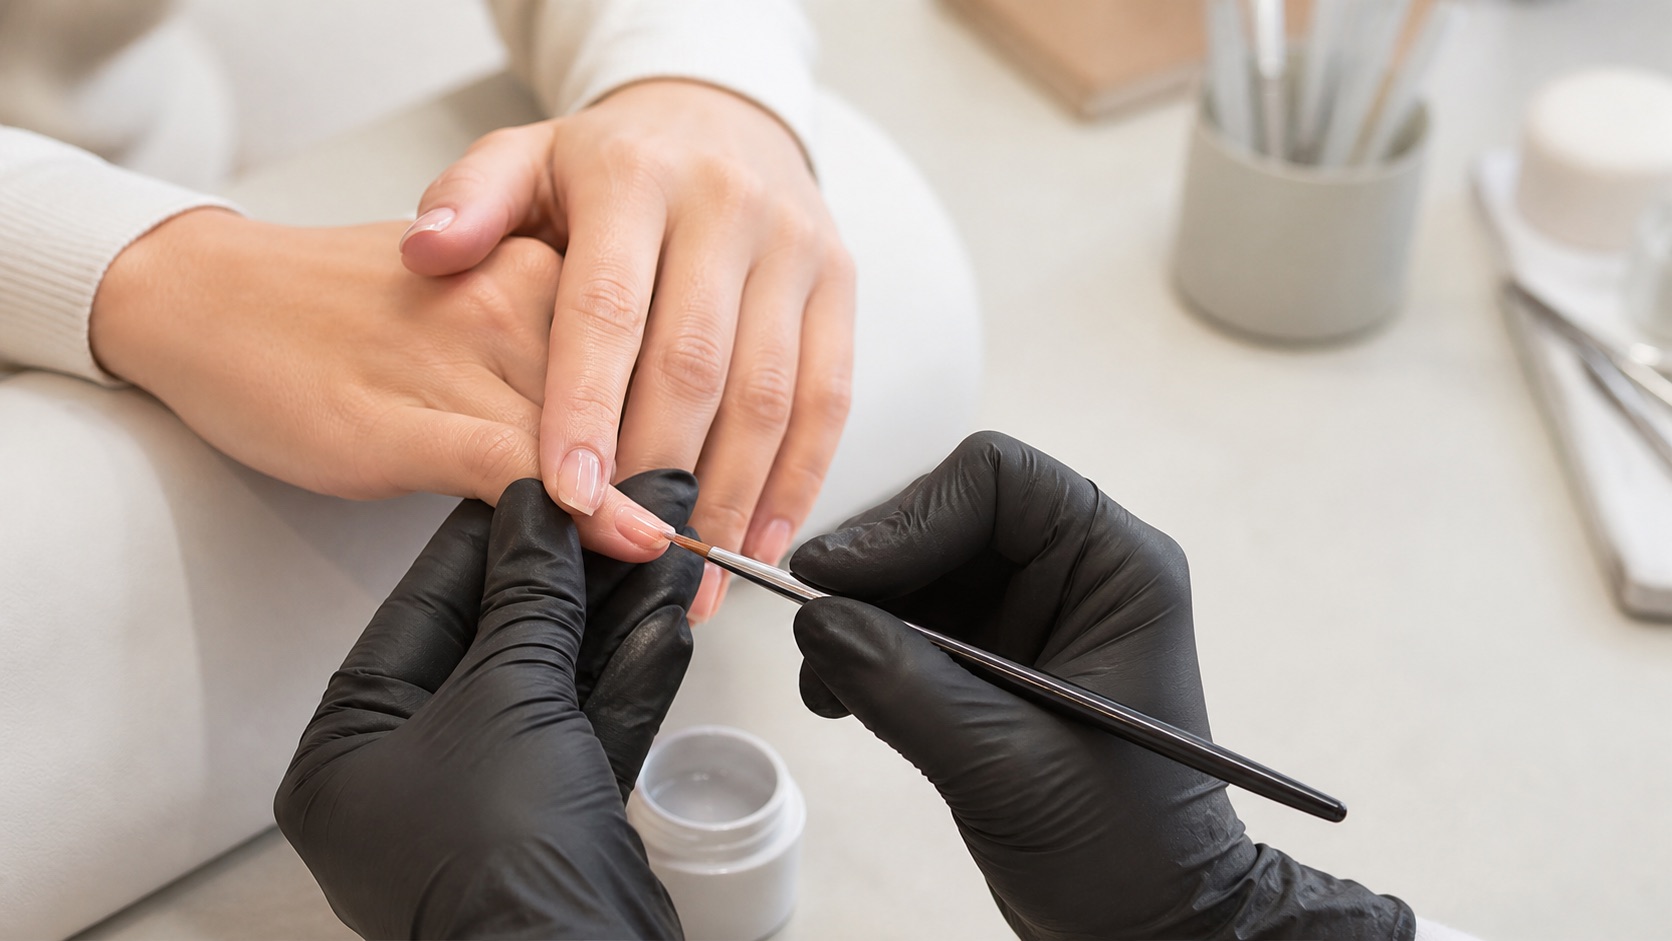
Work with controlled amounts, leave the clearance specified for the system and inspect every side before the lamp. Remove uncured overflow before exposure using the product safety instructions; never cure it onto skin. Repeated skin contact with uncured methacrylate-containing material increases sensitisation concern, so read the separate guide to gel-nail allergy and methacrylates for signs, prevention and referral boundaries.
Primer is not universal glue
Some gel-polish systems use no primer on a normally prepared nail. Others specify a particular bonder or a targeted application for defined conditions. Applying an unknown primer across the whole plate can add residue, incompatibility or brittleness instead of adhesion. The product instructions—not the severity of the failure—determine whether a primer belongs in the sequence.
Compare acid, acid-free and non-acid terminology in the nail-primer guide. Record the exact product and amount. If early peeling begins after adding a primer, remove that new variable and return to a supported combination. Never stack dehydrator, bonder and primer simply because each is sold as an adhesion product.
Match the base and service to the natural nail
A thin gel-polish base, a flexible strengthening base and a builder-in-a-bottle service are not interchangeable labels for ‘more retention’. The chosen layer must suit the nail’s flex, length and condition and remain within its intended maximum thickness. Excess base can pool, move or receive less effective light through its depth; a rigid overlay on a highly flexible plate can lose adhesion under repeated bending.
When a client needs reinforcement, compare the intended roles of rubber base, builder in a bottle and fibre base rather than selecting by trend. Thin, peeling or damaged nails are a condition to assess, not a reason to add the hardest available coating. The guide to weak or damaged nails after gel covers shortening, pauses and healthcare referral.
Cure every layer through a compatible product–lamp system
Retention depends on a complete compatible chain
A glossy surface cannot validate the layers beneath
Prepare
Clean without over-filing
Layer
Even, thin and off the skin
Expose
Compatible lamp and position
Record
Product, batch and result
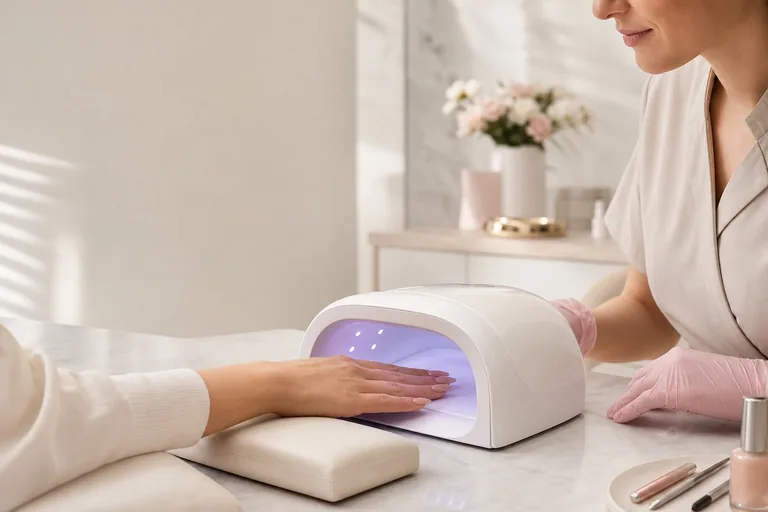
Gel polish does not air-dry like conventional lacquer. Base, colour and top coat must receive the exposure assessed for that formula. Thick coats, dense pigment, an angled thumb, curled fingers, a dirty interior, failed diodes or an undocumented lamp can leave a film less stable than its surface appearance suggests. Gloss and hardness at the top do not validate conversion throughout the layer.
Do not choose a lamp by wattage or invent extra time. Check spectrum, irradiance distribution, programme and position in the guides to curing gel nails and UV/LED lamp compatibility. If colour is soft, wrinkled or pulling back before or during cure, use the dedicated gel-curing defect guide instead of top-coating the symptom.
Cross-brand base, colour, top and lamp can create uncertainty even when each component is described as UV/LED. Verify combinations through the cross-brand compatibility guide. If failure starts after one replacement, restore the last supported system before changing preparation, primer and layer thickness at the same time.
Free-edge chipping is not always an adhesion failure
When the defect starts at the tip, inspect the natural free edge. Delamination, excessive length, repeated tapping, opening packaging and using nails as tools can fatigue a thin coating. A very short nail may offer little access for the system’s edge method; a peeling edge places product on a nail layer that is already separating.
Cap or seal the edge only when and how the manufacturer specifies. A thick ridge can catch and chip. If the same corner fails repeatedly, compare shape, length, sidewall support and daily use before blaming the base. Gloves can reduce exposure during prolonged wet work or cleaning, but they do not repair a flooded margin or inadequate cure.
One nail, one hand or the whole set tells a different story
A single thumb suggests lamp angle, local preparation or how that digit is used. Two index fingers can reveal repeated mechanical habits. One hand may differ because of dominance, application sequence or lamp placement. If every nail releases in a similar window, prioritise shared variables: cleanser, base, colour thickness, top, lamp, batch, timing and technician workflow.
Do not label a client’s nails ‘oily’ without observable evidence and then add every adhesion product. Compare service records and training tips made with the same documented combination. If multiple clients show the same new pattern, quarantine the changed product or equipment and contact technical support with exact batches, lamp model and photographs.
Safe correction: remove the pocket, then reassess
Never glue, pick or seal a lifted pocket
Preserve the evidence and inspect the natural nail
Record
Day, finger, zone and system
Remove
No levering from the plate
Inspect
Nail and skin in clean light
Correct
One supported variable
Stop picking, gluing and sealing as soon as a lift or chip is identified.
Photograph and record the day, finger, location, product line, batch, lamp and observed exposure.
Remove all unstable coating using the supported soak-off or file-off method without levering it from the nail.
Inspect the plate and skin in clean light; do not reapply over pain, inflammation, separation or abnormal colour.
Choose the highest-priority cause from the failure map and correct one controlled variable.
Repeat only through a compatible, documented layer and lamp protocol, then compare follow-up evidence.
Never fill or top-coat over a visible pocket. Moisture and debris can enter the space, and the coating no longer transfers force as designed. When the natural plate has separated from the nail bed or shows green discolouration, follow the stop rules in the guide to onycholysis and green nail rather than treating the change as a cosmetic retention problem.
A retention checklist before the hand enters the lamp
The plate and surrounding skin have been assessed and show no stop sign.
Adherent non-living cuticle, dust and product-incompatible residue have been removed without thinning the nail.
The prepared plate has not been touched or contaminated.
Every preparation product belongs to the supported protocol and has been used in its stated amount.
Base, colour and top are thin, even and clear of skin, with no uncorrected pooling.
The free edge is intact and treated only as the system directs.
The lamp is compatible, clean and functioning, and every digit is positioned in its intended exposure zone.
Product, batch, lamp and observations can be traced if the client returns.
Build the workflow through the Gel Polish Course, then compare broader structure and troubleshooting in the Complete Nail Technician Course. English courses and instructors are separate market records; a closed-enrolment preview does not make the Italian programme, teacher or price applicable to the English course.
Frequently asked questions about gel polish peeling early
Why does gel polish peel off after two days?
A two-day release makes surface residue, adherent cuticle, contamination, product on skin, base distribution, layer thickness, lamp position and compatibility priority checks. Map the location first and correct one supported variable instead of adding primer and abrasion together.
Why does gel polish peel off in one whole sheet?
The film may have failed to bond uniformly, the base may be incompatible or inadequately cured, or the product may be an intentional peel-off system. Do not pull the sheet away to test it: forced peeling can remove superficial nail layers and destroy the evidence at the failure interface.
Does gel polish always need primer?
No. Primer requirements depend on the exact system and nail condition. An unspecified or excessive primer is not a retention guarantee and can add residue or incompatibility. Follow the base and preparation instructions, then use a documented promoter only where the system supports it.
Should I file the natural nail more to stop lifting?
No. Aggressive filing thins the nail and can increase flexibility, soreness and later peeling. Remove only non-living adherent material and surface shine to the degree required by the system. Retention depends on a clean compatible surface, not deep scratches.
Why does gel polish chip only at the free edge?
Inspect peeling nail layers, length, shape, repeated impact, use of the nail as a tool and the edge method specified by the product. A tip chip can be mechanical or structural and does not necessarily share the cause of a coating that lifts from the proximal edge.
Why does gel polish lift only on my thumbs?
Thumbs are frequently tilted or positioned outside the lamp’s intended illumination zone, and they receive distinctive daily forces. Check the device instructions for thumb placement, complete the stated exposure and compare local preparation before changing every product.
Can I seal a lifted edge with top coat?
No. Top coat cannot restore adhesion beneath a pocket and may conceal moisture, debris or unstable material. Record the location, remove every loose area through the supported method, inspect the natural nail and reapply only when the plate and skin are suitable.
Can I glue down a flap of lifted gel polish?
No. Glue hides the interface without addressing contamination, cure, base or nail condition, and it prevents inspection beneath the coating. Lifted material should be removed safely. Pain, nail separation or abnormal colour means no immediate cosmetic reapplication.
Will a thicker base make gel polish last longer?
Not automatically. An excessive layer can pool, move or receive inadequate effective exposure and cannot correct a contaminated surface or flooded margin. Use the base at its intended thickness and choose a strengthening or builder service only after assessing the nail and protocol.
Do mixed gel-polish brands cause early peeling?
They can increase uncertainty when base, colour, top and lamp compatibility is not documented. This does not mean every mixed set fails, but appearance alone cannot validate cure or intercoat adhesion. Restore a supported combination and ask technical support before client use.
Can water, cleaning and manual work shorten wear?
Repeated impact, prolonged wet work, cleaning chemicals and using nails as tools can increase free-edge wear and chipping. They should not become a blanket explanation for a whole set releasing in the first hours. Map the pattern and examine shared application variables first.
When should gel polish not be reapplied?
Do not cover a nail that is painful, markedly thinned, separated from the bed, inflamed or abnormally coloured. Itching, swelling or blisters also require stopping the product and recommending healthcare assessment. A cosmetic coating must never hide a change that needs evaluation.
Scientific sources and editorial limits
Polymers — The Chemistry Behind the UV-Curable Nail Polishes
American Academy of Dermatology — Gel manicures: tips for healthy nails
European Commission SCCS — Safety of HEMA and Di-HEMA Trimethylhexyl Dicarbamate
These sources support the formulation-dependent nature of adhesion and curing, the advice not to pick gel polish from the nail, and the importance of preventing uncured methacrylate material from contacting skin. They do not provide one universal salon recipe for every brand. No competing academy, salon or retailer is linked. Continue with the complete English nail guide library and verify the precise label, batch, layer, lamp and manufacturer instructions for the system in use.