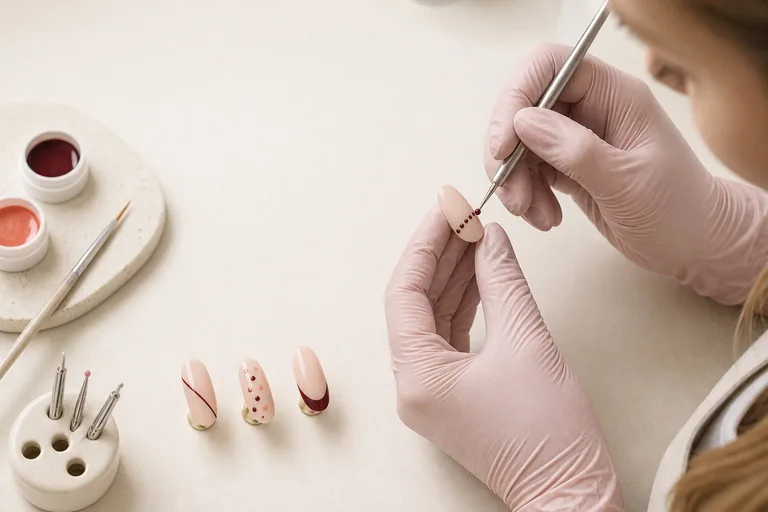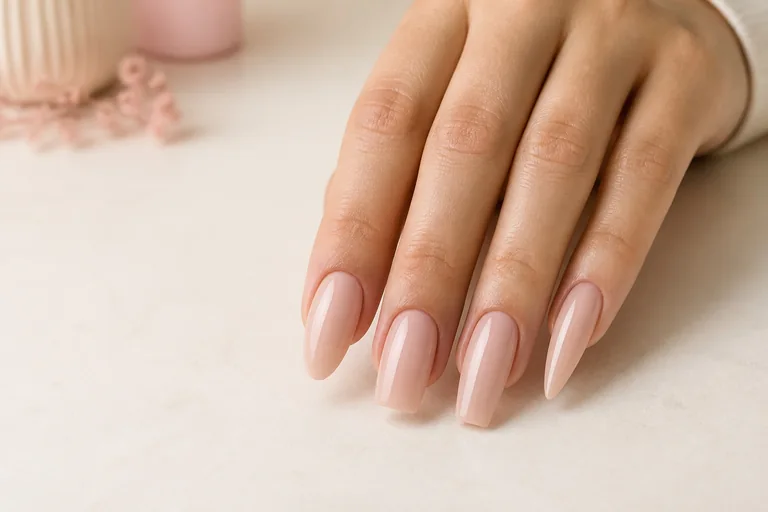
Almond, square, coffin and stiletto are not four silhouettes to copy at the tip. Each is a different three-dimensional construction. Side-line direction, point of greatest width, free-edge geometry, product distribution and the relationship between shape, finger and natural nail all change. A professional result must remain recognisable from above, balanced from the side and controlled from the front—not merely attractive in one photograph.
Short answer: almond tapers gradually into a soft centred tip; square preserves parallel sides and a perpendicular free edge; coffin combines converging sides with a flat tip; stiletto continues to one central point. None can be created safely by filing away natural side support. Define axis, length, convergence and structure before filing, then check all three views after every stage.
This technical page owns how the four shapes are constructed and filed. The separate guide to nail morphology and hand analysis owns the consultation question ‘which shape suits this hand and lifestyle?’. The professional filing guide owns abrasive choice and general file control. Here the intent is the geometry of almond, square, coffin and stiletto after the design decision has already been made. Substantively reviewed on 5 September 2026.
Technical prerequisites before building the shape
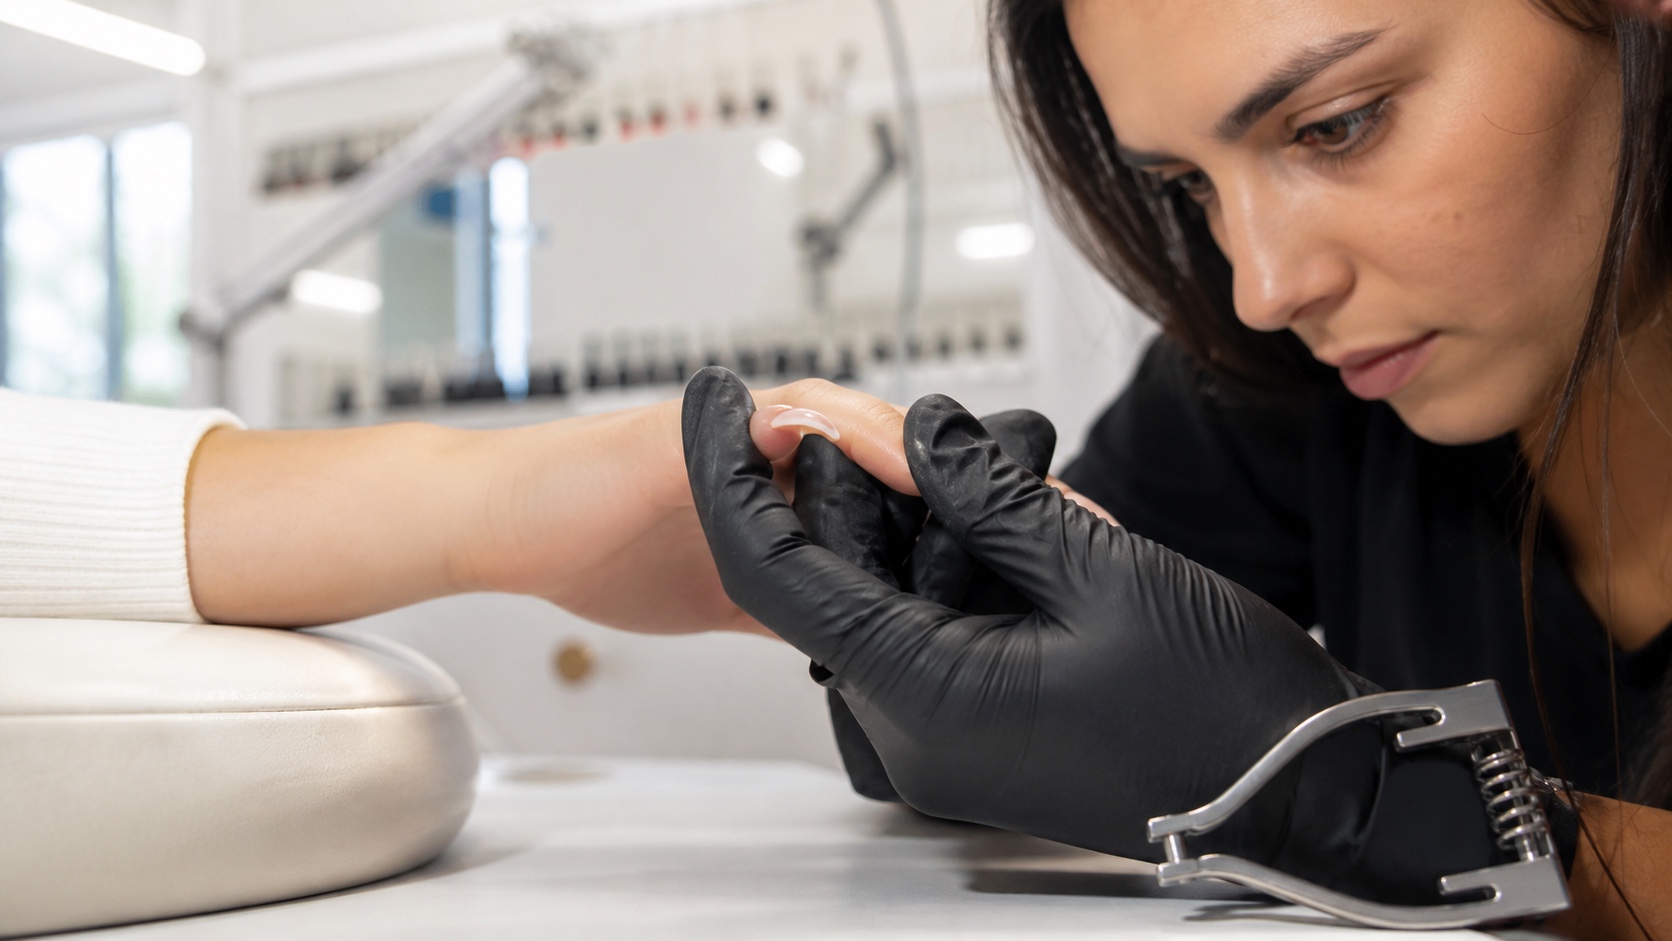
Before product, mark the individual finger axis, planned length, natural side boundaries, stress points and direction of the lower lines. These are geometric references, not a beauty diagnosis. A form that looks centred to the hand can still be rotated on one finger. Align and inspect the digit independently from above and head-on before accepting a paper form, tip or initial skeleton.
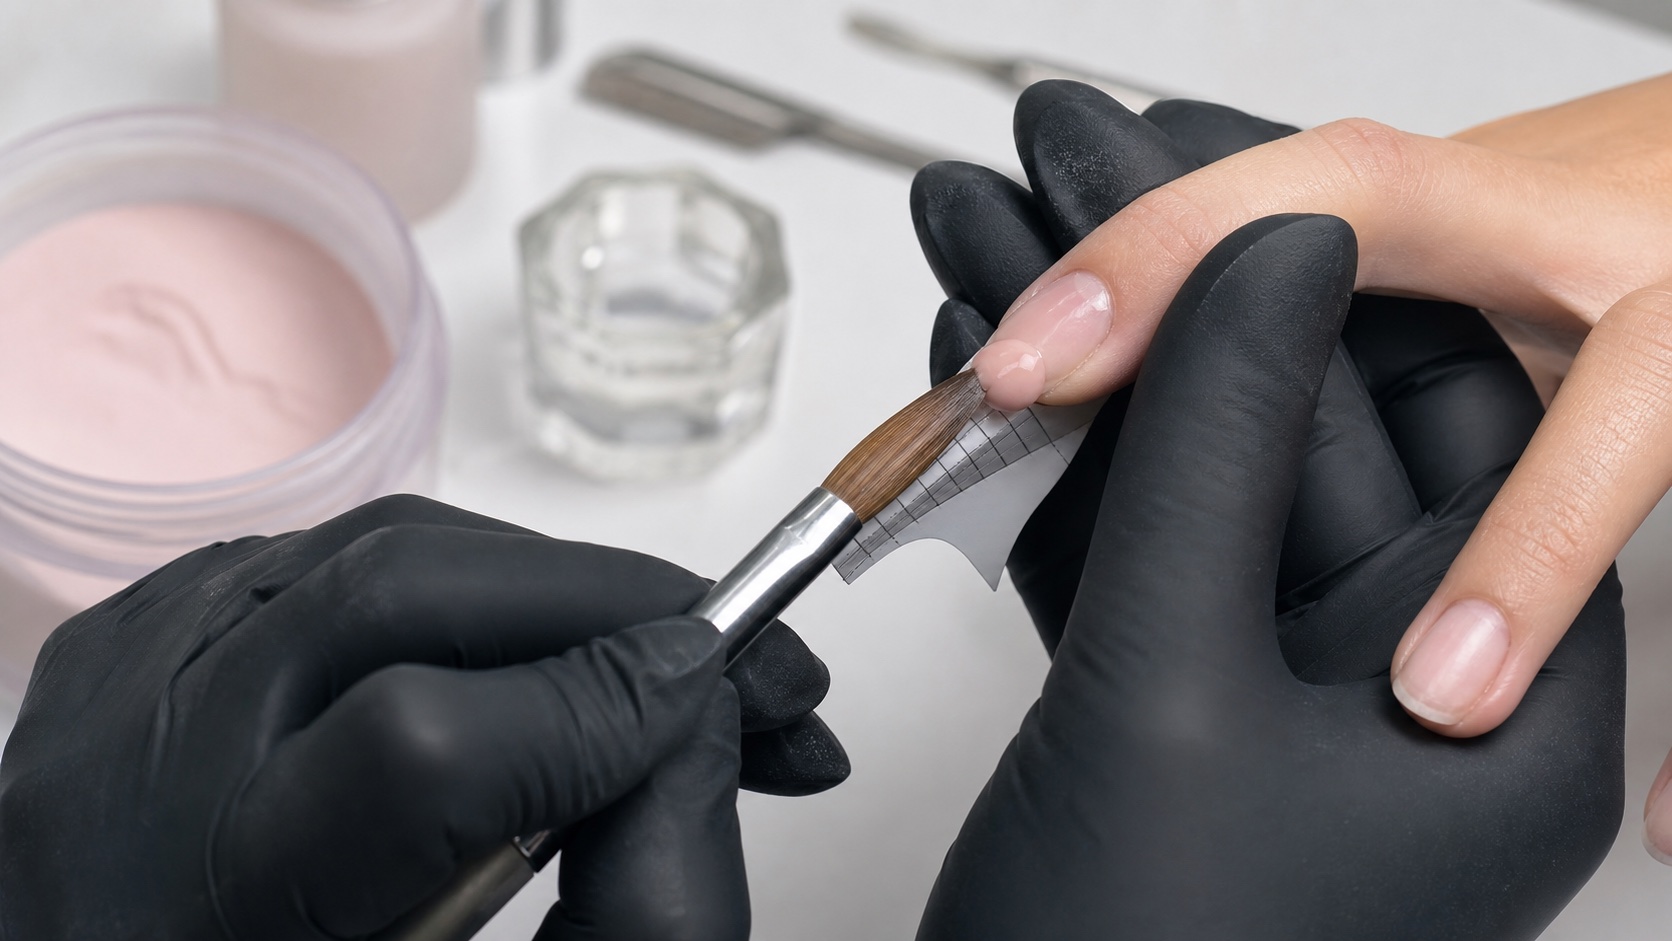
Distinguish a short natural nail from an enhancement that creates new length and architecture. A few millimetres of free edge cannot produce a clear coffin without sacrificing its corners, and a ‘short stiletto’ often becomes a pointed almond. Extension material creates design space, but it does not remove the need for supported side lines, a suitable apex and a maintenance plan.
If the nail grows downward, upward or laterally, start with the guide to hooked, ski-jump and laterally growing nails and then adapt the support using the guide to fitting nail forms to different anatomies. Filing cannot fully rescue an extension skeleton that began on the wrong axis.
Almond, square, coffin and stiletto compared
Four shapes, four defining line systems
Name the side direction and endpoint instead of copying a silhouette
Almond
Gradual taper, soft tip
Square
Parallel sides, straight tip
Coffin
Taper plus a flat end
Stiletto
Continuous taper to a point
Shape | Defining geometry | Length requirement | Primary risk |
|---|---|---|---|
Almond | Gradual taper ending in a soft centred tip | Enough length for both sides to converge | Narrowing the stress area too early |
Square | Parallel sides and straight perpendicular tip | Can be short; corners become more exposed with length | Fan-shaped sides or asymmetric corners |
Coffin or ballerina | Tapered sides meeting a centred flat tip | Usually medium or long for both ideas to read | Tip becomes too narrow or stress area is hollowed |
Stiletto | Continuous symmetrical convergence to one point | Substantial planned extension length | Off-axis point and excessive leverage |
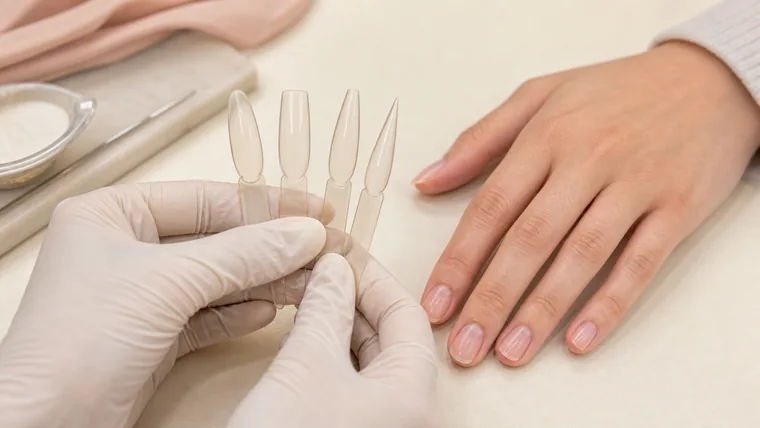
Keep reference tips at a comparable length and photograph them from the same distance. If one shape is much longer, the eye may read elegance or taper from length rather than from the intended geometry. Training becomes useful when the learner can label exactly where side lines begin to change and which feature separates one family from another.
Almond nails: gradual taper without a hollow stress area
An almond has side lines that converge progressively and meet in a soft rounded point. It is neither an oval with the centre pinched nor a stiletto whose tip was rounded at the end. The taper must begin at corresponding points on both sides and continue through one centred axis. A medium almond requires enough free length for this transition to be visible.
The common technical error is closing the side lines immediately beside the natural plate. That removes width from the stress region, creates a pinched waist and leaves a bulbous upper surface. The opposite error is keeping parallel walls too long and rounding only the front, producing an oval with heavy shoulders. Build the skeleton and product map for the almond before using the file to refine it.
Soft almond uses a shorter, gentler convergence and a fuller tip. Pointed almond increases taper but must still finish in a deliberate soft apex; once the side lines continue to a sharp point, the project is moving into stiletto geometry. Name the variant with a photograph and top-view reference so client and technician are not using the same word for different lines.
Set the centre line on the finger rather than on the apparent direction of the nail plate alone.
Mark symmetrical transition points where the sides begin to taper.
Alternate short file strokes so one side does not chase the other inward.
Check the front view for equal side height and a centred lower curve.
Refine the rounded tip last without flattening its centre or sharpening it into a point.
Square nails: parallel sides, a level tip and deliberate corners
A square is defined by two visually parallel side lines and a free edge perpendicular to the individual finger axis. A natural nail can be square at short length where sufficient side support exists; a long square enhancement must carry its corners and lower lines through balanced architecture. The silhouette is geometric, so a small deviation remains visible.
Fanned or trapezoidal squares usually begin before the file: a support was left open, a full-cover tip was oversized or product spread wider at the front. Filing the outside aggressively can remove the side structure without making the lower line parallel. Correct the form or skeleton early, and look head-on to confirm that the free edge is level rather than relying on the hand resting diagonally on the table.
Squoval keeps a nearly straight free edge but softens the corners through a controlled radius. It is not an imprecisely filed square. A short coffin, by contrast, needs visibly converging sides before its straight tip. Define whether the request is square, tapered square, squoval or short coffin; otherwise each finger can drift into a different compromise.
Align the extension support so both lower side lines begin at a comparable height.
Establish length at the centre and level the tip to the finger axis.
Refine side lines in parallel without cutting into the stress points.
Inspect corners from above and the front; equal top width alone is insufficient.
Soften only the agreed amount so the final family remains square or intentionally squoval.
Coffin or ballerina nails: a taper that still leaves a flat tip
Coffin and ballerina commonly describe the same family: sides converge into a flat end. Some educators reserve ballerina for a softer, wider variation and coffin for a sharper taper. The useful technical description is not the preferred name but the starting point of convergence, final tip width, length and sidewall support. Put those details into the reference.
At very short length, taper and flat tip compete for the same space. Strong convergence leaves almost no end line; preserving a wide end produces tapered square. A recognisable coffin is therefore usually an enhancement at medium or long length. Its diagonals should meet the free edge at equal heights, and the flat tip must remain centred rather than sliding toward the side the technician can see more easily.
Do not create taper by hollowing the natural sidewall area. The extension skeleton and initial product placement should already support the narrower end. If filing is doing all the shaping, pause and compare remaining thickness at both transition zones. A thin waist followed by a heavy tip is not a stronger coffin; it is a mismatch between geometry and architecture.
Choose a length that allows both visible convergence and a readable end line.
Mark the same taper start on both sides while preserving the stress region.
Set the final tip width before reducing material randomly.
Check that both diagonal sides meet a level free edge symmetrically.
Compare all five nails as one family while retaining finger-specific proportions.
Stiletto nails: a structural point rather than an improvised tip
A stiletto converges continuously toward a single central point and needs enough extension length to develop that line without carving away the stress area. It is an advanced, high-leverage shape. The support form, first skeleton, apex region and product distribution define the direction before filing begins. A point created only by filing can be centred visually while the structure beneath is thin and twisted.
Use the finger and phalanx direction as the primary axis, then verify the point from above and head-on. An asymmetry near the form opening becomes more obvious as the length increases. Correct the support rather than compensating by making one side dramatically thinner. Check the underside and lower arches as well as the decorative top surface.
Long stiletto nails magnify leverage and may conflict with typing, gloves, instruments, contact sport or caring tasks. Technical possibility is not the same as everyday suitability. A shorter pointed almond can provide a related visual direction with a different risk and maintenance profile. The morphology consultation owns that client choice; this section explains what true stiletto construction requires.
Shape and architecture must be designed together
One top view cannot validate a nail shape
Outline, profile, front curve and lower lines must agree
Top
Axis, taper and tip
Side
Apex, profile and direction
Front
Curve and side heights
Under
Lower lines and support
A correct top-view outline can be structurally poor in profile. Resistance depends on apex position, thickness transitions, transverse curve, lower architecture and the ratio between extension length and natural support. Almond and stiletto taper, but they cannot be thin everywhere. Square and coffin carry corners and a flat tip without needing a bulky front wall.
Use the nail-architecture pillar for the complete load path, the apex-position guide for high-point placement and the C-curve and pinching guide for controlled front-view curvature. They are coordinated decisions, not three optional details added after the outline.
Gel, acrylic and acrygel offer different working times and handling, yet none suspends the geometric principles. Compare them in the guide to gel, acrylic and acrygel differences. Product family does not determine one shape automatically, and a rigid-looking cured surface is not proof that stress areas remain supported.
A filing sequence that preserves symmetry
File from fixed geometry, not toward a moving target
Alternate sides and reassess after every stage
Axis, shape and length
Free-edge geometry
Alternating side lines
All-view verification
Reconfirm the individual finger axis, target length and named shape before removing bulk.
Set the free edge: straight for square and coffin, curved for almond, a central point for stiletto.
Alternate short passes on each side instead of completing one wall before viewing the other.
Check top, front, side and underside after each stage, not only before colour.
Refine surface and proximal transition without erasing the planned apex or stress-point support.
Remove dust, use raking light and compare the whole hand at a consistent orientation.
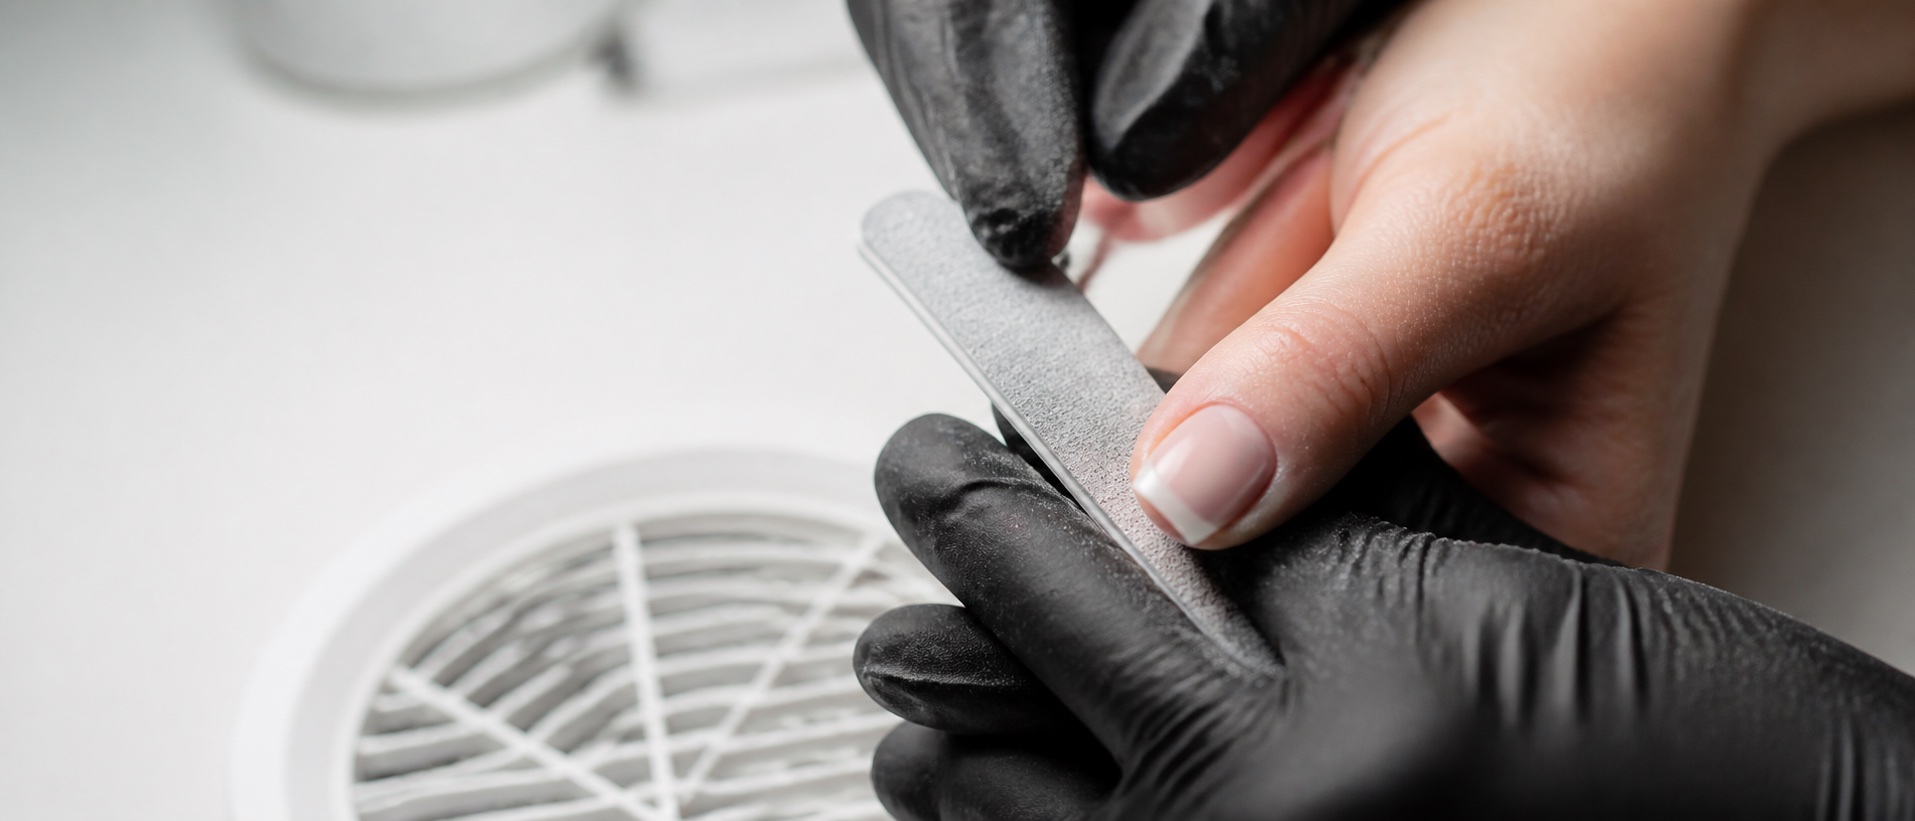
Choose grit, file type and pressure using the professional nail-filing method. Avoid sawing the natural free edge aggressively. File the enhancement material and natural nail as different substrates, and replace worn or contaminated abrasives rather than adding pressure to make them cut.
Common geometry faults and their process correction
Fault | Visible result | Process correction |
|---|---|---|
Off-axis tip | Point or centre drifts left or right | Realign support and skeleton before surface filing |
Bulbous almond | Heavy shoulders with only the front rounded | Distribute taper progressively along both sides |
Fanned square | Tip wider than the stress area | Correct form fit or tip size before reducing outer walls |
Fragile coffin tip | End line almost disappears or corners chip | Plan more length or a wider tip before tapering |
Twisted stiletto | Top point appears centred but lower lines differ | Check the support from front and underneath before building |
Do not repair every fault by continuing to file. Stop when correction would remove stress-area support, expose natural nail, overheat the plate or create a different shape. Depending on the fault, the safer decision may be to reduce length, rebuild one section or remove and reconstruct the extension.
A repeatable training plan for the four shapes
Score geometry before speed
Consistent tips and camera views reveal the first weak stage
Build
One shape and one length
Mark
Axis, taper and endpoint
Compare
Same grid and views
Repeat
First weak stage
Create five almond tips at one length, marking axis, taper start and rounded endpoint before filing.
Build five squares and photograph them head-on to score side parallelism, corner height and level tips.
Make coffin tips with three declared end widths while preserving the same central axis and length.
Place stiletto forms on a training hand, checking that finger, skeleton and point share one direction.
Photograph every set from top, front and side on the same grid and label the first geometric deviation.
Repeat the weakest stage before measuring speed; a faster off-axis shape is not progress.
Practise controlled line work through the Professional Nail Filing Course and support placement through the Nail Form Application Course. The Beginner Gel Nails Course — Level 1 and Complete Nail Technician Course connect form, structure and finishing. English courses and instructors are independent market records and may be closed for enrolment until their teaching content is ready.
Frequently asked questions about constructing nail shapes
Where should almond taper begin?
It should develop gradually from corresponding points without carving away the stress area. The exact transition depends on the nail base and planned length. Both sides must travel symmetrically toward a soft centred end rather than closing abruptly beside the natural plate.
How do I keep square side lines parallel?
Build an aligned skeleton first, then compare the side lines from above and head-on. Alternate a few controlled file strokes per side and recheck the free edge. Long filing on one wall tends to create a tapered, fanned or off-centre tip.
Are coffin and ballerina nails the same shape?
The names are often used for the same tapered family with a flat tip. Some educators describe ballerina as softer and coffin as sharper. Avoid ambiguity by agreeing the length, taper start, final tip width and reference image rather than relying on the label alone.
Can coffin nails be short?
A short tapered square is possible, but a clear coffin needs space for both side convergence and a visible flat end. On too little length, strong taper removes support and almost erases the tip. Choose more length or name the result tapered square.
What is the difference between oval and almond nails?
Oval maintains a fuller continuous curve, while almond shows more deliberate side convergence before a narrower rounded tip. The distinction should appear along both side lines. Sharpening only the centre of an oval does not create balanced almond geometry.
Does stiletto always require an extension?
Professional stiletto usually needs enough constructed length to develop continuous convergence without removing natural side support. Filing a short natural nail to a sharp point can weaken its edges and normally produces pointed almond rather than a structurally planned stiletto.
Which views are needed to check nail-shape symmetry?
Use top, front, side and, for extensions, underside views. Top controls axis and outline; front shows transverse curve and side heights; side reveals apex and direction; underside exposes lower-line asymmetry. One attractive camera angle is not enough.
Can nail shape be changed during an infill?
A moderate change is possible when length, remaining structure and material support it. A radical move such as short square to long stiletto normally needs a new extension or full reconstruction. Do not file away stress areas to force the old build into a new outline.
Which nail shape is strongest?
No outline is strongest independently of length, architecture, natural-nail condition and daily use. A short square can be stable but exposes corners; almond removes sharp corners but fails when side support is hollowed. Compare the complete structure rather than ranking names.
How can I tell whether a nail is crooked?
Align the individual finger, then compare its centre line with the tip from above and head-on. Inspect side heights, free edge, apex and lower lines. A grid photograph can expose a deviation that the eye compensates for when the hand is turned.
Should all five nails use identical measurements?
They should belong to one shape family and visual rhythm, but each finger has different width, axis and scale. Identical tip widths or lengths can look inconsistent. Maintain comparable proportions while making small finger-specific corrections.
How should a beginner practise nail shapes?
Train one shape at a consistent length on numbered tips, photograph the same views and score axis, side direction, tip geometry and thickness. Repeat the first weak stage before adding speed. A timed result counts only when the geometry remains repeatable.
Sources and editorial limits
The external references support conservative nail handling and observation, not one universal salon geometry. Shape systems, terminology and competition rules vary; this guide states its line definitions explicitly and does not endorse a brand or competing training provider. Continue through the complete English nail guide library and adapt product, support and maintenance to the actual client and manufacturer instructions.