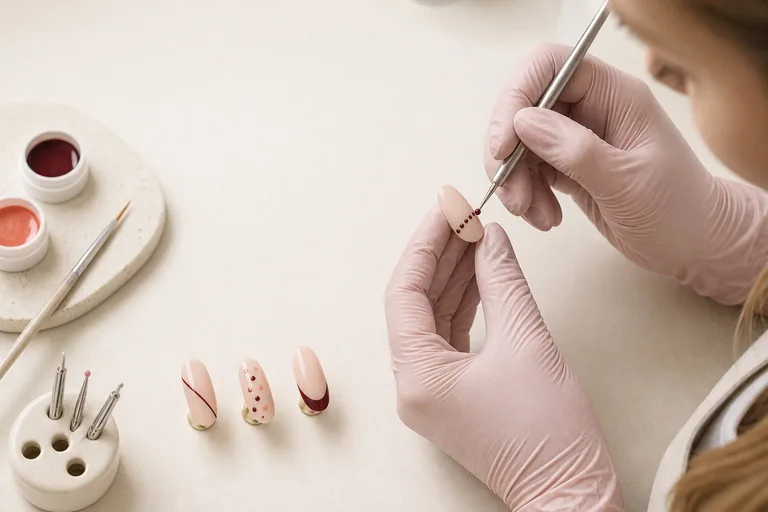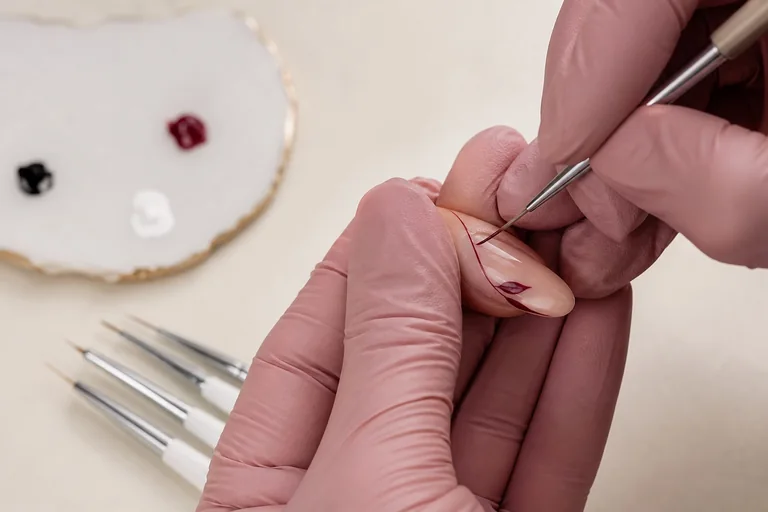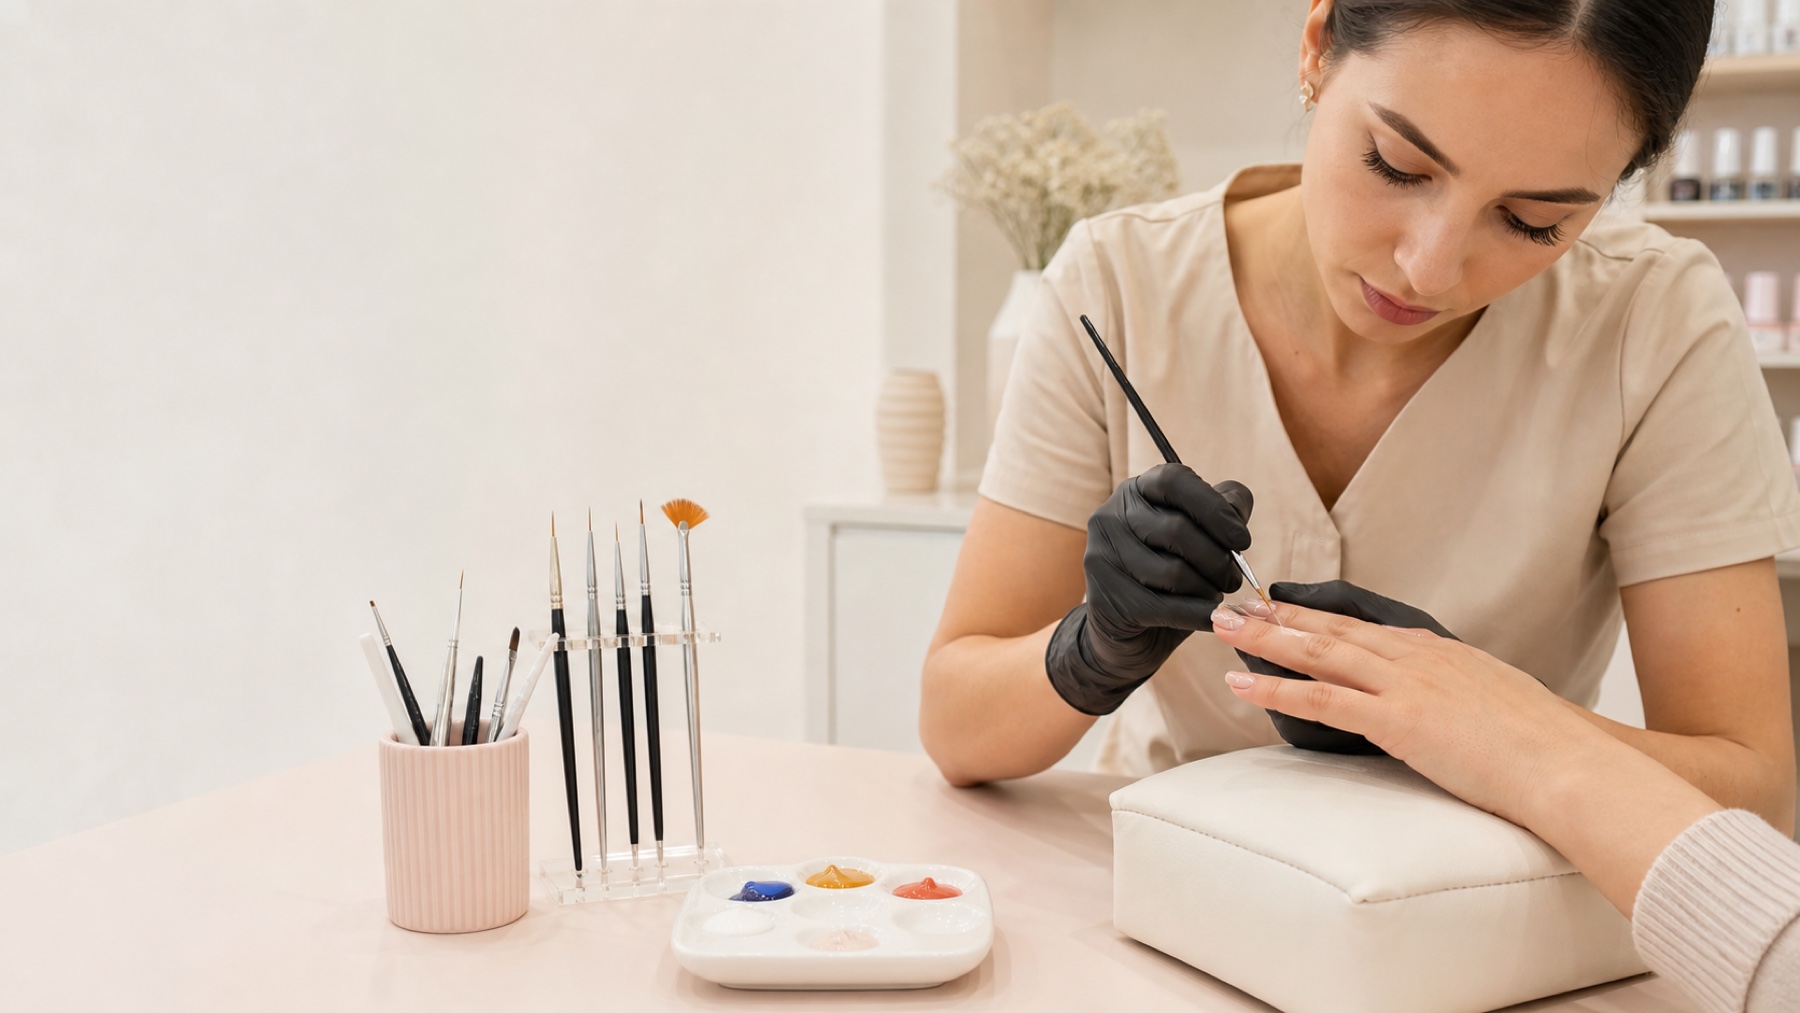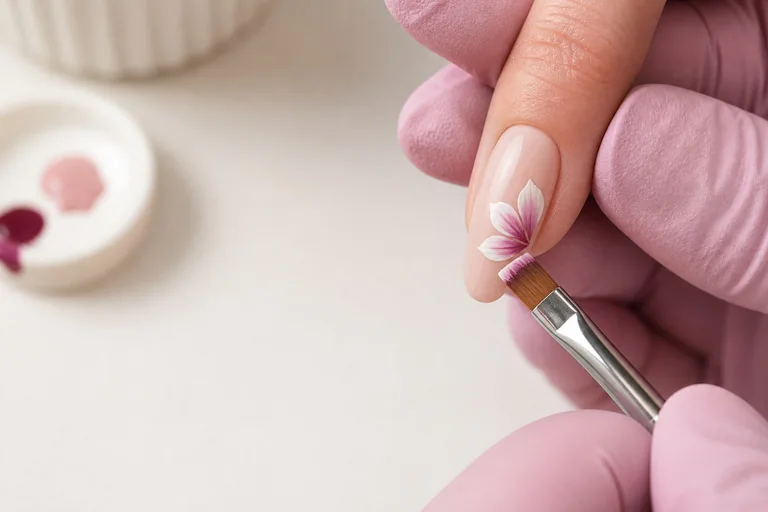
One Stroke nail art creates a light edge, a dark edge and a blended centre within one controlled brush movement. The result can look effortless, yet it depends on a precise chain: select a suitable flat or angled brush, load two colours without muddying them, condition the stroke on a palette, vary pressure deliberately and release the bristles without leaving a heavy ridge. A flower is therefore not the starting exercise. It is the visible result of several repeatable controls.
Short answer: load the two corners of a flat or angled brush with separate colours, work a short transition on the palette and test a band. On the nail, light contact creates a narrow mark, increasing pressure opens the bristles and gradual release closes the stroke. Practise bands, teardrops, commas, petals and leaves at full scale before reducing the movement to a tip.
This guide owns the double-loaded One Stroke method: loading, gradient control, pressure, petals, leaves and floral composition. The guide to nail art fundamentals owns broad brush families, colour theory and composition principles; the separate Gel Painting guide owns fine gel lines, opaque layering and staged curing. Keeping those intents separate prevents three technique pages from becoming near-duplicates. Substantively reviewed on 5 September 2026.
What One Stroke nail art is—and what it is not
One Stroke is a decorative painting method in which two colours sit on opposite sides of a flat or angled brush. The colours meet only through a controlled transition, so one movement can describe an illuminated rim, a shaded interior and apparent volume. Nail artists adapt the same logic to a small, curved surface. That reduction changes the brush size, product quantity, working time and amount of movement, but not the need for two legible edges.
Not every hand-painted design is One Stroke. Fine outlines, miniature characters, layered gel illustrations, watercolour effects and graphic line work use different product behaviour and brush mechanics. One Stroke is particularly efficient for petals, leaves, buds, ribbons and ornamental curves because width and shading develop during the movement. A liner, by contrast, describes form mainly through the route of a narrow line.
A finished design can combine techniques without confusing them. The main petal may use a double-loaded flat brush, its vein may use a liner and the centre may use dots or a thin opaque detail. Name the method by the control it requires rather than calling every painted decoration ‘micropainting’. Clear language improves training, timing and client expectations.
Brushes, paint and a workable practice station
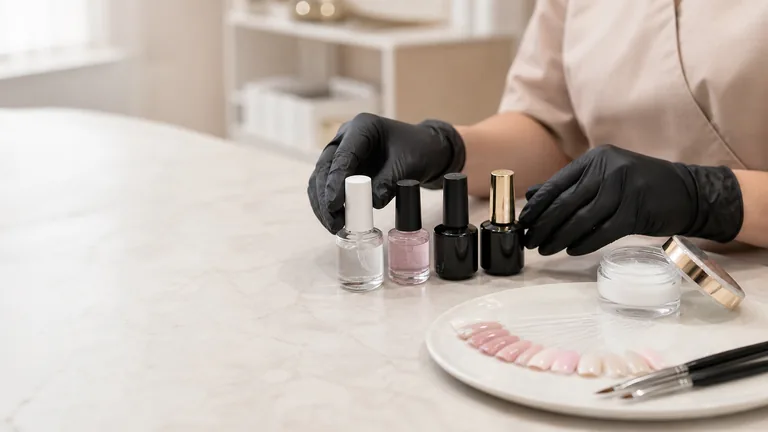
The primary brush should have a clean chisel edge, aligned resilient bristles and enough body to carry two small colour reservoirs. A short flat brush supports compact petals; an angled brush makes directional leaves and curved forms easier to see. The useful size is the one that can open to the planned width without flooding the nail. A brush that is too wide overwhelms the composition, while one that is too small runs dry and invites repeated strokes.
Flat or angled brush: double loading, blended bands, petals, leaves and ribbons.
Liner or detail brush: stems, veins, selective outlines, centres and highlights.
Smooth palette: separate colour pickup, a central blending area and repeatable test strokes.
Large practice surface and numbered tips: movement first, salon scale second.
Documented painting medium: known application thickness, cure or drying method and compatible finish.
There is no universal ‘perfect’ consistency. Product that is too fluid lets the two colours collapse into one pool; product that is too thick leaves tracks, drags the base or produces a ridge that is difficult to finish. Use a medium intended for the service and follow its instructions. If it is UV/LED curable, the stated layer thickness, lamp compatibility and exposure are part of the method—not optional settings to improvise after the artwork is complete.
Arrange the station so the hand, palette and lamp do not force the wrist to rotate between every stroke. Keep the open product away from direct curing light. Separate clean and used tools and prevent paint from contacting skin. Decorative precision does not replace the hygiene and exposure controls described in the guide to cleaning, disinfection and sterilisation.
Double loading: build the gradient before touching the nail
Two reservoirs, one controlled transition
The palette reveals the load before the nail does
Light corner
One clean colour reservoir
Centre
Short controlled transition
Dark corner
Second distinct reservoir
Test band
Two edges stay legible
Pick up the lighter colour with one corner and the darker colour with the opposite corner. Each reservoir should occupy its edge without drowning the full bristle length. Place the brush flat on the palette and make a few short parallel passes. The outer colours remain identifiable while the centre begins to transition. Reload the appropriate corner when one edge loses saturation rather than dipping the entire brush into both colours.
A test band is the quickest diagnostic. It should show two continuous edges, a controlled middle and no dry gaps or thick ridges. A white centre means the brush face is not fully contacting the palette or lacks product. One uniform third colour means over-blending or excessive fluidity. A serrated edge points to separated bristles, a rough surface or a stop-start movement.
Keep separate pickup zones and one blending lane. When every reload passes through a dirty mixed pool, the contrast decays with each petal. A repeatable sequence—pick up, condition, test, paint and inspect—produces more consistency than guessing the quantity on the nail. Photograph successful palette bands so the learner can compare product distribution as well as the finished flower.
Pressure, angle, route and release: the four stroke controls
A petal is a sequence of four controls
Width, colour edge and silhouette change for different reasons
Pressure
Changes stroke width
Angle
Chooses the outer colour
Route
Builds the silhouette
Release
Closes the endpoint
Pressure changes width. A light touch uses the chisel edge or bristle corner; gradual pressure opens the brush face; gradual release brings the mark back to a point. Constant heavy pressure produces a band, which is useful for checking the load but does not describe a petal. A readable element has an entry, expansion and exit rather than one abrupt stamp.
Angle chooses which colour forms the outside edge. If the light corner faces the petal rim, the rim appears illuminated. Rotate the brush and light and shadow exchange roles. Route creates silhouette: a straight pull makes a band, an arc makes a comma, and a small controlled wave can open a ruffled petal. Release should happen while the brush is still moving; lifting it vertically under full pressure leaves a blunt heavy end.
Train one variable at a time. First make ten bands with the same width. Then keep the route straight while opening and closing pressure. Finally add an arc or rotation. Starting with a bouquet hides the mechanical fault because colour and subject distract from the bristle behaviour. A teacher’s feedback should identify the first changed variable, not simply label the flower attractive or unattractive.
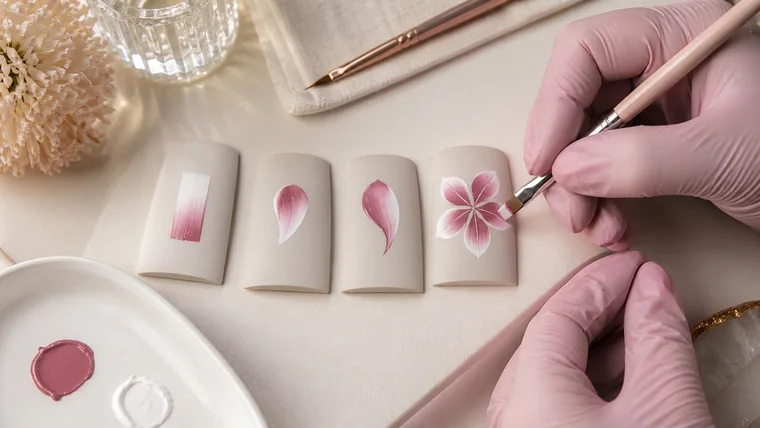
Five foundation drills: band, teardrop, comma, petal and leaf
Reduce scale only after the movement is stable
Each drill adds one new variable
Band
Load and edge continuity
Teardrop
Open and close pressure
Comma
Curve while tapering
Petal + leaf
Combine all controls
Band: place the full brush face and pull with unchanged pressure. Score the continuity of both colour edges and the central blend.
Teardrop: enter lightly, increase pressure through the body and release toward one clean point.
Comma: combine expansion with a curved route. The wide body provides volume; the taper sets direction.
Petal: establish the outer curve, open the bristles and return toward the origin while decreasing pressure.
Leaf: use two meeting curves or one central press-and-release, keeping its point and future stem on one direction.
Use observable scoring: light edge continuous, dark edge visible, centre blended, endpoint closed, size repeatable and ridge absent. Number each practice tip and retain one sample per session. The comparison shows whether control is improving; memory usually remembers the best petal and overlooks the other nine.
Reduce scale only when the full-size movement is stable. Move from a practice sheet to oversize tips, then ordinary tips and finally an individual nail. The motion should become smaller without becoming stiff. If the gradient disappears at salon scale, check brush size and load before trying to paint faster.
A five-petal flower, step by step
Plan the centre, outer diameter and dominant direction so the flower fits without touching the cuticle or side folds.
Prepare the double load and test one petal on the palette, confirming which colour faces outward.
Paint the first petal on the main axis; it becomes the scale and orientation reference for the group.
Place opposite petals by distributing space around the centre rather than copying one wrist angle blindly.
Complete the centre with a proportionate detail and add only the veins or highlights that improve legibility.
Inspect at working distance, in the client’s viewing direction and within the full hand—not only in macro view.
Petals can vary slightly and still feel coherent when they share one centre, scale and rhythm. Useful symmetry is visual balance, not mechanical cloning. To extend the composition, add a bud and two leaves on a counter-directional diagonal. Filling every gap with another flower removes hierarchy and makes the design harder to read at real size.
Composition on a small curved nail
A display tip and a natural nail offer different usable areas. Define a focal point, movement and negative space before choosing colours. A large flower cropped deliberately by an edge can look intentional; five tiny flowers with no hierarchy usually become visual noise. Use one dominant element, one secondary element and restrained connecting details.
Let the composition follow the nail. A diagonal can reinforce an almond, an off-centre botanical line can balance a square and a short nail benefits from fewer elements rather than every element simply being miniaturised. The guide to almond, square, coffin and stiletto geometry explains the lines that a decorative layout can support or interrupt.
Plan across the hand. Ten identical flowers do not automatically create a coordinated set. A shared palette, alternating leaves and a progression from detailed accent nails to quieter companions can be more deliberate. Record the number of decorated nails and complexity in the service description, because those choices affect time and price.
Colour contrast and apparent volume
Double loading reads when the two colours have enough visual distance. White with dusty pink produces a soft edge; mid-pink with plum increases depth; two colours of nearly equal value may appear flat even when the brush is loaded correctly. Compare lightness, temperature and saturation instead of choosing only by colour name. The broad nail-art colour guide provides the underlying harmony and contrast framework.
The background participates in contrast. A white rim can disappear on a pale base; a translucent dark colour can lose body on black; cat-eye and chrome reflections can compete with every painted edge. Simplify the palette or reserve a quieter visual area. If reflective effects are part of the service, use the dedicated guide to cat-eye and chrome application to plan their sequence separately from the painting method.
Surface preparation, thin layers and curing
Paint only on the surface specified for that product system. Some media require a cleansed or lightly mattified colour layer; others are designed for a particular cured surface. Follow the manufacturer’s sequence. Dust and residue interrupt the stroke, while random buffing may damage the intended layer or weaken the finish. Preparation for art is controlled compatibility, not automatic abrasion.
Keep every decorative layer within its supported thickness. A heavy petal may appear opaque before curing but wrinkle, shrink or remain incompletely cured beneath the surface. The guide to gel that will not cure, wrinkles or shrinks explains why a glossy top cannot prove complete cure. Product, lamp, exposure, pigmentation and geometry must remain a compatible chain.
Do not allow uncured material to touch skin, the proximal fold or side folds. Remove accidental contact before curing without spreading it and correct the quantity or hand position. If products from different ranges are combined, the guide to cross-brand base, colour and top compatibility gives an evidence-led way to evaluate the chain. Decorative success never overrides exposure control.
Troubleshooting One Stroke defects
Correct the process before tracing the petal again
A second heavy pass can hide evidence and create thickness
Muddy colour
Separate and reload corners
Empty centre
Restore brush-face contact
Frayed edge
Inspect bristles and surface
Uneven size
Mark pressure and route
Visible defect | Likely process cause | First controlled correction |
|---|---|---|
Two colours become one | Over-blending or an overloaded, fluid brush | Clean the blending lane and reload the corners separately |
Petal is empty through the centre | Too little product or incomplete brush-face contact | Rebuild one test band before returning to the nail |
Edge is broken or serrated | Split bristles, rough surface or hesitant route | Reform the brush, inspect the surface and slow the motion |
Petal sizes drift | Pressure peak and route length are inconsistent | Practise on a grid with marked entry and release points |
Artwork is thick or ridged | Excess load and repeated corrective passes | Remove the unstable level and rebuild in supported thin layers |
Flower is visually unclear | Low value contrast or too many competing elements | Increase value distance and restore negative space |
Do not respond to every fault by tracing the whole element again. A second pass can muddy the transition and double the thickness. On a practice tip, label the defect and repeat it. On a client set, decide whether one thin detail can integrate the mark safely; otherwise remove or rebuild the affected level according to the product protocol.
A four-week practice plan with measurable evidence
Week | Control focus | Evidence to retain |
|---|---|---|
1 | Loading and pressure | Thirty bands and thirty teardrops with continuous edges |
2 | Petals and leaves | Five sets of ten elements at one declared size |
3 | Flowers and composition | Ten five-petal flowers and five complete practice tips |
4 | Salon scale and timing | Three coordinated sets with comparable photos and timings |
Short, deliberate sessions outperform occasional marathons in which subject, brush, paint and palette all change. Photograph the load, test band and result together. The guide to practising after a nail course explains how to turn those samples into a feedback loop. Measure speed only after edge quality, scale and thickness are repeatable.
From practice sample to a priced salon service
Before offering a design, define the number of nails, motif size, palette, background and detail level. Show samples that can be reproduced within the booked time. A pair of accent nails and a ten-nail coordinated composition are different services. The supplement covers consultation, design, execution, correction, curing, photography and brush care—not only a few drops of paint.
Create a menu with three clear levels: one small detail, two accent nails and an extended composition. Time real samples and use the nail technician price-list method rather than copying another salon. Photograph one close detail and one full-hand view using the guide to true-colour nail photography. Macro shows edge control; the wider view proves scale and composition.
Develop technique through the Miniature Nail Painting Course, broaden the repertoire with the Professional Nail Art Course or connect structure and decoration in the Complete Nail Technician Course. English courses and instructors are independent market records and may remain closed for enrolment until their teaching content is ready.
Frequently asked questions about One Stroke nail art
What is the difference between nail micropainting and One Stroke?
Nail micropainting is a broad description for small-scale painted decoration using lines, colour blocks, shading and detail. One Stroke is a specific method based on two colours carried on one flat or angled brush and a movement that changes width. A design may use One Stroke petals and then add non-One-Stroke liner work.
Which brush should a beginner use for One Stroke?
Start with one small flat or angled brush whose bristles align into a clean chisel edge and spring back after pressure. It should open to the planned petal width without covering most of the tip. Add a liner only for stems and details; changing among many brushes makes it harder to understand loading and pressure.
Can One Stroke be painted with UV or LED gel?
It can be adapted to a documented curable painting gel when pigmentation, viscosity, supported thickness, lamp and exposure instructions are compatible. Ordinary gel colours do not all blend or cure in the same way. Test a thin gradient on a tip and verify complete cure before using it in a client service.
Why do my two colours turn into one muddy colour?
The brush may be overloaded, the blending lane may be contaminated or the paint may be too fluid. Clean the palette area, restore separate pickup zones and make fewer conditioning passes. The test band should retain two distinct outer edges with a transition through the centre, not become one uniform intermediate shade.
How do I make One Stroke petals the same size?
Repeat the load, maximum pressure, route length and release point. Practise against a grid or marked circles and compare both left- and right-facing strokes. On a curved nail, inspect from the client’s view as well as your working angle because perspective can make matching petals look unequal.
Should I learn directly on natural nails?
Begin on a larger surface where you can see the bristles open and close, then move to oversize tips, ordinary tips and finally nails. Immediate miniaturisation often creates rigid movements and repeated corrections. Reduce the scale only after the full movement produces a stable gradient and closed endpoint.
Why does the petal look striped or frayed?
Check for split bristles, paint drying or curing near the ferrule, a dusty surface, insufficient load and hesitant movement. Reform or replace the brush when needed, prepare a fresh test band and use one continuous route. Multiple thick passes hide the evidence and can create a curing problem.
Does One Stroke nail art need a top coat?
The finish depends on the chosen medium and product system. Follow its instructions for surface, drying or curing and compatible top coat. The artwork must be stable and within the supported thickness before finishing. A top coat cannot correct uncured material, skin contact or a heavy decorative ridge.
How long does One Stroke nail art take in a salon?
Time depends on the number of nails, motif, scale, background, layer count and the artist’s repeatability. Time actual samples and quote the agreed level before the appointment. Two simple accent nails and a coordinated ten-nail floral set should not share one estimate or one price.
How should a One Stroke brush be cleaned?
Use only the cleaning method supported for the painting medium, avoid crushing the bristles against the container and do not leave reactive residue near the ferrule. Reform the edge and store the brush closed and away from sunlight or curing lamps when photo-curable material is involved.
Can One Stroke and stamping appear in the same set?
Yes, when the product sequence is compatible and each technique has a clear visual role. Stamping can provide a repeated texture while One Stroke forms the focal flower. Test the order on a tip, preserve negative space and verify adhesion, cure and finishing instead of layering details without hierarchy.
How should I photograph a One Stroke design?
Use soft neutral light, stabilise the camera and capture one close detail plus one full-hand image. Lock white balance and exposure so the two-colour transition remains faithful. The close view demonstrates edge control; the wider view demonstrates scale, direction and harmony. Avoid filters that hide ridges or exaggerate saturation.
Sources and editorial limits
American Academy of Dermatology — Artificial nails: tips for reducing nail damage
US Environmental Protection Agency — Protecting the health of nail salon workers
These references support conservative product exposure and salon practice; they do not prescribe one proprietary painting system. Brush terminology, media and curing instructions vary, so this guide states its training controls explicitly and never replaces the instructions for the actual products in use. Continue through the English nail guide library and the English nail course catalogue without crossing into the Italian content graph.