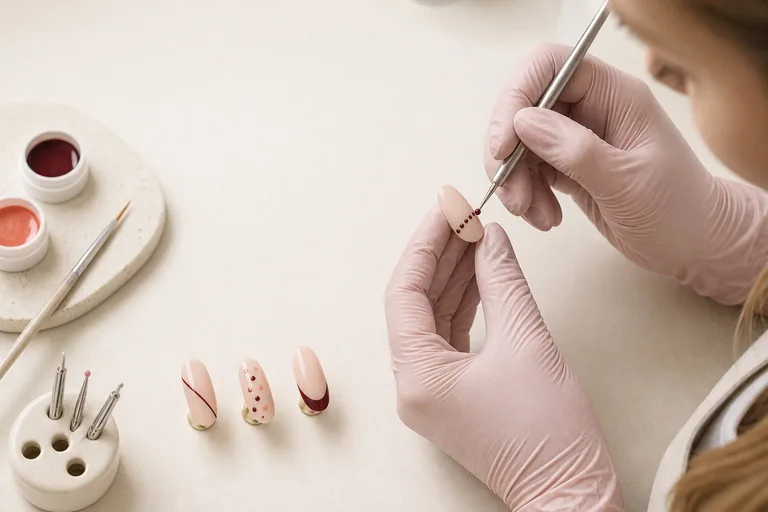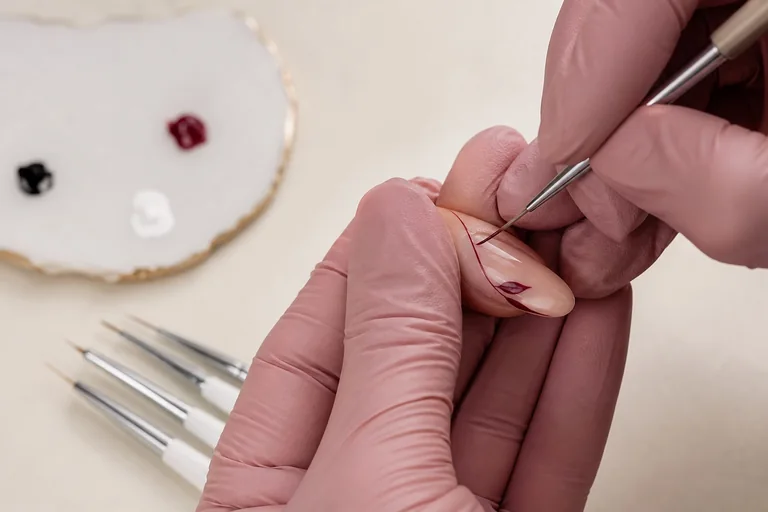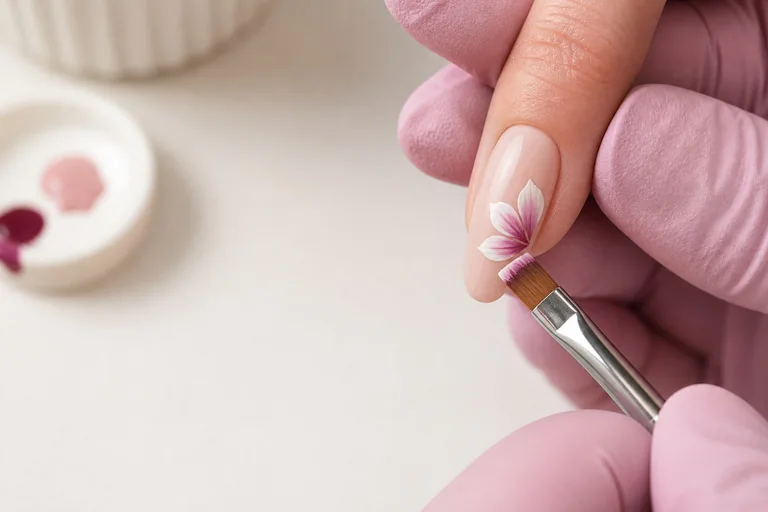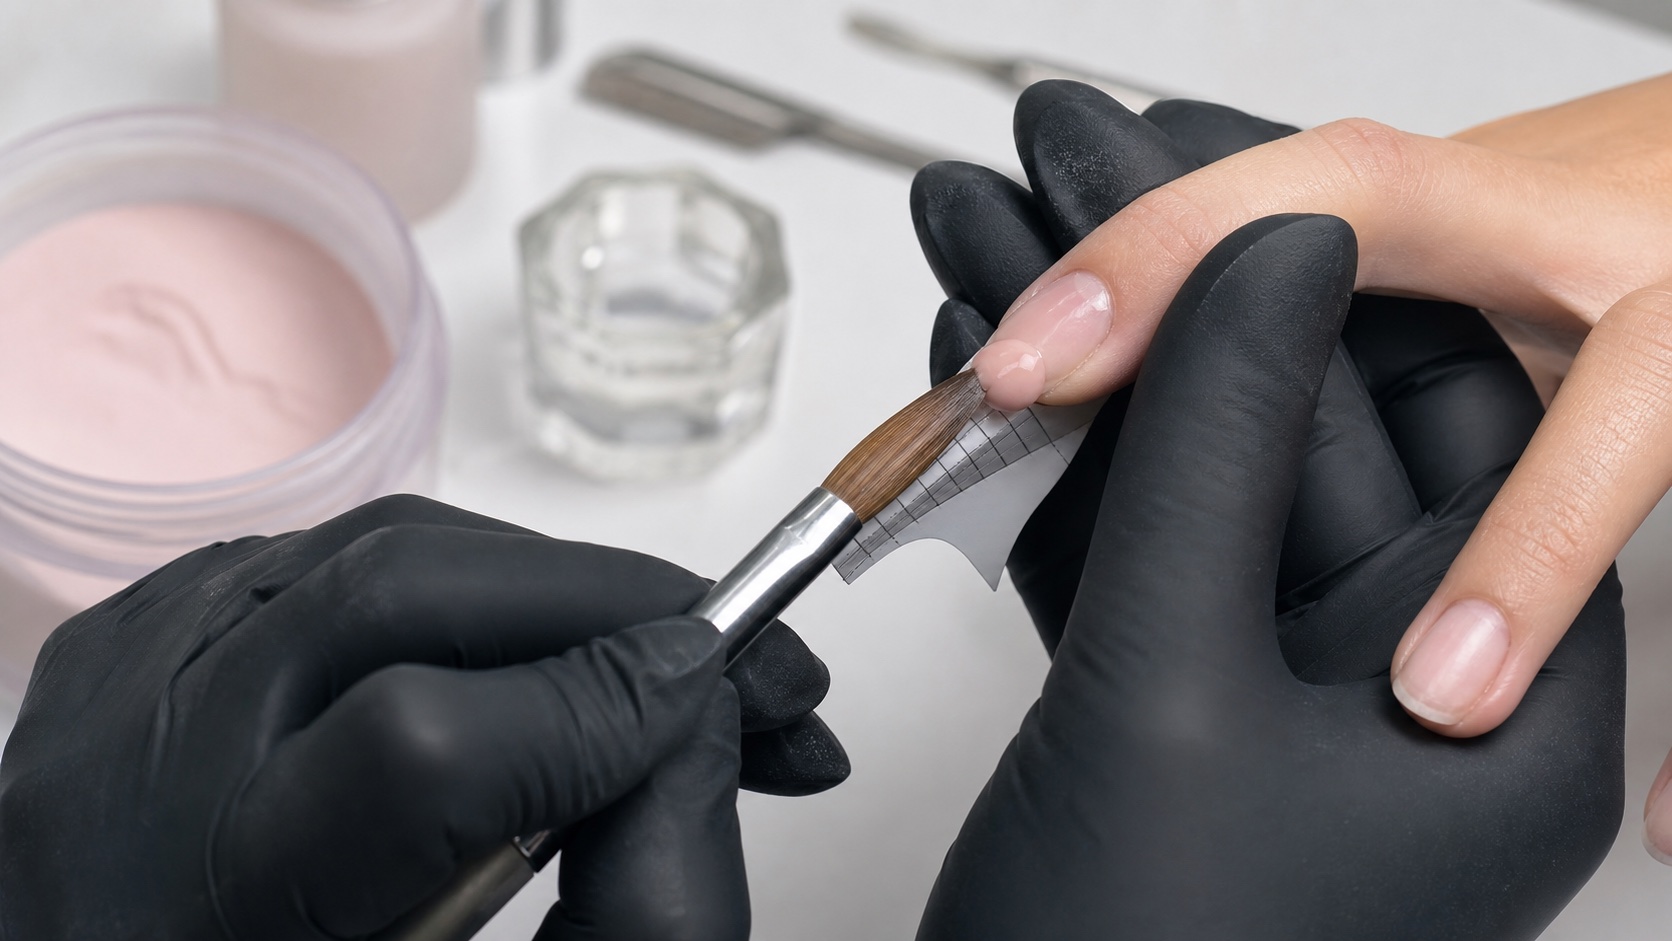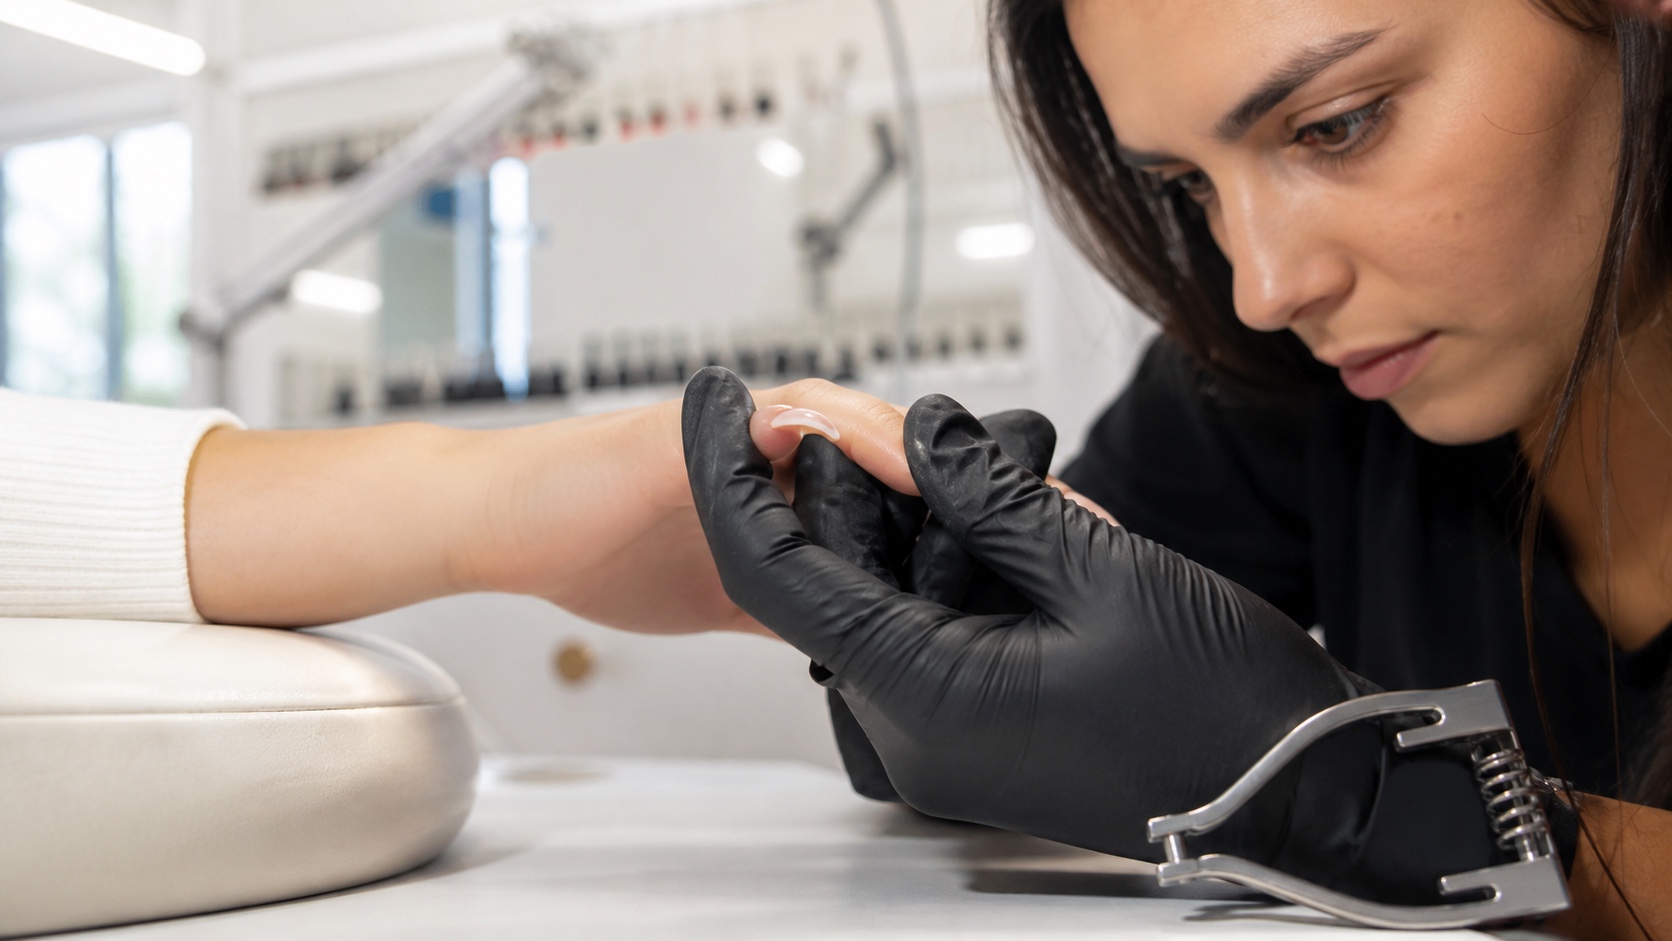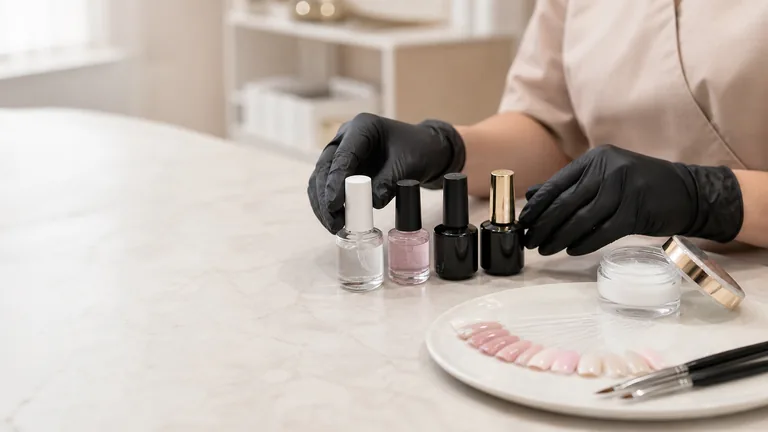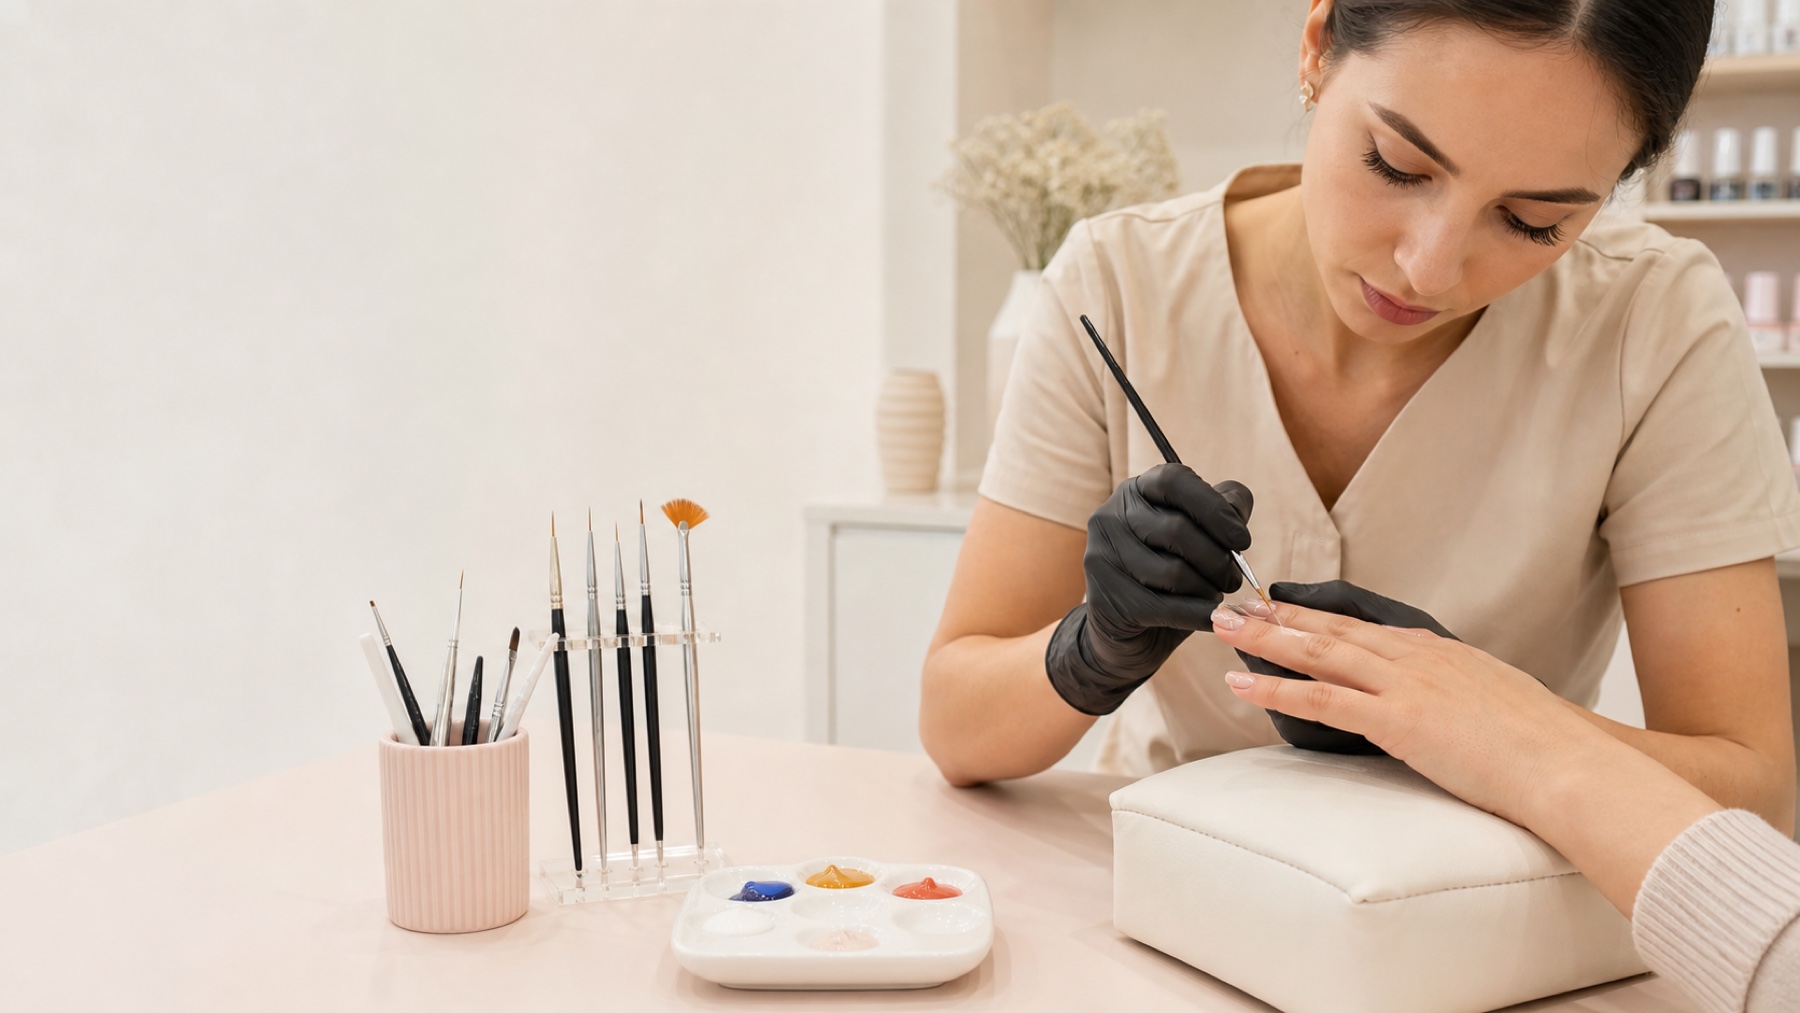
Professional nail art does not begin with the most complicated picture. It begins with a prepared surface, a product that moves predictably, an appropriate brush, controlled load and pressure, readable colour and a composition designed for a very small curved space. If dots, lines and filled shapes are inconsistent, extra detail makes the error busier rather than the result more professional.
Short answer: practise equal dots, straight lines, curves, leaves and clean filled shapes before copying complex designs. Choose a brush for the mark it must create, control hue, value and saturation, limit the palette, and decide focal point, rhythm and negative space before painting. Use colour products, lamp and top coat as one compatible system.
This guide owns the shared foundations of nail art. The gel-painting guide will own detailed line work with light-cured colour, the One Stroke guide will own two-colour brush loading, and the beginner-design guide will own a progressive library of simple salon designs. For guided study, compare the English-market professional nail-art course and all nail courses by level and practical feedback.
The seven foundations of professional nail art
Seven controls turn an idea into repeatable work
Detail cannot rescue an unstable foundation
Surface
Even, clean and service-ready
Product
Suitable movement and opacity
Gesture
Load, angle, pressure and speed
Design
Colour, hierarchy and negative space
Finish
Protected without distortion
A successful design coordinates seven controls: surface, product, tool, gesture, colour, composition and finish. Surface quality determines whether the decoration sits flat. Product viscosity and opacity determine how it travels and covers. The tool translates the movement, while load, angle, pressure and speed shape the mark. Colour creates hierarchy, composition organises the space, and finishing protects the work without turning fine details into bulk.
Foundation | Control question | Common error |
|---|---|---|
Surface | Is it even, clean and appropriate for this service? | Painting over ridges, dust or lifting. |
Product | Does it cover and move as required? | Using extra bulk to compensate for poor opacity. |
Tool and gesture | Are shape, load, angle and pressure stable? | Using one brush and one movement for every mark. |
Colour and layout | Where does the eye look first? | Adding colours and detail without hierarchy. |
Finish | Does it protect without distorting the design? | A thick top layer that drags pigment or rounds detail. |
Complete preparation and surface control first. The guides to natural-nail preparation and gel-polish application address the base service. Decoration cannot straighten an axis, seal lifting or replace balanced structure.
Brush anatomy: tip, belly, ferrule and handle
Read the brush before judging the line
Every section changes what reaches the nail
Tip
Precision and line terminal
Belly
Product reserve and continuity
Fibre
Flexibility and pressure response
Ferrule
Alignment and clean recovery
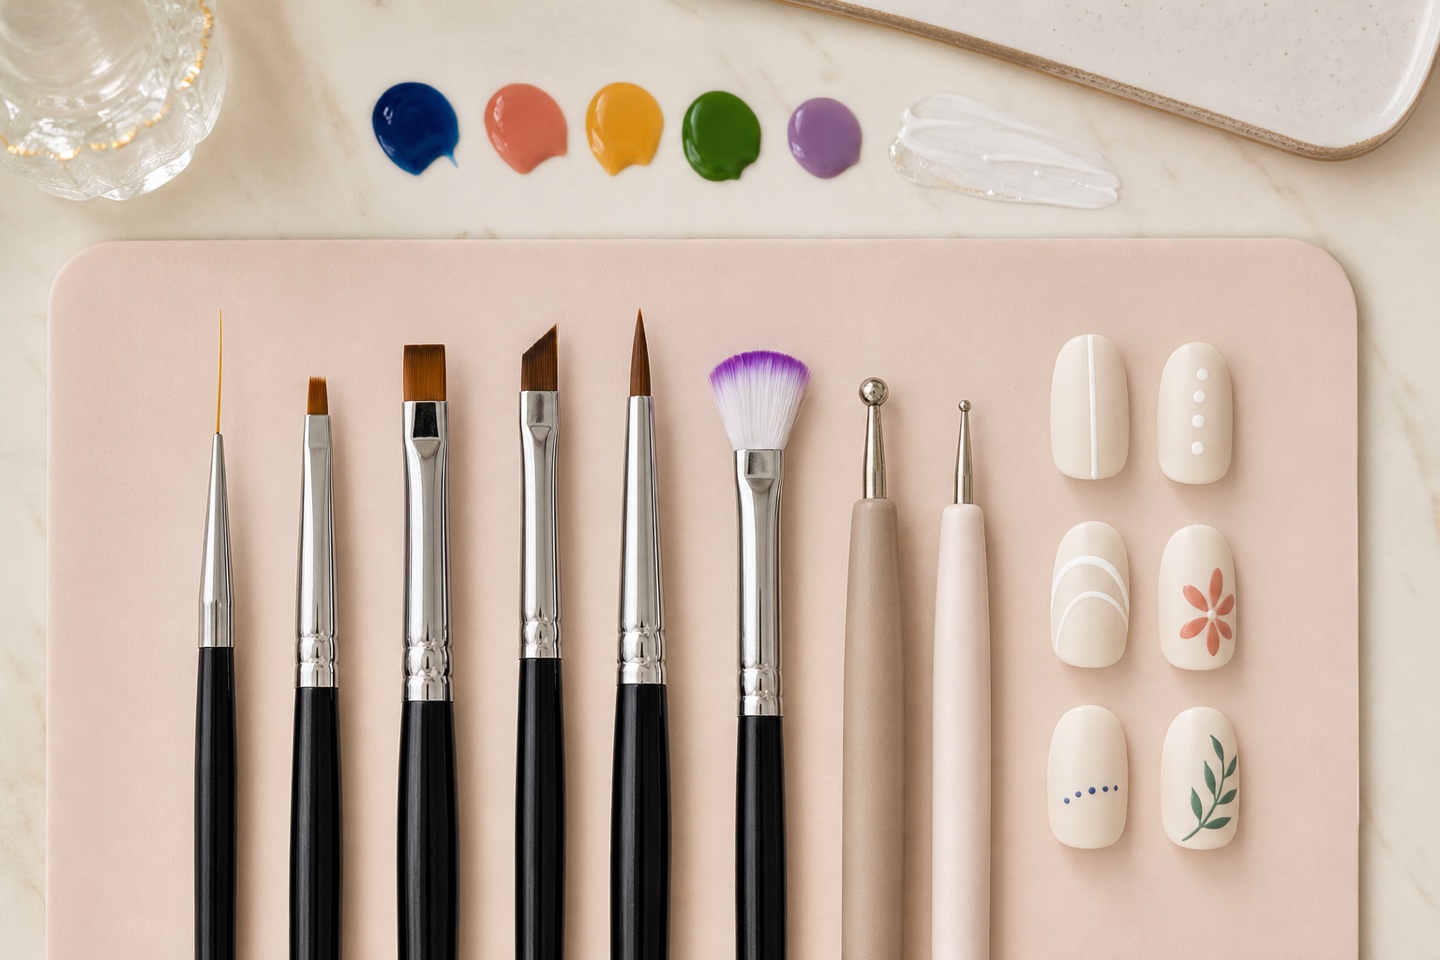
The tip controls precision and the end of a stroke; the belly carries product; fibre length and elasticity influence continuity and response to pressure; the ferrule should keep fibres aligned. Inspect a brush both loaded and clean. A single projecting fibre will reproduce the same irregularity in every line, while dried product near the ferrule prevents the belly from flexing normally.
Tool | Best starting use | Control | Avoid |
|---|---|---|---|
Long liner | Long lines and continuous curves. | Low pressure and steady pull. | Holding it upright like a pen. |
Short detail | Contours, terminals and small corrections. | Small load and intact tip. | Filling large areas. |
Small flat or angled | Filled shapes, petals, blocks and gradients. | Stable edge and deliberate pressure. | Crushing the whole belly. |
Dotting tool | Dots, centres and repeated modules. | Consistent reload rhythm. | Expecting equal dots from an exhausted load. |
A practical starter set can be one medium or long liner, one short detail brush, one small flat brush and two dotting-tool sizes. More tools are useful only when they solve a defined mark that the current set cannot produce. Record brush length, product and result instead of changing all three after one imperfect attempt.
Product load, angle, pressure and speed
Too much product creates a bead at the start and a raised edge; too little produces a dry, broken line. A high angle concentrates contact at the tip, while a lower angle lays more fibre on the surface. Pressure widens a mark; speed changes how much material is deposited. These variables must be practised separately before they can be coordinated inside a miniature design.
Support both hands. Rest the working hand where possible, stabilise the practice tip or client finger, load the belly without flooding the ferrule, place the first point, lower the handle slightly and pull with one controlled breath. Rotate the support to follow a curve instead of twisting the wrist into an unstable angle. Do not redraw every tremor: repeated corrections usually make the line wider and more uneven.
A calibration drill before every new colour product
Draw ten lines with a light load, ten with a medium load and ten with a heavier but permitted load.
Repeat one curve at three brush angles while keeping speed and product constant.
Create a thin-to-thick pressure wave without reloading the brush.
Choose the combination that gives a clean edge and cures within the product system’s specified layer.
The basic vocabulary: dots, lines, curves, petals and filled shapes
Most nail designs can be decomposed into a small vocabulary. A flower may be repeated dots or pressure-and-release petals. A leaf is a widening stroke that tapers. A grid is a family of parallel lines. A geometric motif combines controlled outline and fill. Lettering depends on rhythm, spacing and clean terminals. Decomposition reduces mental load: practise the module, then place it inside a composition.
Score a full row, not the best mark. Ten dots pass when eight have comparable diameter and spacing; ten lines pass when their width and terminals are deliberately consistent; five petals pass when their bases, widest points and tips follow the same construction. This produces evidence of control rather than a collection of lucky examples.
Colour theory for nail art: hue, value and saturation
Colour has more than one dimension
Different hues can still disappear at the same value
Hue
Colour family and relationship
Value
Light–dark separation
Saturation
Vivid–muted intensity
Temperature
Relative warm–cool reading
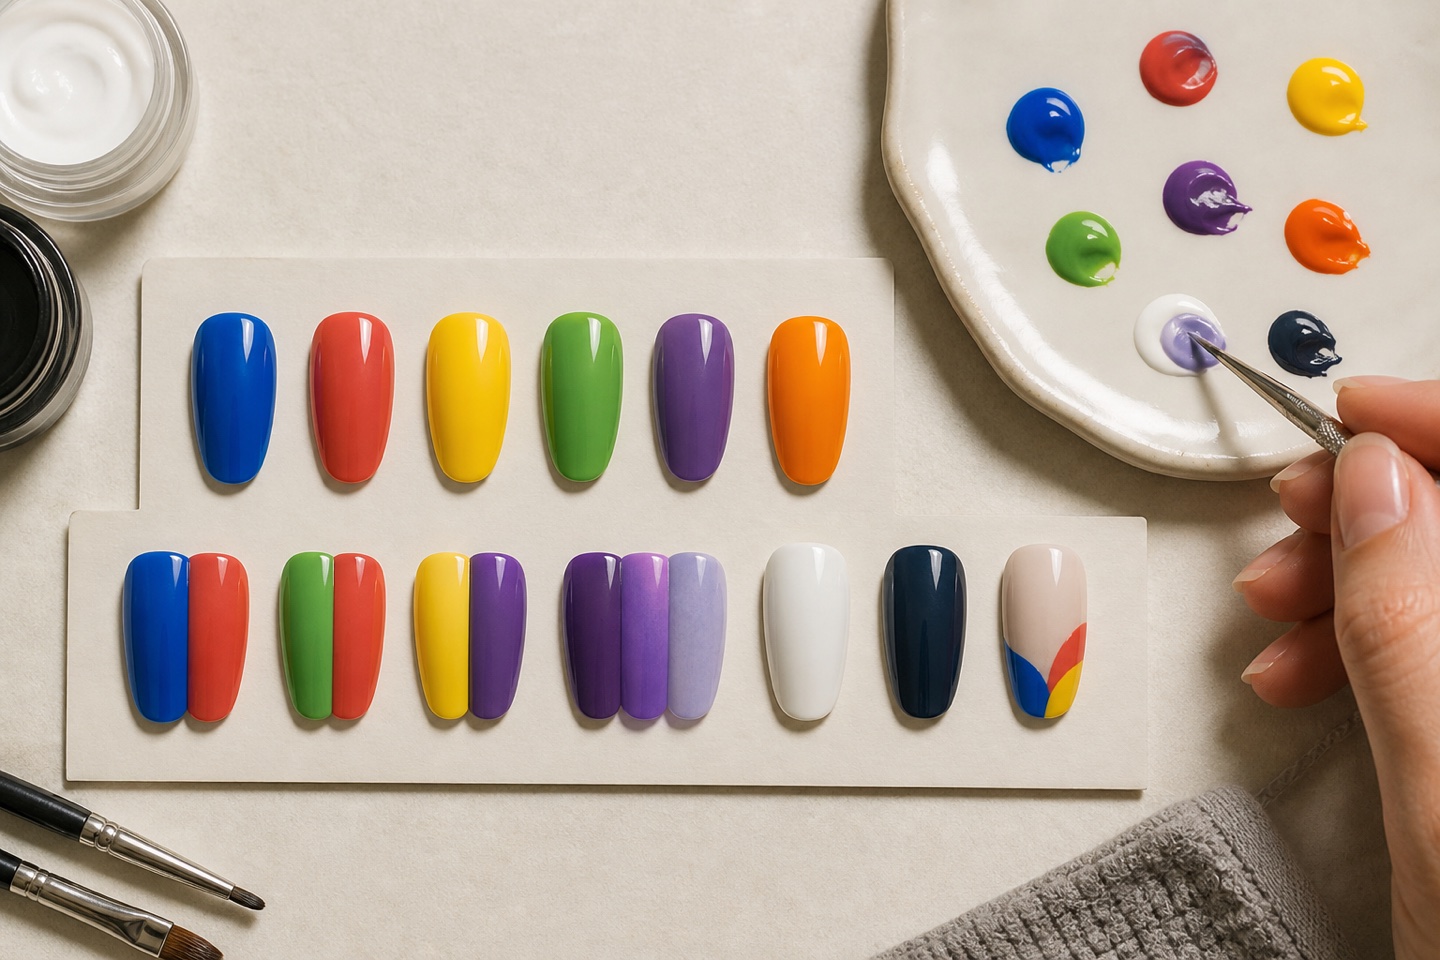
Hue is the colour family, such as blue or orange. Value describes how light or dark a colour appears. Saturation describes intensity or neutralisation. Two different hues can have nearly the same value, so figure and background disappear into one another when viewed from normal distance. A monochromatic palette, by contrast, can remain highly legible when it uses clearly separated values.
Temperature is relative. Coral red appears warmer beside violet red, but cooler beside orange. Use these dimensions to make decisions, not to label one colour as universally suitable. Photograph the test in greyscale to check value, then return to colour to judge hue and saturation. If the motif vanishes in greyscale, adjust the background, main shape or outline rather than adding unrelated detail.
Harmony | Effect | Planning rule |
|---|---|---|
Monochromatic | Coherent and controlled. | Separate values and keep one dominant version. |
Analogous | Smooth colour movement. | Choose one lead hue and two supporting neighbours. |
Complementary | Strong contrast and energy. | Do not give both colours equal area and saturation. |
Neutral plus accent | Clear focal point for salon wear. | Repeat the accent sparingly across the set. |
Colour theory does not prove chemical compatibility. Do not mix two gels merely because their hues should create a third colour. Pigment load, base chemistry, viscosity and cure can change. Mix only when the manufacturer permits it, use the compatible lamp and exposure, and test the actual combination rather than assuming paint behaviour applies to light-cured cosmetics.
Composition on a small curved surface
Design the ten-nail set as one composition
A focal point needs quieter space around it
Focal point
First place the eye lands
Rhythm
Repeated colour, line or module
Scale
Adapted to width and curve
Negative space
Rest that protects hierarchy
Composition determines what is noticed first and how the eye travels. Choose a focal point, establish its scale, support it with one or two quieter modules and preserve negative space. A design can be asymmetrical and still balanced when visual weight is distributed deliberately. Filling every gap usually removes hierarchy and makes technical imperfections more visible.
Plan the ten-nail set, not ten isolated canvases. One detailed accent nail can be echoed with a line, dot or colour on neighbouring nails. Repeat without cloning: vary scale or orientation while preserving the same visual language. Check the design from the client’s view, technician’s view and normal hand distance. A tiny detail that exists only in macro photography may not contribute to the worn result.
Adapt the design to nail shape, length and daily wear
A composition that works on a long flat display tip may become crowded on a short natural nail or distorted across a strong curve. Preserve the focal element, reduce secondary detail and reposition the design so it remains visible from the client’s normal view. Keep product away from skin and do not extend decorative relief into edges that can catch during daily wear. Discuss colour, finish, workplace requirements and maintenance before committing to ten nails. A portfolio reference is a starting brief, not permission to ignore the client’s nail surface, practical length or requested level of contrast.
When adapting a set, make one complete test tip at the approximate width and curve of the client’s nail. View it in neutral light, against skin and beside the other planned colours. Correct scale and hierarchy there; improvising every nail during the service usually creates inconsistent spacing and longer appointment times.
Turn a reference image into nail art
Do not copy every pixel. Identify the silhouette, largest value masses, dominant colour relationship and two or three details that make the subject recognisable. Reduce the palette, translate the subject into known modules and test it at nail scale. Simplification is not loss of skill; it is designing for the available surface and viewing distance.
Curing, top coating and brush care
Pigmented art products may have different thickness and exposure limits from base or builder products. Cure each stage only as the exact system instructs. A brief improvised flash cure is not a universal method, and a hard surface does not prove complete cure. Keep uncured material off skin and use the lamp specified for the product rather than choosing by wattage alone.
Apply top coat with enough product to cover texture without dragging the design or creating a bulky profile. Follow the system’s dispersion and cleaning rules. Clean brushes immediately by the method intended for their fibres and product; do not flood the ferrule, crush the tip or leave photosensitive residue near sunlight or a working lamp. Cap and store the brush once its shape has been restored.
Common nail-art problems: diagnose before repainting
Problem | Likely variable | Next controlled test |
|---|---|---|
Wobbly line | No support, high brush angle or slow fragmented movement. | Stabilise both hands and repeat one continuous pull. |
Broken line | Insufficient load, unsuitable viscosity or dirty tip. | Calibrate three loads with the same brush and speed. |
Muddy palette | Too many equal colours or uncontrolled mixing. | Limit to dominant, support and accent. |
Raised design | Opacity built with bulk or repeated correction. | Use compatible pigmentation and thinner permitted stages. |
Busy set | No focal point, rhythm or negative space. | Remove one module and assign one accent nail. |
A four-week nail-art foundation practice plan
Week 1: complete grids of dots, straight lines, curves and pressure strokes; pass only when eight of ten are intentionally consistent.
Week 2: build value scales and five limited palettes; verify figure and ground in greyscale before judging colour.
Week 3: reduce three reference images to a maximum of five modules and one focal point on practice tips.
Week 4: complete two coherent ten-nail sets, photograph top and hand views, request specific feedback and repeat the weakest module.
Use the post-course practice guide to keep complete series and evidence of change. Do not alternate between watercolour, stamping, One Stroke, chrome and 3D work in every session. Stabilise one family, then transfer the shared controls to the next.
Choose the right learning path
If preparation and smooth colour are not stable, begin with the gel-polish course. Use the professional nail-art course for shared decorative foundations and composition, and the gel-painting course when line work and detailed colour control are the main gap. French and Baby Boomer are separate vertical techniques: review the French manicure guide and Baby Boomer guide for their boundaries.
Put contrast, negative space and line placement into a compact design brief with these black gel nail design ideas. Compare the same outline in matte and gloss before adding another colour.
Frequently asked questions
Where should a beginner start with nail art?
Start with equal dots, straight lines, curves and small filled shapes on a card or practice tip. Stabilise load, support and pressure before copying detailed subjects.
Which nail-art brushes do I need first?
One medium or long liner, one short detail brush, one small flat brush and two dotting-tool sizes cover most foundation drills. Add a brush only for a defined missing mark.
What is the difference between a long and short liner?
A long liner carries more product and supports continuous lines and broad curves. A short liner gives close control for small contours and terminals but needs more frequent reloading.
Why are my nail-art lines shaky?
Common causes are unsupported hands, a moving finger, upright brush angle, irregular load, unsuitable viscosity and a slow fragmented pull. Stabilise, lower the handle and practise one continuous movement.
How do I make dots the same size?
Use one tool diameter, repeat contact and lift vertically, and reload at a fixed rhythm. Product decreases after each dot, so one load cannot normally create an entire identical row.
What is value in colour theory?
Value is how light or dark a colour appears. Figure and ground with similar values may merge even when their hues are different; a greyscale photograph is a useful check.
What is the difference between hue and saturation?
Hue names the colour family; saturation describes how intense or muted it appears. A vivid blue and a dusty blue share hue but differ in saturation.
Which colours work well together in nail art?
Choose the relationship for the effect: analogous for flow, complementary for contrast, monochromatic for control, or neutral plus accent for a clear focal point. Keep a hierarchy.
Can I mix two gel colours to create a new shade?
Only when the product manufacturer permits mixing within that system. Pigment and base changes can affect viscosity and cure, so colour theory alone is not evidence of compatibility.
How do I choose a background colour?
Compare its value, temperature and saturation with the subject. The background should support the focal element rather than competing with it; test on the actual planned base.
How do I simplify a photograph into nail art?
Extract silhouette, major value masses, dominant colours and two or three identifying details. Convert them into modules and test readability at nail scale and normal distance.
How can I stop a design looking overcrowded?
Define one focal point, reduce colour and module count, vary scale, repeat one quieter element and leave deliberate negative space across the set.
How should nail-art brushes be cleaned?
Follow the method intended for the fibre and product. Clean promptly, avoid curing residue in the brush, protect the ferrule, restore the tip and store it capped away from light.
Must nail art be cured after every stroke?
It depends on the product and technique. Some stages are worked together and others require an intermediate cure. Follow the exact system instead of inventing universal flash-cure timings.
Why does my nail art become raised after top coat?
The colour may have been applied too thickly or repeatedly corrected, or the top may be pooling. Rebuild opacity in thinner permitted stages and inspect the side profile before curing.
Which course should I choose for nail art?
Choose professional nail art for shared foundations and composition, gel painting for detailed line and colour work, or a base course first when preparation and smooth colour are not yet repeatable.
How can I practise without wasting product?
Use laminated cards and labelled tips, dispense very small amounts, keep light and photography consistent and dedicate each session to one variable. Score the full series, not the best attempt.
Official sources and editorial boundary
General nail-product safety: US Food and Drug Administration, Nail Care Products. Workplace exposure, ventilation, ergonomics and prevention: CDC/NIOSH, Nail Technicians: Workplace Safety and Health and OSHA, Chemical Hazards in Nail Salons.
This guide teaches artistic and technical principles. It does not replace product instructions, safety data, practical supervision, medical assessment or local qualification requirements. Keep uncured material off skin, control dust and ventilation, and stop for pain, heat, inflammation, broken skin or suspected reaction.
Compare all English-market nail courses by prerequisite, product system, demonstration clarity, practice assignments and feedback. A useful curriculum develops repeatable marks and design decisions rather than presenting a gallery of finished tips without the construction process.