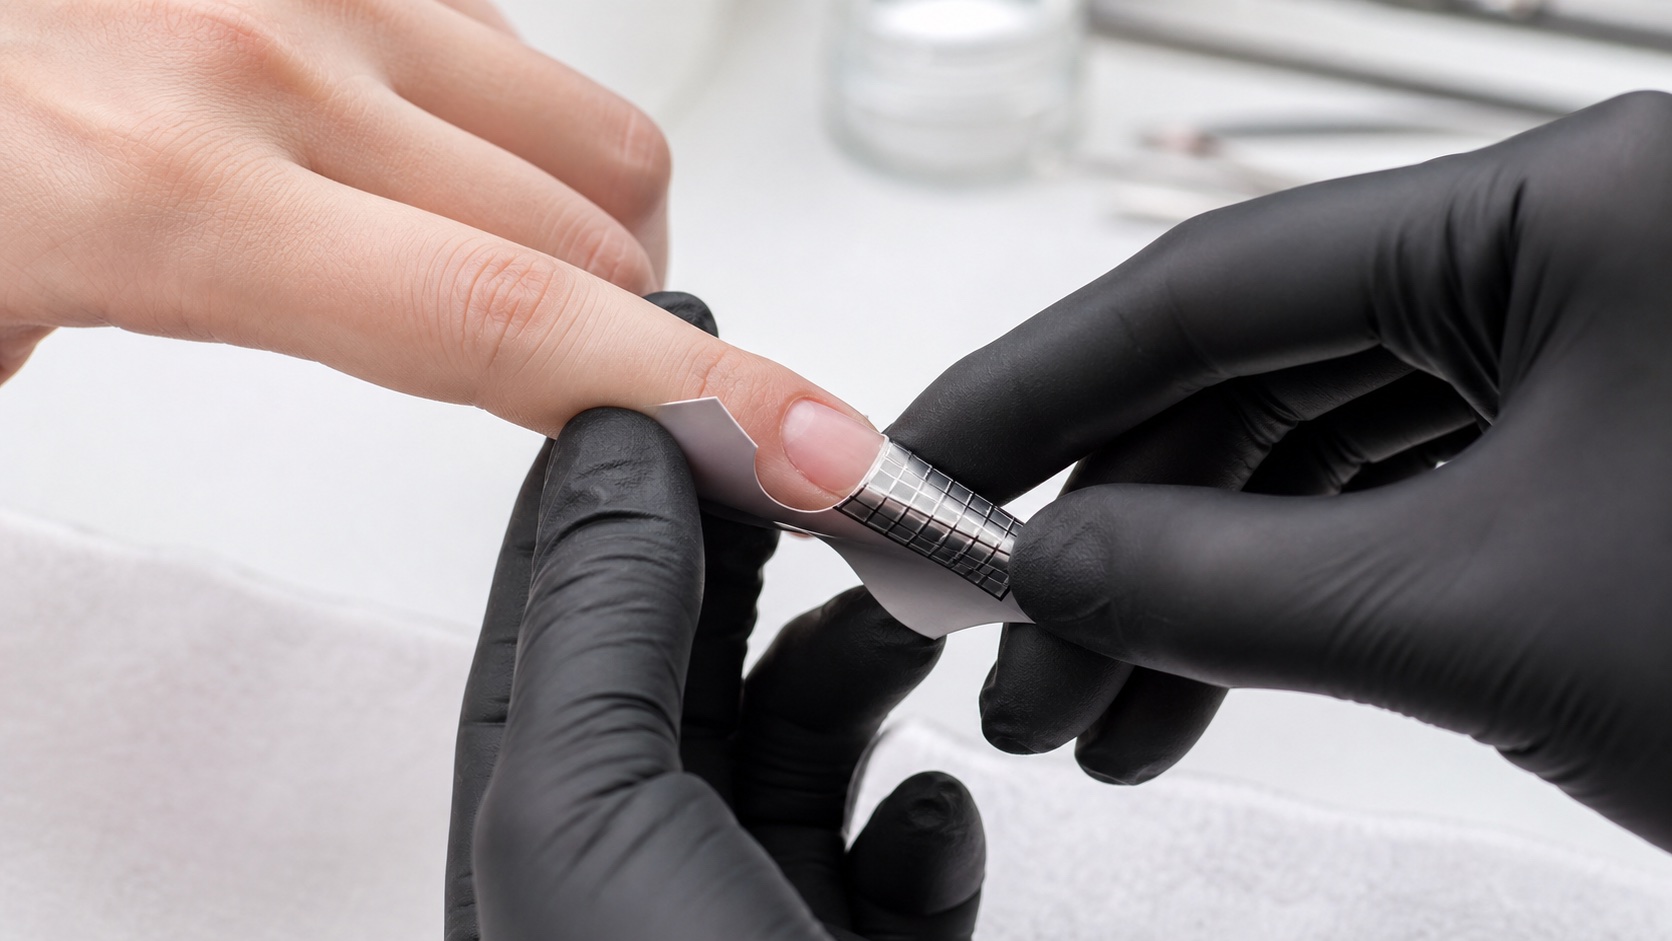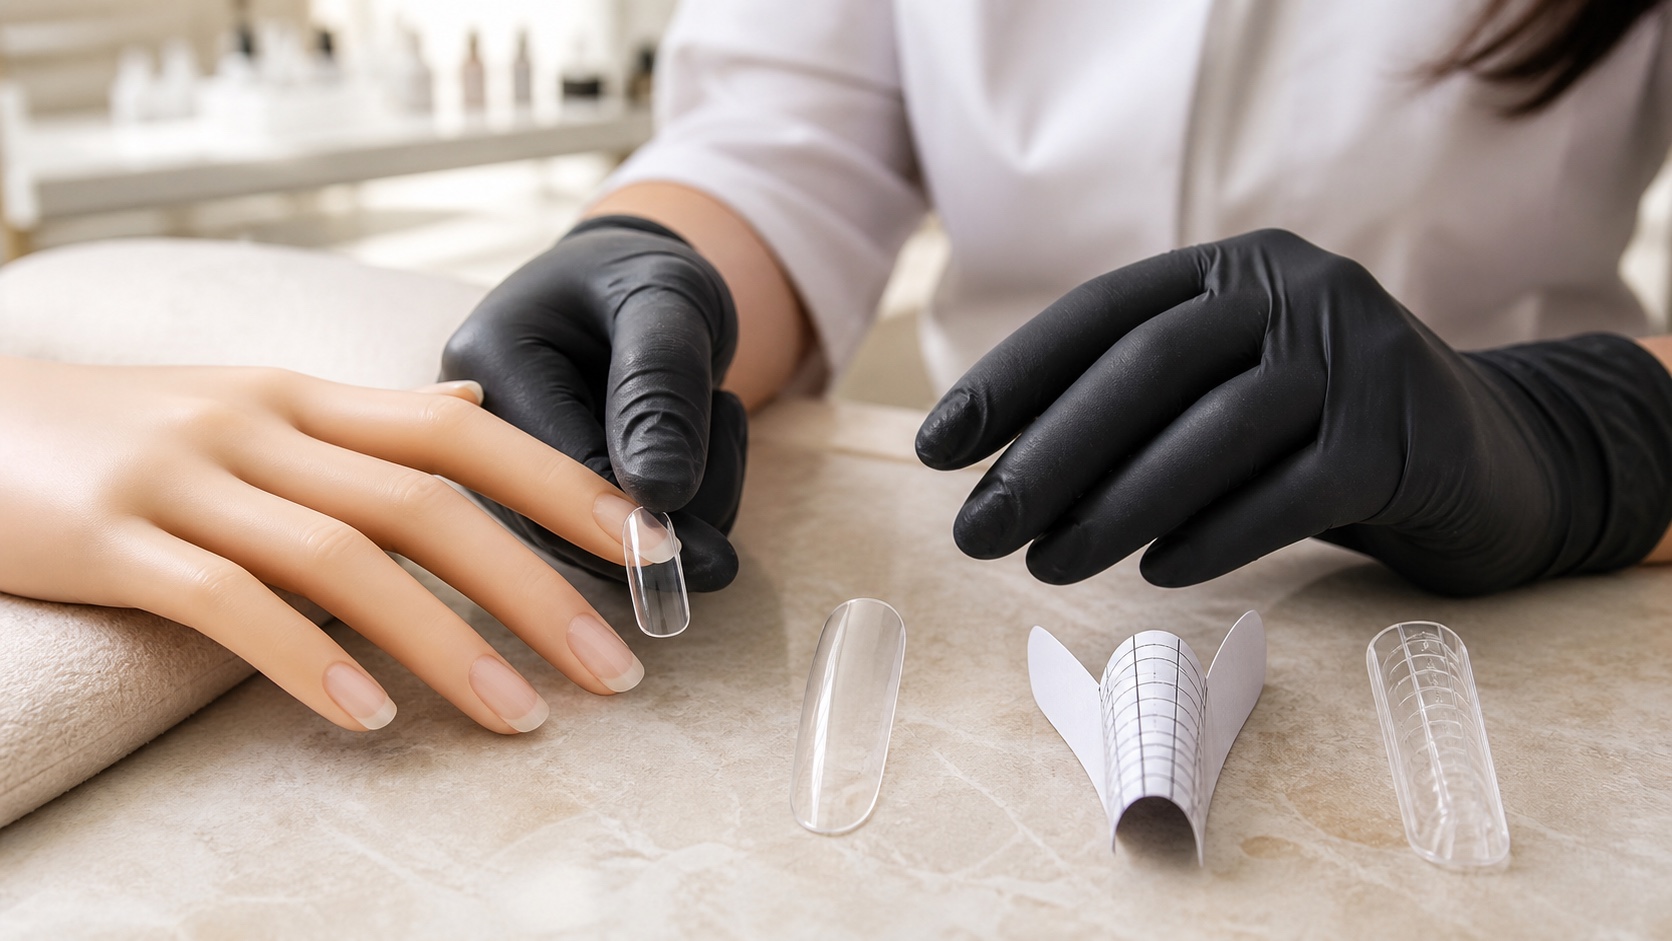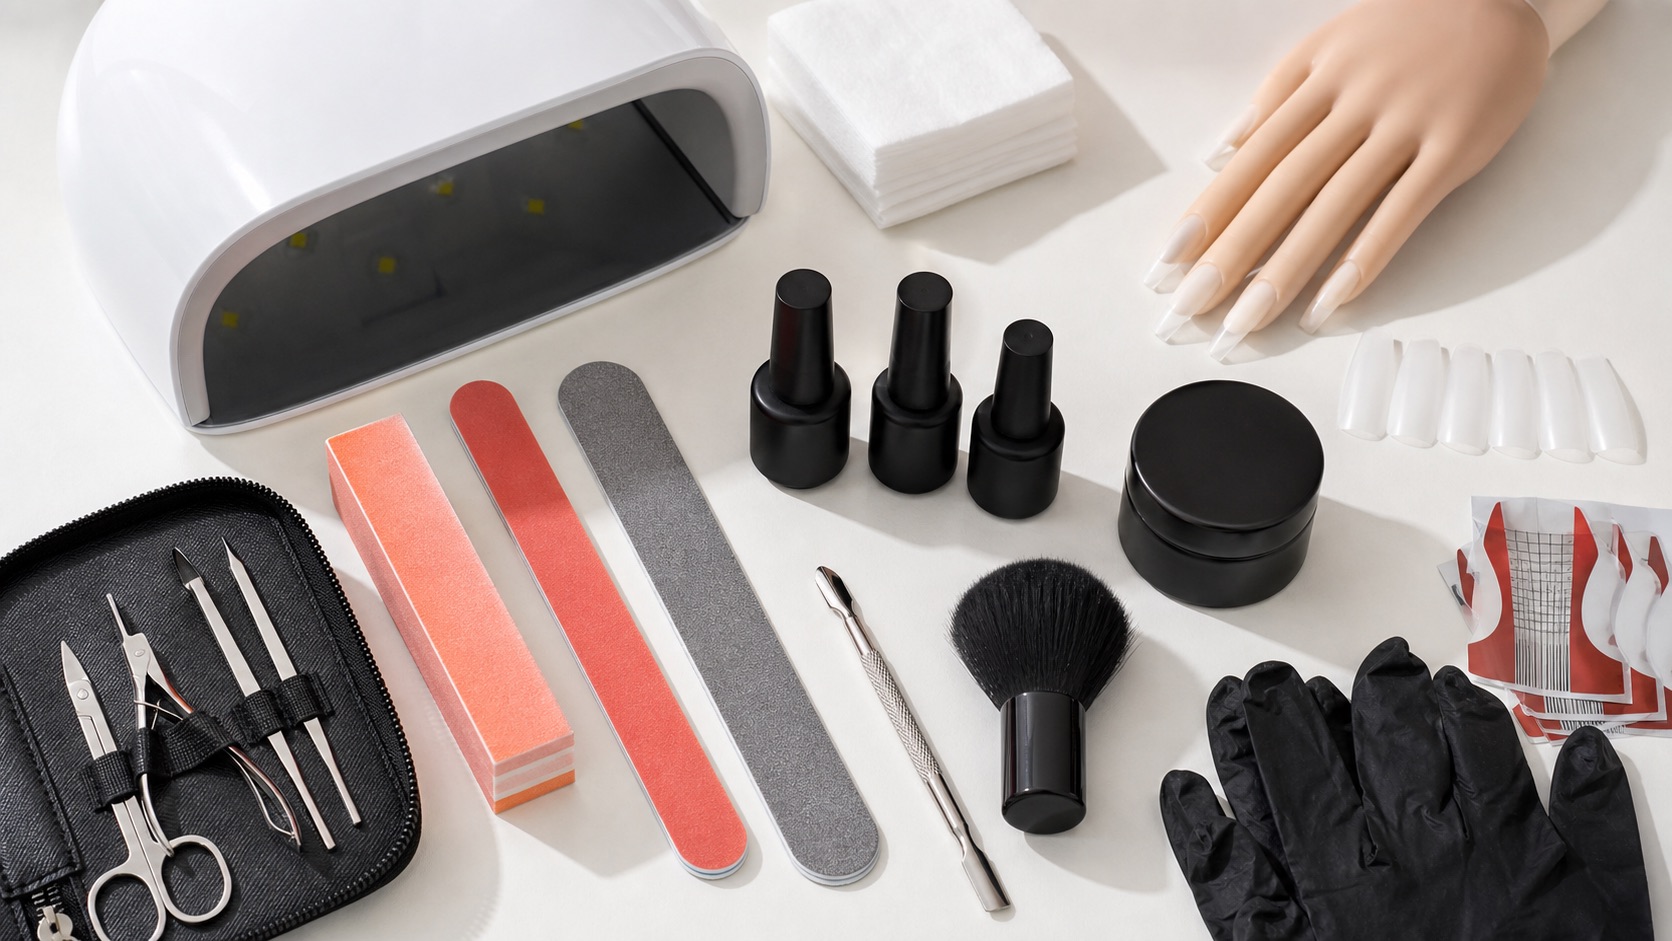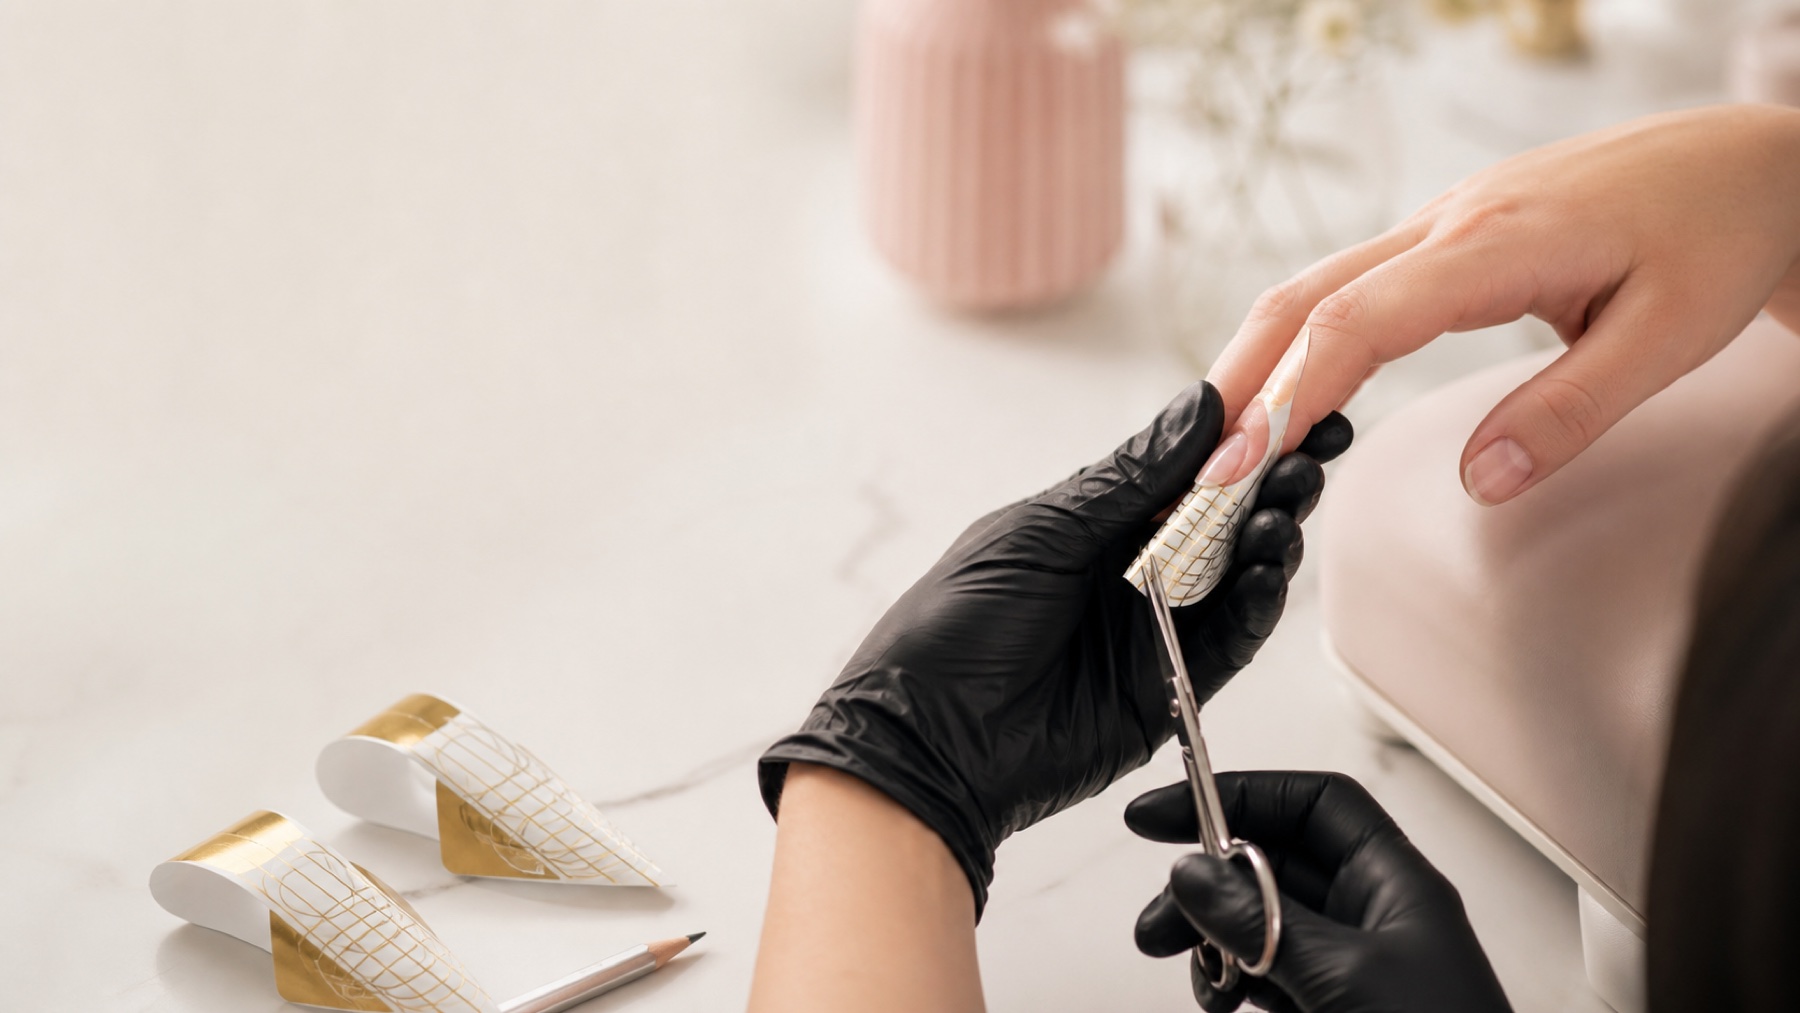
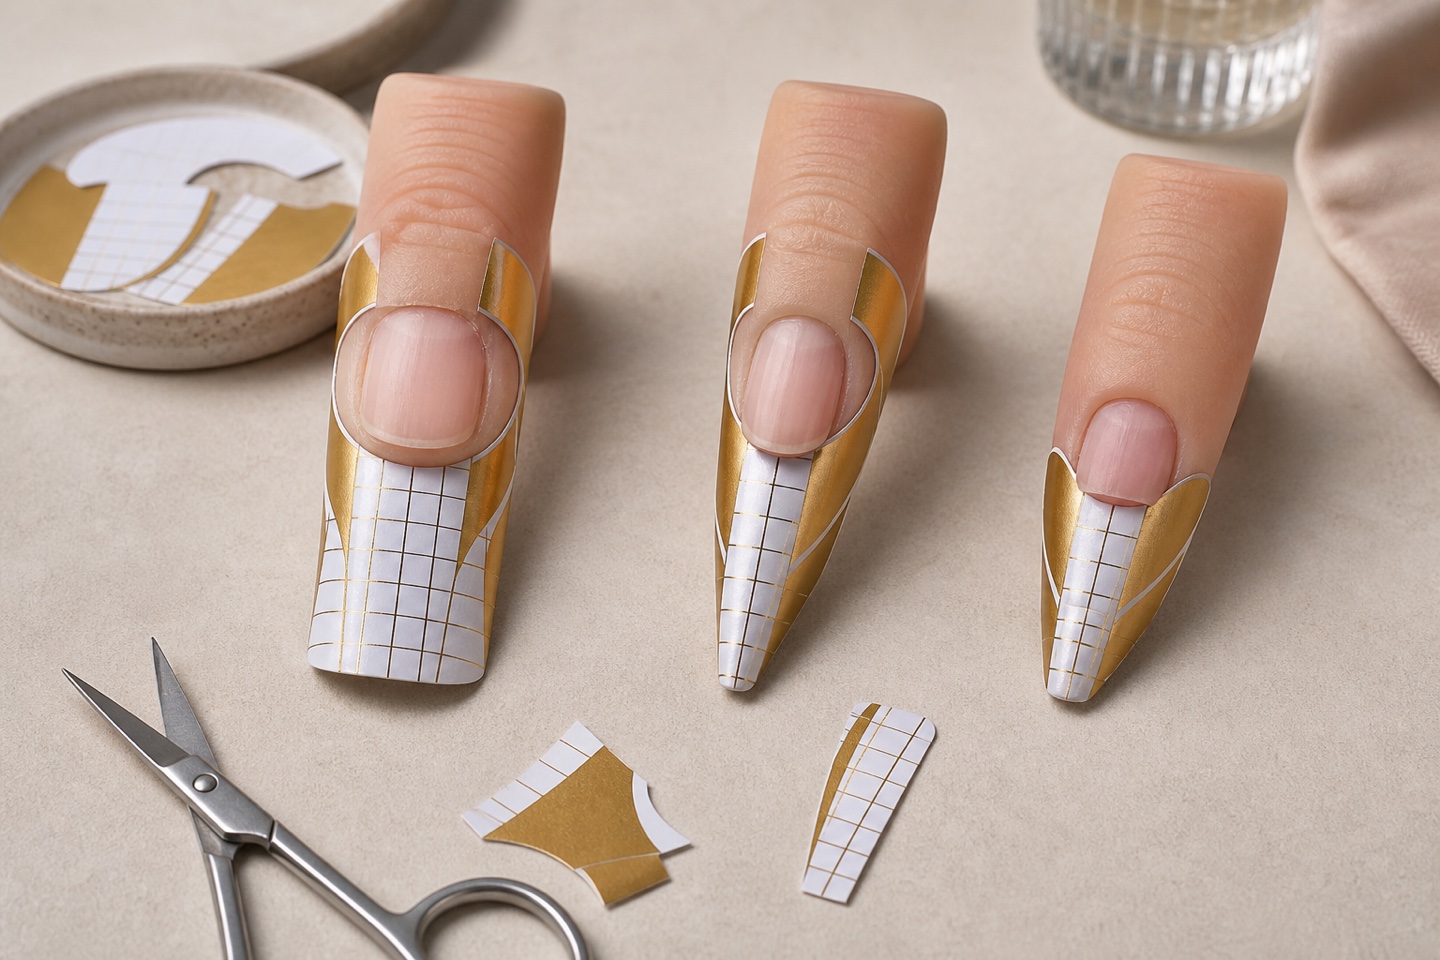
A sculpting form is a temporary construction support, not a standard sticker that every finger must accept unchanged. Its opening must meet the actual free edge, its upper surface must continue the intended extension plane, and its wings must close without compressing living tissue or twisting the grid. Tailoring is the controlled modification that makes those conditions possible.
Short answer: observe free-edge width, transverse curve, lateral depth, lower lines, growth direction and hyponychium; dry-fit before removing product; mark the pressure or gap; cut small symmetrical changes; fit again; then verify from top, side, front and underneath. Never force a paper form against skin to imitate the printed grid.
This page owns anatomy-specific form tailoring. The general nail-form guide owns fitting, trimming and alignment fundamentals; the difficult-nail correction guide owns the extension strategy for hooked, ski-jump and sideways-growing nails. Here the narrow question is how to modify the support so it follows the anatomy without gaps or pressure.
Tailor the form to the free edge, not the finger shape
The opening connects to the nail’s distal edge and lower side lines. Finger width can suggest scale, but it does not define the contact profile. A broad fingertip may carry a narrow plate; a slim finger may have a flat wide nail. Read the nail plate and tissue boundaries directly rather than centring the form by the soft-tissue outline alone.
A good fit has no daylight gap between the form and free edge, does not lift one side of the plate, does not push into the hyponychium or lateral folds, and holds the planned axis when the wings are closed. The printed centre line is only a reference. If the material twists during closure, the grid no longer reports the true direction.
Anatomy passport: six observations before cutting
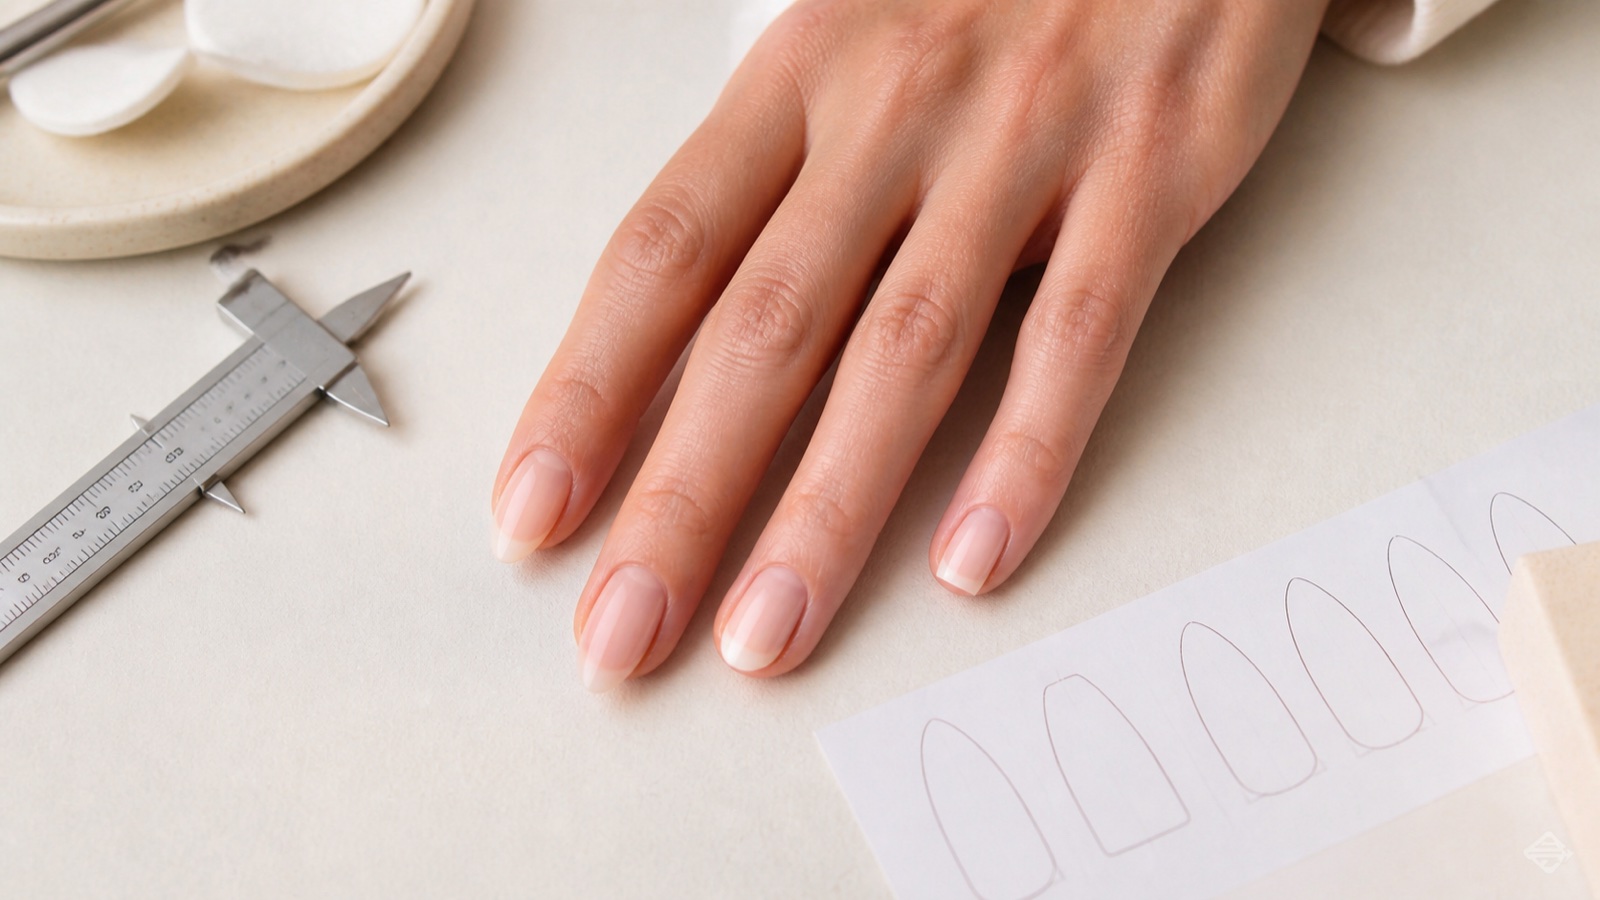
Read six anatomical references before modifying paper
The fingertip is not the template
Width
Free edge, not fingertip
Curve
Flat, moderate or pronounced
Laterals
Depth and lower-line symmetry
Direction
Growth versus planned extension
Tissue
Hyponychium remains unforced
Observation | What to record | Why it changes the fit |
|---|---|---|
Free-edge width | Narrow, average, wide or unequal sides. | Controls how much central opening is required. |
Transverse curve | Flat, moderate or pronounced C-curve. | Changes whether the form gaps or compresses laterally. |
Lateral depth | Shallow, deep or asymmetric folds. | Determines where relief cuts may be needed. |
Lower lines | Parallel, divergent, convergent or unequal. | Sets the support’s lateral contact and extension direction. |
Growth direction | Straight, downward, upward or lateral. | Separates current nail direction from the planned correction. |
Hyponychium and free edge | Visible, minimal, irregular or extended tissue. | Defines where the form cannot be forced or cut against tissue. |
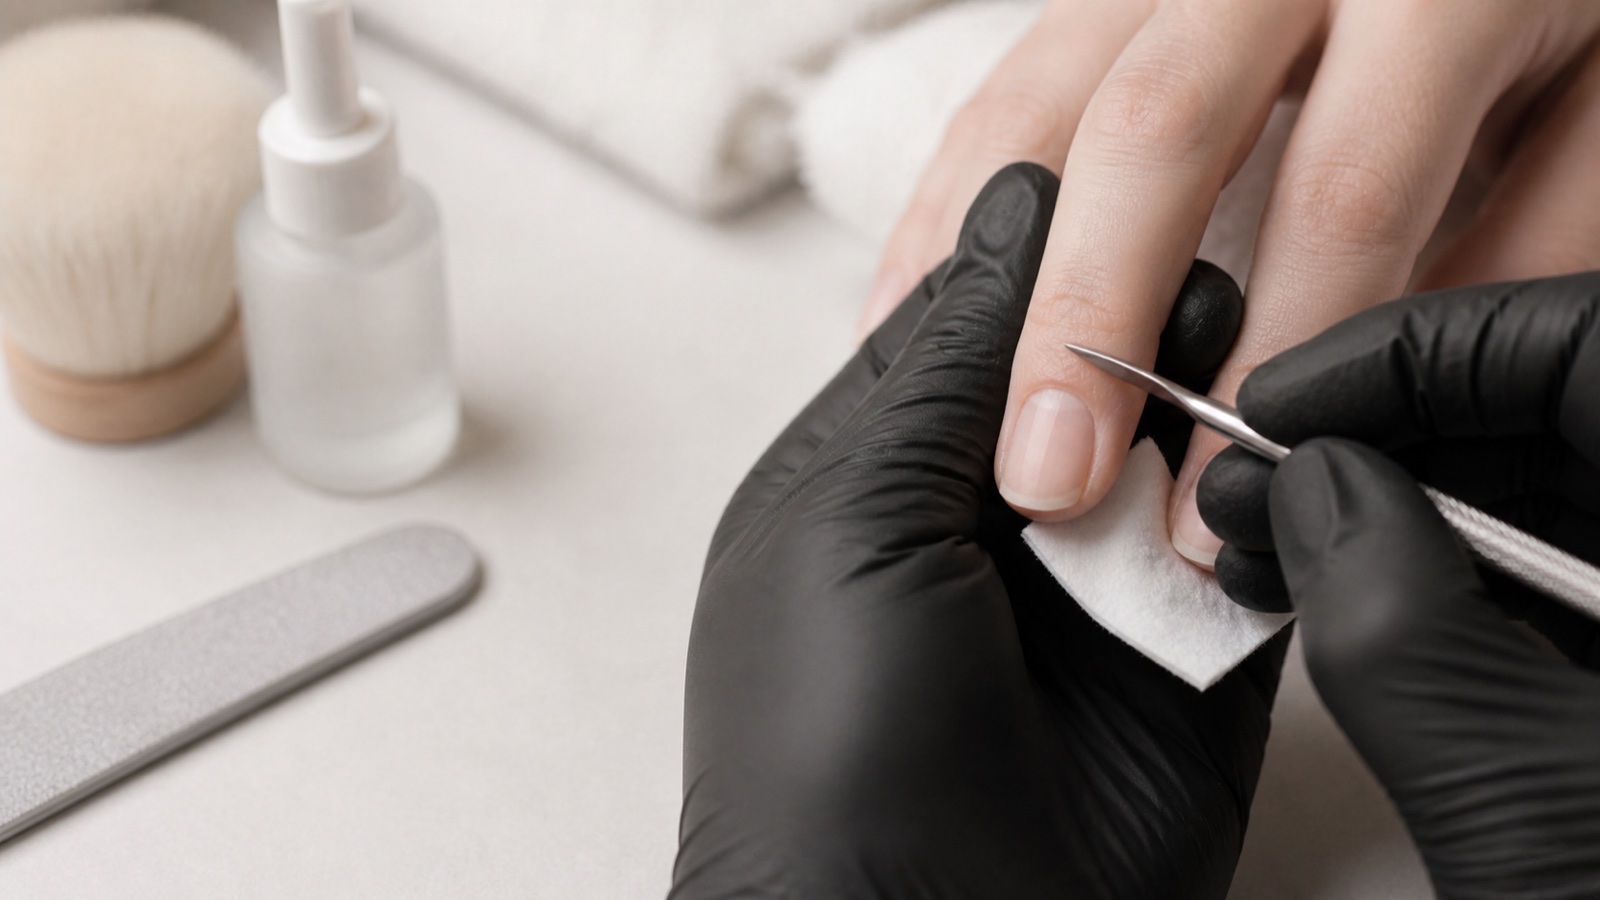
The hyponychium and nail folds are living anatomical boundaries, not obstacles to remove. The nail matrix and anatomy guide explains the nail unit and professional limits. Stop for pain, bleeding, broken skin, unexplained separation, colour change or tissue that prevents a controlled fit.
Fit test: try, mark, cut and try again
Tailoring is an iterative dry-fit process
Small attributable cuts are safer than one large guess
Try without force
Mark gap or pressure
Cut a small change
Refit and verify
Keep the backing on and slide the unmodified form under the free edge without force.
Observe exactly where paper contacts tissue, gaps from the edge or distorts the grid.
Mark only those points and remove the form before cutting.
Cut small changes with clean dedicated scissors, preserving smooth curves and symmetry where anatomy is symmetrical.
Repeat the dry fit, close the wings lightly and inspect all views before committing.
Large first cuts remove useful support and are difficult to reverse. Work in small increments and retain a failed form as evidence: label the nail, cut type and reason it failed. This turns tailoring into a repeatable decision rather than a new improvisation for every appointment.
Three modification families: opening, relief cuts and wings
Each cut should solve one visible conflict
Opening, tissue relief and closure do different jobs
Opening
Matches free-edge width and profile
Relief
Avoids deep lateral tissue
Wings
Stabilise closure and tunnel
Combined
Keep every change attributable
Opening cuts change the shape that receives the free edge. Relief cuts allow paper to sit beside deep or asymmetric lateral tissue without folding. Wing adjustments control how the cone closes and whether the upper grid remains aligned. Each modification should solve one visible conflict. Random cuts weaken the form and obscure which change produced the fit.
Modification | Use when | Verification |
|---|---|---|
Wider central opening | The free edge is broader than the printed cut-out. | No lateral pressure and no central gap. |
Side relief | Deep or unequal folds push the paper away. | Paper sits without cutting into tissue or collapsing. |
Wing closure change | Closing twists the centre line or changes the tunnel. | Grid, lower line and planned axis stay coherent. |
Combined tailoring | Width, curve and lateral depth conflict together. | Each cut remains attributable and the form stays stable. |
Wide and flat nails: increase fit without inventing a tunnel
A narrow printed opening often pinches the sides of a wide nail and leaves a central or lateral gap. Widen the contact profile in small balanced increments and keep the upper surface close to the natural transverse curve. Closing the wings aggressively to create a dramatic C-curve can lift the form away from the side edges and pre-load the extension with an artificial tunnel.
Check the front view before product. Both lower sides should contact consistently, the centre should not hang below an air gap, and the grid should not show diagonal strain. A wide form or a different professional form design may be more stable than excessive cutting and joining. The support must remain firm enough to carry the product system.
Narrow and curved nails: follow the C-curve without compression
On a narrow nail with a strong transverse curve, an overly broad opening can leave gaps, while a tightly closed cone can press into the folds or narrow the planned extension excessively. Preserve contact under both lower sides and close only enough to maintain the intended tunnel. Ask the client about pressure before product; discomfort means the fit is not acceptable.
Do not assume a naturally curved nail requires more pinching. The separate C-curve and pinching guide addresses structure, timing and risk. Form tailoring creates a non-compressive support; it does not authorise force on the natural plate or living tissue.
Deep sidewalls and asymmetric lower lines
When one lateral fold is deeper or one lower line sits higher, a perfectly symmetrical cut can produce an asymmetric fit. Mark each side independently and use a relief only where paper conflicts with tissue. The centre line must still relate to the planned extension axis, not drift towards the easier side.
View from underneath: paper should not disappear into one fold while leaving daylight under the other. View from the top: the centre grid should not follow a sideways-growing free edge automatically if the extension is intended to correct its visual direction. Tailoring and correction must be planned together but verified as separate decisions.
Very short or bitten nails: create support without invading skin
A minimal or irregular free edge gives the form little purchase. Do not push paper deep under tissue, glue it to skin or create a hidden platform that cannot be inspected. Tailor the opening to the visible edge, stabilise the wings without compression and keep the first extension conservative. If there is broken skin, bleeding, pain or active inflammation, postpone cosmetic work.
The guide to nail biting and professional limits separates behaviour support from cosmetic reconstruction. A short form fit does not justify covering injured tissue or promising that an enhancement will stop the habit.
Pronounced hyponychium: the boundary that must not be forced
An extended or prominent hyponychium can occupy space beneath the free edge. Do not cut, scrape, push or compress it to make the printed opening fit. Modify the support around the visible anatomy only when a comfortable, inspectable and stable placement remains possible. Otherwise choose a different extension method or postpone the service.
Pain is not evidence of a “tight professional fit”. Ask before product and again after the wings are closed. A form that creates numbness, blanching, pinching or persistent pressure must be removed and reassessed. Support stability never outranks tissue integrity.
Hooked, ski-jump and sideways growth: separate fit from correction
First tailor the opening so it meets the available edge without gaps or pressure. Then set the extension plane according to the corrective strategy. If the form simply follows a hooked edge downward, the enhancement can exaggerate the hook; if it is raised without contact, product may bridge a gap. A ski-jump nail creates the reverse conflict. Sideways growth can make the printed centre line disagree with both the free edge and finger.
Use top, side and front references, decide where the visual axis should finish, and keep conservative length. Correction has limits: severe curvature, pain, injury, unexplained change or a fit that requires tissue compression is not a routine tailoring challenge. The dedicated difficult-nail guide covers those boundaries in depth.
Thumbs and very wide nails: when one form is not enough
A thumb may exceed the stable width or adhesive zone of a standard form. Use a form size designed for the width when available. If a trained system supports joining forms, the connection must remain flat, strong and aligned; overlapping ridges must not print through into the underside. Do not improvise a joint that opens under product or creates an inaccessible gap.
Dry-test the assembled support with light pressure from above before application. Confirm that the centre, lower lines and closure remain stable and that removal will not pull tissue. A different support method may be more controlled than extending a form beyond its design.
Final control from top, side, front and underneath
One view can hide an unsafe or unstable fit
The form must agree in four directions
Top
Centre and extension axis
Side
Upper and lower direction
Front
Tunnel without compression
Underneath
Contact and tissue clearance
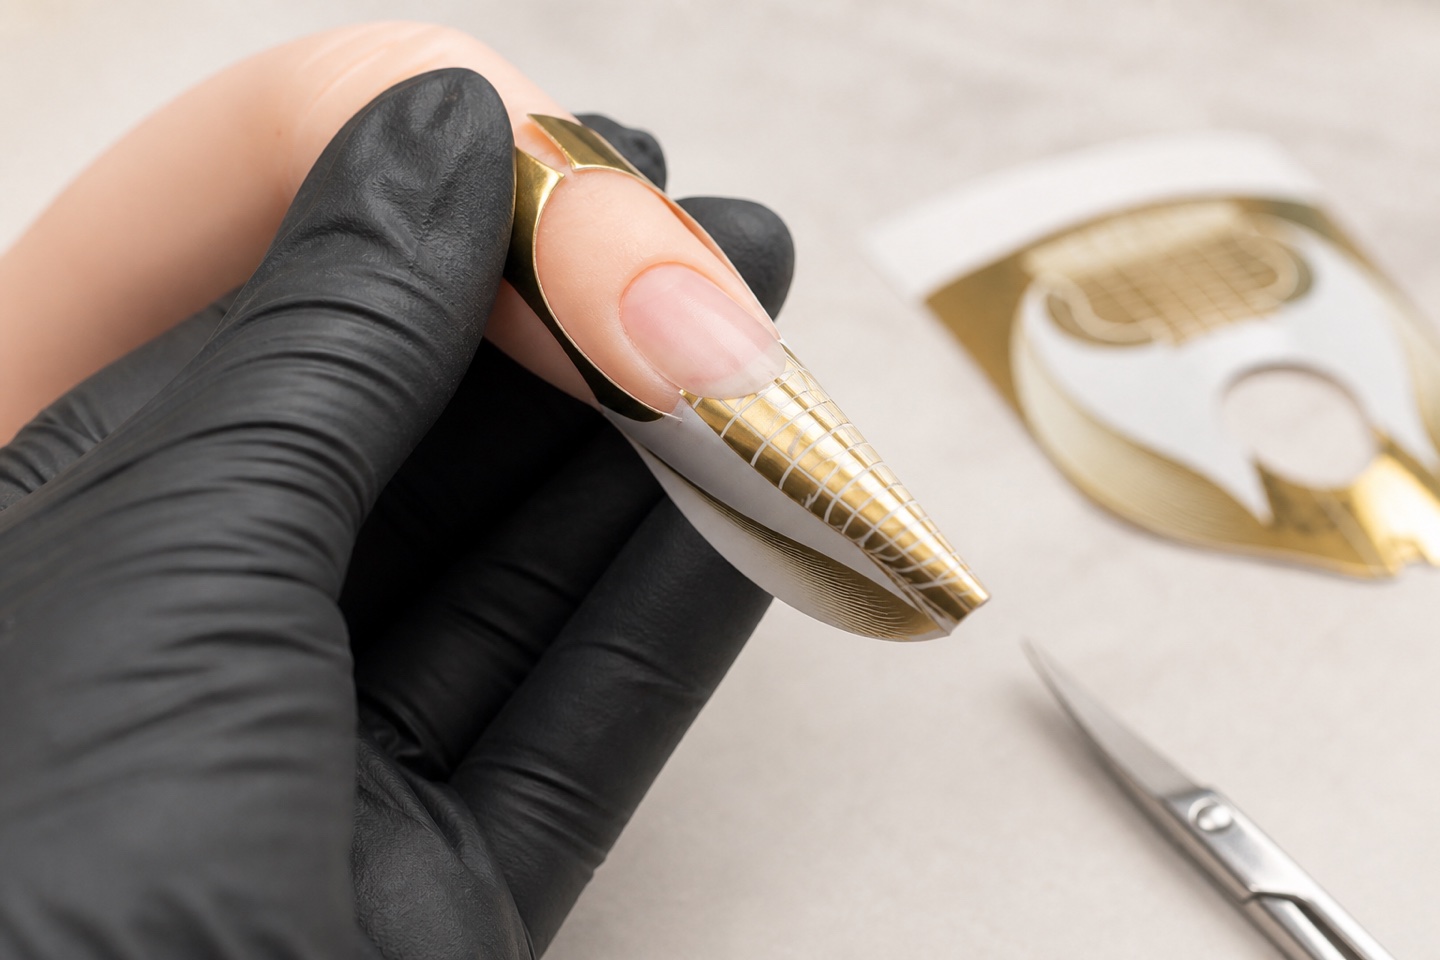
Top: centre line and extension axis are deliberate; neither wing pulls the form sideways.
Side: the planned upper and lower directions are supported without a step or open gap.
Front: the tunnel follows the plan without crushing, flattening or diagonal twist.
Underneath: contact is continuous and all skin, folds and the hyponychium remain free from pressure.
Close and reopen the wings once during a dry practice test. If the form cannot return to the same alignment, its cut or closure is not repeatable. Product weight will not make an unstable paper support more accurate.
Decision matrix: anatomy, modification and verification
Anatomy | Possible tailoring | Critical verification |
|---|---|---|
Wide, flat nail | Widen opening; reduce forced cone closure. | No centre gap or artificial tunnel. |
Narrow, curved nail | Preserve narrow contact and controlled wings. | No lateral pressure or over-pinching. |
Deep or unequal folds | Asymmetric side relief where required. | Centre and lower lines remain intentional. |
Short or bitten edge | Small opening changes and conservative support. | No paper, adhesive or product on injured skin. |
Hooked or ski-jump | Tailor contact, then set corrective plane. | No gap between anatomy and planned direction. |
Errors that appear to be solved by more product
Filling a gap with extra gel hides the form error but can create an uncontrolled underside, excess thickness and uncertain cure. Adding more product to one side of a twisted form can build asymmetry into the structure. Filing later may improve the silhouette while leaving the lower line and load path wrong.
Correct the support before product. If the form cannot sit stably after reasonable tailoring, choose another size, model or method. Review the comparison of tips, gel tips, forms and dual forms rather than forcing one technique onto every anatomy.
A four-stage practice plan for form tailoring
Stage 1: label photographs or training hands with the six anatomy observations before touching a form.
Stage 2: dry-fit and mark ten forms; compare predicted conflicts with the actual pressure and gap points.
Stage 3: cut opening, relief and wing changes separately so each effect remains visible.
Stage 4: fit complete forms on varied anatomies, photograph four views and receive feedback before adding product.
Once dry fitting is repeatable, combine it with short controlled extensions and the post-course practice plan. Keep failed forms and complete series; the cut that works only once is not yet a professional method.
Progress from average training nails to one variable at a time: wider free edges, deeper folds, stronger curves, asymmetry and finally growth-direction challenges. Do not practise the most difficult correction before the form can sit stably on a straightforward nail. Build only a short extension after the dry fit passes; then compare the finished lower lines with the original four-view photographs. The gel extension guide connects the support to product control, while the beginner nail-course guide helps place form tailoring after safer base skills.
Frequently asked questions
Why should a nail form be tailored?
Because free-edge width, curve, lower lines, folds and hyponychium differ. Tailoring removes gaps or pressure while preserving the planned extension axis.
Should the form follow the finger or the nail?
Fit the opening to the nail’s free edge and tissue boundaries, then align the support to the planned extension. Finger shape alone is not an accurate template.
How do I know where to cut the form?
Dry-fit with the backing on, mark the exact gap or pressure point, remove the form and cut a small change. Fit again before enlarging it.
How should a form fit a wide flat nail?
Widen the contact profile gradually and avoid closing the wings so tightly that a false tunnel lifts the support away from the lateral edges.
How should a form fit a narrow curved nail?
Maintain close contact under both lower sides and close only enough for the planned tunnel. There should be no fold pressure or client discomfort.
Can form cuts be asymmetric?
Yes when lateral depth or lower lines are anatomically unequal. Mark and verify each side independently while keeping the planned centre and axis deliberate.
Can I place a form on a nail with almost no free edge?
Only when a comfortable, visible and stable support can be created without invading skin. Postpone for broken skin, bleeding, inflammation, pain or uncontrolled fit.
Can the form press against the hyponychium?
No. Do not cut, scrape or compress living tissue to fit a printed opening. Modify the form around visible anatomy or choose another method.
Should a form follow a hooked nail downward?
Not automatically. Tailor contact first, then establish the corrective extension plane without creating a gap. Severe or symptomatic cases may exceed cosmetic limits.
Can two forms be joined for a wide thumb?
Only when the professional form system and training support a stable join. The connection must remain flat, aligned, inspectable and strong under product.
Why does the form twist when I close the wings?
The opening, curve or closure may conflict with the anatomy, or the wings may be pulled unequally. Reopen, mark the pressure and correct the fit before product.
Can I fill a gap under the free edge with gel?
Do not use extra product to conceal an uncontrolled support gap. It can create a thick underside, uncertain cure and weak structure. Refit or change method.
Which views should I check before applying product?
Check top, side, front and underneath. One view can hide a lateral gap, diagonal twist, lower-line step or tissue pressure.
Are printed grid lines always the correct axis?
They are references only. The grid is useful after the form sits without distortion and is aligned to the intentionally planned extension direction.
Which course helps me learn form tailoring?
Choose a nail-extension course that demonstrates varied anatomies, dry fitting, marking, cutting, four-view checks, conservative correction and supervised practical feedback.
Official sources and professional boundary
Nail-unit anatomy: NCBI Bookshelf, Anatomy, Shoulder and Upper Limb, Nails and the PubMed-indexed review Nail anatomy. Workplace safety context: CDC/NIOSH, Nail Technicians: Workplace Safety and Health.
This guide explains support fitting, not diagnosis or treatment. Product placement, thickness, curing and removal must follow the exact system. Do not tailor through pain, injured tissue, unexplained nail change or a fit that cannot be inspected and controlled.
Compare current English-market nail courses by form-fitting depth, varied training anatomies, structure, curing and feedback. A useful course evaluates the dry support before celebrating the finished extension.