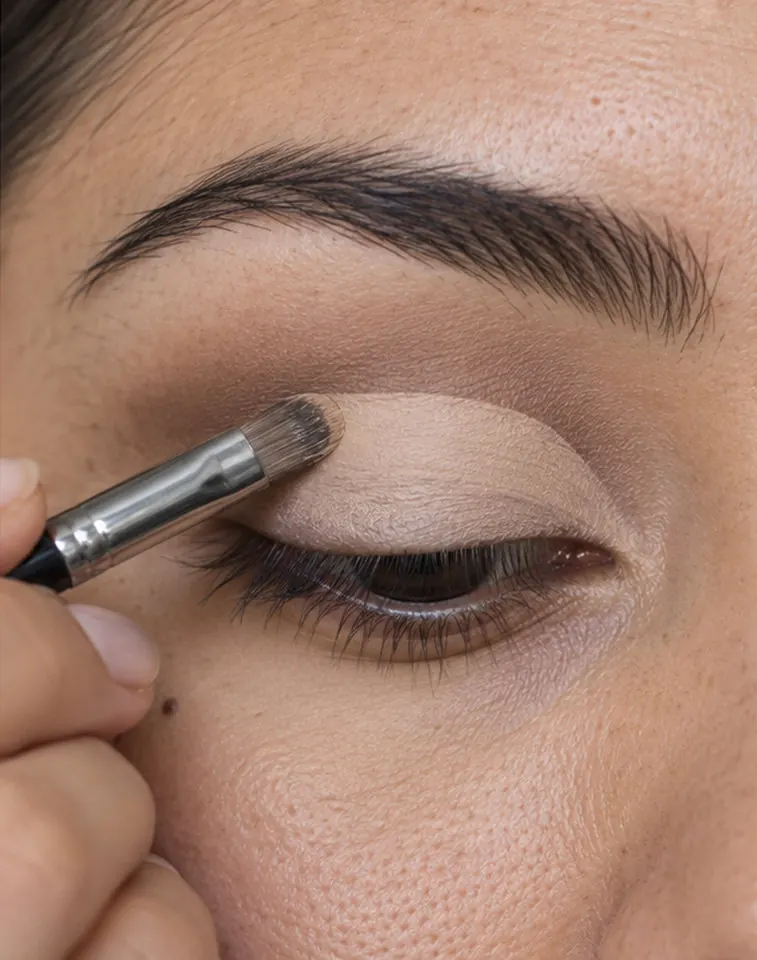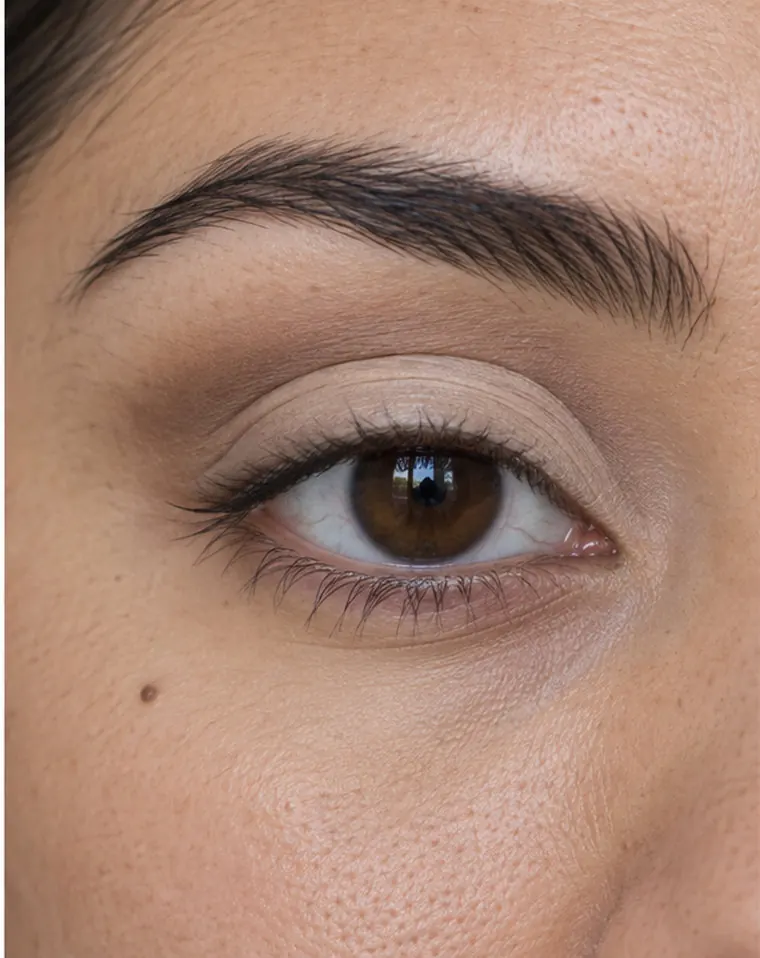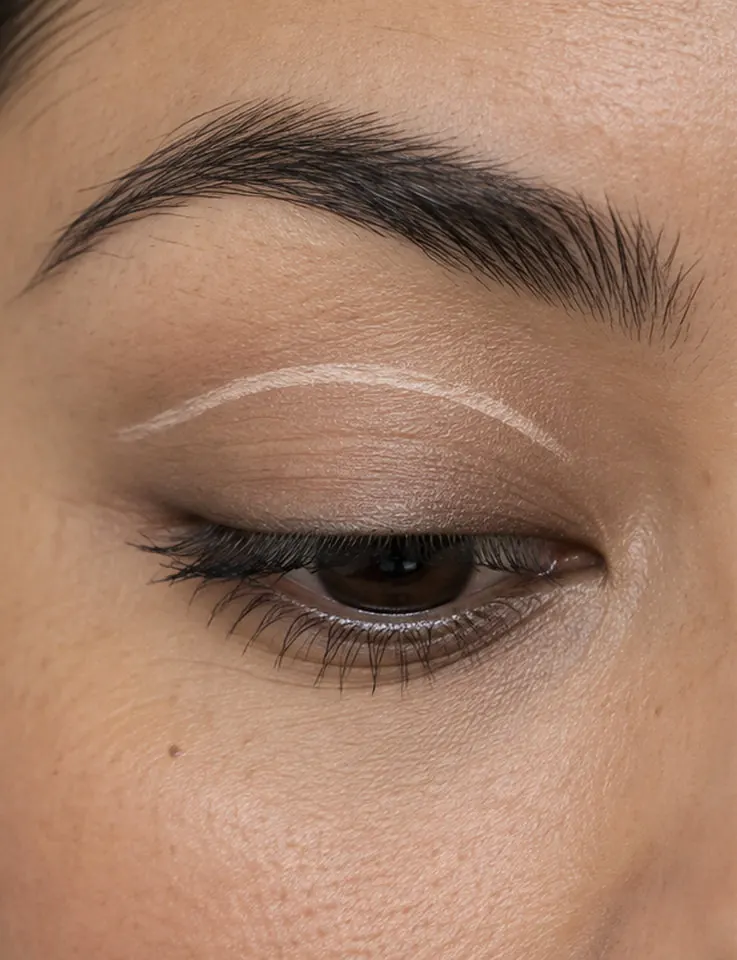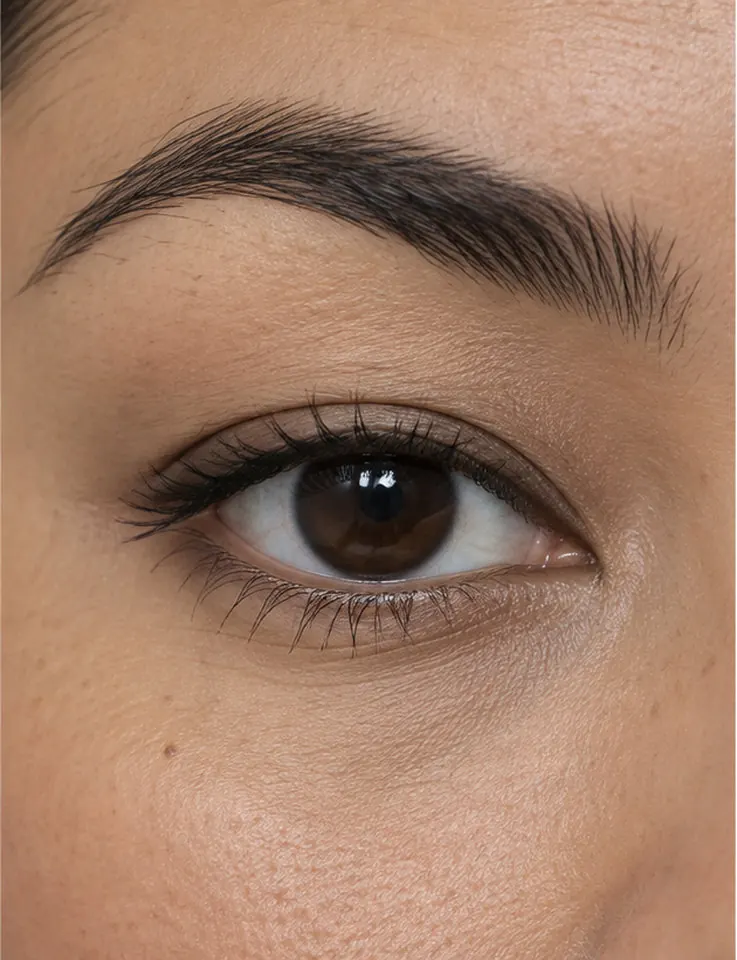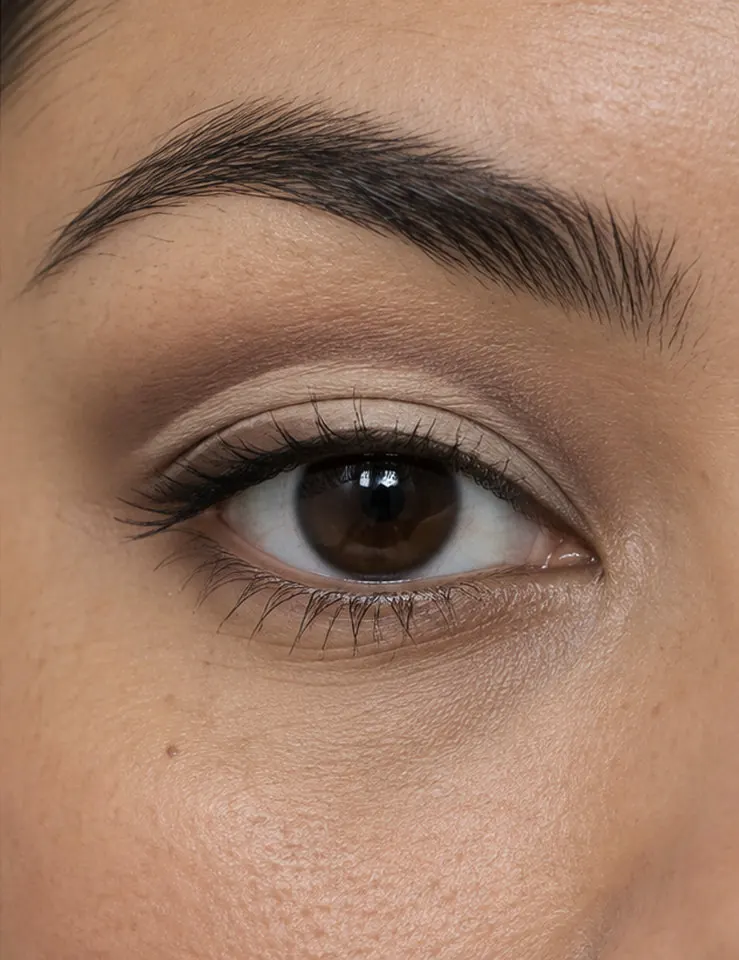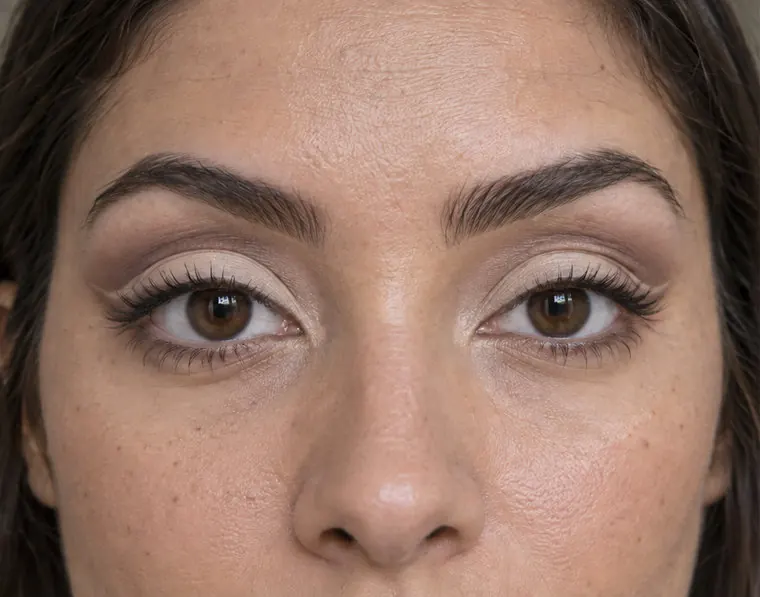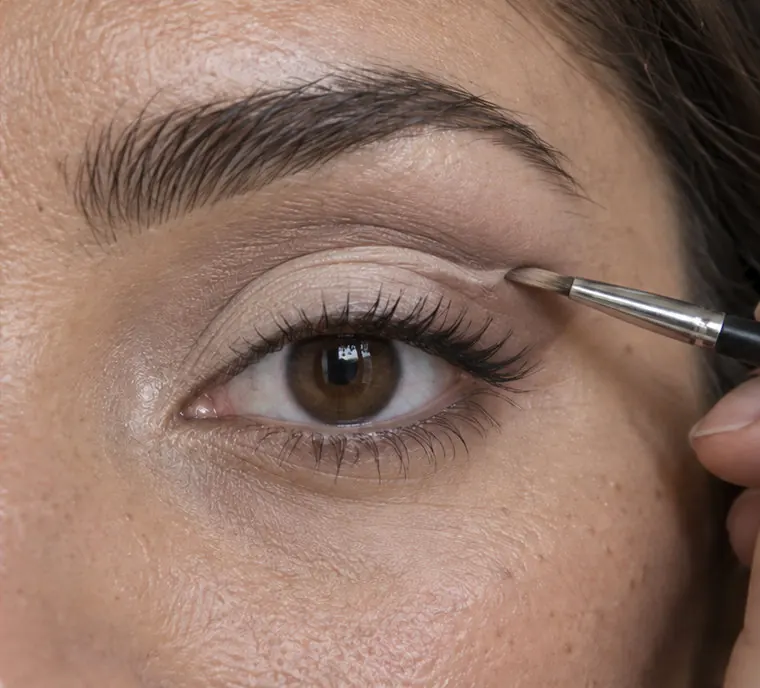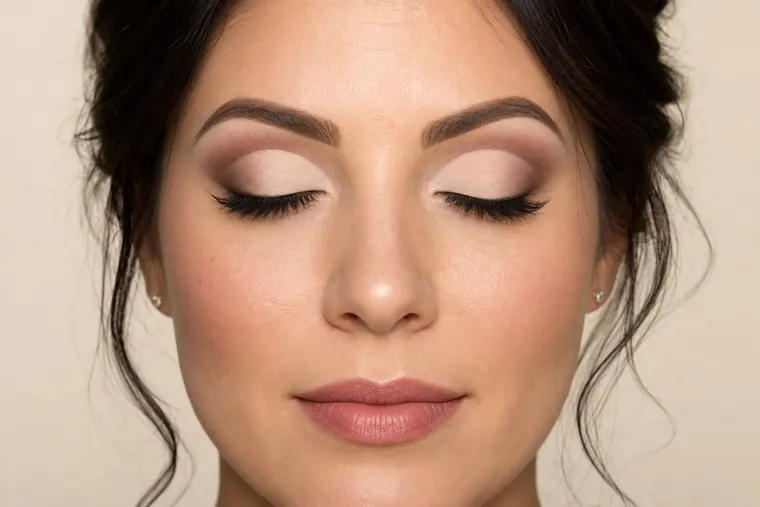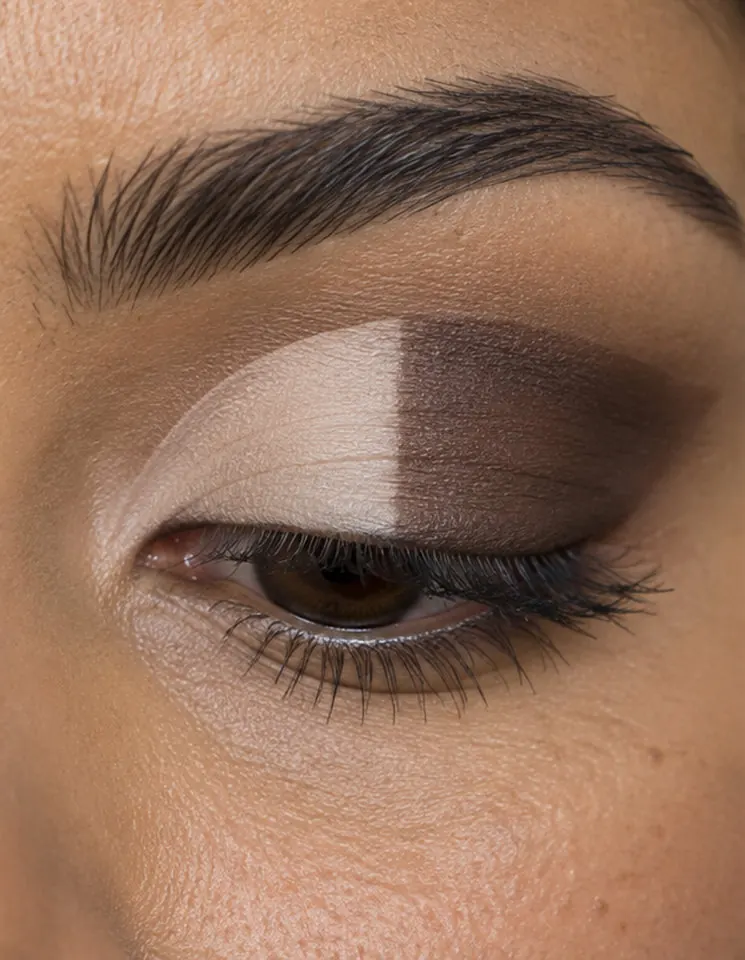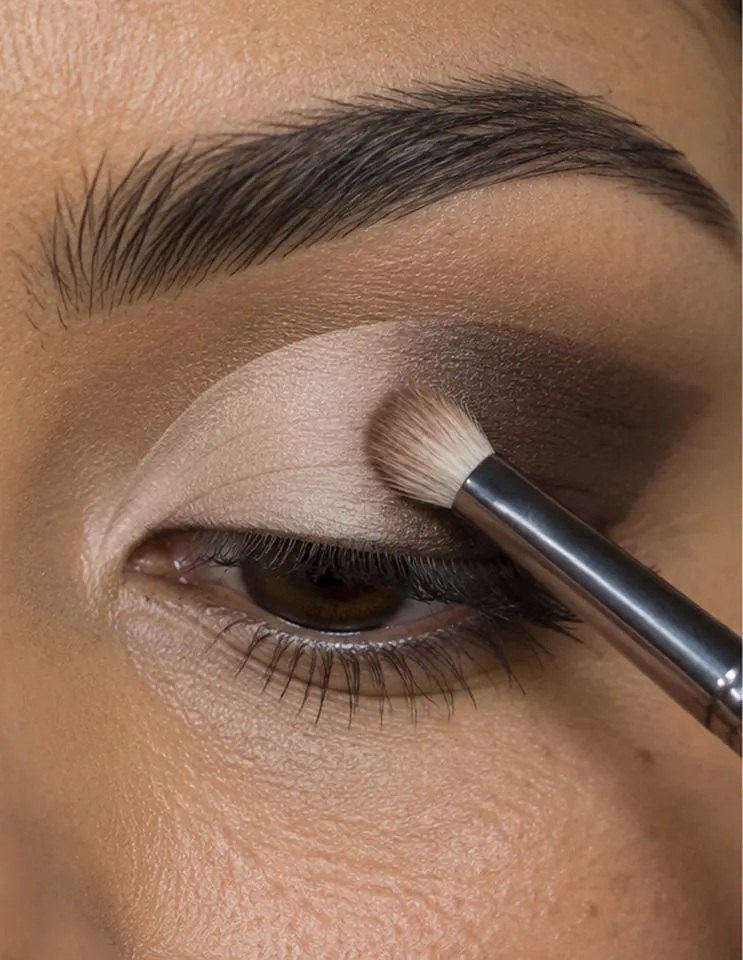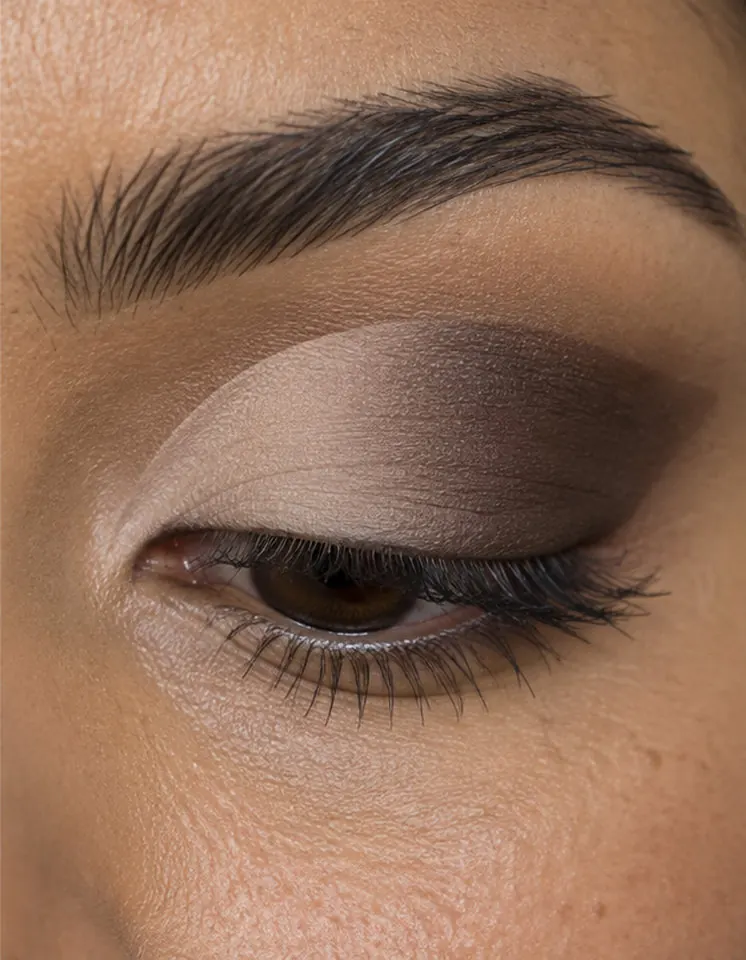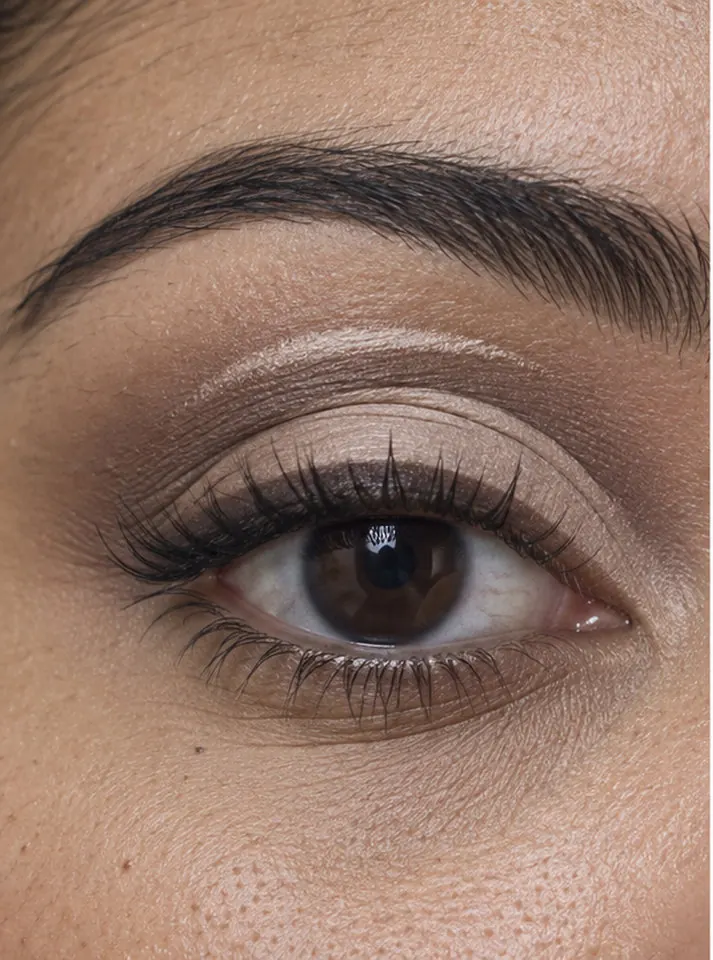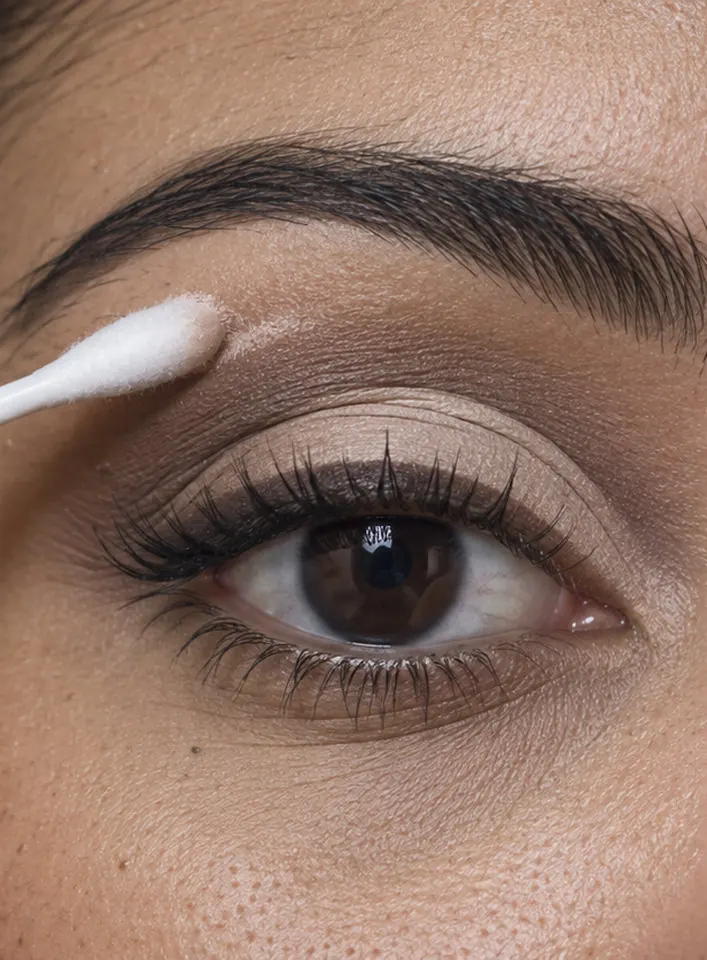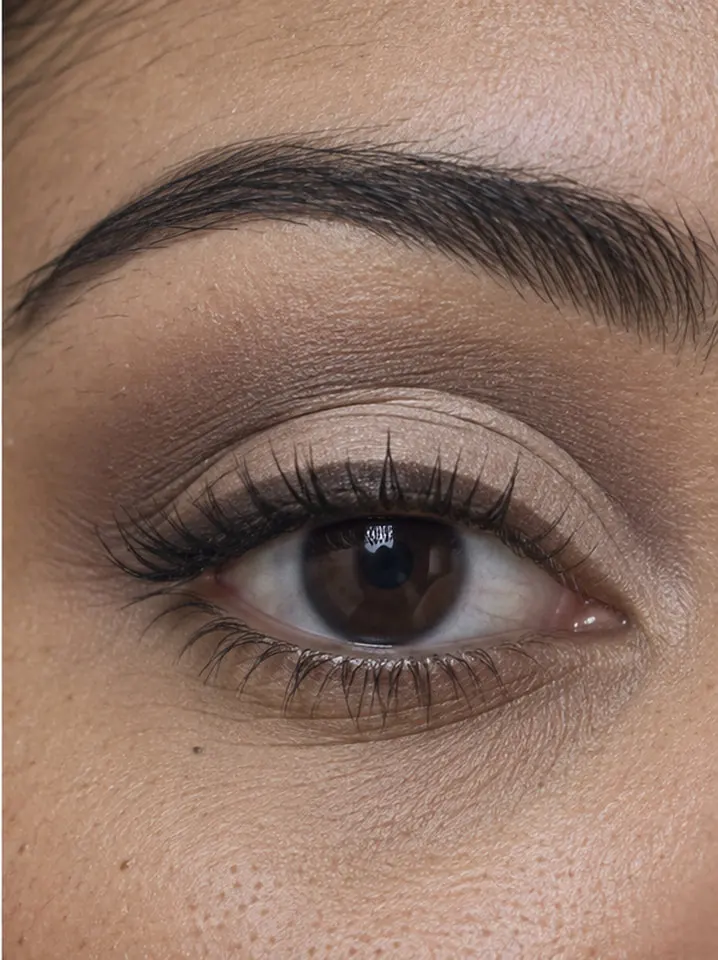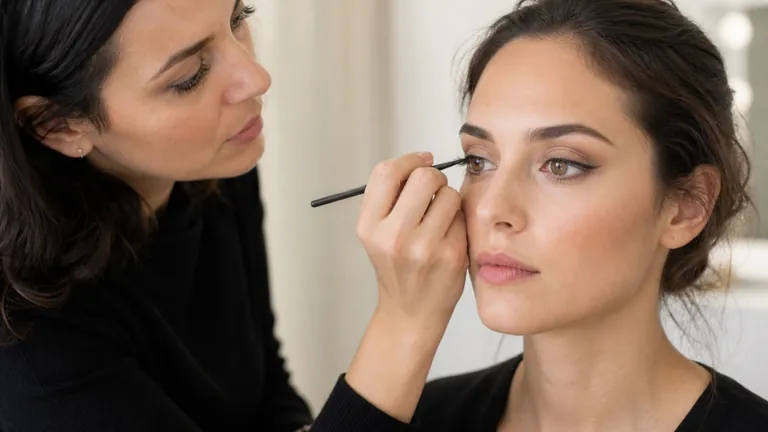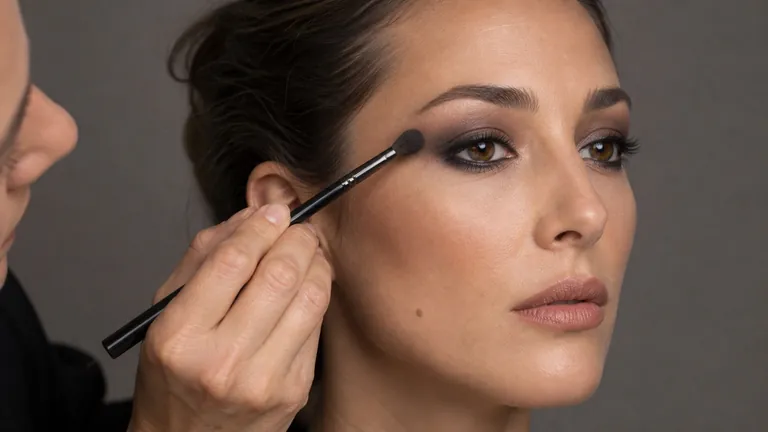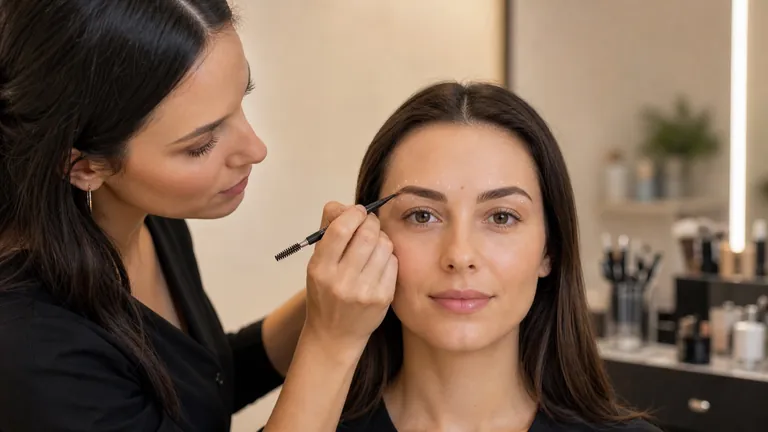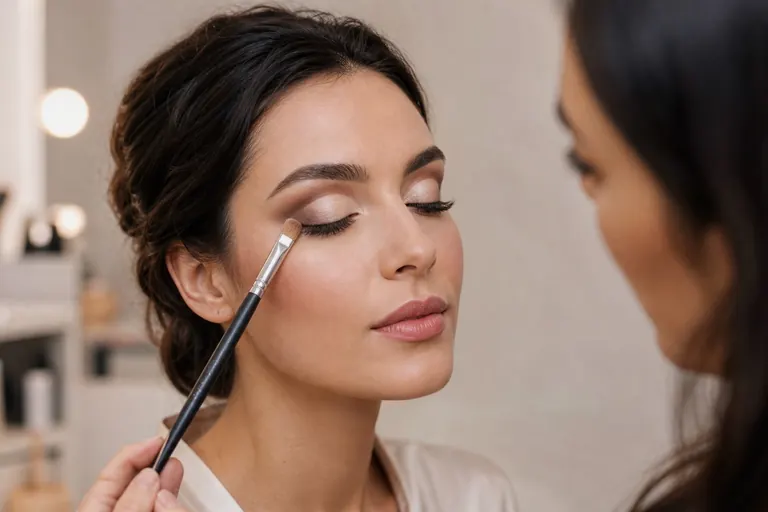
A professional cut crease does not begin by copying one line onto every eyelid. It begins by observing how much lid remains visible with the eyes open, choosing a structure that serves the look and building a soft transition above a deliberately clean lower edge. Precision is not one perfect brushstroke. It comes from mapping, small quantities, stable posture, alternating between the eyes and correcting before layers become thick.
Short answer: map the new crease with the eye open, build transition and depth before closing the mobile lid, work in thin layers and compare height, curve, direction and end point continuously. A successful cut crease remains legible in a natural open-eye expression, not only in a close-up photograph of closed lids.
This guide owns one focused technique: designing and balancing a new optical crease. The eyeshadow blending guide owns general edge control; the professional smokey-eye guide owns a continuous lash-line-to-crease gradient; and the eyeliner guide owns line thickness and wing design. Separating those intents avoids turning every eye technique into the same generic tutorial.
Understand what a cut crease actually changes
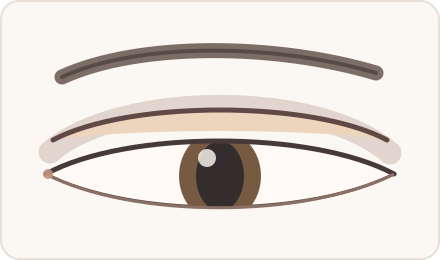
A cut crease visually separates the mobile lid from the crease zone. Above the boundary, shadow moves from depth into a controlled transition. Below it, the lid is cleaned or redefined with an eye-safe base, concealer or purpose-made product. The contrast can be soft or graphic, but the relationship must be intentional. The new line does not have to follow the anatomical fold. It may sit above a hooded fold, soften a deep-set socket or track a generous visible lid more closely.
The technique contains three different jobs. Mapping establishes height, curve, direction and end point. Transition organises dark, mid and light values above the future edge. Closure creates the clean lower boundary and an even lid without excessive thickness or cracking. When these jobs are confused, artists often add more pigment to fix a shape problem or more base to fix an uncontrolled gradient.
Technique | Main edge | Primary objective |
|---|---|---|
Cut crease | Clean on the lid, diffused above | Redesign and separate two optical zones |
Smokey eye | Continuous diffusion from the lash line | Create depth through a continuous gradient |
Eyeliner | Defined along lashes and outer direction | Orient and define the eye |
Classic blend | Soft between colours and zones | Integrate values without a deliberate cut |
Choose between full, half, soft and graphic cut crease
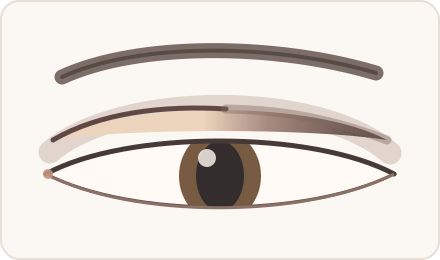
A full cut crease defines most of the fold from inner start through arch to outer exit. It makes small differences conspicuous and therefore demands measured closure. A half cut crease cleans mainly the inner and central lid before merging into outer depth; its transition point is the key skill. A soft cut crease preserves the map while lowering edge contrast and using neighbouring values. A graphic cut crease emphasises line, negative space or unusual shape. Graphic does not automatically mean more professional—it simply answers a different visual language.
Choose by anatomy, occasion, lighting, photography, available time and the artist skill. A soft half cut crease may add controlled structure to evening makeup; a strong full or graphic construction may serve editorial work. Define the intended effect before colour: lengthen, open, lift, display a reflective texture, feature colour or create a clear base for liner and lashes. A technique has no value when it overrides the person and the brief.
Map the eyelid before drawing the new crease
Map with the eyes open
Four reference points make the curve readable before colour
A light, proportional beginning
A highest point visible with eyes open
A controlled descent
An end aligned with the intended direction
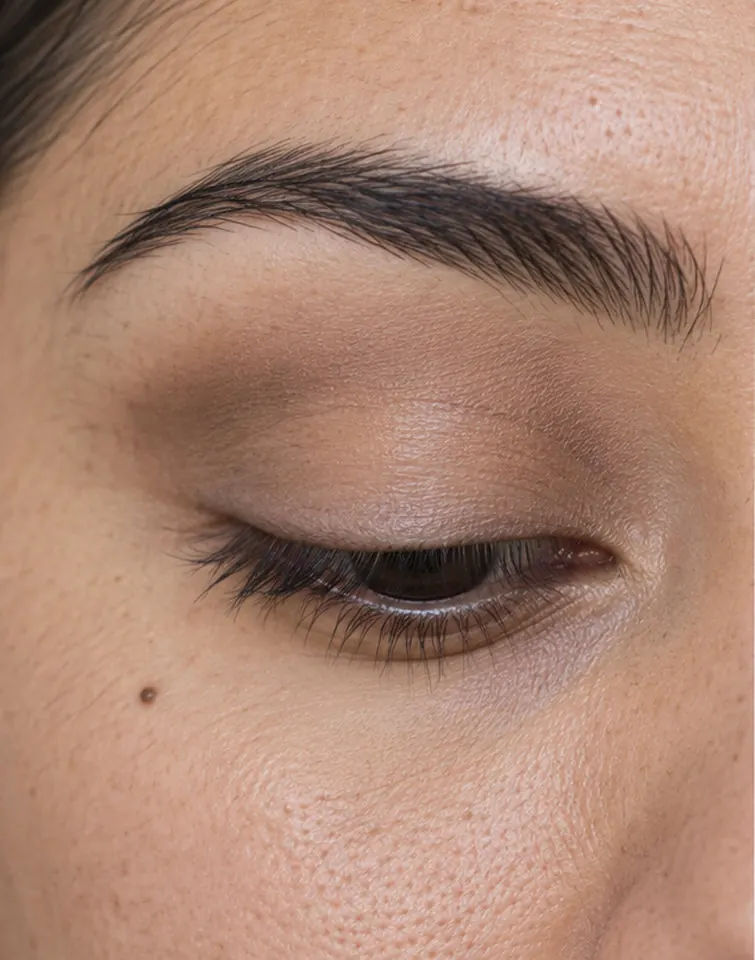
Observe from the front with both eyes open and the face relaxed. Locate the natural fold, visible mobile lid, brow bone, eye-axis direction, brow-height differences and the skin that overlaps the fold. Then ask the client to look slightly down without tightly closing the eye. This exposes working surface without distorting it as much as squeezing the eyelid shut. The corrective eye-makeup guide explains the broader analysis of hooded, small, close-set and prominent eyes.
Do not use the brows as the only ruler; one arch may sit higher. Map four relationships instead: the beginning of the optical crease, the highest point, where the curve begins to descend and the outer end. Check how much of the map remains visible when the eye opens. If it disappears, it may be too low for that fold. If it consumes the brow-bone transition, it may be too high, thick or dark. A tiny guide mark is easier to adjust than a complete dark line.

Select brushes and textures by function
A soft but controlled transition brush sized to the available space, not a brush that immediately occupies the whole brow bone.
A smaller precision blending brush for depth near the planned crease and the outer junction.
A thin, flexible flat brush with an even edge for the lid closure and curve.
Matte shadows in at least three values: transition, mid-tone and depth. Black is optional, not a definition of skill.
An eye primer, concealer or eye-safe base that behaves predictably in a thin layer under the chosen shadow or texture.
Clean precision swabs or micro-applicators for local correction without returning a used tool to the product.
The guide to professional makeup brushes explains shapes, fibres and maintenance. For cut crease work, size must be relative to the eye. An oversized brush raises colour before the map is settled; an extremely small brush can stamp uneven dots when asked to create the entire transition. Load lightly, remove excess and concentrate pigment only where the structure needs it.
Prepare the eyelid without creating a thick surface
The lid should be comfortable, clean as needed and prepared with a minimal quantity. Excess base accumulates in folds, excessive powder reduces adhesion and an overly emollient surface can move the clean edge. Choose an eye primer or compatible base through product testing, lid behaviour and required wear—not a universal rule. If the client reports irritation, infection, swelling, inflamed skin or an eye problem, do not continue the service.
FDA advises clean tools, washed hands, products intended for the eye area, no direct sharing and immediate discontinuation if irritation occurs. Never dilute dry eye cosmetics with water or saliva, work while the client is moving, or place a brush tip against the eye. Follow the full makeup hygiene protocol and the product directions. A sharp curve never justifies a contaminated product or risky posture.
Build a professional cut crease step by step
Define the result: full, half, soft or graphic; direction, intensity, lid texture and how it should read with eyes open.
Observe both eyes open and identify four reference points for the optical crease without forcing abstract geometry.
Prepare each lid in a thin, even layer, avoiding a ridge in the anatomical fold.
Place the transition value slightly above the planned edge, beginning on the side with less space so it does not become the oversized reference.
Build the mid-tone closer to the future crease. Alternate eyes after each layer.
Add depth with a smaller brush below the transition, without automatically extending the outer shape.
Open both eyes and compare visible height, arch, direction and end point. Correct the map before adding the light closure.
Load a small amount of base evenly onto the flat brush. Start on the most stable part of the curve and use the brush edge rather than heavy pressure.
Join short controlled segments towards the inner and outer eye, returning to a front view frequently.
Even the mobile lid without repeatedly disturbing the clean edge. Set selectively or press the planned reflective texture.
Merge a half cut crease into outer depth gradually. The clean edge should disappear into structure rather than end in a hard block.
Add lash-line work, eyeliner or false lashes only after checking the crease close up, at conversation distance and with the eyes open.
Do not use product quantity as a substitute for sequencing. The cleanest result usually comes from deciding the map while the materials are still easy to move, then reducing manipulation once the base has created a defined boundary. Photograph the open and closed eye only after a real front-view inspection; lens angle can hide one height difference and exaggerate another.
Build a clean transition above the sharp edge
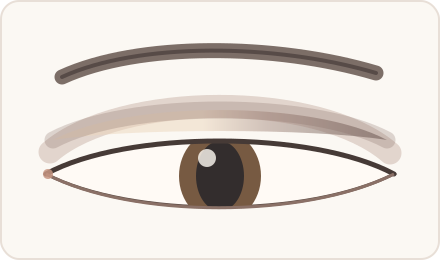
One clean edge, three values above
Depth, mid-tone and transition do different jobs
Depth
Closest to the new crease
Mid-tone
Builds arch and direction
Transition
Loses intensity upwards
Mobile lid
Thin and clean below the edge

A transition is not a vague cloud. It should reveal a hierarchy: depth close to the optical crease, a mid-tone that carries the curve and a transition shade that loses intensity towards the brow bone. Applying the light transition widely before the map exists can make the shape grow without intention. Bringing the deepest shade directly into the upper edge makes the pale lid closure look cut out and heavy.
Work from control to softness. Place depth with the smallest brush, connect it with the mid brush and use an almost clean transition brush only at the outermost edge. The colour-theory guide for makeup explains value, temperature and saturation. Two colours with nearly identical value may not create enough separation; dramatic hue contrast without value control can look colourful but structurally unclear.
Create perceptual symmetry instead of copying millimetres
Perceptual balance, not mirrored geometry
Slightly different maps can make the two eyes look more coherent
Space
Visible light mobile lid
Height
Highest point with eyes open
Direction
Optically coherent outer exits
Weight
Balanced outer depth
Faces are not mirror images. One eyelid may show more mobile space, one brow may sit higher or one fold may be deeper. Copying the same distance from each brow can make the cut creases appear less balanced. Compare four relationships: visible light-lid space, highest point with eyes open, outer direction and the visual weight of depth. Professional symmetry is perceptual balance, not a traced overlay.
Alternate eyes after each colour, return to the centre, step back and ask the client to open without lifting the brows. If one edge sits higher, do not automatically raise the other. Decide which map works with the anatomy, then correct the less functional side through a small addition or local clean-up. When every comparison leads to adding height, both sides expand until there is no transition space left.
Adapt the structure to different eyelid anatomies
Feature | Possible adaptation | Mistake to avoid |
|---|---|---|
Hooded eyelid | Map higher with the eye open and keep the edge thin | Drawing only on a closed eye so the design disappears |
Deep-set eye | Use controlled contrast without filling the entire socket with depth | Making the eye appear even more recessed |
Large visible lid | Use the space while preserving proportion between lid and transition | Creating an oversized pale lid below a very thin crease |
Small eye | Consider a soft or half cut crease with moderate values | Loading crease, lash line and outer eye with equal darkness |
Visible asymmetry | Use slightly different maps to balance visible lid space | Copying brow distance and ignoring the eyes |
Adaptation is not a promise to correct or normalise a feature. It is a way of preserving the desired open-eye effect on the anatomy in front of you. Ask the client what they want to emphasise, show the map before intensifying it and avoid language that labels natural folds or asymmetry as defects.
Control the lid closure, setting and transfer
The closing product needs coverage, flexibility and control in a thin layer. A very fluid base can migrate; a dry one can drag and create a serrated edge; excess product can transfer above the fold when the eye opens. Load the brush evenly, remove excess and use the flat side for distribution and the clean edge for refinement. First establish the curve, then even the interior. Do not attempt final opacity in one heavy pass.
Before setting, ask the client to open and wait several seconds. If the base prints above the map, remove excess and reconsider height; do not disguise the transfer with more dark shadow. Set with a thin eye-safe powder or shadow only where needed. Press shimmer, metallic or pigment rather than dragging it across the boundary, and confirm that every cosmetic is intended for the eye area in the relevant market.
Integrate eyeliner, lashes and reflective texture without hiding the design
Eyeliner should not rescue an incoherent outer exit. Design it after the crease and check that it leaves enough of the light lid visible. A fine or broken line can preserve space on hooded eyes. False lashes should reinforce direction without covering the map. Use the professional false-lash guide for band, length, adhesive and removal decisions.
Reflective products amplify texture and edge irregularities in photographs. Press rather than swipe glitter or metallic shadow and control fallout before complexion makeup is finished. A very dense lash may erase the lid when the eyes open; a thick wing may divide the visible space into a narrow strip. Evaluate the completed system from the front, not each component in isolation.
Diagnose cut-crease mistakes before correcting them
Correct the phase that created the defect
More product cannot repair a poor map or an unstable layer
Disappears
Remap with the eyes open
Jagged
Join short loaded segments
Too high
Reduce brush size and load
Transfers
Remove excess and reassess height
Problem | Likely cause | Controlled response |
|---|---|---|
Line disappears with eyes open | Map created only on a closed eye | Remap higher with minimal open-eye marks |
Jagged lower edge | Dry brush, irregular tip or base that drags | Even the load and join short controlled segments |
Dark haze reaches the brow | Oversized brush or excess transition pigment | Reduce tool and rebuild hierarchy at the edge |
Both sides keep growing higher | Every comparison is corrected by adding | Choose the better map and clean the other locally |
Base transfers or cracks | Layer too thick or formula incompatible | Remove excess, remap and set selectively |
Half cut crease ends as a block | Light base and outer depth were never overlapped | Merge mid-tone and depth across a narrow junction |
Correct the phase that created the defect. A blending brush cannot repair a misplaced crease, and more base cannot make an unstable formula thinner. Pause, identify whether the issue belongs to map, gradient, edge, symmetry, texture or transfer, then change one variable. This produces a repeatable method instead of an accidental rescue.
Use deliberate practice to improve shape, transition and symmetry
Draw ten face-chart variations changing only height and end point; name the intended effect of each.
On a practice eye, build the same curve at soft, evening and graphic intensity without changing its geometry.
Repeat five half cut creases while evaluating only the junction between light lid and outer depth.
Alternate eyes after every colour and photograph from a level front position with the eyes open and closed.
Add timing only after edge and symmetry become consistent. Speed does not precede control.
Record quantities, brushes, values, visible height, corrections and wear. Practice is useful when it exposes a decision that can be repeated, not only when it produces one attractive photograph. Develop the method through the BeautyLearn makeup courses, especially the corrective makeup course, the complete makeup artist course and the evening makeup course. English-market availability remains separate from the Italian catalogue.
Frequently asked questions about professional cut crease makeup
What is the difference between cut crease and smokey eye?
A cut crease creates a defined boundary between the mobile lid and crease, then diffuses above it. A smokey eye usually builds a continuous gradient from lash line upwards. They may share colours, but not the same edge structure.
Can a cut crease work on hooded eyes?
Yes, when the optical crease is mapped with the eye open and sits high enough to remain visible. Keep the boundary controlled; a design created only with the eye closed often disappears.
Is a full or half cut crease easier for beginners?
A half cut crease shortens the clean edge but requires a smooth outer junction. A full cut crease makes curve and symmetry differences more visible. Choose by the skill being practised, not by a universal difficulty ranking.
Should concealer be used to cut the crease?
It can be used if intended for the eye area and compatible with the next layers. It must remain thin and controllable. An eye base may behave differently; test the real formula rather than relying on the product name.
How can transfer above the crease be prevented?
Use little base, map with the eye open, let the client open before setting and inspect. When transfer appears, remove excess or adjust height rather than covering the print with more dark shadow.
How are two cut creases made symmetrical?
Alternate sides after every stage and compare visible lid space, highest point, direction and outer weight. Do not rely only on brow distance because brows and folds can differ.
Why does the transition turn patchy?
Common causes include excess pigment, an oversized brush, poorly ordered values and repeated rubbing over a damp or lifting base. Place depth narrowly and blend only its outer edge.
Is black eyeshadow necessary?
No. Brown, plum, blue, grey and other colours can create enough value separation. Uncontrolled black can consume the transition space and make the eye look heavier than intended.
Should the edge look identical with eyes open and closed?
No. Eyelid movement changes the view. The map should look intentional in both positions, but open-eye readability in the natural expression is the primary test.
Can a cut crease be soft enough for daytime?
Yes. Use neighbouring values, lower edge contrast, thin textures and a soft or half structure. Cut crease describes the organisation of the lid; it does not require a theatrical result.
How should the end of a half cut crease be blended?
Taper the light base, then overlap mid-tone and depth with light pressure across a narrow junction. The edge should gradually disappear without losing the outer direction.
Which brush creates a clean cut-crease edge?
Use a thin, flexible flat brush with a regular edge, sized to the lid. The tool cannot compensate for a dry texture, uneven loading or excessive product.
Can false lashes hide a cut crease?
Yes, especially when band and density are too large for the visible lid. Test lashes with the eye open and choose length and direction that support the design rather than covering it.
How long does it take to learn cut crease makeup?
There is no universal number of hours. Measure separate skills: map, transition, clean edge, junction, symmetry and adaptation across different eyelids. Deliberate repetition and useful feedback matter more than elapsed time.
When should an eye-makeup service stop?
Stop for irritation, pain, marked tearing, swelling, suspected infection or inflamed periocular skin. Remove carefully, do not reuse contaminated applicators and recommend healthcare assessment when symptoms persist.
Official sources and professional limits
U.S. Food and Drug Administration — Eye Cosmetic Safety; clean tools, no sharing, eye-area suitability, immediate stop for irritation and prevention of applicator injuries.
EUR-Lex — Regulation (EC) No 1223/2009 on cosmetic products; the current European Union framework for cosmetic-product safety, responsible persons and consumer information.
Substantive review: 5 September 2026. This educational technique is written by Irene Tomasi, a makeup artist with 10 years of professional experience. Adapt mapping to anatomy, eye comfort, product directions and local cosmetic rules. It does not replace supervised practice, product instructions, diagnosis or healthcare. Continue with the English makeup guide library or develop eye technique through the BeautyLearn makeup courses.