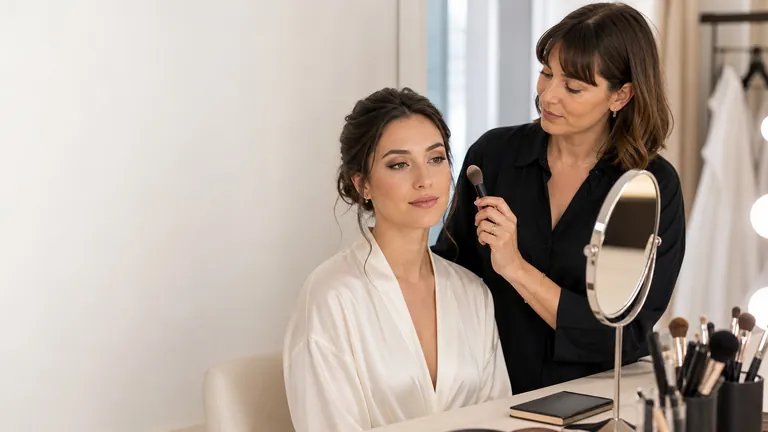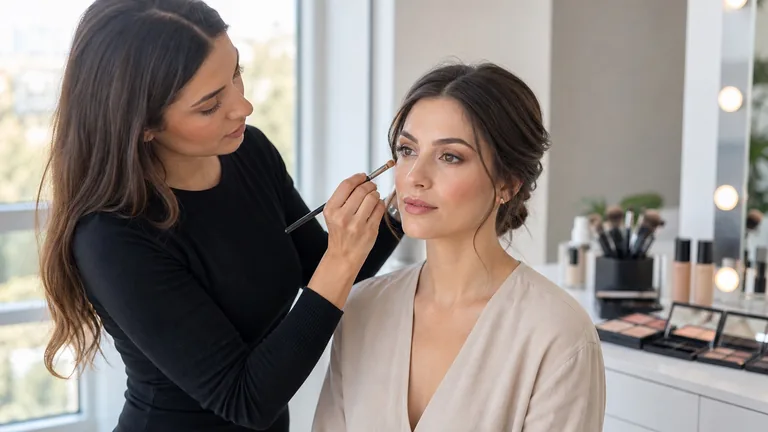
Professional day makeup is not evening makeup with less eyeshadow. It is a complete service designed to look balanced at conversation distance, remain comfortable through ordinary movement and read correctly in the light where it will be worn. The result comes from a clear sequence, thin controlled layers, local correction and knowing when the face is finished—not from using every product in the kit.
Quick answer: agree the setting and desired intensity; prepare only what the skin needs; build a thin complexion from the centre out; correct what remains; balance brows, eyes, cheeks and lips; set selectively; then inspect close up, at normal distance, in movement and in natural light. A successful daytime look keeps the person recognisable while making colour, texture and proportion feel deliberate.
This guide owns the end-to-end daytime service: how separate decisions become one efficient, repeatable look. It does not replace the detailed methods for preparing skin before makeup, choosing foundation texture, coverage and finish or learning makeup colour theory; those retain their own search intents. Apply the complete sequence in the daytime makeup course or connect it to wider professional training through the complete makeup artist course.
What makes day makeup professional
Professional means intentional, safe and repeatable. The complexion does not have to be invisible, but its coverage should answer a real need. Brows do not need geometric identity; they need balance. Eyes can have definition without a hard line, and colour can be visible without becoming the only thing the viewer sees. Each step should perform a job: prepare, even, correct, structure, restore colour, protect wear or make a planned focal point.
Judge the face as a whole, in movement and from the distance at which people will see it. A detail that looks perfect in a magnifying mirror may feel heavy during a conversation. A look that seems refined beneath a frontal ring light may disappear in a large room or photograph unevenly beside a window. Adjust value, saturation, contrast and area while preserving the person’s features and preferences.
Consultation before product selection
Before opening the kit, ask where the person is going, when the makeup must be ready, how long it should remain presentable, what the lighting will be and whether photography or video is expected. An office day, a daytime celebration, an outdoor appointment and a streamed presentation do not impose the same demands. Ask what they normally wear, which features they enjoy emphasising, what they prefer not to feel on the skin and how willing they are to touch up.
Collect only information relevant to the cosmetic service and do not diagnose. If you observe active irritation, broken skin, eye discomfort or a reported reaction, pause and decide whether the service can proceed safely; recommend appropriate medical advice when needed. Known allergies, label warnings and manufacturer directions matter. A consultation record supports communication and traceability but does not turn a makeup artist into a healthcare professional.
Workstation, hygiene and a smaller working edit
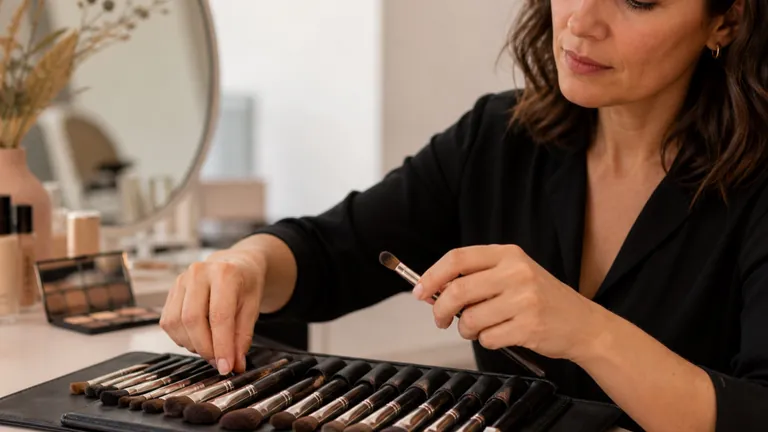
Prepare a clean, well-lit area with a clear division between ready-to-use and used items. Select a small edit of plausible products before starting instead of searching through the whole kit after every step. Decant jars with a clean spatula, use disposables where appropriate, never double-dip a used applicator and follow product directions for storage, period after opening and intended area of use.
The method in the makeup hygiene guide is part of the visual result as well as risk control. A sponge carrying old product changes the finish, a contaminated brush dirties colour and direct sharing of mascara introduces an avoidable exposure. Organise products by function, keep handles and palettes clean, and do not let speed erase hygiene checkpoints.
A flexible professional day-makeup sequence
A clear sequence without a rigid script
Observe, apply the minimum and review the complete face
Consultation and preparation
Complexion and correction
Brows, eyes, cheeks and lips
Light, wear and touch-up
A useful sequence moves from consultation and hygiene to skin preparation, complexion, local correction, brows, eyes, cheeks, lips, selective setting and final checks. It is a framework, not a fixed law. You may complete eye makeup first when fallout is likely, establish brows early when they determine proportion, or delay powder until cream colour is placed. The test is whether the order prevents contamination, unnecessary repetition and avoidable thickness.
Work in cycles: observe, form one hypothesis, apply the minimum useful amount and reassess. Do not finish one eye at maximum contrast while the rest of the face is empty, because that removes the whole-face reference. Alternate close inspection with normal viewing distance, compare both sides often and aim for visual balance rather than mathematically identical features.
Prepare the skin without building unnecessary layers
Preparation should improve comfort and application, not impose the same stack on every person. Observe surface dryness, visible oil, mobility and how existing skincare has settled. Use a small amount of any added product, allow it to form its film and remove excess from areas where the complexion would otherwise slide. Multiple serums, cream, sunscreen and primer do not become more effective merely because they appear in one routine.
If sunscreen is part of the person’s daytime routine, respect the amount and application directions of that product; makeup does not automatically extend its labelled protection. The dedicated skin-preparation protocol explains order, settling time and pilling tests. Here the objective is a comfortable, even and stable surface—not an artificial level of glow across every zone.
Daytime complexion: even the skin without erasing it
Evenness does not require full coverage
Colour, formula and amount are separate decisions
Colour
Check face, jaw and light
Formula
Match finish and surface
Amount
Build only where needed
Compare foundation through the face, jaw and relevant exposed skin in reasonably neutral light. Undertone is an orientation, while the final decision is a real swatch allowed to settle on the person. If depth, colour direction and formula are suitable, a small amount distributed from the centre out can create continuity without a visible edge. Check the hairline, ears and jaw without extending full coverage everywhere by default.
Texture, coverage and finish are separate choices. A luminous product is not automatically hydrating, a matte finish is not always more durable and a fluid texture can still be highly pigmented. Use the foundation formula guide when those variables are the problem. For daytime work, preserve natural surface detail where the skin is already even and add coverage only to the zones that need it.
A brush can spread and thin, a clean damp sponge can press and lift excess, and fingers may warm products on yourself where hygienically appropriate. None is universally superior. Match the tool to formula, finish and sanitation needs. End by feathering or pressing the boundary into the surrounding skin rather than repeatedly depositing more product over the same area.
Local correction and concealer
Correct only after seeing what the complexion product has already evened. A colour corrector changes the perception of remaining local discolouration; concealer adds coverage. They are not compulsory as a pair. Place tiny amounts, observe the formula after it settles and thin the edge. Flooding the entire under-eye with a much lighter shade can exaggerate texture and change the face’s natural value pattern.
Use colour theory for controlled neutralisation rather than following a universal green-or-peach chart. Redness, brown marks and blue, violet or grey under-eye colour vary in depth and saturation. The correction should reduce the competing colour without becoming a new visible patch, and it does not always need to be perfectly opaque.
Brows and eyes: definition that remains soft
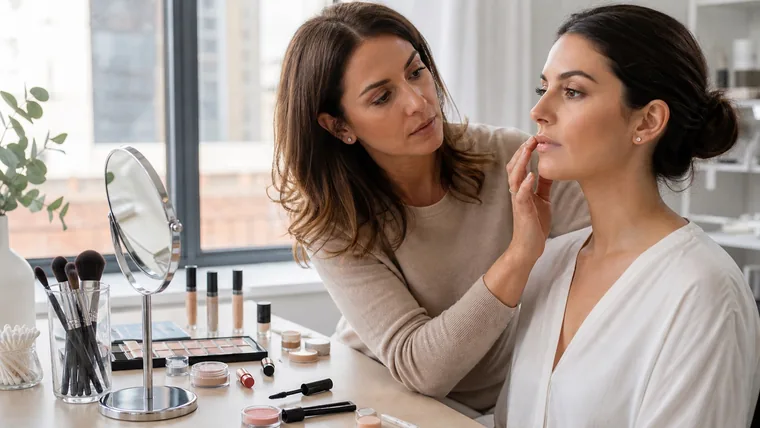
Brush brows through and observe density, growth direction and asymmetry before adding pigment. Fill genuine gaps with strokes or a light veil compatible with the existing hair, then set only if needed. A square, opaque front or an extended dark tail can make an otherwise restrained look feel constructed. Use the eyebrow mapping guide for measurement and product decisions; this service guide is concerned with their balance in the finished face.
Neutral does not mean brown only. Taupe, peach, muted rose, quiet bronze, grey, olive or soft plum can all serve daytime makeup when value, saturation and area are controlled. Place depth where it supports the eye, keep transitions clean and reserve shine or accent for a clear purpose. One colour distributed precisely may look more professional than an entire palette applied without hierarchy.
Shape should determine placement more than the name of a trend. Consult corrective eye makeup for hooded, small, close-set and prominent eyes, and the eyeliner guide for line direction and wing verification. Use an intact curler safely and disposable mascara wands on clients. Stop around the eye if watering, pain or irritation develops.
Cheeks, dimension and the role of blush
Blush restores colour and vitality, bronzer suggests warmth, and contour creates a perception of depth. They are not synonyms and none is automatically required. A well-placed blush may be all a daytime face needs. Choose placement from the existing structure and desired expression, then inspect it while the person smiles and relaxes rather than copying one diagram onto every face.
Cream and liquid colour can integrate with a thin base but require controlled dosage and compatible layers. Powder can modulate or set, yet may catch on a wet surface. Load the tool lightly, remove excess before reaching the face and build gradually. The corrective makeup and visagism method explains how to describe proportion without labelling natural features as faults.
Lips: comfort, proportion and a realistic touch-up
Avoid aggressive last-minute exfoliation. Prepare for comfort, remove excess emollient before precise liner and decide whether the priority is ease of touch-up, crisp shape or longer wear. Cream lipstick and tinted balm are often simple to maintain; drier films may hold longer but demand a suitable surface. The choice depends on the person’s habits, the meal or activity ahead and what they are willing to carry.
A nude lip is not the same colour as surrounding skin and should not automatically erase the mouth. It can echo the natural lip family with enough value and saturation to preserve facial balance. Use the corrective lip makeup guide for border mapping, proportion and layering. Day makeup then decides how strongly that lip participates in the whole look.
Natural does not mean invisible: control intensity
Four levers control daytime intensity
Change one variable before changing the whole look
Value
Lighter or deeper
Saturation
Vivid or muted
Contrast
Difference between neighbours
Area
How much space colour occupies
Four levers change intensity: value, saturation, contrast and the area occupied by colour. A look does not need to become darker everywhere to read more clearly. Add a little contrast at the lash line, refine the brows, restore colour to the cheeks or choose a more present lip. Change one lever at a time and return to normal viewing distance before changing another.
Diffused daylight reveals edges, thickness and colour differences that frontal light can flatten. Check near a window without direct sun, then verify in the destination lighting. For video, use the intended camera and compare its image with live observation: exposure, white balance, lens and processing can exaggerate or suppress contrast. Do not compensate blindly by adding more makeup.
Adapt the look to office, event, camera and glasses
For an office day, prioritise comfort, selective shine management and products that can be restored without rebuilding the face. For a daytime event, increase definition at lashes, cheeks or lips while keeping the complexion thin. For a presentation, test the actual camera and lighting. With glasses, inspect cast shadows, contact on the nose, visible lid area and the relationship between frame and brow; perform final checks while the glasses are worn.
Mature skin does not have one mandatory protocol. Observe comfort, movement, surface dryness and personal style instead of using age as a shortcut to ban colour or finish. Thin layers, controlled boundaries and thoughtful light distribution are more useful than blanket rules. The service should adapt to the adult in the chair rather than attempt to erase normal texture or character.
Build a functional professional day-makeup kit
A working edit includes essential preparation, mixable complexion depths, targeted correctors, a controlled powder selection, brow products, a versatile eye palette, pencils, mascara, blush, optional bronzer or contour, lip pencils and adaptable lip colours. It also needs clean palettes and spatulas, disposables, brush and surface-cleaning supplies, and containers that keep used material separate.
Buy by function and tested use case rather than shade count. Learn how each formula behaves before adding near-duplicates. The beginner makeup kit guide separates essentials from later expansion, while the professional makeup products course connects categories, textures and application behaviour.
Wear, setting and touch-ups
Wear is built before the final spray. Compatible preparation, limited quantities, settled films and selective powder reduce separation and build-up. Press a small amount of powder where movement or shine makes it useful; leave flexible or dry zones alone when possible. A setting spray can alter finish or integration, but it cannot rescue an excessively thick or incompatible base.
Plan a realistic touch-up: blotting paper or tissue, powder only if needed, the lip product and a small agreed set of items. Teach blot-first behaviour before adding another layer. Do not promise one universal hour count. Skin, climate, contact, tears, activity and formula alter wear. Record what happened so the next service begins with evidence rather than a generic long-wear claim.
A twelve-step professional day-makeup protocol
Four checks before the client leaves
A precise detail must still work on the real moving face
Close
Texture, thickness and edges
Distance
Balance and hierarchy
Light
Colour and real intensity
Movement
Comfort and wear
Agree context, wear time, light, preferences and desired intensity.
Observe the skin and prepare a clean workstation and compact product edit.
Prepare with small quantities and allow each relevant film to settle.
Swatch foundation, then distribute a thin layer from the centre outward.
Correct only remaining local colour and feather every boundary.
Balance brows according to real growth, density and the complete face.
Build eyes from supporting value to depth, liner where useful and mascara.
Restore colour and dimension with blush and only the other products required.
Define lips around the chosen balance of comfort, shape, colour and wear.
Set selectively and remove excess instead of covering it with another layer.
Inspect close up, at conversation distance, in movement and in relevant light.
Photograph without filters, explain touch-ups and record one improvement priority.
Timing and deliberate practice
A professional may plan versions around 35, 45 or 60 minutes, but these are workflow targets rather than universal standards. A shorter service requires a clear brief, prepared product choices and controlled scope. More time allows considered correction and verification; it does not justify redundant steps. Time each phase during practice without sacrificing sanitation or stop criteria.
Divide the service into consultation and preparation, complexion and correction, eyes and brows, cheeks and lips, then final review. If one block repeatedly consumes half the appointment, identify why: delayed selection, excessive product, disorganised tools or a technique that needs isolated practice. Professional speed comes from decisions that are clear and repeatable, not from rushing hands.
Common professional day-makeup mistakes
Frequent errors include a uniform but overly thick base, very light concealer across the full under-eye, powder on every zone, brows much stronger than the remaining face, transition shadow taken too high, clumped mascara, blush placed without reference to movement and a beige lip that removes natural contrast. These usually happen when the artist tries to complete every product rather than complete the design.
Control errors are equally important: working only beneath a ring light, ignoring neck and ears, photographing with a filter, chasing geometric symmetry and never reviewing while the client speaks. When a look feels heavy, remove or thin before adding highlight. When it feels weak, strengthen one purposeful area. Use the learn-makeup-from-scratch practice method to isolate one variable and document the change.
Practice plan for a repeatable daytime service
Exercise one: create three complexions—light, locally medium and more corrective—using the same skin preparation. Exercise two: use one palette for two eye looks, changing only contrast at the lashes. Exercise three: compare a look where blush is the only dimension product with one using blush and bronzer. Record amount, time, tool, light and the boundary that needed the most correction.
Exercise four: adapt one face for office, daytime event and video by changing one lever at a time. Exercise five: repeat the protocol in 60 and then 45 minutes without omitting hygiene. Exercise six: photograph in neutral daylight, warm room light and the intended camera. The daytime makeup course places those decisions inside a complete demonstration and practice sequence.
Frequently asked questions about professional day makeup
What is the correct order for daytime makeup?
A reliable order is consultation, hygiene, preparation, complexion, local correction, brows, eyes, cheeks, lips, selective setting and review. It can change when eye fallout or formula behaviour makes another sequence cleaner. The right order reduces repetition and keeps whole-face checks possible.
Which products are essential for professional day makeup?
Use essential preparation, suitable foundation and concealer, optional corrector and powder, brow products, a versatile eye selection, pencil, mascara, blush and adaptable lip products. Bronzer, contour, highlighter and spray are optional. Clean tools, palettes, spatulas and disposables are essential.
How much coverage should daytime foundation have?
Enough to reach the agreed degree of evenness without unnecessary thickness. Begin thin and add only where needed. Formula, real skin, light and preference matter more than a light- or full-coverage label. Review at conversation distance and beside a window.
How should the intensity of a day look be chosen?
Consider natural contrast, destination, light, camera, clothing and preference. Adjust value, saturation, contrast or coloured area one at a time. Often a little more definition at lashes, brows, cheeks or lips is enough; the whole face does not need to become darker.
Does day makeup have to use nude colours?
No. Peach, rose, bronze, olive, plum, grey and other families can work. Daytime readability depends on placement, value, saturation, boundaries and hierarchy. One visible colour used deliberately may look quieter than many unrelated beige layers.
Should foundation or concealer be applied first?
A thin complexion layer first often reveals how little concealer is actually needed. Local colour correction may come earlier when a specific area requires it. Avoid covering the same zone twice without reassessing, and keep the textures compatible.
How can daytime makeup last through a long day?
Use compatible preparation, controlled quantities, settled layers and selective setting. Match formulas to skin, weather and activity, then plan a simple touch-up. No method guarantees identical hours on every person because contact, heat, tears and movement change wear.
Are powder and setting spray always necessary?
No. Powder can stabilise or reduce shine but may emphasise texture when used everywhere. Spray can alter finish or help layers look integrated, but it does not correct an overloaded base. Use either only for a specific function and according to its directions.
How should day makeup change for glasses?
Observe the frame, lens shadows, bridge contact and visible lid space. Limit product thickness at friction points, ensure lashes remain comfortable and review the face with glasses on. The eye without its frame is not the final composition.
How long does a professional daytime application take?
It depends on consultation, skin, correction, detail and organisation. Planning bands around 35, 45 or 60 minutes can support practice but are not standards. Measure phases and reduce indecision, never hygiene or a necessary safety check.
How can natural makeup remain visible?
Keep complexion and edges thin, then select one or two points of definition such as lashes, brows, cheeks or lips. Use restrained but readable value differences and inspect in natural light. Natural describes coherence, not the absence of product.
How do I stop foundation looking heavy in daylight?
Start with less, prepare without excess, spread from the centre and build only where required. Thin the hairline, jaw, nose and under-eye boundaries. Remove build-up before powdering and inspect near a window without direct sun.
Do day and evening makeup require different products?
They can share much of the same kit. Quantity, contrast, placement, finish and focal hierarchy often change more than the products themselves. Learn to modulate a reliable kit before buying a second version of every category.
Sources and next steps
For general product handling, storage and reactions, review the FDA guidance on using cosmetics safely. For specific precautions around mascara and the eye area, see Eye Cosmetic Safety. Continue through the English makeup guide library or compare the current online makeup courses.
Editorial review: 5 September 2026. This educational guide does not diagnose skin or eye conditions, promise universal wear or replace product directions. It deliberately owns the full professional daytime service and natural-light review; beginner learning order, individual formula selection, corrective methods and evening makeup remain separate search intents.
To turn colour, blending and correction into a complete look for changed light, continue with the professional evening-makeup guide. It organises focal hierarchy, reflection, flash checks and realistic long wear.
To adapt these product and placement decisions to moving lines and mature texture, continue with the makeup for mature skin guide. It uses zone-based preparation, thin layers and selective setting without age-based rules.
To test how skincare, sunscreen, primer and foundation behave as one film, continue with the primer and foundation compatibility guide. It replaces water-versus-silicone myths with measured layering and A/B wear tests.
For a controlled comparison of depth, warmth and cheek colour, continue with the contour, bronzer and blush guide. It covers colour, film order, anatomical placement and troubleshooting without one-size-fits-all maps.
Keep temporary lashes credible in daylight
When extra definition is useful, dry-fit a light strip or half lash using the guide to false eyelashes.
Manage daytime wear and touch-ups
For zone-based setting and realistic repair, continue with how to make makeup last.
Connect the technique to the client brief
Clarify inclusions and price variables through the professional makeup cost guide.
Review the daytime look through glasses
Add lens, rim and contact-point checks from the makeup-for-glasses workflow.
Keep daytime lashes separated and proportionate
Apply the professional mascara method.
Keep daytime layers light in hot weather
Adapt the look with the waterproof makeup climate protocol.
Use a restrained iris palette for daytime
Continue with the eye-colour selection protocol.