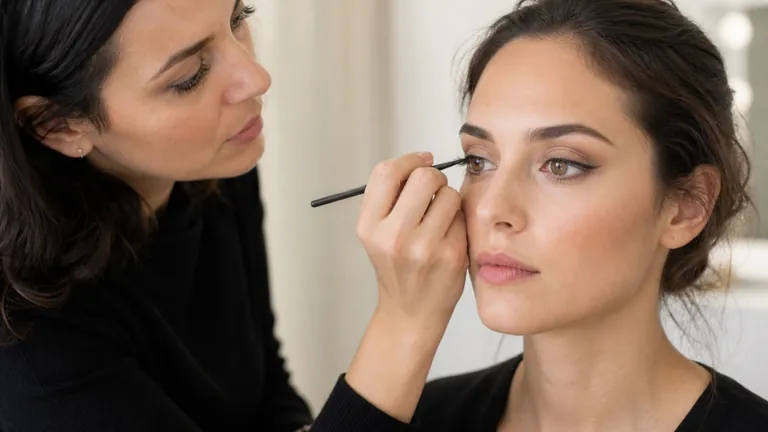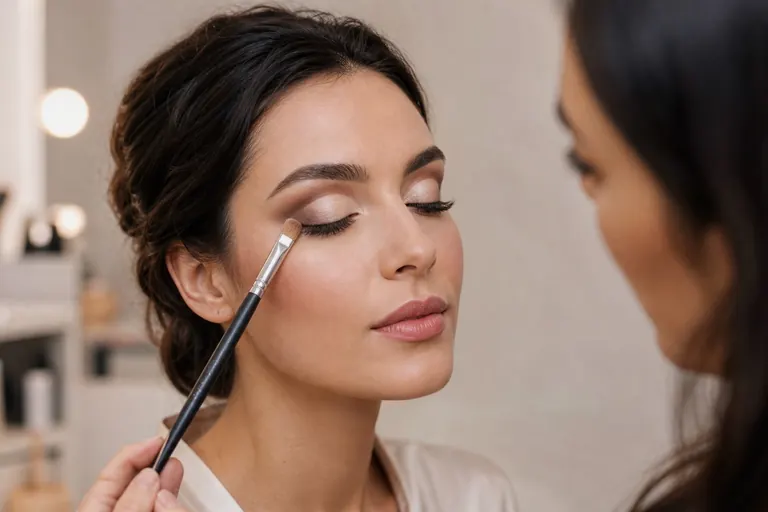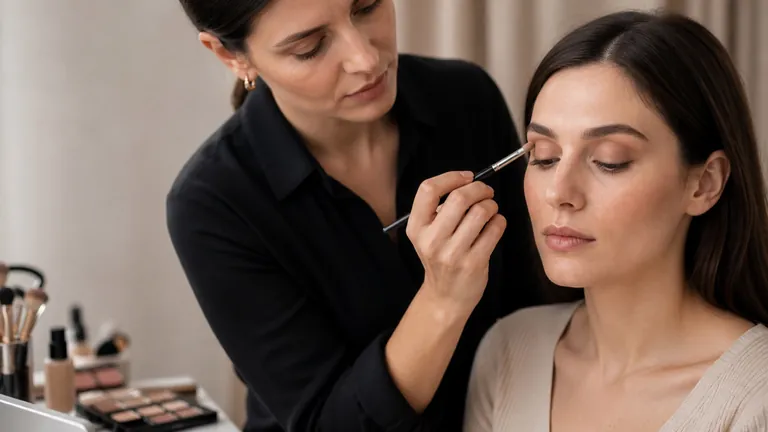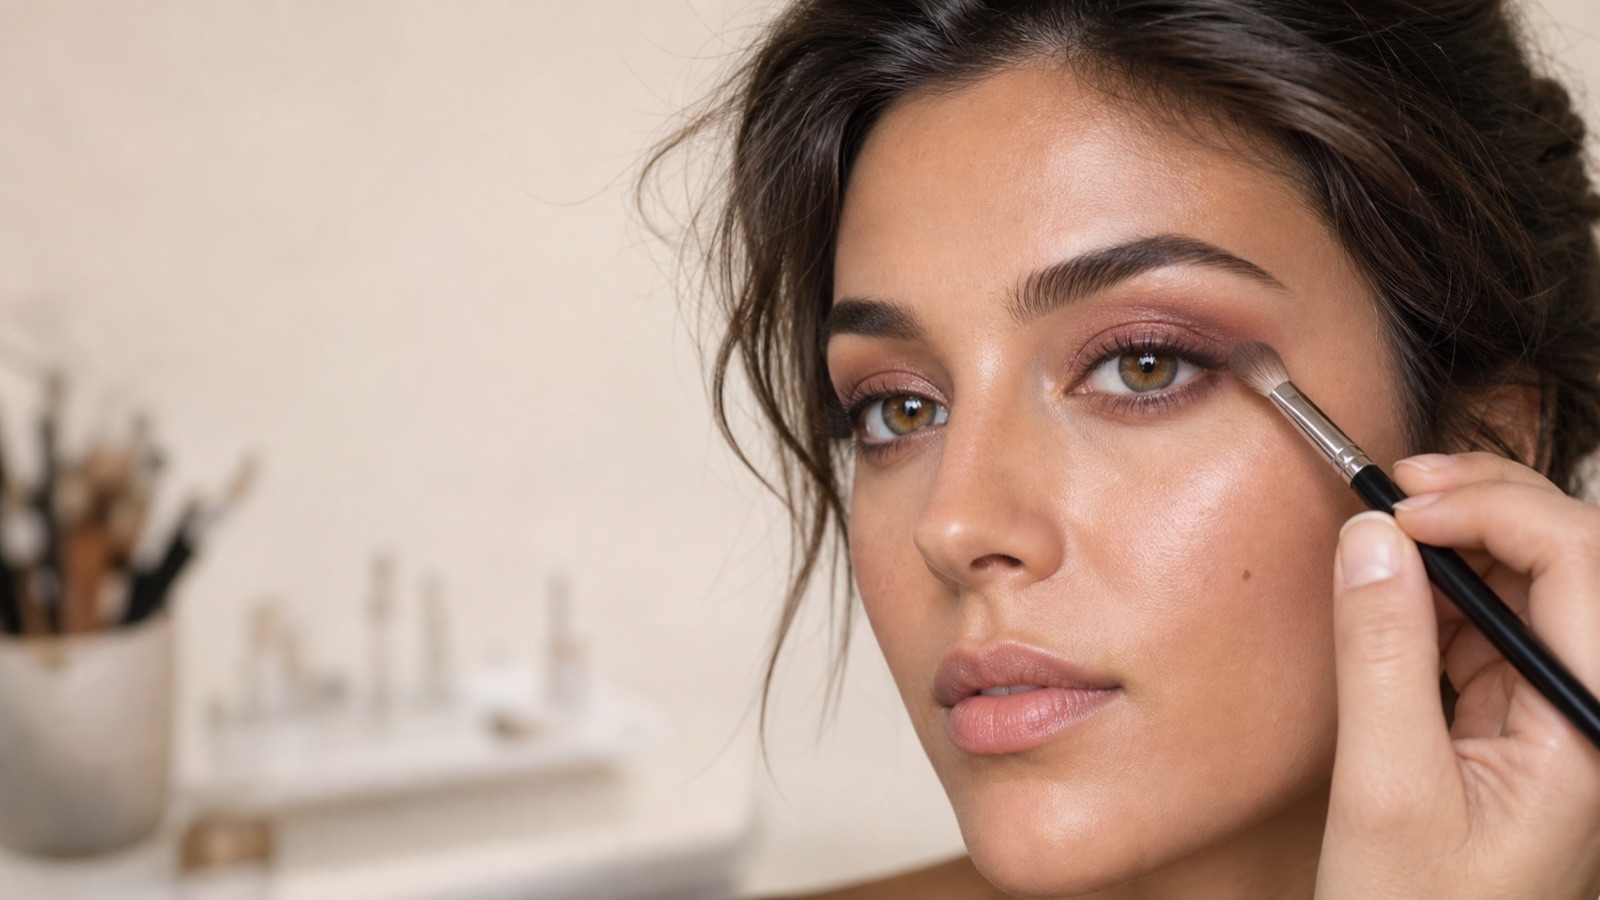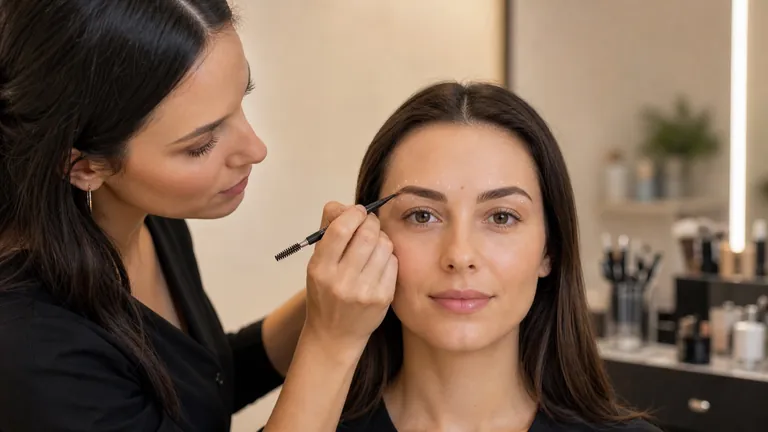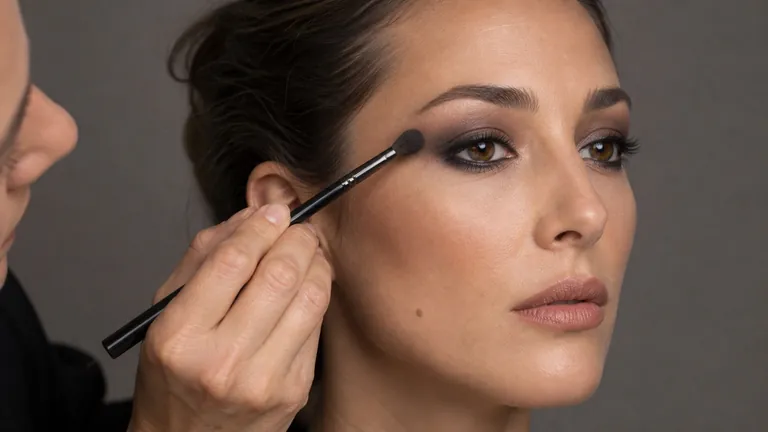
A professional smokey eye is not a lid filled with black. It is a controlled gradient in which the deepest point, middle value and diffused edge remain visible. Shape, direction and maximum height are planned with the eyes open; depth is built in thin stages; each layer preserves room for the next. The result can be soft, classic, colourful or camera-ready without losing clarity.
Quick answer: prepare an even surface with enough grip, map shape using a middle value, concentrate the darkest colour near the lash roots and chosen depth, then connect values without dragging black into the upper edge. Alternate eyes after every layer. If the border becomes wide and grey, stop rubbing, restore the transition colour, clean the brush and rebuild only the boundary.
This guide owns the complete smokey-eye design: map, intensity, sequence, lower lash line, symmetry, adaptation and correction. Brush loading and edge mechanics remain in the eyeshadow blending guide; anatomy-led placement belongs to corrective eye makeup. Here those skills are applied to one defined look without absorbing their search intents.
A smokey eye is a value gradient, not a black eyeshadow
A smokey eye needs three readable values
Deep roots, a bridge value and clean surrounding space
Deep
Concentrated near roots and chosen depth
Middle
Connects depth to the silhouette
Transition
Softens the boundary
Clean space
Keeps the gradient legible
Smokey describes a transition without a sharp border, not a mandatory hue. Brown, taupe, plum, deep blue, charcoal or green can produce the structure when the palette relates to skin depth, iris, brief and lighting. The silhouette can be elongated, rounded, lifted or compact. What stays constant is a readable relationship between maximum depth, a bridge value and clean surrounding space.
Zone | Job | Control point |
|---|---|---|
Lash roots | Maximum depth and definition | Compact colour without gaps or excessive fallout |
Mobile lid | Connect depth to silhouette | A visible mid-deep value, not one flat block |
Crease and edge | Transition and direction | Middle value gradually disappears into skin |
Clean space | Makes the gradient perceptible | No grey haze reaching the brow |
Maximum contrast does not need to occupy the whole lid. If black reaches the edge immediately, the bridge value disappears and there is nothing to blend through. If everything stays medium, the look appears flat. Before adding product, name the missing part: deeper root, stronger middle value or restored clean space.
Plan shape and direction with the eyes open
Map the visible eye, not the closed lid
Folds, brows, direction and asymmetry change the usable space
Height
Where colour remains visible
Width
Outer boundary and connection
Direction
Elongated, rounded, lifted or compact
Balance
Shared effect, not identical geometry
Observe the person frontally with a natural gaze and relaxed brows. Identify visible crease, mobile-lid space, outer-corner direction, brow distance and asymmetry. Decide the highest and widest boundary before dark pigment is introduced. These are design limits, not lines to draw in black. Recheck them whenever the eye opens because closed-lid space may fold, rise or disappear.
Elongated: intensity follows a controlled outward diagonal without falling below the outer corner.
Rounded: depth wraps the lid while a readable centre prevents the eye becoming one dark circle.
Lifted: the upper outer edge rises softly without becoming a hard wing or leaving an unnatural gap.
Compact: height and width are reduced to preserve proportion where visible lid space is limited.
Do not stamp identical geometry onto two different eyes. Aim for a shared visual destination while compensating for real folds and position. The eyeliner shape and symmetry guide helps define outer direction; eyebrow mapping explains how the frame changes perceived lid space.

Build a three-value palette that can transition cleanly
Prepare at least three related values: transition, middle and deep. They can belong to one hue family rather than being three unrelated colours. Add a reflection or highlight only after structure is stable. A cold black placed directly beside an orange transition can look dirty when no deep neutral brown connects their temperature and value.
Use makeup colour theory to separate hue, value and saturation. A soft smokey uses closer values and moderate contrast; evening work may increase depth and root definition; a colourful smokey still needs a bridge between saturated pigment and skin. Swatch over a comparable base because colour changes with opacity and layering.
Choose matte, satin, pencil and cream by function
Matte shadow makes silhouette and depth easier to read. Satin and shimmer reflect light and can visually advance the zone. Pencil and cream create strong depth quickly, but must be controlled within their working time. A very mobile base can collect in the crease; a dry or over-powdered surface can seize the first touch and create a spot.
Do not stack formulas merely to promise wear. Test compatibility, amount and settling. Smudge pencil only within the planned boundary, then set it with a compatible powder when required. Black can stay at the roots and connect through charcoal or deep brown, preserving intensity without converting the whole lid into the same value.
Assign each smokey-eye brush one job
Tool | Main job | Avoid |
|---|---|---|
Compact flat brush | Deposit on lid and lash roots | Dragging depth beyond the design |
Small pencil brush | Detail, roots and lower line | Loading it with black across the whole crease |
Medium blending brush | Join middle value to the edge | High pressure and oversized movement |
Clean finishing brush | Final edge refinement | Trying to erase a fixed dark patch |
Scale and flexibility must suit the available space. A large brush does not automatically create a softer blend; on a small lid it moves colour outside the map. Review fibre, density, loading and pressure in the professional makeup-brush guide.
Prepare the eyelid without creating patches
The lid should be clean, comfortable and compatible with the chosen textures. Even visible colour with a thin film and absorb or set only as needed. A wet base grabs the first contact; too much powder reduces adhesion and dulls pigment. When pencil or cream provides depth, work one eye at a time within its useful open time.
Decide whether complexion comes before or after the eyes. Strong fallout or unfamiliar dark pigment often makes eyes-first efficient. If complexion is finished, protect it without dragging skin and lift fallout using a clean tool rather than a finger. The makeup hygiene guide defines clean-to-used workflow around the eye.
Professional smokey-eye technique step by step
Depth arrives after the map
Transition, middle value, deep value, then lower connection
Prepare and set boundaries
Build middle-value silhouette
Press controlled depth
Connect and review
Observe both eyes open and define maximum height, width and direction.
Even the lid with a thin base suited to the formulas that follow.
Place transition colour lightly inside the upper boundary.
Map the silhouette with the middle value that will connect depth to skin.
Press deep colour near the lash roots and chosen depth without immediately rubbing it outward.
Join deep and middle values using small movements on the boundary, not the whole area.
Alternate eyes after each layer and review height and direction frontally.
Strengthen the upper roots with pencil or shadow while keeping the join soft.
Build a narrower version of the gradient below and connect only the outer corner.
Finish edge, reflection, mascara and any temporary lashes after an open-eye check.
Deepest colour arrives only after shape and bridge value are readable. Beginning with a large black patch and expanding it can cross the boundary before the transition exists. Practise adaptation in the corrective eye makeup course and connect intensity to a complete service through the evening makeup course.
Connect the lower lash line without closing the eye
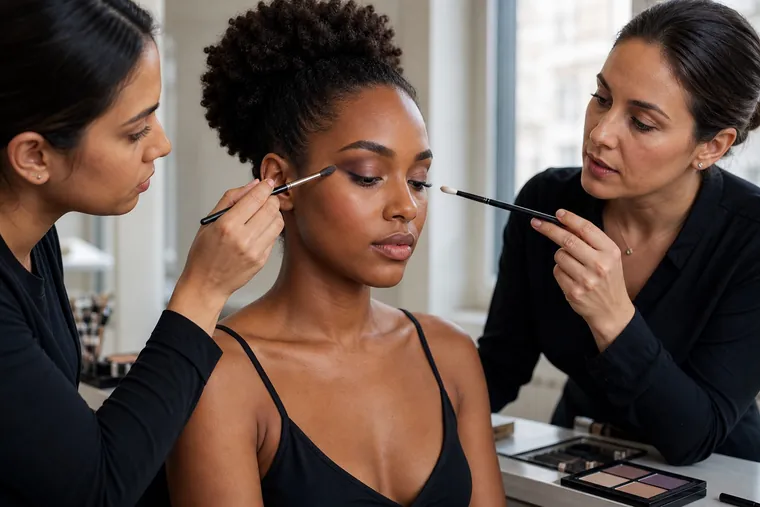
The lower section should be narrower than the upper structure. Keep the deepest value close to the roots, restrict width and use the middle value to soften the edge. Connect the outside without leaving a pale triangular gap, but do not pull the blend downwards. Near the tear duct, reduce depth when the design needs openness.
Review frontally and at conversation distance. A wide lower haze can make the look heavy even when its edge is technically diffused. Waterline pencil, colour and intensity depend on brief, comfort and product directions. Never place pigments in the periocular area unless they are intended for that use.
Adapt a smokey eye to hooded, small, prominent and mature eyes
On a hooded eye, map with the eye open and carry the middle value into the genuinely visible zone without filling every millimetre to the brow. On a small eye, preserve some visible lid and restrain black and lower-line width. On a prominent eye, distribute depth rather than drawing an even dark ring. On close-set eyes, avoid concentrating maximum depth at the inner corner.
No label dictates one permanent recipe. Age, texture, lid movement, glasses and asymmetry alter the map. The mature-skin makeup guide expands on flexible films and moving zones, while the corrective eye guide retains detailed anatomy-led placement.
Soft, classic and colourful smokey-eye variations
Variation | Contrast | Main control |
|---|---|---|
Soft smokey | Low to medium; brown and taupe values | Airy edge with a readable root |
Classic smokey | Medium to high; charcoal with restrained black | A middle value remains between depth and skin |
Colour smokey | Variable; plum, blue, green or bronze | A bridge hue avoids muddy temperature shifts |
Camera smokey | Designed for a tested lighting setup | No automatic increase of black for the lens |
Correct asymmetry by visual effect, not identical quantity
Alternate eyes after transition, middle value and the first deep layer. Compare maximum height, outer direction and clean space with both eyes open. Close and reopen the eyes, then check at a fixed distance. An unfiltered photograph may reveal imbalance, but it does not replace live observation and can introduce perspective or exposure differences.
Correct the perceived destination rather than forcing equal geometry. One fold may require greater visible height using less product; the other may need a more restrained edge. Add a small amount only to the side that lacks it instead of widening both until control is lost.
Diagnose patchy, grey or muddy smokey-eye mistakes
Fix the boundary before adding pigment
A patch, grey haze and muddy colour have different causes
Patch
Reduce first-contact load
Grey haze
Black travelled beyond its zone
Hole
Stop friction and stabilise the base
Muddy
Restore one coherent bridge colour
Problem | Likely cause | Correction |
|---|---|---|
Isolated dark spot | First contact carried too much product | Press middle value onto the boundary; do not rub the whole patch |
Wide grey edge | Black pulled too high | Restore middle value and clean space |
Hole on the lid | Base lifted by friction or repeated passes | Stop movement, stabilise and press thin colour layers |
Outer eye falls | Lower edge travels downwards | Clean the lower limit and rebuild direction |
Muddy colour | Disconnected temperatures or too many layers | Return to a short palette and restore the bridge colour |
Concealer is not a universal eraser. A bright hard line beneath a dark eye can change both shape and complexion texture. First lift loose product with an appropriate clean tool, then rebuild the edge. If the patch comes from a compromised base, more shadow only makes the broken film darker.
Use black without losing the gradient
Pick up very little black, remove excess and press it only where true depth belongs. Never take it directly into the edge. Join through charcoal, deep brown or another palette bridge. If black has covered the middle value, do not add endless transition above it; restore the middle colour at the boundary and reduce movement.
Intensity takes controlled time, not dozens of random layers. Step back after every two passes. The look often has enough contrast at normal distance even when a close mirror invites more pigment. Professional quality depends on a legible gradient and stable shape, not the amount of black used.
Finish with liner, mascara and temporary lashes
Eyeliner may remain diffused into the roots or become more defined according to the design. Mascara and temporary false eyelashes should reinforce direction without hiding the gradient. A dense strip can cover the work; an airy half lash or restrained flares may preserve it.
Review with the completed face. If eyes, contour and lips all carry maximum contrast, hierarchy disappears. The smokey eye can remain the focal point while brows, complexion, cheeks and lips support it. Compare complete balance in the professional evening-makeup guide.
Test wear in daylight, evening light and photography
Assess crease movement, watering and the periocular surface before choosing base and pencil. Use thin layers, set cream where required and avoid saturating the lid. After settling, ask the person to open, close and move the eyes. Check transfer, crease collection, fallout and comfort before adding depth.
Review in front, side and destination light. Flash can flatten middle values or reveal fallout and a hard edge; a dark room may require greater contrast but not necessarily more black. For bridal work, test comfort and duration during the trial using the professional bridal makeup protocol.
Protect hygiene and eye-area safety
Wash hands, use clean tools and do not share eye cosmetics without an appropriate hygienic protocol. Do not work on a red, painful or discharging eye or suspected infection. The FDA advises keeping hands and applicators clean, not sharing eye cosmetics and stopping use when irritation develops. Never wet a product with saliva or use a pigment not intended for the periocular area.
A name listed in the European Commission CosIng database does not alone establish suitability for every use; product label, warnings and intended area remain essential. Burning, pain, swelling, vision change or persistent symptoms require stopping and appropriate healthcare assessment. Makeup technique does not diagnose ocular conditions.
A six-session smokey-eye practice plan
Create three gradients on a practice surface using light, middle and deep values without black.
Map two open-eye silhouettes with transition and middle values only.
Add deep brown at the roots and compare sides after every layer.
Introduce minimal black and document the point at which the middle value becomes less readable.
Repeat the design on a different lid by changing only the map.
Finish lower line, lashes and photographs in three lighting conditions; record time and repeated errors.
Photograph front, profile and open eye without filters. Review gradient, clean space, direction, lower connection, symmetry and comfort. Connect deliberate practice to the beginner makeup course or the wider complete makeup artist course.
Frequently asked questions about smokey eyes
Does a smokey eye have to be black?
No. Smokey describes a gradient without a hard edge. Brown, taupe, plum, blue, charcoal or deep green can create the same structure with different contrast and temperature.
Which colour should be applied first?
Usually the boundary and transition begin with a middle or middle-light value. The deepest colour is then concentrated at the roots and selected depth.
How do I avoid a black-eye effect?
Preserve at least three values, keep black in the deepest zone and leave clean surrounding space. The bridge value must remain visible between black and skin.
Should eyes or foundation be completed first?
It depends on product and control. Eyes-first simplifies clean-up with dark fallout; a tested low-fallout technique can be performed over a protected completed complexion.
Why does black eyeshadow look patchy?
Common causes include an uneven base, overloaded first contact, high pressure or no bridge value. Identify the cause before adding more black.
How can an edge that is too high be corrected?
Stop rubbing, restore the middle value at the boundary and recreate clean space with minimal product. Clean precisely and rebuild when necessary.
Can hooded eyes wear a smokey eye?
Yes. Plan height with the eye open, reduce the dark area, place middle value in the visible zone and check transfer and symmetry.
How do I avoid making the eyes look smaller?
Limit black and lower-line width, preserve clean or reflective space and judge the open eyes frontally rather than following a universal map.
Which brushes are needed for a smokey eye?
Use a compact depositor, a small detail brush and one or two clean blending brushes scaled to the lid. Function and loading matter more than a prescribed brush name.
Can one palette create a smokey eye?
Yes, when it contains enough related values and compatible textures. A coherent light, middle and deep range matters more than the number of pans.
Does black pencil go before or after shadow?
It may sit underneath as local depth or follow as root definition. In either role, keep it inside the design and set or remove it according to its instructions.
How can two eyes look balanced?
Alternate sides after every layer and compare visible height, direction and clean space with the eyes open. Seek visual balance, not equal product on different anatomy.
How can a smokey eye resist creasing?
Prepare for the actual lid, use thin layers, set creams appropriately and test formula compatibility and movement before increasing intensity.
When should eye makeup stop?
Stop for redness, pain, swelling, discharge, suspected infection or a reaction during service. Remove as directed and seek healthcare assessment when symptoms persist or affect vision.
Sources, limits and next steps
For eye-area safety, review the FDA guidance on eye cosmetics and the European Commission CosIng database scope. Individual product directions govern intended area, application and removal. This educational guide does not diagnose ocular disease and deliberately owns the complete smokey-eye look; blending mechanics, eye-shape correction, eyeliner and temporary-lash fitting remain separate intents.
Continue through the English makeup guide library or browse the current online makeup courses. Editorial review: 5 September 2026.
Compare smokey gradient and cut-crease structure
Use the professional cut crease guide.