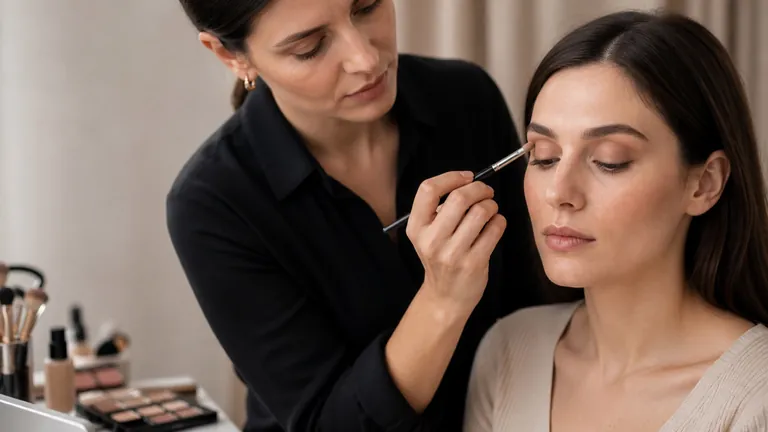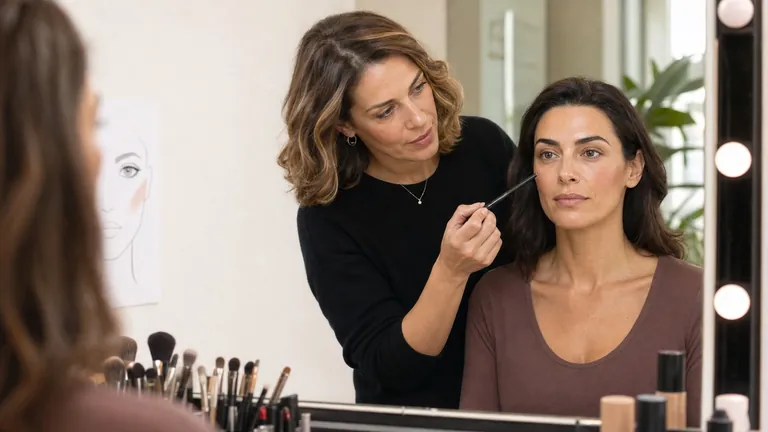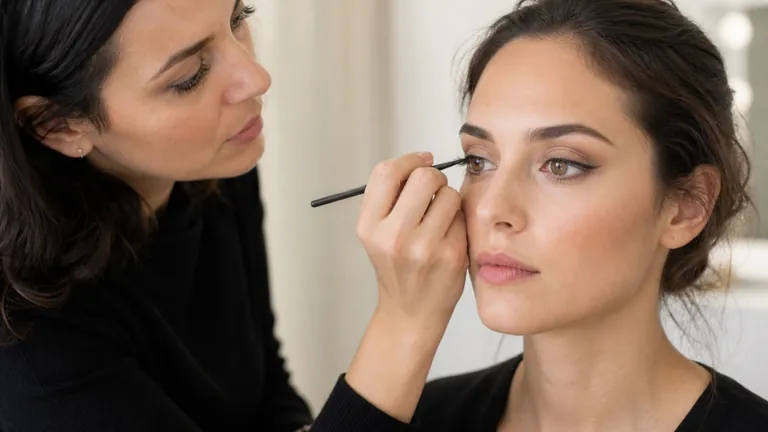
Eyeliner is not a stencil to reproduce. It is a line drawn across a moving three-dimensional surface that usually differs from right to left. The same wing can look taut on one eye and interrupted on the other; a refined thickness on a closed lid can cover all visible space when the eye opens. Professional application therefore designs the frontal result rather than chasing flat geometric symmetry.
Quick answer: observe both eyes open and relaxed, decide how much visible lid the line may occupy, mark two tiny wing endpoints from the front and build the lash line in short sections. Keep the inner line fine, increase thickness only where planned and adapt the outer connection around the fold. Alternate between eyes and compare open-eye balance before enlarging either wing.
This guide owns three connected skills: a clean lash line, controlled wing direction and open-eye symmetry. The broader corrective eye makeup guide owns lid, fold, spacing and projection across eyeshadow, liner and lashes. Soft-edge mechanics remain in the eyeshadow blending guide. Practise the line within the corrective eye makeup course or compare all online makeup courses.
Observe the eye in its real position before drawing
Seat the person with head neutral, forehead relaxed and gaze forward. Note how much mobile lid remains visible, where the fold crosses the proposed wing and whether the outer corner sits above or below the inner corner. Ask for a slight downward gaze to reach the lash roots without distorting the surface. Pulling skin towards the temple produces an apparently smooth line that changes direction or thickness when released.
Assess each side separately. The eye that reads more closed may have a lower fold, a different brow height or less visible lateral space. Do not correct by adding black automatically. Decide which variable needs balancing first. A finer line on the side with less lid is often more effective than a longer wing or a darker fill.
With consent, take a neutral frontal reference photograph. It does not replace live observation, but it can reveal angle and weight differences missed at close working distance. Use camera grids as references rather than rules; lens and posture can change apparent proportions and the face should not be forced into artificial straightness.
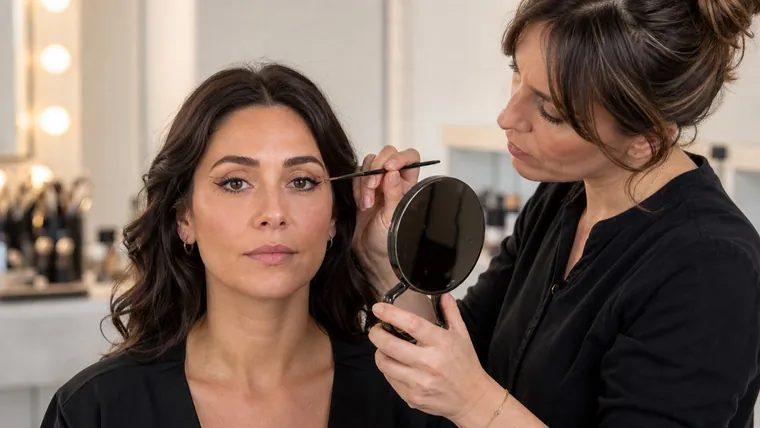
The eyeliner map: start, body, exit and tip
Four sections, four functions
Build the line by zone instead of forcing one continuous gesture
Start
Defines or lightens the inner area
Body
Follows roots and controls thickness
Exit
Sets the outer direction
Tip
Closes the wing without excess weight
Divide the design into four sections. The start sits near the inner corner; the body follows the upper lash line; the exit moves beyond the outer corner; and the tip closes the wing. Each section changes visual weight. A thick inner start reduces visible lid and may pull attention inward. A gradually widening body moves weight outward. The exit sets direction. The tip determines whether the finish feels crisp or heavy.
Not every section is mandatory. On a small or strongly hooded lid, root definition from the middle outward and a micro-wing may be enough. A graphic brief can make the start or floating line deliberate features. The correct choice depends on the brief, visible space, product behaviour and wear requirement, not on a universal template.
Treat thickness as a progression. Keep the lower edge continuous at the lash roots while allowing the upper edge to widen smoothly. An abrupt jump produces a bump; identical thickness from inner to outer can flatten direction. Look forward before adding product. If only liner remains visible on a natural brief, the proportion is already too heavy.
How to choose an eyeliner wing angle
Place the endpoint before connecting it
Wing direction changes the result
Horizontal
Emphasises length
Ascending
Moves visual weight upward
Micro-wing
Preserves lid space
Fold-adapted
Routes around interruption
The wing does not have to copy the brow tail or rigidly extend the lower waterline. Use three references: the direction of the outer corner, space before the fold and the desired frontal silhouette. Place a tiny endpoint on both sides while the eyes are open. Only then connect each mark to the lash line. This prevents two long triangles from developing in different directions.
A more horizontal wing extends the eye; an ascending wing creates upward direction; a short exit keeps the result soft. The body changes that effect. A high tip attached to an excessively thick body may make the lid look lower. Compare the whole silhouette rather than evaluating the final millimetres in isolation.
If a fold crosses the planned path, design the visible shape with the eye open. A small step or broken closed-eye outline may read as one clean line from the front. This is often called a bat-wing adaptation. It is not the default for every hooded eye; it is one way to route around tissue that would compress a conventional triangle.
Fine, medium or graphic eyeliner: decide thickness with eyes open
Useful thickness is measured in the person’s real gaze. Fine liner defines roots with little loss of visible lid. Medium liner clearly changes the profile. Graphic liner deliberately uses lid and fold as design space. Before widening, decide how much skin or eyeshadow needs to remain visible. A large lid permits more options, but does not require a larger line.
Finish also changes weight. Glossy black reflects and exposes small interruptions; matte black reads denser; brown, charcoal and deep colour may define with softer contrast. Choose colour and finish for the full brief, complexion, lash density, lighting and photography. Eye shape alone does not determine black versus brown. Keep the deposited film thin and stable by following the relevant principles in skin preparation before makeup rather than trying to correct excess slip with a thicker line.
Hooded or mature lids: keep the line visible around the fold
On a hooded lid, begin with very fine definition between the lashes. Mark the wing endpoint while the person looks forward, draw the lower outer boundary and check it before filling. If the fold crosses the exit, do not force a smooth diagonal on the closed lid. Build the open-eye silhouette, then connect only the spaces needed with the lid relaxed.
Keep the tip fine and confirm that it does not transfer to the fixed lid. Primer, formula and settling time can improve wear but cannot rescue a line placed inside the wrong fold. On mature or textured skin, use short controlled sections without stretching the tissue excessively. The goal is a readable edge in the person’s normal position, not the removal of normal texture.
Small eyes: define the lash roots without closing visible space
A thick continuous black frame can occupy a large proportion of a small eye. Begin around the middle or press pigment only into the roots, leaving the inner section lighter. A crisp micro-wing can create outward direction without covering the lid. Mascara and lash curl should allow the liner and iris to remain readable rather than forming an opaque mass.
Black is not forbidden. Quantity, position and total contrast matter. Fine black can define beautifully; deep brown can produce a softer edge. Do not add dark waterline pencil by habit. Decide whether the brief needs a complete frame and use only a product specifically intended for the stated eye area.
Close-set and wide-set eyes: distribute line weight deliberately
For close-set eyes, keep the start light and increase weight gradually towards the outer half. Avoid a sudden blank section: roots can still be defined with an extremely fine line or pressed shadow. Keep the wing proportionate. A few accurately directed millimetres can do more than a long line that competes with the brow.
For wide-set eyes, a precise inner presence may create continuity, but it must respect the inner-corner shape and product instructions. Do not extend both outer wings excessively simply because a trend uses them. Balance comes from how weight is distributed across start, body and exit, not from one optical trick.
Round, elongated, prominent and deep-set eyes
Change one variable at a time
Eye form and brief decide where the line carries weight
Round
Control centre and outer direction
Elongated
Limit wing length deliberately
Prominent
Control frame weight
Deep-set
Preserve the visible line
On round eyes, a fine inner line that grows through the outer half can emphasise horizontal direction. If the brief celebrates roundness, a more even body or no strong wing may be preferable. Corrective technique offers choices; it does not turn every eye into the same almond silhouette.
An already elongated eye becomes more extended with a long wing. To moderate the effect, stop shortly beyond the corner or allow the body to become slightly fuller before tapering into a short tip. On prominent eyes, liner can provide structure, but an oversized border creates a heavy frame. On deep-set eyes, preserve the limited visible line and ensure the wing does not disappear into brow-bone shadow.
Upturned and downturned eyes: follow or rebalance the axis
On an upturned axis, extend the natural direction with a fine exit or make the line more horizontal to moderate it. Avoid placing the tip so high that it crowds the brow and shortens lateral space. On a downturned axis, decide on the endpoint before following the descending lashes, then connect the line without overloading the final lash group.
Do not erase the outer corner with concealer before observing it. Natural contrast helps you locate where the lash line actually ends. Clean only the necessary boundary after the design is stable; a sharp pale stripe beneath the wing may become more visible than the eyeliner itself.
Professional symmetry means balancing the visible result
Judge useful symmetry at normal distance with eyes open. Mark both endpoints first, then alternate short sections on right and left. Compare tip height, angle, central thickness and remaining visible lid. Do not finish one eye entirely before starting the other, because a small early deviation becomes harder to correct.
Different folds may require physically different closed-eye outlines to appear balanced when open. The side with less space may need a finer body or a slightly rerouted wing. This is optical balance, not a flaw to conceal. Check the expression too: a lifted brow or tense forehead temporarily changes the fold. Ask the person to relax before every final comparison.
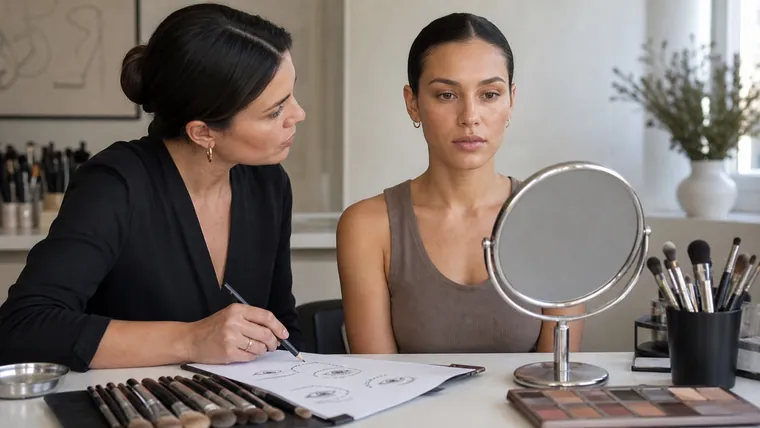
Pen, gel, liquid or pencil: choose by behaviour and finish
Format | Useful characteristic | Control point |
|---|---|---|
Felt or brush pen | Fast, direct line | Tip may skip over powder or dry between strokes |
Gel | Dosable product with brush choice | Load and pot hygiene require discipline |
Liquid | Crisp, often reflective finish | Needs stable movement and dry-down time |
Pencil | Soft or diffused definition | Less suited to an ultra-fine graphic tip |
Choose by finish and your demonstrated control. Do not dilute formulas unless the manufacturer explicitly allows it, because changing composition may affect safety, wear and behaviour near the eye. For work across clients, keep the makeup hygiene protocol active: clean tools, controlled decanting where appropriate and no shared personal cosmetics.
A ten-step eyeliner protocol
Observe, mark, build, check
Open-eye symmetry comes from alternating both sides
Observe
Folds, axis and visible space
Mark
Two endpoints with eyes open
Build
Roots, body, exit and tip
Check
Distance, image, comfort and wear
Observe both eyes open without stretching the skin.
Name the design goal: definition, extension, upward direction or graphic impact.
Prepare a thin settled base compatible with the formula.
Mark both final points while the gaze is forward.
Intensify lash roots in short controlled sections.
Build the body from fine to fuller without abrupt bumps.
Connect each wing around the fold and visible space.
Alternate sides and compare after every addition.
Allow dry-down and check transfer and comfort.
Review front, profile and a consented photograph before final cleaning.
Correct eyeliner mistakes without thickening everything
If a wing sits too low, do not cover it immediately with a second triangle. Let the formula set and assess whether the lower edge can be cleaned precisely. If the tip is too high, shorten and reconnect it; widening the whole body to meet an incorrect endpoint usually sacrifices lid space.
For a shaky edge, fill only the small recesses after the product dries. Repeatedly dragging over a wet line creates ridges. If a pen skips, inspect the base: excess cream, powder or shadow can interrupt deposition. If wings differ, choose the one that fits the actual space and bring the other closer with the smallest intervention. Do not always match towards the larger line.
Eye-area safety and when to stop
Use eyeliner intended for the eye area according to its label. Wash hands, maintain clean tools and containers, do not share personal products and do not work on an eye with infection or inflamed surrounding skin. FDA guidance advises stopping an eye cosmetic if irritation occurs and avoiding eye cosmetics during an infection. Never use saliva or water to revive a dried formula.
Do not apply a pointed tool while the person is moving, speaking or turning. Stabilise without pressure on the eyeball and ask them to report burning, pain or scratching immediately. Persistent redness, discharge, pain or a vision change requires stopping and appropriate healthcare assessment. Contact-lens wearers should follow their eye-care professional’s and manufacturer’s directions.
Practice line, wing and symmetry as separate skills
Begin with twenty lines on a practice surface: ten fine lines, five controlled thickness progressions and five wings ending in a clean point. Evaluate continuity, pressure and load. A face chart can develop hand control but cannot reproduce skin folds or movement, so it does not prove morphological adaptation.
On a consenting adult model, make four short tests with the same product: micro-wing, horizontal exit, ascending exit and fold-adapted shape. Photograph eyes open and closed, and note endpoint, central thickness and working time. Choose the version that supports the brief, then repeat it on both eyes by alternating each stage. Track root gaps, deliberate thickness, clean tip, open-eye balance, transfer and comfort before prioritising speed.
Frequently asked questions about eyeliner for different eye shapes
Which eyeliner shape suits every eye?
No shape is universal. Fine lash-root definition is a versatile starting point, but thickness, length and direction still need to be checked on the open eye and against the brief.
How do I apply eyeliner on hooded eyes?
Mark the endpoint with the eye open, keep the body fine and connect only the area that remains visible. If a fold crosses the wing, an open-eye step adaptation may read as continuous.
Does black eyeliner always make eyes look smaller?
No. Thickness, position and total framing matter. Fine black at the roots can define; a very thick continuous border can reduce the lighter visible area.
How should I choose the wing angle?
Compare the eye axis, available space before the fold and desired direction. Mark a short endpoint while looking forward and test it before extending.
Must both wings be identical with eyes closed?
Not necessarily. Different folds may require different physical outlines to look balanced when both eyes are open. Frontal visual balance is the priority.
Is pen, gel or liquid eyeliner best?
It depends on your control and intended finish. Pen is direct, gel is dosable, liquid is crisp and pencil is softer. Every formula must be intended for the eye area.
How can eyeliner transfer onto the upper lid be reduced?
Keep prep and line thin, allow the formula to dry and check placement with the eye open. If the line sits inside a fold, changing product alone may not solve transfer.
How can I fix an uneven wing without making both lines thicker?
Let it dry, clean the least coherent edge precisely and fill only missing micro-sections. Compare at distance before enlarging either side.
Should eyeliner go before or after eyeshadow?
Often after, so it remains clear and responds to the finished shadow shape. Some looks begin with a light map. Formula and design determine the sequence.
Can lip liner be used as eyeliner?
Only if the product label explicitly permits eye-area use. Pigments and formulas may not be intended for that site; follow the stated application directions.
When should eyeliner be avoided?
Stop with infection, inflamed periocular skin, pain, discharge or marked irritation. Persistent symptoms or any vision change require healthcare assessment, not cosmetic coverage.
How long does symmetrical eyeliner take to learn?
There is no universal time. Progress is faster when line, wing and symmetry are practised separately with observable criteria across different adult eyes.
Sources and next steps
Review FDA Eye Cosmetic Safety, the FDA eye-cosmetics safety Q&A and FDA information on contact lenses. Continue with the corrective eye makeup guide, the English makeup guide library or the corrective eye makeup course before enrolment reopens.
Editorial review: 5 September 2026. This educational article does not diagnose eye conditions, impose an ideal shape or replace hands-on instruction. It deliberately owns eyeliner line construction, wing direction and open-eye symmetry; full corrective-eye mapping, eyeshadow blending and colour harmony remain separate search intents.
For a focused method on temporary eyebrow shape, reference points, colour and product choice, continue with eyebrow mapping: shape, colour and makeup products. It keeps brow makeup distinct from permanent services and hair-removal procedures.
To turn colour, blending and correction into a complete look for changed light, continue with the professional evening-makeup guide. It organises focal hierarchy, reflection, flash checks and realistic long wear.
To choose head shape, density and fibre from the mark you need, continue with the professional makeup-brush guide. It connects product loading, first contact, pressure and angle to a repeatable result.
Connect eyeliner and the false-lash band
The line should integrate the band without becoming heavier than the eye design. Review fitting and comfort in the guide to false eyelashes.
Check the wing through the frame
Test line visibility with the makeup-with-glasses method.
Design eyeliner after the optical crease
Coordinate the line through the cut crease mapping protocol.
Choose liner colour after defining the iris objective
Continue with the eye makeup by eye-colour guide.