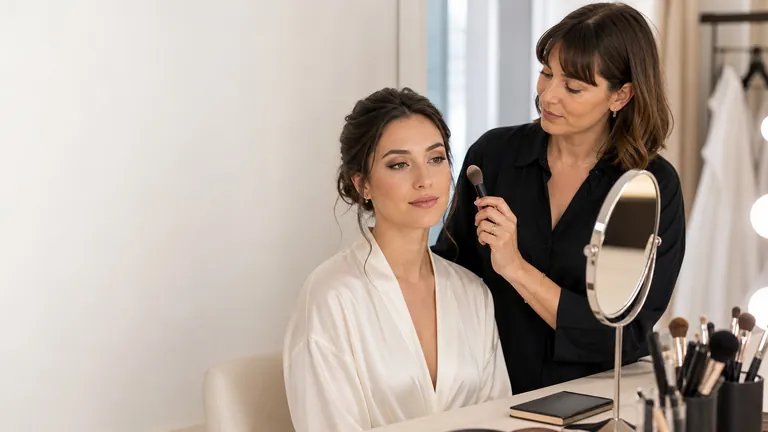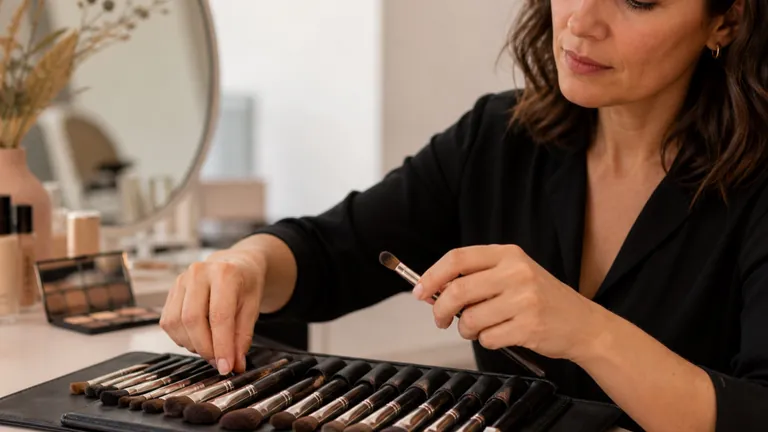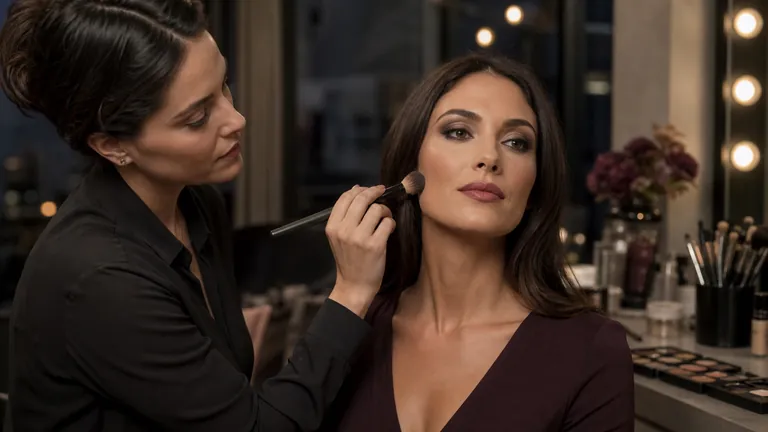
Professional evening makeup is not defined by black shadow, heavy foundation or glitter. It is a design that remains readable when light becomes lower, warmer, coloured or directional, while preserving balance and comfort for the expected wear time. Depth, reflection and definition need a hierarchy. If every feature receives maximum intensity, the face can become visually flat despite the amount of product.
Quick answer: define the event, light, wear time and focal point; build complexion and eye structure in thin layers; reserve the deepest value and strongest reflection for purposeful zones; check the open eye and complete face often; set only where needed; then test neutral light, venue-like light, camera and flash before planning a realistic touch-up.
This guide owns the complete evening service: structure, contrast, controlled reflection, layering and wear under changing light. The professional day-makeup guide retains the intent for restrained intensity and natural-light review. The professional bridal makeup guide owns trial, wedding-day logistics and the bridal touch-up plan. Practise this specific sequence in the evening makeup course or connect it to broader technique through the complete makeup artist course.
What actually distinguishes evening makeup
The relationship between face and environment changes after daylight. Warm lamps may mute cool colour, side lighting can emphasise texture, coloured light can shift the apparent palette and a dark room can reduce the visibility of soft transitions. A look designed only beneath a frontal ring light may lose structure in the venue. One created only in low light may feel excessive at the entrance or in photographs.
Evening makeup may strengthen lash definition, crease depth, lip colour, cheek structure or reflection at selected points. It does not need all of them at once. Professional design chooses a focal point, gives it support and leaves visual rest. The person should still recognise themselves, and the complete face must remain coherent when they turn away from the main light.
Consultation: event, lighting, clothing and wear time
Ask where the event takes place, when it begins, how long it lasts, whether parts are outdoors and what photography or video is expected. Drinks, dinner, a formal reception, a stage performance and a club setting impose different levels of definition, movement and maintenance. View clothing and accessories as part of the composition without mechanically matching eyeshadow to a dress.
Agree the focal point and what the person does not want. Discuss comfort with false lashes, waterline pencil, dry lip films, fragrance and reflective products. Record relevant known reactions and observe the current cosmetic service area without diagnosing it. Active irritation, eye discomfort or a reported reaction may require stopping and seeking appropriate health advice rather than covering it.
Hygiene for a longer, multi-texture service
Organise the workstation to reduce both contamination and interruption. Prepare clean palettes, spatulas, disposables and separate containers for used tools. Never share mascara or lip product directly from its packaging, blow on a brush, wet a cosmetic with saliva or return a custom mixture to the original container. Follow the label for intended area, storage, use and expiry information.
The full makeup hygiene protocol explains workstation flow and tool handling. Evening work often involves more values and finishes, so keep separate brushes for pale, mid-value, deep and reflective products. A trace of black on a transition brush can muddy an edge and create a cycle of unnecessary correction.
Design structure, focal point and hierarchy
One focal point, two levels of support
Evening makeup needs hierarchy, not uniform intensity
Dominant
The feature that leads the look
Support
Connects the focus to the face
Accent
A limited reflection or detail
Before applying, name the dominant element, its support and any accent. The dominant may be the eye, a strong lip or deliberately luminous skin. Brows, cheeks, transitions and the quieter feature support it without competing. An accent is smaller: a controlled reflection, defined lower lash line, coloured liner or precise point of saturation.
Use makeup colour theory to separate hue, value, saturation and contrast. Structure is usually driven most clearly by value and placement; saturation affects how loudly a colour speaks. An evening look can be deep without relying on black and luminous without turning every plane metallic.
A controllable evening-makeup sequence
A practical order is consultation, hygiene, preparation, optional eye work, fallout removal, complexion, local correction, brows, eye completion, facial dimension, lips, selective setting and final checks. Start with eyes when dark loose pigment, glitter or powder creates likely fallout. Start with complexion when the base establishes the design and eye formulas are controlled.
Do not place maximum black or the deepest value at the start. Build from a useful middle value towards depth, checking normal viewing distance between layers. Pause for perceptual symmetry, clean boundaries and the chosen focal point. A good sequence keeps correction possible without repeatedly erasing completed work.
Prepare complexion for wear, not weight
Long wear begins with compatible films rather than a large amount of primer or powder. Observe surface oil, dehydration, movement and texture. Prepare by zone, use limited quantities, allow products to settle and remove any mobile excess. The detailed guide to skin preparation before makeup separates useful layers from pilling and overloaded routines.
Match foundation through face, jaw and relevant exposed skin, then choose formula, coverage and finish for the person, light and duration. The most matte or opaque option is not automatically the longest wearing. Use the foundation texture guide when product behaviour is the question. Apply a thin first layer and increase only where the agreed result needs it.
Moving zones, the eye area and folds usually need less material and carefully thinned edges. Press or stipple when it protects the film; avoid rubbing layers that are starting to separate. Before setting, inspect build-up, texture and differences between the centre and perimeter. Powder cannot turn an incompatible base into a stable one.
Correction and dimension without a mask
Neutralise only discolouration still visible after the first complexion layer and select concealer for both depth and texture. A very pale under-eye may create excessive photographic contrast; a thick flexible-zone layer may crease over time. Check live and in an unfiltered test image because exposure, flash and white balance can change the apparent relationship.
Bronzer, contour, blush and highlighter perform different jobs. Evening lighting may support a little more structure or reflection, but placement still follows real volume and hierarchy. The corrective makeup and visagism guide develops proportion without applying one correction map to every face. Layer cream and powder only when the second film has a defined purpose.
Evening eyes: depth, transitions and controlled edges
Build from middle value to depth
Black is an option, not the compulsory first layer
Even prepared lid
Middle value and direction
Localised depth
Clean edge and reflection
A readable evening eye needs a value logic: a skin or light reference, a middle transition and a deeper structural zone. They do not have to be three separate products, but the functions should remain visible. Deposit depth where it changes the shape, soften only its boundary and preserve an area of rest. Black is one option, not a compulsory foundation.
Prepare the lid evenly, load small amounts, control pressure and switch brushes between depositing and blending. The eyeshadow blending guide isolates edge control and patchiness. The corrective eye makeup guide owns placement for hooded, small, close-set and prominent eyes. Keep checking the open eye; a beautiful closed-eye shape may disappear or distort in the person’s resting position.
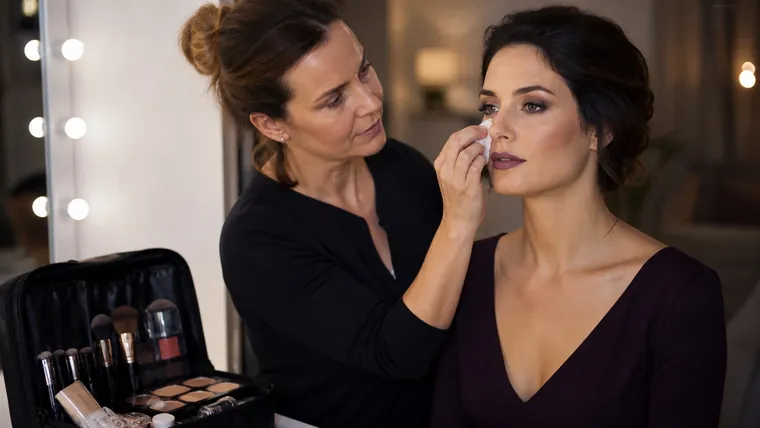
Eyeliner, pencil and lashes: support the focal point
Eyeliner may be graphic, diffused or reduced to definition between lashes. Choose its origin, thickness and wing for the open eye and intended design; the eyeliner guide for different eye shapes explains mapping and symmetry checkpoints. A softly smudged pencil may give depth with a more forgiving boundary than a highly defined line.
Mascara and optional false lashes should frame rather than conceal the shadow structure or create discomfort. Assess length, weight, curve and band against the real eye. Do not use an adhesive or lash when the person reports sensitivity or the area is unsuitable. Use clean tools and disposable mascara wands, and inspect from the front, side and with eyes open.
Shimmer, reflective pigment and glitter without uncontrolled fallout
Reflection needs a position and a job: optically open an area, catch light or create one accent. Use only cosmetics intended for the relevant area and follow their directions. Craft glitter or a pigment not approved for eye-area use does not become safe because it looks similar. Choose a compatible base, use clean tools and limit the surface so shape and edge remain readable.
Apply high-fallout materials before complexion or protect the area and remove particles without dragging them across skin. If reflection exaggerates folds or texture, change its position, particle effect or amount. Photograph with and without flash where relevant: some materials behave very differently to a sensor than they do to the eye.
Evening lips: colour, precision and maintenance
Prepare without aggressive immediate exfoliation, observe the border in movement and build colour through thin layers. Pencil, lipstick and optional gloss need compatible behaviour and should reflect the person’s comfort and willingness to maintain them. Blotting between suitable layers can improve precision and remove excess, but it does not guarantee the same wear on every mouth.
Strong eyes and strong lips can coexist when hierarchy remains clear through value, saturation, finish or edge. The rule is not that one must always be nude. Use the corrective lip makeup guide for moving-border mapping, liner and wear layers. This page decides how that lip relates to the whole evening design.
Use contrast without hardening the whole face
Four contrasts, one visual hierarchy
Increase one lever and reassess the complete face
Value
Light ↔ deep
Chroma
Muted ↔ vivid
Finish
Matte ↔ reflective
Edge
Diffused ↔ defined
Contrast can be light versus deep, vivid versus muted, matte versus reflective or sharp versus diffused. Increase readability by strengthening the lash edge, deepening one structural zone, defining a brow or selecting a more present lip. You do not need to darken complexion, cheeks, eyes and mouth together. The clearer the hierarchy, the less indiscriminate intensity is required.
Review at the distance of the event. A dark detail that looks controlled in a macro image can dominate the face; a very subtle transition may disappear across a room. Change one lever, then compare face, neck, clothing and accessories in the intended light. The design should work even when the person is not facing the strongest source.
Layer and set with thinner films, not simply more product
Effective layering alternates small deposits with settling and review. Press, stipple or blend according to the formula and stop overworking a zone that is beginning to lift. Cream and powder can reinforce one another, but doubling a step is not mandatory. If the first film already supplies colour, finish and expected wear, another one may add thickness rather than performance.
Set the eye area, sides of the nose, centre or friction zones according to the person. Highly reflective powder may change under flash; very matte powder can flatten dimensional skin. Setting spray may integrate compatible films or improve their resistance, but it does not repair incorrect preparation. Follow application and quantity directions instead of treating spray as a universal seal.
Test neutral light, venue light, camera and flash
First verify in a reasonably neutral source, then reduce or change the light to approximate the venue. Use the camera that matters when possible. Check face-to-body colour, unexpected reflection, over-bright areas, complexion boundaries, brow intensity and whether the eye structure remains readable. Disable beauty filters and compare the screen with live observation.
Flash is not one universal test: distance, exposure, lens and processing change the result. Use it as an additional condition, not as a replacement for the real face. When a problem appears, classify it as hue, value, reflection, texture or thickness, then change that variable alone. Randomly adding bronzer or powder can hide the cause without solving it.
A fourteen-step professional evening-makeup protocol
Long wear is tested, not assumed
Thin layers, selective setting and realistic touch-ups
Layers
Small amounts and settling
Setting
Only where needed
Testing
Light, camera and movement
Touch-up
Blot before adding
Define event, light, wear time, focal point and preferences.
Prepare the workstation, clean tools and only the products likely to serve the plan.
Observe and prepare the skin with minimal compatible layers.
Decide whether eye fallout makes an eyes-first sequence cleaner.
Build transition, depth and reflection without saturating the eye immediately.
Remove fallout and apply a thin complexion layer from the centre outward.
Correct locally and thin every moving-zone boundary.
Complete brows, liner, lashes and mascara while reviewing the whole face.
Restore volume and colour with only the contour, bronzer, blush or light needed.
Build lips in relation to focal hierarchy, comfort and maintenance.
Set selected zones and remove excess instead of adding another concealing layer.
Inspect close up, at event distance and in movement.
Verify in venue-like light, photography and flash without filters.
Prepare touch-ups and record products, conditions and one improvement priority.
Touch-up kit, service timing and practice
A useful touch-up kit may contain the lip colour, tissue or blotting sheets, a small amount of powder where genuinely needed and a few agreed items. Do not hand over tools or products unsuitable for unassisted use. Explain blotting before adding, avoiding rubbing and checking lips after eating or drinking. Realistic long wear includes maintenance, not a promise that the face will never change.
Service time depends on consultation, complexion needs, eye complexity, lashes, lip precision, checks and organisation. Divide practice into consultation, preparation, eyes, complexion, correction, dimension, lips and verification. Speed grows from product readiness and a defined design, not rushed blending. Use the evening makeup course to connect these parts inside a complete demonstrated service.
Common professional evening-makeup mistakes
Common design errors include using black as the only depth, taking every shadow to the brow, hiding the eye with an oversized lash, building a thick base, making the under-eye far too light, highlighting every plane and giving eyes, cheeks and lips identical intensity. The result loses hierarchy and may look flat despite many products.
Process errors include designing only beneath a ring light, never testing flash, using glitter not intended for the eye area, covering the face with powder, omitting a touch-up plan and equating long wear with rigid formulas. Identify whether the failure is structure, transition, colour, comfort, reflection or resistance. Change one variable and document the result rather than concealing it with more product.
Practice plan for structure, light and wear
Exercise one: use one palette for three eyes, changing only the deepest value. Exercise two: create one eye-focused and one lip-focused look over the same complexion. Exercise three: compare an all-matte structure with one controlled reflective accent. Exercise four: photograph the same completed face in neutral, warm and low light and with flash, recording the device and conditions.
Exercise five: apply one side in thin reviewed layers and the other with your habitual amount, then inspect after several hours. Exercise six: build a minimal touch-up kit and simulate maintenance. Exercise seven: repeat the fourteen-step protocol within a planned service window without skipping hygiene or checks. Each exercise should change one decision and produce a written conclusion.
Frequently asked questions about professional evening makeup
What is the correct order for evening makeup?
Use consultation, hygiene, preparation, eyes first when fallout is likely, complexion and correction, eye and brow completion, cheeks, lips, selective setting and checks. Formula and design can change the order. A useful sequence protects finished work and preserves whole-face review.
Does evening makeup always have to be dark?
No. It needs enough structure for its intended light. Contrast at lashes, reflective placement, lip colour or precise facial definition may supply readability without black across the entire eye. Hierarchy matters more than total product quantity.
How should colours be chosen for an evening look?
Consider the person, clothing, lighting, focal point and desired contrast. Choose a dominant, support and accent rather than matching every colour. Review hue, value and saturation on real skin and test in the relevant light before intensifying.
How can evening makeup last for many hours?
Prepare with compatible products, use thin layers, let films settle, set selectively and match formulas to skin, climate and activity. Check moving and friction zones and plan touch-ups. More primer, powder or spray does not guarantee better wear.
Should eyes or complexion be applied first?
Begin with eyes when dark powder, pigment or glitter may fall. Start with complexion when the base establishes the design and eye formulas are controlled. Choose the order that prevents residue from damaging completed work.
How can a patchy black smoky eye be avoided?
Establish a middle value, deposit a small amount of depth only where required and blend its boundary with a clean brush. Keep checking the open eye. If colour becomes grey or dirty, reduce contamination and overlapping layers rather than adding more black.
Are powder and setting spray both required?
No. Powder can stabilise movement or shine, while spray may alter finish or support compatible films. Use either for a specific job and follow directions. Neither corrects an already overloaded or incompatible base.
How can glitter and reflective pigment be used safely?
Use only cosmetics intended for the application area, read warnings and apply with a compatible base. Do not use craft glitter near the eyes. Control fallout and stop if discomfort or irritation occurs; particles are not interchangeable simply because they sparkle.
How can foundation avoid looking heavy at night?
Begin with a thin layer, add local coverage and feather the eye, fold, hairline and jaw boundaries. Low venue light does not justify thickness because entrances, flash and photographs may reveal it. Inspect beneath a neutral source before setting.
Can strong eyes and strong lips work together?
Yes, when value, saturation, finish or edge still create hierarchy. Deep diffused eyes can sit with a precise lip, or a graphic eye can sit with a quieter finish. Preserve areas of rest rather than applying maximum intensity everywhere.
How should evening makeup be checked in photographs?
Photograph without filters in neutral and expected light, adding flash only if relevant. Check face-to-body colour, boundaries, reflection, over-bright zones and eye readability. Camera exposure and white balance can alter the image, so compare it with the live face.
How long does a professional evening application take?
There is no universal duration. Consultation, skin, eye complexity, lashes, lips, checks and organisation all matter. Time individual phases in practice and reduce indecision rather than removing sanitation or necessary review.
What belongs in an evening touch-up kit?
Usually the lip colour, tissue or blotting paper, a small powder product if needed and only agreed items. Explain how to blot and layer without rubbing. The exact kit follows the look and the person rather than a standard shopping list.
Sources and next steps
For general handling, sharing, storage and reactions, consult the FDA guide to using cosmetics safely. For mascara, pigments and precautions around the eye, review Eye Cosmetic Safety. Continue through the English makeup guide library or compare the online makeup courses.
Editorial review: 5 September 2026. This educational guide does not diagnose skin or eye conditions, certify products for an application area or promise universal wear. It deliberately owns the complete evening service, focal hierarchy, changed light, reflection and flash checks; day makeup, bridal logistics and individual corrective techniques remain separate search intents.
To adapt these product and placement decisions to moving lines and mature texture, continue with the makeup for mature skin guide. It uses zone-based preparation, thin layers and selective setting without age-based rules.
To test how skincare, sunscreen, primer and foundation behave as one film, continue with the primer and foundation compatibility guide. It replaces water-versus-silicone myths with measured layering and A/B wear tests.
For a controlled comparison of depth, warmth and cheek colour, continue with the contour, bronzer and blush guide. It covers colour, film order, anatomical placement and troubleshooting without one-size-fits-all maps.
Add lash definition without covering the eye design
Choose density, direction and adhesive timing through the complete guide to false eyelashes.
Smokey-eye structure for evening work
When the eye is the focal point, build value and connection through the professional smokey-eye guide.
Set evening makeup by function
Separate powder, setting spray and fixing spray using the long-wear makeup guide.
Check evening contrast and reflection on camera
When an evening look will be photographed or filmed, use the photographic makeup guide.
Connect the look to a comparable service
Explain quote variables with the event makeup cost guide.
Build evening contrast around the frame
Use the real-frame test in the makeup-with-glasses guide.
Build evening lash intensity without rigid clumps
Apply the professional mascara method.
Test evening wear under heat and movement
Use the humidity and sweat wear test.
Add a cut crease to evening structure
Use the full, half and soft cut crease guide.