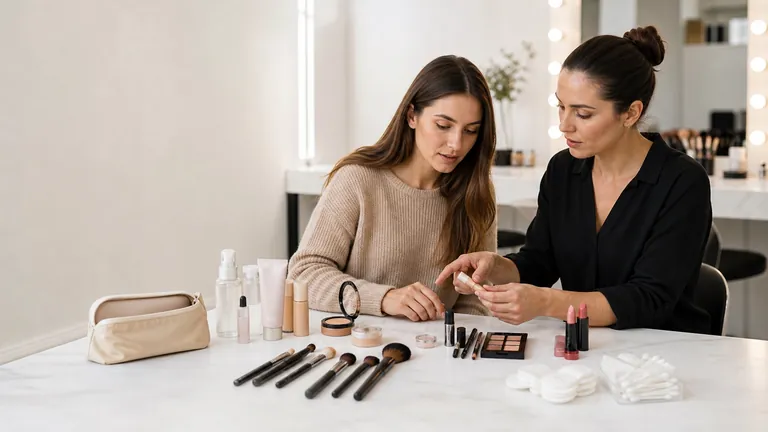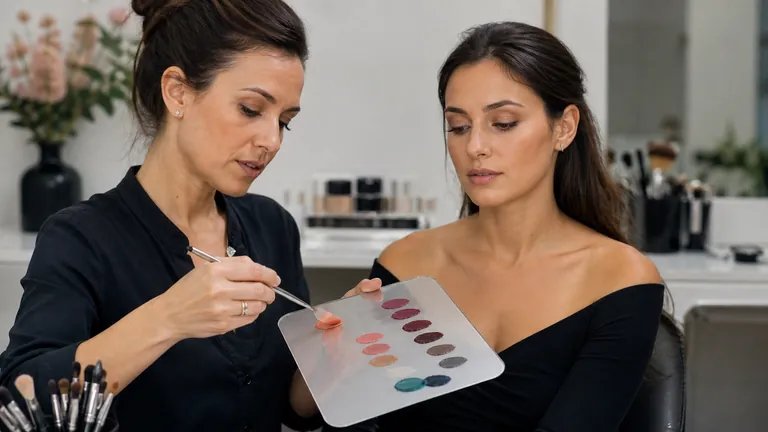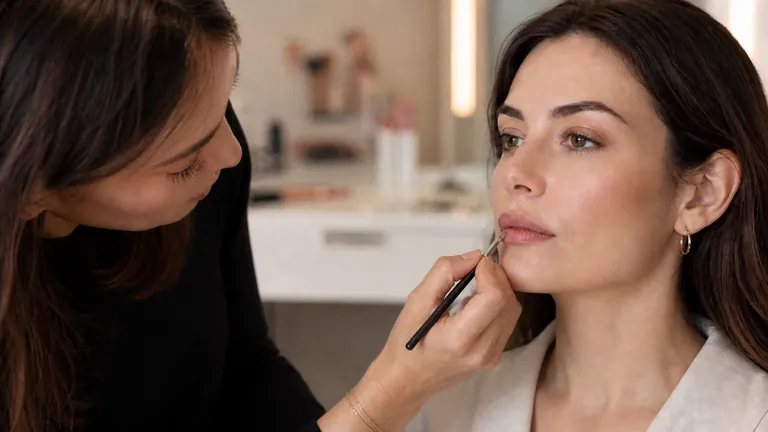
Corrective lip makeup does not mean drawing a completely different mouth over the real one. It makes the border, Cupid’s bow, volume and colour more legible while remaining believable when the person talks, smiles and turns to profile. Professional correction starts with observation, uses small controlled adjustments and is judged on the whole face rather than only in a close-up photograph.
Quick answer: observe relaxed lips from the front and profile, then watch them smile and speak. Prepare without leaving an oily film; mark the centre, both peaks of the Cupid’s bow and the lowest point of the lower lip; connect short alternating segments; move outside the natural vermilion border only minimally and selectively; blend liner inward; apply colour in thin layers; blot and check teeth, corners, profile, movement and comfort.
This guide owns temporary cosmetic lip preparation, mapping, proportion, lip liner, lipstick texture, layering and long-wear testing. It does not cover filler, lip tattooing or other medical or permanent procedures. Connect lip detail to the whole face with corrective makeup and visagism. Practise the sequence through the corrective lip makeup course or compare the full online makeup course catalogue.
Observe relaxed lips and then watch them move
Seat the person with the head neutral and lips resting without being pressed together. From the front, observe the centre line, the height of each Cupid’s-bow peak, width, projection, relative upper and lower volume, mouth corners and natural colour. Move to three-quarter and profile views. A line that seems balanced from the front may sit too far outside the lip or look flat from another angle.
Ask the person to smile, speak briefly and relax again. Lips change shape in motion and modest side-to-side differences are normal. A correction designed only on a still mouth may split at the corners, expose a double border or alter the expression. Aim for credible visual balance through movement, not identical geometric measurements.
Assess surface and comfort. Dryness, loose flakes and lines affect deposition. Do not apply over open cuts, blisters, bleeding, marked swelling or visible irritation. Stop if burning or an unexpected reaction develops. Persistent, painful or suspicious changes require appropriate healthcare assessment rather than cosmetic coverage.
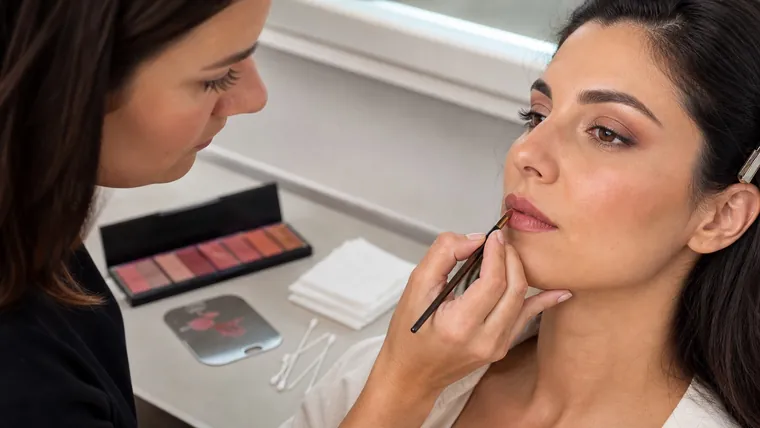
Prepare lips for comfort without leaving excessive slip
Preparation should improve comfort and surface consistency without coating the lips in a mobile oily film. Remove residue gently. If needed, apply a minimal amount of a familiar compatible emollient, allow it to sit while another area is completed and blot the excess before liner. Pencil and lipstick need contact with a stable surface rather than floating over balm.
Do not scrub forcefully or pull flakes away. Irritated tissue holds colour poorly and may sting. Exfoliation is not a compulsory step before every makeup service. When appropriate, it should be gentle, occasional and tolerated by that individual. The broader skin-prep guide explains how to avoid overloaded layers before the rest of the complexion.
Lip mapping: centre, Cupid’s bow, sides and corners
Four references before colour
Map from the centre and verify during movement
Centre
Orients without forcing alignment
Cupid’s bow
Sets the two upper peaks
Border
Connects in thin short sections
Corners
Complete without product build-up
Begin at the centre. Mark the vertical midline in relation to the philtrum, nose and chin without assuming they align perfectly. Identify both peaks of the Cupid’s bow and the lowest central point of the lower lip. These four references establish height and direction. When they are misplaced, extending the outline magnifies the error.
From each upper peak, build short sections outwards and alternate sides. Repeat from the lower centre. Completing one half before the other makes it harder to compare angle, height and pressure while the line remains easy to change. Keep the pencil slightly angled and the marks light enough to edit.
Do not close each mouth corner with a dense dark mass. Carry colour only as far as needed with a small brush and check that it does not collect in folds. A low, very external line can weigh down the expression; a line that stops too soon creates an obvious gap when the person smiles.
Adjust proportion and asymmetry without losing the natural border
Minimal shifts, maximum control
Increasing, reducing and rebalancing need different choices
Increase
Move only useful central zones
Reduce
Soften one local border
Rebalance
Correct the point causing the difference
Verify
Smile, profile and neutral light
To increase one area visually, work very close to the vermilion border where natural lip colour meets skin. Tiny selective shifts can even one peak, clarify the bow or support the lower centre. Moving far onto facial skin creates a surface with different colour and texture. From the side or during speech, it can read as a second mouth.
To reduce an area visually, do not surround the entire mouth with thick concealer. Soften only the necessary section using a minimal amount compatible with the complexion base, then rebuild the outline just inside. Check that the surrounding colour does not become grey, dry or visibly raised and that the adjustment survives a smile.
If one side sits higher, compare the bow peak, lateral border and corner before moving the whole outline. One point may create most of the difference. Make the smallest correction and step back. Upper and lower lips do not need equal volume. Proportion works when it supports the face, chosen colour and intended result.
Lip liner technique: point, pressure and direction
A controlled point makes a controlled line. Sharpen or clean the pencil according to its format. A very hard formula drags; a highly creamy one slides and loses precision. Choose it in relation to surface, lipstick and wear requirement. Warm it only through safe normal use on an appropriate clean surface, never through improvised heating.
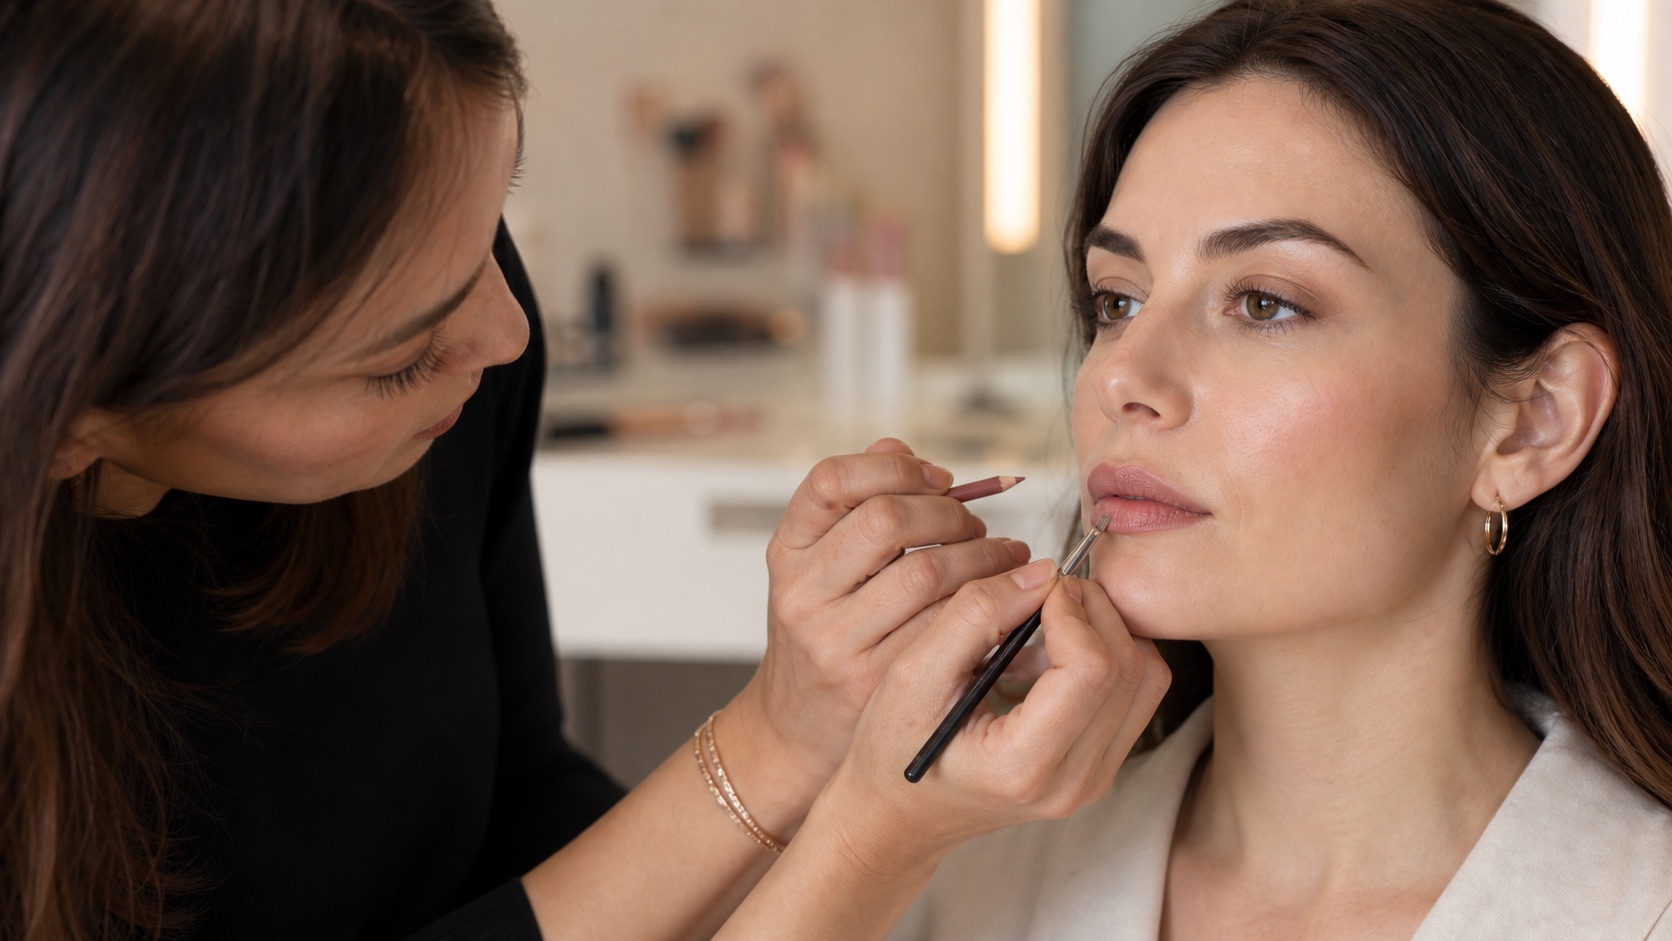
Hold the pencil at a slight angle and draw short sections. A single high-pressure stroke is difficult to correct. Build both sides of the Cupid’s bow in alternation, follow lateral curves while viewing the face from the front and reduce pressure at the corners. Blend the liner towards the centre of the lips, not out onto the skin.
Liner can form a fine flexible base across the lip to improve uniformity, but it should not become a thick dry shell. When the outline is much darker than the fill, normal lipstick wear exposes it more strongly. A deliberate tonal gradient is possible; an accidental ring is not the same result.
Choose lip colour and texture for the whole-face design
Assess depth, undertone, saturation and finish separately. A pale glossy colour reflects and may increase apparent volume; a deep matte colour creates definition but exposes borders, dryness and asymmetry. These are tendencies rather than universal rules. Light, natural pigmentation, amount, facial contrast and surrounding makeup all change the effect.
Use the skin undertone and foundation matching guide as a foundation for colour reasoning, then test lipstick beside the complete face. Natural lip pigment changes how a product reads. View it in neutral light and photograph without filters. Liner and lipstick do not have to match exactly, but their transition should be intentional.
Cream and satin formulas offer movement and can support comfort. Some liquid and matte formulas create greater stability, but they require an even surface, precise amount and a realistic wear test. Format alone does not prove longevity or suitability. The person’s comfort remains part of a professional result.
Build long-wear lip colour without excessive thickness
Wear comes from the sequence
Preparation, liner, colour and blotting work as one system
Prepare
Minimal emollient, blotted surface
Define
Fine liner blended inward
Layer
Colour worked into natural lines
Check
Transfer, comfort and touch-up
Longevity comes from the complete system. Prepare and blot, define with liner, blend it inward, apply a thin colour layer, work product into natural lines with a clean brush and blot. Add a second layer only where the first has lost uniformity. More product does not automatically create more wear; it often creates transfer and patchy breakdown.
Blotting removes excess and shows what remains bonded to the surface. Use a clean tissue without rubbing. If the formula permits and the brief requires it, a minute amount of powder may be pressed locally or through tissue, but test first: powder can mute colour, emphasise texture and reduce comfort.
For a long service, trial balm, liner and lipstick together. Observe after speaking, drinking water and an appropriate food test without promising absolute resistance. The professional bridal makeup guide places lip wear within a documented trial, product record and touch-up plan rather than treating one lipstick claim as sufficient evidence.
Check transfer, teeth, corners and practical touch-ups
After application, check teeth, inner edge and corners. Excess product on the wet inner lip can transfer. Ask the person to close the lips gently on a clean tissue or use another agreed hygienic technique. Do not place an unprotected finger or tool inside the mouth.
A useful touch-up restores the centre and worn zones first, then checks the outline. Continually adding lipstick over uneven residue produces build-up. Blot, even the surface and apply a small amount. For a client, use a tested personal product or prepare a hygienic individual dose with clear instructions; do not hand over an opened shared lipstick.
Thin, full, mature or visibly dry lips
For thin lips, concentrate any optical increase near useful central areas and keep the corners clean. Moving far outside the entire perimeter can look flat. For full lips, decide whether to emphasise light and volume or use a quieter finish. There is no professional requirement to make them look smaller.
On mature lips, use fine boundaries, restrained amounts and formulas that do not migrate readily into surrounding lines. Lip primer helps only when it is compatible with subsequent layers. For a dry-looking surface, favour gentle preparation and flexible thin films. A very drying matte is not the professional choice when comfort and visual quality deteriorate.
Lip-product hygiene and stop criteria
Wash hands and clean or disinfect tools according to material and manufacturer directions. Remove lipstick and jar products with a clean spatula onto a sanitised palette. Use disposable applicators without double-dipping: after contact with the lips, an applicator never returns to the original product. The full makeup hygiene guide separates clean, working and used zones.
Read product purpose, warnings and period after opening. FDA consumer guidance recommends following directions and warnings and avoiding shared makeup. Do not apply to blisters, cuts, bleeding, lesions or obvious irritation. Stop for burning, swelling or an unexpected reaction. Products or tools that contacted a suspicious lesion should not return to a working kit without appropriate handling.
A twelve-step professional corrective-lip protocol
Observe, map, build, verify
A repeatable process prevents thick borders and random touch-ups
Observe
Proportion, surface and movement
Map
Centre, bow and corners
Build
Liner and colour in thin layers
Verify
Teeth, profile, wear and touch-up
Observe proportion, natural border, colour and corners from the front.
Check movement, comfort and surface integrity.
Prepare lightly and blot excess emollient.
Mark the centre, both Cupid’s-bow peaks and lower centre.
Build alternating short sections from centre to sides.
Adjust only the points that materially affect balance.
Blend liner inward and check smile and speech.
Apply a hygienically decanted thin colour layer.
Blot and even the centre, boundaries and corners.
Layer only where coverage or stability needs it.
Check teeth, transfer, profile, movement and comfort.
Take a consented neutral-light image and record products and touch-up plan.
Common corrective-lip makeup mistakes
A thick border often comes from trying to cover an imprecise line. Remove the local error and rebuild instead of widening it. An excessively pointed Cupid’s bow can feel rigid; erasing it entirely can change identity and proportion. Dense product at the corners weighs down the mouth and collects in folds.
If lipstick migrates, inspect preparation, amount, formula and boundary before adding more setting product. Patchy removal may signal incompatible layers or insufficient settling. If liner remains as a ring after wear, reduce the contrast and diffuse it further inward. When two sides diverge, return to the four central references instead of redrawing the whole mouth.
Practice proportion, liner control and wear as separate variables
First, with consent, photograph five different adult mouths relaxed, smiling and in profile. On digital copies mark the centre, Cupid’s bow, lower centre and corners without applying product. Next, practise short liner sections on yourself or a suitable training surface while measuring pressure and thickness. Then compare two minimal adjustments on the same shape and inspect movement and profile.
Finally, perform the full system and record the immediate result, the response after conversation and the result after a planned wear window. Evaluate outline, evenness, comfort, transfer and touch-up ease. Use only authorised, sharp and colour-faithful work in a makeup artist portfolio.
Frequently asked questions about corrective lip makeup
How is corrective lip makeup applied?
Observe relaxed lips in motion, prepare without excess, mark four central references, connect short alternating sections, adjust only where necessary, blend liner inward and layer colour thinly.
How far can lip liner go outside the natural lip line?
There is no universal distance. The most credible correction stays very close to the vermilion border and varies by zone. Large shifts expose differences in skin colour and texture.
How can lip liner make lips look more symmetrical?
Find which reference creates the difference, make the smallest adjustment, alternate sections and review during a smile and speech rather than chasing perfect geometry.
How can lipstick last longer?
Blot preparation, use compatible liner, apply little colour, work it into natural lines, blot and layer only where needed. Test the complete system in advance.
Must lip liner match lipstick exactly?
No. It can be slightly deeper, but needs an intentional inward transition. Strong contrast becomes an exposed ring as lipstick wears away.
How can lipstick transfer to teeth be reduced?
Remove excess from the inner lip hygienically, keep layers thin and check after speaking and smiling. Avoid carrying very creamy product too far inside.
Is liquid or bullet lipstick better for long wear?
Format alone does not decide. Some liquids set firmly but emphasise dryness; some bullets are easier to retouch. Assess formula, surface, comfort and the full system.
How can dry lips be made up without emphasising flakes?
Do not pull flakes. Prepare gently, use very little emollient and blot, then choose a non-dragging liner and flexible thin layers. Stop on broken or irritated skin.
How can thin lips look fuller?
Keep any border adjustment near the natural central zones, leave corners clean and consider colour and reflection. Review from front, profile and in movement.
Should concealer be used to redraw the lips?
Only minimally and locally. A thick ring changes colour and texture and can crack. Soften one necessary section and reconstruct only that boundary.
How can lipstick migration into surrounding lines be reduced?
Reduce emollient residue and product amount, define with a compatible liner and test the formula combination. A primer helps only when verified with the other layers.
When should lipstick not be applied?
Avoid blisters, cuts, bleeding, marked swelling, lesions or obvious irritation. Stop for burning or a reaction; makeup does not replace healthcare assessment.
How should a client lip touch-up be prepared?
Use a tested personal product or hygienic individual dose. Explain blotting, central reapplication and outline checks. Never provide a shared opened lipstick or used applicator.
Sources and next steps
For cosmetic handling, read the FDA guidance on using cosmetics safely and microbiological safety of cosmetics. Continue through the English makeup guide library or review the corrective lip makeup course before enrolment reopens.
Editorial review: 5 September 2026. This educational guide covers temporary cosmetic lip makeup. It does not diagnose or treat lip conditions, teach filler or permanent procedures, guarantee product wear or replace supervised practical feedback. It deliberately owns mapping, proportion, liner and layering; colour theory and full-face visagism remain separate search intents.
To separate hue, value, saturation, contrast and controlled neutralisation, continue with the makeup colour theory guide. It treats colour as a testable design decision rather than an automatic pairing.
To turn colour, blending and correction into a complete look for changed light, continue with the professional evening-makeup guide. It organises focal hierarchy, reflection, flash checks and realistic long wear.
To adapt these product and placement decisions to moving lines and mature texture, continue with the makeup for mature skin guide. It uses zone-based preparation, thin layers and selective setting without age-based rules.
To choose head shape, density and fibre from the mark you need, continue with the professional makeup-brush guide. It connects product loading, first contact, pressure and angle to a repeatable result.
Plan how long-wear lip colour will be removed
Complete the wear test with the long-wear makeup-removal guide.