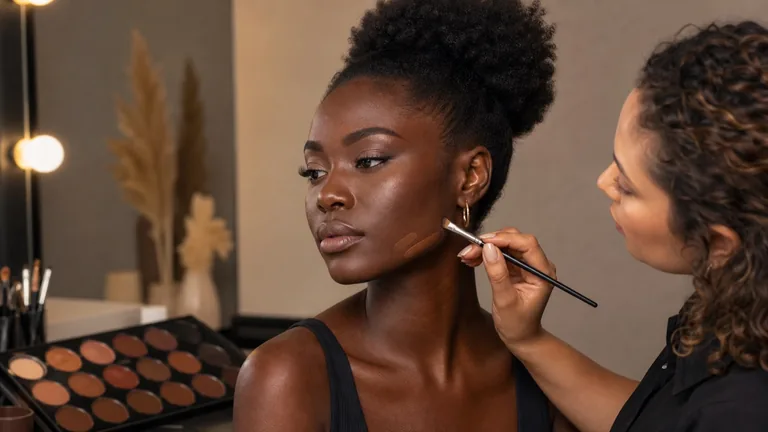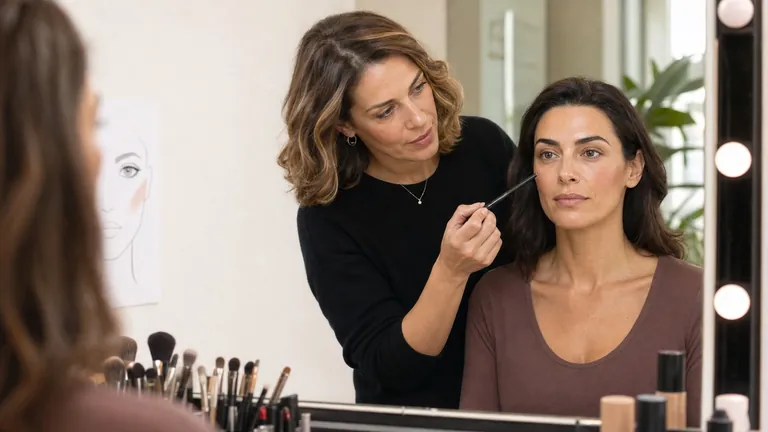
Corrective makeup is not a project to erase features or transform every person towards the same template. It is an observation and design method. The artist reads overall shape, proportions, volume, contrast, colour and direction, then decides where to even, define, soften, emphasise or leave untouched. The result should keep the wearer recognisable and answer an agreed brief: everyday, bridal, evening, photography, stage or another context.
Quick answer: observe the clean relaxed face from the front, profile and three-quarter view in even light. Separate structure, proportion, colour and texture. Ask the wearer what they want to keep and change, choose one visual priority, apply thin corrections and reassess at normal conversation distance, in movement and in destination light. Proportion guides description; it does not declare which face is right.
This guide owns the whole-face design intent in the BeautyLearn makeup library. Use the foundation depth and undertone guide for base colour. Detailed eye and lip correction, colour theory and contour-product technique remain their own topics. For a learning sequence start with learn makeup from scratch. Keeping those intents separate prevents one article from becoming a collection of shallow recipes.
What visagism means in makeup—and what it does not
In artistry, visagism can describe coordinated observation of features, colour, style, identity and context. It is not a medical diagnosis, a personality test or a scientific ranking of beauty. Face shape cannot tell an artist whether someone is trustworthy, feminine, masculine, creative or confident. Expression, culture, gender presentation, fashion, age and personal preference all influence how a result is read. The conversation comes before the correction.
Research suggests that morphology, symmetry and contrast can affect some perceptual judgements, but effects vary across observers and do not produce one universal target. Even digitally constructed perfect symmetry is not a professional requirement. Makeup changes visible edges, colour, reflectance and contrast. It does not move bone, change eye position or reconstruct the jaw, and it should not be sold as though it did.
Begin with goal, consent and the wearer’s identity
Ask what the person wants to see and what they do not want changed. ‘I want to look rested’, ‘I want my eyes to read in photographs’ and ‘please keep my freckles visible’ are more useful than a shape label. Confirm occasion, lighting, duration, photography, glasses, hairstyle, clothing neckline and the intensity they normally wear. Repeat the agreed priority in plain language before applying.
Choose one primary visual focus: complexion, eyes, structure, lips or longevity.
Agree the transformation level: natural, defined, photographic or theatrical.
Respect freckles, marks, pigmentation, facial hair and identity features the wearer wants visible.
Do not diagnose skin or promise correction of a medical condition; stop for unexpected irritation, pain, swelling or inflamed areas.
Consent is ongoing. Show the developing intensity in a mirror and invite specific language: more defined, less warm, keep the brow fuller, soften the cheek or remove the product. The artist’s technical plan does not outrank the wearer’s boundaries. Record photographic consent separately from consent to receive makeup.
Four layers of whole-face analysis
Separate the observation before choosing a product
Structure, proportion, colour and texture create different decisions
Structure
Outline, projection and volume
Proportion
Relationships and direction
Colour
Complexion and contrast
Texture
Formula, amount and finish
Layer | Observe | Makeup decision |
|---|---|---|
Structure | Outline, forehead, cheekbones, jaw and profile | Direction and placement of volume |
Proportion | Vertical and horizontal relationships | Balance, not enforced measurements |
Colour | Complexion, local colour and contrast | Base and targeted correction |
Texture | Dryness, shine, relief and lines | Formula, amount and finish |
Do not start with contour. A mismatched base, heavy texture, rigid brow or misplaced blush can change balance more than a shadow under the cheekbone. Work from whole to detail. After each stage, step back and ask whether the priority became clearer and whether another product is actually required.
Observe front, profile, three-quarter view and movement
One face, four kinds of evidence
A front-facing photograph cannot show the whole design problem
Front: width and direction
Profile: projection
Three-quarter: transitions
Movement: expression
Move hair away from the outline, use even light and observe from roughly one metre before moving close. The front view shows width, height and directional relationships. Profile reveals the projection of forehead, nose, lips and chin. Three-quarter view shows transitions and volume that a frontal photograph compresses. Observe a relaxed expression, then speech, smile and natural head movement.
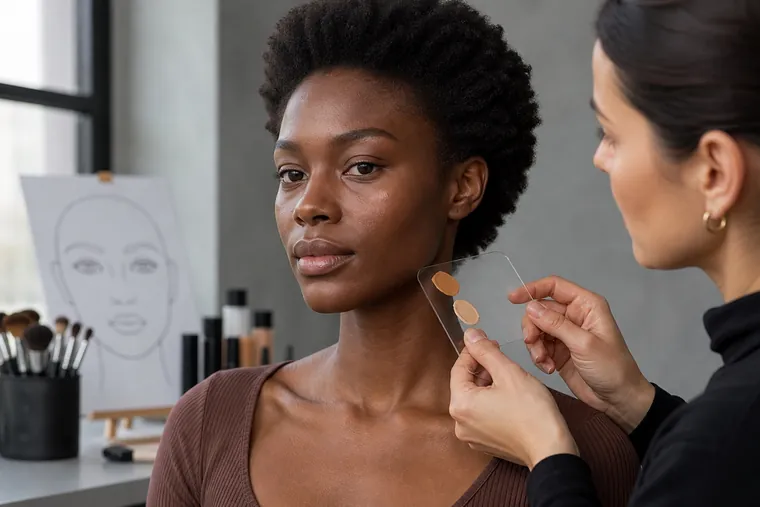
Photographs support documentation only when distance, camera height, focal length, exposure and light are consistent. A close wide-angle image enlarges central features and compresses the sides. Portrait modes can blur edges or alter skin. Use the mirror and live view as primary evidence, then photograph from a repeatable position without beauty filters.
Vertical thirds and horizontal fifths are a grid, not a verdict
A traditional teaching grid divides the face approximately into three vertical regions—hairline to brow, brow to base of nose, and base of nose to chin—and five horizontal bands. It can help describe where features sit and which directions interact. Hairline, anatomy, expression, age, posture and perspective make the divisions approximate. They are not pass or fail measurements.
Replace ‘Which area is wrong?’ with ‘Where should attention move for this brief?’ A visually broad forehead does not automatically need darkening. Balance might come from brow direction, eye emphasis, hairstyle or lip colour. A short lower third may be a valued family feature. The grid should make options visible, not create an obligation to erase difference.
Face-shape labels are starting shorthand, not recipes
Oval, round, square, rectangular, triangular, diamond and heart are simplified teaching families. Many people combine a forehead associated with one family, cheek width from another and a jaw from a third. Labelling too early invites identical recipes: darken every round face, lengthen every square one or narrow every heart-shaped forehead. The label stops observation precisely where it should begin.
Describe observable variables instead: length-to-width relationship, point of maximum width, jaw angle, side fullness, cheek direction, chin transition and soft-tissue movement. Then relate those facts to the chosen priority. Contouring is one possible tool, not the definition of corrective makeup. Light and shadow can redirect attention; they do not alter the physical structure.
Light, shadow and contrast: what perception can change
A lighter, shinier or higher-contrast area often attracts attention; a deeper matte area may recede. The effect depends on intensity, edge, finish, skin depth and ambient light. A hard grey stripe on warm skin reads as colour rather than shadow. Metallic highlight over raised texture can make the relief more visible. Blush placed higher, lower, inward or outward changes the perceived direction of the cheek.
Perceptual studies indicate that changing contrast around eyes, brows and lips can influence how even the uncovered skin appears. The face is read as a system. Sometimes controlled eye or lip definition creates the required balance without more foundation or sculpting. Add product because the full view needs it, not because a map includes a coloured stripe.
A corrective makeup protocol from consultation to review
Plan before adding contrast
The wearer’s brief remains visible at every stage
Consult
Priority, identity and boundaries
Observe
Views, light and movement
Build
Thin controlled decisions
Review
Distance, motion and consent
Consult: define context, priority, boundaries, identity and desired intensity.
Observe: front, profile, three-quarter view, expression and destination light.
Separate: record structure, proportion, colour and texture without mixing their causes.
Plan: choose one priority and sketch directions on a face chart.
Even: use the minimum complexion product required for continuity.
Structure: build brows, cheek colour, light and shadow in thin increments.
Integrate: align eyes and lips with the chosen direction and contrast.
Review: step back, use movement and inspect in the final light.
Document: record consent, products, placements, images and feedback.
Practise each stage separately before attempting a complete transformation. Use the beginner makeup kit to limit variables. When selecting training, ask whether the programme teaches observation, client conversation, face charts, varied adults, live movement and feedback rather than only a front-facing contour diagram.
Brows: direction and visual weight before perfect symmetry
Brows frame the eye and affect the apparent forehead, lid space and distance between features. Observe the natural start, highest direction change, tail, density, asymmetry and hair movement. Do not draw two identical stencils across different bone and muscle structures. Seek visual relationship rather than geometric duplication.
A sharply descending tail can pull attention down; an exaggerated peak can create a surprised expression; a block-dark inner brow can close the centre. Work in small strokes, alternate sides and check at distance. If the wearer values a distinctive brow, build around it. Corrective design should support expression rather than standardise it.
Blush, bronzer, contour and highlighter have different jobs
Four products are not one sculpting step
Colour, warmth, shadow and reflection must be chosen separately
Blush
Colour, vitality and direction
Bronzer
Warmth and sun effect
Contour
Believable optical shadow
Highlight
Reflection and focal point
Product | Primary role | Avoid |
|---|---|---|
Blush | Colour, vitality and direction | Treating it as universal shadow |
Bronzer | Warmth or sun effect | Using one orange depth on everyone |
Contour | Optical shadow and depth | Drawing visible dark bands |
Highlighter | Reflection and focal point | Emphasising unwanted texture |
Placement follows anatomy, expression and brief rather than a trend. Observe where the cheekbone begins, how soft tissue moves with a smile and which direction supports the full look. For everyday makeup, well-placed blush and a soft complexion may provide enough structure. Not every face or desired style needs four sculpting products.
Eyes, nose and lips must stay integrated with the whole face
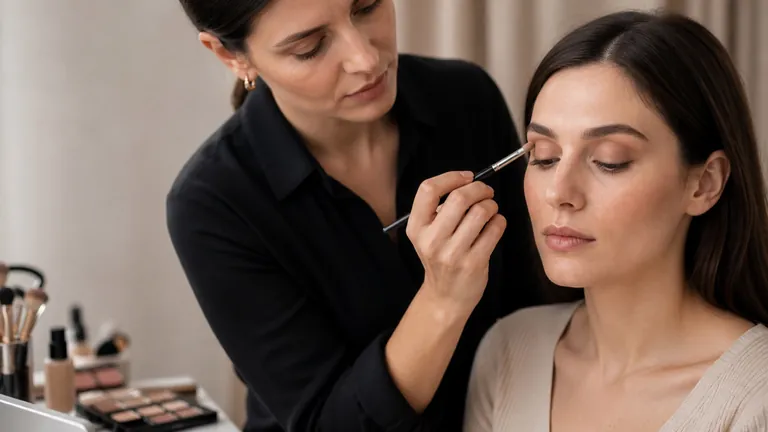
Eye shape interacts with brows, nose bridge, fixed lid and lateral space. An outward blend, deeper outer corner or central emphasis creates different directions, but each must be checked with eyes open and in movement. This page does not replace a detailed corrective-eye method. It asks whether eye contrast supports the whole-face priority.
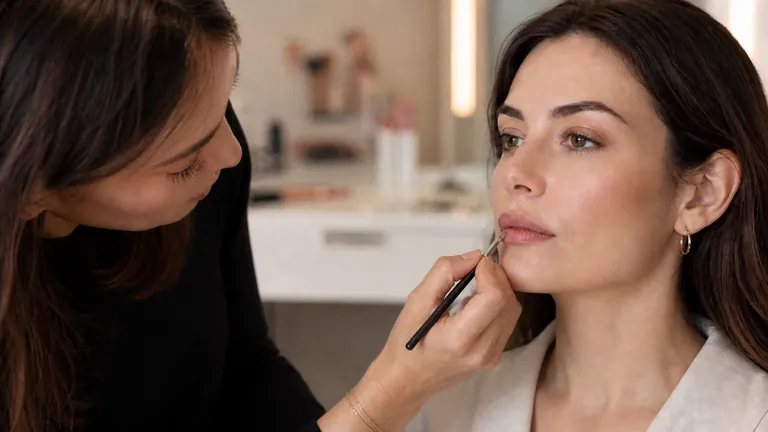
On the nose, dark parallel lines can look artificial in person and shift under different light. On lips, small differences can be balanced with a thin controlled edge checked during speech, smile and profile. Large overlining can lose credibility from the side. Keep the relationship between features visible and do not optimise one close-up at the expense of the moving face.
Natural asymmetry: decide when to balance and when to leave it
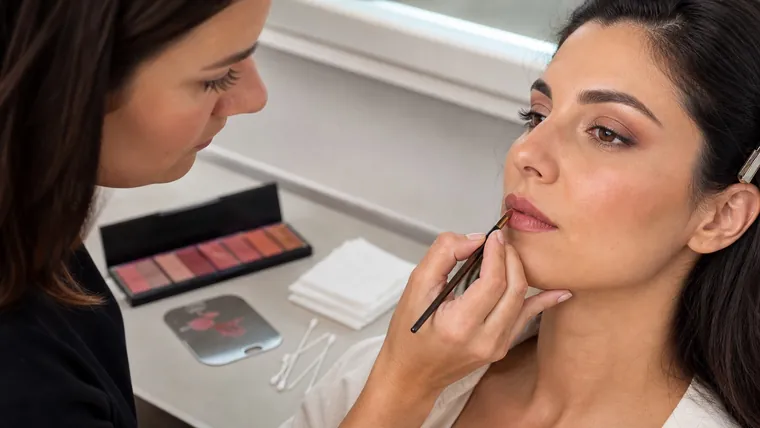
Every face differs between sides because of structure, expression, posture and light. First determine whether a difference is stable or appears only during movement. A front-facing editorial image may benefit from reducing one distracting imbalance. Everyday makeup often becomes less natural when the artist chases millimetre symmetry with extra product.
Use visual compensation: a slightly different intensity, adjusted brow tail, extended blend or cheek placement that reads balanced on the relaxed face. Alternate sides continually and stop when the whole view works. Do not force the lower, smaller or differently moving side to become a replica. The wearer may regard an asymmetry as part of their expression.
Cream or powder: choose behaviour, intensity and finish
Cream products can integrate into a skin-like finish and allow gradual correction, but their behaviour depends on the base underneath. Powders can set or intensify, yet become conspicuous on dryness, lines and relief. Use thin layers and an appropriate tool. When a first placement is wrong, remove or soften it rather than burying it under more product.
For stage, video or photography, increase contrast only after viewing the real light and camera. High-definition capture can reveal an edge that appears soft in the mirror; flat stage light may reduce visible structure. The relevant skill is controlled translation between environments, not one fixed level of contour. Record the light and camera distance with the final result.
Adapt the design across skin depth, texture, age and presentation
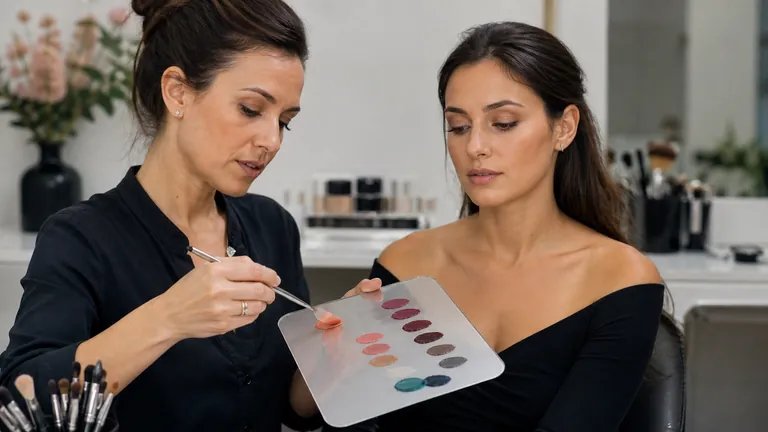
The same placement does not produce the same contrast on every complexion. A sculpting shade must create a believable relationship at the wearer’s depth without turning grey, red or orange. Blush and highlight need enough colour or reflectance to remain visible, but intensity must still serve the brief. Test edges on the face, not only on a pale paper chart, and never treat deeper skin as a darker version of one predesigned map.
Texture changes how light is reflected. A luminous cream may create a fresh focal point on one area and emphasise relief on another; heavy matte layers can make dry or moving skin more visible. Mature skin is not one texture, and a person’s age does not dictate a natural style. Observe the actual surface, use smaller amounts, check expression and let the wearer’s preference set the finish rather than applying an age rule.
Corrective language must also respect gender presentation and cultural styling. Do not assume that every woman wants narrowing, every man wants an undetectable result, or every non-binary client wants neutrality. Ask about brow weight, facial hair, complexion finish, colour, feature emphasis and how the person wants to be read. Technique can support many identities; the artist should not select one on the wearer’s behalf.
Translate one analysis into different briefs
A useful analysis does not produce one permanent face design. For a daytime brief, the agreed priority might be evenness and softly directed blush. Bridal work may retain the same relationships but increase wear control and photographic definition. Evening makeup may deepen selected contrast. Stage work can require greater scale. The observation stays stable while intensity, finish and focal hierarchy change for distance, light and duration.
Make those differences explicit on separate face charts. Keep the wearer’s boundaries and structural observations constant, then change only the variables required by context. This prevents ‘corrective’ from becoming a default heavy look and teaches adaptation. If a technique is visible only because it is exaggerated on camera, check whether it still meets the real-world brief before accepting the image as success.
A one-variable face-chart exercise
Choose five authorised front-facing references made under similar light and distance. For each, write four lines: structure, proportion, colour and texture. Sketch three possible designs while changing one variable only—perhaps blush direction, brow intensity or focal highlight. Note which choice supports the wearer’s brief and which simply follows a familiar template.
Apply the selected design on a consenting adult, photograph it consistently and compare close view, one-metre view, profile and movement. Repeat with one correction to edge or intensity. Keep the chart, product amounts, image and feedback. On the next adult, maintain the observation sequence but allow the design to change. This develops transferable reasoning rather than memorised maps.
Common corrective-makeup mistakes
Applying a standard contour map without observing bone, soft tissue and movement.
Using thirds and fifths as a beauty judgement rather than a descriptive grid.
Confusing warm bronzer with a believable sculpting shadow.
Correcting every asymmetry until expression becomes rigid.
Creating visible stripes beneath the cheek or beside the nose.
Judging only from very close range, one lamp or a filtered photograph.
Ignoring the wearer’s preference, identity and usual makeup language.
Use the makeup course-selection guide to look for programmes that demonstrate observation, varied faces, client dialogue, hygiene, face-chart planning and corrected attempts. The current corrective makeup course and beginner makeup course are separate English-market pages. Their live curricula, teachers and availability must be checked directly.
Frequently asked questions about corrective makeup and visagism
What is corrective face makeup?
It is a design method using colour, contrast, light, shadow, texture and direction to even or rebalance the visible face for an agreed brief. It does not alter anatomy and does not require every difference to be corrected.
What does visagism mean in makeup?
It describes coordinated observation of features, proportion, colour, style, identity and context. It must not be used to diagnose personality or claim that face shape reveals character.
What is the ideal face shape?
There is no universal ideal. Geometric families are teaching shorthand. The relevant result depends on the actual features, wearer’s identity and preference, cultural context, style and brief.
What are facial thirds and fifths used for?
They help describe approximate vertical and horizontal relationships and plan direction. They are not compulsory measurements, a diagnosis or a rule for labelling a face attractive or defective.
Are contouring and corrective makeup the same?
No. Contouring is one light-and-shadow technique. Corrective makeup also includes complexion, local colour, texture, brows, blush, eyes, lips, finish, movement and the relationship among them.
How do I correct a round face?
Do not start from a universal recipe. Observe maximum width, jaw, cheek direction, expression and the desired focus. Brow and blush direction may provide enough balance without darkening every side of the face.
Should both sides of the face be perfectly symmetrical?
No. Asymmetry is natural and changes in movement. Balance only what distracts from the agreed result. Visual relationship normally matters more than millimetre duplication.
Should contour be grey or brown?
It should resemble a believable shadow at the person’s depth and undertone without turning conspicuously grey, red or orange. Test in even light and keep the edge imperceptible at normal distance.
Where should blush go to lift the face?
Placement depends on cheek structure, smile, side fullness and desired direction. A high outward placement can create lift in some designs but is not automatically right for every face, identity or style.
Can cream and powder sculpting products be combined?
Yes when formulas, amounts and the base underneath are compatible. Use thin layers and observe texture. Powder should set or intensify a controlled placement, not conceal a heavy or misplaced cream layer.
Does corrective makeup work on mature skin?
Yes, with preparation, amount, finish and reflection adapted to the visible skin. Thin textures and soft edges can be more effective than many layers or metallic highlight on raised areas.
How is visagism learnt?
Through observation of varied consenting adults, face charts, one-variable exercises, consistent photographs, live movement and feedback. Memorising contour maps for a few geometric shapes cannot replace comparison and correction.
Can visagism reveal personality?
No reliable makeup method can infer character from forehead, jaw or feature shape. Ask the person about style, identity and intent instead of attaching psychological labels to anatomy.
Does every face need contour, bronzer and highlighter?
No. Products have different visual roles and should enter only when the brief needs them. A coherent base, brows, eyes, lips or blush may already produce the intended balance.
How should corrective makeup be checked?
Inspect close and at conversation distance, front, profile and three-quarter view, relaxed and moving, in neutral and destination light. Use consistent unfiltered photographs as supporting evidence, not the only view.
Research references and editorial scope
The perceptual context draws on studies of face shape and symmetry in aesthetic judgement, three-dimensional facial shape and perception, facial contrast altered by cosmetics and perceived skin evenness after feature makeup. FDA eye cosmetic safety guidance supports the stop and hygienic-use boundary.
Editorial review: 5 September 2026. This is an inclusive artistry framework, not medical advice, physiognomy, a universal beauty standard or a promise to alter anatomy. Proportion grids are descriptive teaching tools. The page contains no competitor links and recommends no standard contour map or brand. The wearer’s consent and identity remain part of every decision.
Practise controlled colour placement with the eyeshadow blending guide. It separates brush load, pressure, placement and edge work so patchiness can be diagnosed before more pigment is added.
Turn technique into a repeatable event service with the professional bridal makeup guide. It connects the brief, trial record, wear test, wedding-day timing and personal touch-up handover without replacing detailed technique or career pages.
After matching colour, compare foundation texture, coverage and finish: this guide separates formula performance from undertone and tests thin layers, tools, setting, texture and wear.
To adapt eyeshadow, liner and lash weight to visible anatomy, continue with the corrective eye makeup guide: it maps hooded, small, close-set and prominent eyes while keeping blending mechanics and whole-face visagism distinct.
For a focused method on lash-line thickness, wing direction and open-eye balance, use the eyeliner guide for different eye shapes. It keeps line mechanics distinct from full eye morphology and eyeshadow blending.
For a focused method on temporary eyebrow shape, reference points, colour and product choice, continue with eyebrow mapping: shape, colour and makeup products. It keeps brow makeup distinct from permanent services and hair-removal procedures.
For a focused process on lip proportion, liner, layering and wear, continue with the corrective lip makeup guide. It keeps temporary lip makeup distinct from permanent and medical procedures.
To separate hue, value, saturation, contrast and controlled neutralisation, continue with the makeup colour theory guide. It treats colour as a testable design decision rather than an automatic pairing.
To combine complexion, brows, eyes, cheeks and lips into one efficient service, continue with the professional day-makeup guide. It connects product decisions to intensity, natural-light checks and realistic wear.
To turn colour, blending and correction into a complete look for changed light, continue with the professional evening-makeup guide. It organises focal hierarchy, reflection, flash checks and realistic long wear.
To adapt these product and placement decisions to moving lines and mature texture, continue with the makeup for mature skin guide. It uses zone-based preparation, thin layers and selective setting without age-based rules.
For a controlled comparison of depth, warmth and cheek colour, continue with the contour, bronzer and blush guide. It covers colour, film order, anatomical placement and troubleshooting without one-size-fits-all maps.
Correct colour without automatically brightening the face
Before adding lightness or warmth, assess depth, pigmentation and amount through makeup for deep skin tones.
Correct colour without trying to erase texture
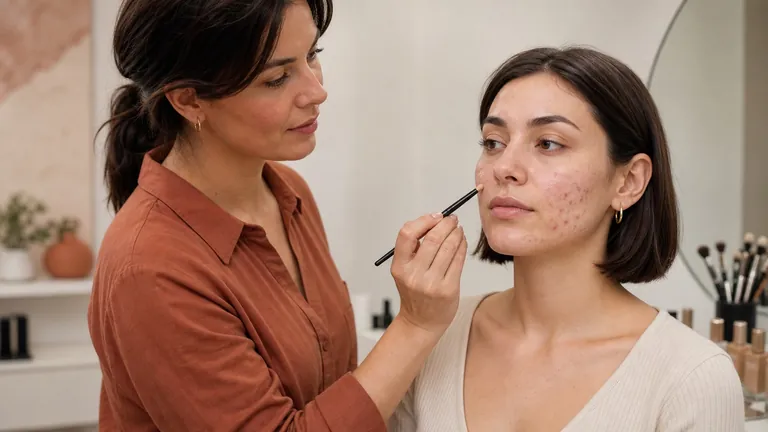
Continue with the acne-prone skin coverage protocol.
Correct locally without imposing a gendered finish
Continue with the men’s makeup application method.
Use perception rather than forced symmetry
Continue with the professional cut crease symmetry method.